Home>Furniture & Design>Bathroom Accessories>How To Build A Medicine Cabinet
Bathroom Accessories
How To Build A Medicine Cabinet
Modified: October 19, 2024
Discover how to build a stylish and functional medicine cabinet for your bathroom with our expert tips and ideas for bathroom accessories. Create a personalized storage solution today!
(Many of the links in this article redirect to a specific reviewed product. Your purchase of these products through affiliate links helps to generate commission for Storables.com, at no extra cost. Learn more)
Introduction
Building a medicine cabinet can be a rewarding and practical project for anyone looking to add a personal touch to their bathroom while creating valuable storage space. Whether you're a seasoned DIY enthusiast or a novice looking to embark on your first woodworking endeavor, constructing a medicine cabinet can be a fulfilling and achievable task with the right guidance.
In this comprehensive guide, we will walk you through the step-by-step process of building a custom medicine cabinet. From gathering the necessary materials and tools to the final installation, you will gain the knowledge and confidence to tackle this project with ease. By following these instructions, you can create a stylish and functional addition to your bathroom that perfectly suits your needs and aesthetic preferences.
As you embark on this journey, envision the satisfaction of crafting a piece of furniture that not only serves a practical purpose but also reflects your creativity and craftsmanship. Whether you choose to build a simple, minimalist cabinet or a more elaborate design with intricate details, the end result will be a testament to your skills and dedication.
Before diving into the construction process, it's essential to approach this project with a clear plan and a keen eye for detail. By carefully measuring and cutting the wood, assembling the cabinet with precision, and adding the finishing touches, you will create a piece that seamlessly integrates into your bathroom space.
So, roll up your sleeves, gather your tools, and let's embark on this woodworking adventure together. With patience, attention to detail, and a dash of creativity, you'll soon have a beautiful and functional medicine cabinet that enhances the ambiance of your bathroom while providing a practical storage solution. Let's get started!
Key Takeaways:
- Building a medicine cabinet is a fun and rewarding DIY project that allows you to create a stylish and functional storage solution for your bathroom. With the right tools and materials, you can bring your creative vision to life and enhance the ambiance of your home.
- By following the step-by-step process of gathering materials, measuring and cutting wood, assembling the cabinet, and adding the finishing touches, you can create a custom medicine cabinet that reflects your unique style and craftsmanship. It’s a testament to your dedication and creativity!
Step 1: Gather Materials and Tools
Before diving into the construction of your custom medicine cabinet, it's crucial to gather all the necessary materials and tools to ensure a smooth and efficient building process. Here's a comprehensive list of items you'll need to get started:
Materials:
- Wood: Select high-quality wood that suits your design preferences. Common choices include pine, oak, or maple. Ensure that the wood is sturdy and free from defects to guarantee a durable and visually appealing cabinet.
- Wood Glue: Opt for a reliable wood glue that provides strong adhesion for joining the cabinet components securely.
- Screws and Nails: Choose appropriate screws and nails based on the thickness of the wood to ensure structural integrity during assembly.
- Cabinet Hardware: Select hinges, knobs, or handles that complement the overall design of your cabinet. Consider the functionality and aesthetic appeal of the hardware when making your choices.
- Sandpaper: Invest in sandpaper of varying grits to smoothen the wood surfaces and achieve a flawless finish.
- Wood Finish: Decide on a suitable wood finish, such as stain or paint, to enhance the cabinet's appearance and protect the wood from moisture and wear.
Tools:
- Measuring Tape: Accurate measurements are essential for precise cuts and assembly. A reliable measuring tape is a fundamental tool for this project.
- Saw: Depending on your preference and the complexity of your design, you may need a circular saw, jigsaw, or table saw for cutting the wood to the required dimensions.
- Drill: A power drill equipped with the appropriate drill bits is essential for creating holes for screws and hardware installation.
- Clamps: Sturdy clamps are indispensable for holding wood pieces together during assembly, ensuring a secure and seamless bond.
- Level: To guarantee that your cabinet is installed straight and even, a level is crucial for accurate alignment during the mounting process.
- Safety Gear: Prioritize safety by wearing protective gear, including safety goggles and gloves, to prevent injuries during cutting, sanding, and assembly.
By gathering these materials and tools, you'll set the stage for a successful and enjoyable construction experience. With everything in place, you can proceed to the next step with confidence, knowing that you're well-equipped to bring your custom medicine cabinet to life.
Step 2: Measure and Cut the Wood
Accurate measurements and precise cuts are fundamental to the construction of a well-crafted medicine cabinet. Before diving into the cutting process, it's essential to carefully measure and plan the dimensions of each component. Start by laying out the design on paper or using a digital design tool to visualize the cabinet's layout and determine the exact measurements for the sides, shelves, and door.
Once you have a clear plan in place, it's time to transfer these measurements to the selected wood material. Using a measuring tape, mark the dimensions on the wood, ensuring that each piece is accurately sized according to the design specifications. Take your time with this step, as precision is key to achieving a seamless fit during assembly.
With the measurements marked, it's time to proceed with the cutting process. Depending on the complexity of your design and the available tools, you may use a circular saw, jigsaw, or table saw to make the necessary cuts. Prioritize safety by wearing protective gear and following the manufacturer's guidelines for operating the chosen cutting tool.
As you begin cutting the wood, pay close attention to the marked lines to ensure that the pieces are trimmed accurately. Take your time and maintain a steady hand to achieve clean and precise cuts, as any errors at this stage can impact the overall quality and appearance of the cabinet.
Once all the wood components are cut to the required dimensions, it's beneficial to perform a dry fit assembly to assess the accuracy of the cuts and confirm that the pieces align seamlessly. This step allows you to make any minor adjustments before proceeding to the assembly stage, ensuring that the cabinet comes together flawlessly.
By meticulously measuring and cutting the wood with precision, you lay the foundation for a well-constructed medicine cabinet that reflects your attention to detail and craftsmanship. With the components accurately sized and prepared, you're now ready to move on to the next phase of assembling the cabinet, bringing you one step closer to completing this rewarding woodworking project.
Read more: How To Measure A Medicine Cabinet
Step 3: Assemble the Cabinet
With the wood components accurately measured and cut, it's time to embark on the assembly process, where the individual pieces come together to form the structure of the medicine cabinet. This stage requires precision and attention to detail to ensure that the cabinet is sturdy, well-aligned, and visually appealing.
Begin by organizing the cut wood pieces in a clean and spacious area, allowing ample room to maneuver during the assembly. Lay out the components according to the design plan, ensuring that each piece is easily accessible as you progress through the assembly process.
Next, apply a thin, even layer of high-quality wood glue to the joining edges of the wood components. Carefully align the pieces according to the design specifications, ensuring that the corners are square and the edges are flush. Secure the joints using clamps to hold the pieces together firmly while the glue sets. This step is crucial for creating strong and durable bonds between the wood components.
As you progress with the assembly, periodically check the alignment and squareness of the cabinet's frame to maintain precision throughout the process. Pay close attention to detail, ensuring that each joint is securely bonded and that the overall structure is stable and well-balanced.
Once the main frame of the cabinet is assembled and the glue has dried, reinforce the joints by driving screws into the connecting pieces. Pre-drill pilot holes to prevent the wood from splitting and then carefully insert the screws to secure the joints. This additional reinforcement enhances the structural integrity of the cabinet, ensuring that it can withstand the weight of the shelves and door.
After the main frame is securely assembled, proceed to install the shelves within the cabinet. Position the shelves at the desired heights, ensuring that they are level and securely anchored to the interior of the cabinet. Depending on the design, you may choose to use shelf supports or adjustable shelf pins to accommodate various storage needs.
With the shelves in place, focus on attaching the door to the cabinet. Install hinges on the door and the cabinet frame, ensuring that they are aligned and function smoothly. Test the door's movement to guarantee that it opens and closes seamlessly, providing convenient access to the cabinet's contents.
By meticulously assembling the cabinet with precision and care, you bring the individual wood components together to form a cohesive and functional piece of furniture. With the main structure, shelves, and door securely in place, the cabinet begins to take shape, setting the stage for the final stages of finishing and installation.
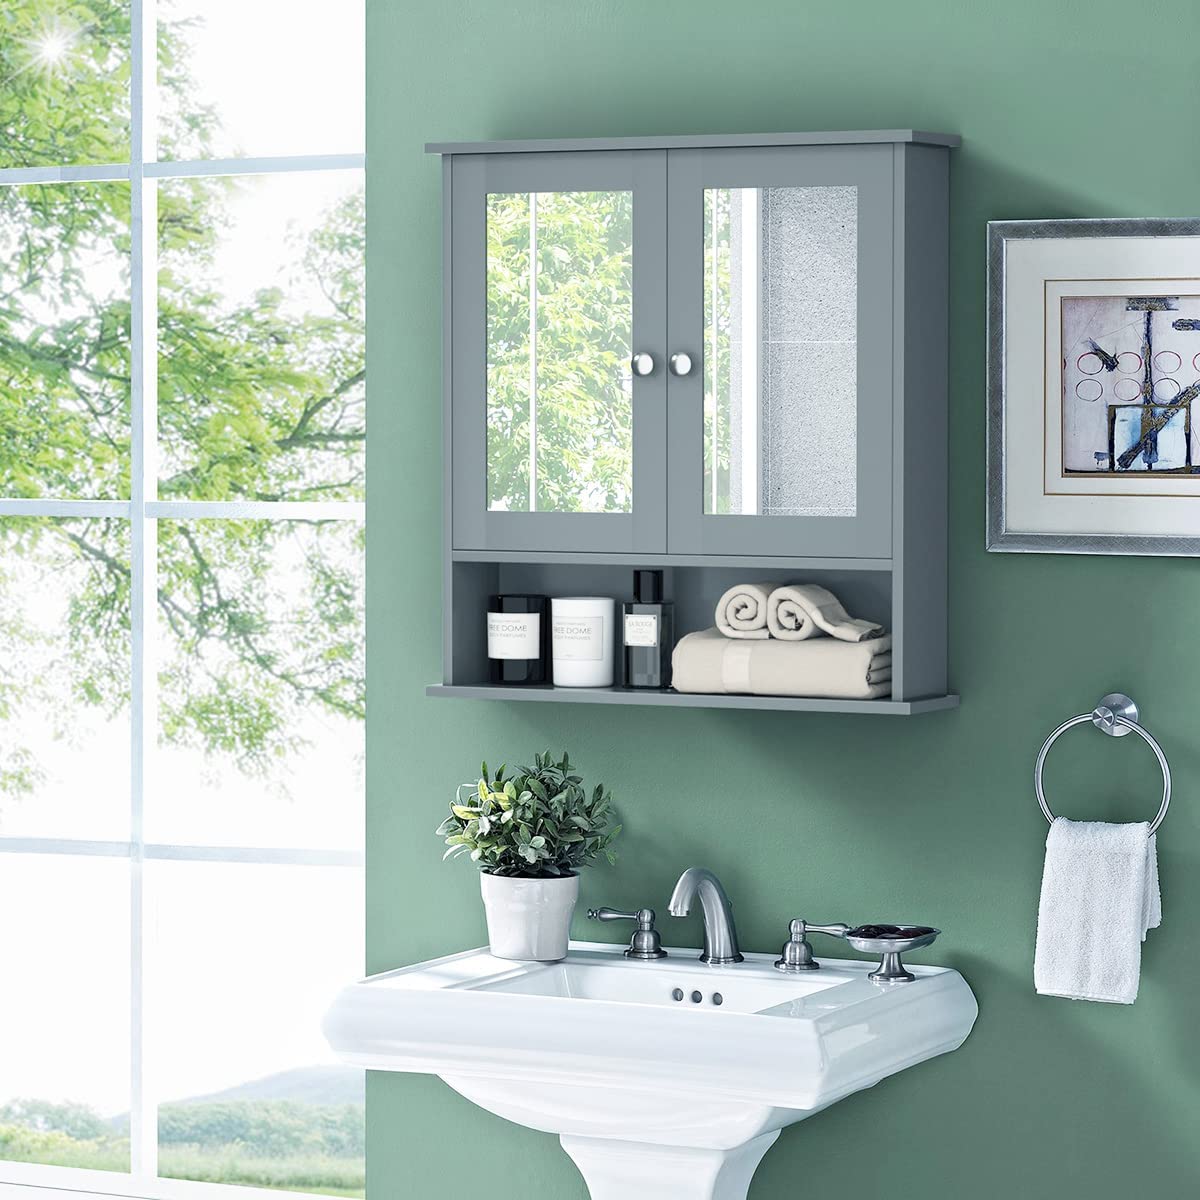
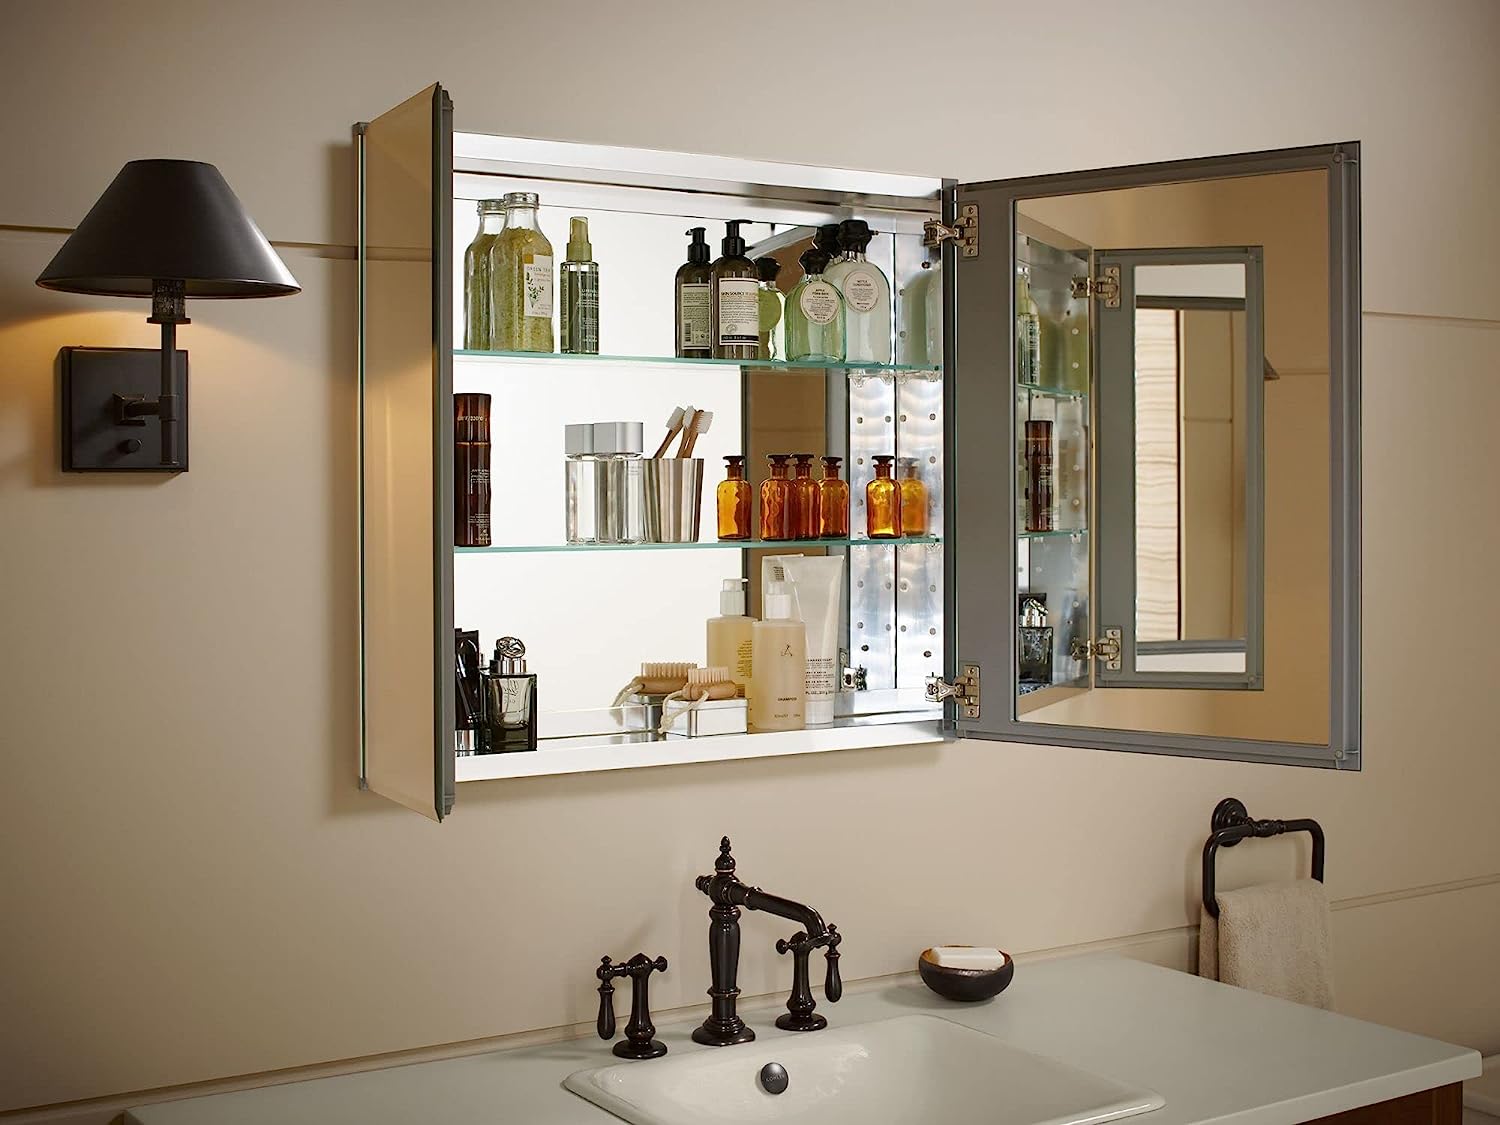
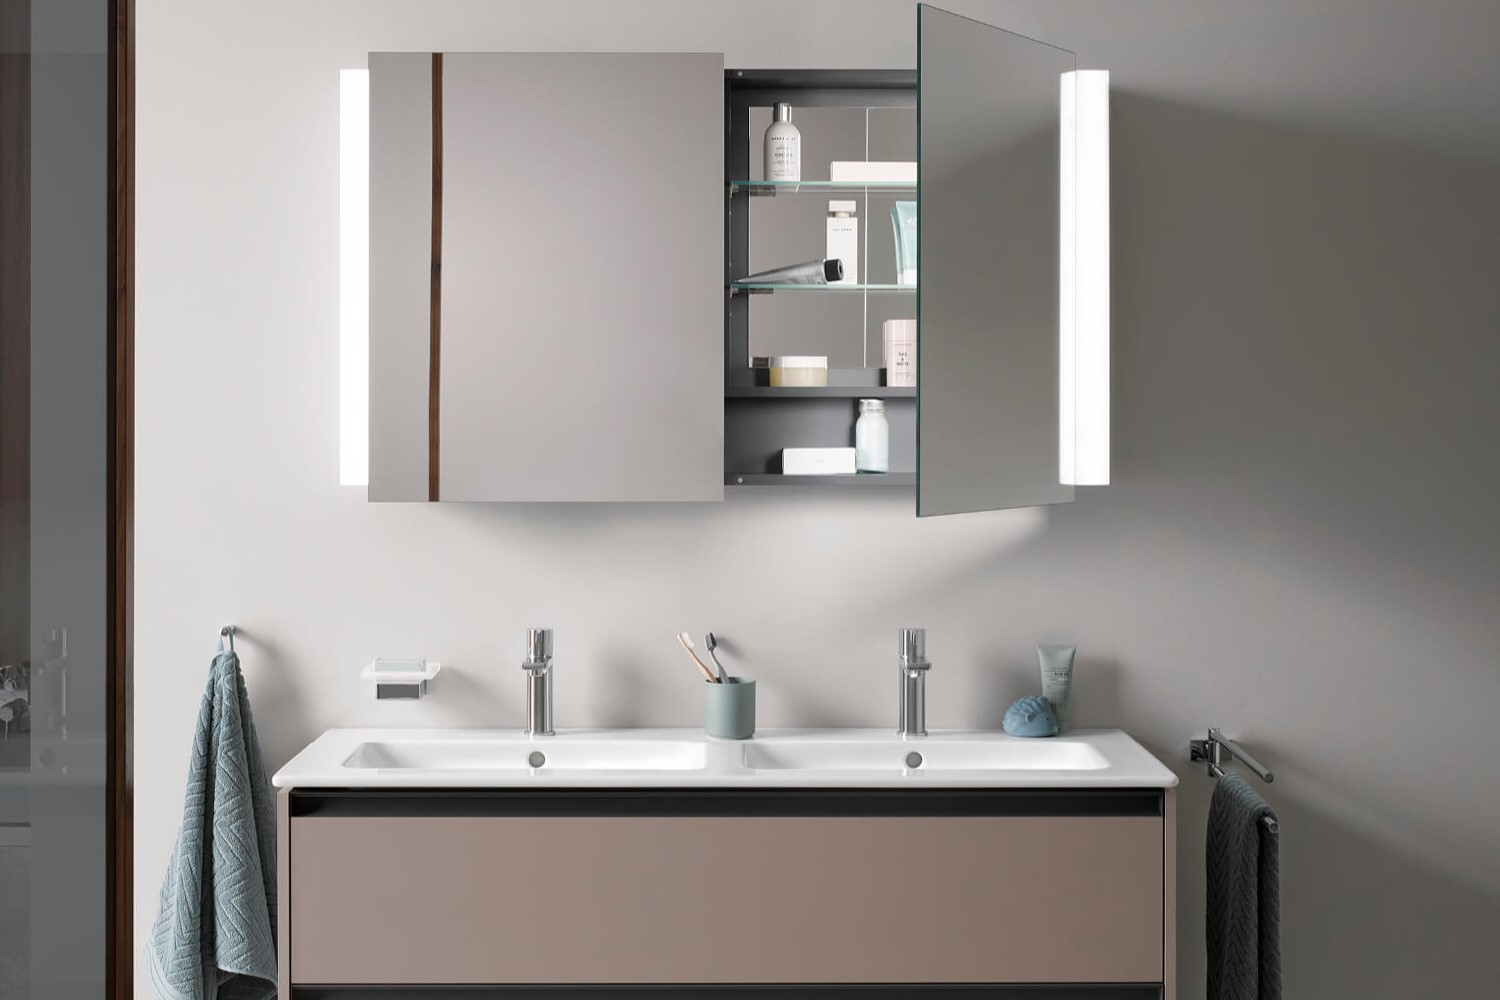
Step 4: Install Shelves and Door
With the main frame of the medicine cabinet securely assembled, the next crucial step is to install the shelves and door, transforming the cabinet into a fully functional storage unit. This phase requires precision and attention to detail to ensure that the shelves are positioned accurately and the door operates smoothly, providing convenient access to the cabinet's contents.
To begin, carefully measure and mark the desired positions for the shelves within the cabinet. Utilize a measuring tape and a level to guarantee that the shelves are aligned and positioned at consistent heights. Depending on your design preferences, you may opt for fixed shelves or adjustable ones to accommodate items of various sizes.
Once the shelf positions are determined, proceed to secure them within the cabinet. If utilizing fixed shelves, apply a thin layer of wood glue along the shelf supports and carefully position the shelves, ensuring they are level and securely anchored. For adjustable shelves, insert shelf pins into the pre-drilled holes within the cabinet, providing flexibility to reposition the shelves as needed to accommodate different storage requirements.
After the shelves are securely in place, focus on installing the door to complete the cabinet assembly. Begin by attaching hinges to the door and the cabinet frame, ensuring that they are aligned and positioned to facilitate smooth movement. Take the time to test the door's operation, ensuring that it opens and closes seamlessly without any obstructions.
Depending on your design and preference, you may choose to incorporate a knob or handle on the door for easy access. Select hardware that complements the overall aesthetic of the cabinet while providing a functional and visually appealing element.
Once the door is installed and operates smoothly, take a moment to admire the transformation of the cabinet. With the shelves offering organized storage space and the door providing convenient access, the cabinet is now ready for the final stages of sanding, finishing, and installation.
By meticulously installing the shelves and door with precision and care, you bring the functional elements of the cabinet to life, ensuring that it not only serves as a practical storage solution but also enhances the visual appeal of your bathroom space. With the shelves and door securely in place, the custom medicine cabinet is poised to become a valuable and stylish addition to your home.
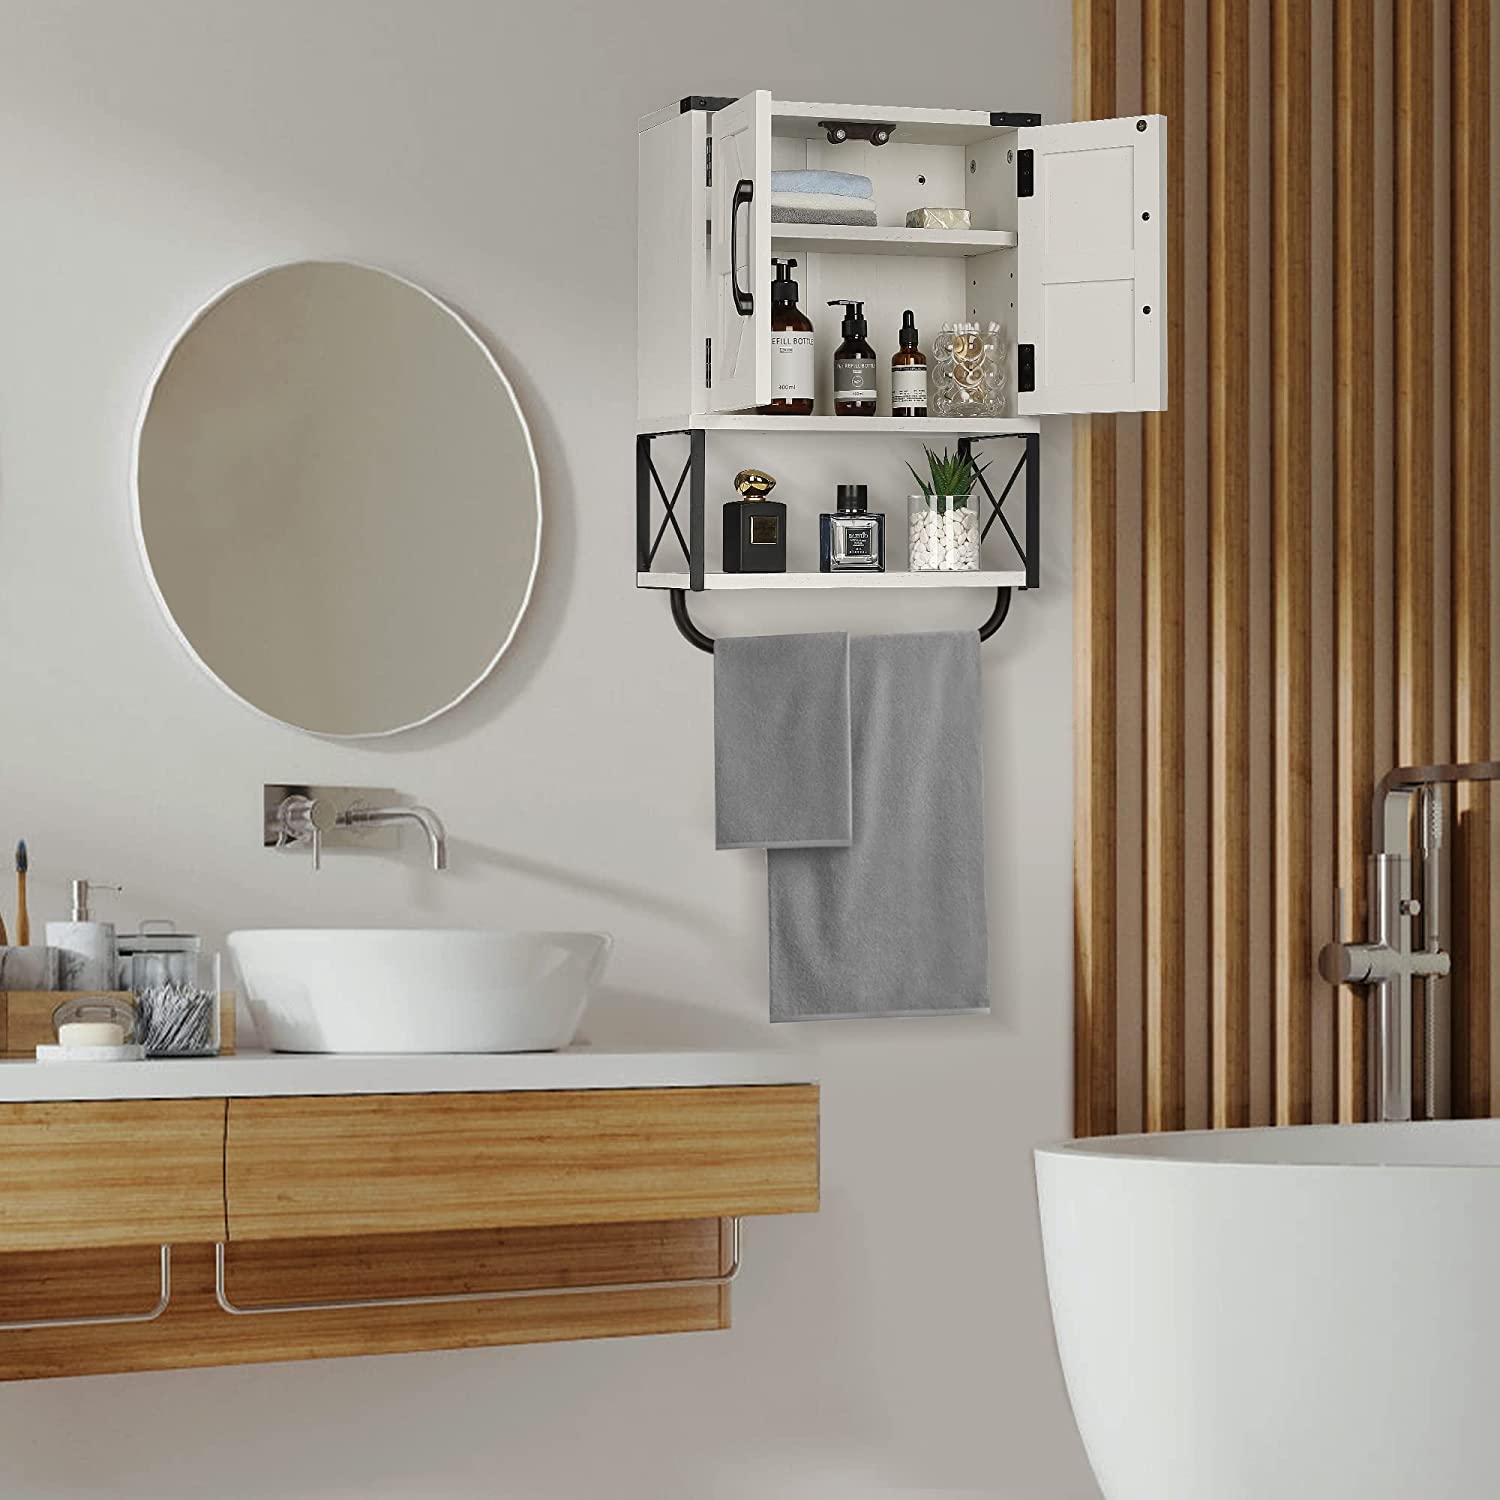
When building a medicine cabinet, make sure to include adjustable shelves to accommodate different sized items and consider adding a lock for safety.
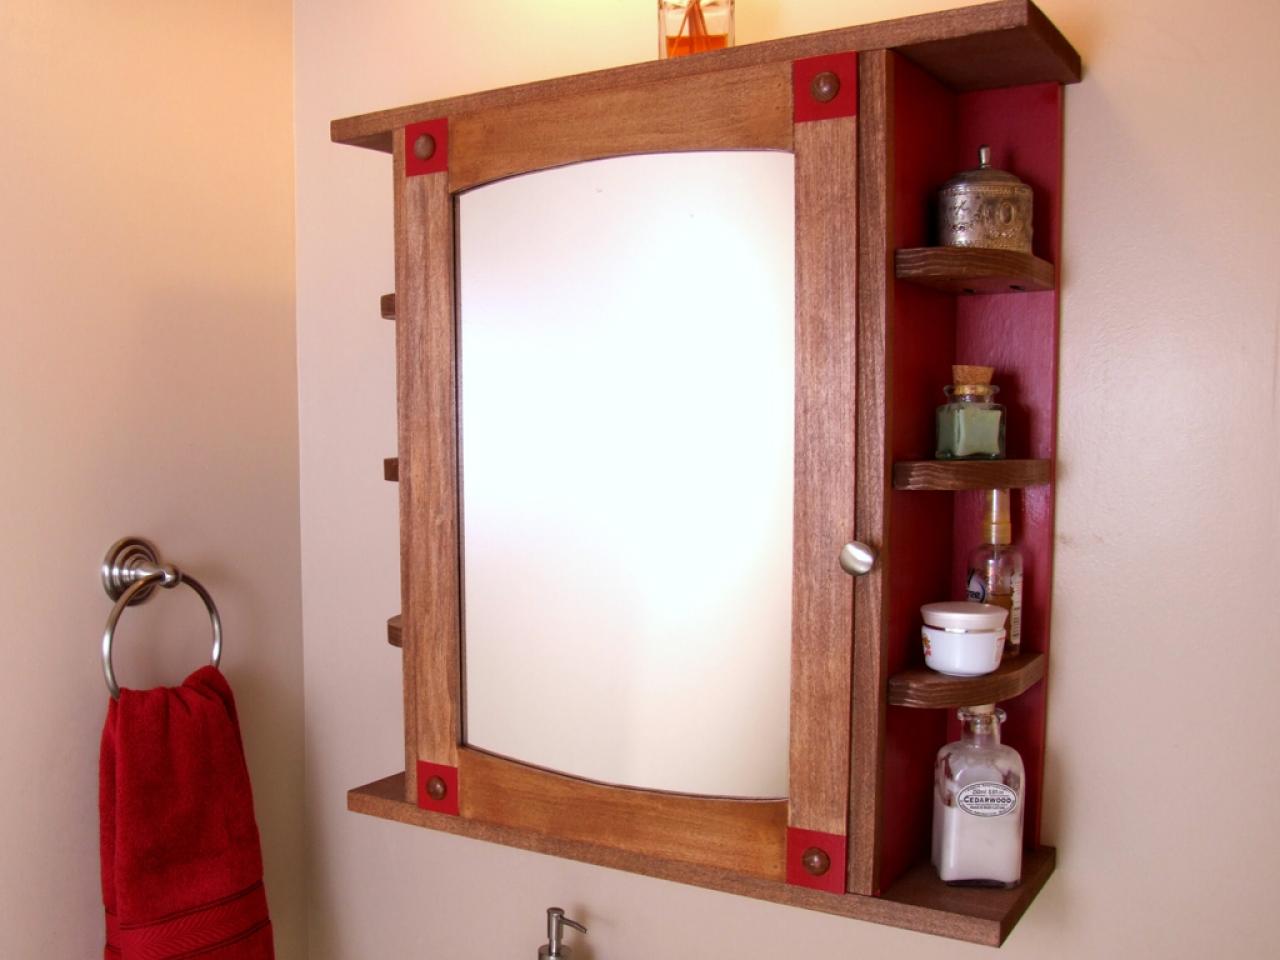
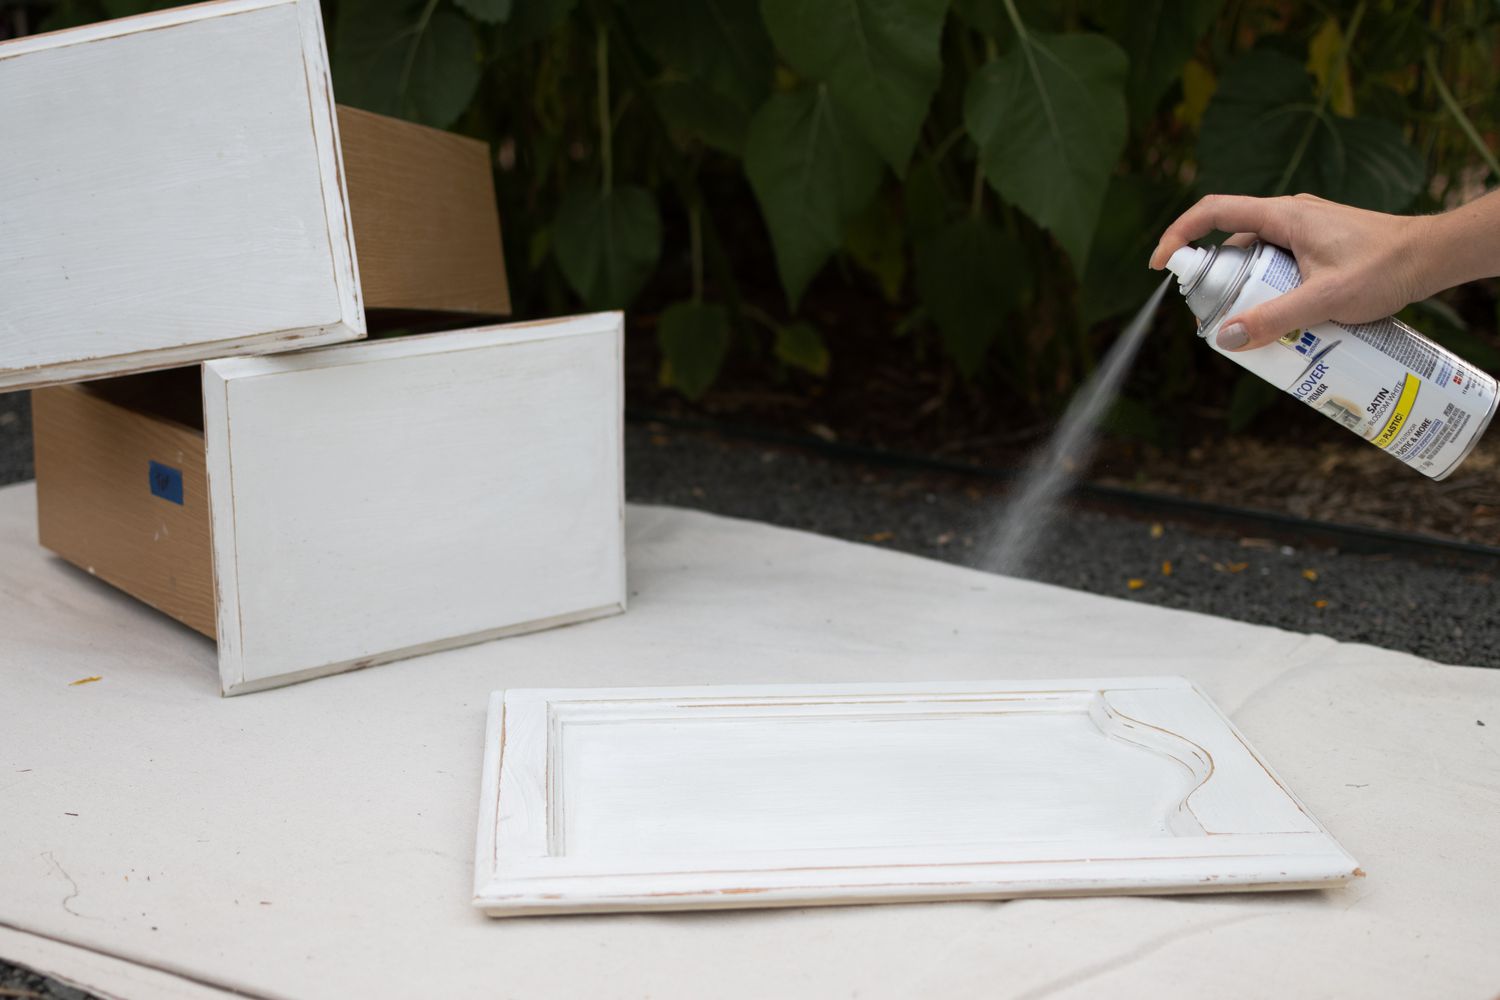
Step 5: Sand and Finish
After the assembly of the medicine cabinet, the crucial step of sanding and finishing comes into play, elevating the overall appearance and ensuring the longevity of the wood. Sanding serves as a transformative process, smoothing out any rough edges, imperfections, or uneven surfaces left from the cutting and assembly stages. This step not only enhances the tactile appeal of the cabinet but also prepares the wood for the application of the finishing materials.
Begin the sanding process by using coarse-grit sandpaper to address any prominent irregularities and rough surfaces on the wood. Work methodically, applying even pressure to achieve a consistent and smooth texture across all visible areas of the cabinet. As you progress, transition to finer-grit sandpaper to refine the surfaces further, creating a velvety-smooth finish that is pleasing to the touch.
Pay special attention to the edges and corners, ensuring that they are rounded and smooth to prevent any sharp or rough protrusions. Additionally, sand the interior surfaces of the cabinet, including the shelves, to guarantee a uniform and polished appearance throughout the entire structure.
Once the sanding process is complete, it's time to apply the finishing touches that will enhance the natural beauty of the wood while providing protection against moisture and wear. Depending on your design preferences, you may opt for a wood stain to enrich the color and grain of the wood, or choose a clear varnish or lacquer for a glossy and protective finish.
Apply the chosen finish evenly across the entire surface of the cabinet, using a brush or cloth to ensure thorough coverage. Allow the finish to dry according to the manufacturer's instructions, and if necessary, apply additional coats to achieve the desired level of sheen and protection.
As the finishing materials cure, take a moment to appreciate the transformation of the cabinet. The combination of meticulous sanding and the application of the finishing materials brings out the natural beauty of the wood, elevating the visual appeal of the cabinet and preparing it for the final step of installation.
By dedicating attention to the sanding and finishing process, you not only enhance the aesthetic allure of the medicine cabinet but also safeguard the wood against environmental factors, ensuring that your creation will stand the test of time while adding a touch of elegance to your bathroom space.
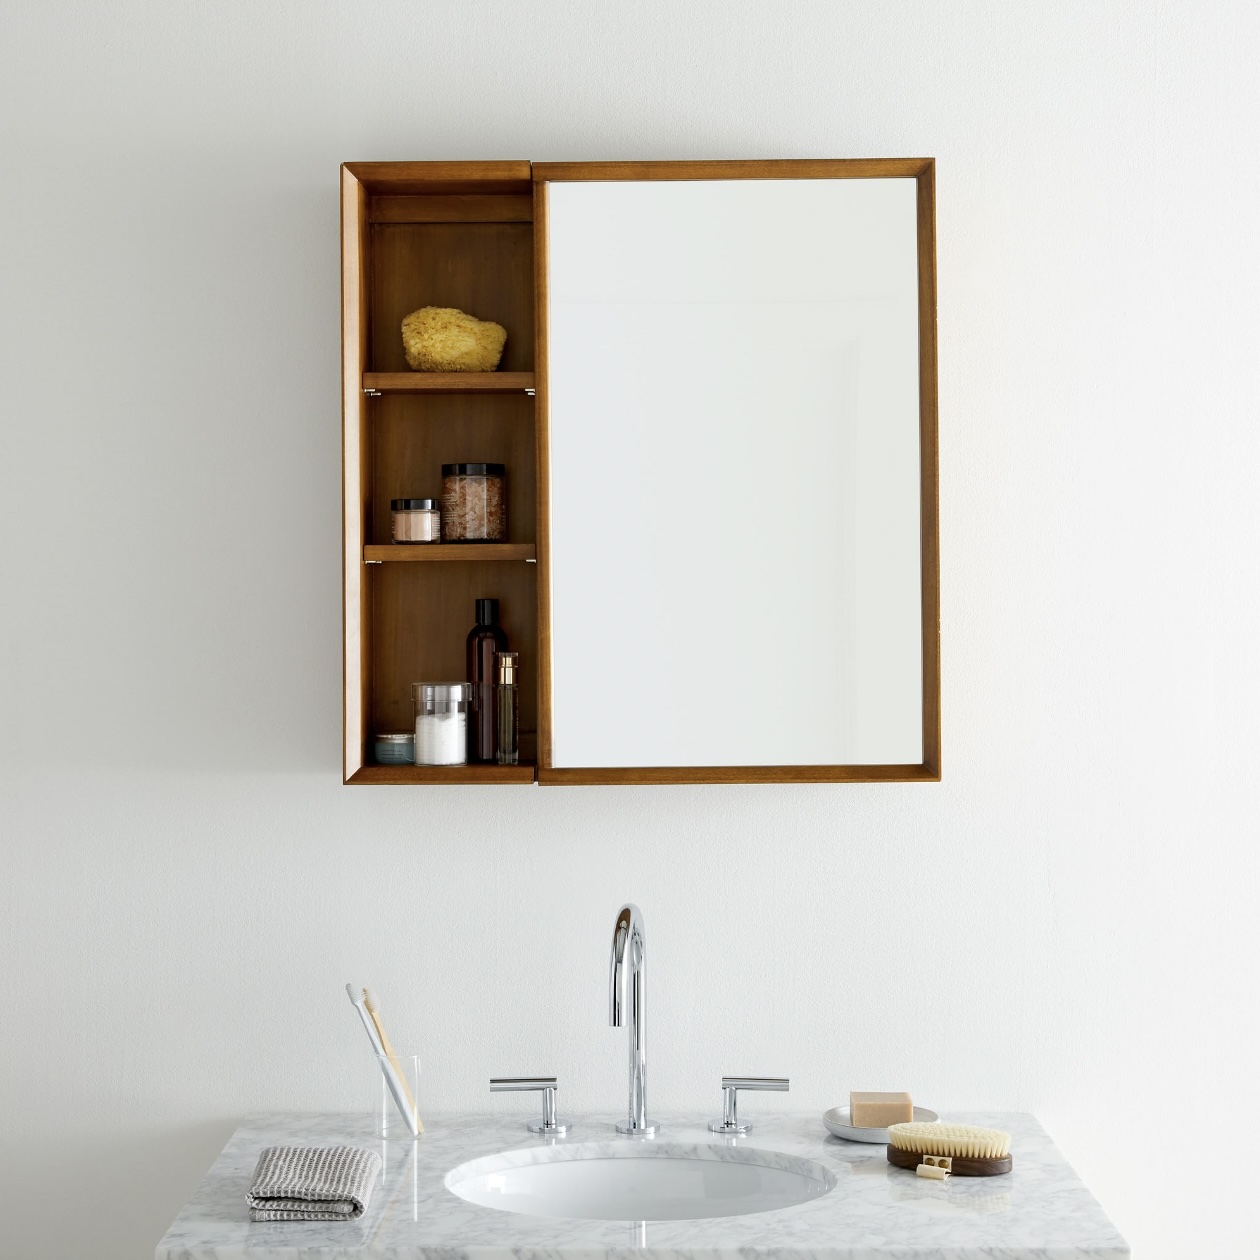
Step 6: Mount the Cabinet
With the medicine cabinet fully assembled, sanded, and finished to perfection, the final step involves mounting it securely in your chosen location within the bathroom. Proper installation is essential to ensure that the cabinet is stable, level, and seamlessly integrated into the existing decor. Follow these steps to mount the cabinet with precision and confidence.
-
Select the Mounting Location: Begin by identifying the ideal placement for the medicine cabinet within your bathroom. Consider factors such as the height for convenient access, proximity to other fixtures, and overall aesthetic harmony. Once the location is determined, use a stud finder to locate the wall studs, which will provide the necessary support for mounting the cabinet securely.
-
Mark the Mounting Points: Using a pencil and a level, mark the positions for the mounting screws on the wall, aligning them with the studs for maximum stability. Ensure that the markings are accurate and level to facilitate a seamless installation process.
-
Pre-Drill Holes: With the mounting points marked, carefully pre-drill pilot holes at the designated positions. The pilot holes will guide the screws into the studs, preventing the wood from splitting and ensuring a secure attachment to the wall.
-
Lift and Secure the Cabinet: Enlist the assistance of a partner to lift the medicine cabinet and position it against the wall, aligning it with the pre-drilled holes. Using a power drill, drive screws through the back of the cabinet and into the wall studs, securing it firmly in place. Double-check the levelness and stability of the cabinet before tightening the screws to ensure a perfectly aligned installation.
-
Test the Stability: Once the cabinet is mounted, gently test its stability by applying slight pressure and ensuring that it is securely anchored to the wall. Verify that the cabinet is level and does not wobble, indicating a successful and secure installation.
-
Add the Finishing Touches: With the cabinet securely mounted, take a moment to admire the culmination of your efforts. Ensure that the door opens and closes smoothly, and that the overall appearance of the cabinet aligns with your vision for the space. If necessary, make any final adjustments to guarantee a flawless and functional installation.
By meticulously following these steps, you can confidently mount the medicine cabinet, transforming it from a standalone furniture piece into an integral part of your bathroom space. The secure installation ensures that the cabinet serves its purpose effectively while adding a touch of elegance and practicality to your daily routine.
Read more: How To Remove A Medicine Cabinet
Conclusion
As you reach the conclusion of this woodworking journey, take a moment to reflect on the remarkable transformation that has taken place. What began as a collection of raw materials and tools has evolved into a beautifully crafted and functional medicine cabinet, ready to enhance the ambiance of your bathroom while providing valuable storage space.
Throughout the meticulous process of gathering materials, measuring and cutting wood, assembling the cabinet with precision, and adding the finishing touches, you have demonstrated patience, attention to detail, and a genuine passion for woodworking. Each step of the construction journey has been a testament to your dedication and craftsmanship, resulting in a custom medicine cabinet that reflects your unique vision and style.
As you stand back and admire the completed cabinet, take pride in the knowledge that you have not only created a practical storage solution but also infused your personal touch into the very fabric of your home. The cabinet stands as a symbol of your creativity and resourcefulness, serving as a daily reminder of your ability to bring ideas to life through skillful craftsmanship.
Beyond its functional purpose, the custom medicine cabinet embodies the spirit of innovation and the joy of hands-on creation. It stands as a testament to the satisfaction that comes from transforming raw materials into a tangible and useful object, showcasing the beauty of woodworking as both an art form and a practical skill.
As you integrate the medicine cabinet into your bathroom space, envision the convenience it will bring to your daily routine. From neatly organizing toiletries and medications to adding a touch of elegance to the room, the cabinet will serve as a versatile and indispensable element of your home environment.
With the completion of this woodworking project, you have not only gained a valuable addition to your home but also acquired a wealth of knowledge and experience in the art of cabinet making. The skills and insights you have developed throughout this process will undoubtedly serve as a foundation for future woodworking endeavors, empowering you to embark on new projects with confidence and creativity.
In closing, the construction of a custom medicine cabinet represents more than just a practical accomplishment—it embodies the joy of creation, the fulfillment of craftsmanship, and the enduring value of handmade objects in our lives. As you embark on future woodworking endeavors, may the spirit of creativity and the satisfaction of hands-on construction continue to inspire and enrich your journey as a skilled artisan.
Frequently Asked Questions about How To Build A Medicine Cabinet
Was this page helpful?
At Storables.com, we guarantee accurate and reliable information. Our content, validated by Expert Board Contributors, is crafted following stringent Editorial Policies. We're committed to providing you with well-researched, expert-backed insights for all your informational needs.
0 thoughts on “How To Build A Medicine Cabinet”