Home>Furniture & Design>Bathroom Accessories>How To Install A Recessed Medicine Cabinet
Bathroom Accessories
How To Install A Recessed Medicine Cabinet
Modified: October 28, 2024
Learn how to easily install a recessed medicine cabinet in your bathroom. Find the best bathroom accessories and upgrade your space today!
(Many of the links in this article redirect to a specific reviewed product. Your purchase of these products through affiliate links helps to generate commission for Storables.com, at no extra cost. Learn more)
Introduction
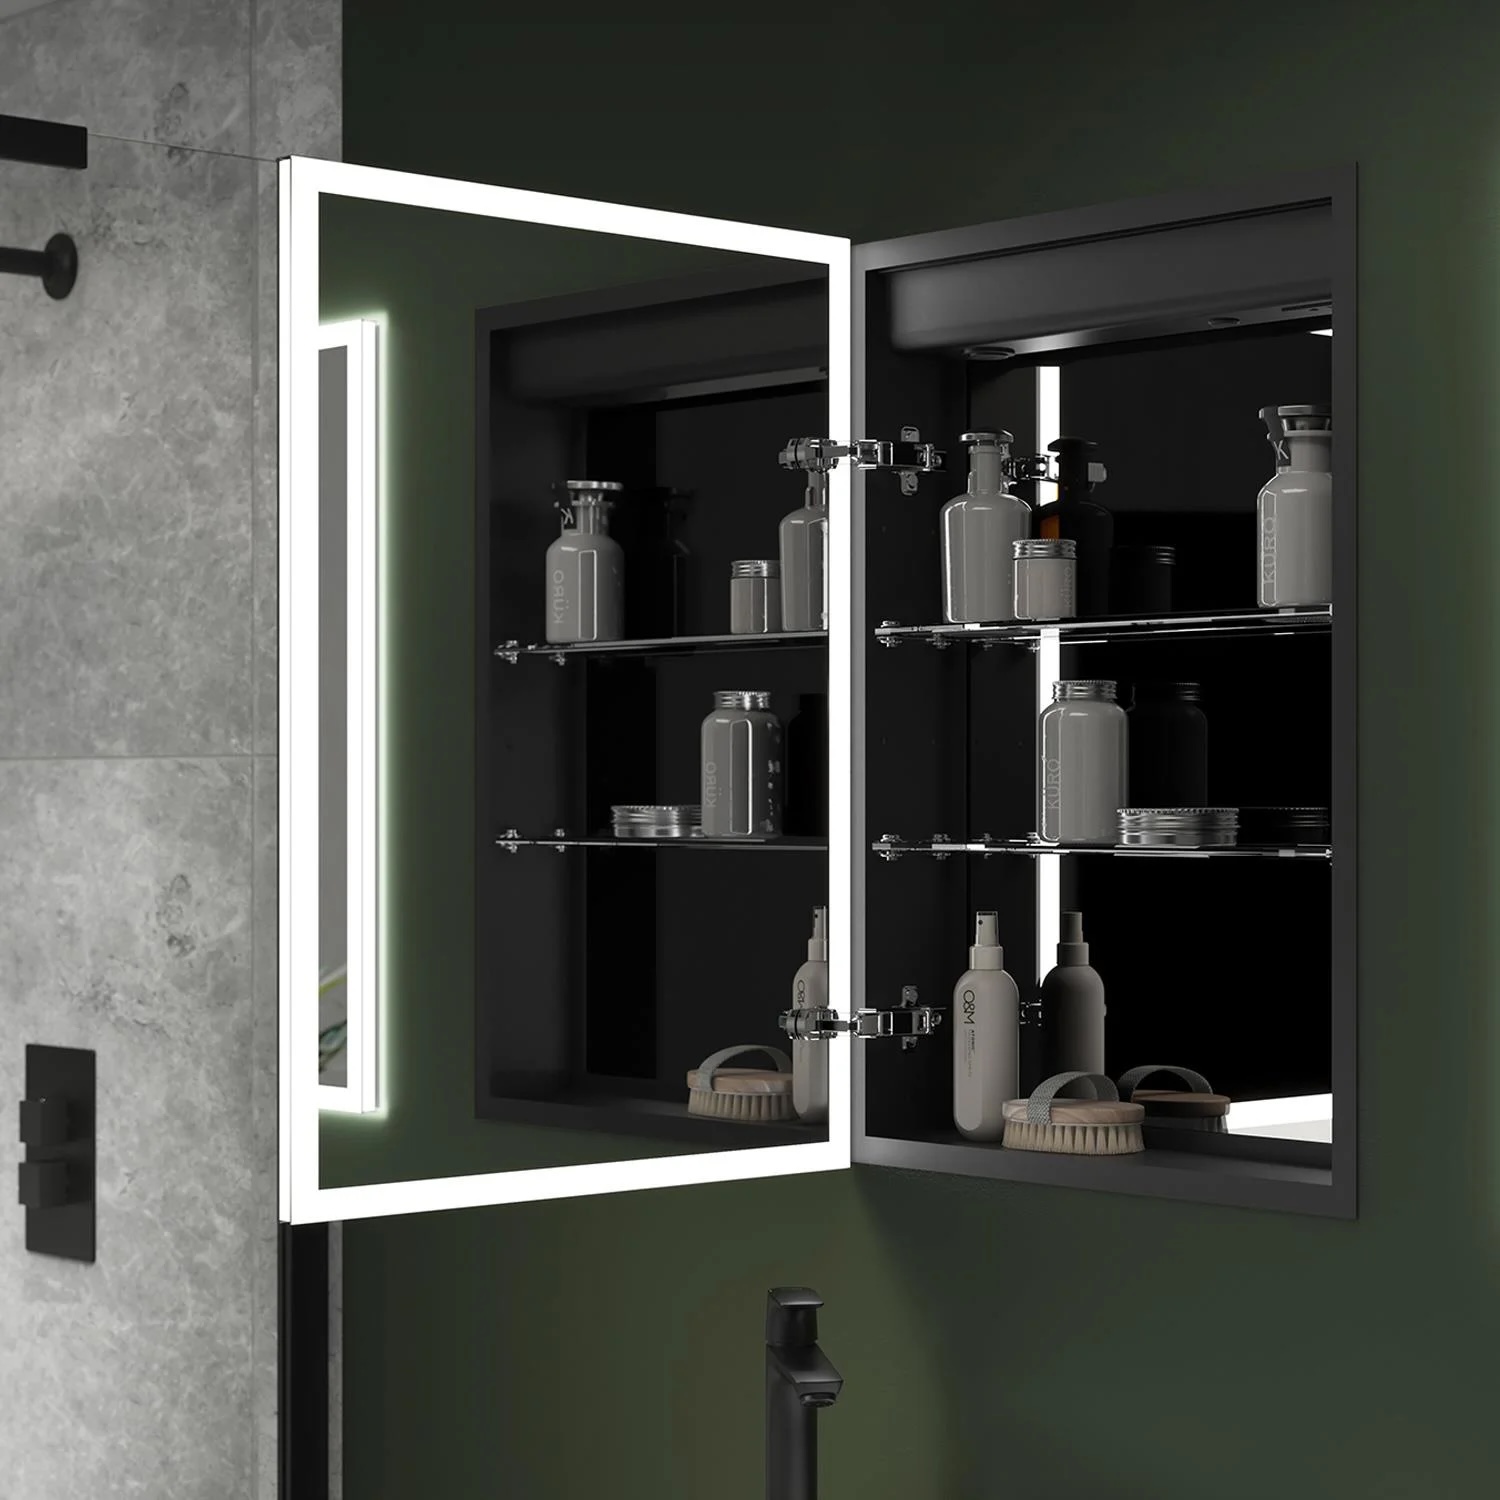
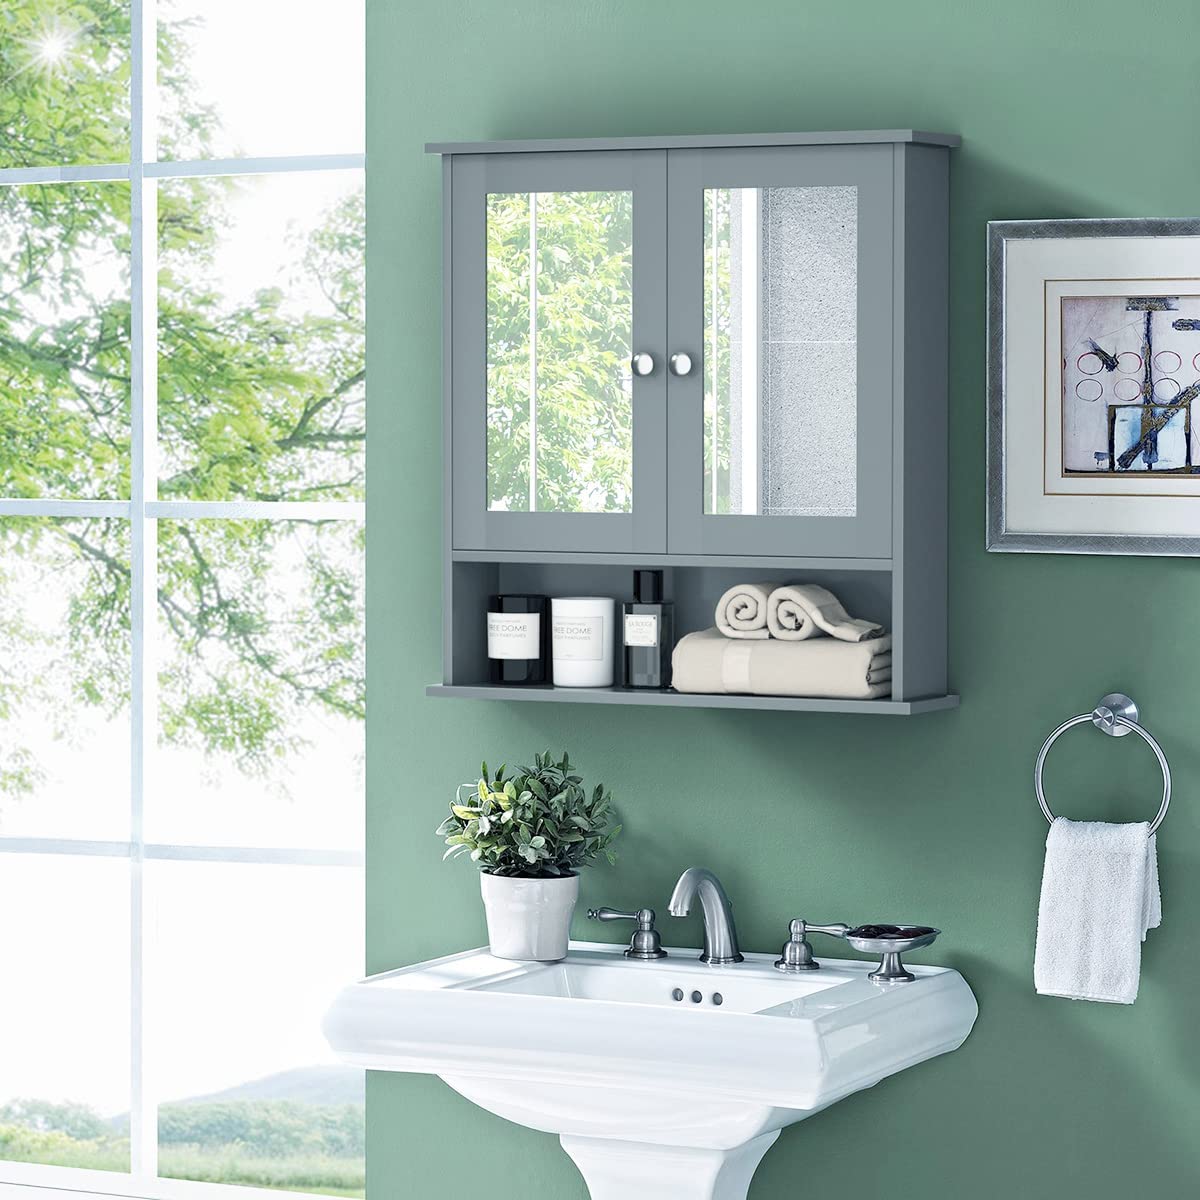
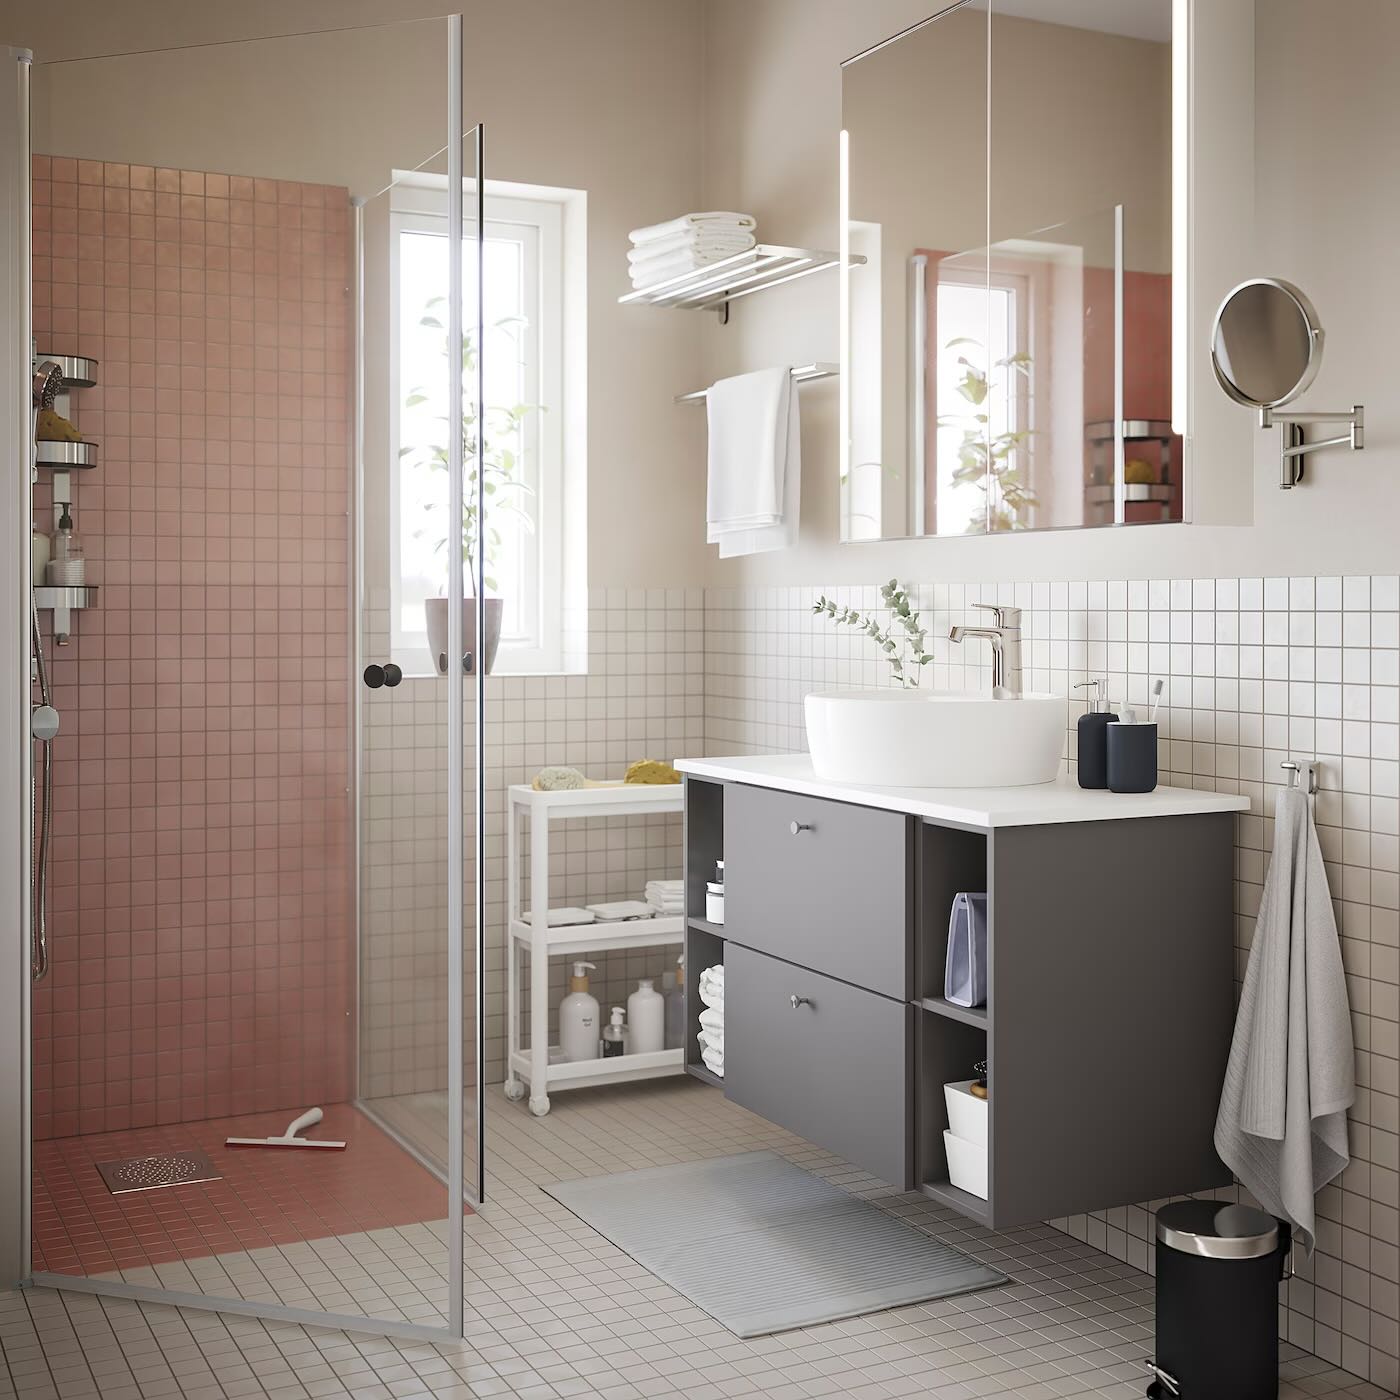
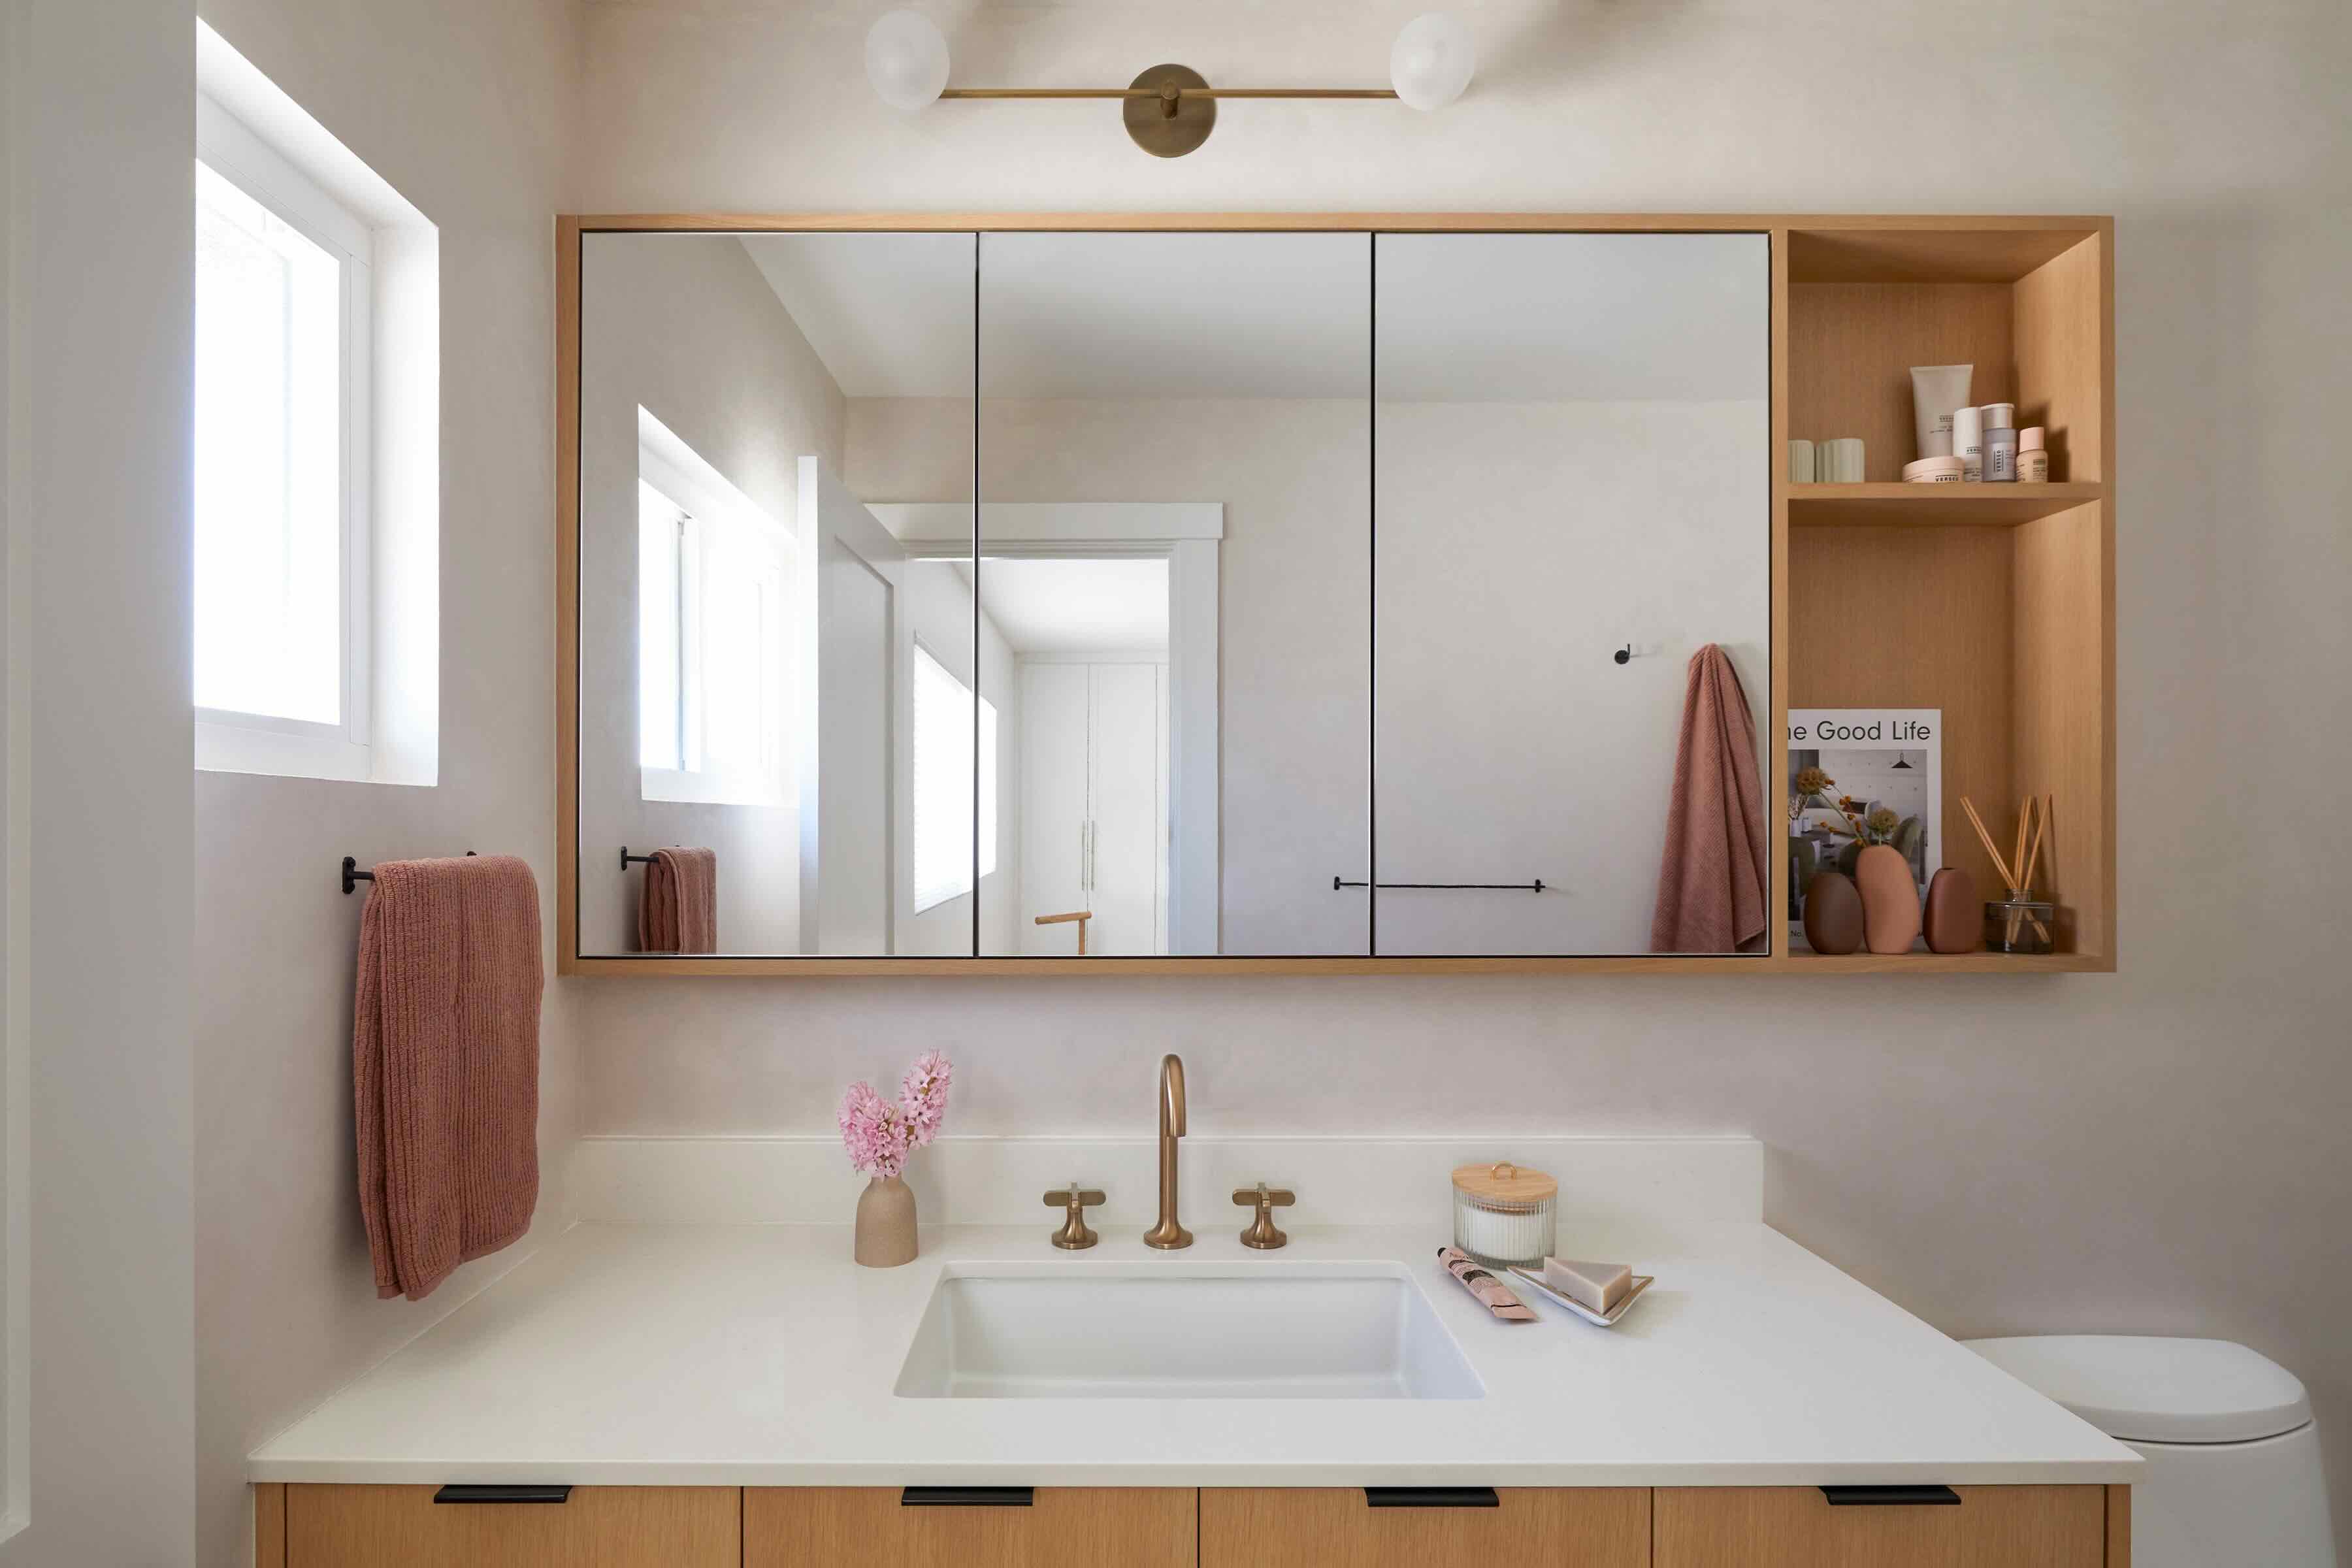
Installing a recessed medicine cabinet is a practical and stylish way to maximize space in your bathroom while adding a touch of sophistication to the decor. This type of cabinet is designed to be mounted between wall studs, creating a seamless and streamlined look that complements any bathroom design. Whether you're renovating your bathroom or simply looking to upgrade your storage solutions, a recessed medicine cabinet offers a sleek and functional option for keeping your toiletries and medications organized and easily accessible.
In this comprehensive guide, we will walk you through the step-by-step process of installing a recessed medicine cabinet, providing you with the knowledge and confidence to tackle this project with ease. From gathering the necessary tools and materials to cutting the opening for the cabinet and securing it in place, each step is crucial to ensuring a successful installation. Additionally, we will cover the installation of shelves and the mirror, completing the transformation of your bathroom space.
By following this guide, you can elevate the functionality and aesthetics of your bathroom, creating a clean and uncluttered environment that enhances your daily routine. Whether you're a seasoned DIY enthusiast or a novice looking to expand your home improvement skills, this guide will equip you with the essential know-how to complete the installation of a recessed medicine cabinet with precision and finesse. So, roll up your sleeves, gather your tools, and let's embark on this rewarding home improvement journey together.
Key Takeaways:
- Elevate your bathroom with a recessed medicine cabinet for stylish storage and organization. Follow the step-by-step guide to install with confidence and precision, maximizing space and adding sophistication to your decor.
- Transform your bathroom with a recessed medicine cabinet, enhancing functionality and aesthetics. From gathering tools to installing shelves and a mirror, this guide equips you for a rewarding home improvement project.
Step 1: Gather Necessary Tools and Materials
Before diving into the installation process, it's essential to gather all the required tools and materials to ensure a smooth and efficient workflow. Here's a comprehensive list of items you'll need to have on hand before beginning the installation of a recessed medicine cabinet:
Tools:
- Stud Finder: This tool is crucial for locating the wall studs where the cabinet will be installed. It helps ensure that the cabinet is securely anchored to the wall for stability.
- Level: A level is essential for ensuring that the cabinet is installed straight and aligned with the surrounding walls, preventing any uneven or crooked placement.
- Measuring Tape: Accurate measurements are key to a successful installation. A measuring tape will help you determine the precise dimensions for cutting the opening and positioning the cabinet.
- Pencil: Marking the wall and outlining the installation area requires a reliable pencil for clear and visible guidelines.
- Drywall Saw or Reciprocating Saw: You'll need a saw for cutting the opening in the wall to accommodate the recessed cabinet. A drywall saw or reciprocating saw is suitable for this task.
- Screwdriver or Drill: Depending on the fasteners provided with the cabinet, you'll need a screwdriver or drill for securing the cabinet frame in place.
- Hammer: A hammer may be necessary for gently tapping the cabinet into position or adjusting the fit during installation.
- Safety Glasses and Gloves: Personal protective equipment, such as safety glasses and gloves, should be worn when handling tools and materials to ensure safety throughout the installation process.
Materials:
- Recessed Medicine Cabinet: Select a high-quality cabinet that fits the dimensions of your desired installation area and complements the style of your bathroom.
- Fasteners: Check the manufacturer's instructions to determine the specific fasteners required for securing the cabinet frame to the wall.
- Shims: These thin, wedge-shaped pieces are used to level and stabilize the cabinet during installation, ensuring a secure and flush fit.
- Wood Shims or Blocking: If the wall studs are not positioned ideally for the cabinet installation, wood shims or blocking may be necessary to provide additional support and stability.
- Construction Adhesive: Depending on the cabinet's design, construction adhesive may be needed to reinforce the attachment of the cabinet frame to the wall.
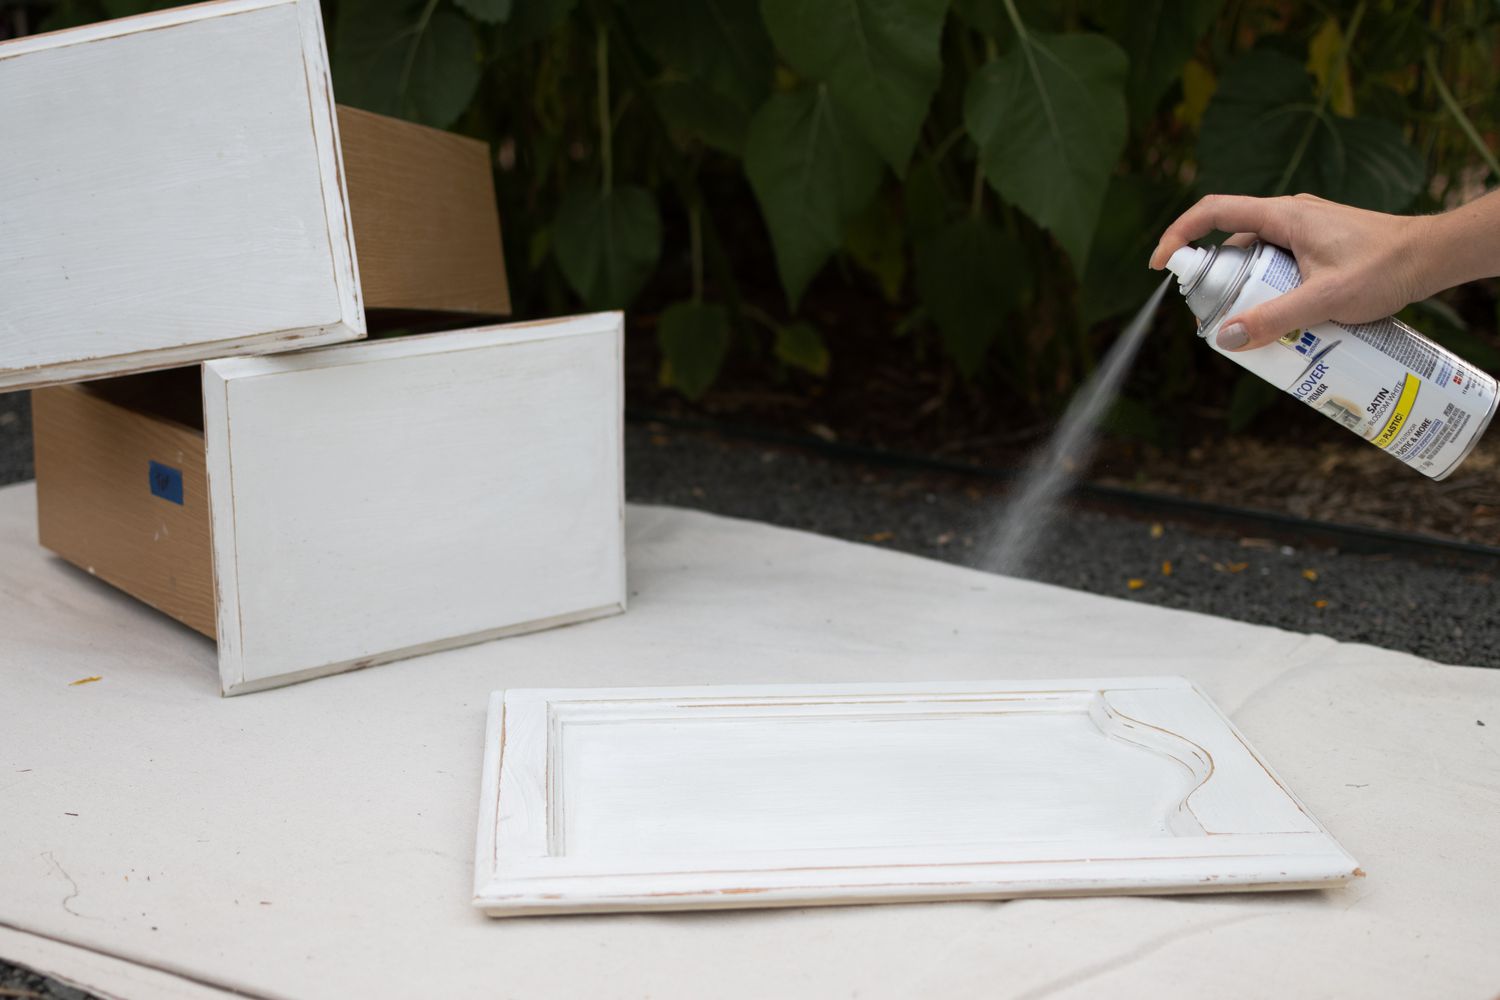
- Paint or Finish: If the cabinet requires painting or finishing, have the appropriate paint or finish on hand to complete the installation with a polished look.
By gathering these essential tools and materials, you'll be well-prepared to embark on the installation of a recessed medicine cabinet, setting the stage for a successful and satisfying home improvement project.
Step 2: Measure and Mark the Installation Area
Before making any cuts or adjustments to the wall, it's crucial to accurately measure and mark the installation area for the recessed medicine cabinet. This step sets the foundation for a precise and seamless installation process, ensuring that the cabinet fits snugly within the designated space.
Start by using a stud finder to locate the position of the wall studs where the cabinet will be installed. Mark the edges of the studs with a pencil, creating clear indicators for the boundaries of the installation area. This step is essential for identifying the structural support within the wall and determining the precise space available for the cabinet.
Next, use a measuring tape to determine the exact dimensions of the installation area, including the width, height, and depth available for the recessed cabinet. Measure the distance between the marked studs to establish the width of the cabinet opening, ensuring that it aligns with the available space and accommodates the dimensions of the selected cabinet.
Once the measurements are confirmed, use a level to ensure that the marked lines are straight and aligned with the surrounding walls. This step is crucial for maintaining a balanced and symmetrical installation, preventing any uneven or crooked positioning of the cabinet within the wall.
After verifying the measurements and alignment, use a pencil to outline the precise opening for the recessed cabinet on the wall. This includes marking the top, bottom, and sides of the intended installation area, creating a clear guide for cutting the opening and positioning the cabinet frame.
By meticulously measuring and marking the installation area, you establish a solid framework for the subsequent steps of the installation process. This attention to detail ensures that the recessed medicine cabinet will seamlessly integrate into the wall, creating a polished and professional finish that enhances the functionality and aesthetics of your bathroom space.
Step 3: Cut the Opening for the Cabinet
With the installation area meticulously measured and marked, the next critical step is to cut the opening in the wall to accommodate the recessed medicine cabinet. This process requires precision and care to ensure that the resulting opening aligns with the designated space and allows for a seamless fit of the cabinet frame.
Begin by double-checking the marked outline of the cabinet opening to confirm its accuracy and alignment with the designated installation area. This step serves as a final verification before making any cuts, ensuring that the dimensions and positioning are in line with the selected cabinet's specifications.
Once the outline is confirmed, it's time to carefully cut along the marked lines to create the opening for the recessed cabinet. Depending on the wall material and personal preference, a drywall saw or reciprocating saw can be used for this task. Exercise caution and precision during the cutting process, following the marked lines closely to achieve clean and accurate edges for the opening.
As you cut through the wall, be mindful of any electrical wiring, plumbing, or other potential obstructions that may be concealed within the wall cavity. Take the necessary precautions to avoid damaging any existing infrastructure while creating the opening for the cabinet. If uncertain about the presence of hidden obstacles, consider consulting a professional to assess the wall's internal structure before proceeding with the cutting process.
Once the opening is carefully cut and the designated space is cleared, verify that the dimensions and shape align with the requirements of the recessed medicine cabinet. Use a level to ensure that the edges of the opening are straight and even, providing a solid foundation for the subsequent installation steps.
By methodically cutting the opening for the cabinet with precision and attention to detail, you pave the way for a seamless integration of the recessed medicine cabinet into the wall. This step sets the stage for the secure and snug placement of the cabinet frame, bringing you one step closer to completing the installation with finesse and confidence.
Step 4: Install the Cabinet Frame
With the opening for the recessed medicine cabinet meticulously cut and prepared, the focus now shifts to installing the cabinet frame with precision and attention to detail. This step is crucial for ensuring that the cabinet is securely anchored within the wall, creating a seamless and polished integration that enhances the functionality and aesthetics of the bathroom space.
Begin by carefully positioning the cabinet frame within the opening, ensuring that it fits snugly and aligns with the surrounding walls. Use a level to verify that the frame is straight and aligned horizontally and vertically, making any necessary adjustments to achieve a balanced and symmetrical placement.
Once the frame is positioned correctly, it's time to secure it in place. Depending on the design of the cabinet and the provided fasteners, use a screwdriver or drill to attach the frame to the wall studs. Follow the manufacturer's instructions for the recommended fastening method, ensuring that the frame is anchored securely for stability and support.
As you fasten the cabinet frame, periodically check the alignment and levelness to maintain a consistent and accurate installation. This step is essential for preventing any misalignment or uneven placement of the frame, ensuring a professional and seamless finish once the installation is complete.
If the wall studs are not ideally positioned for the cabinet frame, use shims or wood blocking to provide additional support and stability. Insert the shims or blocking between the frame and the wall as needed, adjusting the placement to achieve a secure and flush fit. This meticulous attention to detail ensures that the cabinet frame is anchored firmly and evenly, creating a solid foundation for the subsequent installation steps.
Depending on the specific requirements of the cabinet and the wall structure, construction adhesive may be used to reinforce the attachment of the frame to the wall. Apply the adhesive as directed by the manufacturer, ensuring that it enhances the stability and durability of the installation without compromising the integrity of the wall or cabinet.
By methodically installing the cabinet frame with precision and care, you establish a solid and reliable foundation for the recessed medicine cabinet, bringing you one step closer to completing the installation with finesse and confidence.
When installing a recessed medicine cabinet, make sure to measure the space carefully and use a stud finder to locate the wall studs for secure mounting. Always follow the manufacturer’s instructions for proper installation.
Step 5: Secure the Cabinet in Place
With the cabinet frame firmly installed within the wall opening, the next critical step is to secure the recessed medicine cabinet in place, ensuring a stable and reliable attachment that withstands daily use and provides long-term functionality. This phase of the installation process focuses on anchoring the cabinet within the wall cavity, creating a seamless integration that enhances the overall aesthetics and organization of the bathroom space.
Begin by carefully positioning the recessed cabinet within the installed frame, ensuring that it fits snugly and aligns with the surrounding walls. Take precise measurements to verify that the cabinet is centered within the frame and sits flush against the wall, creating a seamless and polished appearance. Use a level to confirm that the cabinet is aligned horizontally and vertically, making any necessary adjustments to achieve a balanced and symmetrical placement.
Once the cabinet is positioned correctly, it's time to secure it within the frame. Depending on the design of the cabinet and the provided fasteners, use a screwdriver or drill to attach the cabinet to the frame and wall studs. Follow the manufacturer's instructions for the recommended fastening method, ensuring that the cabinet is anchored securely for stability and support.
As you fasten the recessed cabinet, periodically check the alignment and levelness to maintain a consistent and accurate installation. This step is crucial for preventing any misalignment or uneven placement of the cabinet, ensuring a professional and seamless finish once the installation is complete.
If the cabinet features adjustable shelves, take this opportunity to position them according to your storage needs. Ensure that the shelves are level and securely in place, providing a functional and organized interior for storing toiletries, medications, and other essentials.
Once the cabinet is securely in place and any adjustable shelves are positioned, take a moment to admire the seamless integration of the recessed medicine cabinet within the wall. The secure attachment and balanced placement of the cabinet reflect the meticulous attention to detail invested in the installation process, culminating in a polished and professional finish that elevates the functionality and aesthetics of the bathroom space.
By methodically securing the recessed cabinet in place with precision and care, you bring the installation process to its final stages, setting the stage for the completion of this rewarding home improvement project.
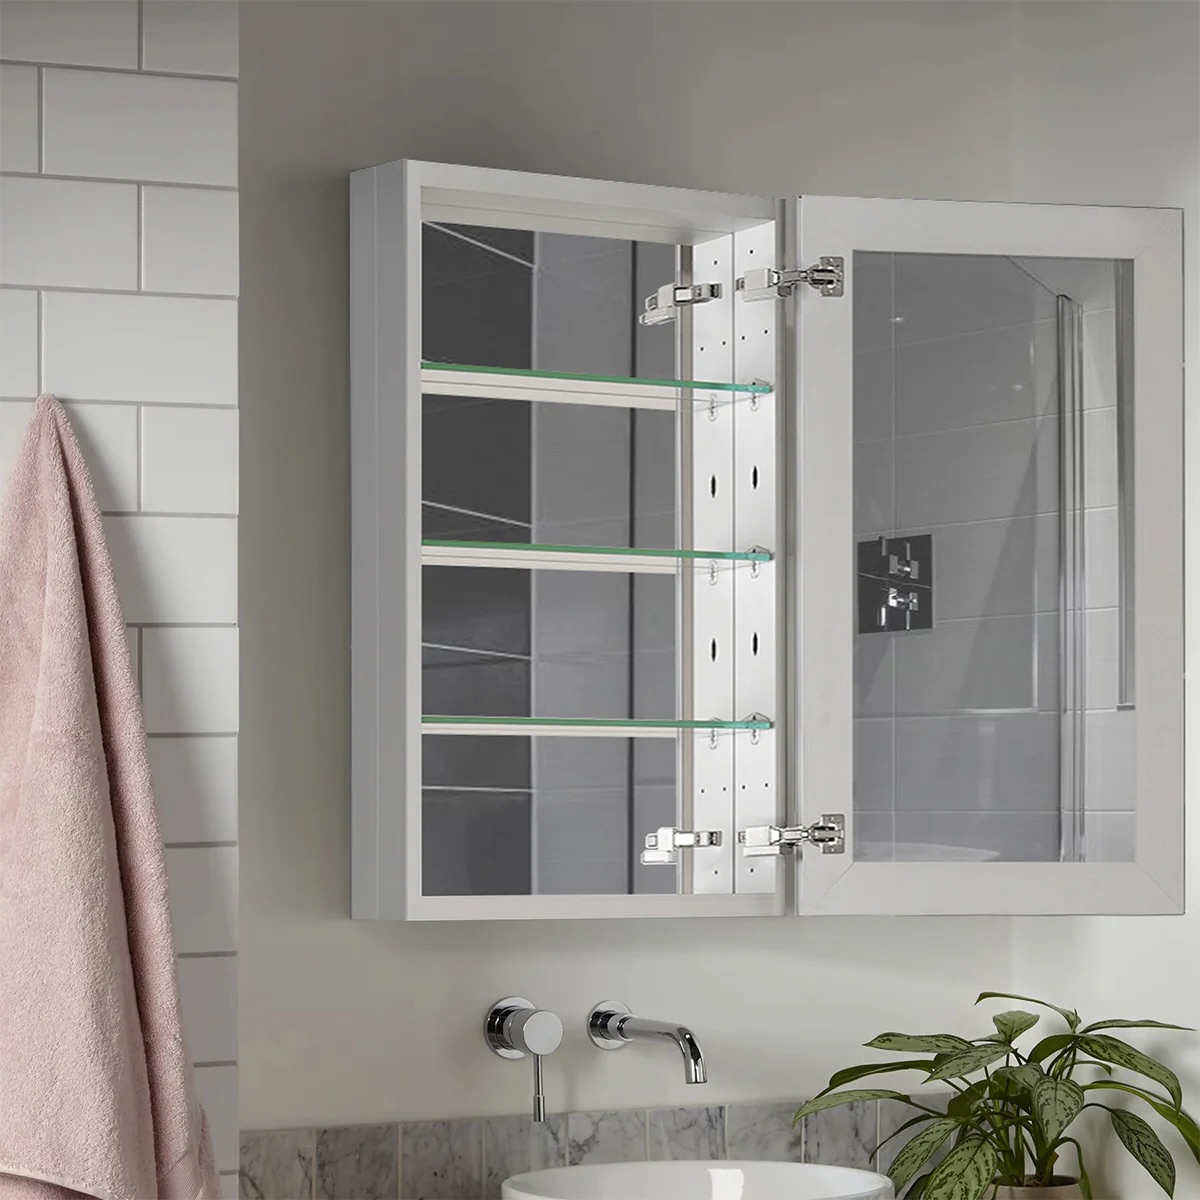
Step 6: Install Shelves and Mirror
With the recessed medicine cabinet securely in place, the final phase of the installation process focuses on adding the functional elements that enhance its utility and convenience. Installing the shelves and mirror completes the transformation, turning the cabinet into a fully equipped storage and grooming solution that elevates the organization and aesthetics of the bathroom space.
Begin by positioning the adjustable shelves within the cabinet, customizing the interior layout to accommodate your specific storage needs. Whether it's toiletries, medications, or personal care essentials, the adjustable shelves offer versatile storage options, allowing you to create a tailored organizational setup that maximizes the cabinet's utility. Ensure that the shelves are level and securely in place, providing a stable and reliable platform for organizing and accessing your bathroom essentials.
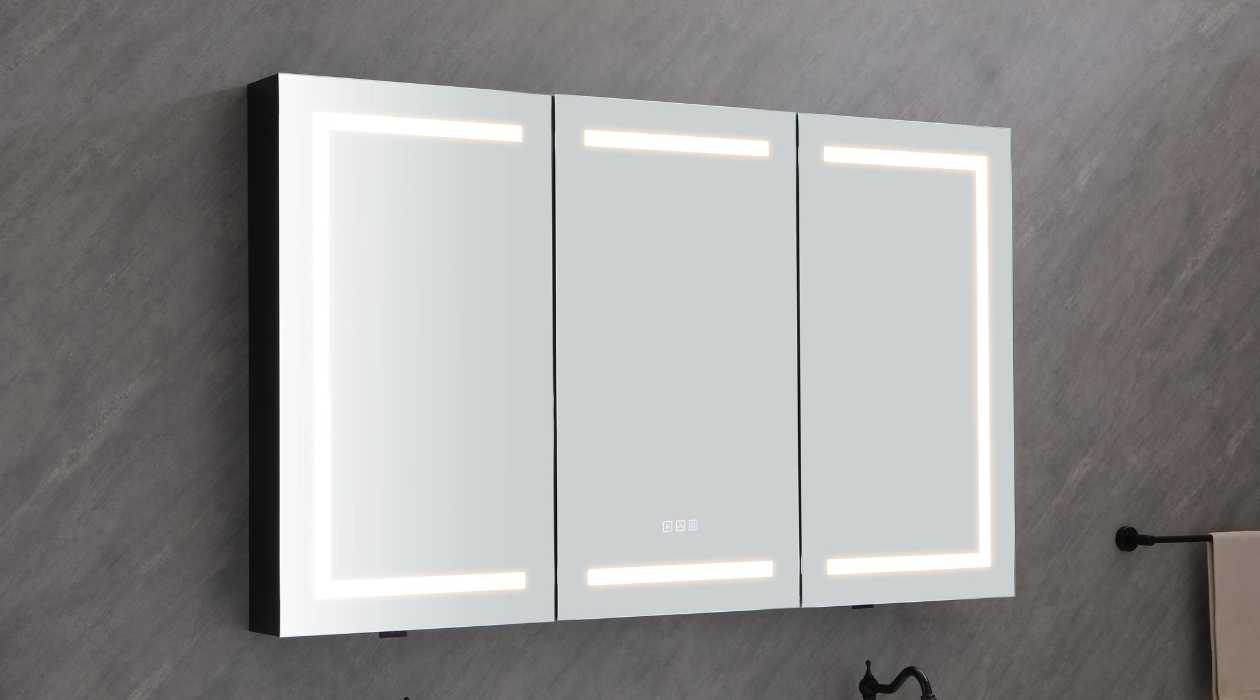
Next, focus on installing the mirror, a key feature that enhances the functionality of the recessed medicine cabinet. Carefully position the mirror within the designated space on the cabinet door, ensuring that it aligns seamlessly with the surrounding frame. Depending on the cabinet design, the mirror may feature pre-installed mounting hardware or require additional fasteners for secure attachment. Follow the manufacturer's instructions to ensure that the mirror is affixed firmly and evenly, creating a polished and professional finish that complements the overall design of the cabinet.
As you install the shelves and mirror, take the time to appreciate the transformation taking place within your bathroom. The addition of the shelves provides versatile storage options, while the mirror enhances the cabinet's functionality, creating a comprehensive and stylish solution for your daily grooming and organizational needs. The seamless integration of these elements within the recessed medicine cabinet reflects the meticulous attention to detail invested in the installation process, culminating in a polished and professional finish that elevates the functionality and aesthetics of the bathroom space.
By methodically installing the shelves and mirror with precision and care, you bring the installation process to its completion, setting the stage for enjoying the enhanced functionality and visual appeal of your newly installed recessed medicine cabinet.
Conclusion
In conclusion, the installation of a recessed medicine cabinet represents a transformative home improvement project that combines practical functionality with sophisticated design. By following the step-by-step guide outlined in this comprehensive installation process, you have gained the essential knowledge and confidence to tackle this rewarding endeavor with precision and finesse.
From gathering the necessary tools and materials to meticulously measuring and marking the installation area, each step has been crucial in laying the groundwork for a successful installation. The careful cutting of the opening for the cabinet and the precise installation of the cabinet frame have set the stage for a seamless integration within the wall, reflecting the meticulous attention to detail invested in the process.
As the recessed medicine cabinet is securely anchored in place, the addition of adjustable shelves and a mirror completes the transformation, turning the cabinet into a fully equipped storage and grooming solution that elevates the organization and aesthetics of the bathroom space. The versatile storage options provided by the shelves and the enhanced functionality offered by the mirror reflect the comprehensive utility of the installed cabinet.
The completion of this installation not only enhances the functionality and organization of your bathroom but also adds a touch of sophistication to the overall decor. The seamless integration of the recessed medicine cabinet within the wall creates a clean and uncluttered environment, elevating the visual appeal of the space while maximizing storage efficiency.
As you stand back and admire the finished installation, take pride in the meticulous craftsmanship and attention to detail that have culminated in a polished and professional finish. The successful installation of a recessed medicine cabinet represents a significant achievement in enhancing the functionality and aesthetics of your home, reflecting your dedication to creating a comfortable and stylish living environment.
With the installation process now complete, you can look forward to enjoying the practical benefits and visual appeal of your newly installed recessed medicine cabinet. Whether it's organizing toiletries, accessing medications, or grooming with ease, the installed cabinet stands as a testament to your commitment to elevating the functionality and aesthetics of your living space.
Congratulations on completing this rewarding home improvement project, and may your newly installed recessed medicine cabinet bring both practical utility and refined elegance to your daily routine.
Frequently Asked Questions about How To Install A Recessed Medicine Cabinet
Was this page helpful?
At Storables.com, we guarantee accurate and reliable information. Our content, validated by Expert Board Contributors, is crafted following stringent Editorial Policies. We're committed to providing you with well-researched, expert-backed insights for all your informational needs.


0 thoughts on “How To Install A Recessed Medicine Cabinet”