Home>Furniture & Design>Bathroom Accessories>How To Replace A Medicine Cabinet
Bathroom Accessories
How To Replace A Medicine Cabinet
Modified: February 18, 2024
Learn how to easily replace a medicine cabinet in your bathroom with our step-by-step guide. Upgrade your bathroom accessories today!
(Many of the links in this article redirect to a specific reviewed product. Your purchase of these products through affiliate links helps to generate commission for Storables.com, at no extra cost. Learn more)
Introduction
Replacing a medicine cabinet can breathe new life into your bathroom, transforming its functionality and aesthetics. Whether you're upgrading to a larger cabinet or simply seeking a fresh look, this project offers a great opportunity to revitalize your space. By following a few simple steps, you can seamlessly swap out your old medicine cabinet for a new one, enhancing both the style and storage capacity of your bathroom.
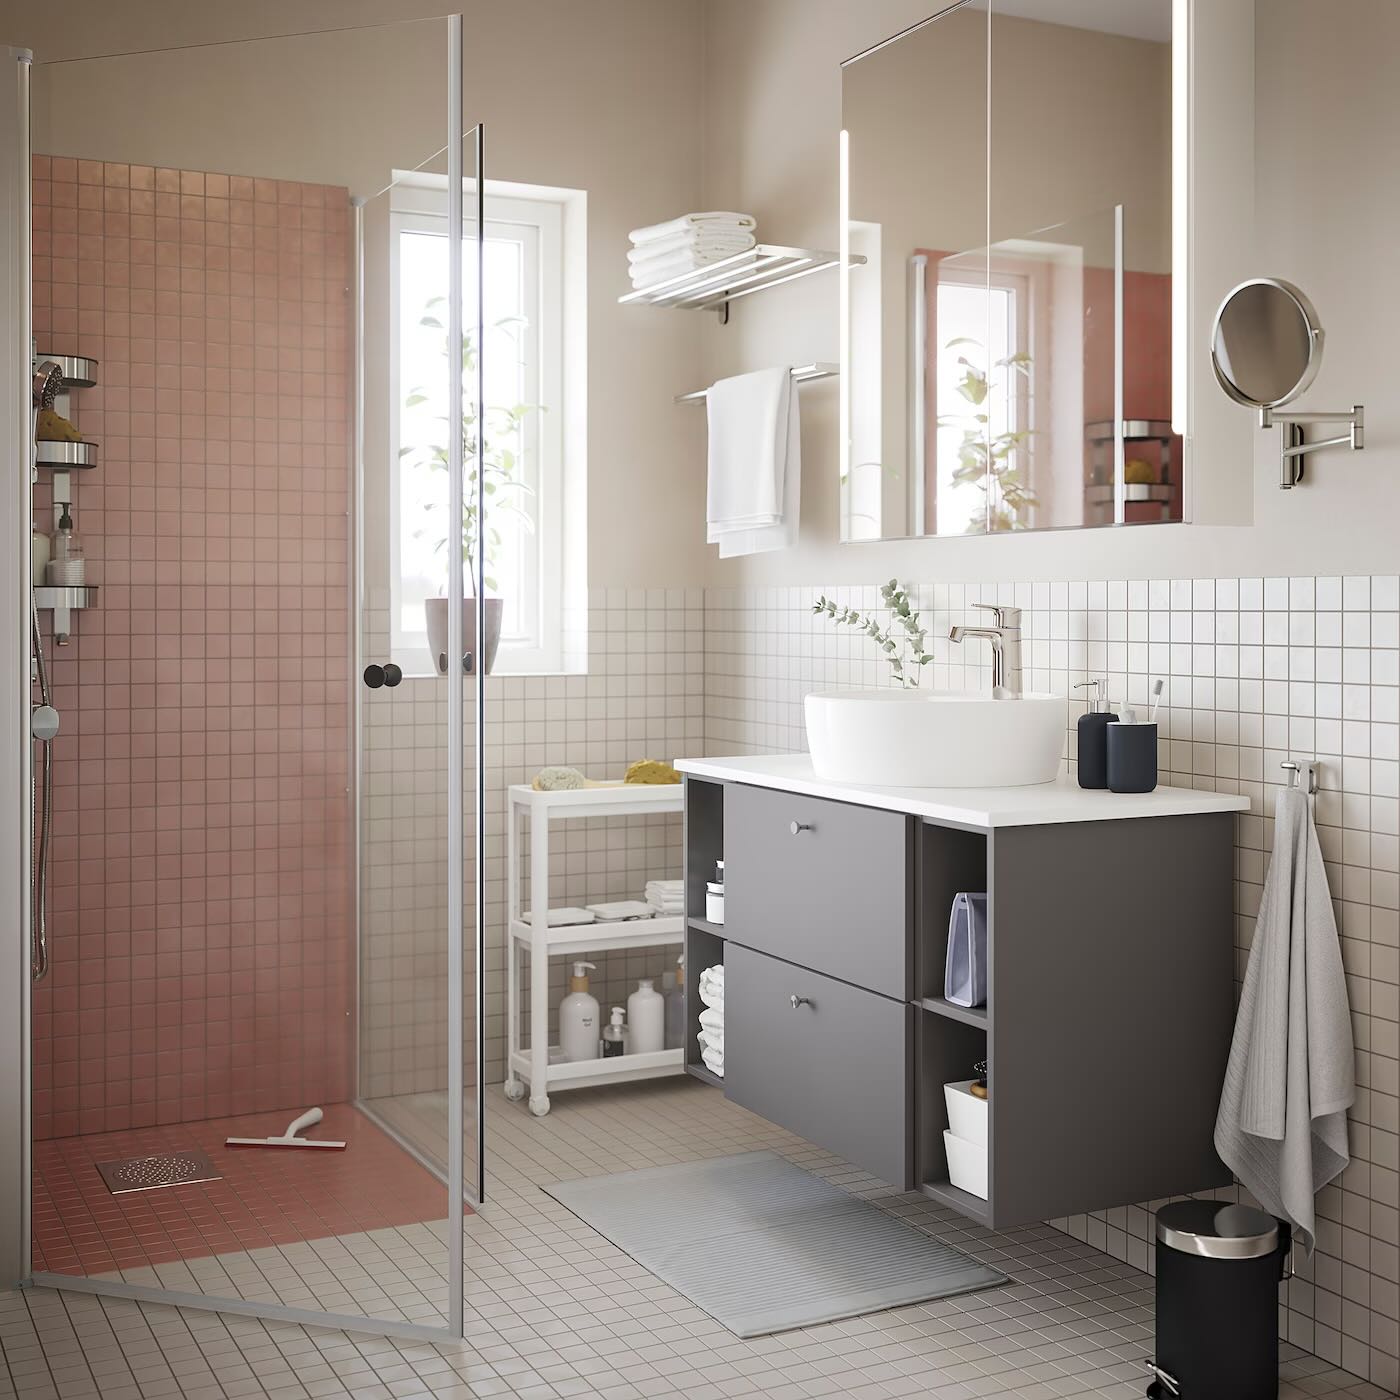
A medicine cabinet serves as a practical storage solution for toiletries, medications, and other essentials, while also contributing to the overall design of the room. As a focal point in many bathrooms, the cabinet's appearance can significantly impact the ambiance and functionality of the space. Therefore, replacing it presents an exciting chance to introduce a new element that aligns with your personal style and meets your storage needs.
Before embarking on this project, it's essential to gather the necessary tools and materials, ensuring that you have everything on hand to complete the installation efficiently. With the right equipment and a clear plan in place, you can navigate each step with confidence, ultimately achieving a professional and polished result.
In the following sections, we will guide you through the process of replacing a medicine cabinet, from removing the old unit to installing the new one and adding the finishing touches. By following these steps, you can elevate the functionality and visual appeal of your bathroom, creating a space that reflects your unique taste and meets your practical requirements. Let's dive into the details and embark on this transformative journey to upgrade your bathroom with a brand-new medicine cabinet.
Key Takeaways:
- Transform your bathroom by replacing a medicine cabinet, enhancing both functionality and style. Follow the step-by-step guide for a seamless and polished outcome.
- Gather tools, remove the old cabinet, prepare the wall, install the new cabinet, and add finishing touches for a refreshed and harmonious bathroom space.
Read more: How To Replace Medicine Cabinet
Step 1: Gather necessary tools and materials
Before beginning the process of replacing a medicine cabinet, it's crucial to gather all the essential tools and materials. By ensuring that you have everything you need at the outset, you can streamline the installation process and minimize interruptions. Here's a comprehensive list of the items you'll need:
Tools:
- Screwdriver: Both flat-head and Phillips-head screwdrivers may be required to remove the old cabinet and install the new one.
- Utility Knife: This tool will come in handy for cutting through caulk and other sealants during the removal process.
- Level: Ensuring that the new cabinet is installed perfectly straight is essential for a professional and polished look.
- Stud Finder: To locate the wall studs, which are crucial for securely mounting the new cabinet.
- Measuring Tape: Accurate measurements are vital for positioning the new cabinet correctly and aligning it with other elements in the bathroom.
- Pencil: To mark the wall for drilling and mounting the new cabinet.
Materials:
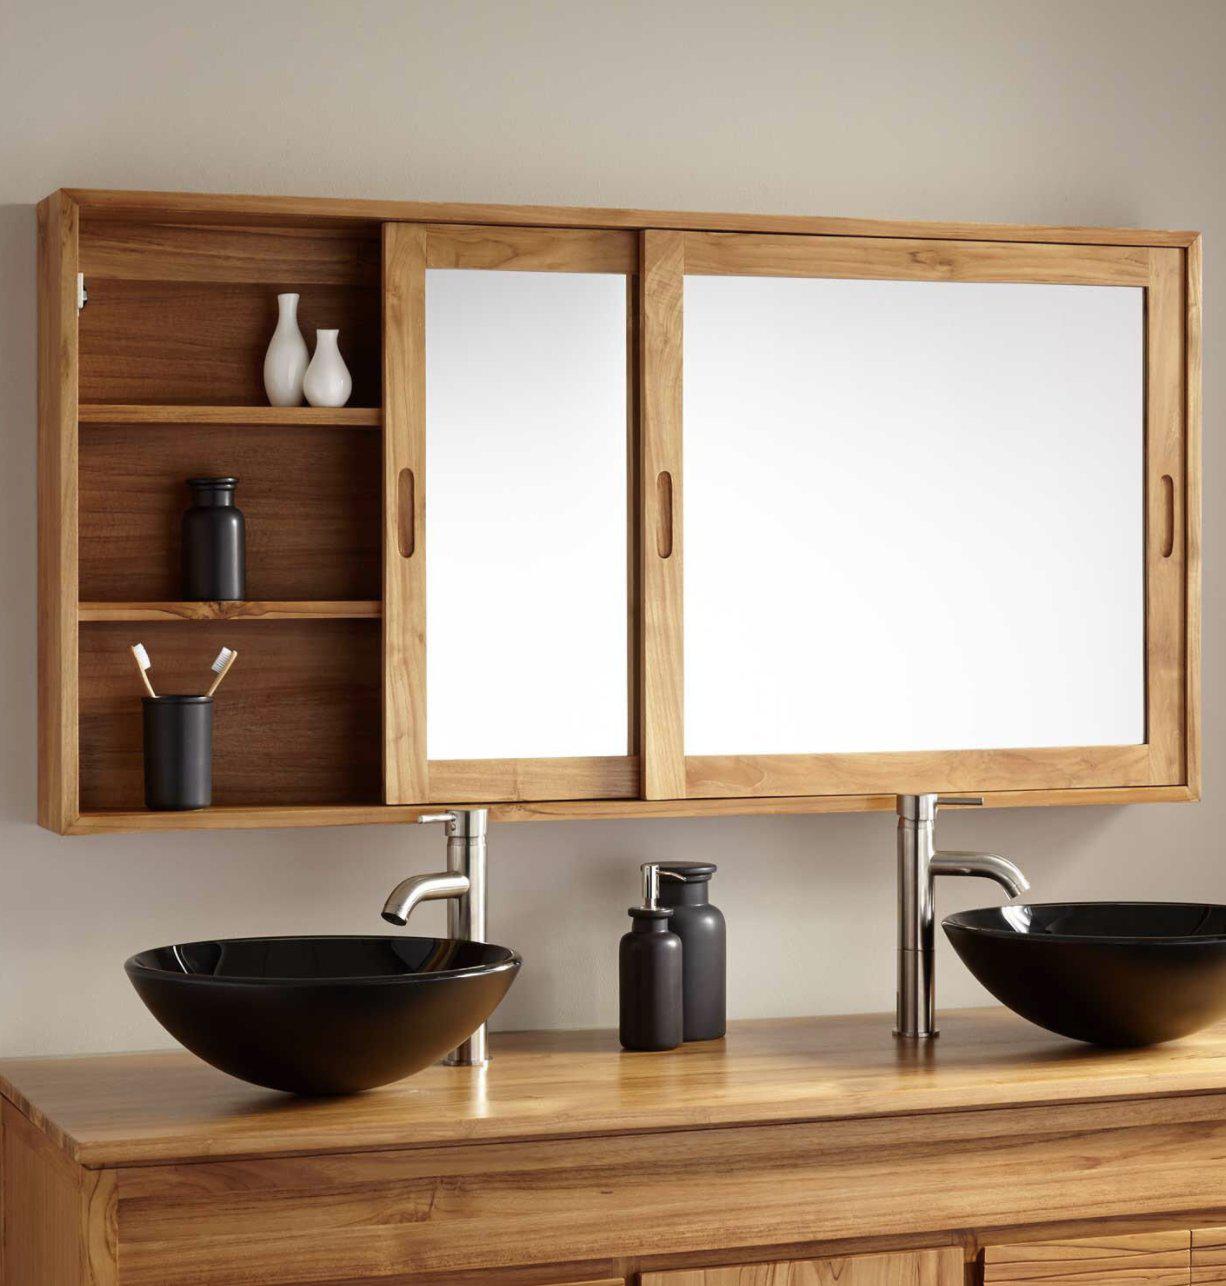
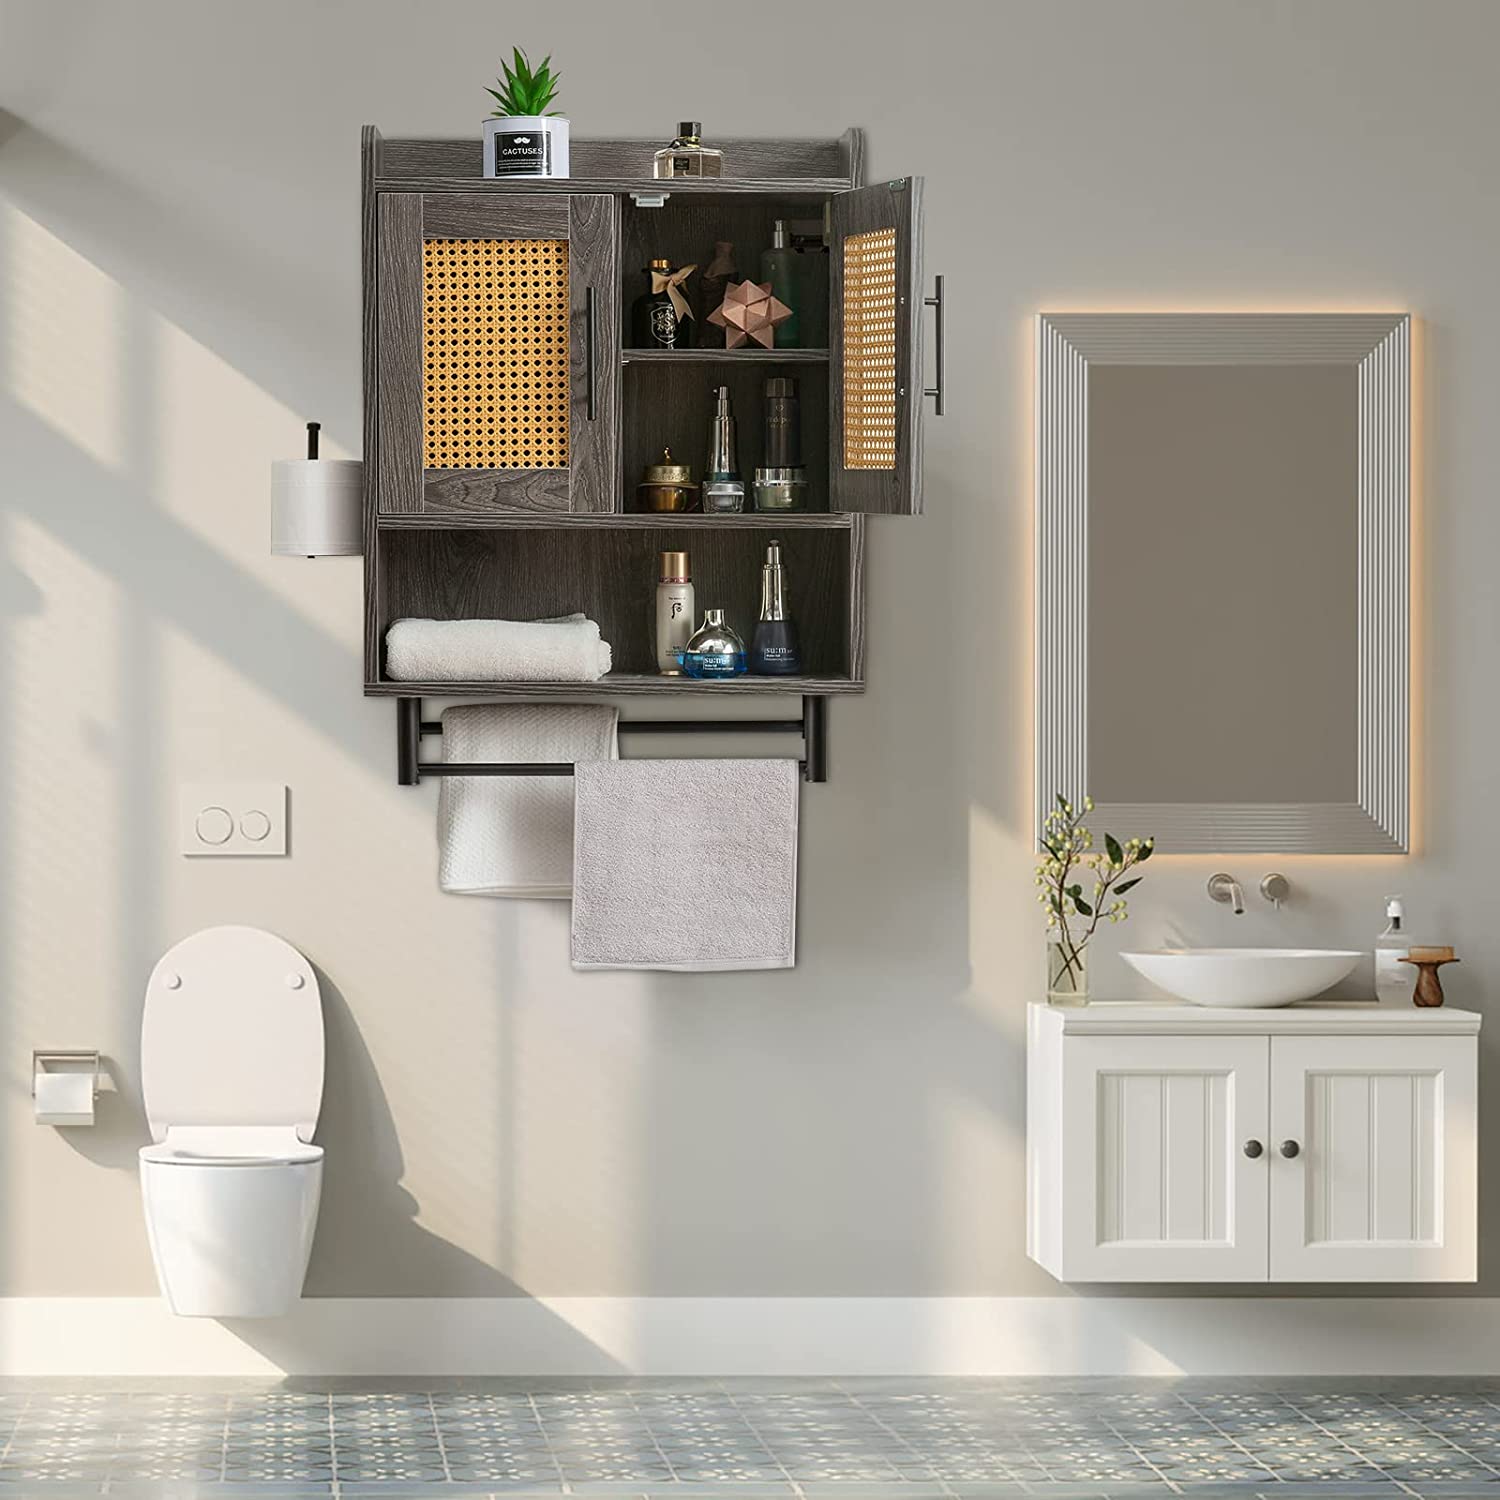
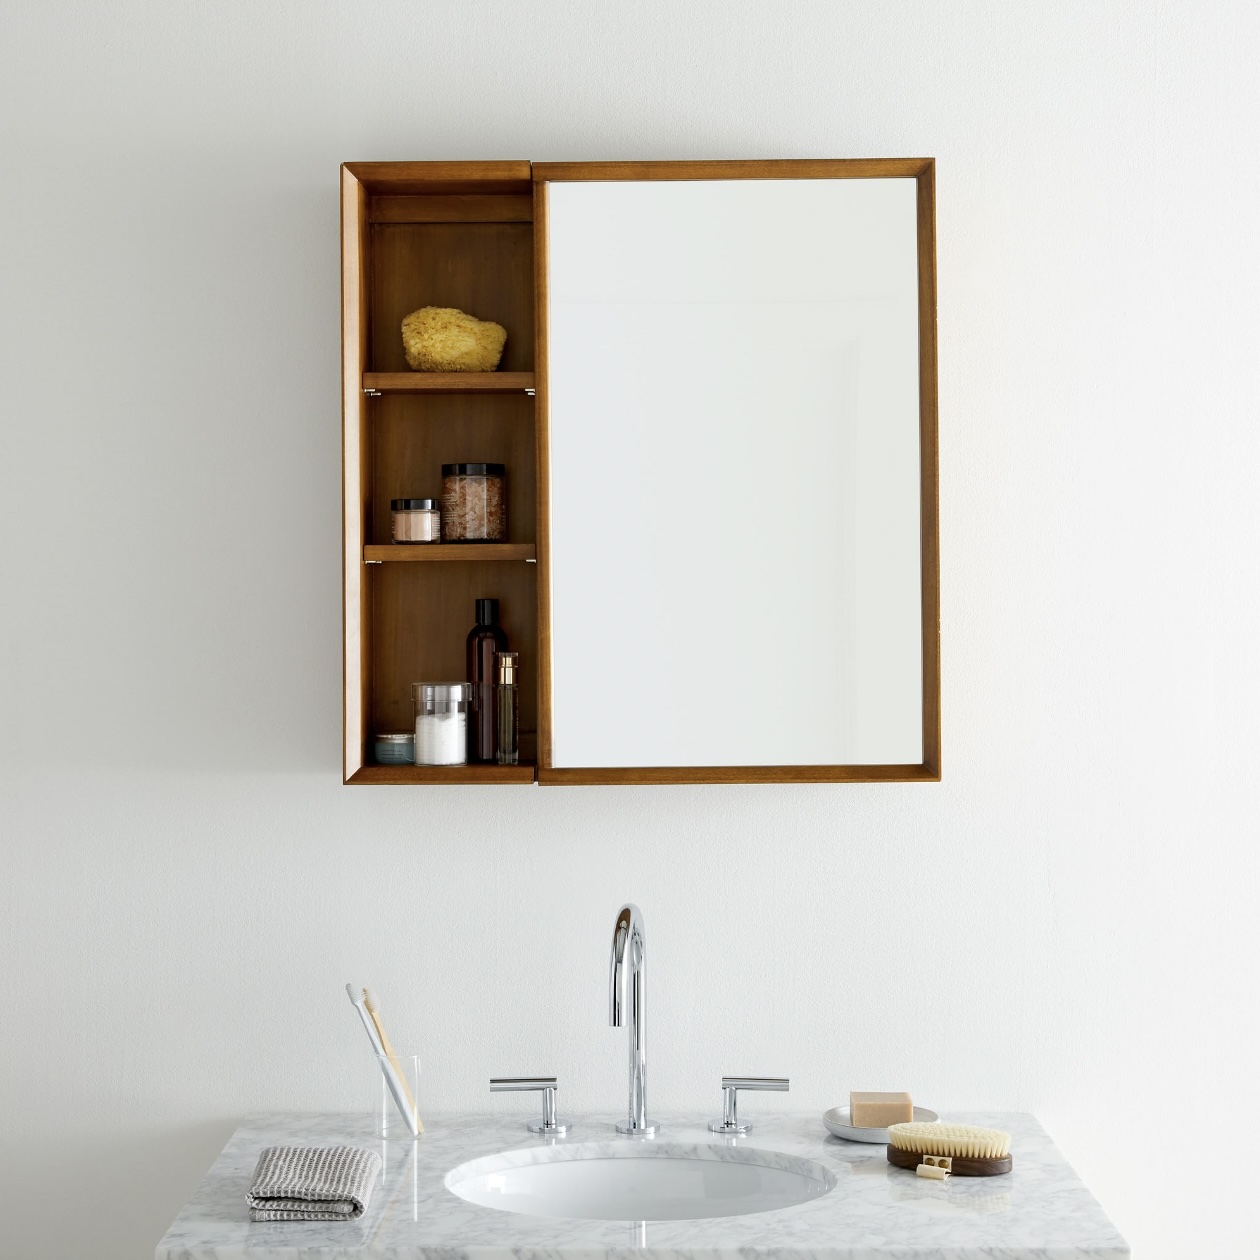
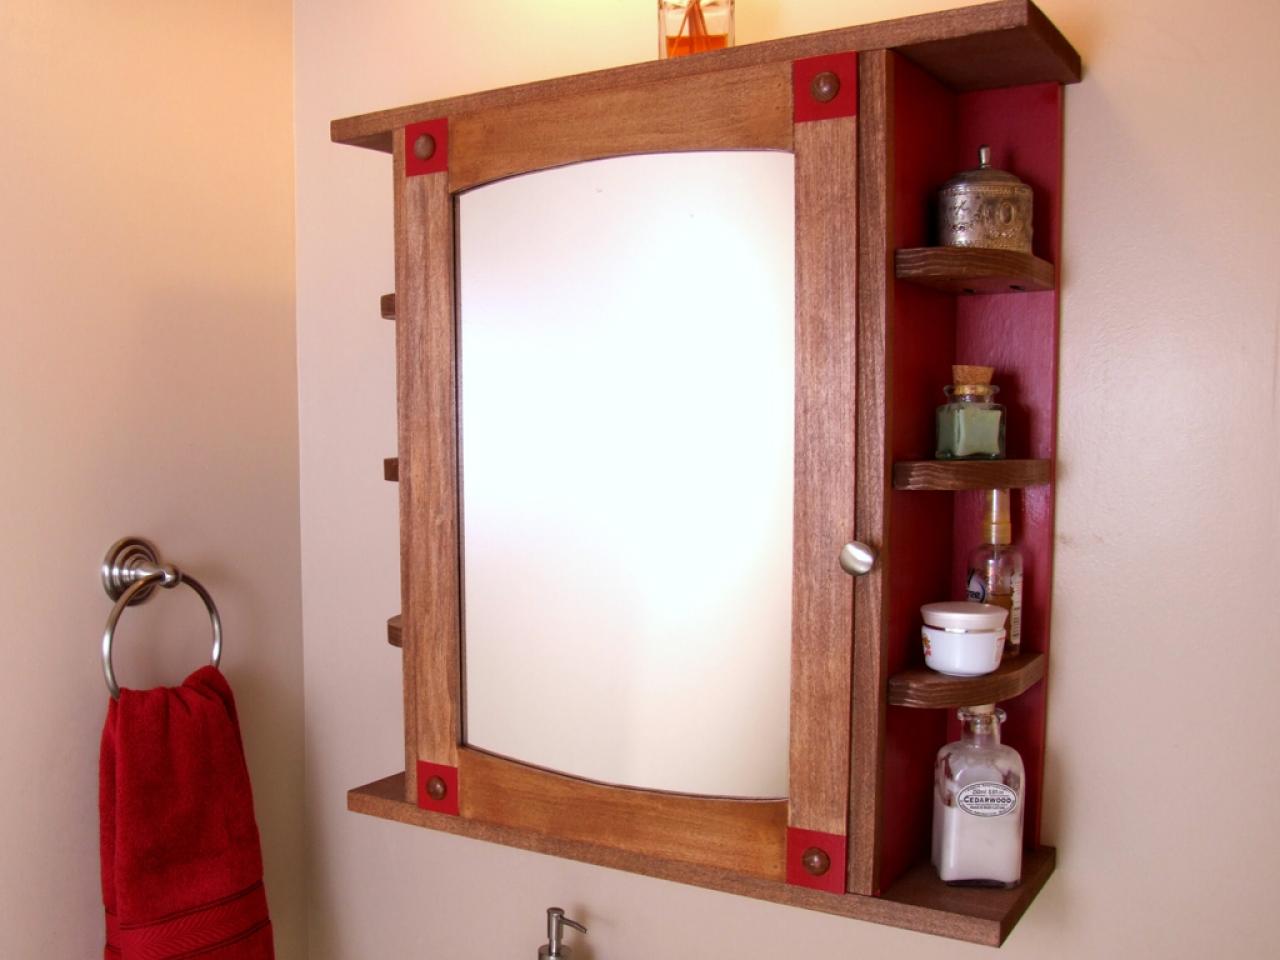
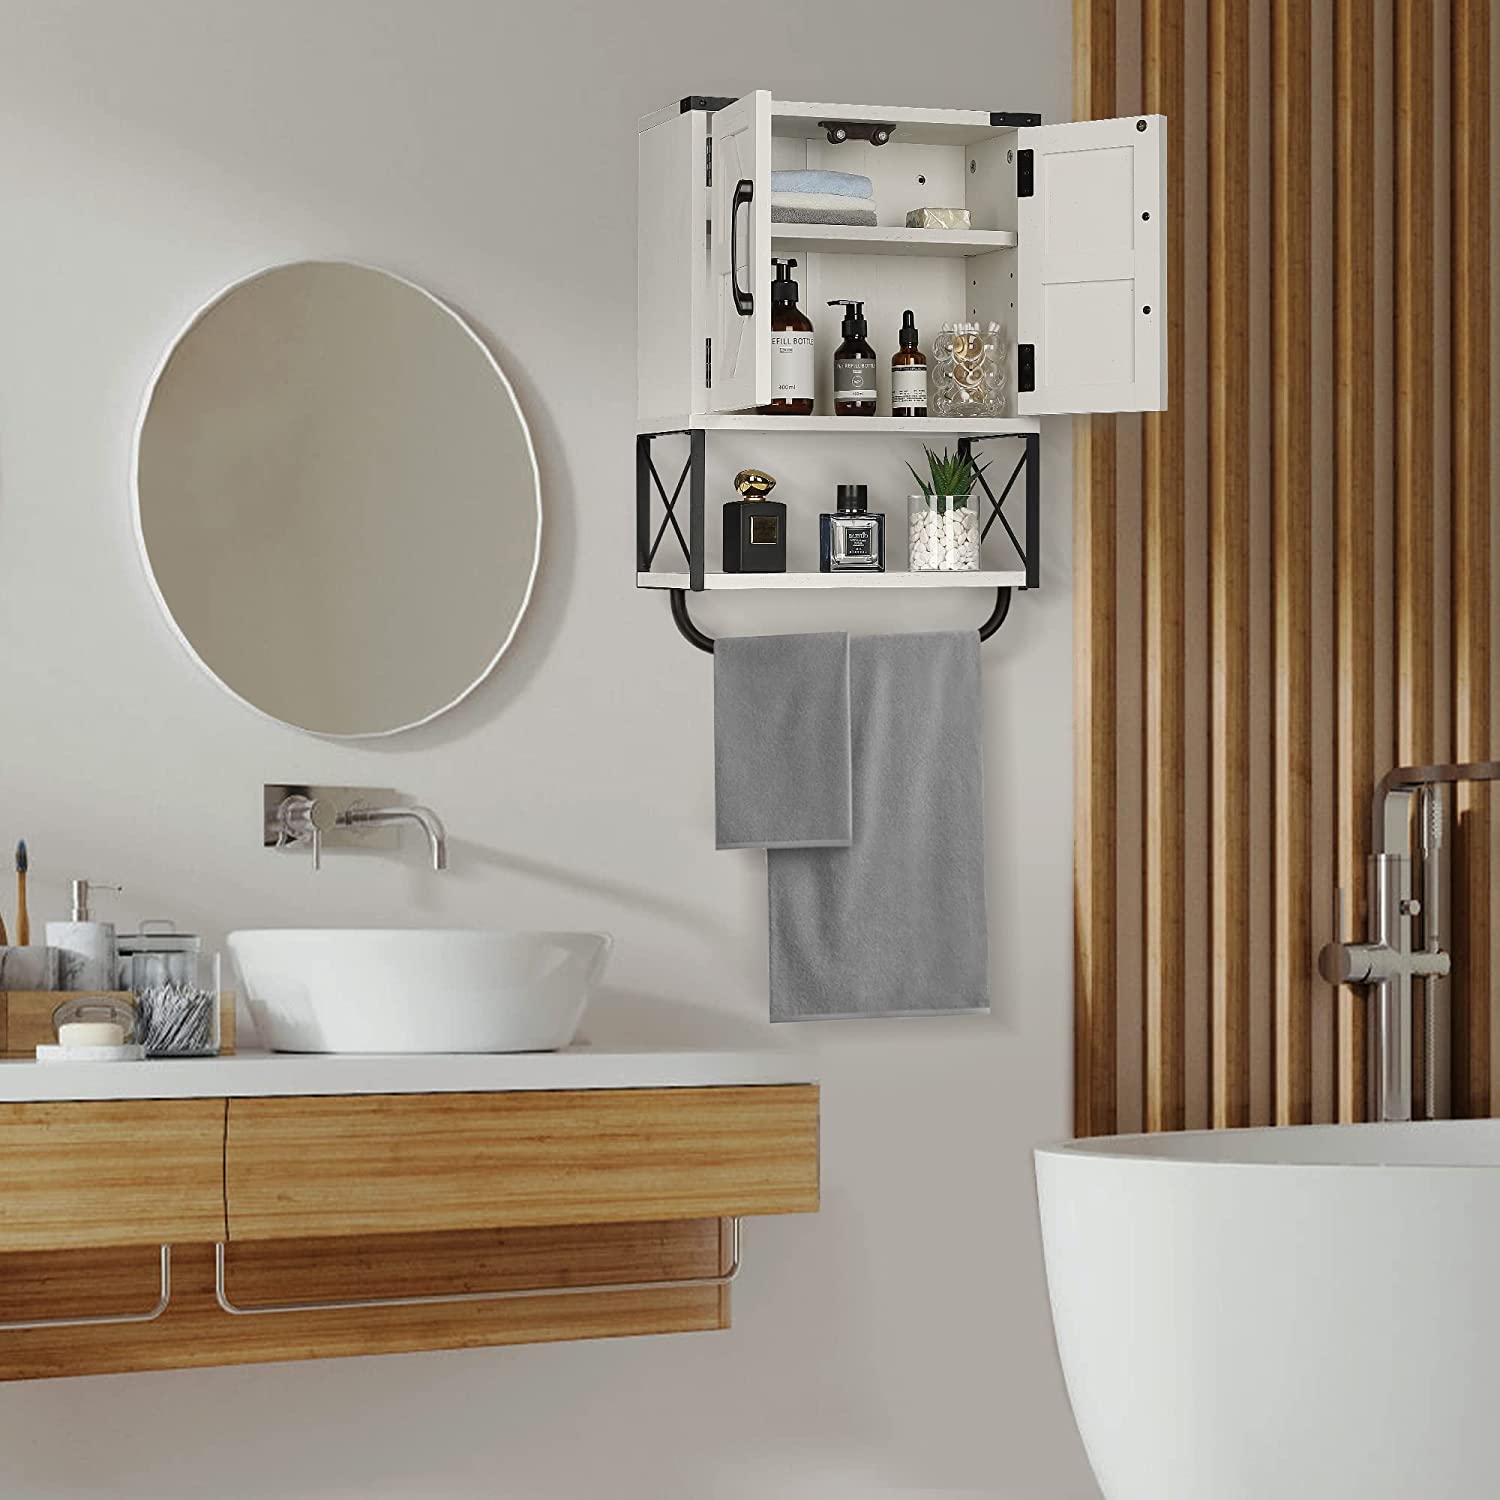
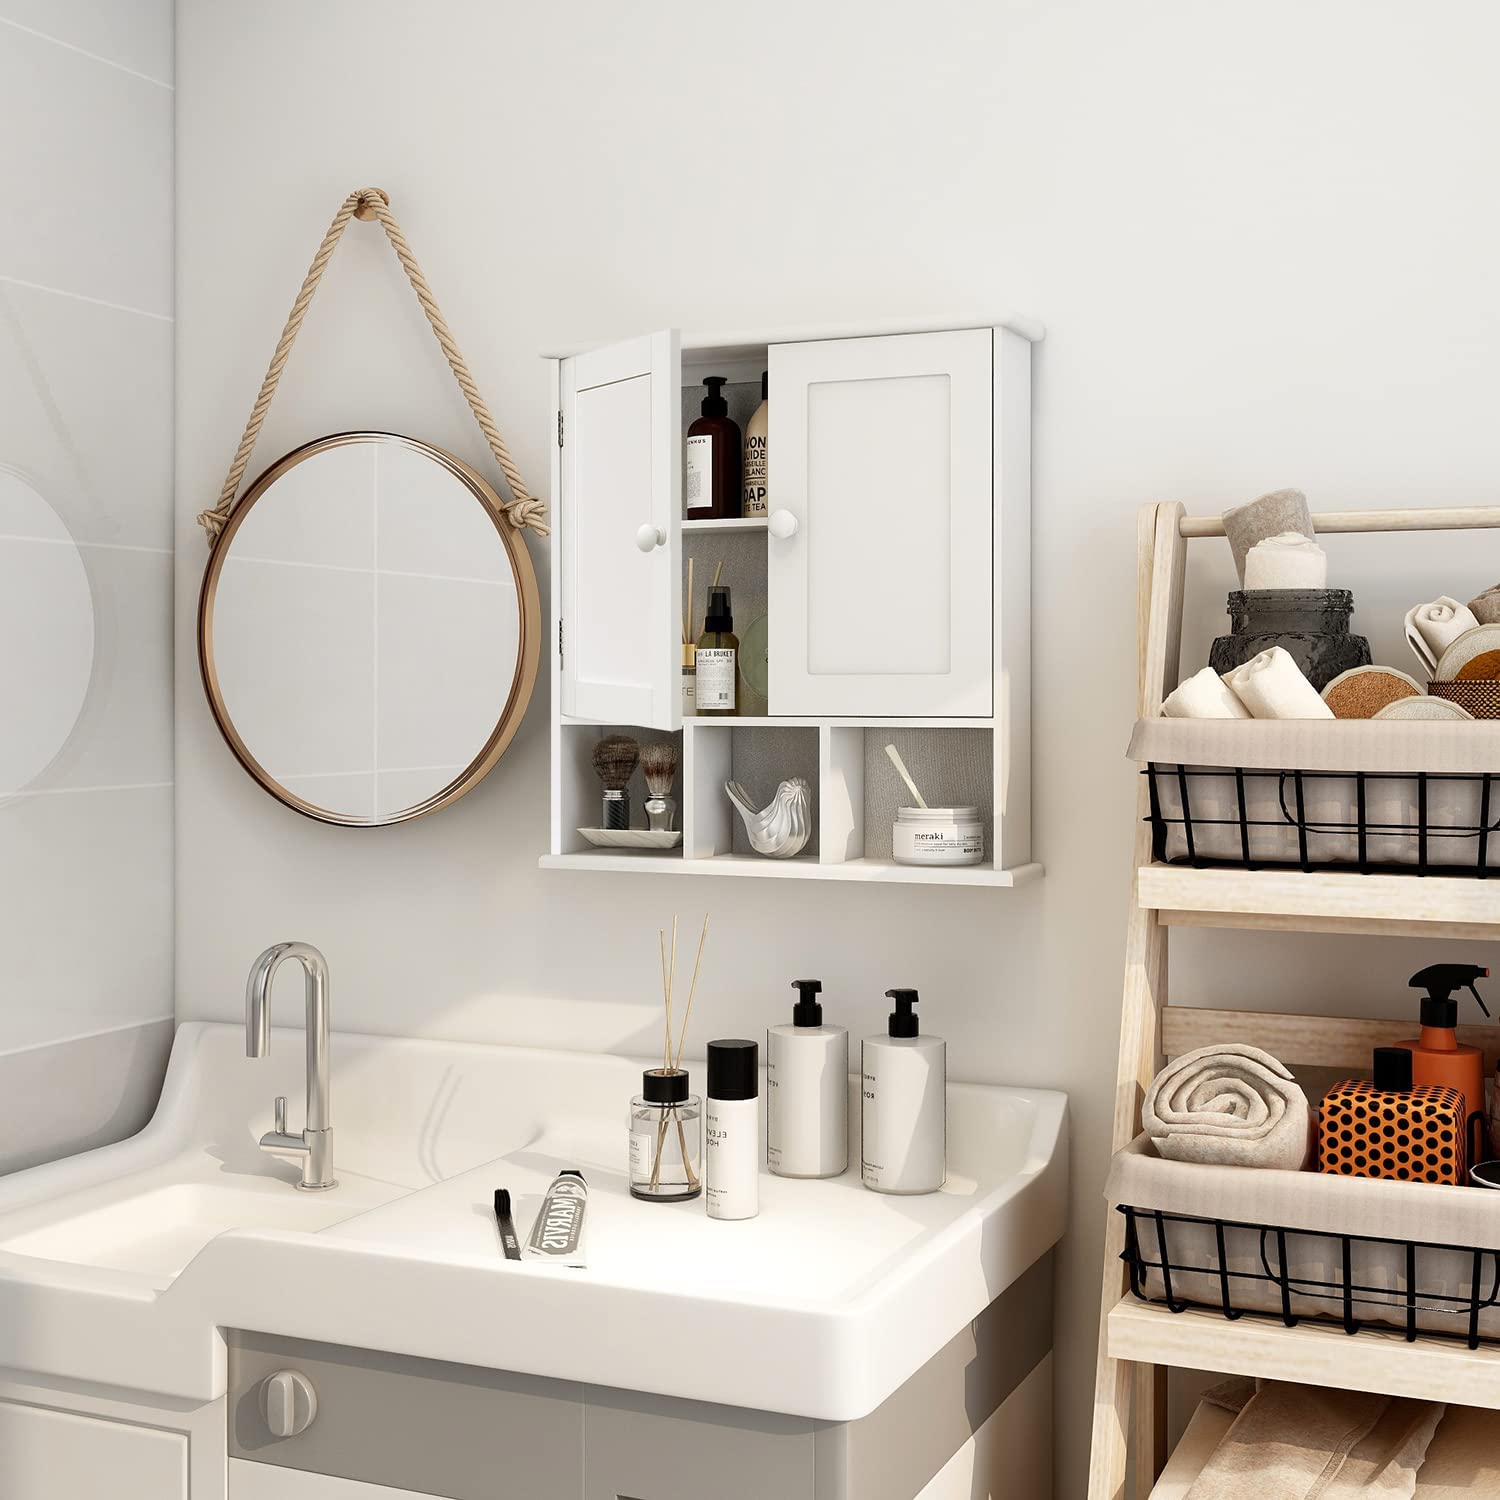
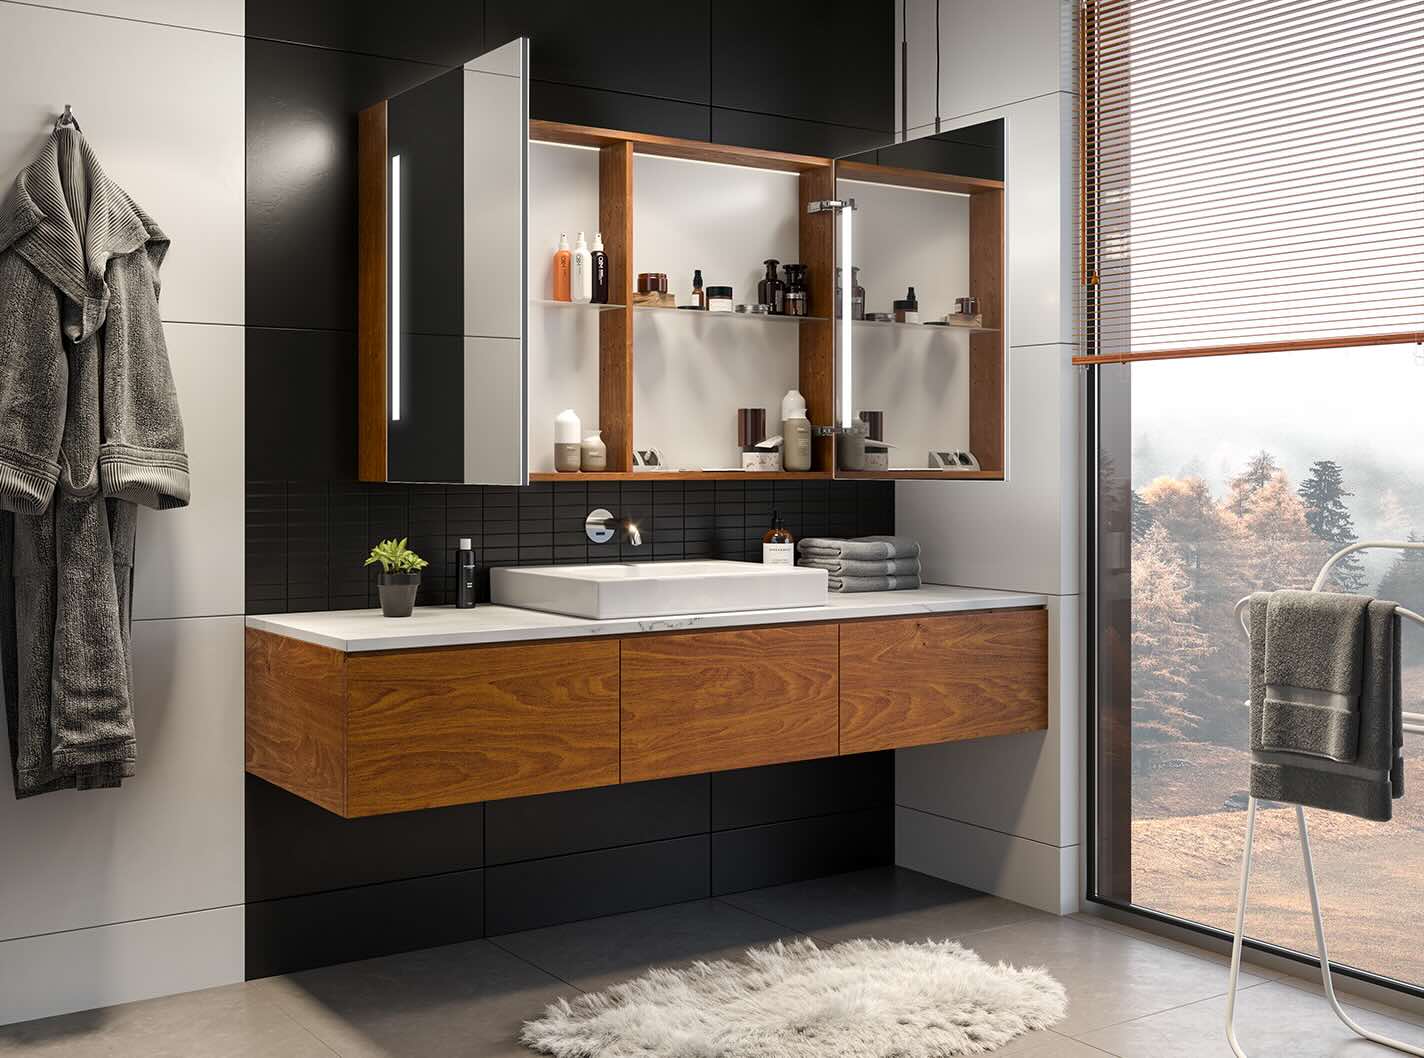
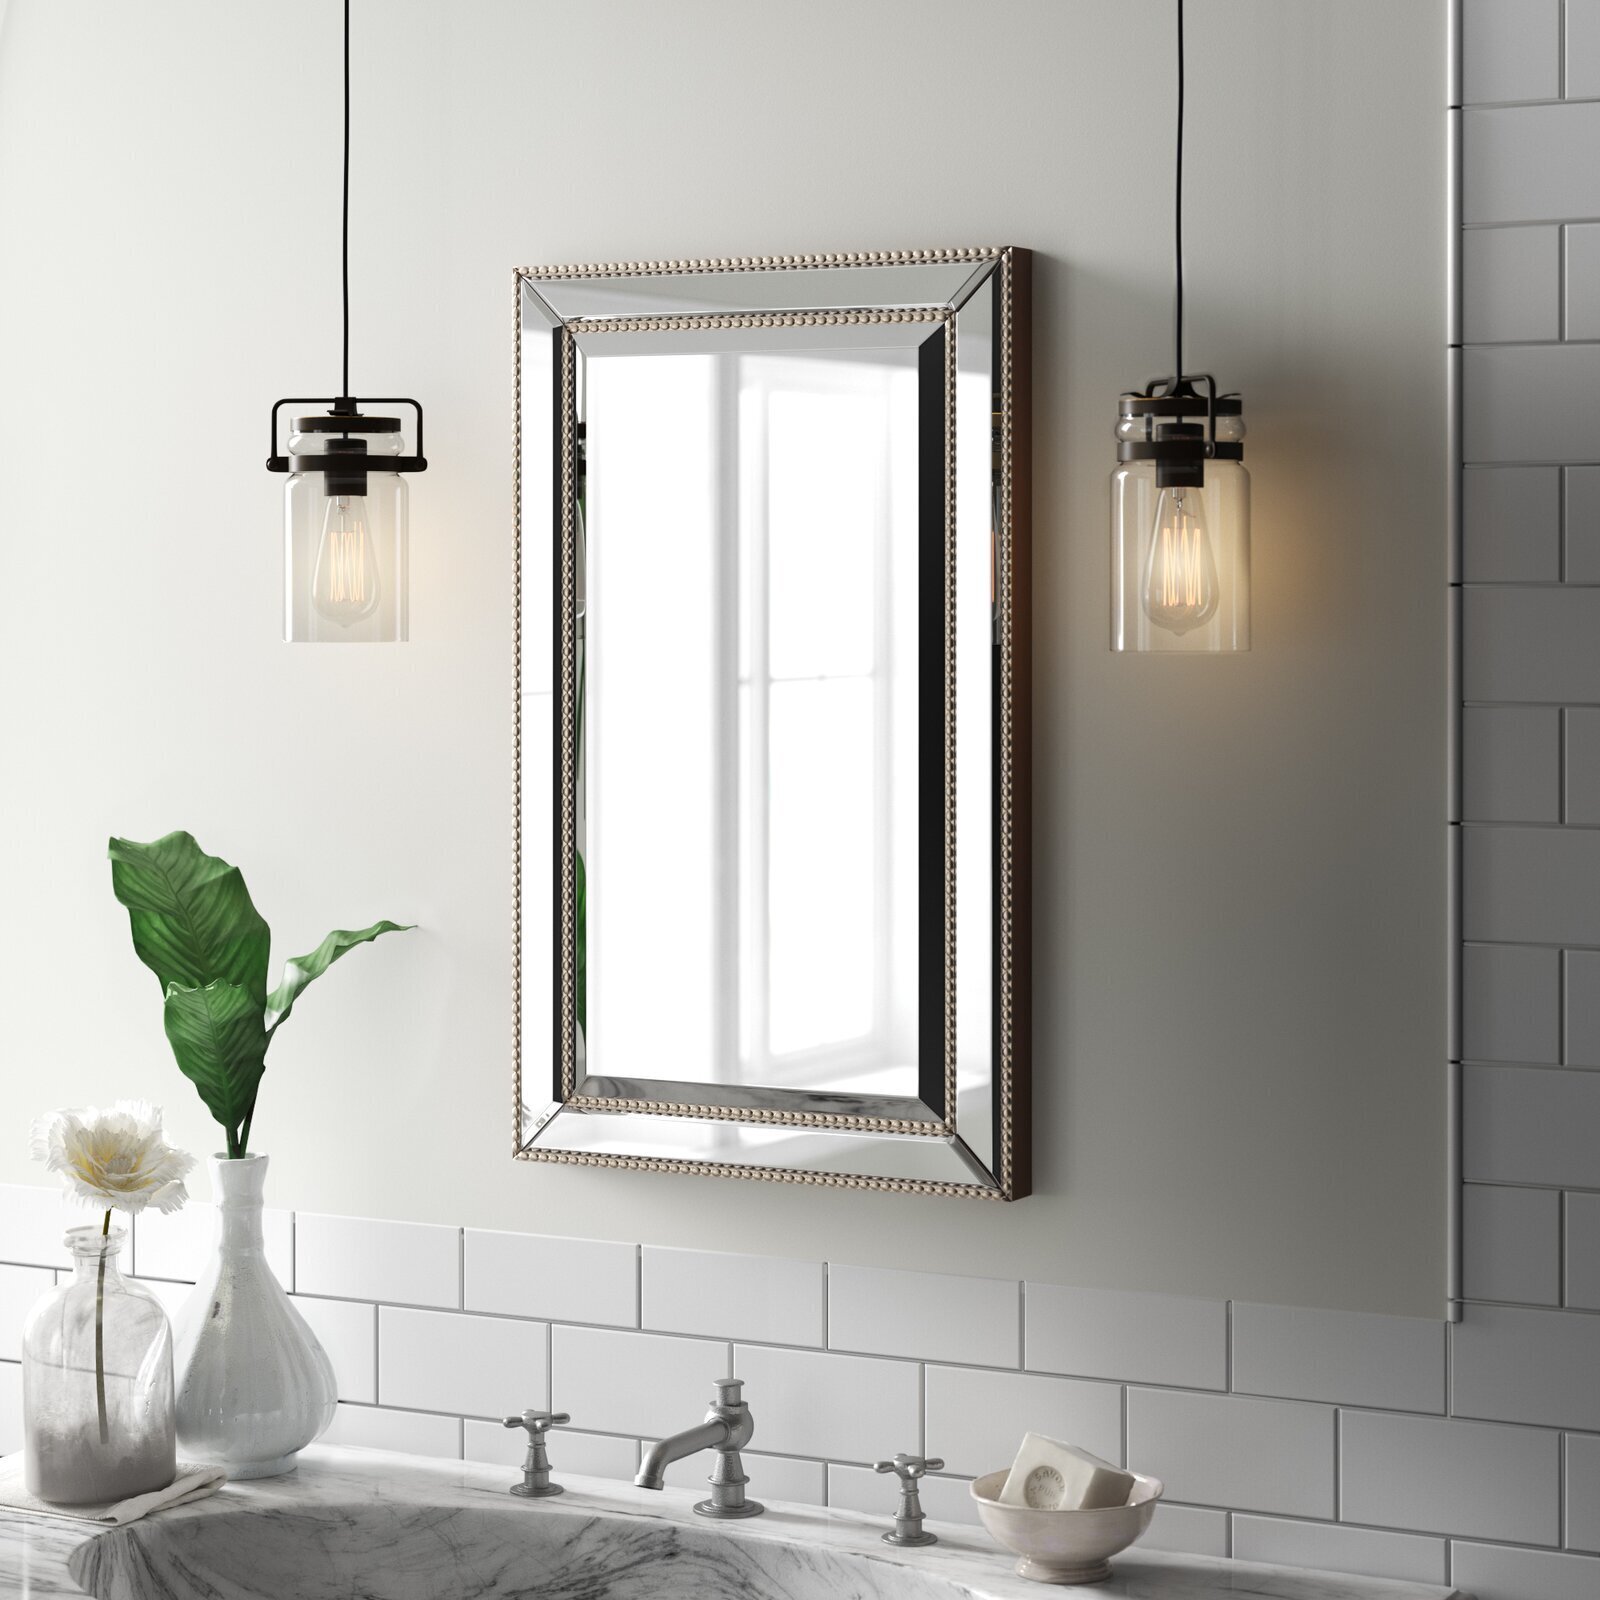
- New Medicine Cabinet: Select a cabinet that fits the dimensions of the space and complements the overall design of your bathroom.
- Mounting Hardware: Check that the new cabinet comes with the necessary screws and anchors for installation. If not, ensure you have suitable hardware on hand.
- Caulk: To seal the edges of the new cabinet once it's installed, providing a clean and watertight finish.
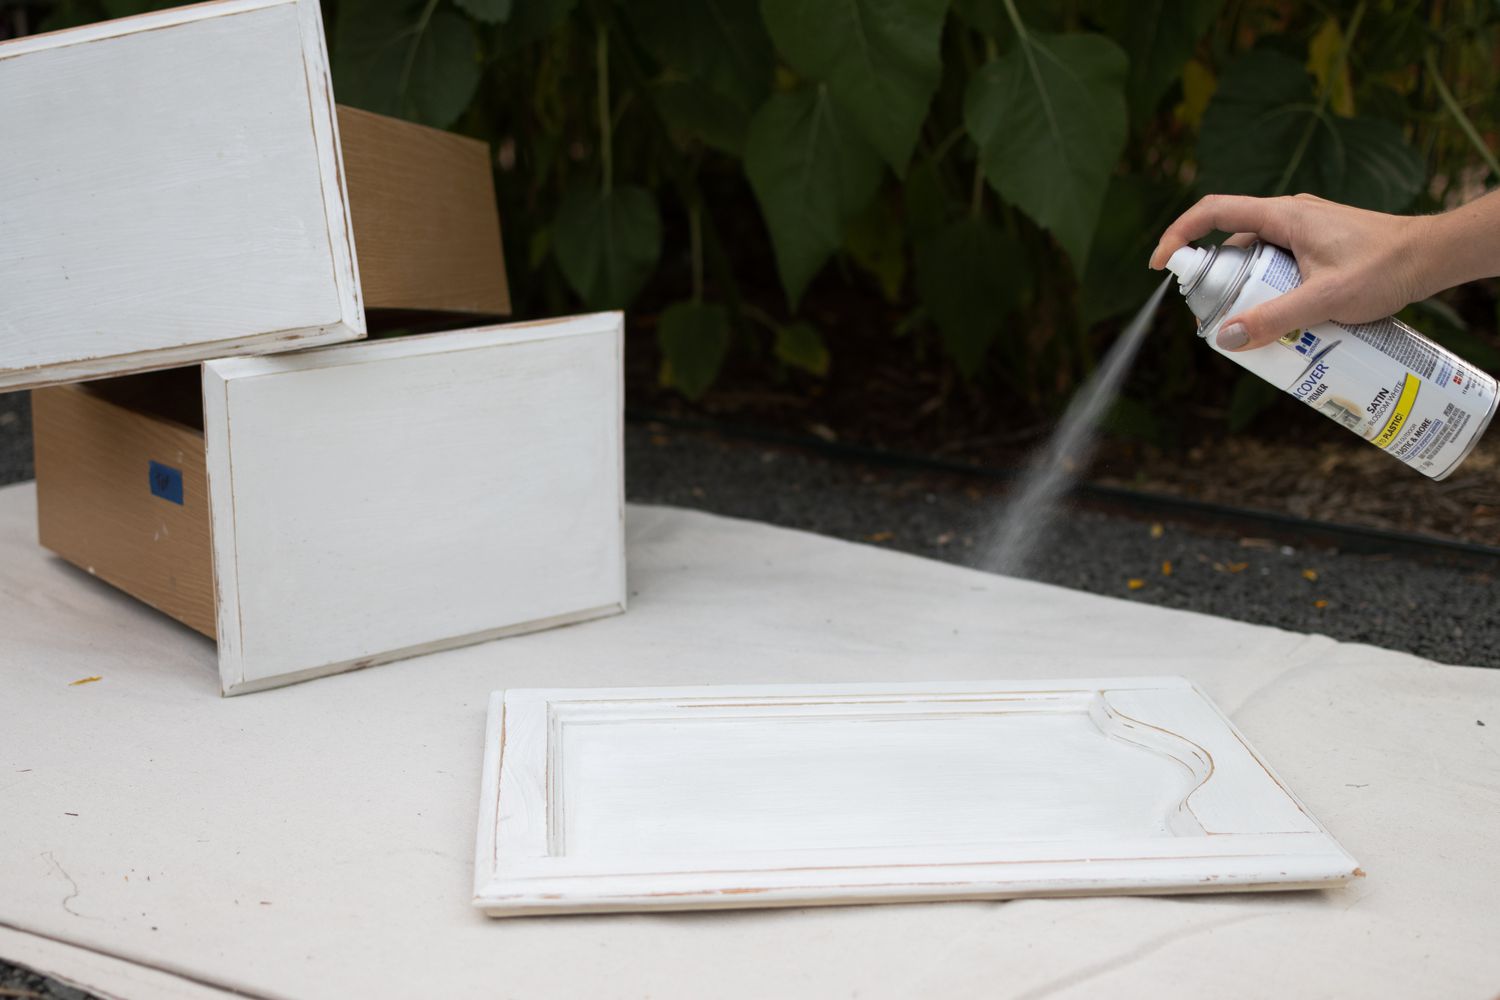
- Paint or Wall Covering: If the wall behind the old cabinet will be exposed after removal, have paint or wall covering material available to touch up the area.
- Safety Equipment: Gloves and safety goggles are essential for protecting yourself during the removal and installation processes.
By gathering these tools and materials before you begin, you can set the stage for a smooth and efficient cabinet replacement. With everything at your fingertips, you'll be well-prepared to tackle the subsequent steps with confidence and precision.
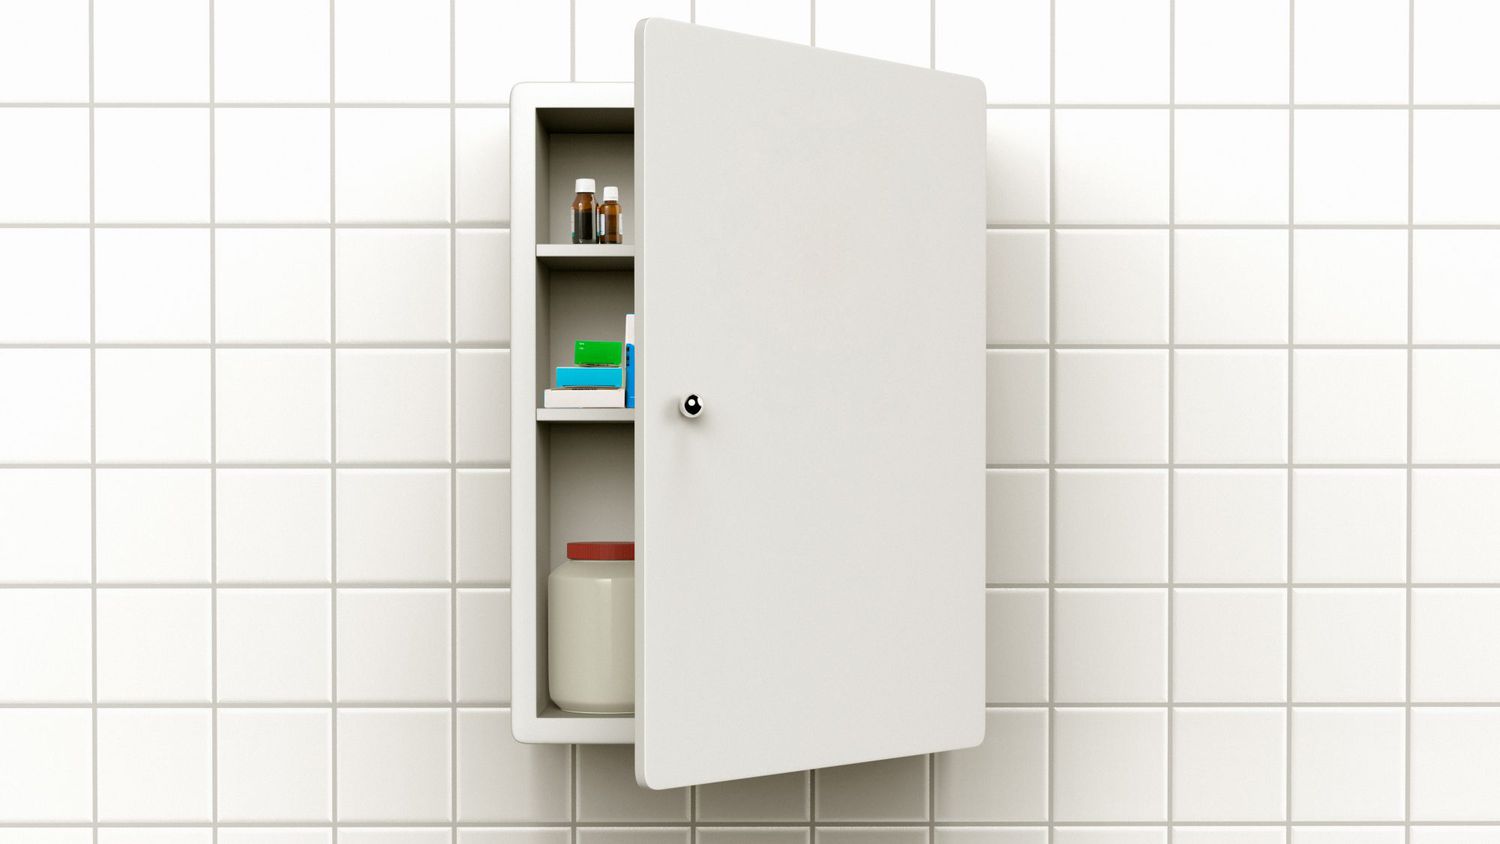
Step 2: Remove the old medicine cabinet
Removing the old medicine cabinet is a crucial step in the process of replacing it with a new one. This task requires careful attention to detail and a systematic approach to ensure a smooth transition. Here's a detailed guide on how to remove the old medicine cabinet effectively:
-
Clear the Cabinet: Begin by removing all items stored inside the medicine cabinet. This includes toiletries, medications, and any other items that may be housed within it. Ensure that the cabinet is completely empty before proceeding.
-
Turn Off Power: If your medicine cabinet is equipped with built-in lighting, it's important to turn off the power supply to the fixture before starting the removal process. This can usually be done by switching off the corresponding circuit breaker in your electrical panel.
-
Detach the Door: Most medicine cabinets feature a door that needs to be detached before the main body of the cabinet can be removed. Use a screwdriver to loosen and remove the screws or hinges that secure the door in place. Once detached, set the door aside in a safe location.
-
Locate Mounting Hardware: Inspect the interior of the cabinet to identify the mounting hardware that secures it to the wall. This typically involves screws or bolts that fasten the cabinet to the wall studs. Use a screwdriver to remove these fasteners, taking care to support the weight of the cabinet as the last screws are removed.
-
Cut Caulk and Sealants: Many medicine cabinets are sealed to the wall with caulk or other adhesives. Use a utility knife to carefully cut through the caulk around the edges of the cabinet, separating it from the wall. Take your time with this step to avoid damaging the surrounding wall surface.
-
Lift and Remove: With the fasteners and sealants released, carefully lift the old medicine cabinet away from the wall. It's important to handle this step with caution, especially if the cabinet is large or heavy. Enlist the help of a friend or family member if needed to ensure safe removal.
-
Inspect the Wall: Once the cabinet is removed, inspect the wall surface behind it. If there are any holes, marks, or uneven areas, take note of them for later repair and touch-up.
By following these steps, you can effectively remove the old medicine cabinet, clearing the way for the installation of a new one. With the old cabinet out of the way, you're ready to move on to the next phase of the project, preparing the wall for the new cabinet installation.
Read more: How To Replace A Medicine Cabinet Mirror
Step 3: Prepare the wall for the new cabinet
With the old medicine cabinet successfully removed, the next critical step is to prepare the wall for the installation of the new cabinet. This phase involves ensuring that the wall surface is ready to accommodate the mounting of the new unit securely and seamlessly. Here's a detailed guide on how to prepare the wall for the new cabinet:
-
Clean the Wall: Begin by thoroughly cleaning the wall surface where the new cabinet will be installed. Use a mild detergent solution and a clean cloth to remove any dust, dirt, or residue that may have accumulated during the removal of the old cabinet. Ensuring a clean surface is essential for optimal adhesion and a professional finish.
-
Repair Any Damage: Inspect the wall for any damage, such as holes, dents, or uneven areas left behind after removing the old cabinet. If necessary, use spackling compound or wall patching material to fill in any holes and smooth out the surface. Allow ample time for the repair material to dry and then sand it down until the wall is smooth and even.
-
Paint or Touch-Up: If the wall behind the old cabinet will be exposed after installing the new one, consider applying a fresh coat of paint to the area. This will ensure a uniform and cohesive look, seamlessly integrating the new cabinet into the overall aesthetic of the bathroom. Alternatively, if the wall has existing paint or wall covering, ensure that it is clean and in good condition.
-
Locate Wall Studs: Use a stud finder to locate the wall studs where the new cabinet will be mounted. Securing the cabinet to the wall studs is crucial for stability and weight-bearing capacity. Mark the positions of the studs with a pencil, ensuring that they align with the mounting holes on the new cabinet.
-
Measure and Mark: With the wall cleaned, repaired, and the studs located, use a measuring tape and level to mark the precise position for the new cabinet. Double-check the measurements to ensure accuracy, and use a pencil to mark the outline of the cabinet and the locations for drilling mounting holes.
By meticulously preparing the wall for the new cabinet, you can set the stage for a successful and secure installation. Taking the time to clean, repair, and measure the wall will contribute to a seamless and professional outcome, ensuring that the new cabinet is securely anchored and visually aligned with the overall design of the bathroom.
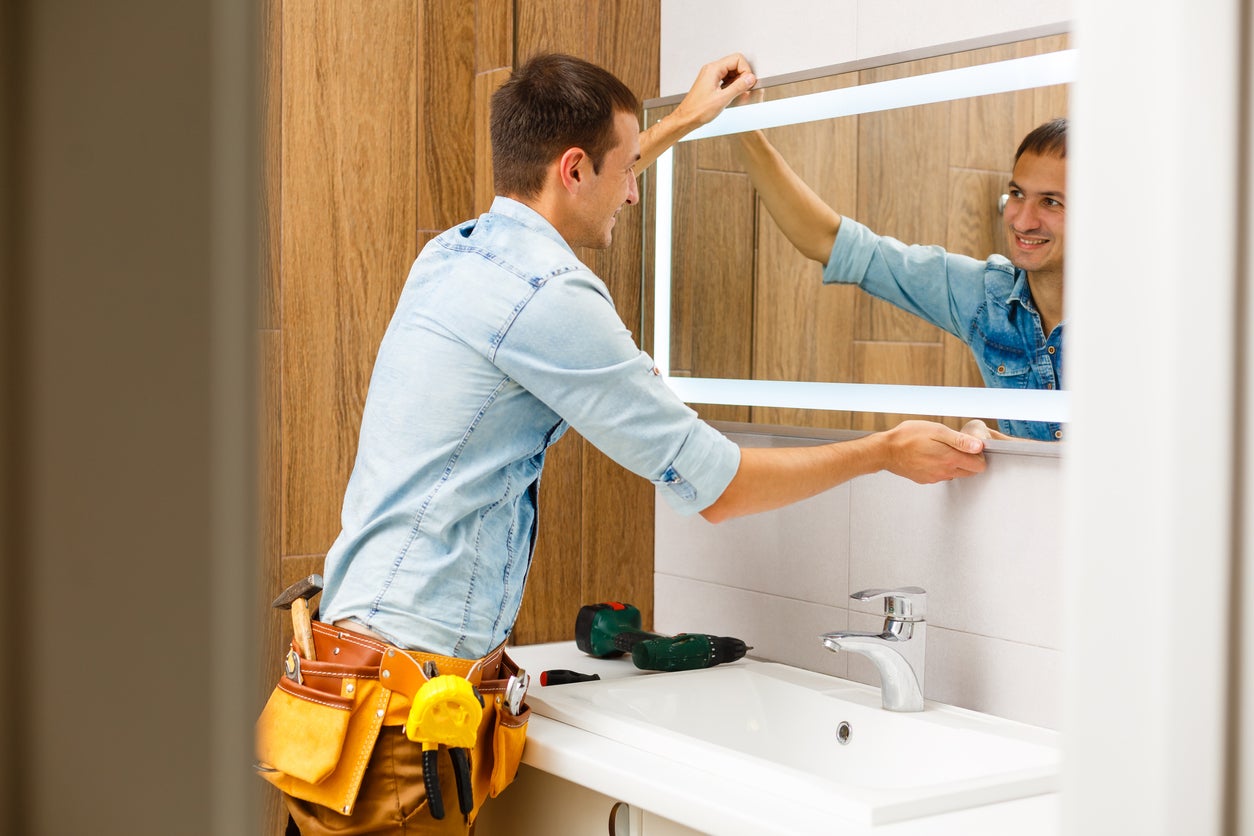
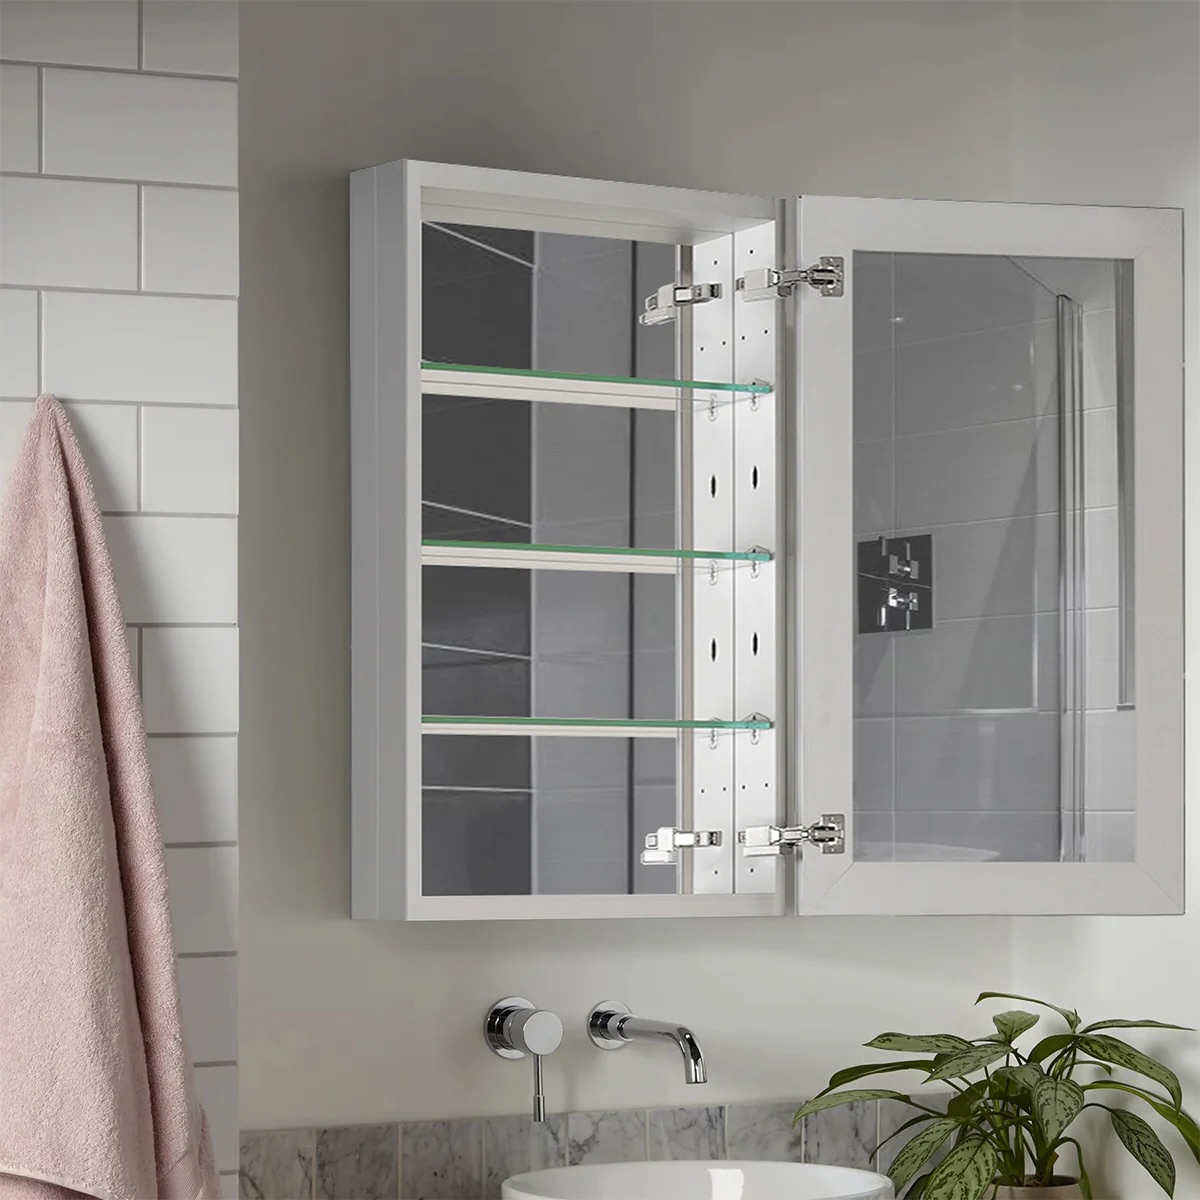
Step 4: Install the new medicine cabinet
With the wall prepared and the old cabinet removed, it's time to embark on the exciting phase of installing the new medicine cabinet. This step involves carefully mounting the new unit, ensuring that it is securely affixed to the wall and aligned with precision. Here's a detailed guide on how to install the new medicine cabinet effectively:
-
Positioning the Cabinet: Begin by lifting the new medicine cabinet into place, aligning it with the markings and measurements previously outlined on the wall. Enlist the help of a friend or family member to hold the cabinet in position while you check its alignment and levelness.
-
Marking Mounting Holes: With the cabinet held in place, use a pencil to mark the positions of the mounting holes on the wall. These marks will serve as guides for drilling holes to accommodate the mounting hardware.
-
Drilling Mounting Holes: Using a drill and the appropriate drill bit size for the mounting hardware, carefully drill holes at the marked positions on the wall. Take care to drill into the wall studs, ensuring that the holes are deep enough to accommodate the screws or anchors securely.
-
Attaching the Cabinet: With the mounting holes in place, it's time to attach the new medicine cabinet to the wall. Lift the cabinet into position once again, aligning the mounting holes on the back of the cabinet with the drilled holes in the wall. As you do this, ensure that the cabinet is level and positioned exactly as desired.
-
Securing the Cabinet: Insert the screws or anchors through the mounting holes in the cabinet and into the drilled holes in the wall. Use a screwdriver to tighten the screws or secure the anchors, ensuring that the cabinet is firmly attached to the wall. Double-check the levelness and alignment of the cabinet as you secure it in place.
-
Sealing Edges: Once the cabinet is securely mounted, use caulk to seal the edges where it meets the wall. This step provides a clean and watertight finish, enhancing the overall appearance of the installation.
-
Reattaching the Door: If the new medicine cabinet features a door, reattach it using the appropriate screws or hinges. Ensure that the door operates smoothly and aligns correctly with the cabinet frame.
By following these steps, you can successfully install the new medicine cabinet, bringing your bathroom one step closer to its refreshed and upgraded state. With the cabinet securely in place, you're ready to add the finishing touches and complete the transformation of your bathroom space.
Before removing the old medicine cabinet, make sure to turn off the power to any nearby electrical outlets and remove any items stored inside. This will make the process safer and easier.
Step 5: Finishing touches and cleanup
With the new medicine cabinet securely installed, the final phase involves adding the finishing touches and conducting a thorough cleanup to ensure that the bathroom space is pristine and polished. This step is essential for achieving a professional and cohesive look, tying together the installation of the new cabinet with the overall aesthetic of the room. Here's a detailed guide on how to complete the finishing touches and conduct a comprehensive cleanup:
-
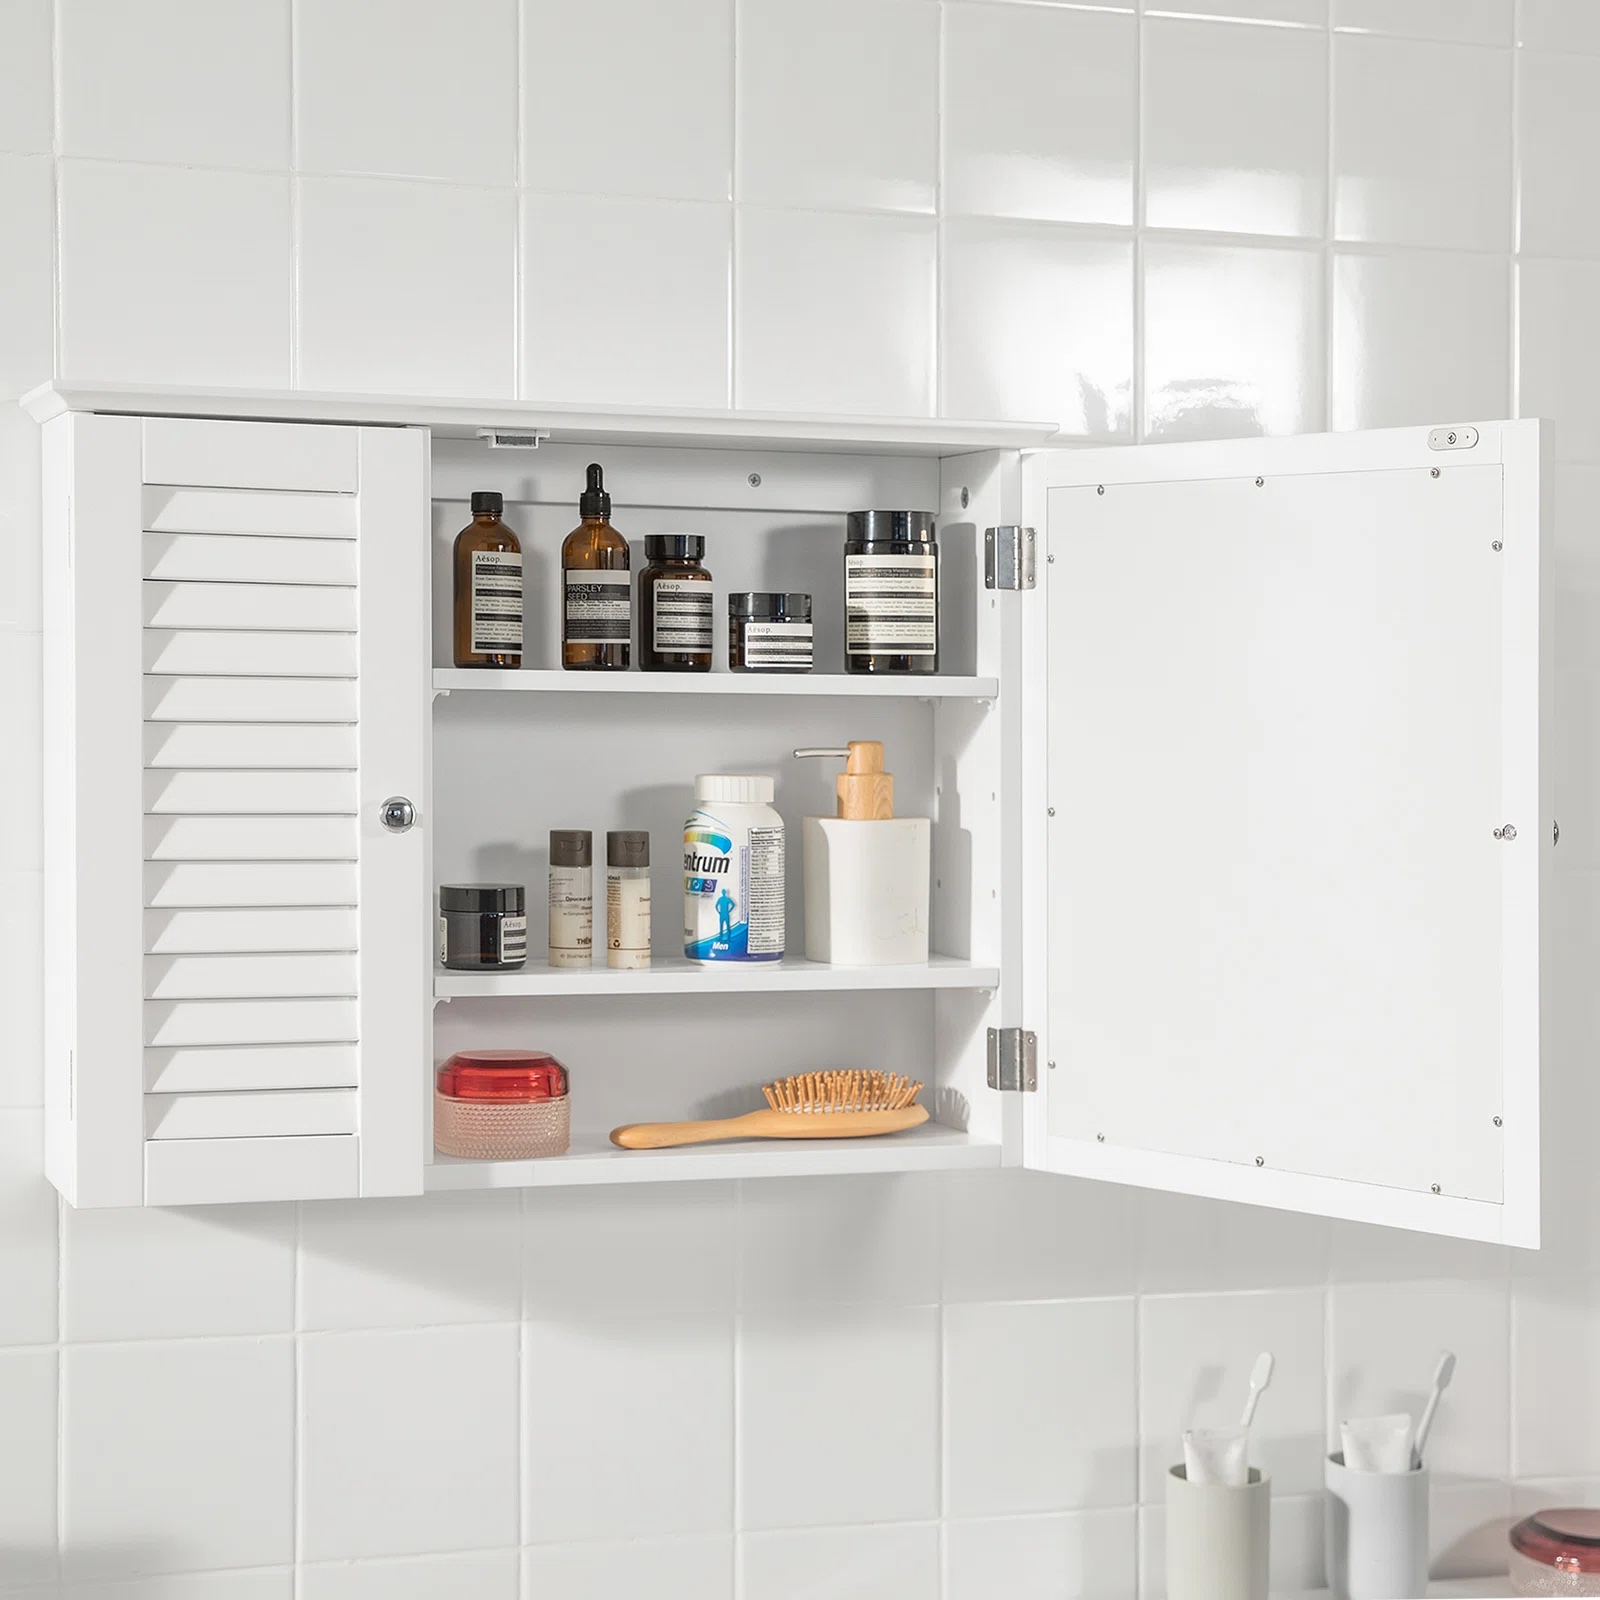
Adjust Shelves and Interior: If your new medicine cabinet features adjustable shelves, take the time to position them according to your storage needs. Ensure that the shelves are level and securely in place, providing functional storage space for your toiletries and medications.
-
Install Lighting (If Applicable): If your new medicine cabinet includes built-in lighting, follow the manufacturer's instructions to install and connect the lighting fixture. Ensure that the wiring is safely and neatly concealed, and test the lighting to confirm that it functions as intended.
-
Apply Touch-Up Paint or Wall Covering: If the installation of the new cabinet has exposed any unpainted or uneven areas on the wall, apply touch-up paint or wall covering to seamlessly integrate the cabinet into the surrounding space. This step contributes to a cohesive and polished appearance.
-
Clean the Cabinet Exterior: Wipe down the exterior of the new medicine cabinet with a mild cleaning solution and a soft cloth. Ensure that any fingerprints, smudges, or dust are removed, leaving the cabinet looking fresh and immaculate.
-
Check Door Operation: If the new cabinet features a door, verify that it opens and closes smoothly, without any resistance or misalignment. Adjust the hinges if necessary to ensure seamless operation.
-
Remove Installation Debris: Conduct a thorough cleanup of the surrounding area, removing any debris, packaging materials, or dust that may have accumulated during the installation process. A clean and tidy environment enhances the overall impact of the new cabinet.
-
Inspect and Test: Take a moment to inspect the newly installed medicine cabinet, ensuring that it is securely mounted, level, and aligned with the surrounding elements in the bathroom. Test the functionality of any features, such as doors, shelves, and lighting, to confirm that everything is in optimal working condition.
By completing these finishing touches and conducting a comprehensive cleanup, you can elevate the impact of the new medicine cabinet installation, creating a refreshed and harmonious bathroom space. With attention to detail and a commitment to excellence, the transformation of your bathroom is now complete, showcasing a seamlessly integrated and functional medicine cabinet that enhances both the practicality and aesthetics of the room.
Conclusion
In conclusion, the process of replacing a medicine cabinet offers a transformative opportunity to revitalize your bathroom space, enhancing both its functionality and visual appeal. By following the step-by-step guide outlined in this article, you can seamlessly navigate each phase of the cabinet replacement, from removing the old unit to installing the new one and adding the finishing touches. Throughout this journey, attention to detail, careful preparation, and a commitment to excellence are essential for achieving a successful and polished outcome.
The journey begins with gathering the necessary tools and materials, ensuring that you are well-equipped to embark on the cabinet replacement project. With the right equipment at your disposal, you can streamline the installation process and minimize interruptions, setting the stage for a smooth and efficient transition from the old to the new.
The meticulous removal of the old medicine cabinet is a critical phase that requires precision and care. By following a systematic approach to detach the old unit, including clearing the cabinet, turning off power, and carefully lifting and inspecting the wall, you can pave the way for a seamless transition to the new cabinet.
Preparing the wall for the installation of the new cabinet is a pivotal step that contributes to the overall success of the project. By cleaning the wall, repairing any damage, and meticulously measuring and marking the position for the new cabinet, you can ensure that the installation process proceeds with precision and efficiency.
The installation of the new medicine cabinet marks the culmination of the project, as you carefully position, secure, and seal the new unit, ensuring that it is seamlessly integrated into the bathroom space. Attention to detail and a commitment to achieving a level and aligned installation are essential for a professional and polished outcome.
Finally, adding the finishing touches and conducting a comprehensive cleanup elevates the impact of the new cabinet installation, creating a refreshed and harmonious bathroom space. By adjusting shelves, installing lighting if applicable, applying touch-up paint, and conducting a thorough cleanup, you can ensure that the new cabinet seamlessly integrates into the overall aesthetic of the room.
In essence, the process of replacing a medicine cabinet is a transformative journey that culminates in the enhancement of your bathroom space. By following the detailed steps outlined in this guide and infusing the project with attention to detail and a commitment to excellence, you can achieve a seamlessly integrated and functional medicine cabinet that elevates both the practicality and aesthetics of your bathroom.
Frequently Asked Questions about How To Replace A Medicine Cabinet
Was this page helpful?
At Storables.com, we guarantee accurate and reliable information. Our content, validated by Expert Board Contributors, is crafted following stringent Editorial Policies. We're committed to providing you with well-researched, expert-backed insights for all your informational needs.

0 thoughts on “How To Replace A Medicine Cabinet”