Articles
How To Measure A Medicine Cabinet
Modified: October 20, 2024
Measure the dimensions of your bathroom storage with this step-by-step guide. Ensure your medicine cabinet fits perfectly in your space for optimal organization and functionality.
(Many of the links in this article redirect to a specific reviewed product. Your purchase of these products through affiliate links helps to generate commission for Storables.com, at no extra cost. Learn more)
Introduction
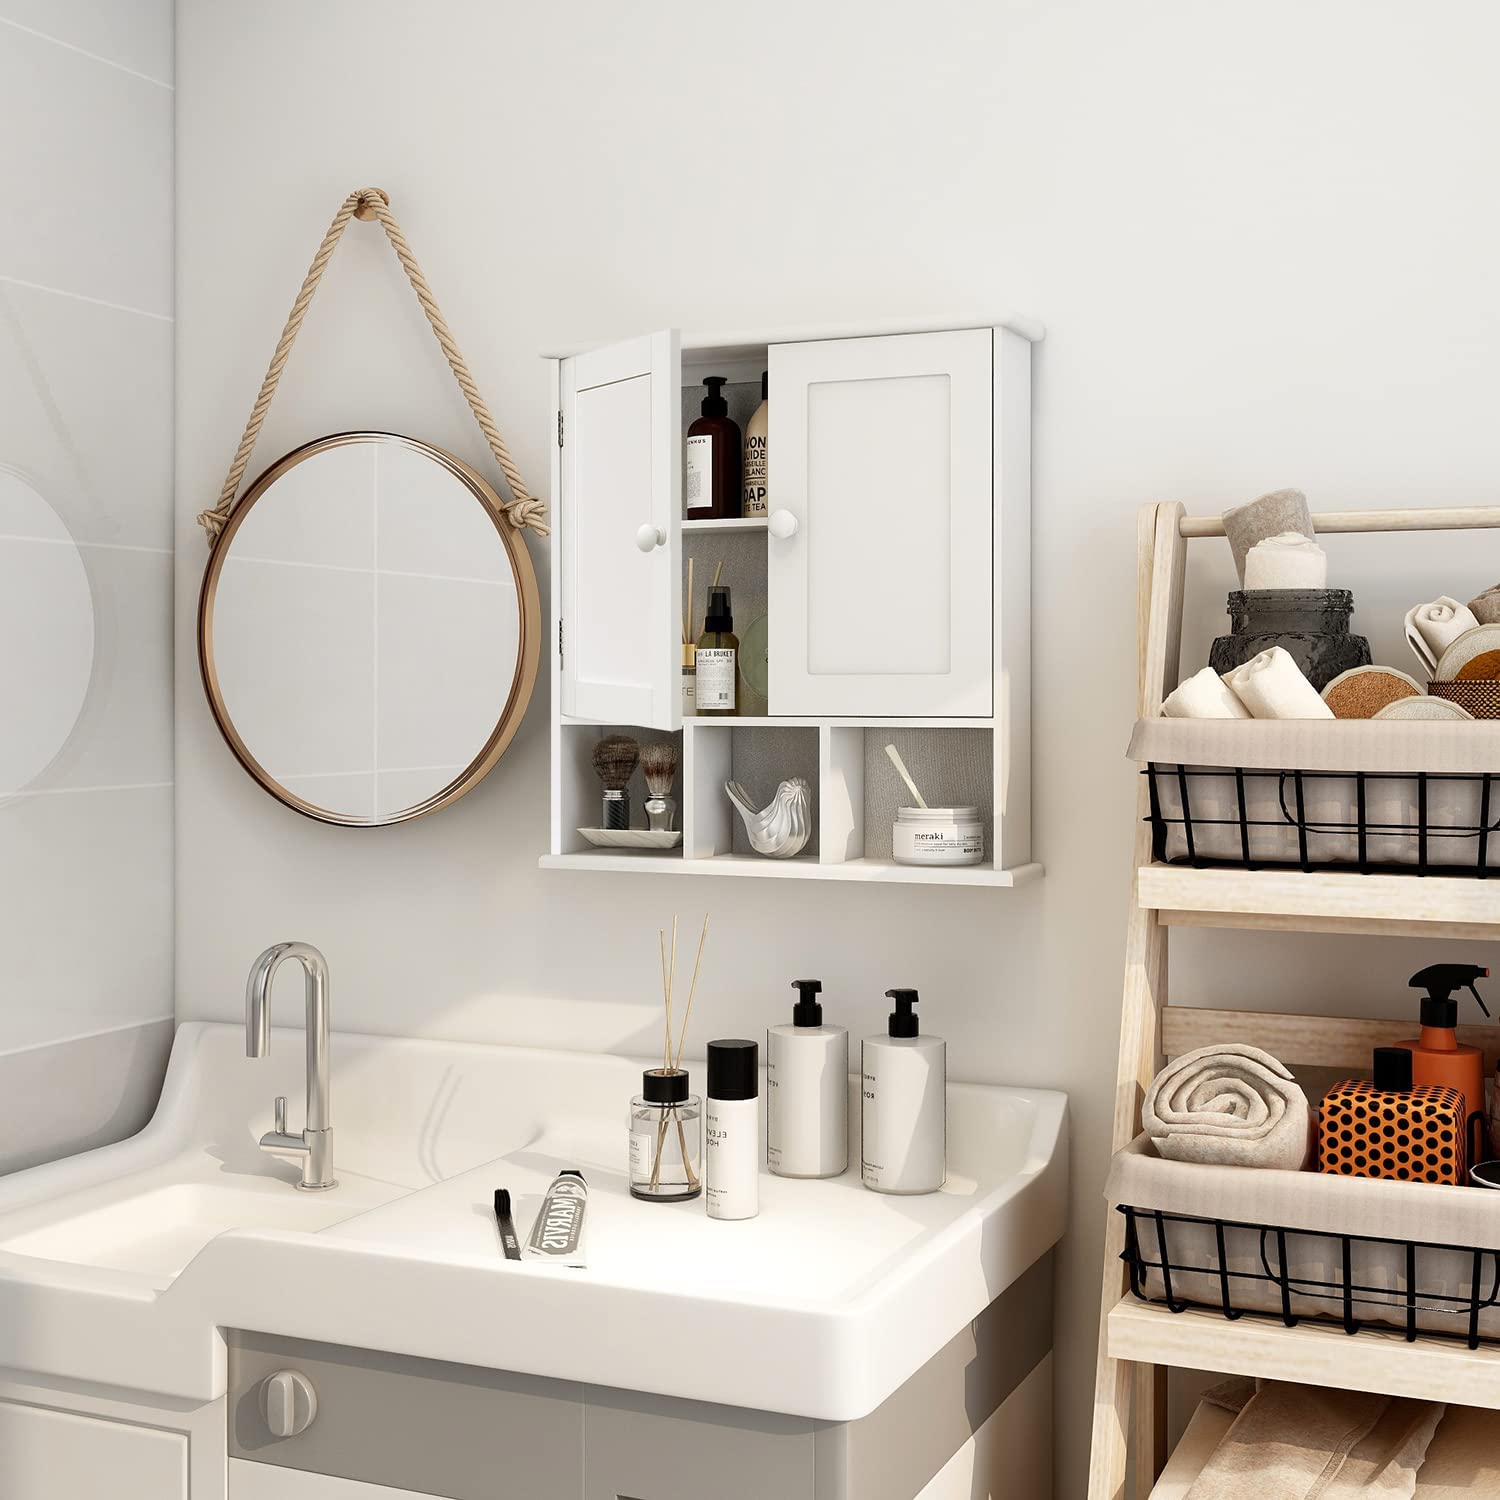
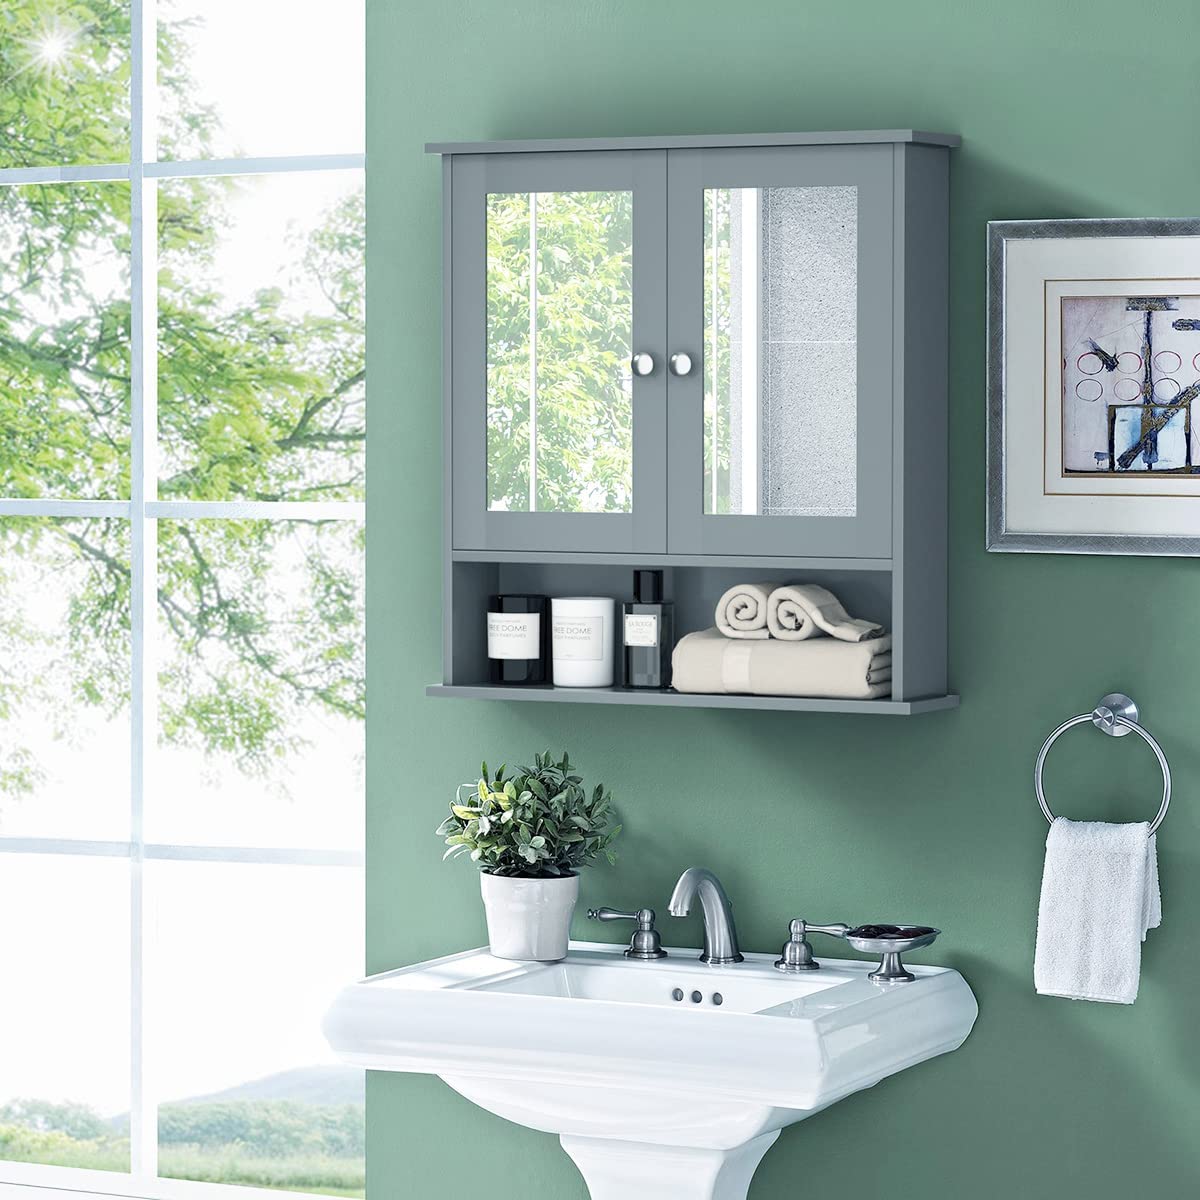
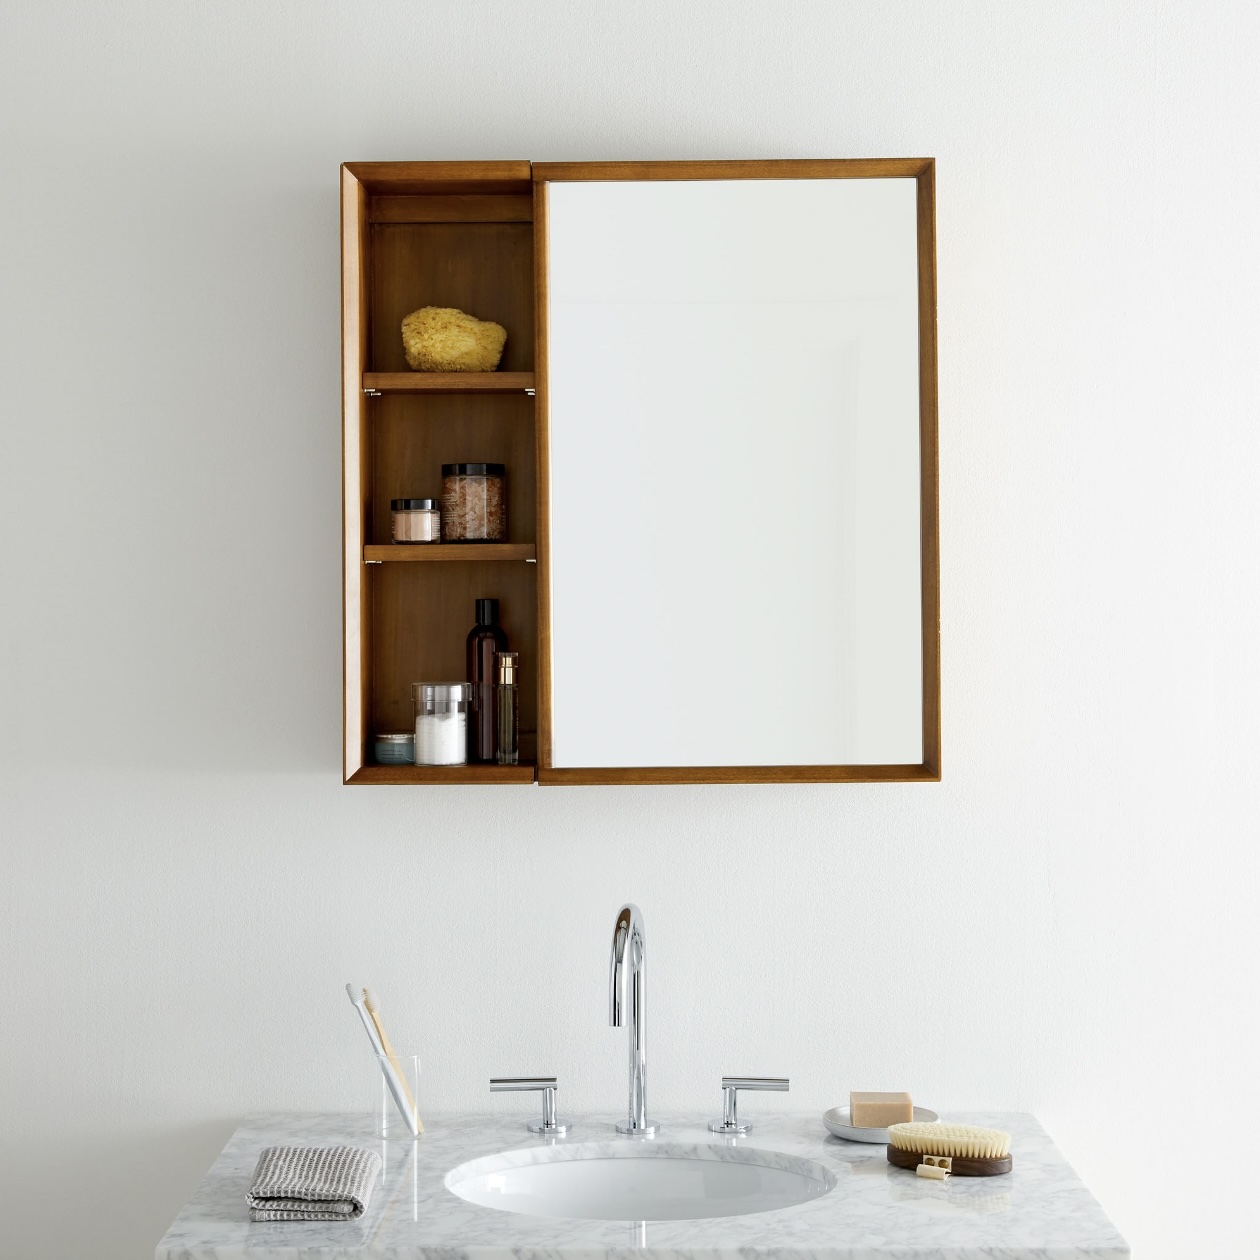
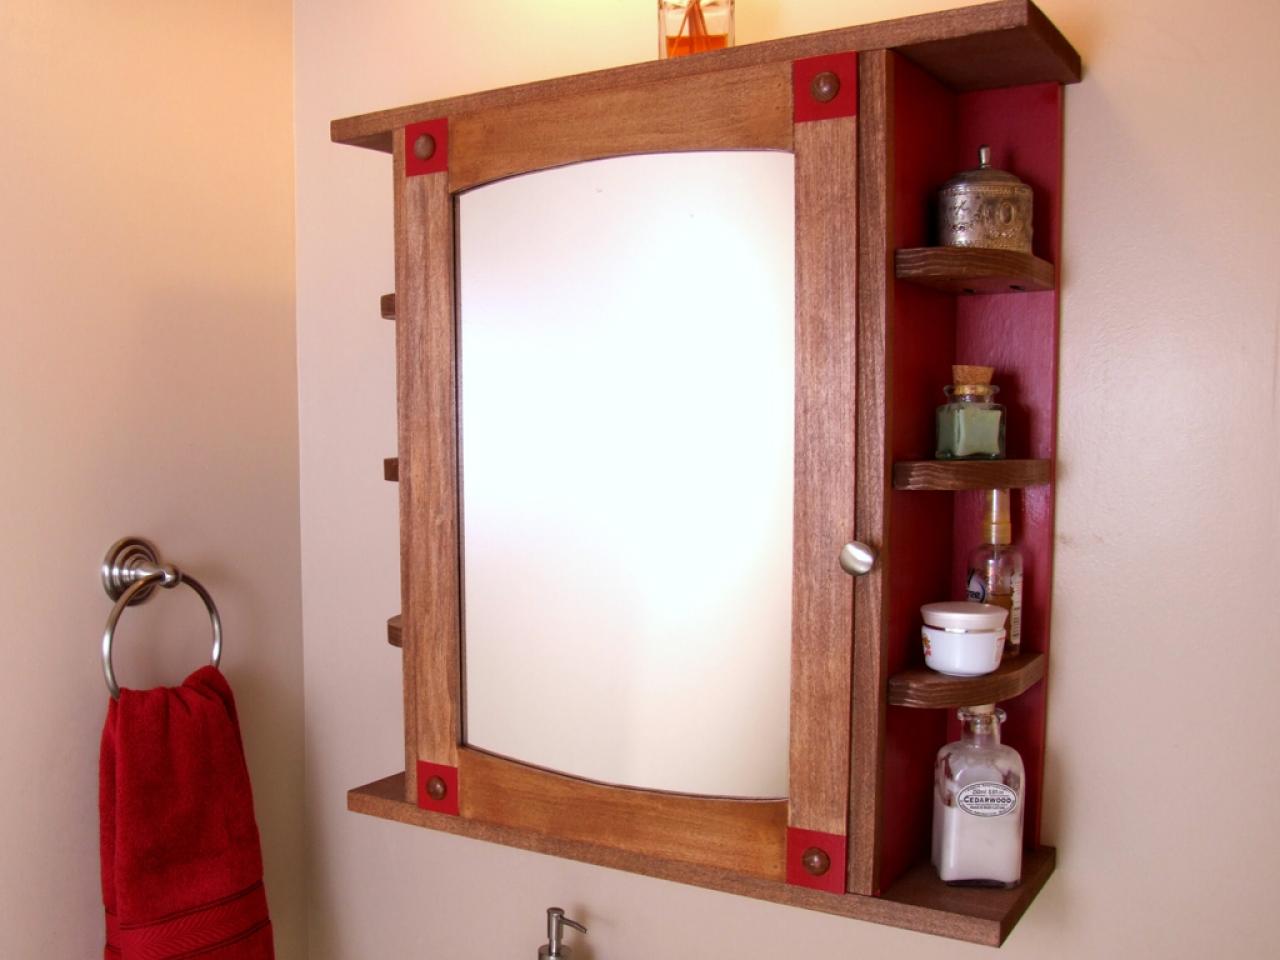
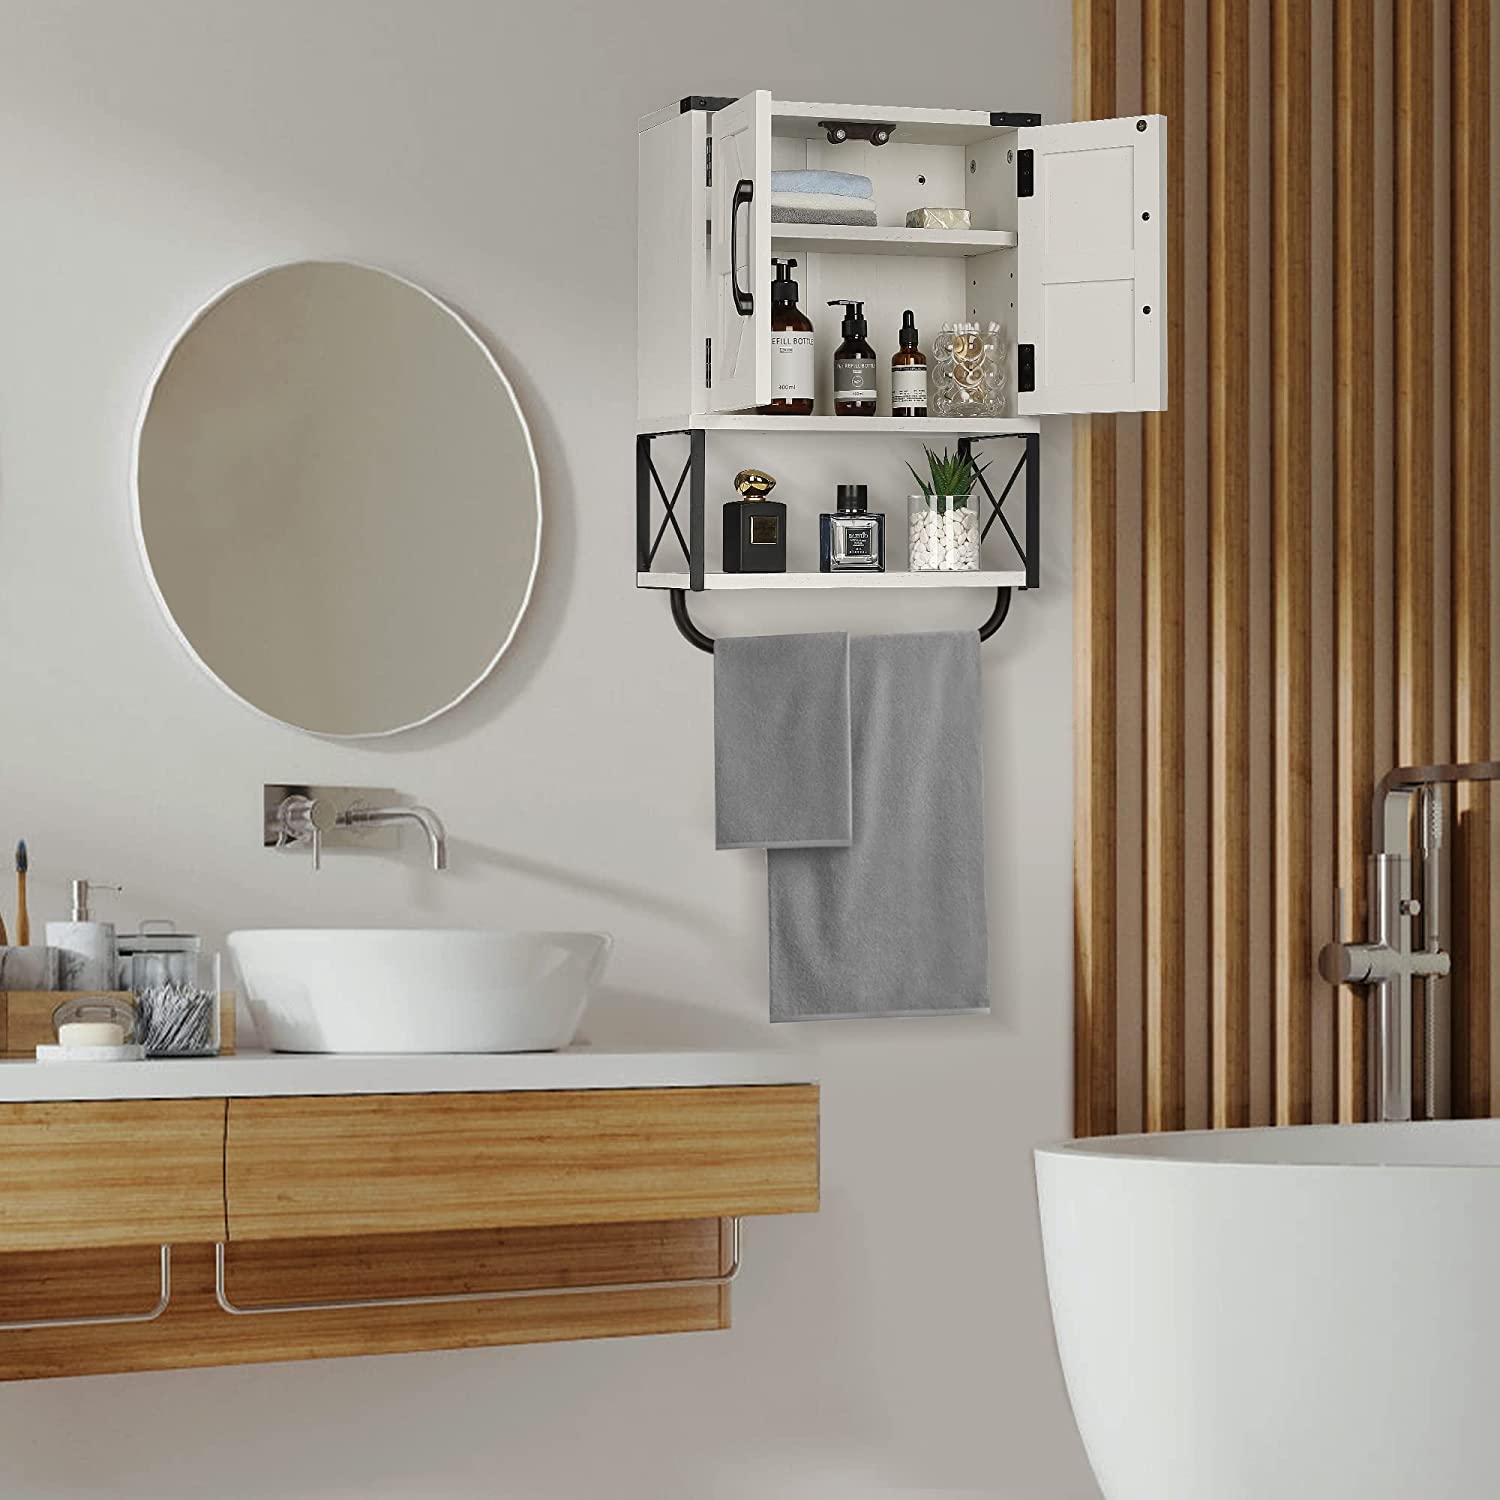
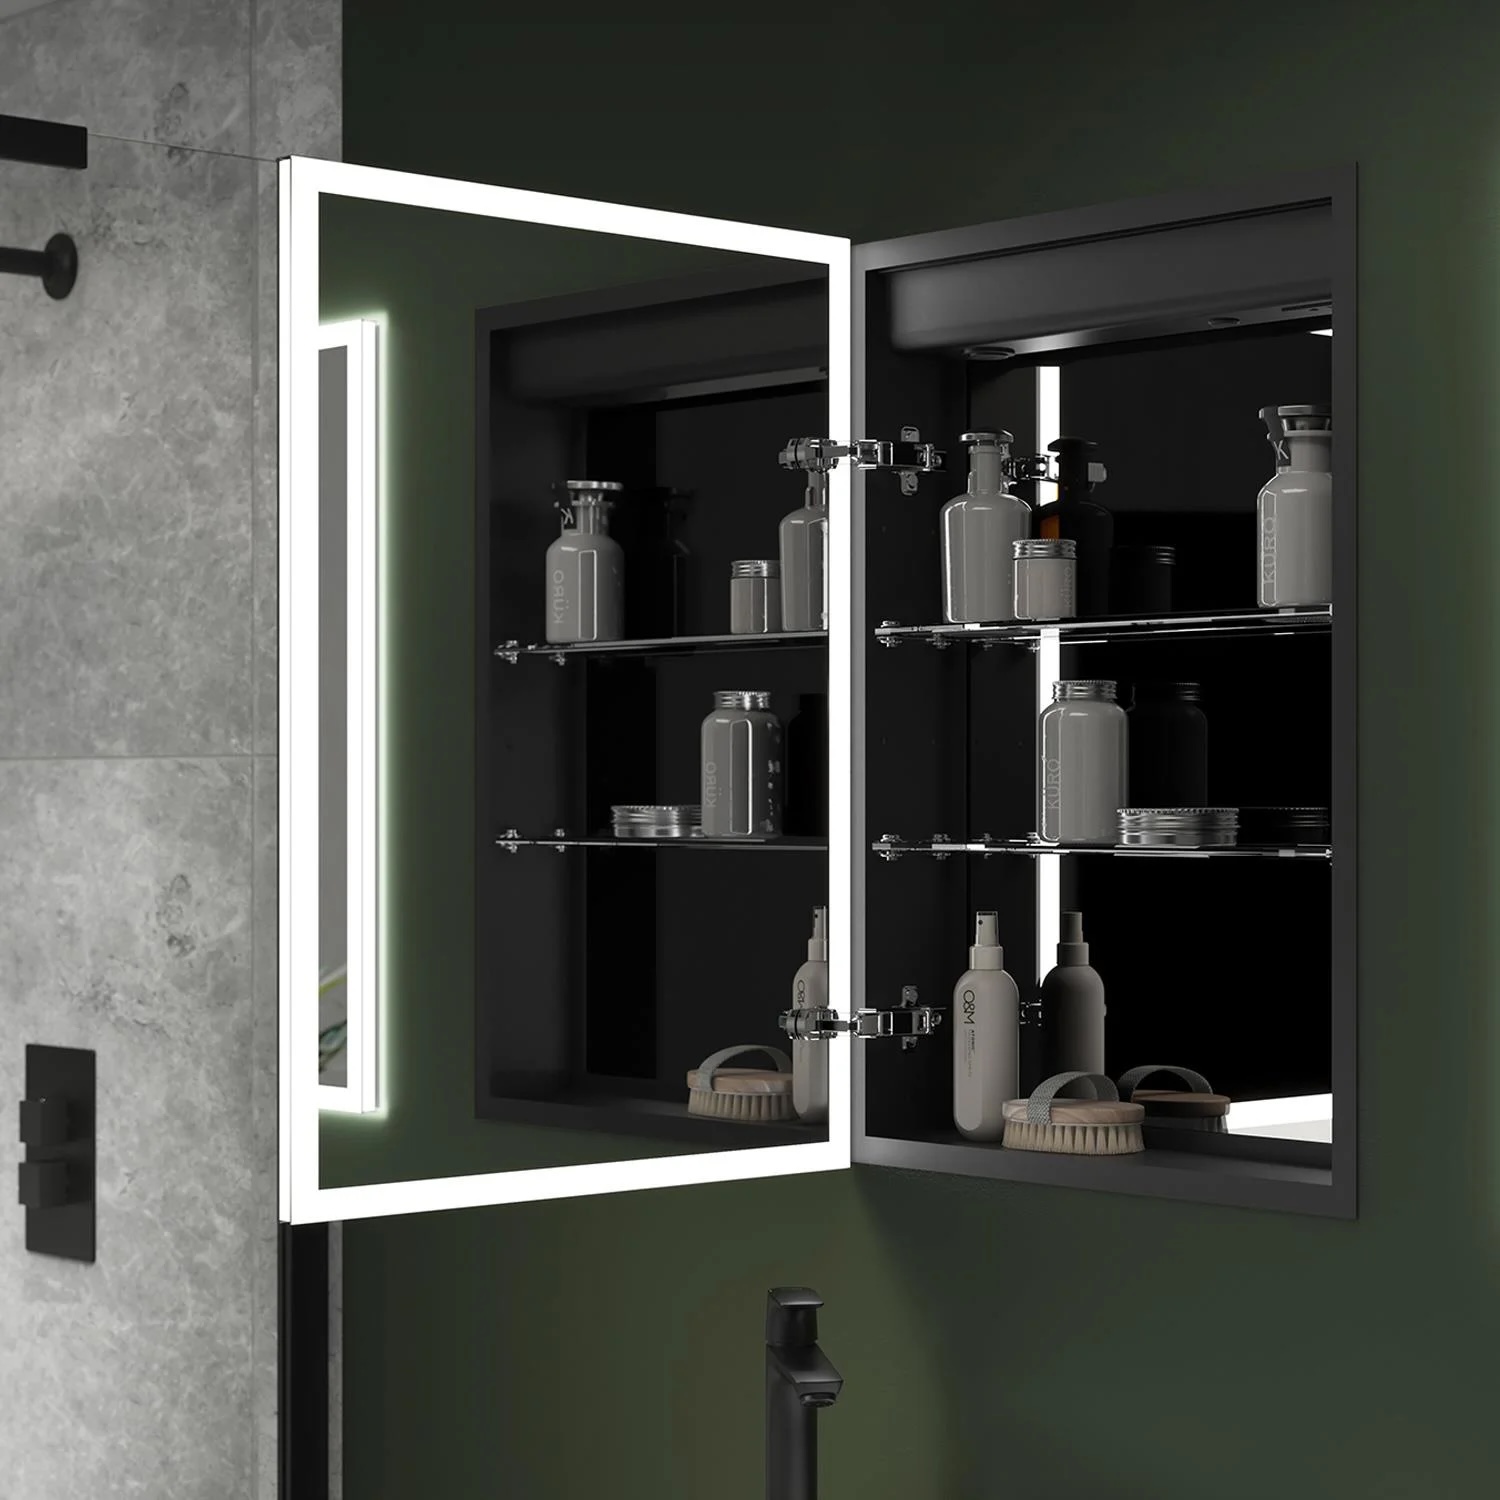
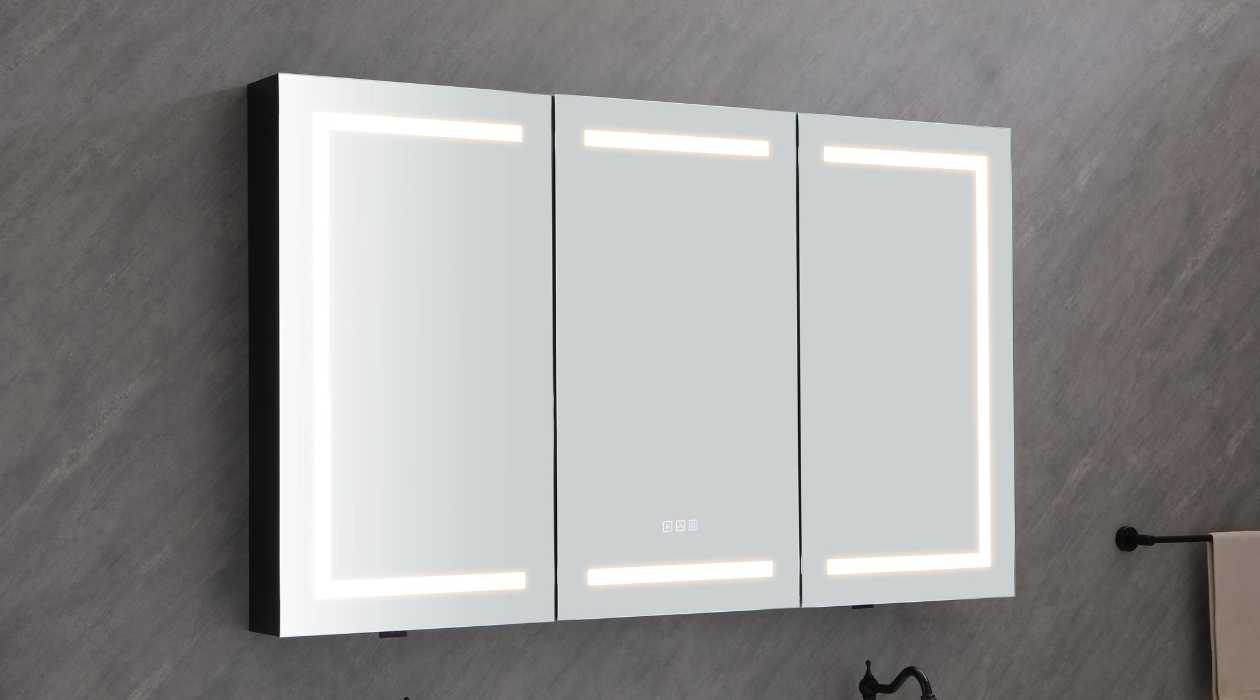
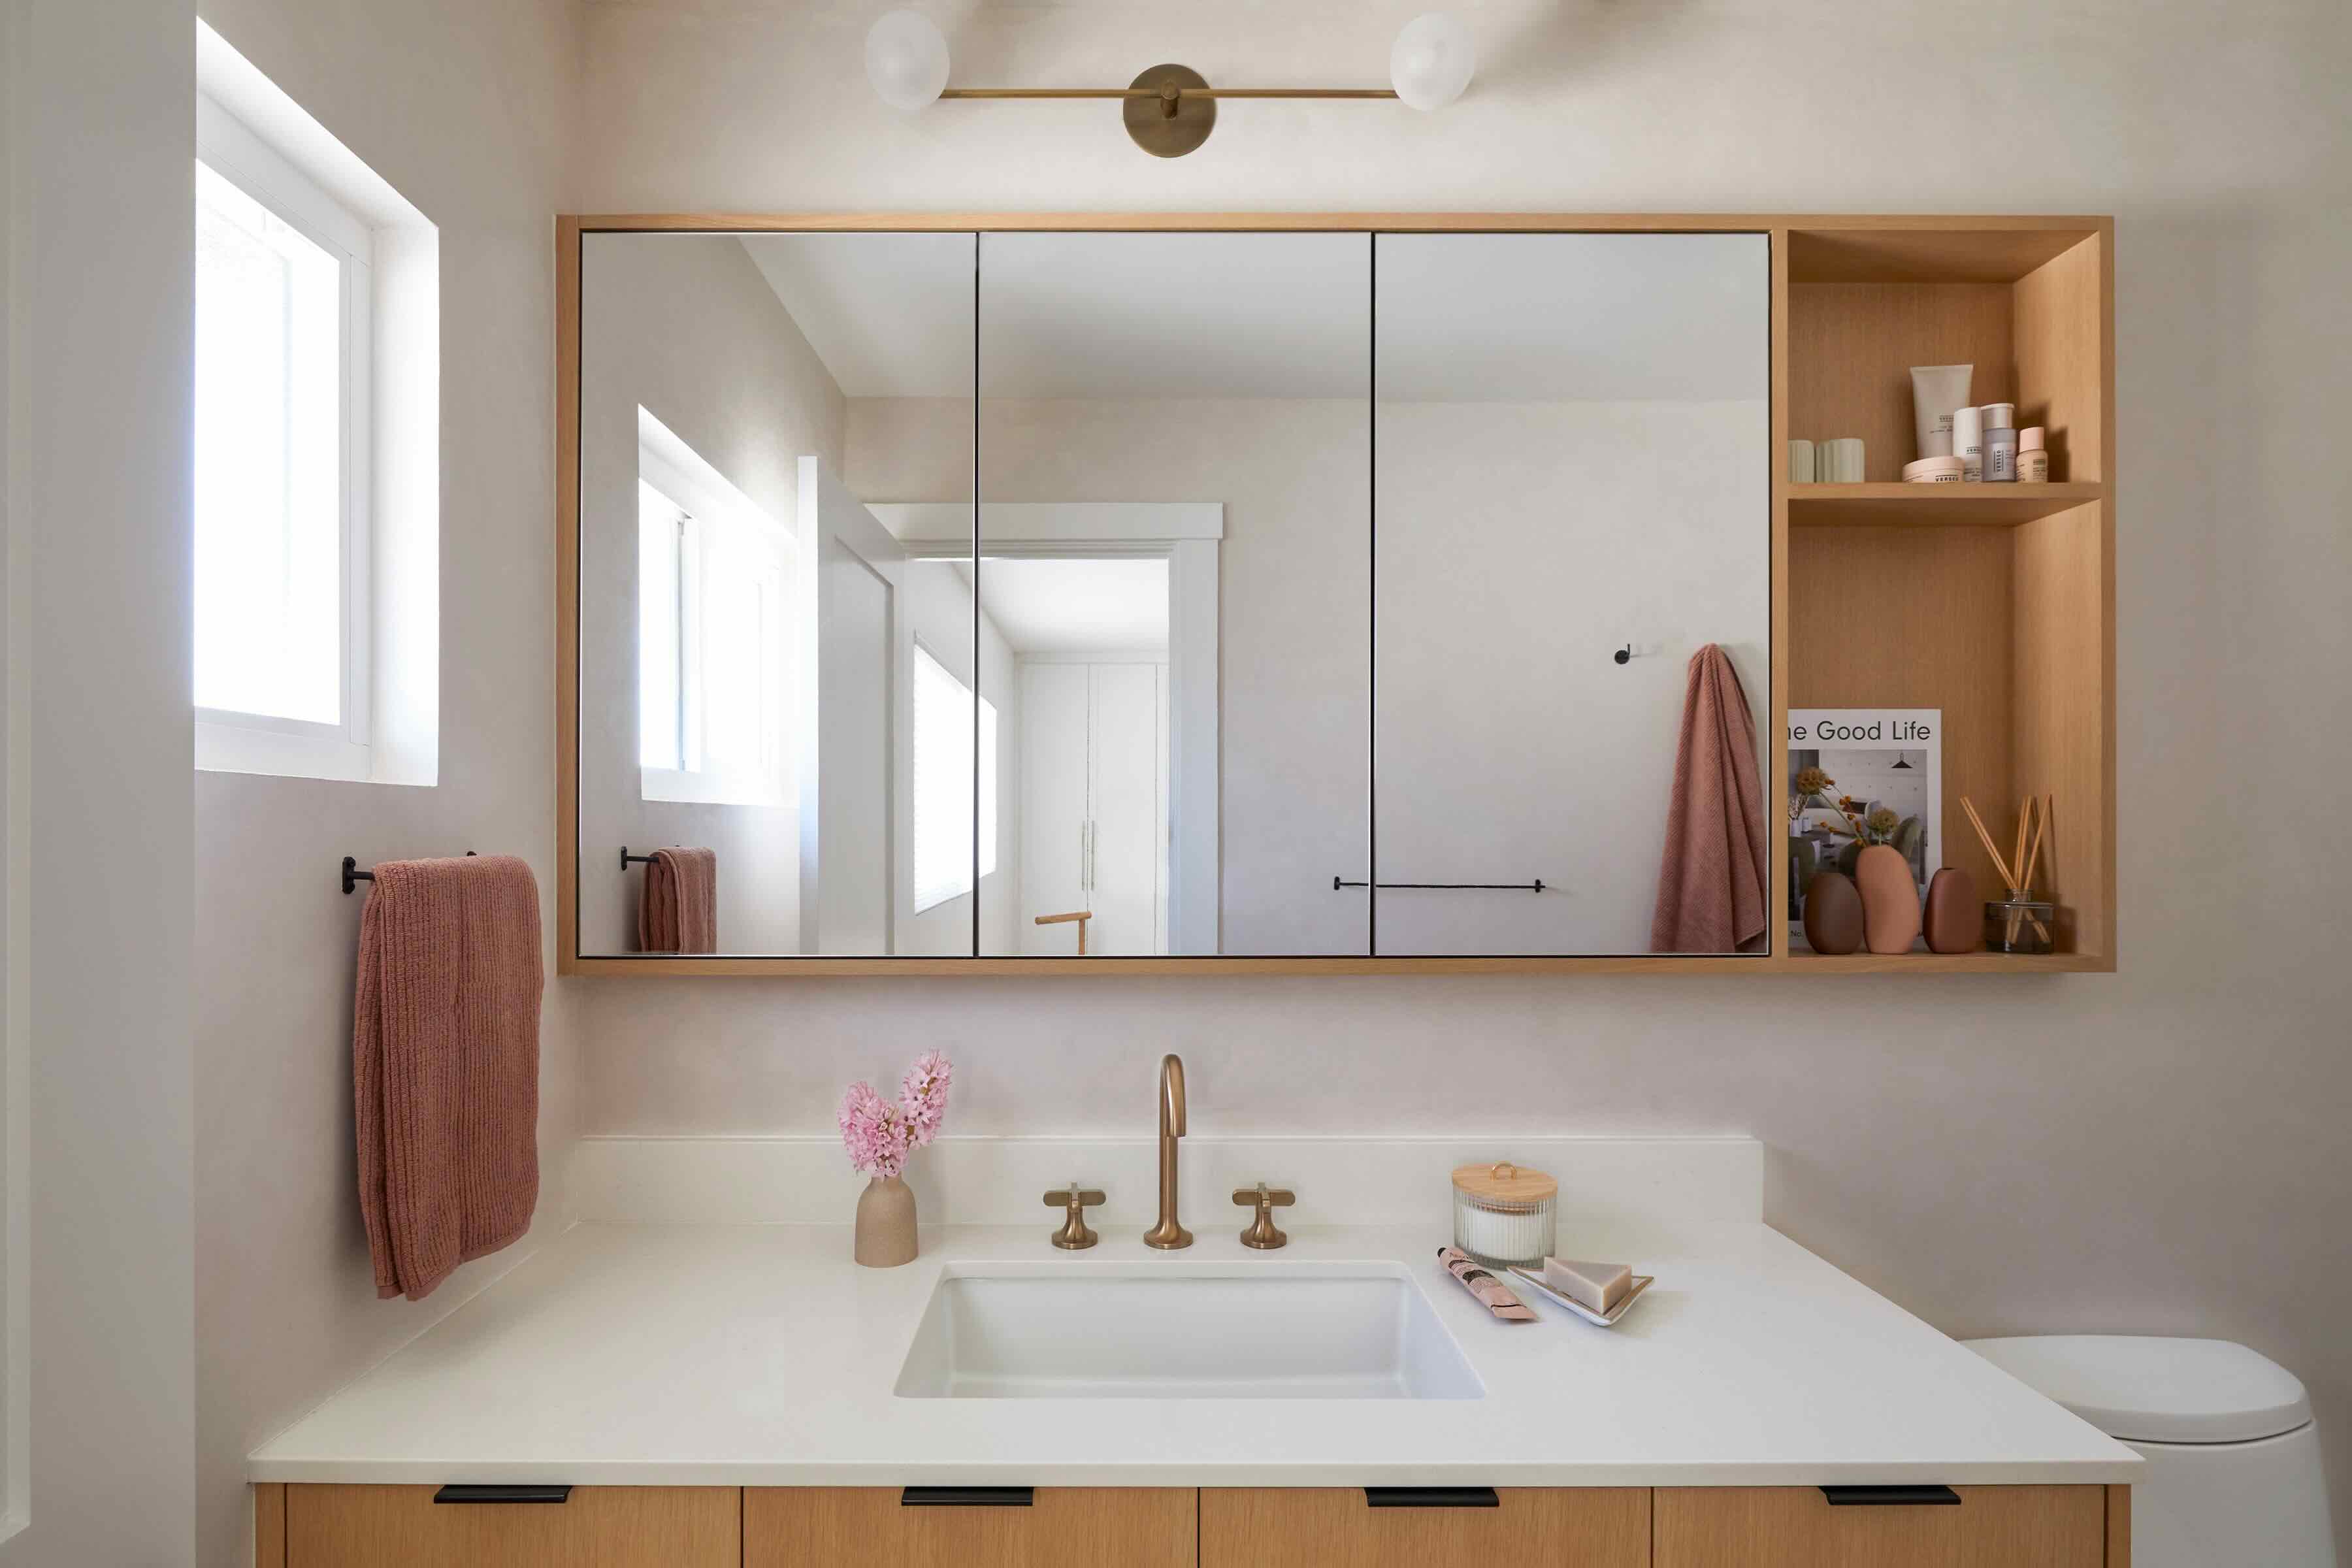
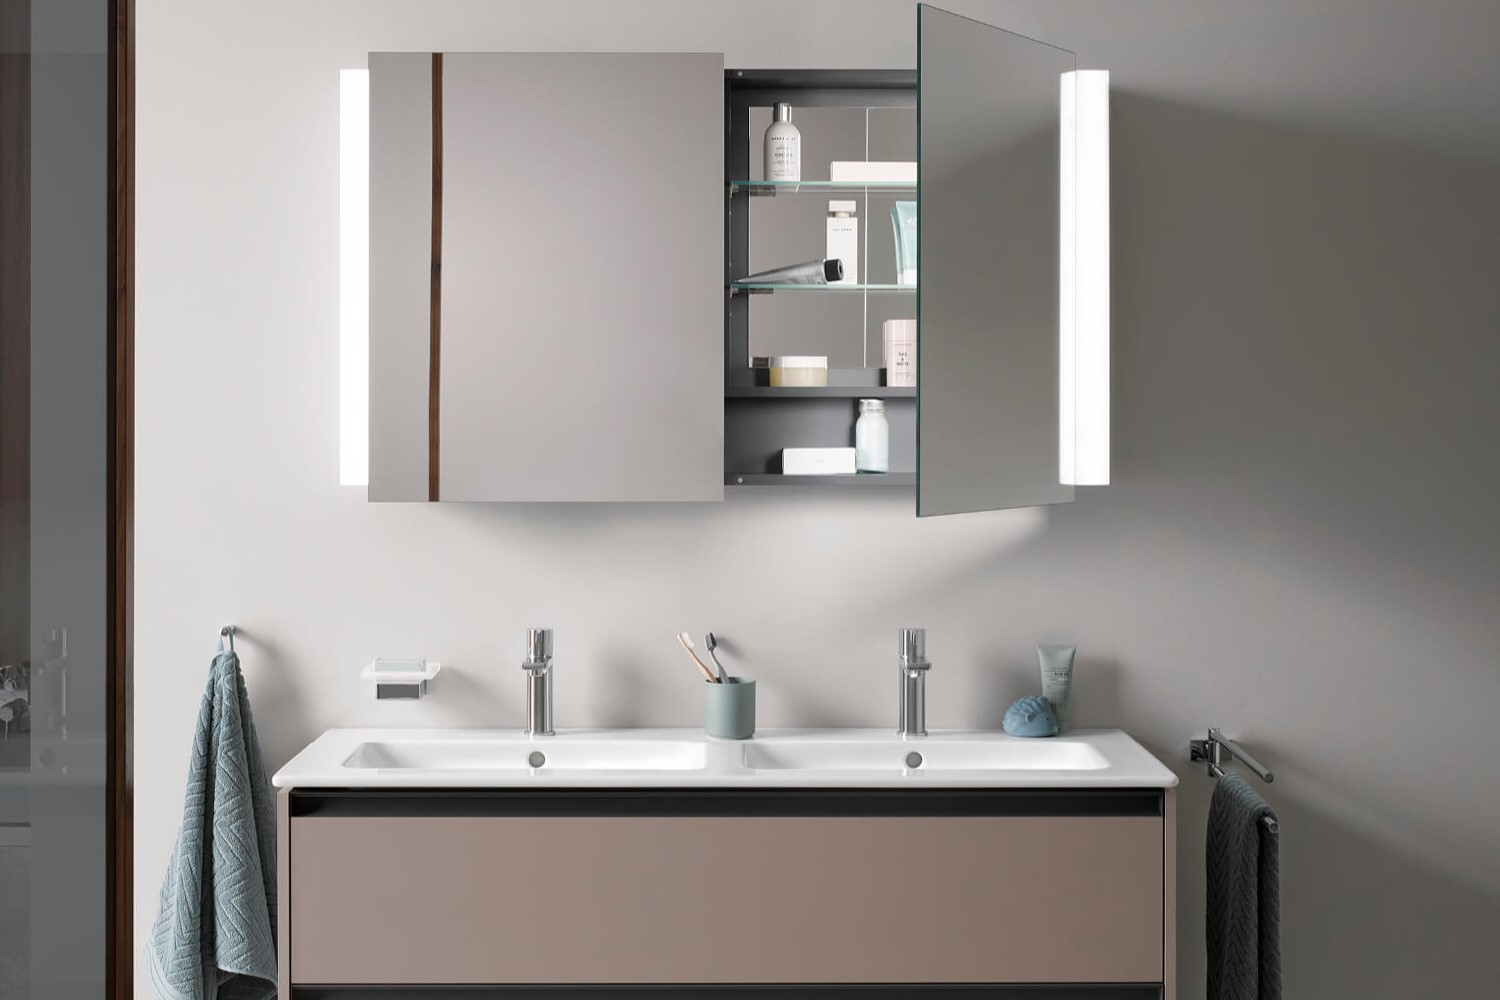
When it comes to home organization and storage, a medicine cabinet plays a crucial role in keeping your essential items neatly arranged and easily accessible. However, finding the right-sized medicine cabinet to fit your space requirements can be a daunting task. To ensure a perfect fit, it’s essential to know how to measure a medicine cabinet accurately.
In this guide, we will walk you through the step-by-step process of measuring a medicine cabinet. We will cover everything from gathering the necessary tools to checking for obstructions that may affect the installation. By following these guidelines, you can confidently shop for a medicine cabinet that fits seamlessly into your bathroom or any other desired location.
Keep in mind that accurate measurements are crucial for finding the right-sized medicine cabinet. So, let’s get started on measuring your medicine cabinet!
Key Takeaways:
- Accurate measurements of a medicine cabinet’s external and internal dimensions, depth, shelves, and additional features are crucial for finding the perfect fit and ensuring a seamless installation.
- Thorough documentation of all measurements, along with careful consideration of potential obstructions or protrusions, is essential for a hassle-free and well-organized medicine cabinet installation.
Step 1: Gathering the necessary tools
Before you begin measuring your medicine cabinet, you will need to gather a few essential tools:
- Tape measure: This will be your primary tool for taking accurate measurements. Make sure it has both metric and imperial measurements to cater to your preference.
- Pen and paper: You will need these to record your measurements. Alternatively, you can use a note-taking app on your smartphone or tablet.
- Level: This tool will help ensure that your medicine cabinet is installed straight and level once you’re ready to hang it.
- Flashlight: In some cases, you may need additional lighting to inspect the cabinet’s interior or to see behind the existing cabinet during the measurement process.
- Pencil: Having a pencil on hand will allow you to mark any measurements on the wall or cabinet for reference.
Once you have gathered these tools, you are ready to move on to the next step: taking external measurements of your medicine cabinet.
Note: Ensure that your workspace is well-lit and free from any clutter or obstructions that may interfere with the measurement process.
Step 2: Taking external measurements
Now that you have your tools ready, it’s time to take the external measurements of your medicine cabinet. This will give you an idea of the cabinet’s overall dimensions. Here’s how to do it:
- Clear the surrounding area: Remove any objects or items that might be blocking your access to the cabinet or hindering your measurements.
- Begin with height measurement: Starting from the top of the cabinet, use your tape measure to determine the height. Place the tape measure at the highest point of the cabinet and extend it down to the bottom. Take note of the measurement in inches or centimeters.
- Move on to width measurement: Measure the width of the cabinet by placing the tape measure across the cabinet from one edge to the opposite edge. Record this measurement as well.
- Measure the depth: To determine the depth, position your tape measure at the front edge of the cabinet and extend it towards the back. Make sure to measure from the deepest point to get an accurate reading.
Remember to write down all the measurements you have taken for future reference. These measurements will come in handy when comparing the dimensions of different medicine cabinets or when planning for any modifications to your space.
Once you have completed the external measurements, you can move on to the next step: measuring the internal space of your medicine cabinet.
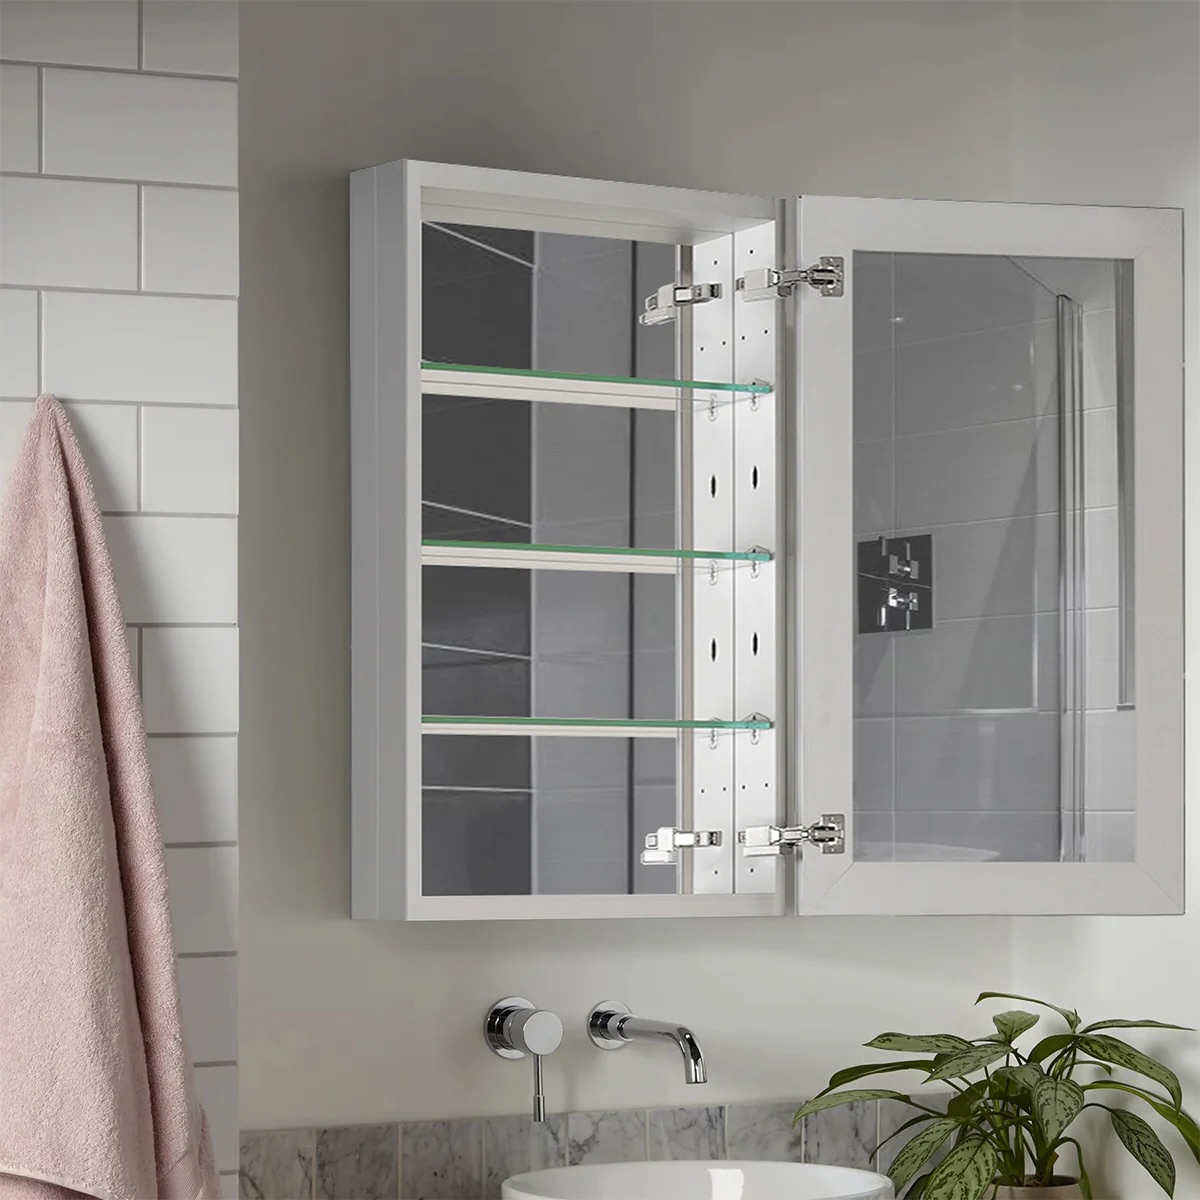
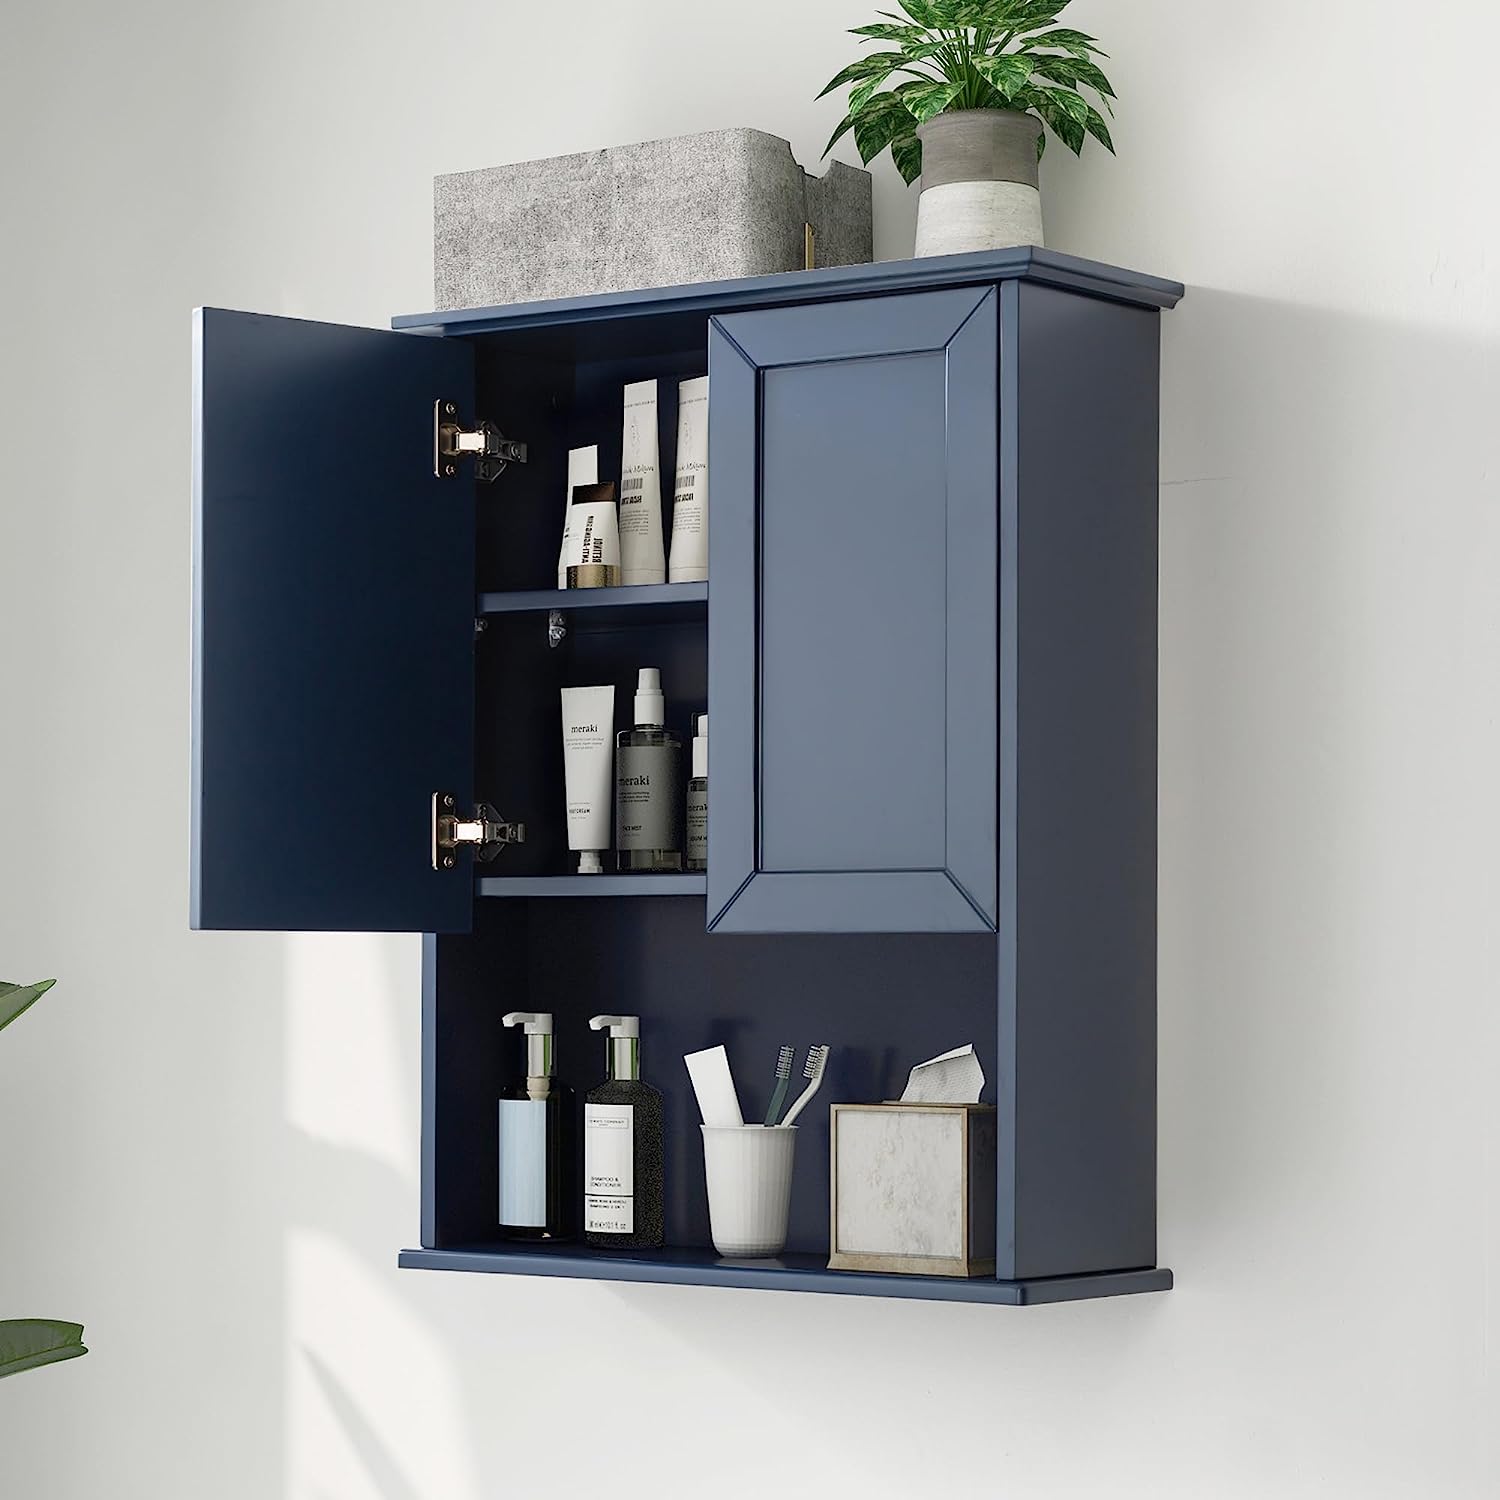
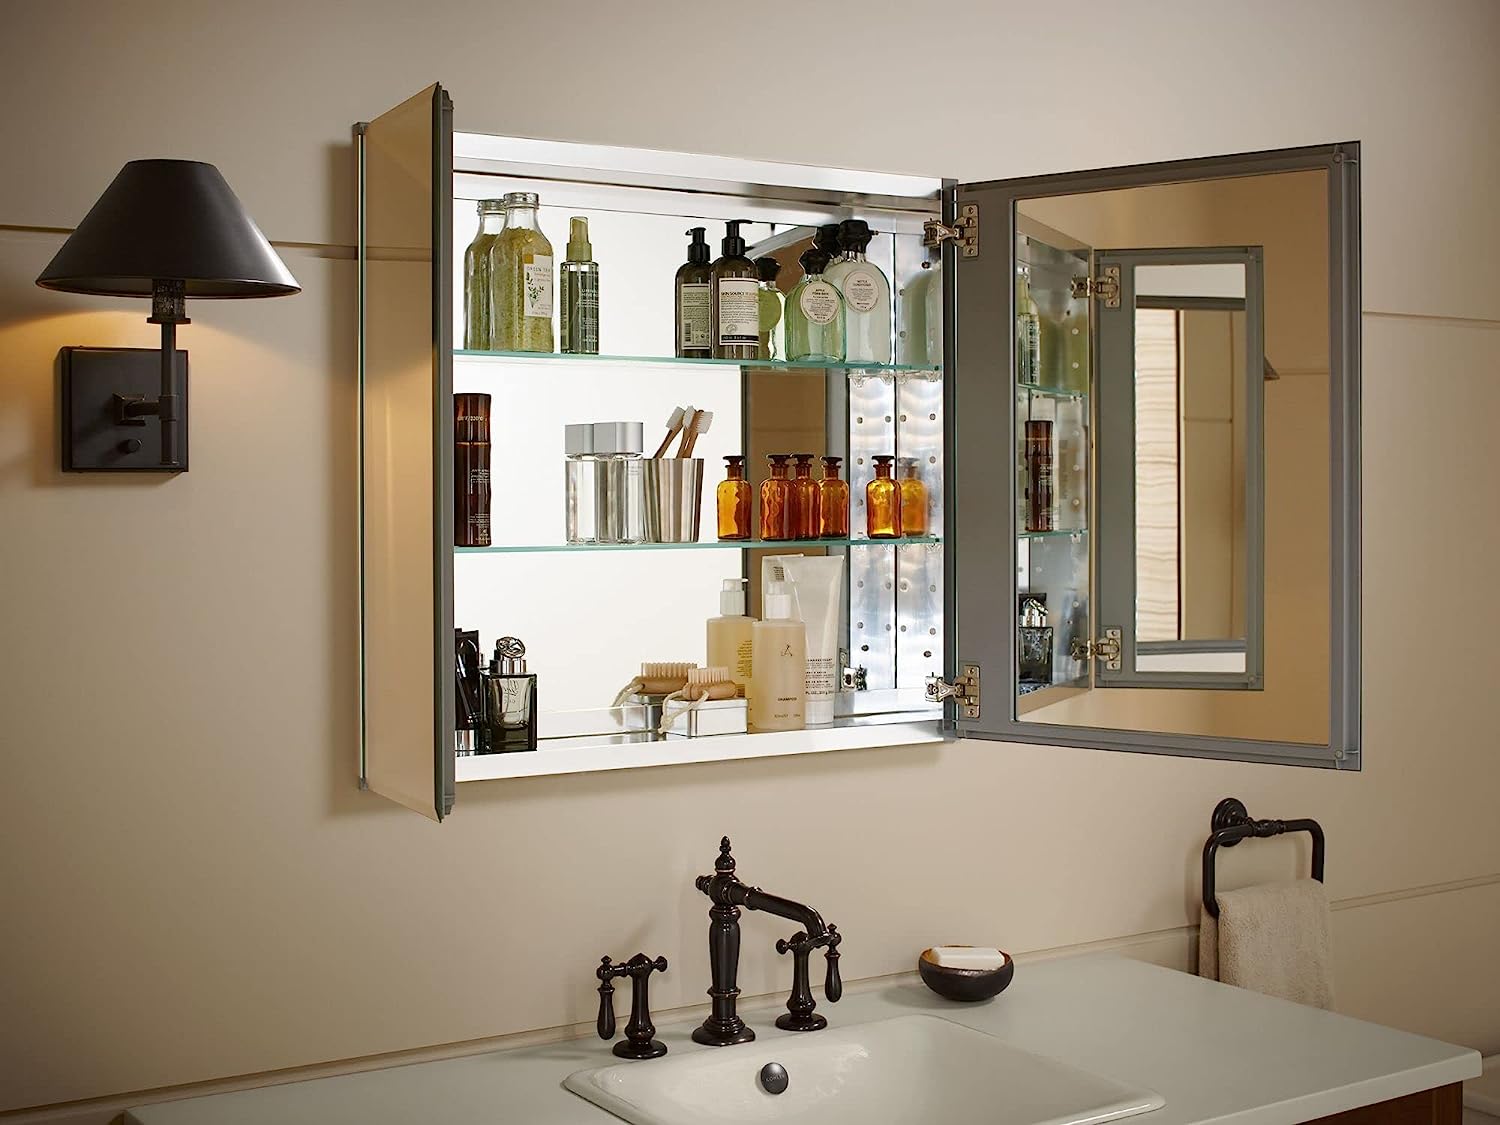
Step 3: Measuring the internal space
Now that you have measured the external dimensions of your medicine cabinet, it’s time to focus on measuring the internal space. This step is crucial as it will help you determine how much storage space is available for your items. Here’s how to accurately measure the internal space:
- Open the cabinet: Make sure the medicine cabinet is fully open to access the interior.
- Measure the height: Starting from the top of the interior space, position your tape measure and measure the height. Extend it down to the bottom of the cabinet interior, noting the measurement as you go along.
- Measure the width: Repeat the process for measuring the width of the internal space. Place the tape measure across the inside of the cabinet, from one side to the other, and record the measurement.
- Measure the depth: Once again, measure the depth of the internal space by positioning the tape measure from the front to the back. Take note of the deepest point to ensure accuracy.
By accurately measuring the internal space of your medicine cabinet, you will have a better understanding of its storage capacity. This information will be valuable when choosing items to store inside or determining if the cabinet can accommodate specific items, such as taller bottles or jars.
With the interior measurements taken, you can proceed to the next step: measuring the depth of the cabinet.
Step 4: Measuring the depth
Measuring the depth of your medicine cabinet is crucial to ensure that it will fit flush against the wall or other surfaces. Here’s how you can accurately measure the depth:
- Start with the door closed: Close the door of the medicine cabinet so that you can measure the distance from the outermost point of the door to the back of the cabinet.
- Position your tape measure: Place the end of your tape measure at the outer edge of the door and extend it straight back to the wall.
- Read the measurement: Take note of the measurement where the tape measure reaches the wall. This will give you the depth measurement of your medicine cabinet.
It’s essential to measure the depth accurately so that the medicine cabinet fits properly and doesn’t protrude too far from the wall or obstruct any surrounding fixtures. Remember to record this measurement for future reference.
With the depth measurement taken, you can now move on to the next step: measuring the shelves and compartments inside the medicine cabinet.
When measuring a medicine cabinet, be sure to measure the width, height, and depth of the cabinet to ensure it will fit in your desired space. Also, consider the swing of the door and any obstructions that may affect installation.
Read more: How To Remove A Medicine Cabinet
Step 5: Measuring the shelves and compartments
Measuring the shelves and compartments inside your medicine cabinet is crucial for planning how you will organize your items. Here’s how you can accurately measure them:
- Open the cabinet: Fully open the medicine cabinet to access the shelves and compartments.
- Measure the height of each shelf: Starting from the topmost shelf, place your tape measure at the back edge and extend it to the front edge of the shelf. Record the measurement for each individual shelf.
- Measure the width of each compartment: For compartments without shelves, measure the width by placing the tape measure across the compartment from one side to the other.
- Measure the depth of each shelf and compartment: Measure the depth by extending the tape measure from the back of the shelf or compartment to the front edge.
By measuring the shelves and compartments, you will have a clear understanding of their dimensions and can plan accordingly when organizing your items. This step is particularly helpful if you have specific items that you want to store in the medicine cabinet, as it ensures they will fit comfortably.
Now that you have taken measurements of the shelves and compartments, you can proceed to the next step: measuring any additional features or components of the medicine cabinet.
Step 6: Measuring any additional features
In addition to measuring the main dimensions of your medicine cabinet, it’s important to consider any additional features or components that may affect its overall size and functionality. Here’s how to measure these additional features:
- Mirrors: If your medicine cabinet has a mirror or mirrors on the front or inside, measure their dimensions. Note the height, width, and thickness of each mirror.
- Handles and knobs: Measure the distance between the center of the handle or knob and the edge of the cabinet door. This measurement will help determine if the handles or knobs may protrude too far and create any obstructions.
- Lights: If your medicine cabinet is equipped with lights, measure their dimensions and the space they occupy. Consider both the width and depth of the light fixture.
- Hinges: Measure the dimensions of the hinges, including their length, width, and thickness. This will help ensure that the cabinet door can open and close properly without any interference.
By measuring these additional features, you will have a comprehensive understanding of your medicine cabinet’s overall size and any potential obstructions or limitations. This information will be useful when selecting a new medicine cabinet or planning any modifications to your existing one.
Now that you have measured the main dimensions as well as any additional features, it’s time to move on to the next step: recording all the measurements you have taken.
Step 7: Recording the measurements
After taking all the necessary measurements of your medicine cabinet and its various components, it’s essential to record them for future reference. By keeping a detailed record of the measurements, you can easily compare them when shopping for a new medicine cabinet or planning any modifications or installations. Here’s how to effectively record the measurements:
- Transfer the measurements to paper: Use a pen and paper or a note-taking app to write down each dimension you have measured. Make sure to label each measurement clearly, including height, width, depth, and any other relevant details.
- Organize the information: Group similar measurements together to create a logical structure. For example, you can have a section for external dimensions, another for internal dimensions, and separate sections for additional features.
- Include any notes or observations: If you noticed any unusual aspects or potential considerations during the measurement process, make a note of them. These additional details can be valuable when making decisions later on.
- Keep the record in a safe place: Store your measurement record in a secure location where you can easily retrieve it when needed. Consider keeping a digital copy as well for added convenience.
By having a detailed record of all the measurements, you can confidently shop for a new medicine cabinet or communicate the dimensions accurately to professionals if you require assistance with modifications or installations.
Now that you have recorded the measurements, it’s time for the final step: checking for any obstructions or protrusions that may affect the installation of your medicine cabinet.
Step 8: Checking for any obstructions or protrusions
Before finalizing the installation of your medicine cabinet, it’s crucial to check for any potential obstructions or protrusions that may interfere with its placement or functionality. Here’s how to ensure a hassle-free installation:
- Inspect the area: Carefully examine the wall or surface where the medicine cabinet will be installed. Look for any electrical outlets, switches, or plumbing fixtures that may be in close proximity to the cabinet. Consider the placement of light switches, towel bars, or other nearby fixtures that could obstruct the cabinet’s opening or limit access to its contents.
- Measure the clearances: In addition to the measurements you have already taken, measure the distance between the existing fixtures and the intended location of the medicine cabinet. Ensure that there is ample space for the cabinet to fit without any obstructions.
- Check for clearance when open: When the cabinet door is fully opened, ensure that it does not hit any adjacent walls, objects, or other fixtures. Verify that there is sufficient clearance to comfortably open and close the door without any restrictions.
- Note any modifications required: If you identify any potential issues or obstructions during this inspection, make a note of them. Consider if any modifications, such as relocating electrical outlets or adjusting nearby fixtures, may be necessary before proceeding with the installation.
By checking for obstructions or protrusions, you can ensure a smooth installation process and avoid any surprises or difficulties. Taking the time to assess the area beforehand will help you plan accordingly and make any necessary adjustments to create an ideal space for your medicine cabinet.
With this final step completed, you have successfully measured and checked for obstructions or protrusions. You are now ready to proceed with confidence and select the perfect medicine cabinet for your needs.
Remember, accurate measurements and careful planning are key to finding the ideal medicine cabinet that fits seamlessly into your space and enhances your organizational efforts.
Happy measuring!
Read more: How To Paint A Medicine Cabinet
Conclusion
Measuring a medicine cabinet may seem like a small task, but it is an essential step to ensure a seamless and functional installation. By accurately measuring the external and internal dimensions, depth, shelves, compartments, and other features, you can confidently select a medicine cabinet that fits perfectly into your space.
Throughout this guide, we’ve walked you through the step-by-step process of measuring a medicine cabinet. From gathering the necessary tools to checking for any obstructions, each step is important in creating a well-organized and accessible storage solution.
Remember, precise measurements and thorough documentation are crucial. By recording all the measurements you have taken, you can easily compare them when shopping for a new cabinet or making modifications.
While measuring, it’s also important to consider the surrounding area and any potential obstructions or protrusions that may impact the installation. By checking for these factors in advance, you can make any necessary adjustments and ensure a smooth and hassle-free installation process.
By following the steps outlined in this guide, you are well-equipped to measure a medicine cabinet effectively. Armed with accurate measurements, you can confidently shop for the perfect cabinet that meets your organizational needs and seamlessly integrates into your space.
So, go ahead and utilize your newfound knowledge to measure your medicine cabinet accurately. Enjoy the transformation of your space into a well-organized and functional area, all thanks to your precise measurements.
Frequently Asked Questions about How To Measure A Medicine Cabinet
Was this page helpful?
At Storables.com, we guarantee accurate and reliable information. Our content, validated by Expert Board Contributors, is crafted following stringent Editorial Policies. We're committed to providing you with well-researched, expert-backed insights for all your informational needs.
0 thoughts on “How To Measure A Medicine Cabinet”