Home>Furniture & Design>Bathroom Accessories>How To Install A Medicine Cabinet In The Wall
Bathroom Accessories
How To Install A Medicine Cabinet In The Wall
Modified: March 5, 2024
Learn how to easily install a medicine cabinet in your bathroom wall with our step-by-step guide. Find out the best bathroom accessories for your space!
(Many of the links in this article redirect to a specific reviewed product. Your purchase of these products through affiliate links helps to generate commission for Storables.com, at no extra cost. Learn more)
Introduction
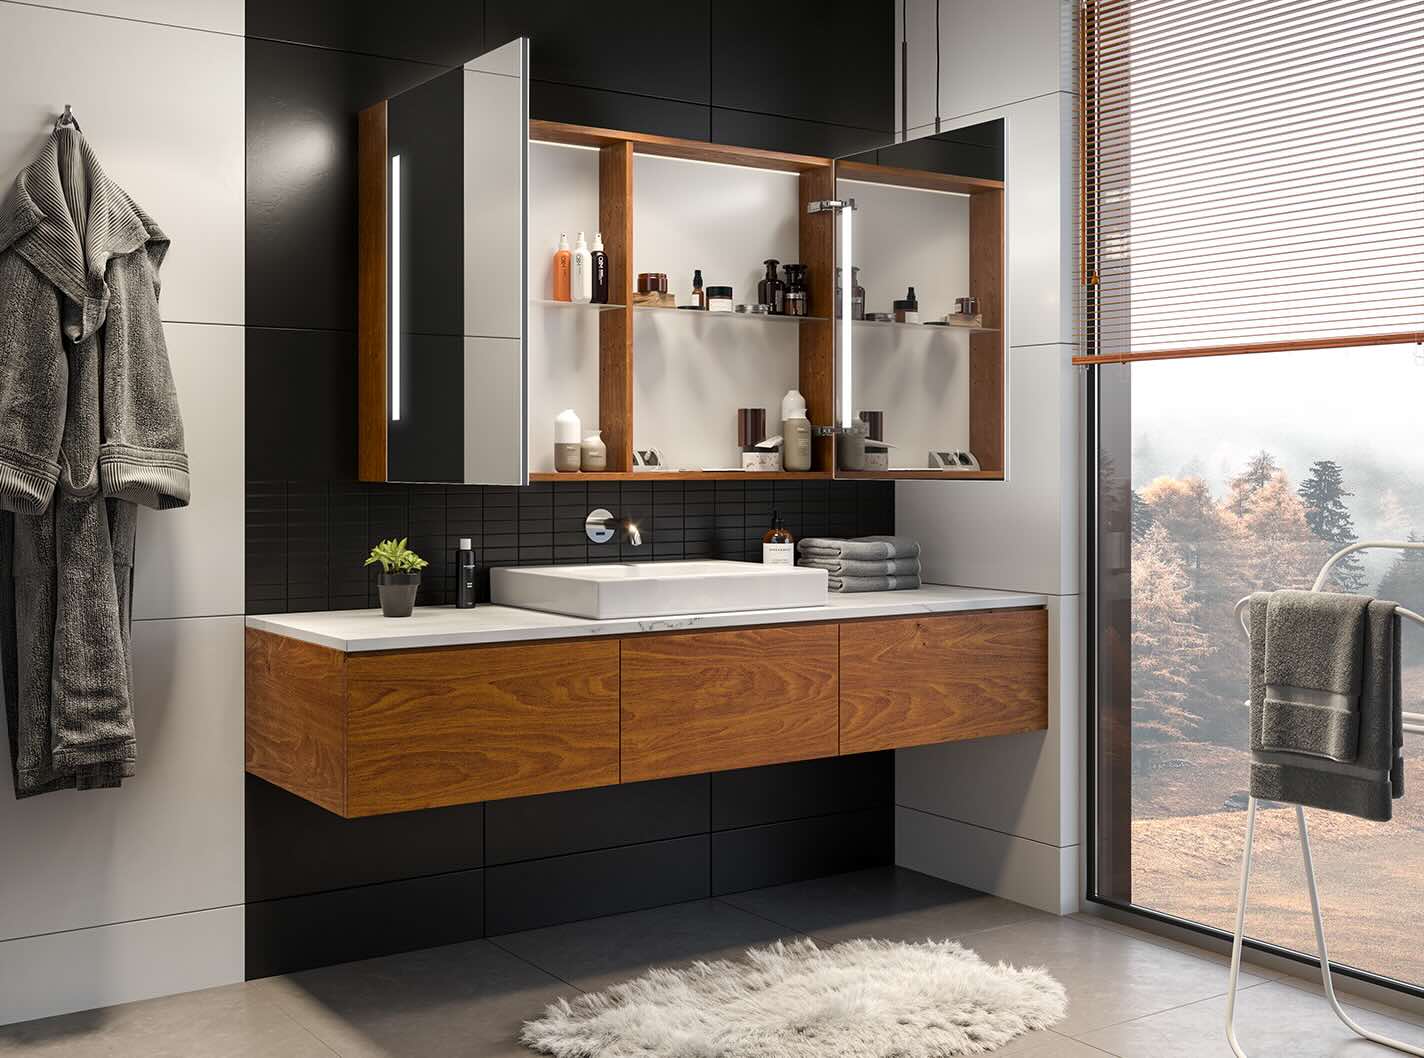
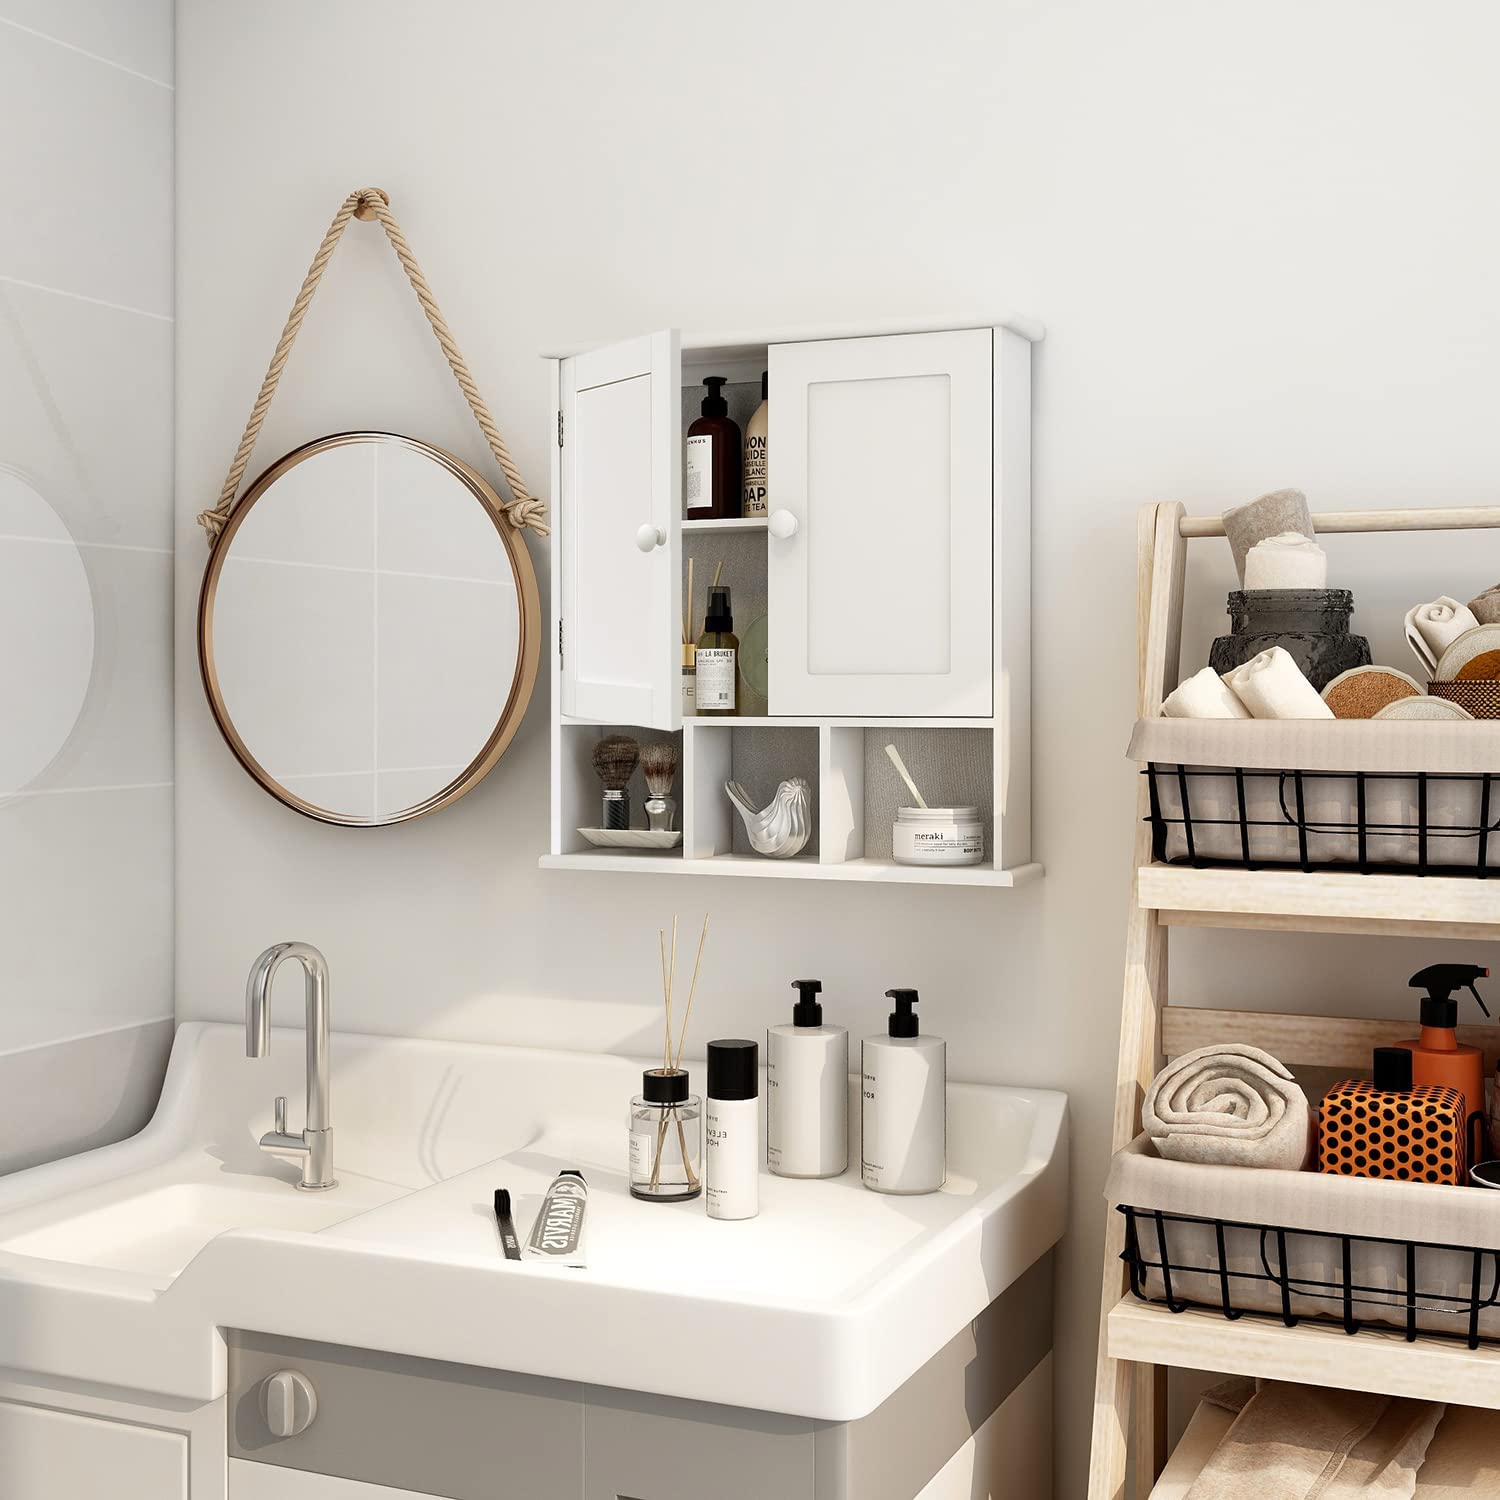
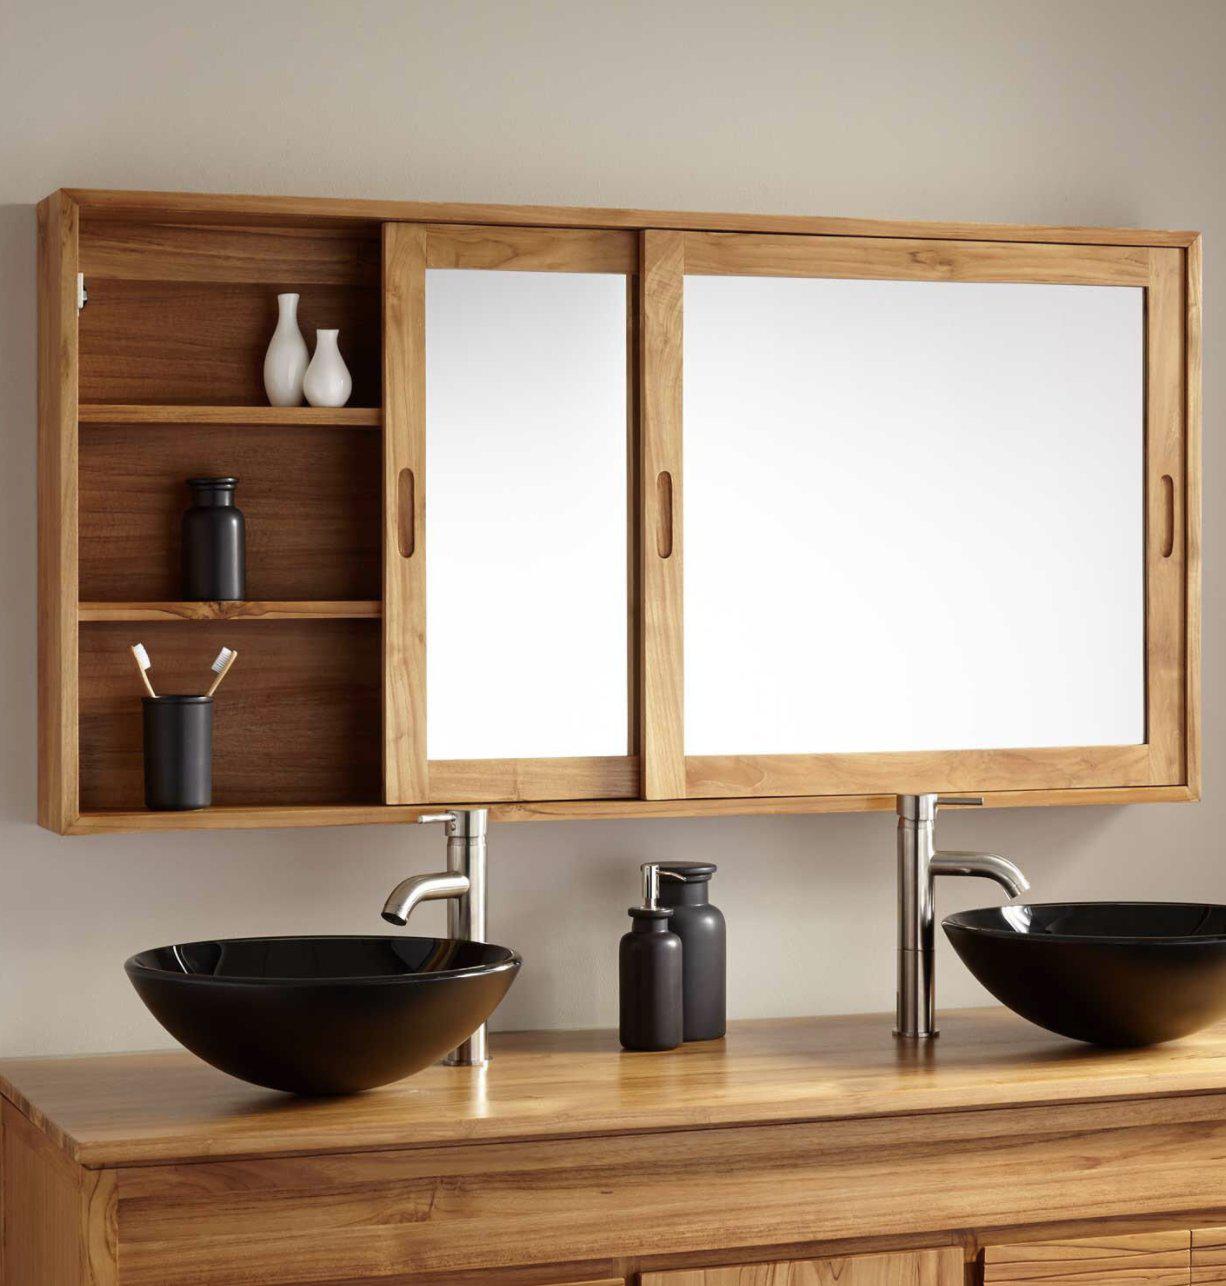
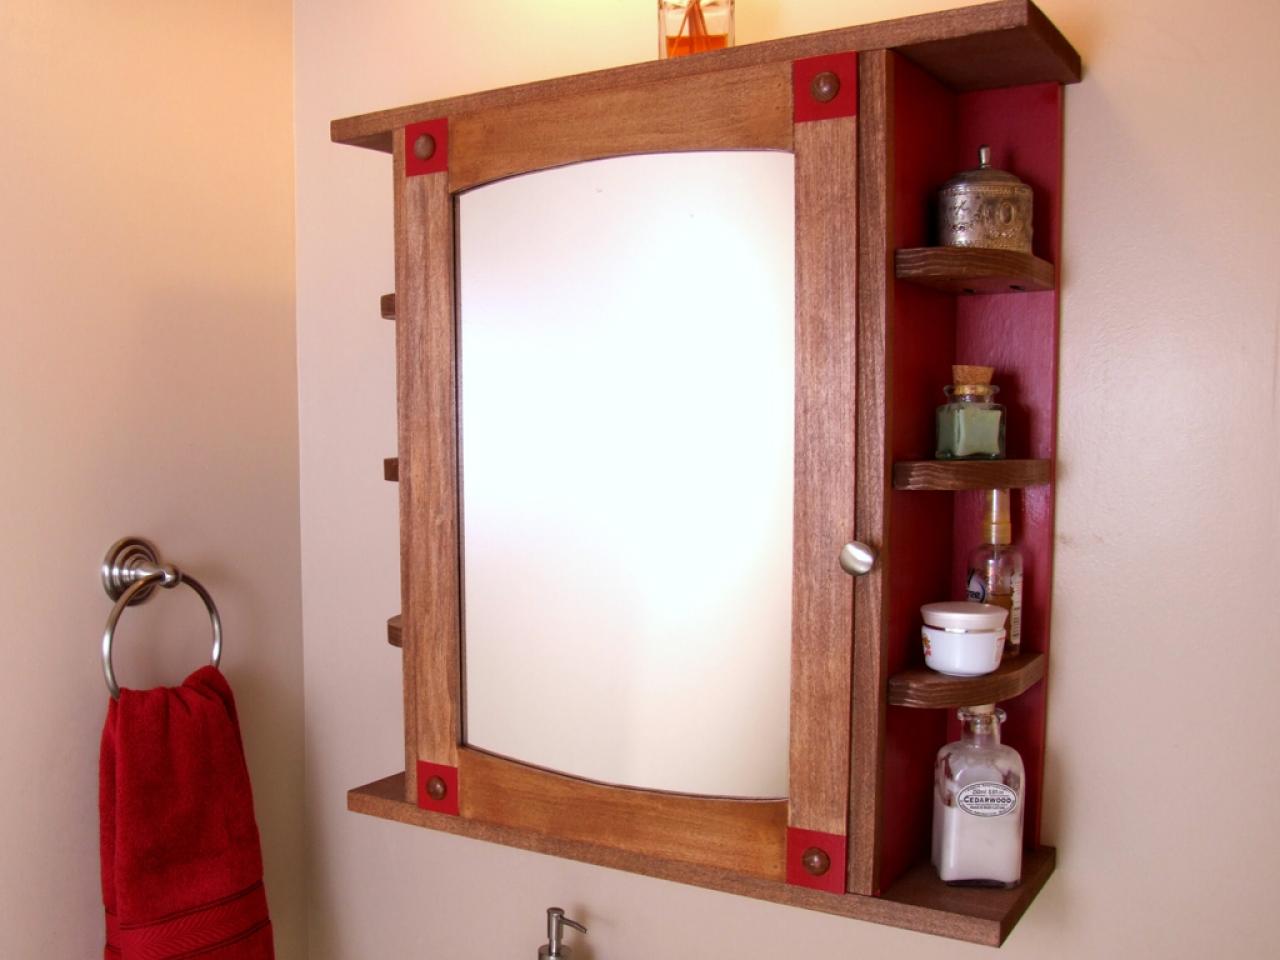
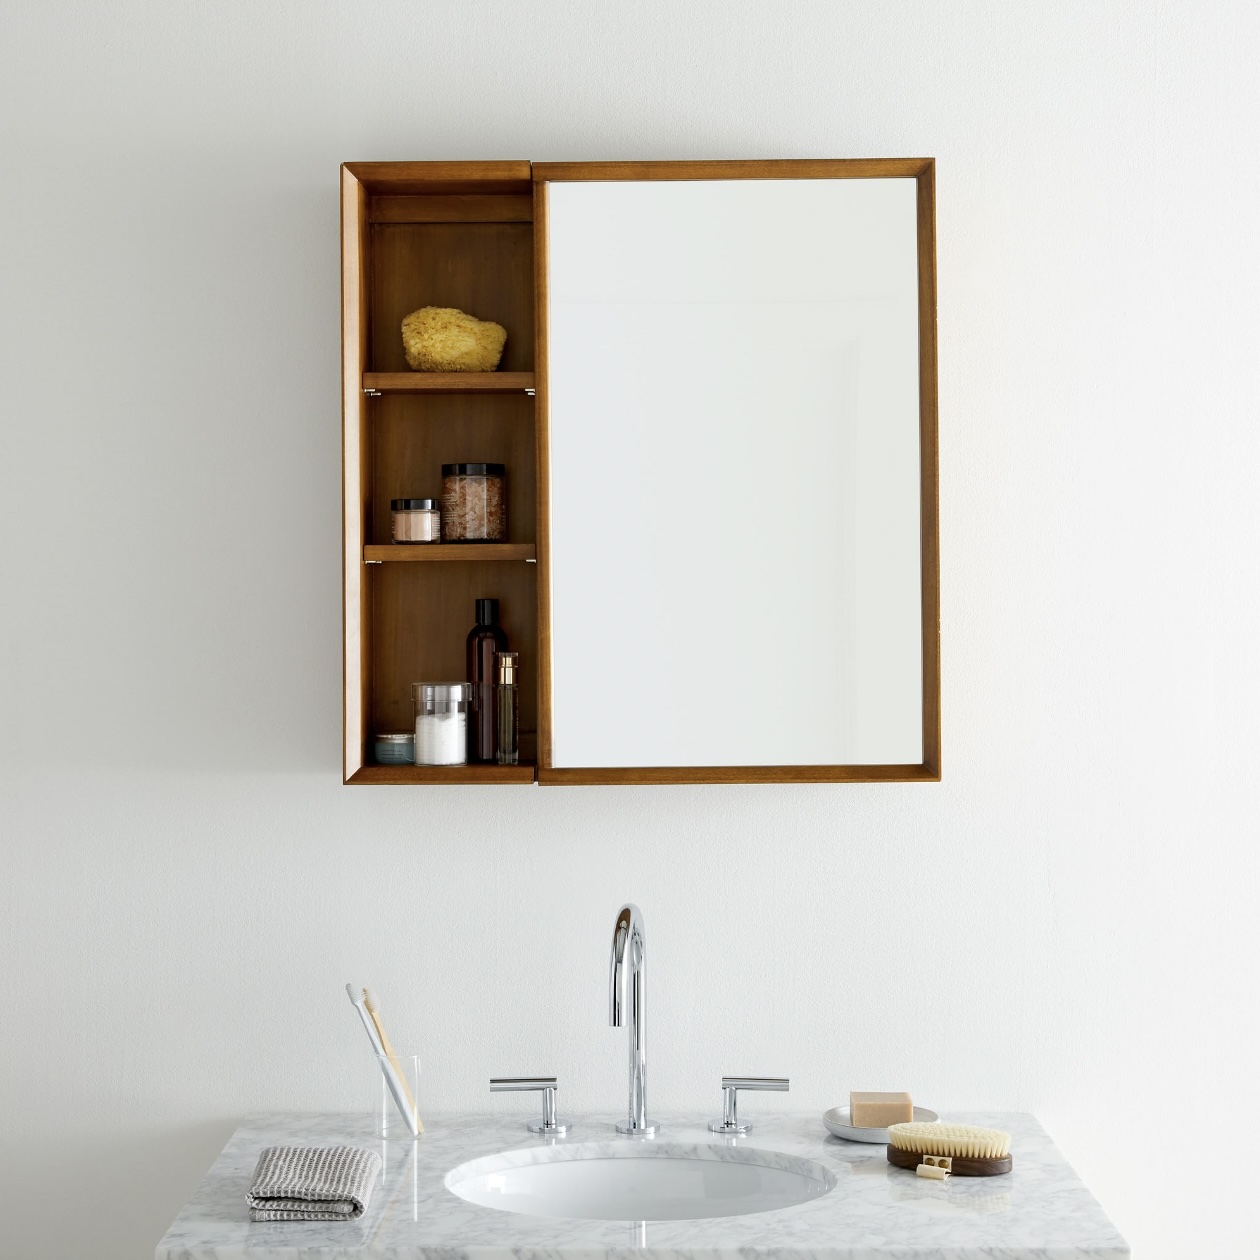
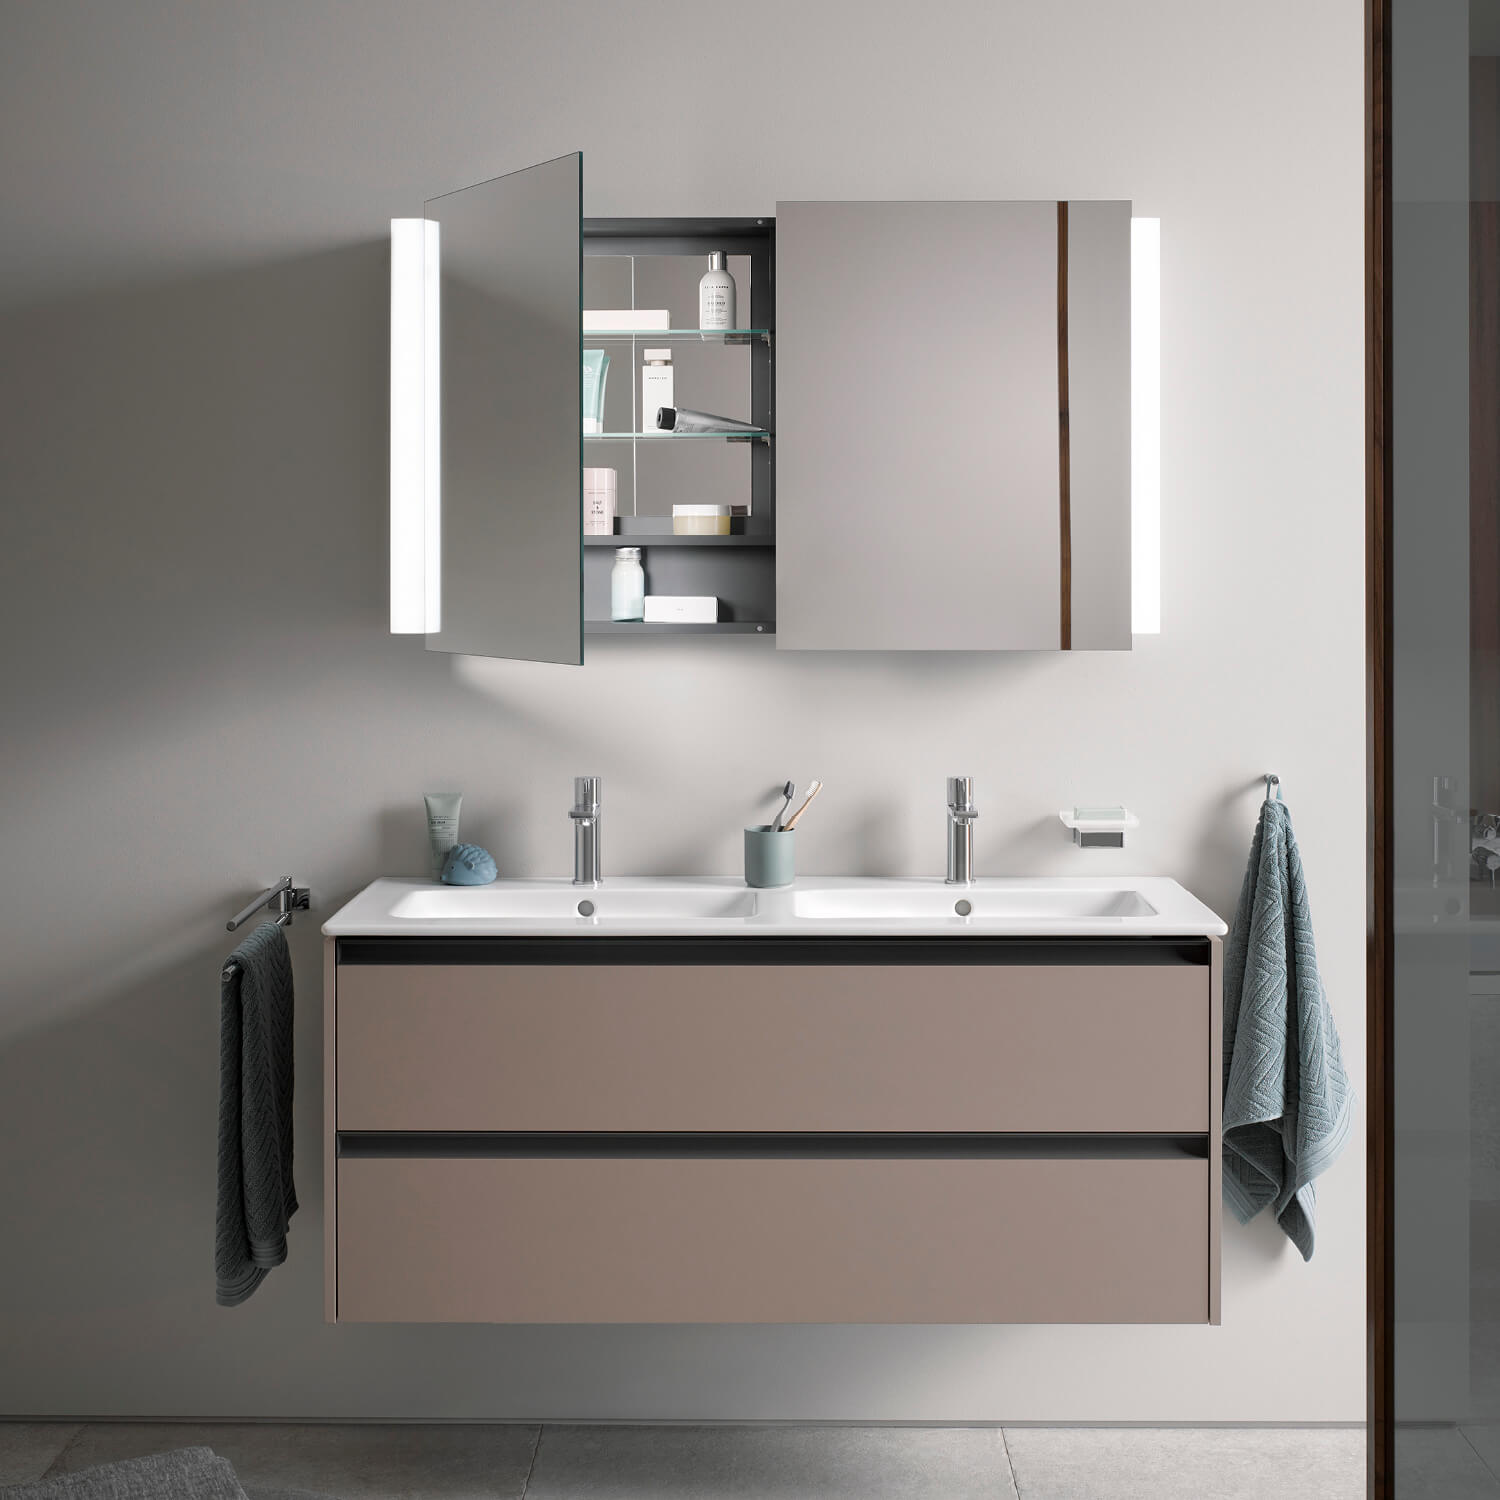
Installing a medicine cabinet in the wall can be a practical and aesthetically pleasing addition to any bathroom. Not only does it provide valuable storage space for essential items, but it also helps declutter the countertop and maintain a clean, organized environment. Whether you're looking to maximize space in a small bathroom or simply upgrade the functionality of your existing setup, a recessed medicine cabinet offers a seamless and polished look that complements various decor styles.
In this comprehensive guide, we will walk you through the step-by-step process of installing a medicine cabinet in the wall. From gathering the necessary tools and materials to adding the finishing touches, you'll gain valuable insights into the techniques and considerations involved in this home improvement project. By following these instructions, you can achieve a professional-looking result while enhancing the functionality and visual appeal of your bathroom.
The installation process may seem daunting at first, especially for those with limited experience in home improvement projects. However, with the right guidance and attention to detail, you can successfully complete this task and enjoy the benefits of a seamlessly integrated medicine cabinet. Whether you're a seasoned DIY enthusiast or a novice looking to expand your skills, this guide will equip you with the knowledge and confidence to tackle this project with ease.
As we delve into each step, you'll discover the importance of precise measurements, proper tools, and careful execution. Additionally, we'll explore the significance of securing the cabinet effectively to ensure long-term stability and safety. By the end of this guide, you'll be well-prepared to embark on this rewarding endeavor and elevate the functionality and aesthetics of your bathroom space.
Now, let's embark on this journey to transform your bathroom with the installation of a recessed medicine cabinet. With the right approach and a willingness to learn, you'll soon be enjoying the convenience and elegance of a seamlessly integrated storage solution. Let's get started!
Key Takeaways:
- Transform your bathroom with a recessed medicine cabinet for a clutter-free, organized space. Follow the step-by-step guide for a professional result, enhancing functionality and visual appeal.
- Enjoy the pride of a DIY project by seamlessly integrating a medicine cabinet into your bathroom. Elevate the ambiance with personalized touches and maximize space with a polished, practical storage solution.
Read more: How To Install A Medicine Cabinet
Step 1: Gather the necessary tools and materials
Before embarking on the installation of a medicine cabinet in the wall, it's essential to gather all the required tools and materials to ensure a smooth and efficient process. Having the right equipment at your disposal will not only streamline the installation but also contribute to the overall quality and durability of the finished result. Here's a comprehensive list of the necessary items you'll need for this project:
Tools:
- Stud Finder: This tool is crucial for locating the wall studs, which are essential for securely anchoring the medicine cabinet.
- Level: A level will help ensure that the cabinet is installed straight and aligned with the wall.
- Measuring Tape: Accurate measurements are key to cutting the opening in the wall and positioning the cabinet correctly.
- Pencil: Use a pencil for marking the wall and outlining the dimensions of the cabinet opening.
- Drywall Saw or Reciprocating Saw: A saw is necessary for cutting the opening in the wall to accommodate the cabinet.
- Screwdriver or Drill: Depending on the fasteners provided with the cabinet, you'll need a screwdriver or drill for securing it to the wall.
- Safety Glasses and Gloves: It's important to prioritize safety when working with tools and materials.
Materials:
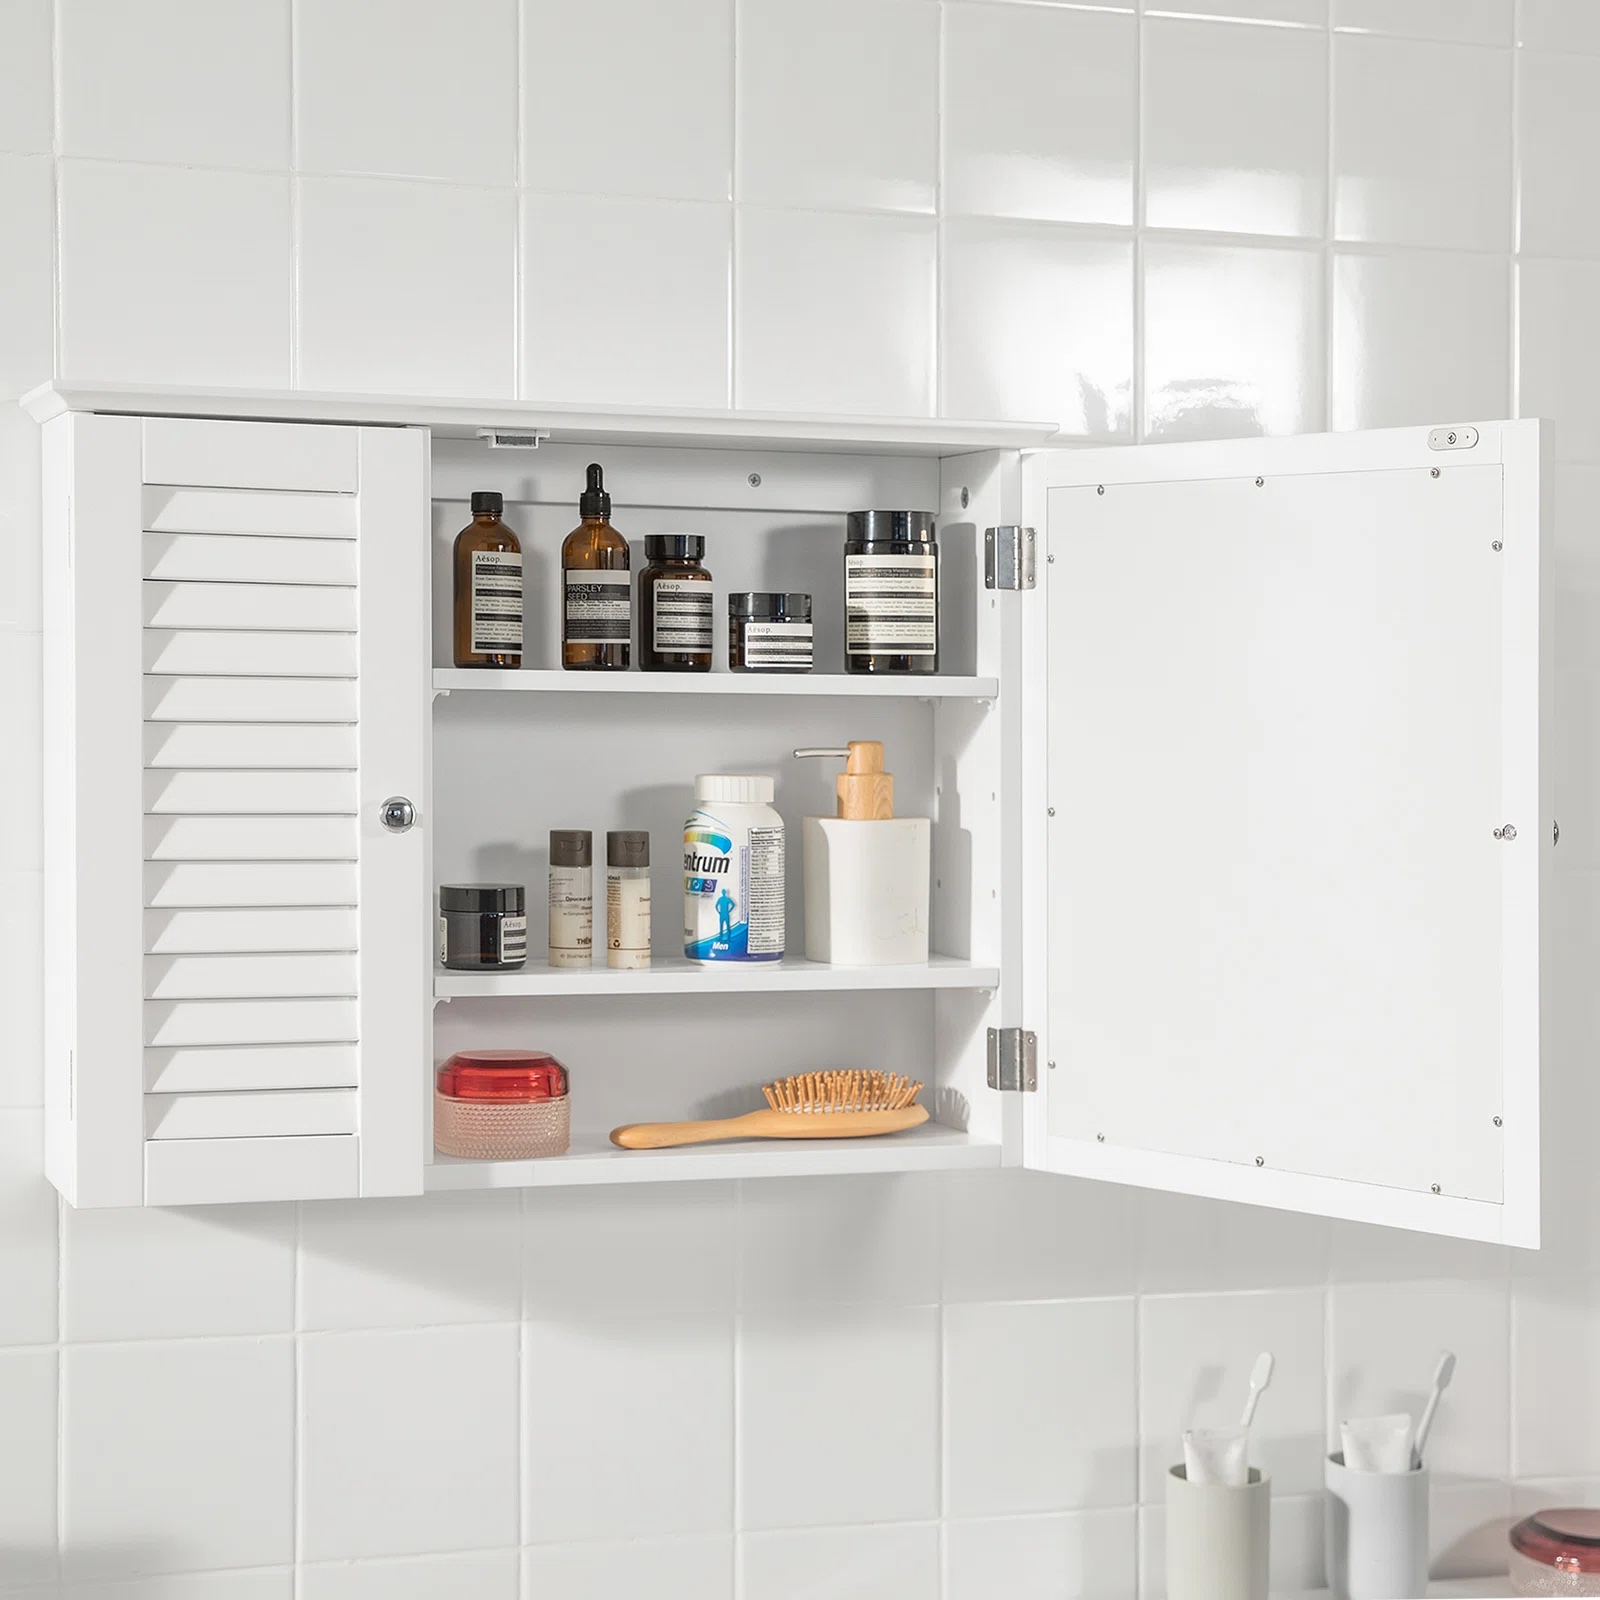
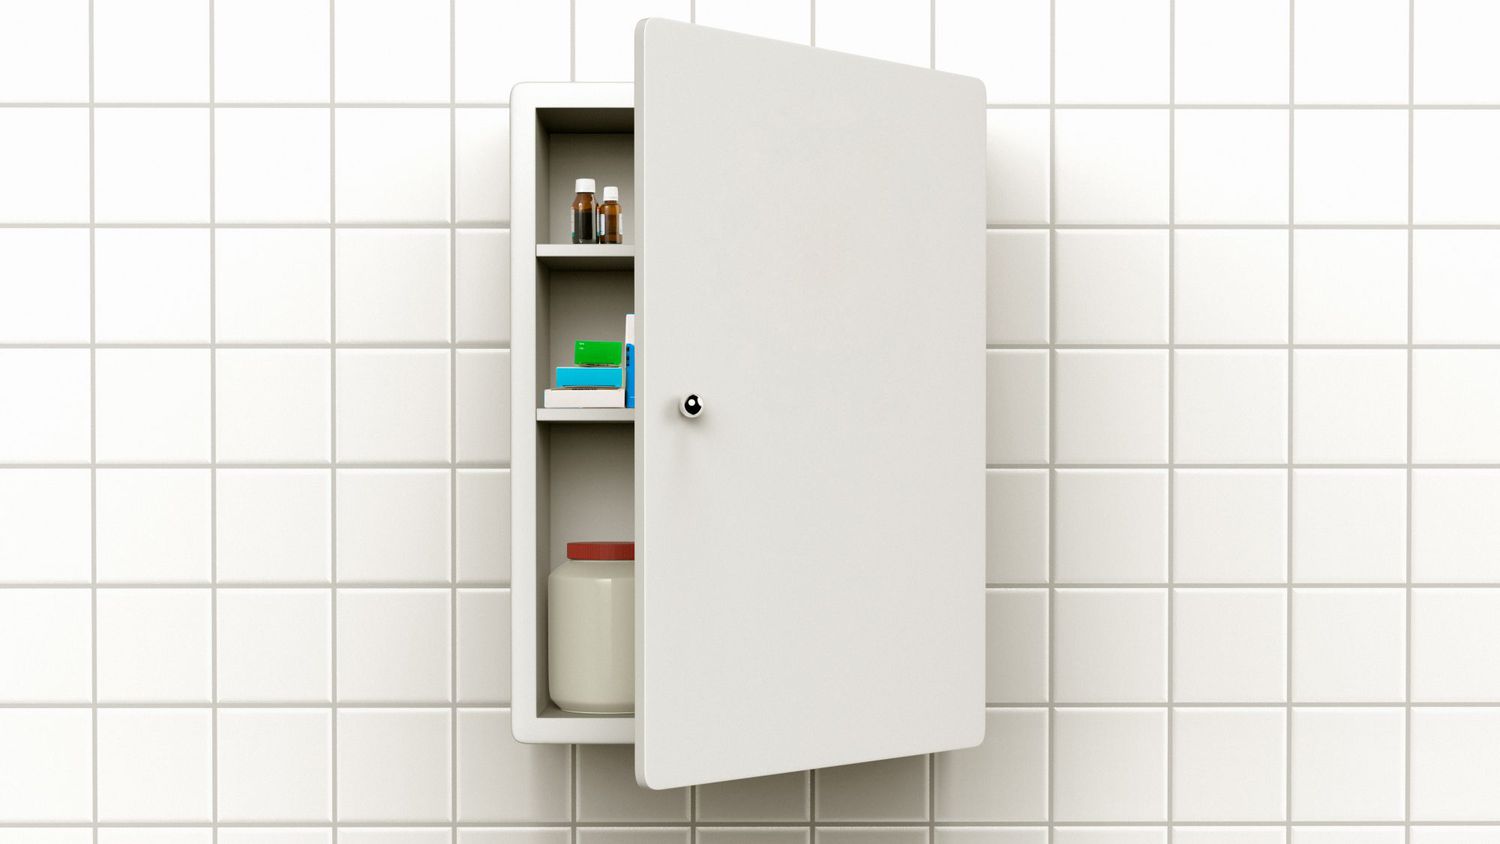
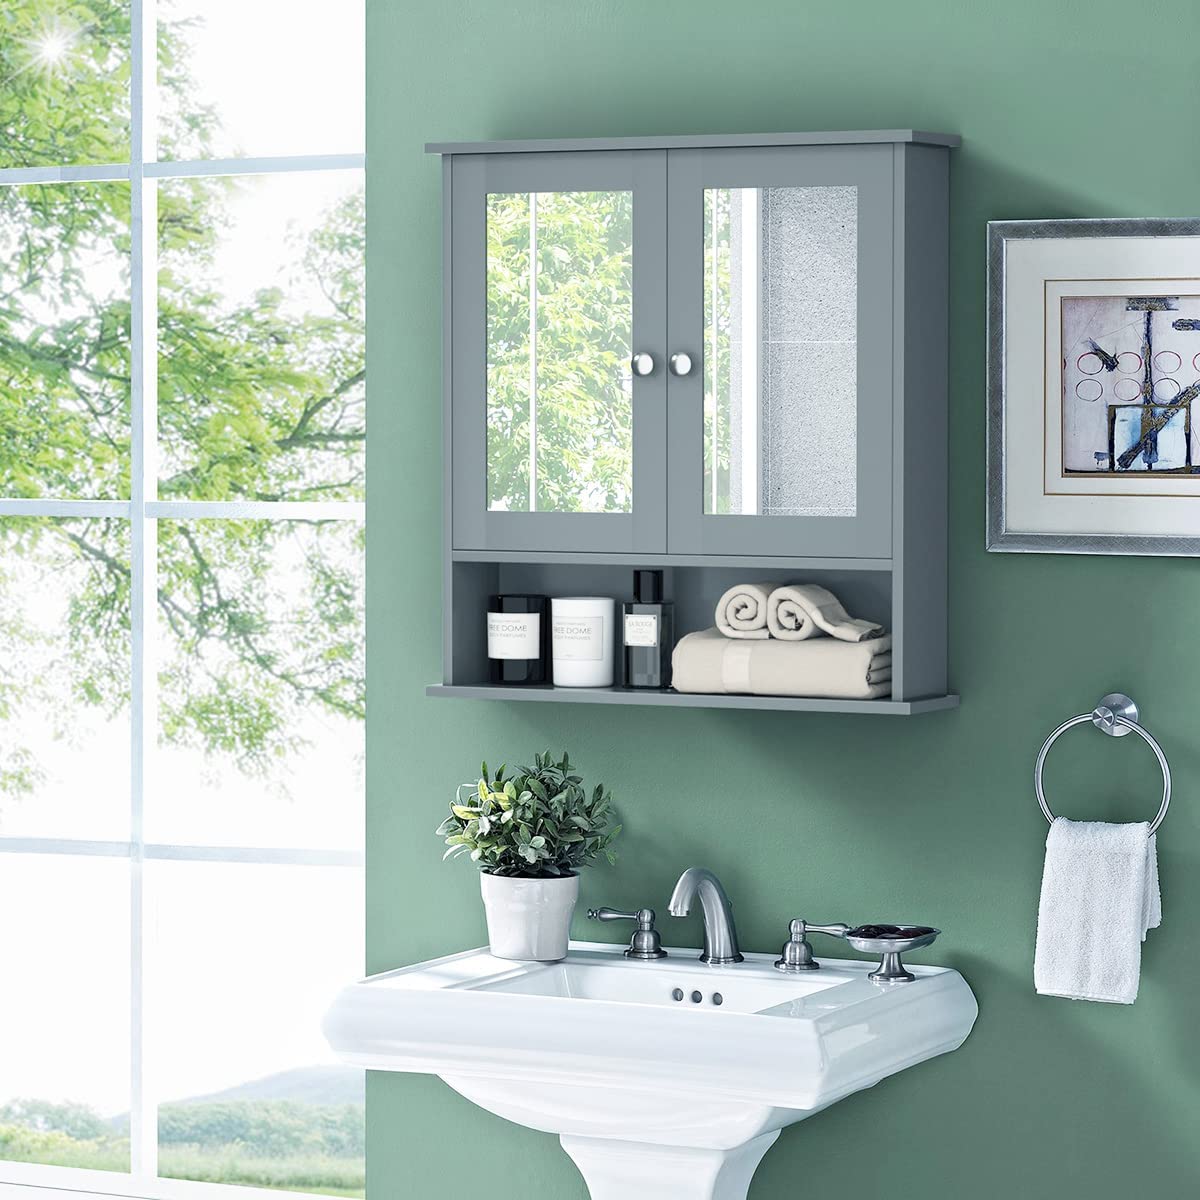
- Recessed Medicine Cabinet: Select a high-quality cabinet that fits the dimensions of the intended wall space and complements your bathroom decor.
- Shims: These small, wedge-shaped pieces are used to level and stabilize the cabinet during installation.
- Wood Screws or Anchors: Depending on the wall material, you'll need appropriate fasteners to secure the cabinet to the wall studs.
- Drywall Tape and Joint Compound: These are essential for finishing the edges of the wall opening after the cabinet is installed.
- Paint or Stain: If necessary, have paint or stain on hand to touch up the cabinet or surrounding wall after installation.
By ensuring that you have all the necessary tools and materials before beginning the installation process, you'll set yourself up for a successful and efficient project. With these items at your disposal, you'll be ready to move on to the next steps and bring your vision of a recessed medicine cabinet to life in your bathroom.
Step 2: Measure and mark the wall for the cabinet
Accurate measurements and precise markings are crucial for ensuring the proper placement and alignment of the recessed medicine cabinet. Before making any cuts or adjustments to the wall, it's essential to approach this step with meticulous attention to detail. Here's a detailed breakdown of the process:
-
Locate Wall Studs: Use a stud finder to identify the location of the wall studs within the area where the cabinet will be installed. Mark the positions of the studs with a pencil as these will serve as the anchor points for securing the cabinet.
-
Determine Cabinet Placement: Based on the dimensions of the selected medicine cabinet, use a measuring tape to establish the exact placement on the wall. Consider the height and width of the cabinet, ensuring that it aligns with your desired positioning and complements the overall aesthetics of the bathroom.
-
Mark the Outline: With the aid of a level, trace the outline of the cabinet onto the wall using a pencil. This step is crucial for creating a precise guide for cutting the opening in the wall. Double-check the measurements and ensure that the outline is accurately aligned with the designated placement.
-
Account for Depth: In addition to marking the width and height of the cabinet, it's important to consider the depth of the recessed area. Measure the depth of the cabinet and mark this dimension on the wall, indicating the extent of the wall that needs to be removed to accommodate the cabinet.
-
Verify Measurements: Before proceeding to the next step, take a moment to review and verify all the measurements and markings. Confirm that the outlined area aligns with the intended placement of the cabinet and that the dimensions are accurate.
By meticulously measuring and marking the wall for the cabinet, you'll establish a solid foundation for the subsequent steps in the installation process. This careful approach will contribute to the seamless integration of the medicine cabinet into the wall, ensuring a professional and visually appealing result. With the wall accurately prepared, you'll be ready to proceed to the next phase of the installation, bringing you one step closer to enjoying the enhanced functionality and aesthetics of your bathroom space.
Read more: How To Install A Recessed Medicine Cabinet
Step 3: Cut the opening in the wall
With the wall meticulously marked and the precise dimensions of the medicine cabinet outlined, the next crucial step is to cut the opening in the wall to accommodate the cabinet. This process requires careful attention to detail and the use of appropriate tools to ensure a clean and accurate cut. Here's a detailed breakdown of the steps involved in cutting the opening:
-
Prepare the Work Area: Before commencing with the cutting process, it's essential to clear the surrounding area and ensure that it is free of any obstructions. Remove any wall decor, such as mirrors or artwork, and relocate any electrical outlets or switches that may interfere with the cutting process.
-
Use the Right Tools: Depending on the wall material, such as drywall or plaster, select a suitable saw for cutting the opening. A drywall saw or reciprocating saw is commonly used for this purpose. Ensure that the chosen tool is sharp and in good condition to facilitate a smooth and precise cut.
-
Cut Along the Marked Outline: With safety glasses and gloves in place, carefully begin cutting along the marked outline of the cabinet using the selected saw. Exercise caution and maintain a steady hand to achieve clean and straight edges. Take your time to ensure that the cut aligns with the designated dimensions.
-
Check for Obstacles: As you progress with the cutting, be mindful of any potential obstacles within the wall, such as electrical wiring or plumbing. Exercise caution and make adjustments as necessary to avoid damaging any hidden components within the wall.
-
Verify the Fit: Once the initial cut is complete, verify that the dimensions of the opening align with the requirements of the medicine cabinet. Check the depth, width, and height of the cut to ensure that it accommodates the cabinet with ample space for a secure fit.
-
Smooth the Edges: After the opening is cut, use sandpaper or a utility knife to smooth any rough edges and ensure a clean finish. This step is essential for preparing the opening to receive the medicine cabinet without any obstructions or irregularities.
By following these detailed steps and exercising precision and care, you'll successfully cut the opening in the wall to accommodate the recessed medicine cabinet. This pivotal phase brings you closer to the seamless integration of the cabinet into the wall, setting the stage for the subsequent installation steps. With the opening accurately prepared, you're ready to progress to the next phase of the installation, marking significant progress toward enhancing the functionality and aesthetics of your bathroom space.
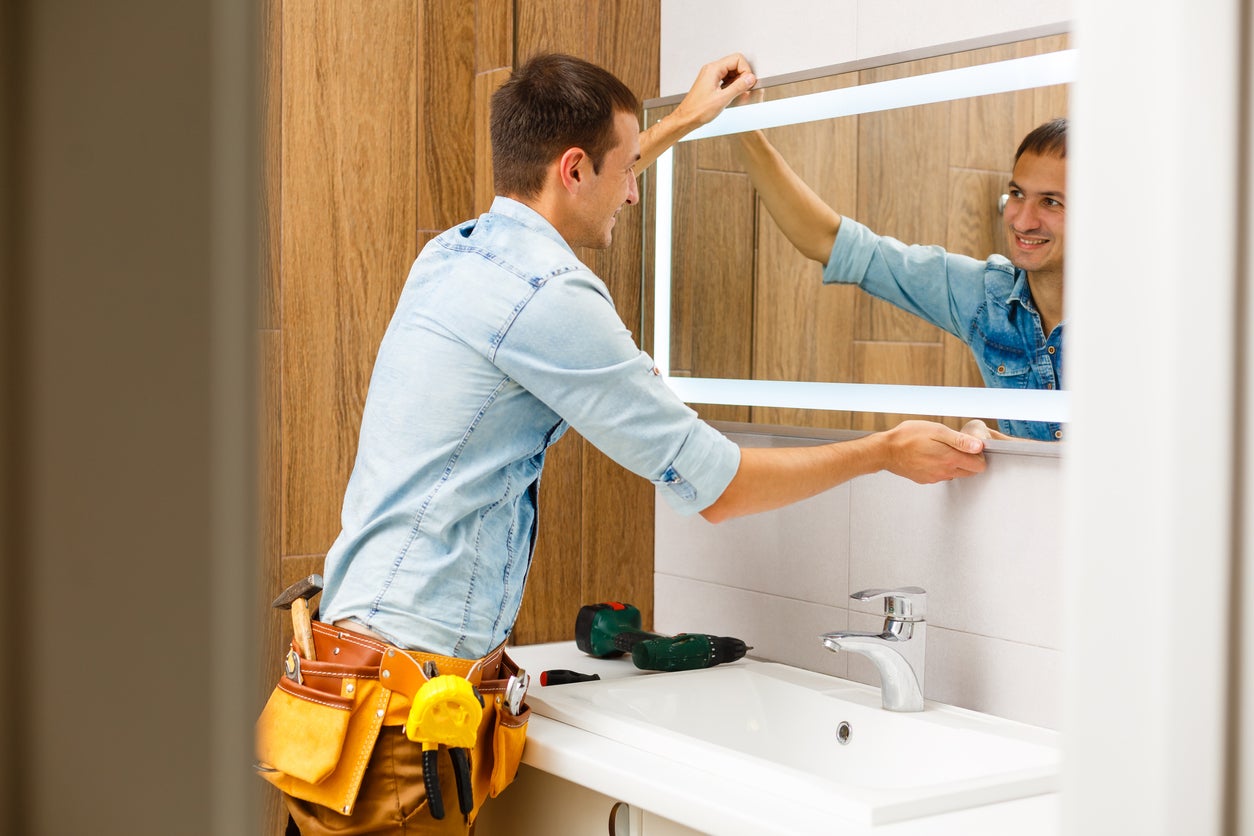
Step 4: Install the cabinet frame
With the opening in the wall prepared to accommodate the recessed medicine cabinet, the next critical step is to install the cabinet frame. This phase of the installation process involves positioning and securing the frame within the wall opening, laying the groundwork for the seamless integration of the cabinet. Here's a detailed breakdown of the steps involved in installing the cabinet frame:
-
Position the Frame: Carefully place the cabinet frame into the prepared opening, ensuring that it fits snugly and aligns with the outlined dimensions. Take precise measurements to verify that the frame is centered within the opening and sits flush against the wall.
-
Level the Frame: Use a level to ensure that the cabinet frame is perfectly horizontal and vertical. Adjust the position as needed to achieve a balanced and aligned orientation. This step is crucial for the overall stability and aesthetic appeal of the installed cabinet.
-
Secure the Frame: Once the frame is properly positioned and leveled, use shims to stabilize and secure it within the opening. Place the shims behind the frame at strategic points to eliminate any gaps and provide additional support. This meticulous approach contributes to the long-term stability and durability of the installed cabinet.
-
Check for Stability: After securing the frame with shims, verify that it is stable and firmly positioned within the wall opening. Gently apply pressure to different areas of the frame to ensure that it remains secure and does not shift or wobble. This step is essential for guaranteeing the structural integrity of the installed cabinet.
-
Verify Alignment: Double-check the alignment and positioning of the cabinet frame, ensuring that it maintains a consistent and uniform fit within the wall opening. Confirm that the frame is centered and level, making any necessary adjustments to achieve an optimal placement.
By meticulously following these steps, you'll successfully install the cabinet frame within the wall opening, laying the groundwork for the seamless integration of the recessed medicine cabinet. This phase marks significant progress in the installation process, bringing you closer to enjoying the enhanced functionality and visual appeal of your bathroom space. With the frame securely in place, you're ready to proceed to the next phase of the installation, further refining the integration of the cabinet into the wall.
Before installing a medicine cabinet in the wall, make sure to locate the studs using a stud finder. This will ensure that the cabinet is securely anchored to the wall and can support the weight of the items inside.
Step 5: Secure the cabinet to the wall
Securing the medicine cabinet to the wall is a critical step that ensures stability, safety, and long-term durability. By anchoring the cabinet securely, you not only safeguard its structural integrity but also create a reliable storage solution for your bathroom essentials. Here's a detailed breakdown of the process involved in securing the cabinet to the wall:
-
Identify Anchor Points: Begin by locating the wall studs within the opening where the cabinet will be installed. Utilize a stud finder to pinpoint the precise positions of the studs, which serve as the primary anchor points for securing the cabinet. Mark these locations with a pencil to guide the installation process.
-
Pre-Drill Screw Holes: Using a drill and the appropriate drill bit, pre-drill pilot holes into the back of the cabinet at the marked positions corresponding to the wall studs. This preparatory step facilitates the insertion of screws and ensures a secure attachment to the wall.
-
Lift and Position the Cabinet: With the assistance of another person if necessary, carefully lift the medicine cabinet and position it within the installed frame. Align the pre-drilled holes in the back of the cabinet with the marked positions on the wall, ensuring a precise fit.
-
Secure with Screws: Insert wood screws through the pre-drilled holes in the back of the cabinet and into the wall studs. Use a screwdriver or drill to tighten the screws, anchoring the cabinet firmly to the wall. Exercise caution to avoid over-tightening, which could compromise the integrity of the cabinet or the wall.
-
Verify Stability: Once the cabinet is secured to the wall, verify its stability by gently applying pressure to different areas. Ensure that it remains firmly anchored and does not exhibit any wobbling or shifting. This step is crucial for confirming the reliability of the installation.
-
Finishing Touches: If the cabinet includes adjustable shelves or additional components, take this opportunity to install them according to the manufacturer's instructions. This finalizes the assembly of the medicine cabinet, preparing it for practical use.
By meticulously following these steps, you'll effectively secure the medicine cabinet to the wall, establishing a robust and dependable storage solution for your bathroom. This phase marks a significant milestone in the installation process, bringing you closer to enjoying the enhanced functionality and visual appeal of your bathroom space. With the cabinet securely anchored, you're ready to proceed to the final phase of the installation, culminating in the seamless integration of the recessed medicine cabinet into your bathroom.
Step 6: Add finishing touches
With the recessed medicine cabinet securely installed in the wall, it's time to add the finishing touches that will elevate its functionality and visual appeal. This phase of the installation process involves attending to details that contribute to the seamless integration of the cabinet into your bathroom space. Here's a detailed breakdown of the steps involved in adding the finishing touches:
-
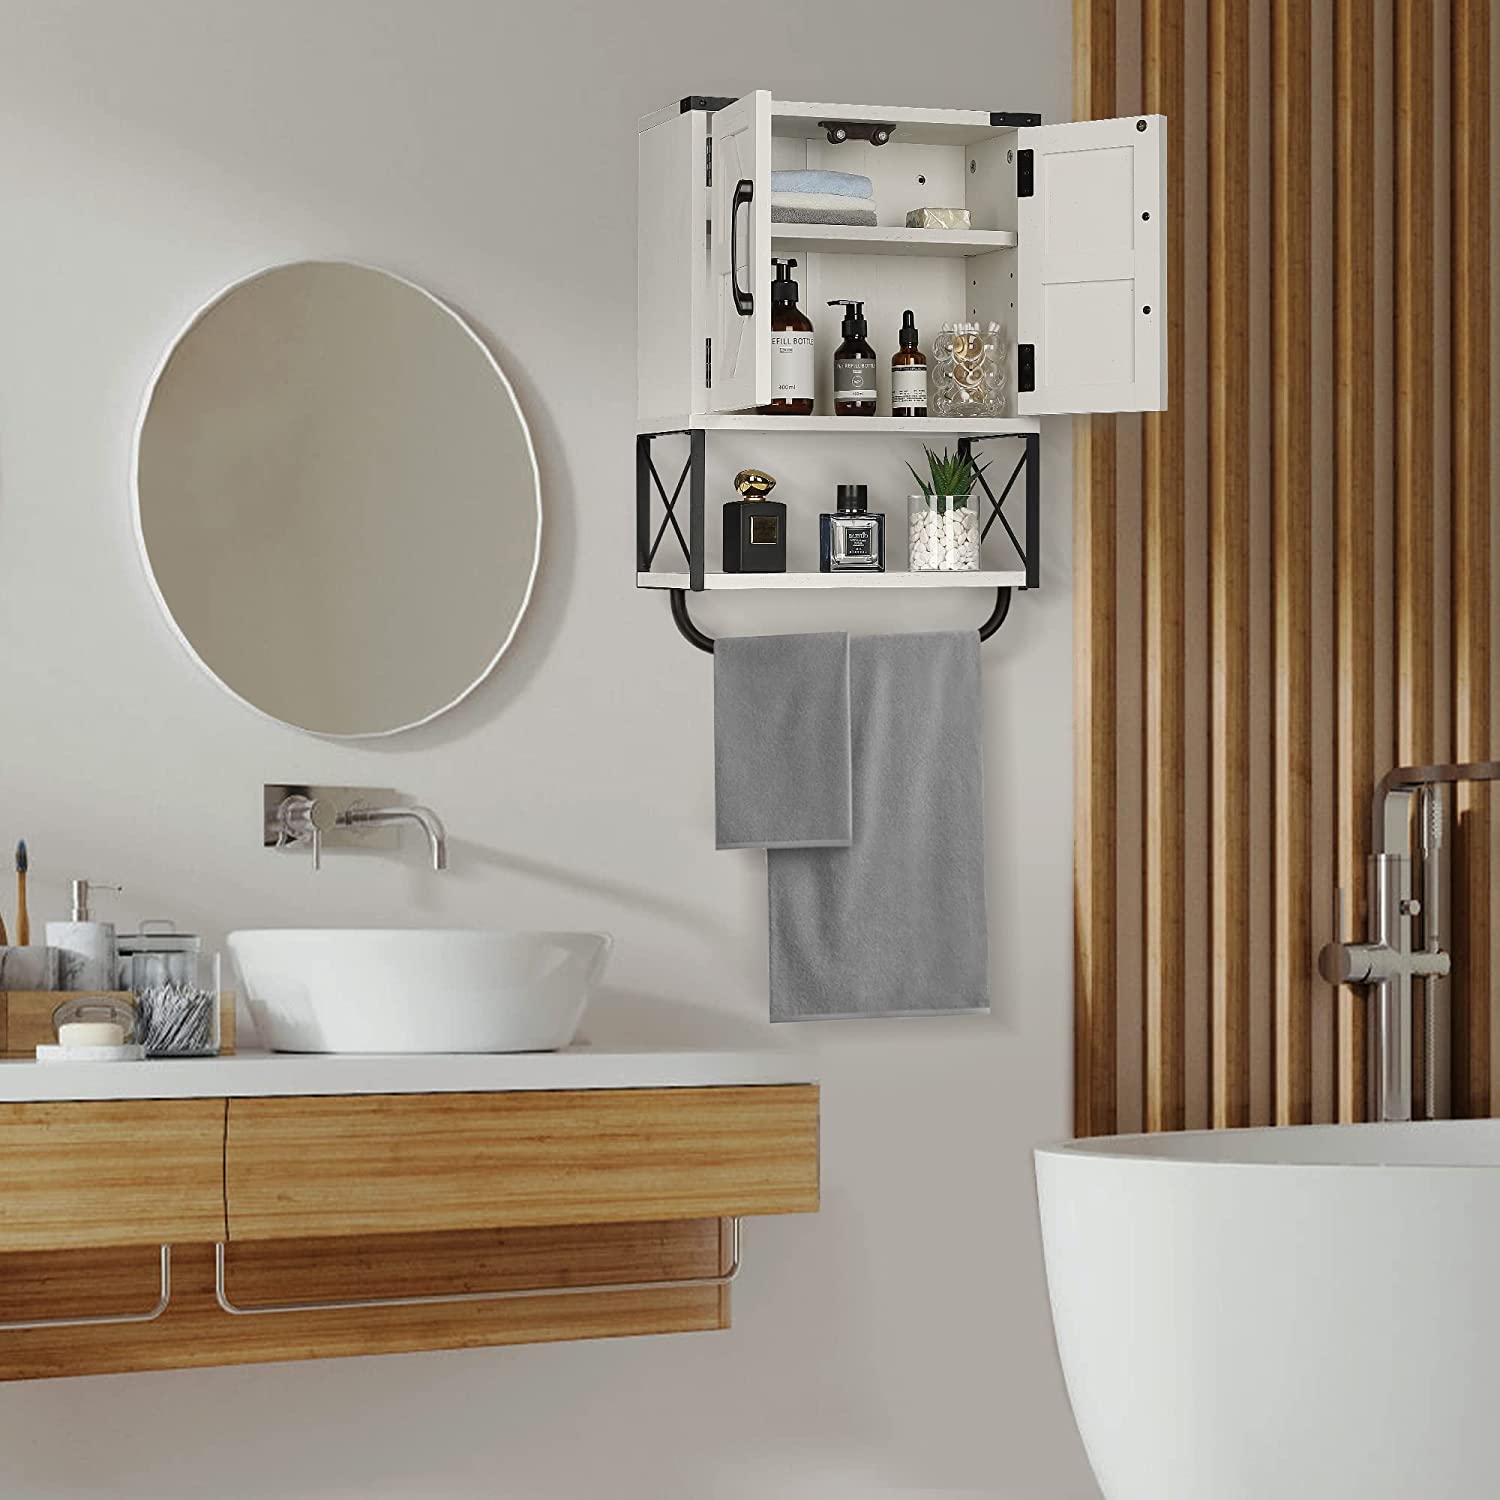
Adjust Shelves: If your medicine cabinet includes adjustable shelves, take the opportunity to position them according to your storage needs. Consider the height and spacing of the shelves to accommodate various items, such as toiletries, medications, and personal care products. This customization ensures that the cabinet offers practical and efficient storage solutions tailored to your requirements.
-
Apply Drywall Tape and Joint Compound: To achieve a polished and professional look, apply drywall tape and joint compound to the edges of the wall opening surrounding the installed cabinet. This step conceals any gaps or imperfections, creating a seamless transition between the cabinet and the wall. Smooth and blend the joint compound to achieve a uniform surface, ready for the final touches.
-
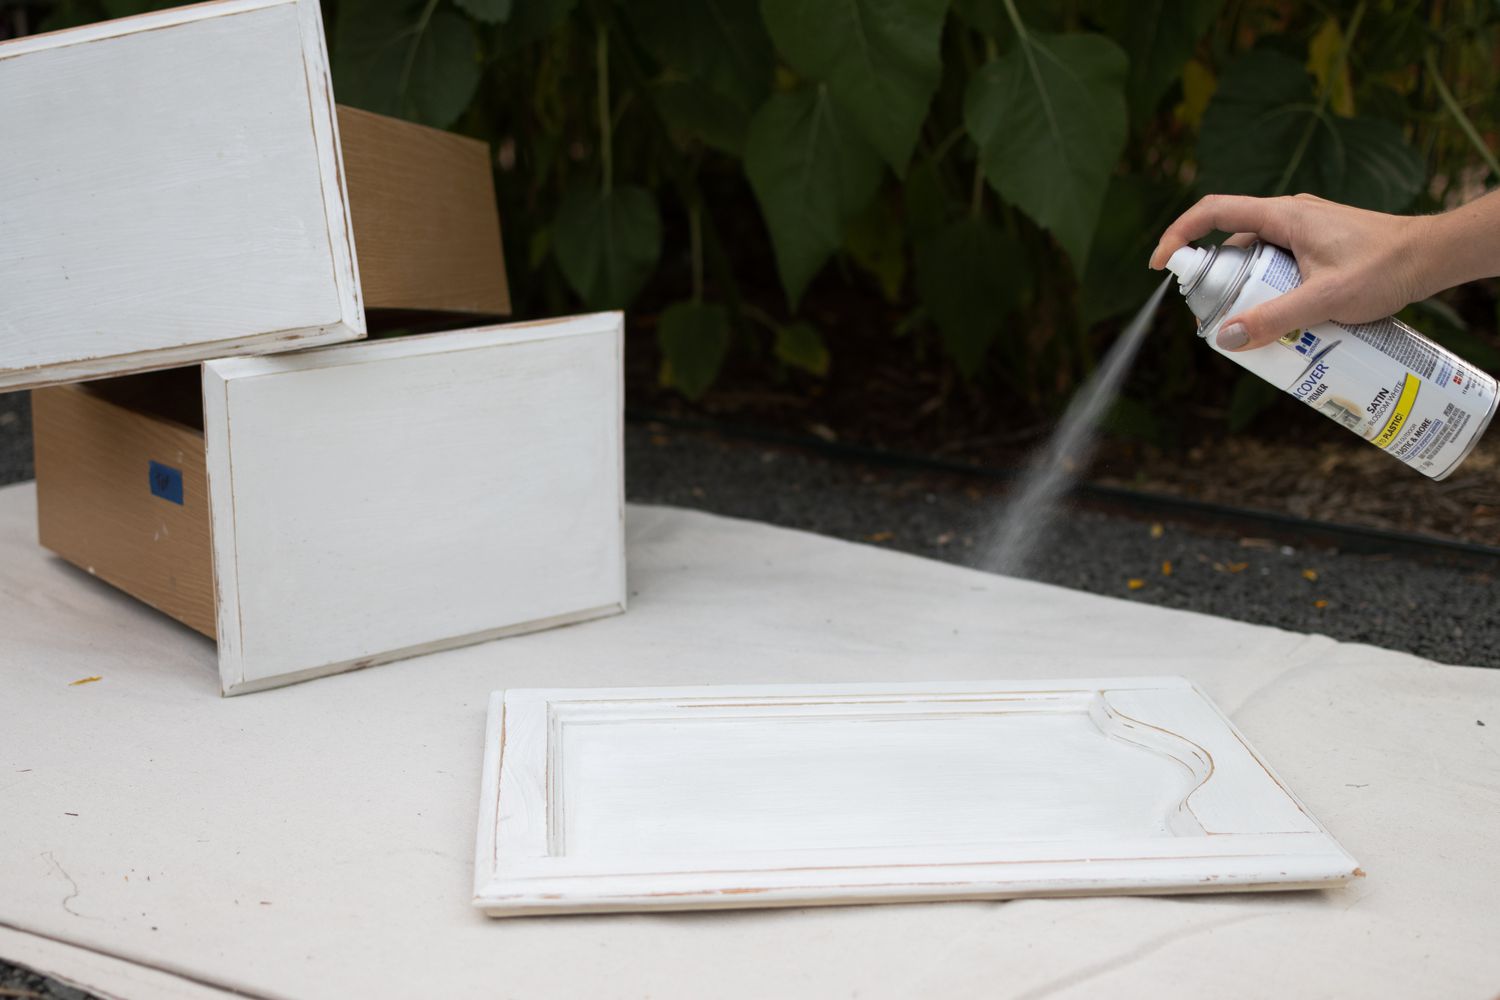
Paint or Stain: If necessary, touch up the surrounding wall or the cabinet itself with paint or stain to match the existing decor or achieve a cohesive aesthetic. This step adds a personalized touch and ensures that the recessed cabinet seamlessly integrates with the overall design of your bathroom. Select a paint color or stain that complements the existing color scheme and enhances the visual appeal of the space.
-
Install Door Hardware: If the medicine cabinet features doors, consider installing hardware such as knobs or handles to facilitate easy access and enhance the cabinet's functionality. Choose hardware that aligns with your bathroom's style and provides a comfortable grip for opening and closing the cabinet doors. This detail adds a refined and practical element to the cabinet's design.
-
Clean and Inspect: Once the finishing touches are in place, thoroughly clean the interior and exterior of the medicine cabinet, ensuring that it is free of any dust or debris. Inspect the installed cabinet, paying attention to the alignment, stability, and overall appearance. This final check ensures that the cabinet is ready for practical use and enhances the overall aesthetics of your bathroom space.
By meticulously attending to these finishing touches, you'll complete the installation of the recessed medicine cabinet with attention to detail and precision. This phase marks the culmination of the installation process, resulting in a seamlessly integrated storage solution that enhances the functionality and visual appeal of your bathroom. With the finishing touches in place, you can now enjoy the convenience and elegance of a professionally installed recessed medicine cabinet, tailored to meet your storage needs and elevate the ambiance of your bathroom.
Read more: How To Install Cabinet On Wall
Conclusion
In conclusion, the installation of a recessed medicine cabinet in the wall represents a transformative enhancement for any bathroom space. This comprehensive guide has provided a detailed roadmap for successfully completing this home improvement project, from gathering the necessary tools and materials to adding the finishing touches. By following the step-by-step instructions outlined in this guide, you can achieve a seamlessly integrated storage solution that not only maximizes space but also elevates the functionality and visual appeal of your bathroom.
The meticulous process of measuring and marking the wall, cutting the opening, and installing the cabinet frame sets the stage for the seamless integration of the recessed medicine cabinet. Attention to detail during the securing of the cabinet to the wall ensures stability and long-term durability, creating a reliable storage solution for bathroom essentials. The addition of finishing touches, such as adjusting shelves, applying drywall tape and joint compound, and installing door hardware, culminates in a polished and personalized result that complements the overall design of the bathroom.
Beyond the practical benefits, the installation of a recessed medicine cabinet offers a sense of accomplishment and pride in transforming the bathroom space. The seamless integration of the cabinet into the wall not only declutters the countertop but also enhances the overall ambiance, creating a clean, organized, and visually appealing environment. The personalized touches, such as selecting the right paint or stain and installing door hardware, contribute to a cohesive and tailored aesthetic that reflects your individual style and preferences.
Ultimately, the installation of a recessed medicine cabinet in the wall represents a rewarding endeavor that combines practical functionality with aesthetic refinement. By following the guidance provided in this comprehensive guide, you can embark on this project with confidence, knowing that you have the knowledge and insights to achieve a professional-looking result. Whether you're a seasoned DIY enthusiast or a novice looking to expand your skills, this guide equips you with the tools and understanding to transform your bathroom with a seamlessly integrated storage solution.
As you admire the completed installation of the recessed medicine cabinet, you can take pride in the enhanced functionality, organization, and visual appeal it brings to your bathroom. With the right approach and attention to detail, this project represents a significant step toward creating a space that reflects your style and enhances your daily routine. Embrace the transformative power of a recessed medicine cabinet and enjoy the convenience and elegance it brings to your bathroom space.
Frequently Asked Questions about How To Install A Medicine Cabinet In The Wall
Was this page helpful?
At Storables.com, we guarantee accurate and reliable information. Our content, validated by Expert Board Contributors, is crafted following stringent Editorial Policies. We're committed to providing you with well-researched, expert-backed insights for all your informational needs.

0 thoughts on “How To Install A Medicine Cabinet In The Wall”