Home>Furniture & Design>Bathroom Accessories>How To Mount A Medicine Cabinet
Bathroom Accessories
How To Mount A Medicine Cabinet
Modified: February 18, 2024
Learn how to properly mount a medicine cabinet in your bathroom with our step-by-step guide. Find the best bathroom accessories and installation tips.
(Many of the links in this article redirect to a specific reviewed product. Your purchase of these products through affiliate links helps to generate commission for Storables.com, at no extra cost. Learn more)
Introduction
Mounting a medicine cabinet is a practical and rewarding home improvement project that can enhance the functionality and aesthetics of your bathroom. Whether you're looking to maximize storage space, streamline your daily routine, or simply add a stylish accent to your bathroom decor, a well-installed medicine cabinet can serve as a versatile solution. By following the step-by-step guide outlined in this article, you'll gain the confidence and know-how to successfully mount a medicine cabinet with ease.
A medicine cabinet not only provides a convenient storage option for toiletries, medications, and grooming essentials but also offers a reflective surface for grooming tasks. Additionally, it can contribute to a clutter-free environment by keeping items neatly organized and out of sight. With the right tools, materials, and a systematic approach, you can achieve a professional-looking installation that complements your bathroom layout and meets your specific needs.
Before embarking on this project, it's essential to familiarize yourself with the necessary tools and materials, as well as the key steps involved in the installation process. By doing so, you'll be well-prepared to tackle the project efficiently and effectively. From measuring and marking the wall to securing the cabinet in place, each step plays a crucial role in ensuring a secure and visually appealing installation.
As you embark on this journey, envision the transformation that a well-mounted medicine cabinet can bring to your bathroom. Picture the added convenience, the streamlined organization, and the polished look that will elevate the overall ambiance of the space. With careful attention to detail and a methodical approach, you'll soon be enjoying the functional and aesthetic benefits of your newly mounted medicine cabinet.
Now, let's gather the necessary tools and materials and dive into the step-by-step process of mounting a medicine cabinet, bringing your vision of an upgraded bathroom to life.
Key Takeaways:
- Mounting a medicine cabinet is a rewarding project that enhances bathroom functionality and aesthetics. With the right tools and careful measurements, you can achieve a professional and secure installation.
- Attention to detail is crucial in every step of the installation process, from marking the wall to securing the cabinet. By following the guide, you can transform your bathroom with a well-mounted medicine cabinet.
Read more: What Is A Surface Mount Medicine Cabinet
Step 1: Gather Necessary Tools and Materials
Before beginning the installation process, it's crucial to gather all the essential tools and materials to ensure a smooth and efficient mounting of the medicine cabinet. Here's a comprehensive list of items you'll need:
Tools:
- Stud Finder: This tool is essential for locating the wall studs, which are crucial for securely anchoring the medicine cabinet.
- Level: A level will help ensure that the cabinet is installed straight and aligned with the rest of the bathroom fixtures.
- Measuring Tape: Accurate measurements are vital for positioning the cabinet correctly on the wall.
- Pencil: Use a pencil for marking the wall to indicate the placement of the cabinet and mounting hardware.
- Drill and Bits: A drill is necessary for creating holes for the mounting screws and anchors.
- Screwdriver: Depending on the type of screws used, a screwdriver will be needed for securing the cabinet in place.
- Safety Glasses: It's important to prioritize safety when using power tools, so wearing safety glasses is recommended.
Materials:
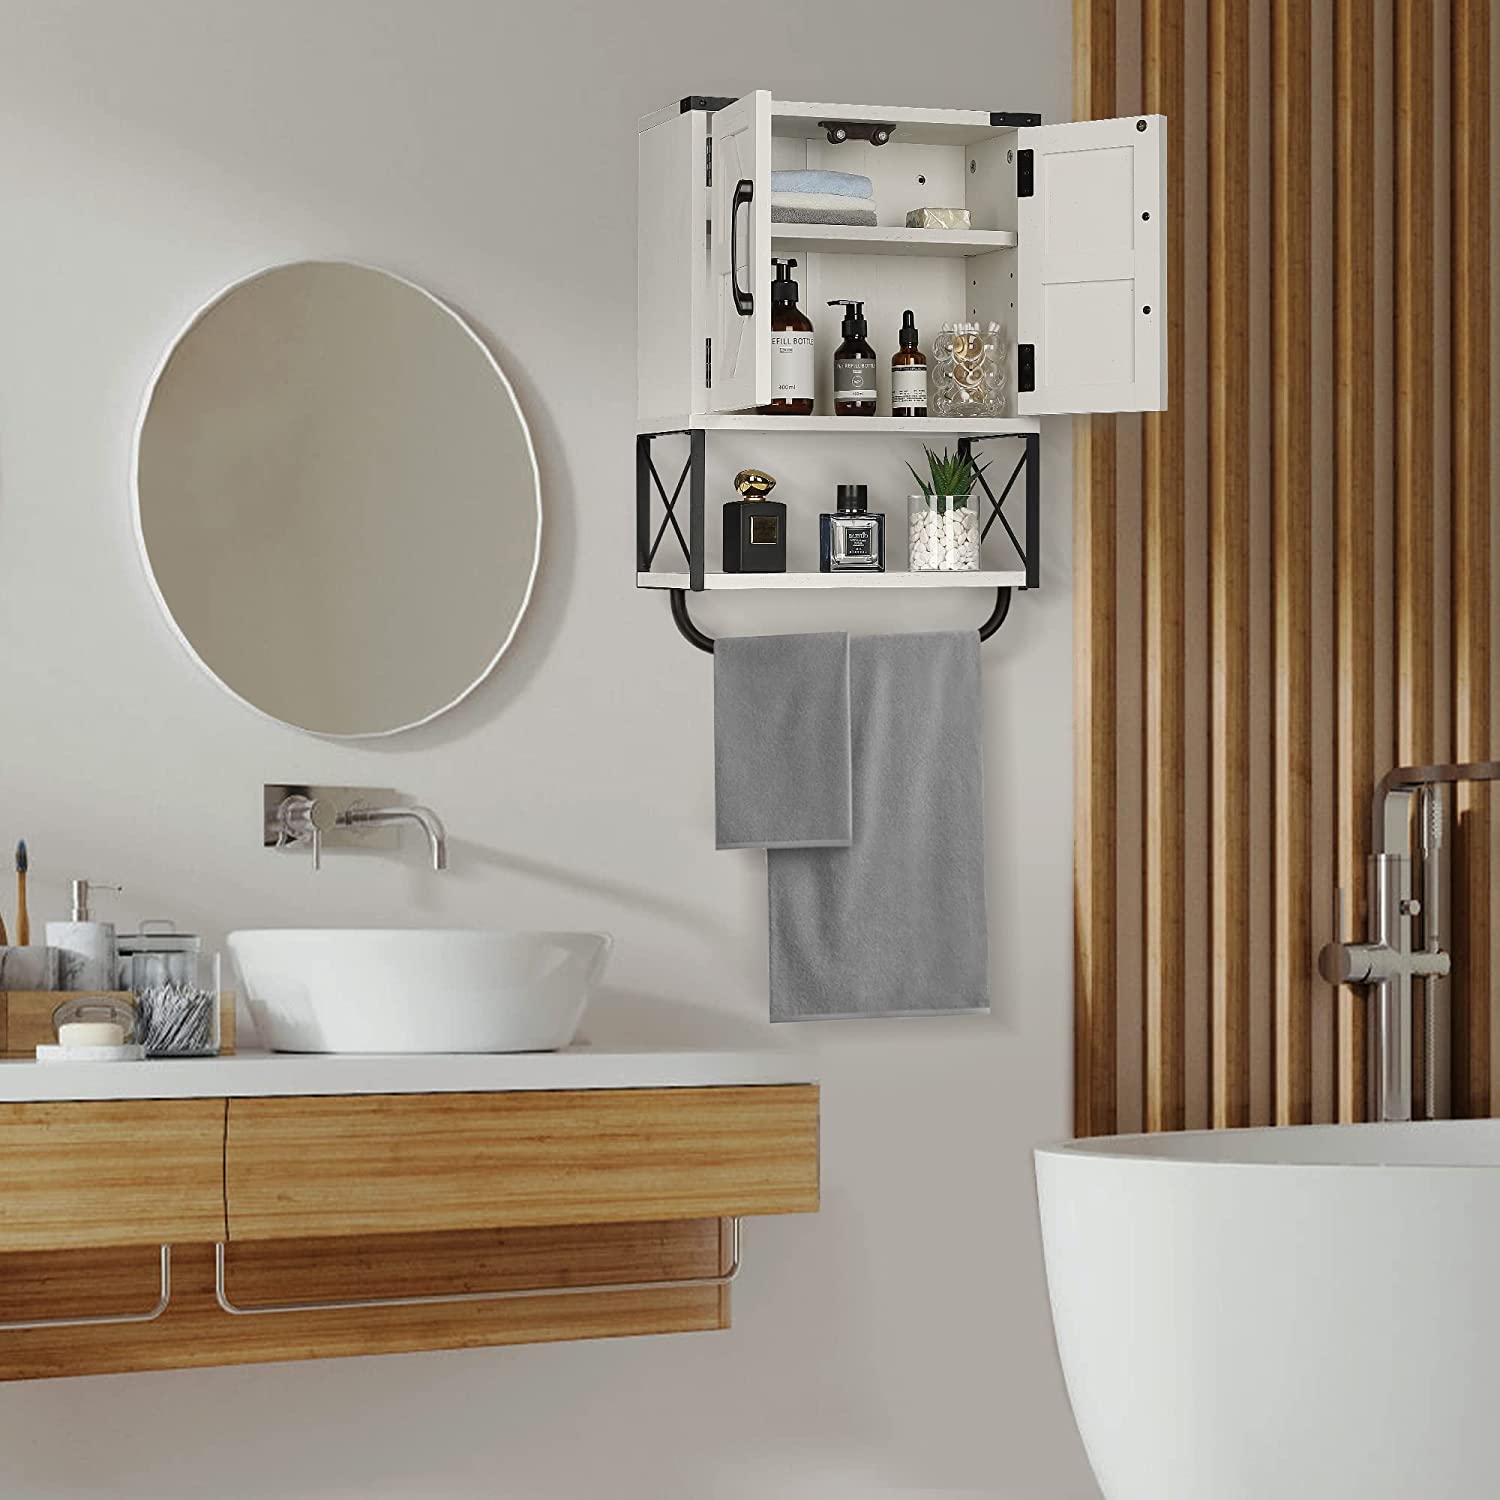
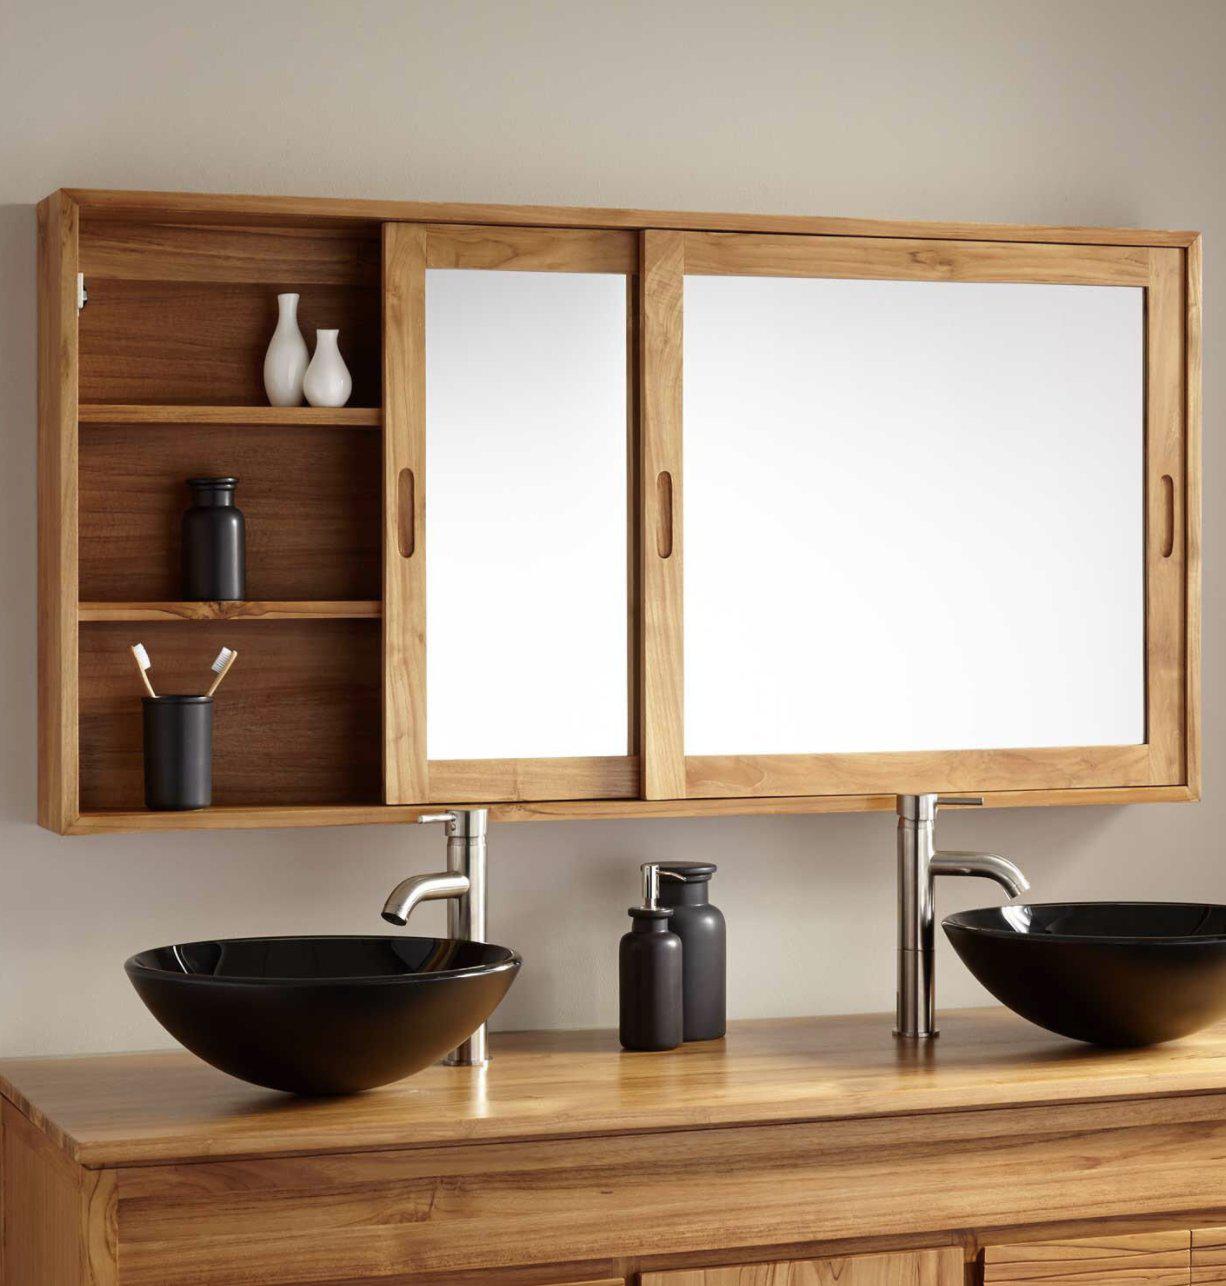
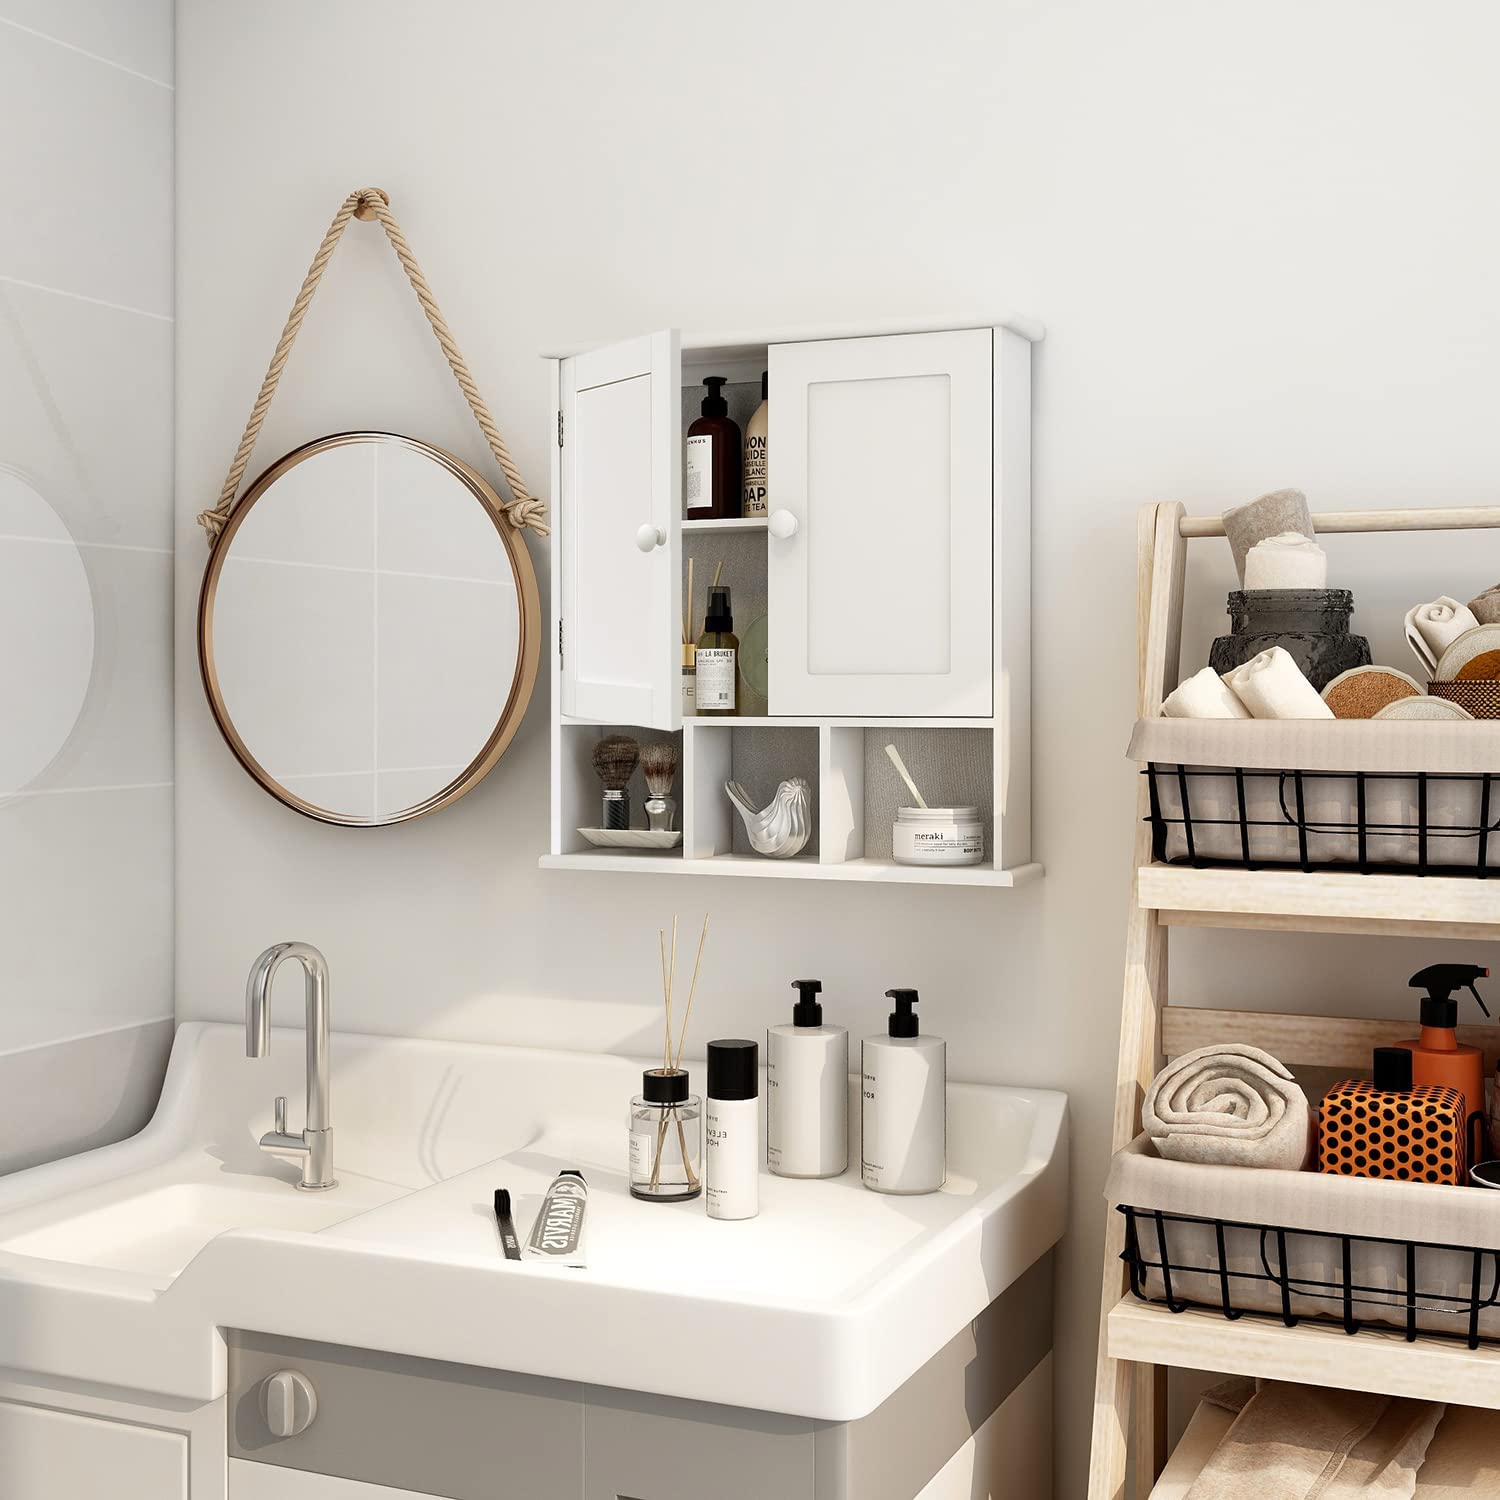
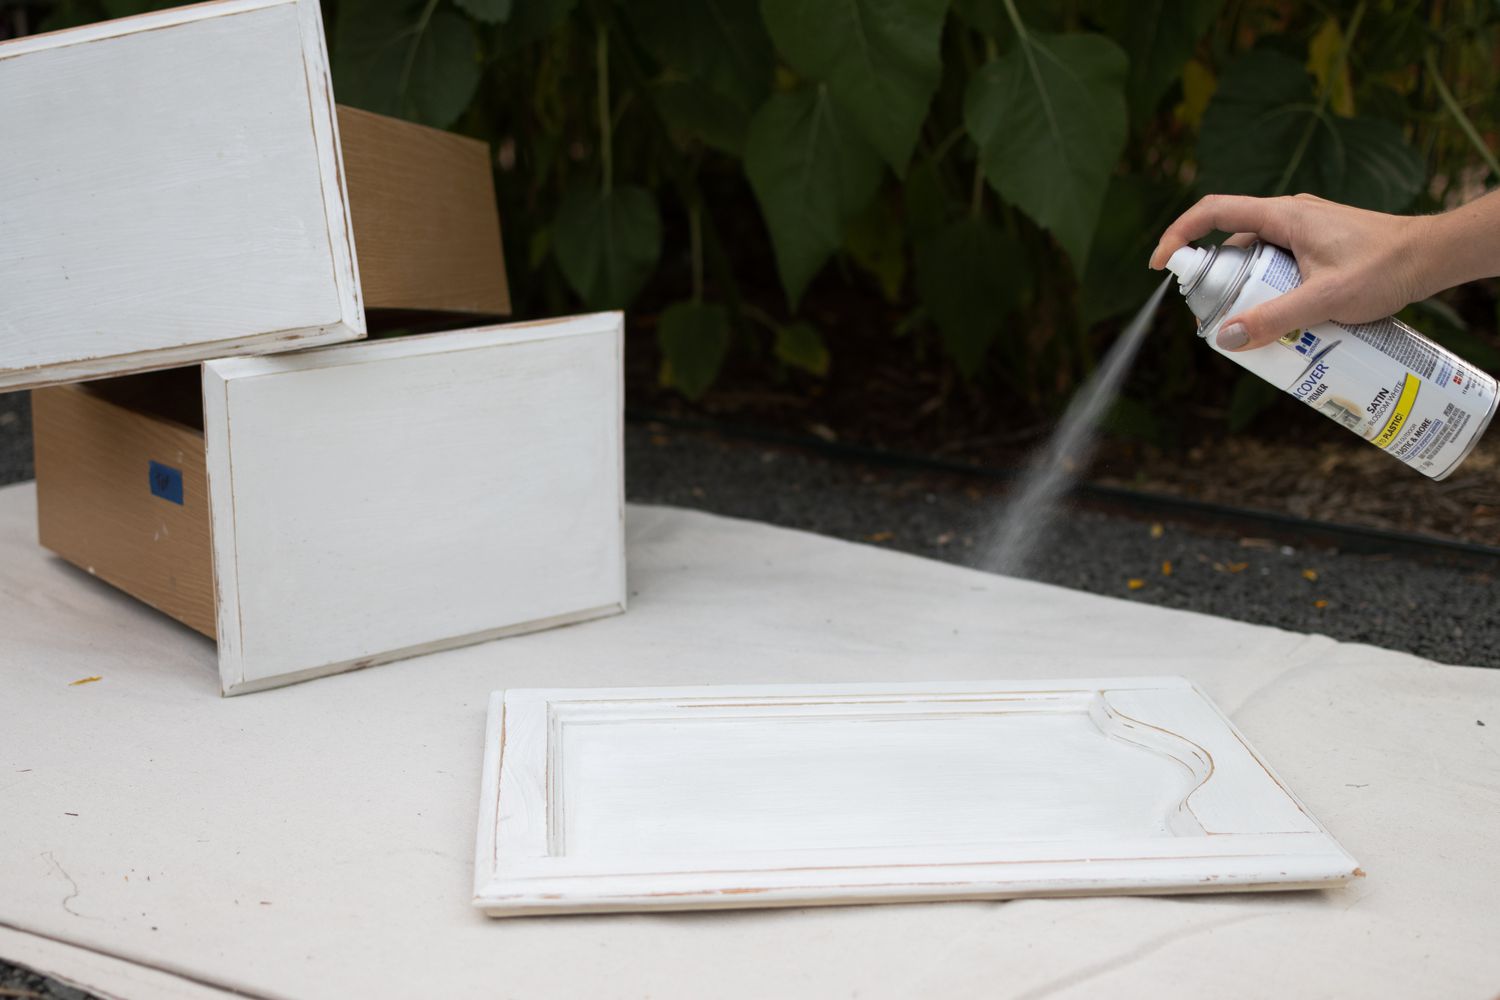
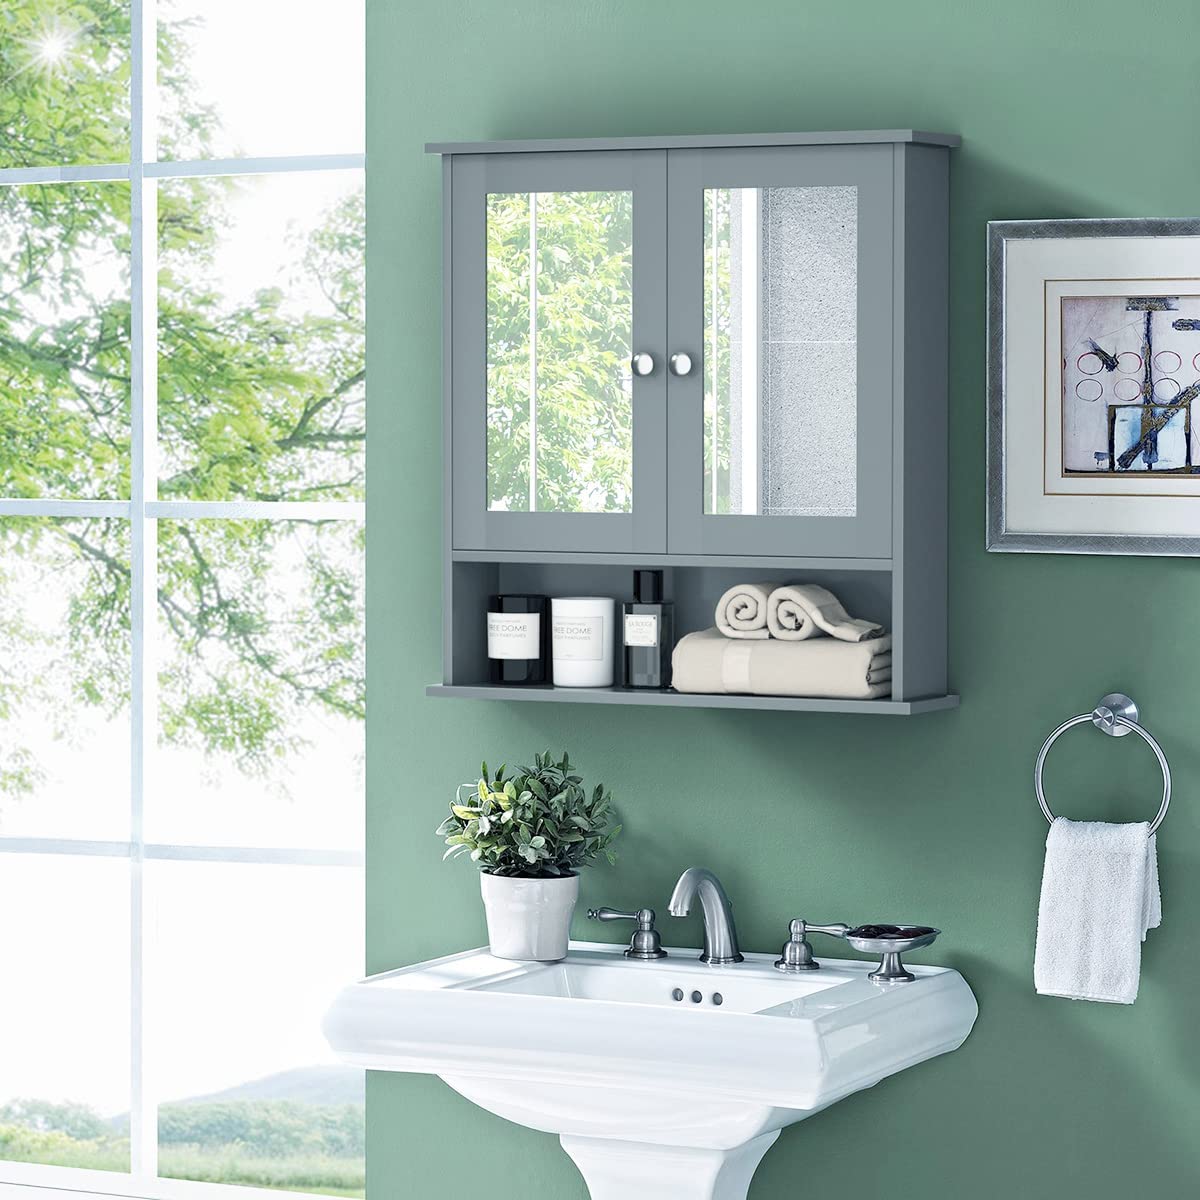
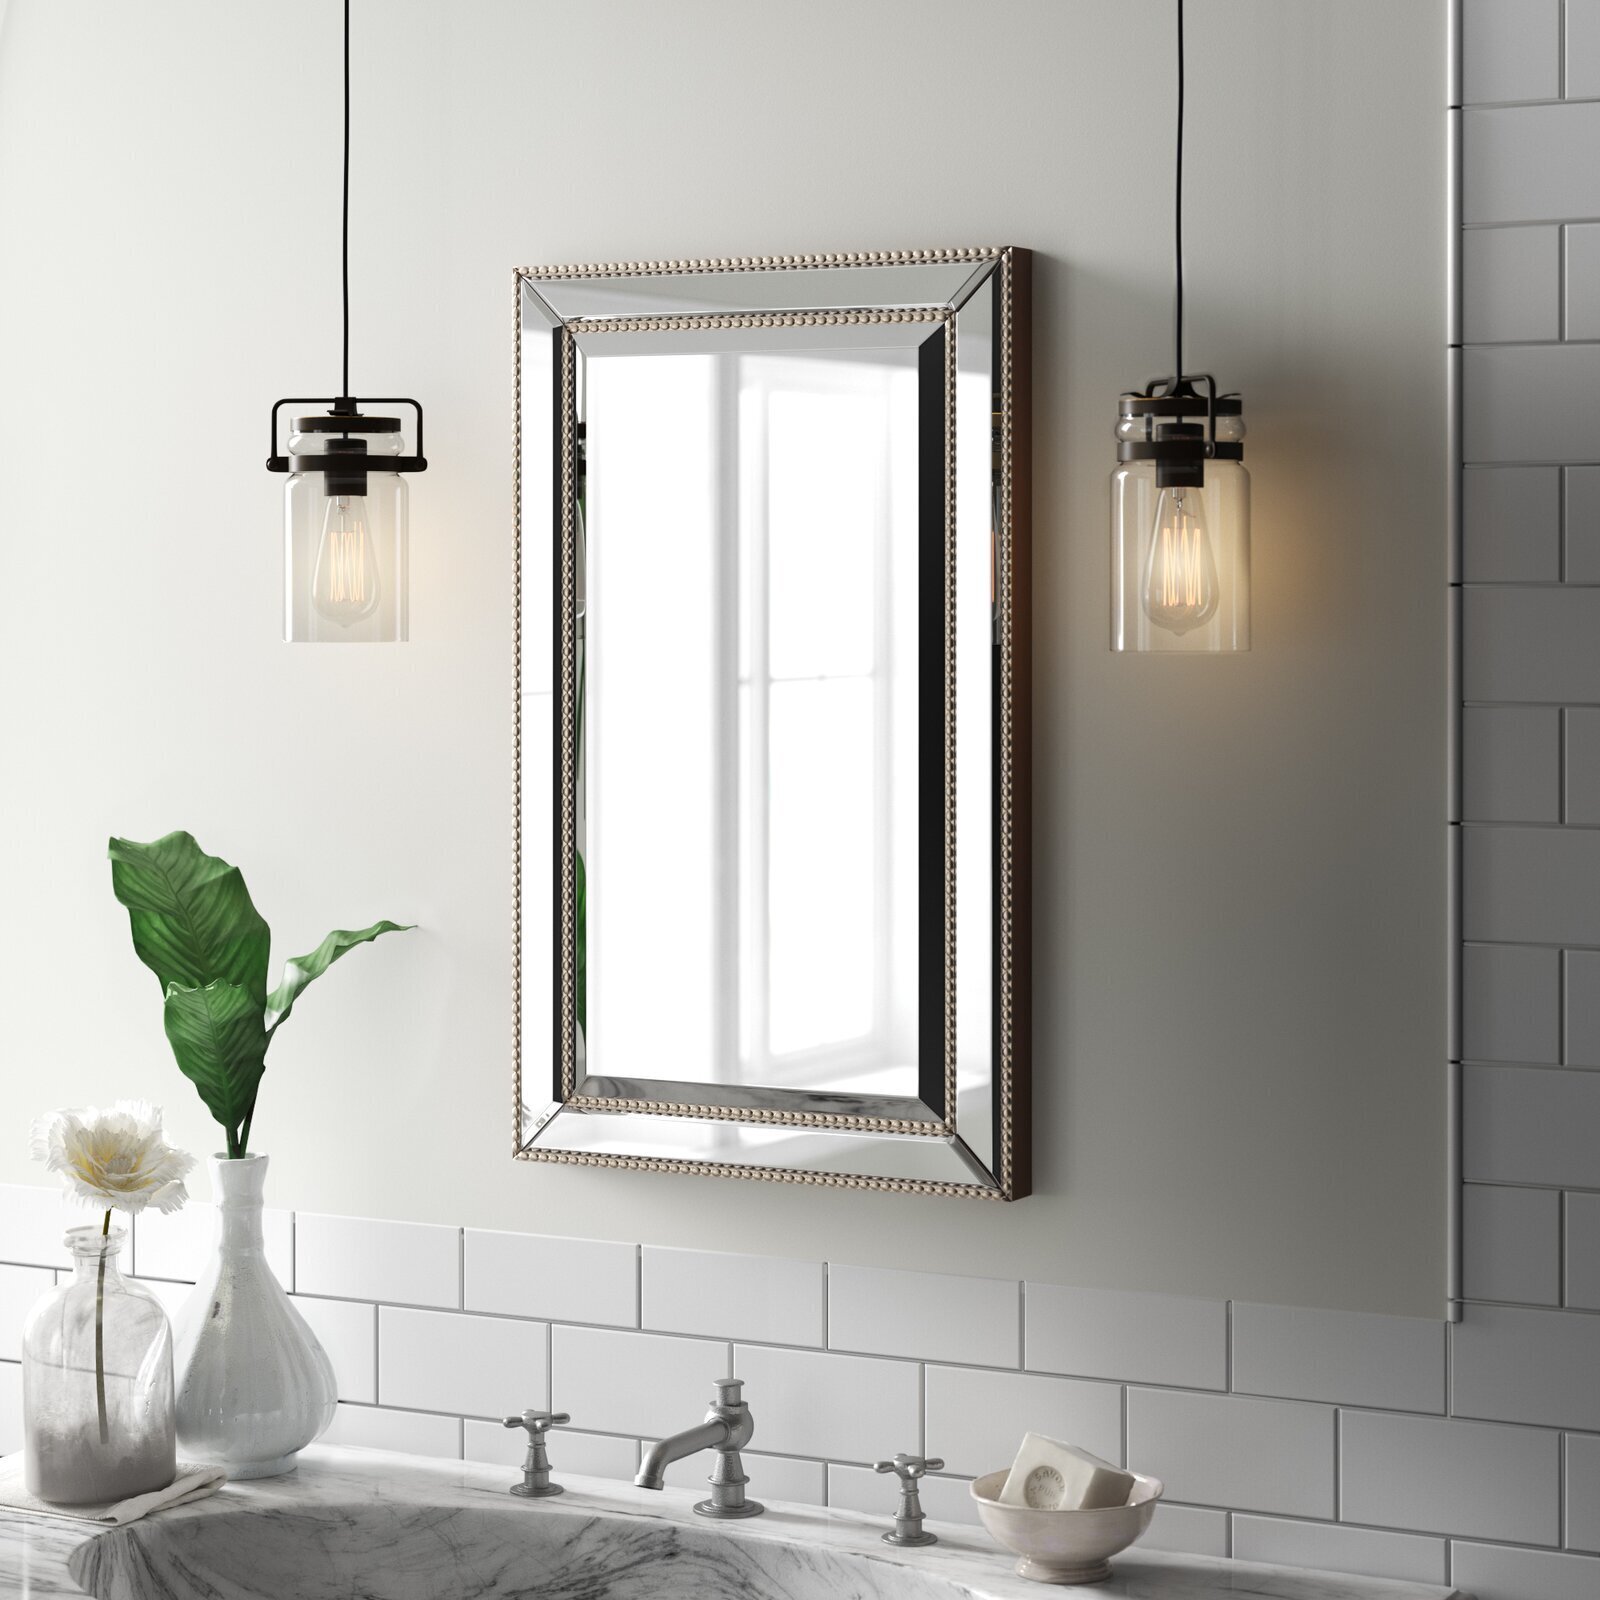
- Medicine Cabinet: Select a high-quality cabinet that suits your storage needs and complements your bathroom decor.
- Mounting Hardware: This includes screws and wall anchors suitable for the wall material where the cabinet will be installed.
- Painter's Tape: Using painter's tape can help protect the wall surface from scratches or damage during the installation process.
- Drywall Patch (if needed): In case the installation requires additional support for the cabinet, a drywall patch may be necessary.
- Decorator's Caulk: Caulk can be used to seal the edges of the cabinet for a polished and finished look.
By ensuring that you have all the necessary tools and materials on hand, you'll be well-prepared to proceed with confidence to the next step of measuring and marking the wall for the medicine cabinet installation.
Step 2: Measure and Mark the Wall
Accurate measurements and precise markings are fundamental to the successful installation of a medicine cabinet. Before making any holes or attaching mounting hardware, it's crucial to measure and mark the wall to ensure that the cabinet will be positioned correctly and securely. Here's a detailed guide on how to measure and mark the wall for the installation:
Read also: 9 Best Flush Mount Medicine Cabinet for 2024
1. Locate Wall Studs:
Using a stud finder, locate the wall studs where the medicine cabinet will be mounted. Wall studs provide the necessary support for securing the cabinet in place. Mark the edges of the studs with a pencil to serve as reference points for the mounting hardware.
2. Determine Cabinet Placement:
Consider the height at which the cabinet will be installed, taking into account factors such as the users' accessibility and the overall aesthetic balance within the bathroom. Use a measuring tape to determine the desired height and mark it with a pencil on the wall. Additionally, consider the surrounding fixtures and ensure that the cabinet will be aligned with them.
3. Mark Mounting Holes:
Place the medicine cabinet against the wall at the intended height and position. With the assistance of a level, ensure that the cabinet is perfectly straight and aligned. Once the cabinet is in position, mark the locations of the mounting holes on the wall using a pencil. These marks will indicate where the mounting hardware will be installed.
4. Check for Obstructions:
Before proceeding, check for any potential obstructions behind the wall, such as electrical wiring or plumbing. It's essential to ensure that the area where the mounting hardware will be installed is clear of any obstacles that could interfere with the installation process or pose safety hazards.
5. Double-Check Measurements:
Before drilling any holes, double-check all measurements and markings to confirm that the cabinet will be positioned accurately. Use the level to verify that the markings for the mounting holes are aligned and straight.
By meticulously measuring and marking the wall, you'll establish a solid foundation for the subsequent steps of installing the mounting hardware and hanging the medicine cabinet. Taking the time to ensure precise measurements and markings will contribute to a seamless and secure installation, ultimately enhancing the functionality and visual appeal of the cabinet within your bathroom space.
Step 3: Install Mounting Hardware
With the wall properly measured and marked, the next crucial step in mounting a medicine cabinet is to install the necessary hardware that will securely anchor the cabinet in place. This process involves carefully drilling holes, inserting wall anchors if needed, and affixing the mounting hardware to the wall. Here's a detailed guide on how to install the mounting hardware for your medicine cabinet:
-
Select the Appropriate Hardware: Refer to the manufacturer's instructions for the recommended hardware and fasteners suitable for your specific medicine cabinet and the type of wall material. It's essential to use hardware that is designed to support the weight of the cabinet and provide a secure attachment to the wall.
-
Drill Pilot Holes: Using a drill bit that matches the size of the mounting screws, carefully drill pilot holes at the marked locations on the wall. Pilot holes help prevent the wall from splitting and ensure precise placement of the mounting hardware.
-
Insert Wall Anchors (If Necessary): If the cabinet will be mounted on drywall or a hollow wall, it may be necessary to insert wall anchors into the pilot holes. Wall anchors provide additional support and stability for the mounting screws, especially in walls where there are no studs behind the installation area.
-
Affix Mounting Hardware: With the pilot holes prepared, align the mounting hardware with the holes and carefully attach it to the wall using the appropriate screws. Ensure that the hardware is securely fastened and flush against the wall to provide a stable foundation for hanging the medicine cabinet.
-
Verify Stability and Alignment: Once the mounting hardware is in place, double-check its stability and alignment. Use a level to ensure that the hardware is straight and properly positioned, as this will directly impact the secure hanging of the medicine cabinet.
By meticulously following these steps to install the mounting hardware, you'll establish a solid and reliable foundation for hanging the medicine cabinet. The attention to detail in this phase of the installation process is crucial for ensuring the stability, safety, and overall visual appeal of the mounted cabinet. With the mounting hardware securely in place, you're now ready to proceed to the next step of hanging the medicine cabinet, bringing you closer to the completion of this rewarding home improvement project.
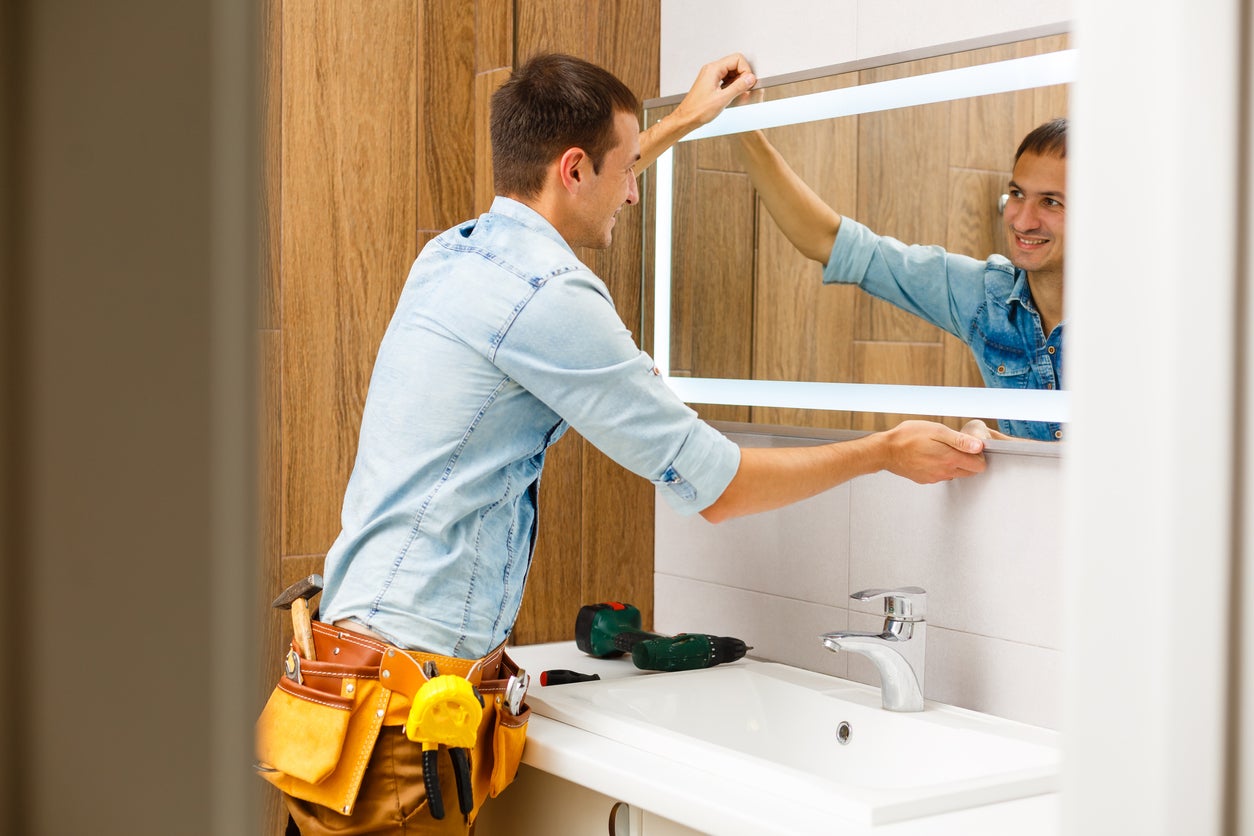
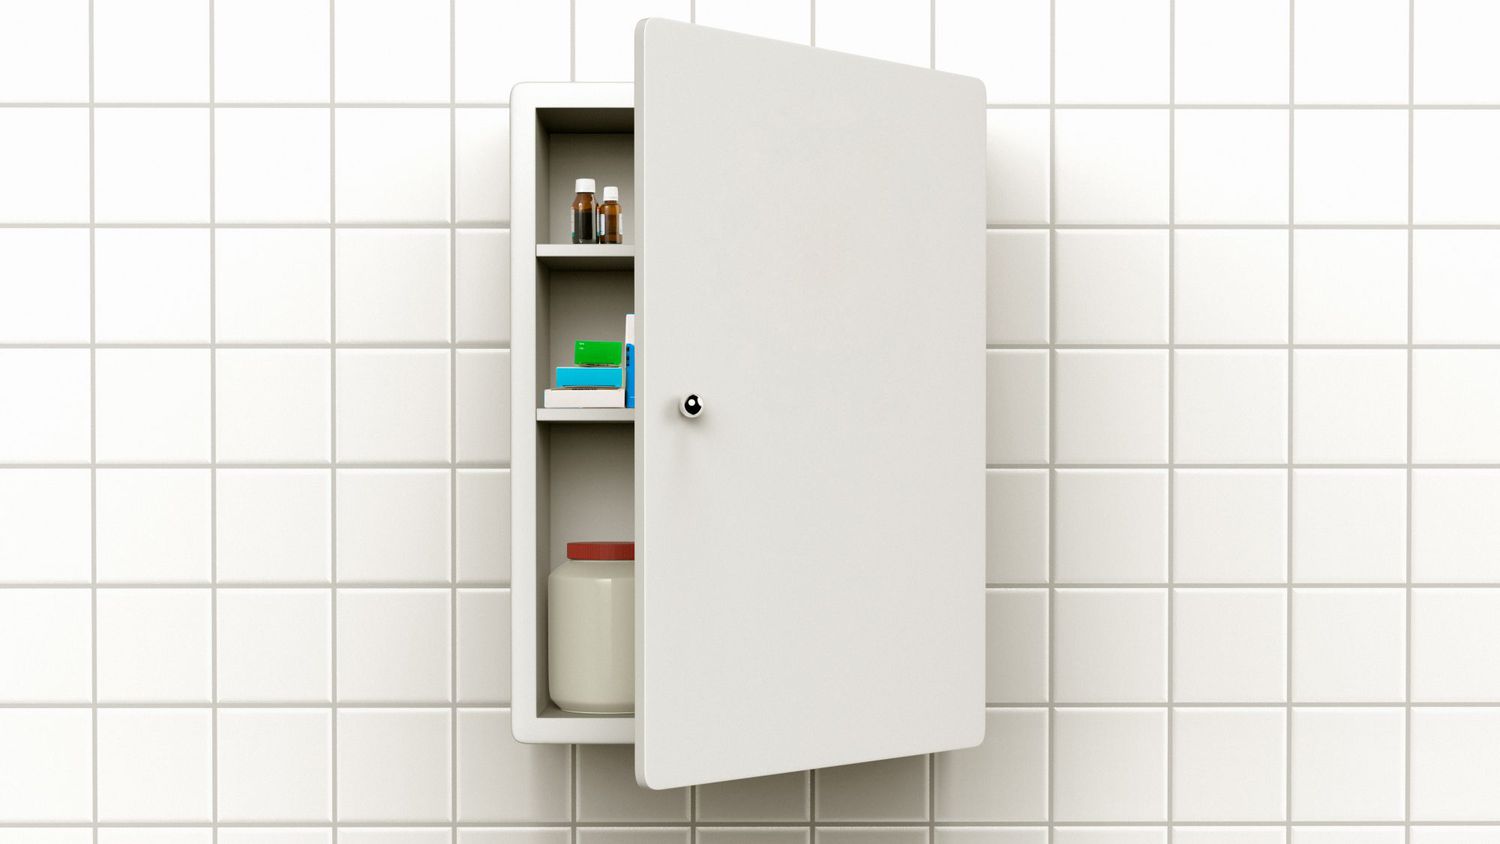
Step 4: Hang the Medicine Cabinet
Hanging the medicine cabinet is a pivotal step that requires precision and attention to detail to ensure a secure and visually appealing installation. With the mounting hardware in place, the process of hanging the cabinet involves carefully aligning it with the hardware and securing it in position. Here's a detailed guide on how to hang the medicine cabinet:
-
Lift and Position the Cabinet: Enlist the assistance of another person to help lift the medicine cabinet and hold it in position against the wall. Ensure that the cabinet aligns with the installed mounting hardware, with the mounting holes on the back of the cabinet matching the locations of the hardware on the wall.
-
Secure the Cabinet to the Wall: With the cabinet held in place, insert the mounting screws through the pre-drilled holes on the back of the cabinet and into the mounting hardware on the wall. Use a screwdriver to tighten the screws, gradually securing the cabinet to the wall. It's essential to verify that the cabinet is level and properly aligned as you secure it in place.
-
Check for Stability and Alignment: Once the cabinet is attached to the wall, double-check its stability and alignment. Use a level to ensure that the cabinet is straight and properly positioned. This step is crucial for achieving a professional-looking installation that enhances the overall aesthetics of the bathroom.
-
Test the Cabinet Door: Open and close the cabinet door to ensure that it operates smoothly and aligns properly. This step allows you to verify that the cabinet is securely attached and that the door functions as intended. Address any alignment issues or adjustments as needed to ensure optimal functionality.
-
Remove Protective Coverings: If the medicine cabinet includes protective coverings or tapes, carefully remove them to reveal the finished surfaces. This final touch contributes to the polished appearance of the installed cabinet, allowing it to seamlessly integrate into the bathroom decor.
By following these steps to hang the medicine cabinet, you'll achieve a secure and visually pleasing installation that enhances the functionality and aesthetics of your bathroom. With the cabinet securely in place, you're now ready to proceed to the final step of making any necessary adjustments and adding finishing touches to complete the installation process.
Step 5: Secure the Cabinet in Place
With the medicine cabinet successfully hung on the wall, the next critical step is to ensure that it is securely fastened in place. This involves making sure that the cabinet is stable, level, and properly aligned to guarantee its long-term functionality and visual appeal within the bathroom space.
1. Tighten Mounting Screws:
Using a screwdriver, carefully tighten the mounting screws that secure the cabinet to the wall. It's essential to ensure that the screws are firmly in place, providing a strong anchor for the cabinet. Pay close attention to each screw, confirming that they are snug and contribute to the overall stability of the cabinet.
2. Verify Stability:
After tightening the mounting screws, verify the stability of the cabinet by gently applying pressure to different areas. The cabinet should feel secure and immovable, indicating that it is properly anchored to the wall. Checking for stability at this stage allows for any necessary adjustments to be made before finalizing the installation.
3. Confirm Level Alignment:
Using a level, double-check the alignment of the cabinet to ensure that it is perfectly level. A level cabinet not only enhances the visual appeal of the installation but also contributes to the smooth operation of the cabinet door. Making any minor adjustments at this stage will result in a professional and polished final appearance.
4. Seal Edges with Caulk (If Applicable):
If the medicine cabinet has visible edges where it meets the wall, consider using decorator's caulk to seal the gaps. This step provides a finished look and prevents moisture or debris from accumulating in the crevices, contributing to the overall cleanliness and longevity of the installation.
Read more: How To Install A Medicine Cabinet
5. Test Door Operation:
Open and close the cabinet door to ensure that it operates smoothly and aligns properly. Testing the door operation at this stage allows for immediate adjustments if any issues are identified, ensuring that the cabinet functions seamlessly as intended.
By meticulously securing the cabinet in place and attending to the finer details of stability, alignment, and finishing touches, you'll achieve a professionally installed medicine cabinet that enhances both the functionality and visual appeal of your bathroom. With the cabinet now securely in place, the final step involves making any necessary adjustments and adding finishing touches to complete the installation process.
Step 6: Final Adjustments and Finishing Touches
After securing the medicine cabinet in place, the final step involves making any necessary adjustments and adding finishing touches to complete the installation process. Attention to detail during this phase ensures that the cabinet not only functions optimally but also seamlessly integrates into the overall aesthetic of the bathroom.
1. Check Shelving and Interior Features:
Inspect the interior of the medicine cabinet to ensure that the shelves, if included, are properly positioned and secure. Adjust the shelf heights as needed to accommodate various items and optimize storage space. Additionally, verify that any interior features, such as mirrors or organizational components, are securely in place and free from defects.
2. Clean and Polish Surfaces:
Wipe down the exterior surfaces of the medicine cabinet to remove any dust, fingerprints, or residues accumulated during the installation process. Use a gentle cleaning solution suitable for the cabinet material to ensure a pristine and polished appearance. Pay attention to details such as the mirror, handles, and any decorative elements, ensuring that they are clean and free from smudges.
Read more: How To Update A Medicine Cabinet
3. Test Lighting (If Applicable):
If the medicine cabinet includes built-in lighting features, test the functionality of the lights to ensure that they operate as intended. Check for any flickering or irregularities in the lighting and replace bulbs if necessary. Properly functioning lighting enhances the usability of the cabinet and contributes to the overall ambiance of the bathroom.
4. Adjust Door Alignment:
Verify that the cabinet door aligns properly and closes securely. If adjustments are needed to ensure a perfect fit, carefully realign the door hinges and latches. A smoothly operating door not only enhances the user experience but also contributes to the overall visual appeal of the installed cabinet.
5. Apply Final Sealant (If Applicable):
If decorator's caulk was not applied during the previous step, consider using it to seal any visible gaps between the cabinet and the wall. This final touch provides a seamless and polished look, while also serving to protect the edges from moisture and debris accumulation over time.
6. Step Back and Assess the Installation:
Take a moment to step back and assess the overall installation. Ensure that the cabinet is visually aligned with the surrounding fixtures and contributes harmoniously to the bathroom decor. Make any final adjustments as needed to achieve a cohesive and polished look.
By meticulously attending to these final adjustments and finishing touches, you'll complete the installation of the medicine cabinet with a professional and refined outcome. The attention to detail in this phase ensures that the cabinet not only meets its functional purpose but also enhances the overall aesthetic and functionality of your bathroom space.
Read more: How To Build A Medicine Cabinet
Conclusion
In conclusion, the successful installation of a medicine cabinet represents a significant enhancement to the functionality and visual appeal of your bathroom. By following the step-by-step guide outlined in this article, you've gained the knowledge and confidence to undertake this rewarding home improvement project with precision and efficiency.
The process began with gathering the necessary tools and materials, ensuring that you were well-prepared to embark on the installation journey. From the stud finder to the level, each tool played a crucial role in achieving a professional and secure mounting of the medicine cabinet. Additionally, the careful selection of mounting hardware and the consideration of wall material ensured a stable and reliable foundation for the cabinet.
Measuring and marking the wall represented a pivotal phase, where precision and attention to detail were paramount. By locating wall studs, determining cabinet placement, and marking mounting holes, you established the groundwork for a successful installation. This meticulous approach laid the foundation for the subsequent steps of installing the mounting hardware and hanging the medicine cabinet.
The installation process continued with the meticulous installation of mounting hardware, ensuring that the cabinet would be securely anchored to the wall. This step involved drilling pilot holes, inserting wall anchors if necessary, and affixing the hardware with precision. The careful alignment and verification of stability set the stage for the seamless hanging of the medicine cabinet.
Hanging the cabinet marked a significant milestone, where the careful positioning and secure attachment to the wall were achieved. The attention to detail in this phase, including verifying stability, alignment, and door operation, contributed to a professional and visually appealing installation.
Securing the cabinet in place and attending to the finer details of stability, alignment, and finishing touches ensured a long-lasting and visually pleasing outcome. By making necessary adjustments and adding finishing touches, you achieved a seamlessly integrated medicine cabinet that complements the overall aesthetic of your bathroom.
In the final phase, making any necessary adjustments and attending to finishing touches ensured that the cabinet not only functions optimally but also seamlessly integrates into the overall aesthetic of the bathroom. The meticulous attention to detail in this phase resulted in a professionally installed medicine cabinet that enhances both the functionality and visual appeal of your bathroom.
With the completion of this installation, you've not only added a practical storage solution but also contributed to the overall ambiance and organization of your bathroom. The successful mounting of the medicine cabinet stands as a testament to your dedication to home improvement and your ability to achieve professional results.
Frequently Asked Questions about How To Mount A Medicine Cabinet
Was this page helpful?
At Storables.com, we guarantee accurate and reliable information. Our content, validated by Expert Board Contributors, is crafted following stringent Editorial Policies. We're committed to providing you with well-researched, expert-backed insights for all your informational needs.

0 thoughts on “How To Mount A Medicine Cabinet”