
Articles
How To Install A Medicine Cabinet
Modified: March 22, 2024
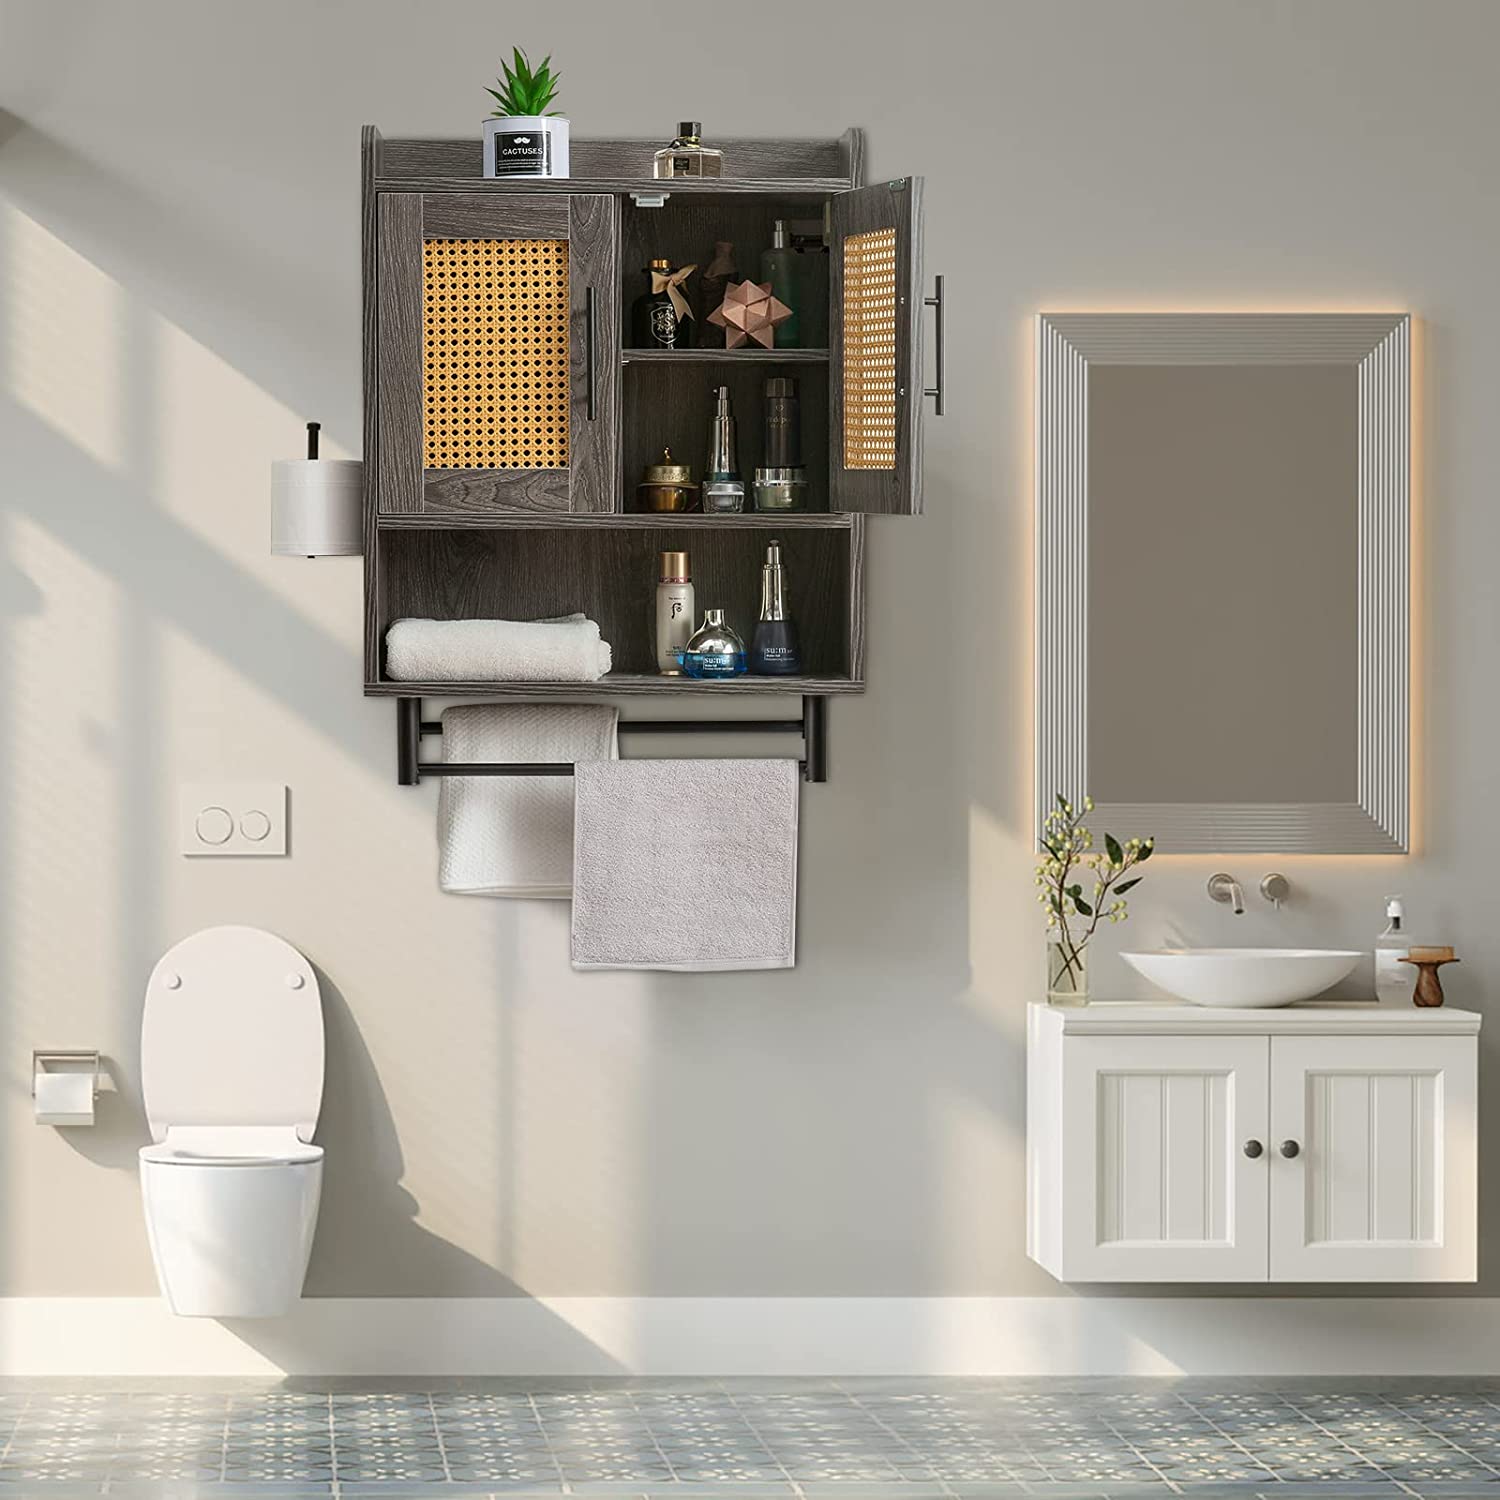
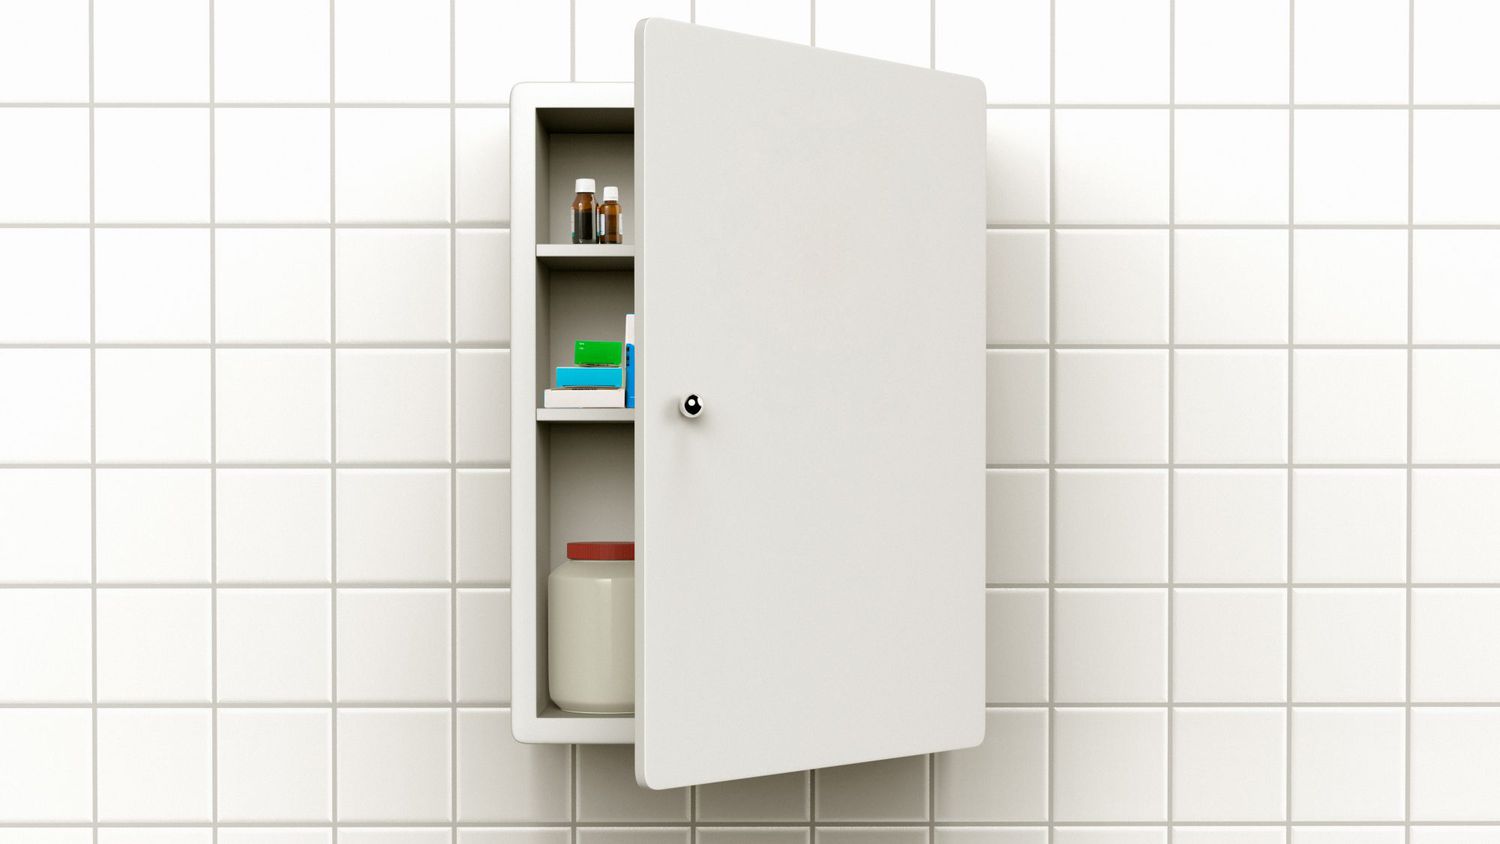
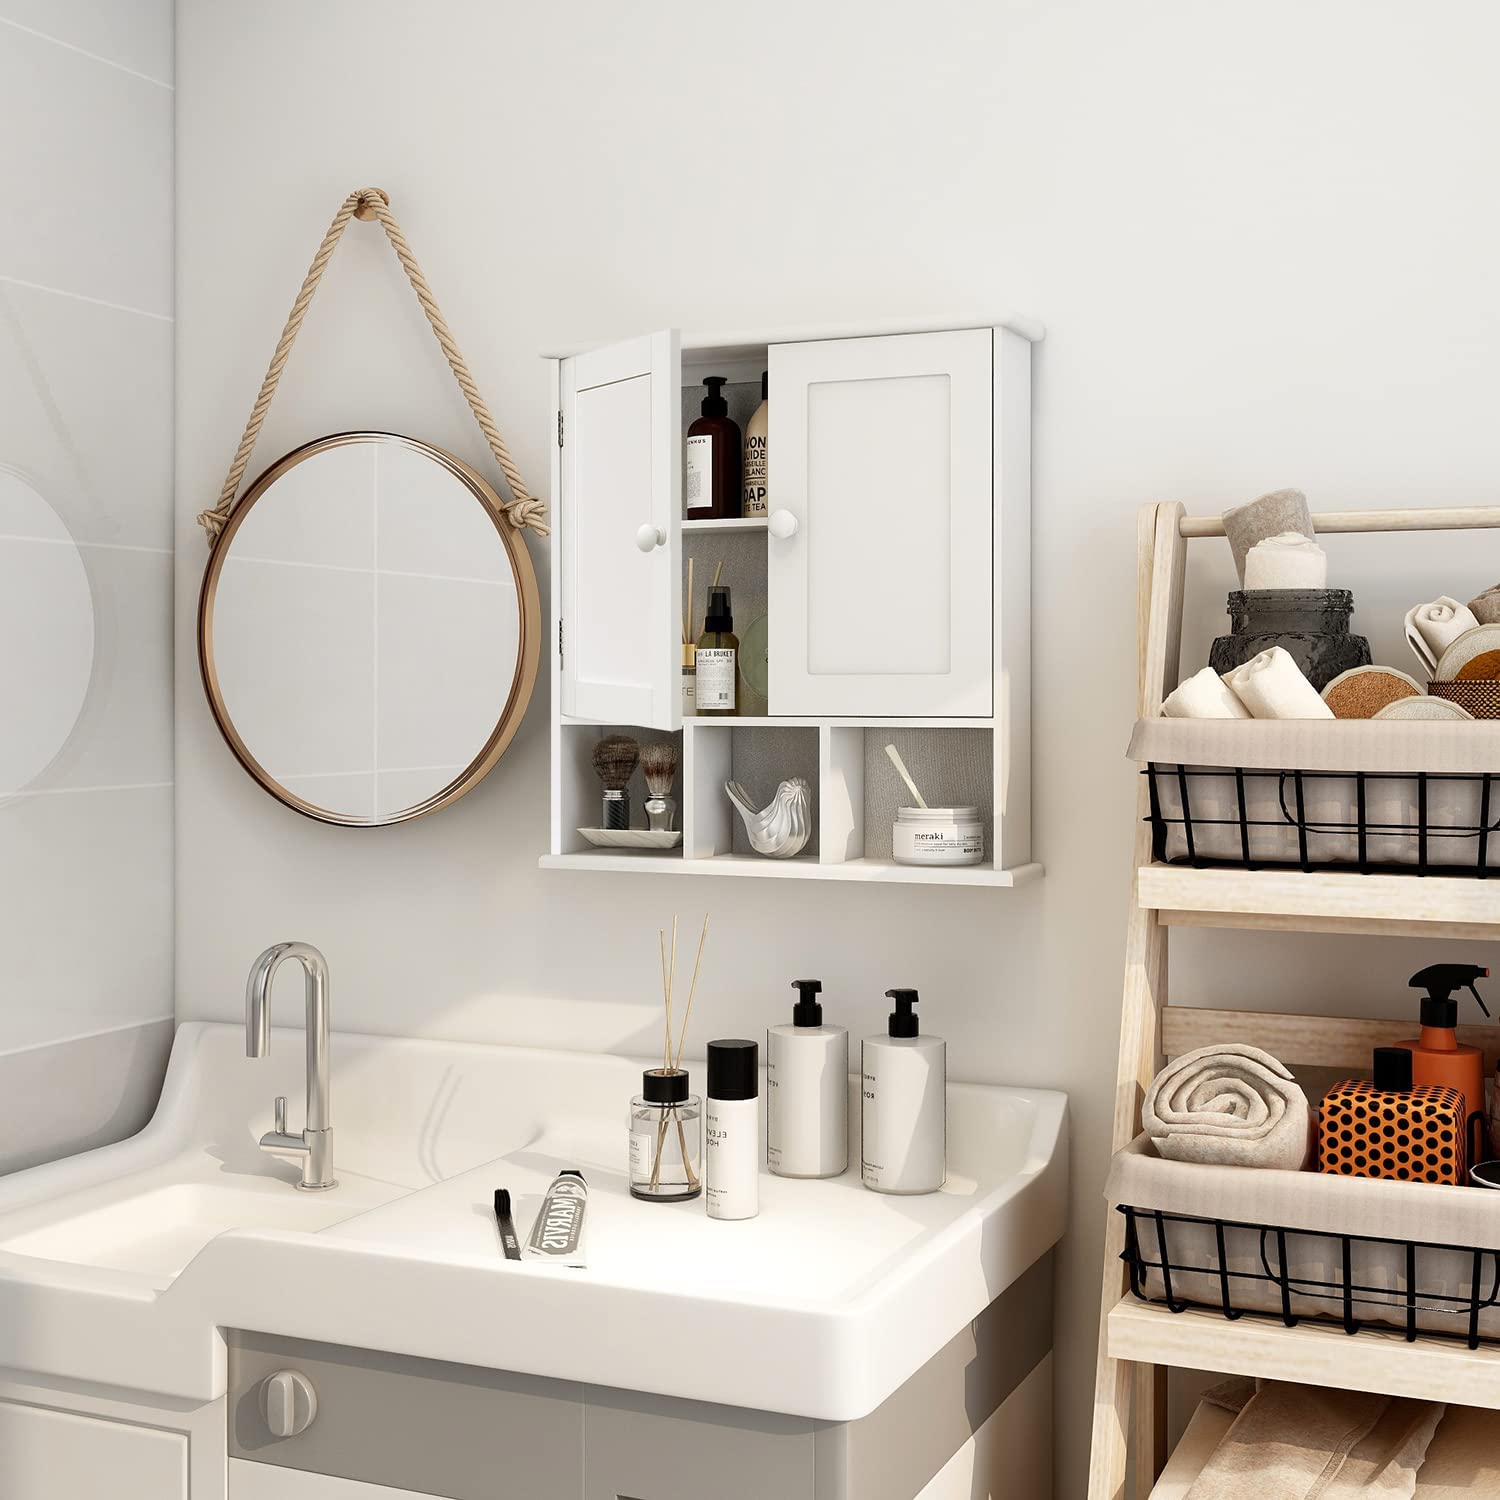
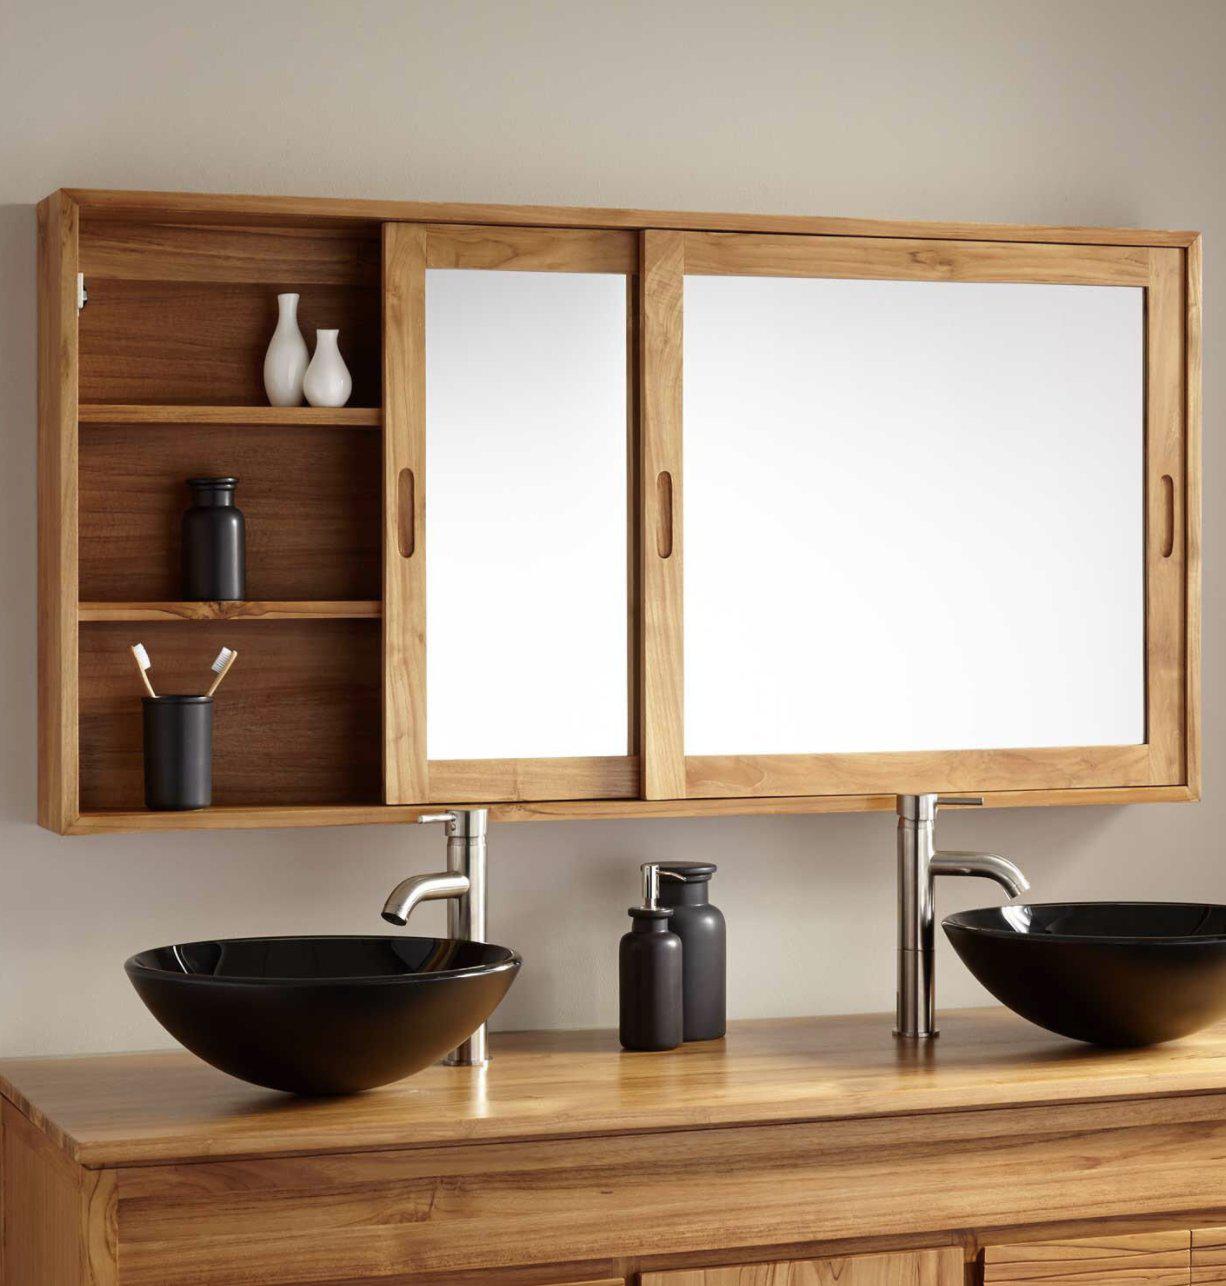
Looking to add more storage to your bathroom? Learn how to install a medicine cabinet for convenient and stylish bathroom storage.
(Many of the links in this article redirect to a specific reviewed product. Your purchase of these products through affiliate links helps to generate commission for Storables.com, at no extra cost. Learn more)
Introduction
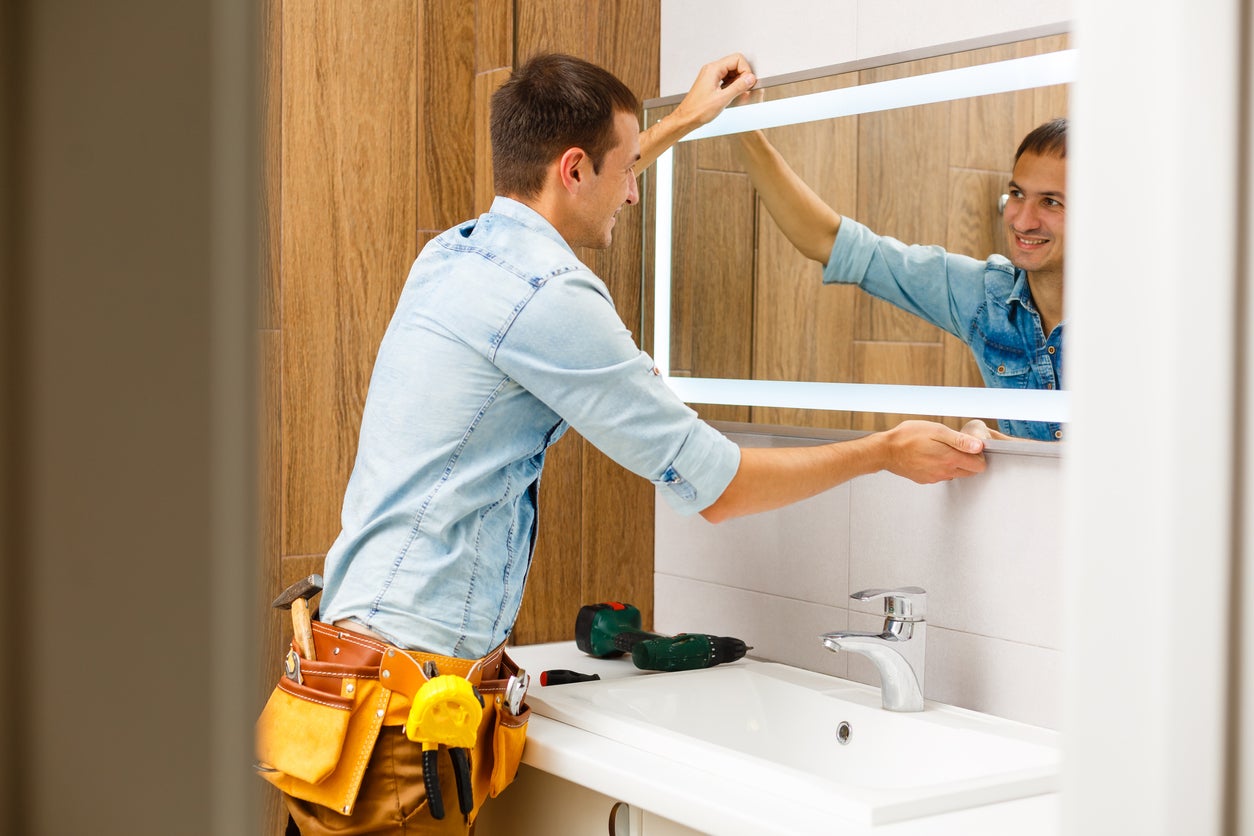
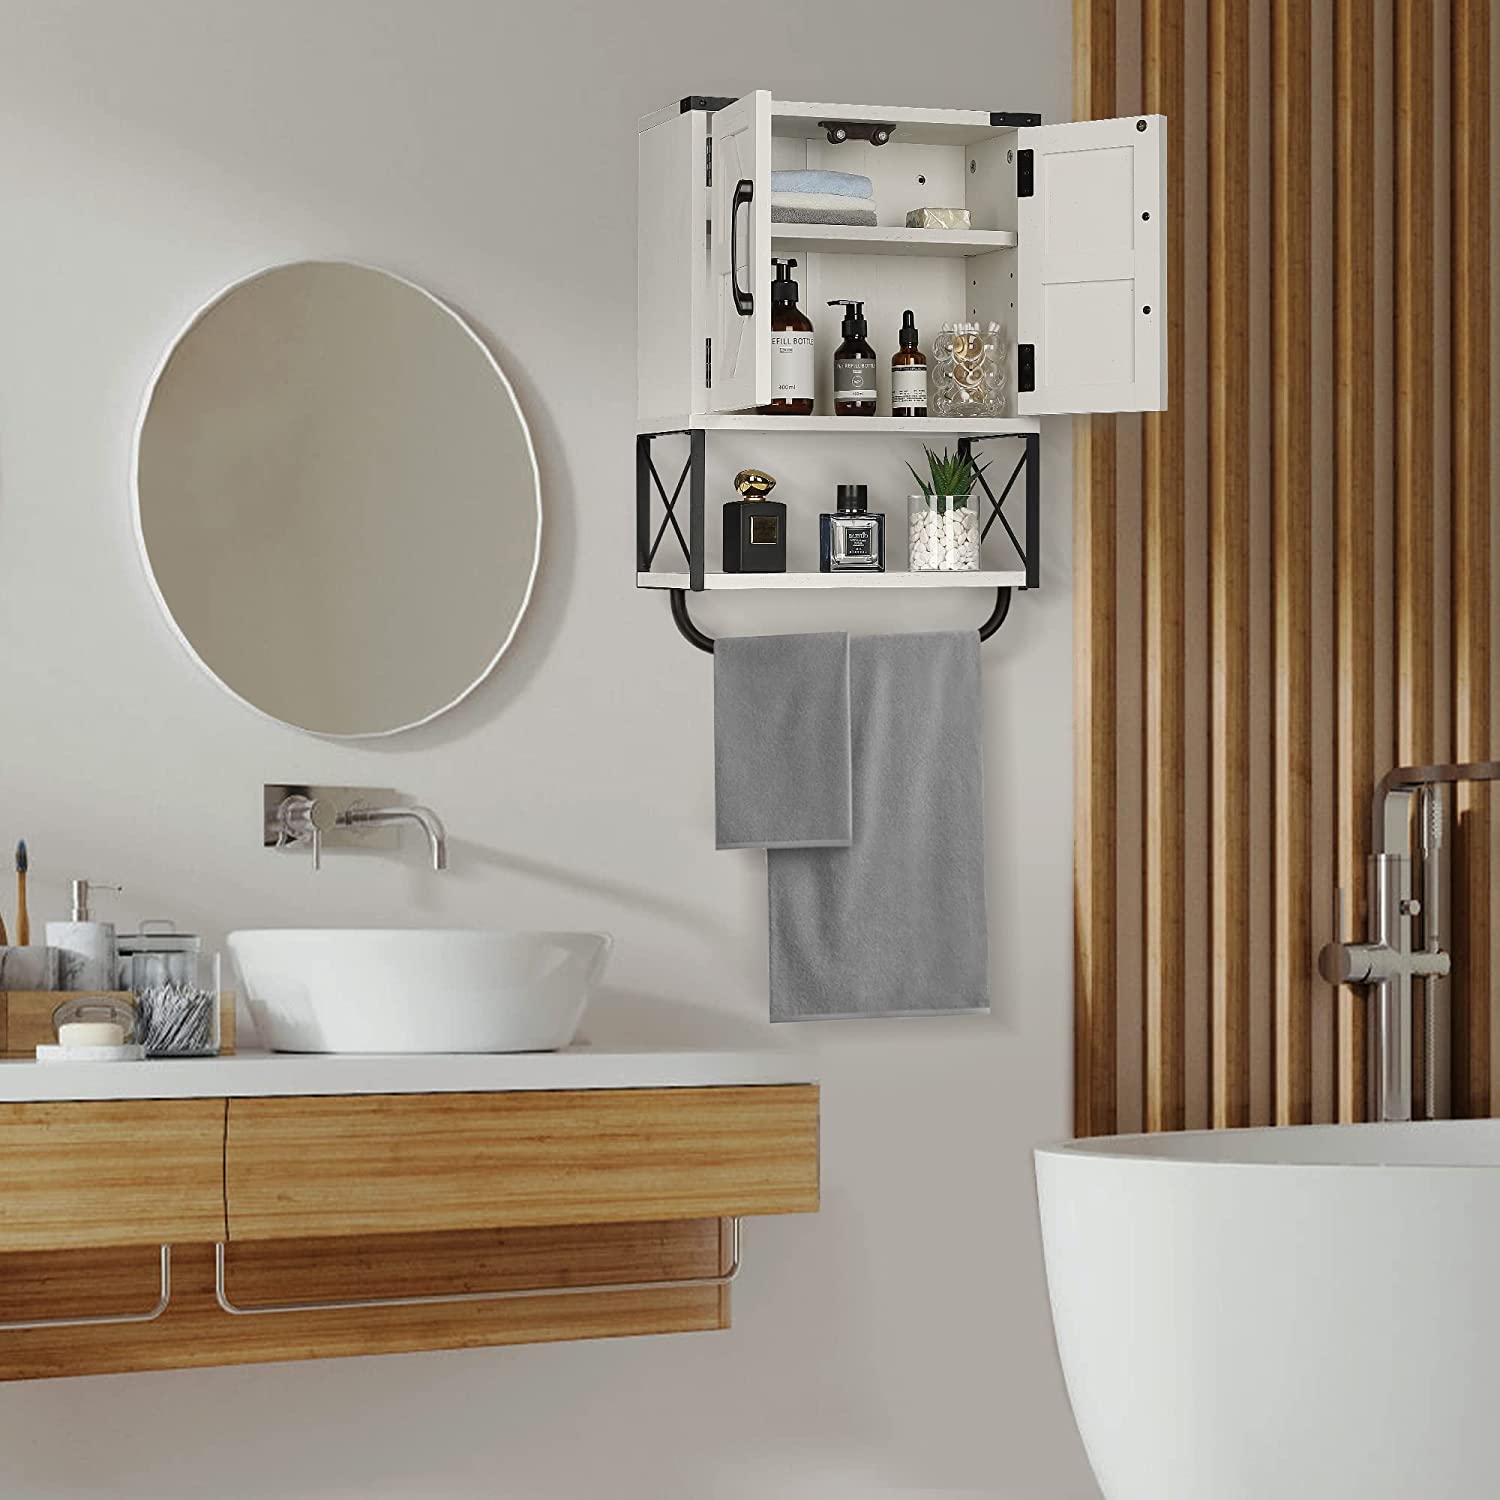
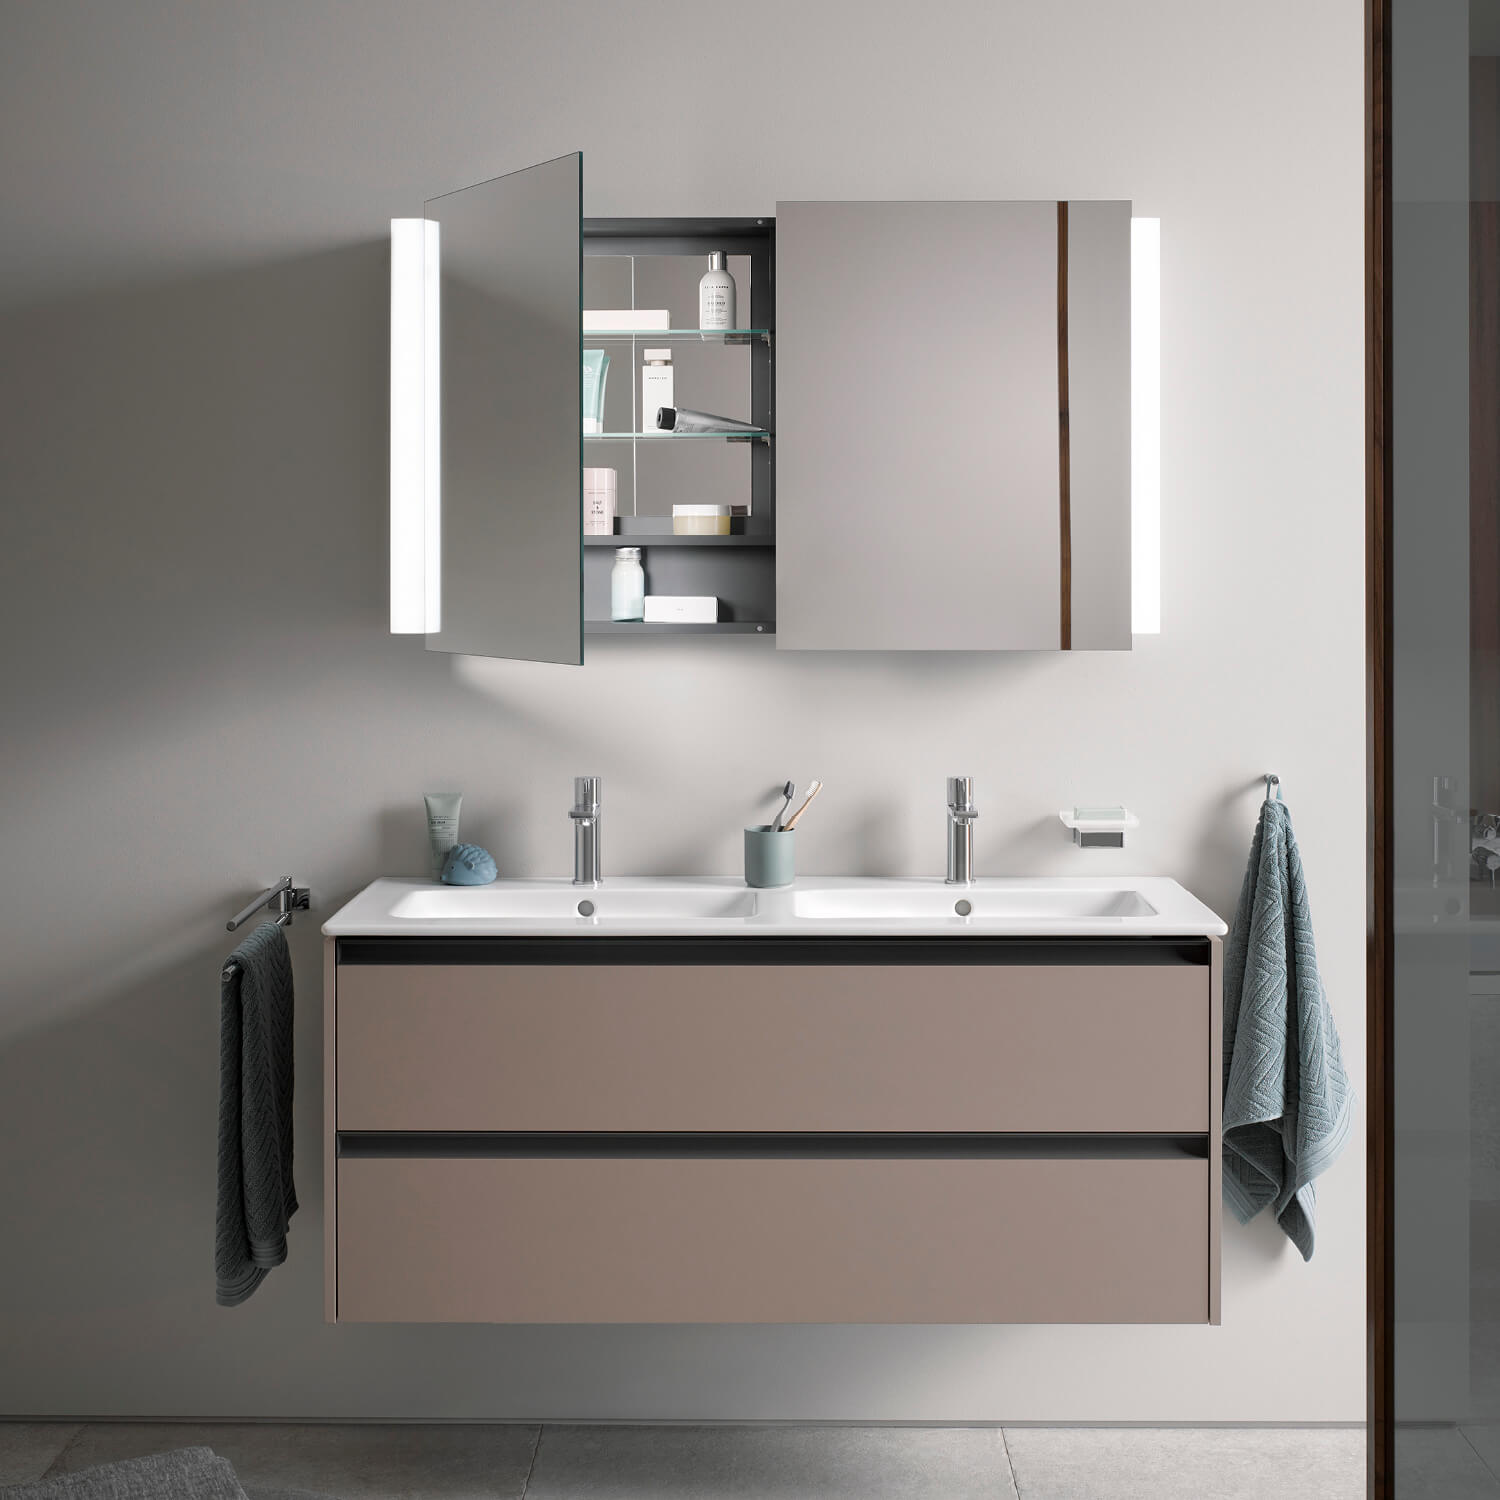
Welcome to our guide on how to install a medicine cabinet! Whether you’re looking to update your bathroom or simply add some extra storage space, installing a medicine cabinet can be a great solution. Not only does it offer a convenient place to store your toiletries and medications, but it can also enhance the overall aesthetics of your bathroom.
Before you start this DIY project, it’s important to gather the necessary tools and materials to ensure a smooth installation process. Additionally, you’ll need to prep the installation area, mark the placement of the medicine cabinet, cut the opening, install the support frame, mount the cabinet, secure it to the wall, and finally, connect any electrical wiring if needed.
In this step-by-step guide, we’ll walk you through the entire process, providing helpful tips and tricks along the way. By the end of this tutorial, you’ll be equipped with the knowledge and confidence to successfully install a medicine cabinet on your own.
Key Takeaways:
- Installing a medicine cabinet involves gathering the right tools, preparing the area, marking the placement, cutting the opening, installing the support frame, mounting the cabinet, securing it to the wall, connecting electrical wiring, testing, and making adjustments for a successful DIY project.
- Prioritizing safety, precision, and attention to detail throughout the installation process ensures a functional and aesthetically pleasing medicine cabinet that adds valuable storage space and convenience to your bathroom.
Step 1: Gather the necessary tools and materials
Before you dive into installing a medicine cabinet, it’s essential to have all the right tools and materials on hand. This will help ensure a seamless and efficient installation process. Here are the items you’ll need:
- Medicine cabinet
- Tape measure
- Pencil or marker
- Level
- Wall anchors or screws
- Drill
- Screwdriver
- Stud finder
- Drywall saw or rotary tool
- Masking tape
- Electrical wiring (if applicable)
Ensure that you choose a medicine cabinet that fits your bathroom’s style and size requirements. Measure the available space where you plan to install the cabinet, and select a model that closely matches those dimensions.
Before you start the installation, double-check that you have all the necessary tools and materials readily available. This will save you time and frustration during the installation process.
It’s also worth noting that if you’re planning to connect electrical wiring for lights or other features on your medicine cabinet, you may need additional tools and electrical supplies. This can include wire connectors, wire strippers, and a voltage tester. Make sure to familiarize yourself with the specific electrical requirements for your cabinet and consult an electrician if needed.
Once you have gathered all the tools and materials, you’re ready to move on to the next step: preparing the installation area.
Step 2: Prepare the installation area
Before you can install the medicine cabinet, it’s crucial to prepare the installation area properly. By doing so, you’ll ensure a secure and stable installation. Here’s what you need to do:
1. Clear the space: Remove any items or fixtures that may obstruct the installation area. This includes wall hangings, towels, or any other bathroom accessories.
2. Locate the wall studs: Use a stud finder to locate the wall studs in the area where you plan to install the medicine cabinet. This step is vital, as it will help you anchor the cabinet securely to the wall. Mark the studs with a pencil or masking tape.
3. Check for plumbing and electrical lines: Before you start cutting into the wall, ensure there are no plumbing or electrical lines in the surrounding area. Use caution and consult a professional if you’re unsure.
4. Prepare the work area: Place a drop cloth or old sheet on the floor to catch any debris that may fall during the installation. This will help protect your flooring and make it easier to clean up afterward.
5. Measure and mark the installation height: Use a tape measure and a level to determine the desired height for your medicine cabinet. Keep in mind the general guidelines for comfortable usage and accessibility. Mark this height on the wall with a pencil or marker.
By following these steps, you’ll ensure that the installation area is clear, secure, and ready for the next stage of the process. Once you’ve properly prepared the area, you can move on to the next step: marking the placement of the medicine cabinet.
Step 3: Mark the placement of the medicine cabinet
Now that you have prepared the installation area, it’s time to mark the placement of the medicine cabinet. By doing this step accurately, you’ll ensure that the cabinet is centered and properly aligned with the surrounding fixtures. Here’s what you need to do:
1. Measure and mark the centerline: Use a tape measure to find the centerline of the installation area. Measure the width of the wall and divide it in half to locate the center point. Mark this point on the wall with a pencil.
2. Align the cabinet with the centerline: Place the medicine cabinet against the wall, aligning it with the centerline mark. Use a level to ensure that the cabinet is straight and level. Adjust the position as needed until it is perfectly aligned.
3. Mark the cabinet’s outline: Trace the outline of the cabinet onto the wall using a pencil or marker. This will serve as a visual guide for cutting the opening in the next step. Make sure the corners and edges are clearly marked.
4. Double-check the positioning: Stand back and visually inspect the marked outline. Confirm that the cabinet is properly centered and aligned with any adjacent fixtures such as vanity units or mirrors. This is your last chance to make any adjustments before proceeding.
By carefully marking the placement of the medicine cabinet, you’ll ensure that the final installation looks professional and cohesive. Take your time and make sure everything is properly aligned before moving on to the next step of cutting the opening.
Step 4: Cut the opening for the cabinet
Once you have marked the placement of the medicine cabinet, it’s time to cut the opening in the wall. This step requires precision and patience to ensure a clean and accurate cut. Follow these steps to cut the opening:
1. Put on safety gear: Before you start cutting, make sure to put on safety goggles and a dust mask to protect your eyes and lungs from any debris or dust that may be generated during the process.
2. Use a drill to create pilot holes: Start by drilling pilot holes in each corner of the marked outline. This will make it easier to insert the blade of your cutting tool and also prevent any accidental damage to the surrounding wall.
3. Cut along the marked outline: Using a drywall saw or a rotary tool with a cutting attachment, carefully cut along the marked outline of the cabinet. Take your time and use smooth, steady strokes to ensure a clean and precise cut. Keep in mind that some medicine cabinets may require slightly larger openings to accommodate mounting brackets or electrical connections, so refer to the manufacturer’s instructions if needed.
4. Remove the cut section: Once you have cut along the entire outline, gently push the cut section of the wall inward to detach it from the surrounding drywall. Carefully remove the cut section and set it aside.
5. Check the opening size and smooth any rough edges: Measure the opening to ensure that it matches the dimensions specified by the manufacturer. Use sandpaper or a utility knife to smooth any rough edges or uneven surfaces along the cut edges of the opening.
By following these steps, you’ll successfully create a clean and precise opening for your medicine cabinet. This marks a significant milestone in the installation process, as you’re now ready to proceed with installing the support frame in the next step.
Read more: How To Install A Recessed Medicine Cabinet
Step 5: Install the support frame
With the opening cut, it’s time to install the support frame for your medicine cabinet. The support frame provides stability and a secure mounting surface for the cabinet. Follow these steps to install the frame:
1. Measure and cut the frame pieces: Measure the width, height, and depth of the opening. Using these measurements, cut pieces of wood or a support frame material to create a rectangular frame that fits snugly inside the opening. The frame should be slightly smaller than the opening to allow for easy installation.
2. Attach the frame to the wall: Place the frame inside the opening and align it with the edges. Secure it to the wall by driving screws through the frame and into the wall studs. Make sure to use a level to ensure that the frame is straight and properly aligned. If there are no wall studs available in the desired location, use wall anchors to secure the frame to the drywall.
3. Ensure stability: Check that the support frame is securely fastened and does not wobble or shift. This is important for ensuring that the medicine cabinet will be stable and secure when mounted.
4. Test the fit: Before proceeding, double-check that the medicine cabinet fits properly into the support frame. It should fit snugly and align with the opening without any gaps or obstructions. Make any necessary adjustments to the frame if needed.
Installing a support frame ensures that your medicine cabinet is securely mounted and won’t sag or detach from the wall over time. Take your time to properly align and secure the frame before moving on to the next step, which is mounting the medicine cabinet itself.
When installing a medicine cabinet, make sure to measure the space carefully and use a level to ensure it is installed straight. Also, be sure to anchor it securely to the wall for safety.
Step 6: Mount the medicine cabinet
Now that you have the support frame in place, it’s time to mount the medicine cabinet onto it. This step requires careful attention to detail to ensure that the cabinet is securely attached and aligned correctly. Follow these steps to mount the medicine cabinet:
1. Prepare the cabinet: Remove any packaging materials or protective coverings from the medicine cabinet. Check that all the necessary mounting hardware, such as screws or brackets, is included and readily accessible.
2. Position the cabinet: Position the medicine cabinet in front of the support frame, aligning it with the opening. Take care to ensure that it is centered and level, making any necessary adjustments as needed.
3. Attach the cabinet to the support frame: Depending on the design of your medicine cabinet, there may be pre-drilled holes or brackets for mounting. Follow the manufacturer’s instructions to secure the cabinet to the support frame using the provided hardware. Use a screwdriver or drill to tighten the screws, ensuring that they are snug but not overly tight to avoid damaging the cabinet or frame.
4. Test the cabinet’s stability: Gently push and pull on the mounted cabinet to ensure that it is securely attached to the support frame. Check for any signs of movement or instability. If necessary, make any adjustments or tighten the screws further to ensure a stable hold.
5. Close the cabinet doors: If your medicine cabinet has doors, carefully close them to ensure they align properly and function smoothly. Adjust the hinges or latches if necessary to achieve a flush and secure closure.
By following these steps, you’ll successfully mount the medicine cabinet onto the support frame. Take the time to ensure that it is securely attached and properly aligned before moving on to the next step, which is securing the cabinet to the wall.
Step 7: Secure the cabinet to the wall
Now that the medicine cabinet is mounted on the support frame, the next step is to secure it to the wall. This will provide additional stability and prevent the cabinet from shifting or coming loose over time. Follow these steps to secure the cabinet to the wall:
1. Locate the wall studs: Use a stud finder to locate the wall studs within the vicinity of the medicine cabinet. Mark the stud locations with a pencil or masking tape. Securing the cabinet to the wall studs will provide the strongest anchoring points.
2. Position the cabinet against the wall: Carefully align the medicine cabinet with the support frame and push it flush against the wall. Ensure that it is level and centered within the opening.
3. Drive screws into the wall studs: Starting with the top and bottom corners of the cabinet, use a drill or screwdriver to drive screws through the mounting holes in the cabinet and into the wall studs. Repeat this process for the remaining mounting holes along the sides of the cabinet. Be cautious not to overtighten the screws, as this can damage the cabinet or wall. Use a level to check the cabinet’s alignment throughout this process.
4. Check for stability: Once all the screws are securely fastened, gently push and pull on the cabinet to ensure that it is stable and securely attached to the wall. Confirm that there is no excessive movement or wobbling.
5. Fill any gaps or holes: If there are any visible gaps or holes between the cabinet and the wall, fill them with putty or caulk. This will create a seamless and finished appearance.
By following these steps, you’ll ensure that the medicine cabinet is securely attached to the wall, providing stability and durability. Take your time during this process to align and secure the cabinet properly. Once the cabinet is securely attached, you can move on to the next step, which is connecting any electrical wiring if applicable.
Step 8: Connect the electrical wiring (if applicable)
If your medicine cabinet has built-in electrical components, such as lights or outlets, you’ll need to connect the electrical wiring to ensure their functionality. Before proceeding with this step, make sure to turn off the power to the bathroom circuit at the main electrical panel. It is recommended to consult a licensed electrician if you’re not familiar with electrical work. Follow these general steps to connect the electrical wiring:
1. Review the manufacturer’s instructions: Before starting any electrical work, carefully read and understand the manufacturer’s instructions that came with the medicine cabinet. They will provide specific guidelines on wiring configurations and safety precautions.
2. Locate the electrical junction box: Most medicine cabinets with electrical components will have a junction box located at the back of the cabinet. This box serves as a connection point for the electrical wiring.
3. Install the electrical junction box: If the junction box is not pre-installed, follow the manufacturer’s instructions to install it securely to the back of the medicine cabinet, ensuring that it aligns properly with the opening.
4. Run electrical wiring: Carefully route the electrical wiring from the power source to the medicine cabinet’s junction box. Ensure that the wiring is properly concealed and protected by using appropriate wiring channels or conduit, avoiding any sharp edges or potential damage.
5. Make electrical connections: Using wire connectors, connect the wires from the power source with the corresponding wires in the junction box. Follow the color-coded instructions from the manufacturer to ensure proper connections. Tighten all wire connectors securely.
6. Test the electrical connections: Once the wiring is connected, restore power to the bathroom circuit and test the electrical components of the medicine cabinet. Verify that the lights, outlets, or any other electrical features are functioning as intended. If you encounter any issues or concerns, immediately turn off the power and consult a professional electrician.
It’s crucial to prioritize safety when working with electrical wiring. If you are unsure or uncomfortable with these tasks, it is highly recommended to consult a licensed electrician to complete the electrical connection for your medicine cabinet.
Finally, once the electrical wiring is successfully connected and tested, you can proceed to the next and final step – testing the medicine cabinet and making any necessary adjustments.
Step 9: Test the cabinet and make adjustments
After completing the installation and electrical connections, it’s time to test the medicine cabinet and make any necessary adjustments to ensure optimal functionality and appearance. Follow these steps to properly test and fine-tune your cabinet:
1. Test the cabinet functionality: Open and close the cabinet doors to ensure they operate smoothly and securely. Check any hinges or latches to make sure they are properly aligned and functioning correctly. Test any additional features, such as lights, outlets, or mirrors, to ensure they are working as intended.
2. Adjust the cabinet alignment: If there are any issues with the alignment or levelness of the cabinet, make necessary adjustments. Use a level to ensure the cabinet is straight, and if needed, adjust the mounting screws or hinges to achieve the desired alignment.
3. Check for gaps or protrusions: Inspect the cabinet for any visible gaps between the cabinet and the wall. If there are gaps, you can use caulking or trim to fill them in for a seamless appearance. Check for any protruding screws and tighten or adjust them as needed.
4. Ensure proper clearance and accessibility: Verify that the cabinet doors open and close without any obstructions, and that there is sufficient space for easy access to the interior shelves or compartments. Make sure the cabinet does not interfere with any nearby fixtures or obstacles.
5. Clean and finish: Wipe down the exterior and interior surfaces of the cabinet to remove any dust or debris from the installation process. Apply any finishing touches, such as paint touch-ups or trim, to enhance the overall appearance and blend the cabinet seamlessly with the surrounding decor.
By thoroughly testing and making necessary adjustments, you’ll ensure that your medicine cabinet is fully functional, aesthetically pleasing, and meets your specific needs. Take the time to fine-tune any details before considering the installation process complete.
Congratulations! You have successfully installed and tested your medicine cabinet. Enjoy the added functionality and convenience it provides to your bathroom space.
Conclusion
Installing a medicine cabinet is a rewarding DIY project that can enhance the functionality and aesthetics of your bathroom. By following the step-by-step guide outlined in this tutorial, you have learned how to gather the necessary tools, prepare the installation area, mark the placement of the cabinet, cut the opening, install the support frame, mount the cabinet, secure it to the wall, connect any electrical wiring, test the cabinet, and make necessary adjustments.
Throughout the installation process, it’s important to prioritize safety by wearing appropriate safety gear, turning off electrical power when necessary, and consulting professionals when needed. Taking the time to properly prepare the area, measure accurately, and align the cabinet ensures a successful installation that will last for years to come.
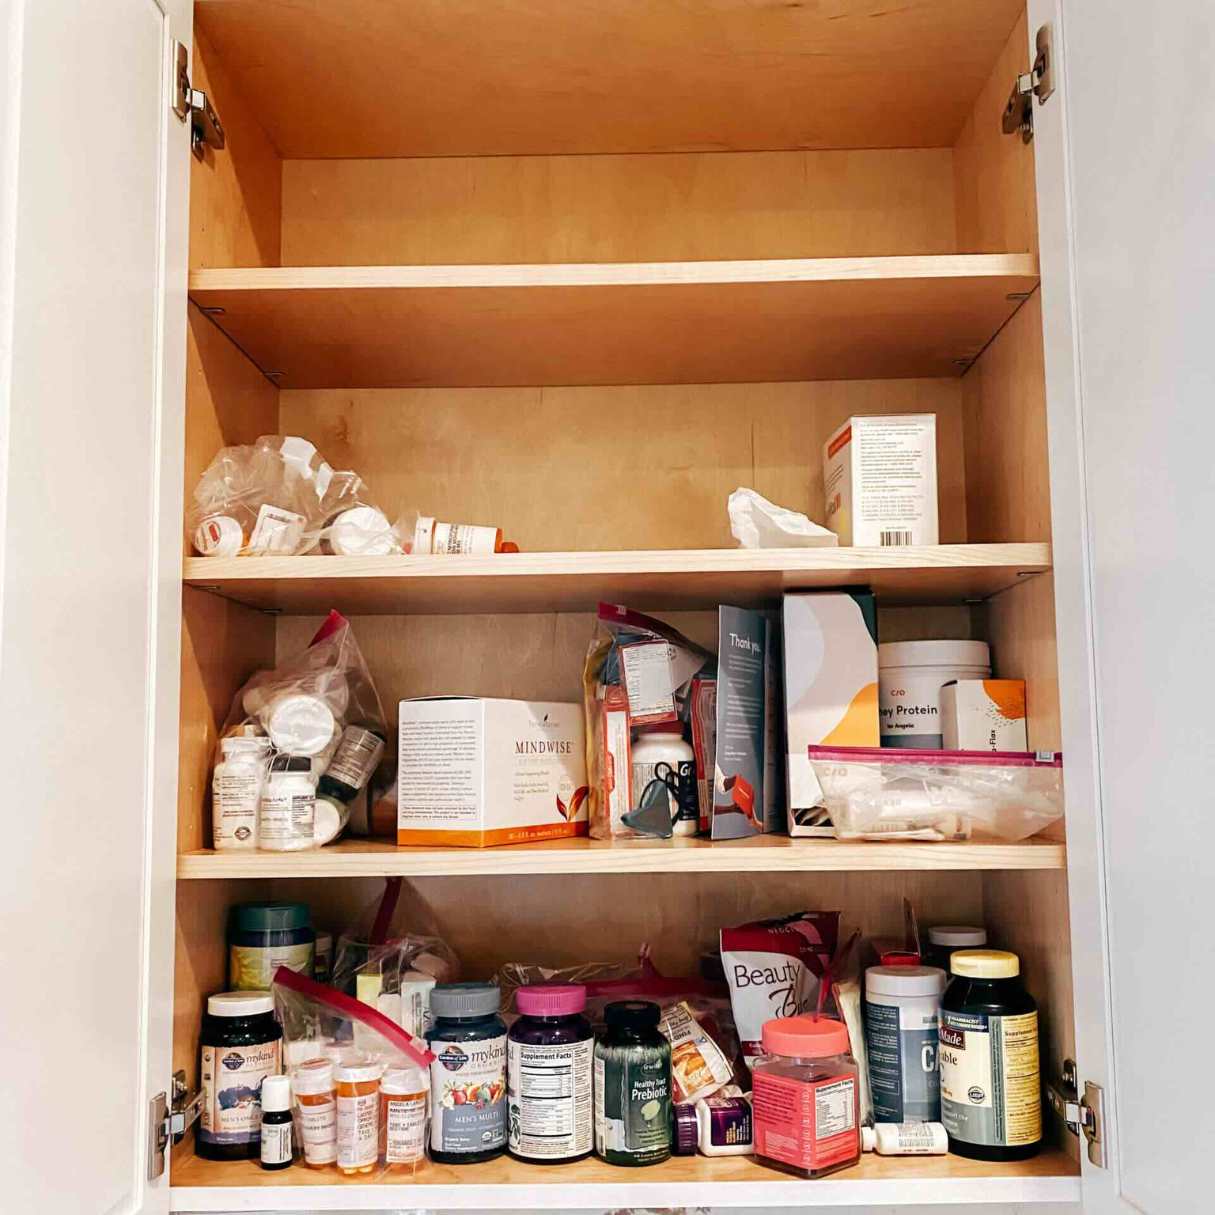
A well-installed medicine cabinet provides valuable storage space for toiletries and medications, adds convenience to your daily routine, and can serve as a stylish focal point in your bathroom. Don’t forget to regularly clean and maintain your cabinet to keep it in optimal condition.
Remember, if you encounter any challenges or feel uncomfortable with specific steps, it’s always a good idea to consult professionals or seek assistance from experienced individuals. Safety and accuracy are essential when it comes to home improvement projects.
Now that you have the knowledge and confidence to install a medicine cabinet, go ahead and transform your bathroom into a functional and organized space. Enjoy the benefits and convenience that a well-installed medicine cabinet brings.
Happy installing!
Frequently Asked Questions about How To Install A Medicine Cabinet
Was this page helpful?
At Storables.com, we guarantee accurate and reliable information. Our content, validated by Expert Board Contributors, is crafted following stringent Editorial Policies. We're committed to providing you with well-researched, expert-backed insights for all your informational needs.


0 thoughts on “How To Install A Medicine Cabinet”