Home>Furniture & Design>Bathroom Accessories>How To Remove A Medicine Cabinet
Bathroom Accessories
How To Remove A Medicine Cabinet
Modified: August 17, 2024
Learn how to remove a medicine cabinet and update your bathroom accessories with our step-by-step guide. Upgrade your bathroom with ease!
(Many of the links in this article redirect to a specific reviewed product. Your purchase of these products through affiliate links helps to generate commission for Storables.com, at no extra cost. Learn more)
Introduction
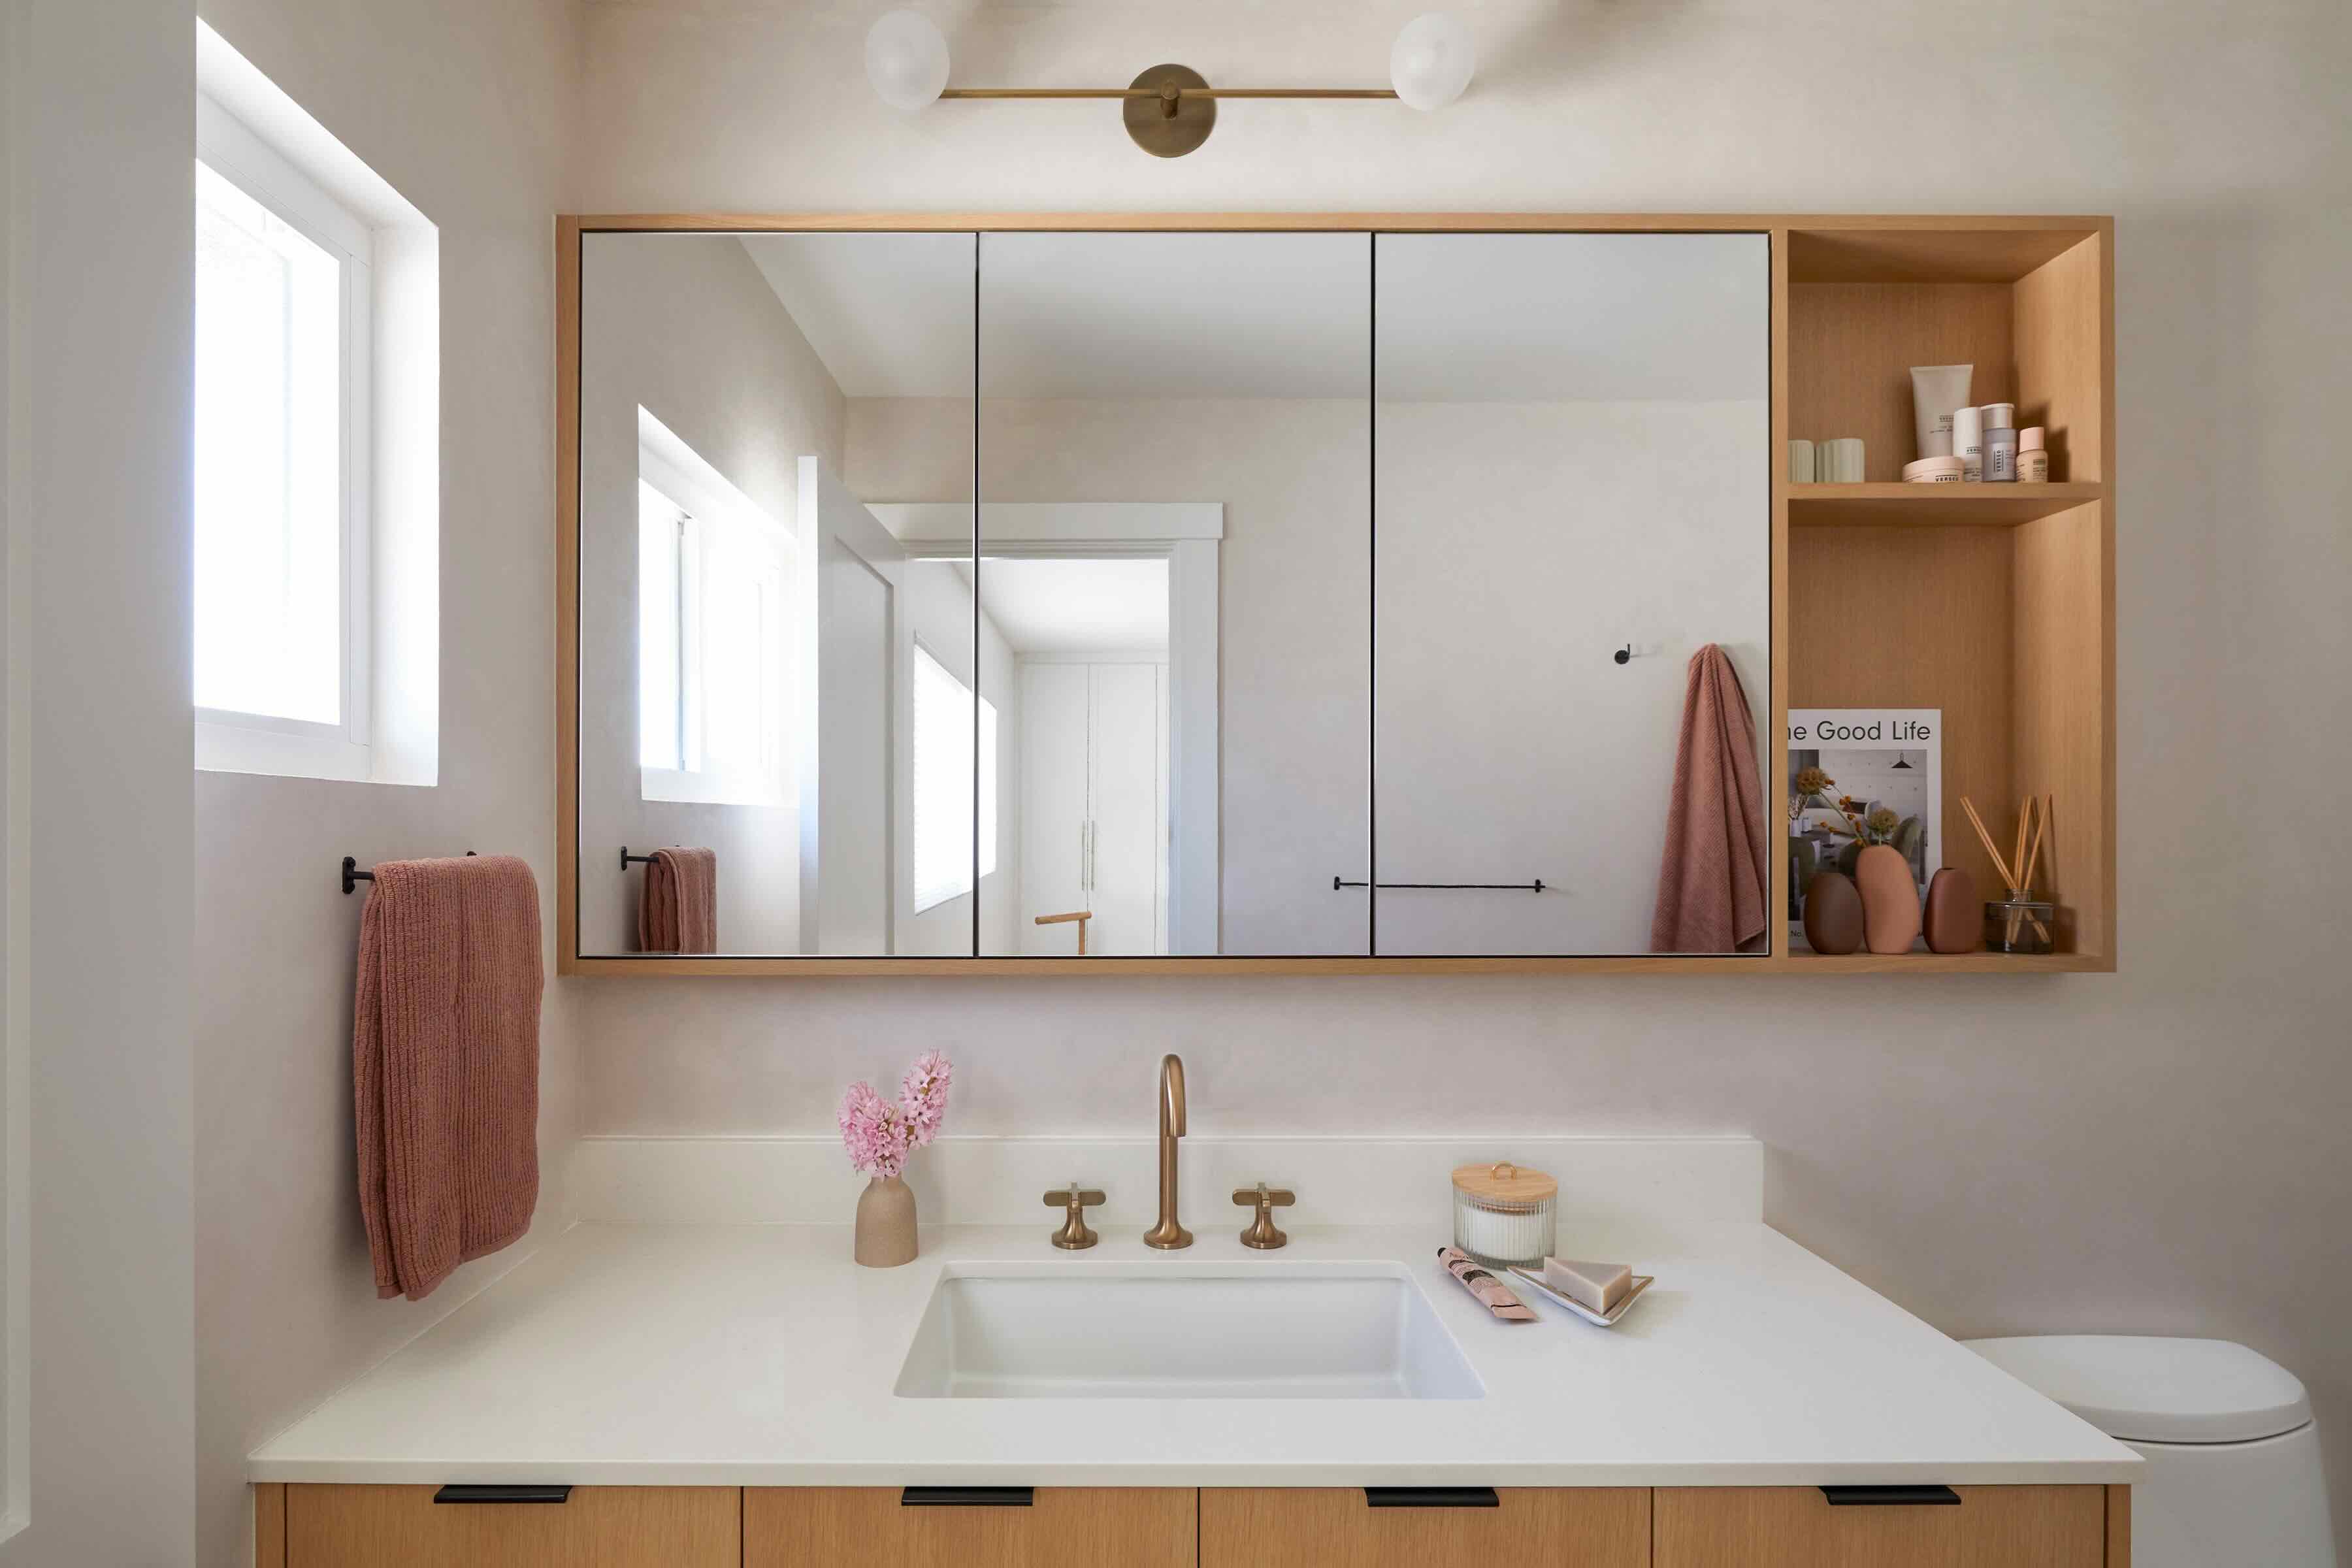
Removing a medicine cabinet may seem like a daunting task, but with the right tools and a systematic approach, it can be a manageable project. Whether you're looking to update your bathroom's aesthetic or need to make space for a larger mirror or storage solution, taking out a medicine cabinet can be a rewarding endeavor. This comprehensive guide will walk you through the step-by-step process, ensuring that you can tackle this project with confidence and precision.
Before diving into the removal process, it's essential to assess the condition of your existing medicine cabinet. Over time, these fixtures can become worn, outdated, or simply no longer align with your design preferences. By removing the old cabinet, you open up the opportunity to revitalize your bathroom space and introduce a fresh, modern look.
Furthermore, the removal of a medicine cabinet presents an ideal opportunity to inspect the wall behind it. This inspection can reveal any hidden issues, such as water damage or mold, which may have developed over time. By addressing these concerns during the removal process, you can prevent potential problems from escalating and ensure a clean slate for any future renovations.
As you embark on this project, it's important to approach it with a clear plan and the right set of tools. By following the subsequent steps, you'll be equipped with the knowledge and guidance needed to execute a smooth and successful removal. From turning off the power to safely detaching the cabinet from the wall, each step is designed to streamline the process and minimize any potential challenges.
With this guide as your companion, you'll be well-prepared to remove your medicine cabinet with confidence and precision, setting the stage for a refreshed and revitalized bathroom space. So, gather your tools, prepare for a transformative endeavor, and let's embark on this journey to remove a medicine cabinet and breathe new life into your bathroom.
Key Takeaways:
- Removing a medicine cabinet is a rewarding project that opens up opportunities to revitalize your bathroom space and address hidden issues like water damage. With the right tools and a clear plan, you can tackle this task confidently.
- After removing the cabinet, patching and painting the wall allows you to seamlessly integrate the space into your bathroom’s aesthetic. You can then choose to install a new cabinet or get creative with decorative options to complete the transformation.
Step 1: Gather necessary tools and materials
Before diving into the process of removing a medicine cabinet, it's crucial to gather the essential tools and materials to ensure a smooth and efficient removal. Here's a comprehensive list of what you'll need:
Tools:
- Screwdriver: A Phillips-head screwdriver will likely be necessary for removing screws that secure the cabinet to the wall.
- Utility Knife: This tool will come in handy for cutting through any caulk or adhesive sealing the cabinet to the wall.
- Pry Bar: Use a pry bar to gently separate the cabinet from the wall, especially if it's been glued or caulked in place.
- Stud Finder: To locate the studs in the wall, which will be crucial for safely detaching the cabinet.
- Level: Ensuring that the cabinet is properly aligned during removal and any subsequent installation is essential for a polished finish.
- Safety Glasses and Gloves: Protect your eyes and hands during the removal process.
Materials:
- Drop Cloth or Tarp: Cover the surrounding area to protect it from debris and dust.
- Painter's Tape: Use this to mark the perimeter of the cabinet, protecting the surrounding wall from accidental damage.
- Caulk Remover: If the cabinet is sealed with caulk, a caulk remover will aid in loosening the seal.
- Patch and Repair Materials: Depending on your plans for the wall after removal, you may need spackling compound, sandpaper, and paint to repair and refinish the wall.
- New Cabinet or Covering: If you're not planning to install a new cabinet, consider having a covering or mirror ready to fill the space left by the removed cabinet.
By ensuring that you have all the necessary tools and materials at your disposal, you'll be well-prepared to tackle the removal process with confidence and efficiency. With these items in hand, you're ready to move on to the next step in the journey of removing your medicine cabinet and revitalizing your bathroom space.
Step 2: Turn off the power
Before you begin the process of removing a medicine cabinet, it's crucial to prioritize safety by turning off the power to any electrical components that may be present. In many bathrooms, medicine cabinets are equipped with built-in lighting fixtures, electrical outlets, or even integrated power sources for electric razors or toothbrush chargers. To ensure a safe and smooth removal process, it's essential to take the following steps:
-
Locate the Electrical Panel: Begin by locating the electrical panel in your home. This panel houses the circuit breakers or fuses that control the power supply to different areas of your home, including the bathroom where the medicine cabinet is installed.
-
Identify the Correct Circuit: Once you've located the electrical panel, identify the circuit that supplies power to the medicine cabinet. This may be labeled on the panel, or you may need to test the circuits to determine the correct one.
-
Turn Off the Circuit: With caution and care, switch off the circuit that powers the medicine cabinet. This step is crucial for ensuring that no electrical components are active during the removal process, minimizing the risk of electrical shock or other hazards.
-
Verify the Power is Off: After turning off the circuit, it's important to verify that the power to the medicine cabinet is indeed off. You can do this by using a non-contact voltage tester, which will indicate whether there is still electrical current present in the area.
By taking these precautionary measures to turn off the power, you can proceed with the removal process with confidence, knowing that you've minimized the risk of encountering live electrical components. This step is essential for the safety of both yourself and the integrity of the electrical systems in your home. With the power safely turned off, you're now ready to move on to the next phase of removing the medicine cabinet and transforming your bathroom space.
Read more: How To Measure A Medicine Cabinet
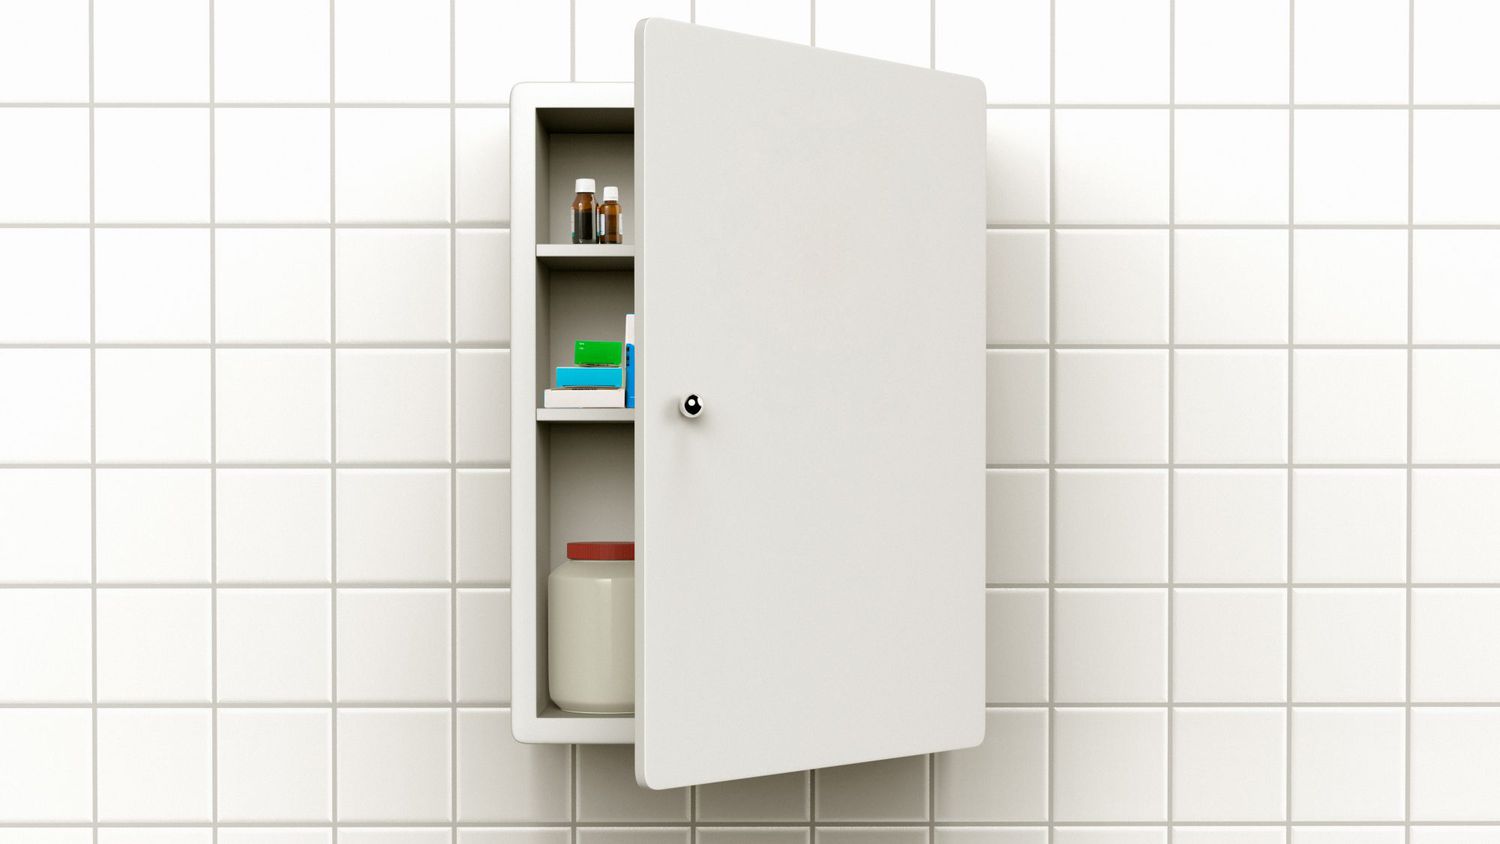
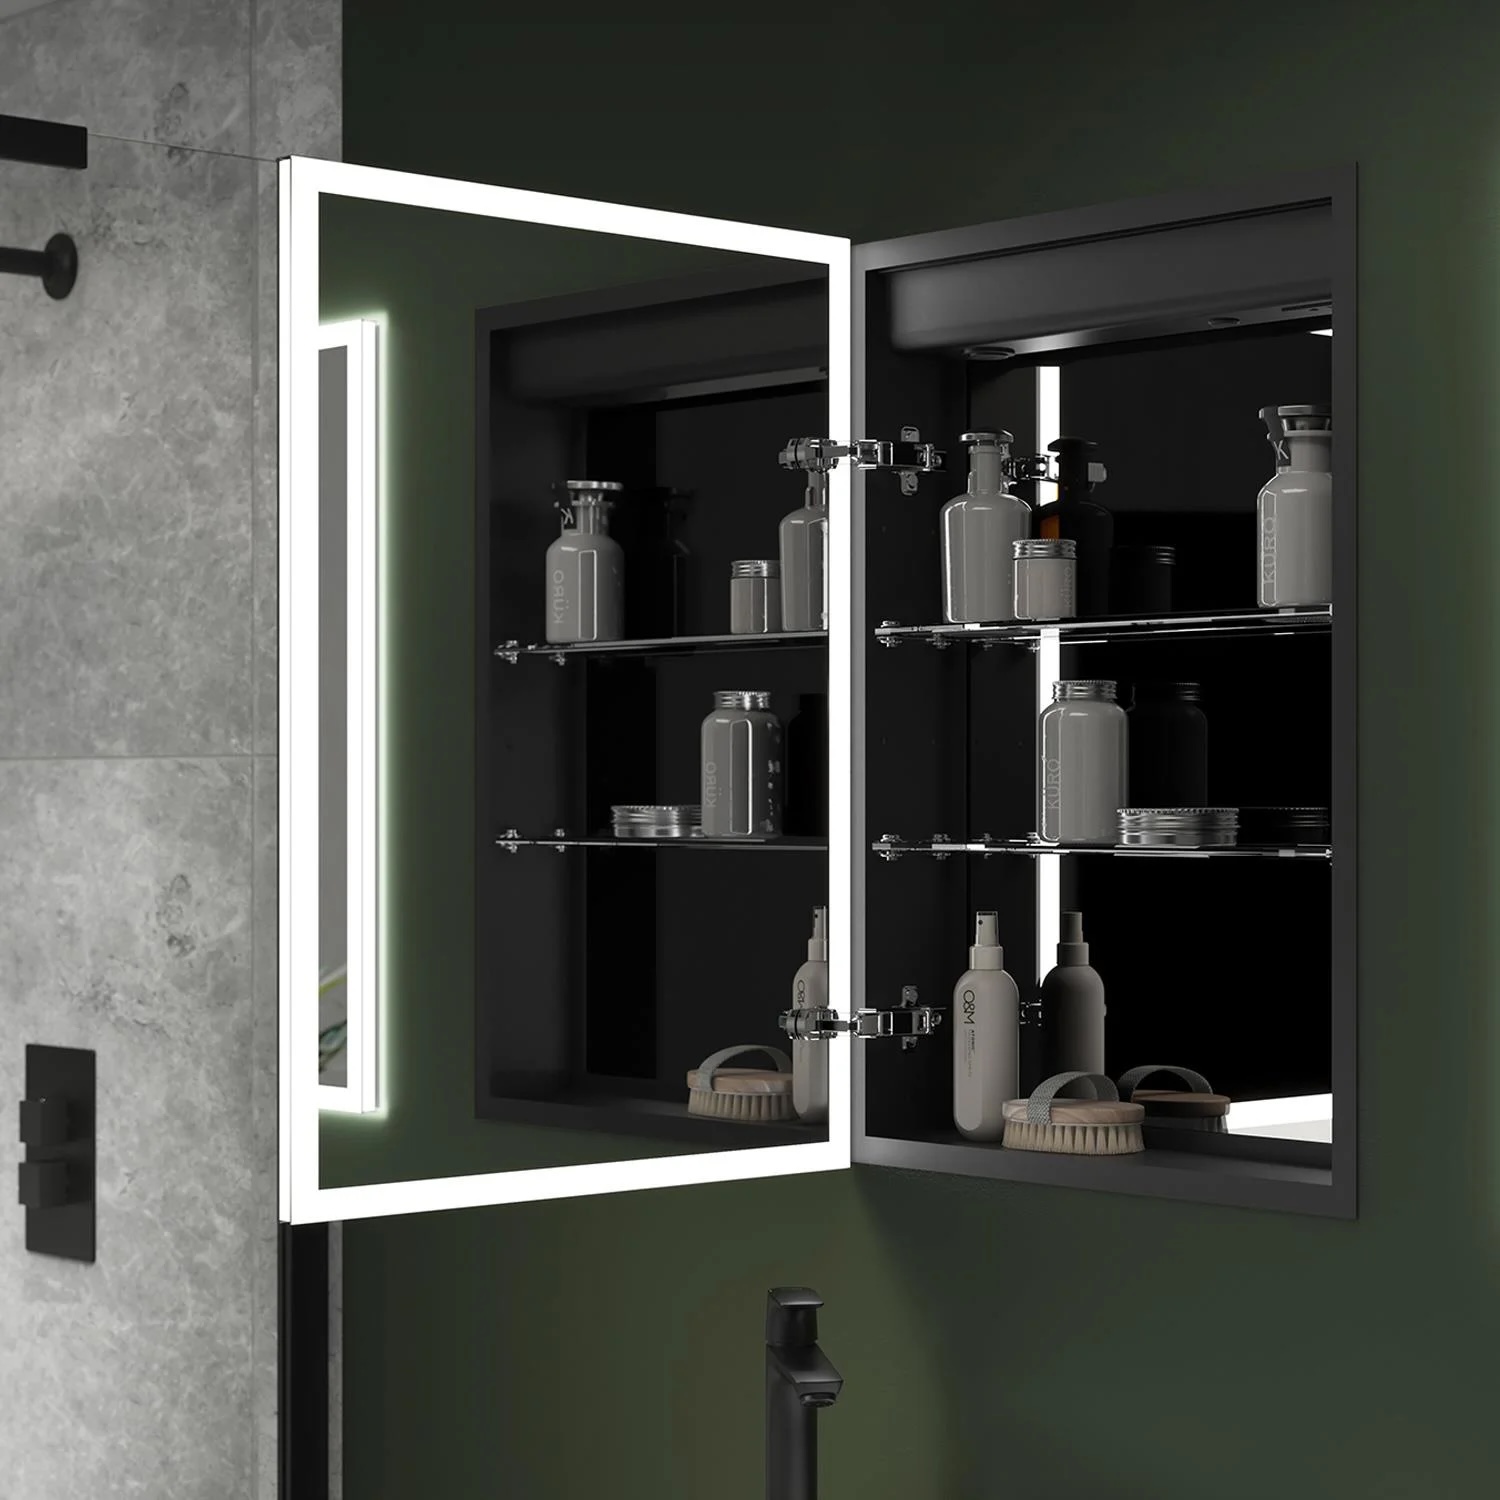
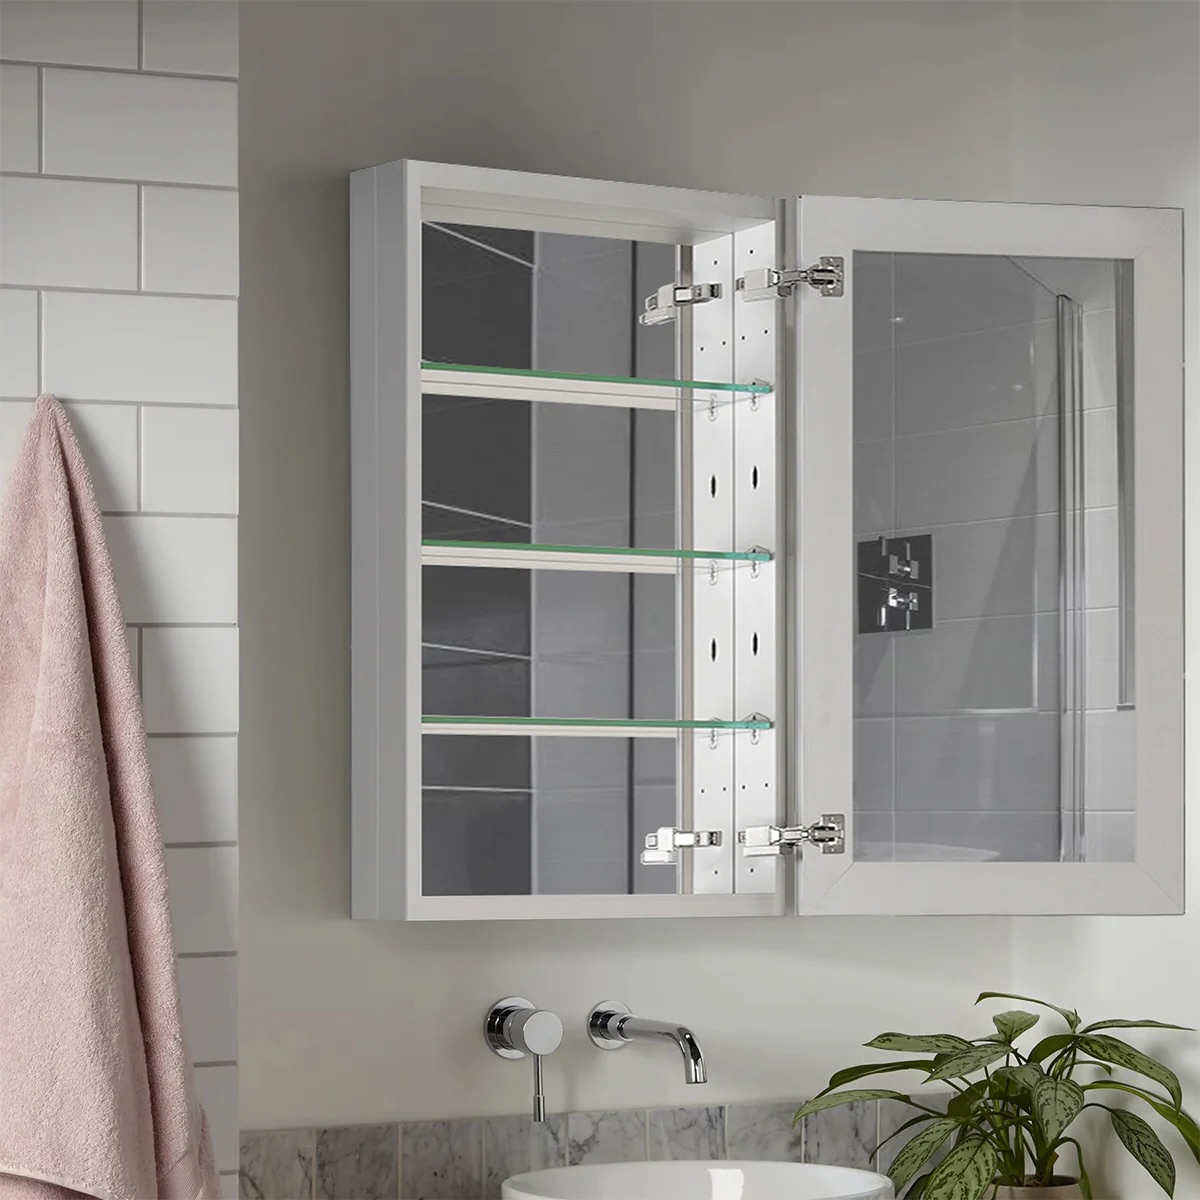
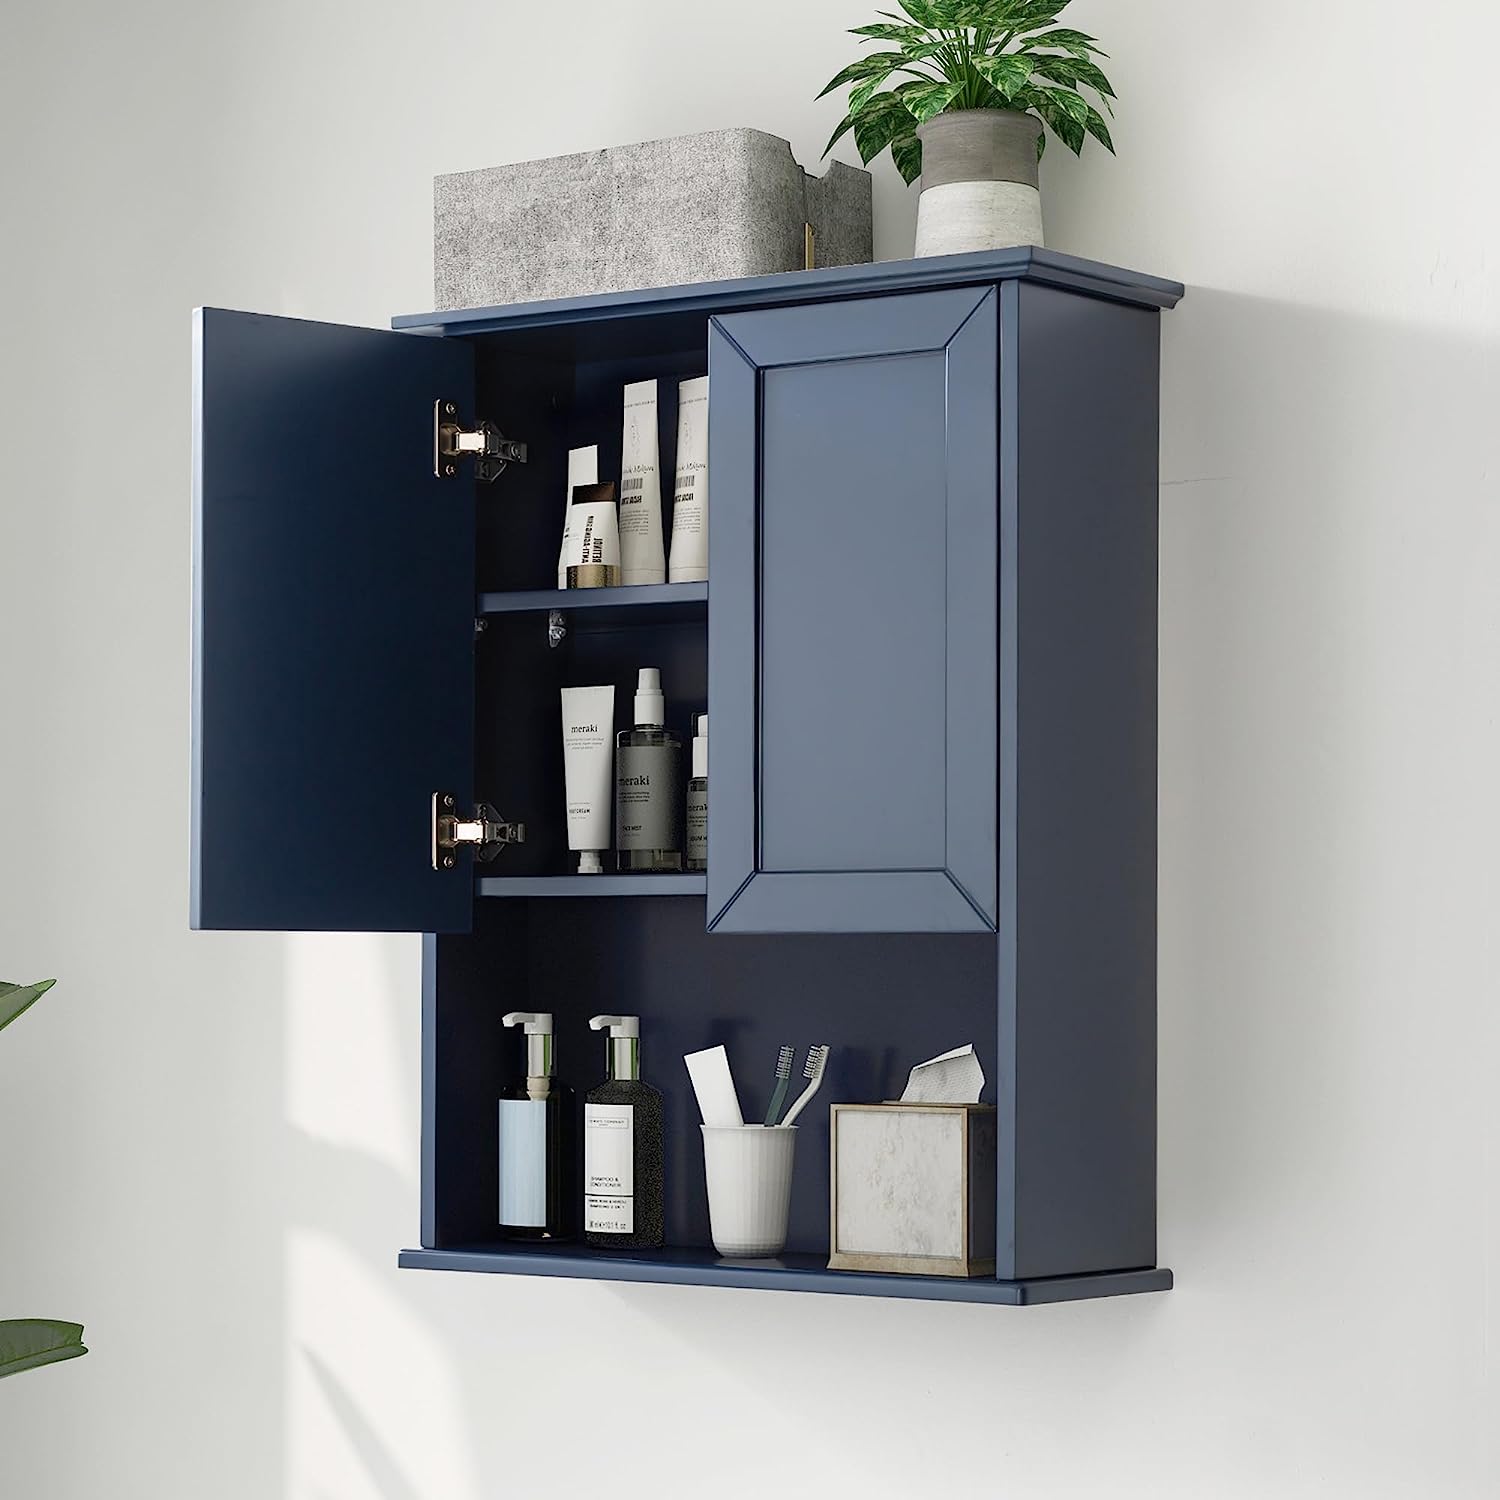
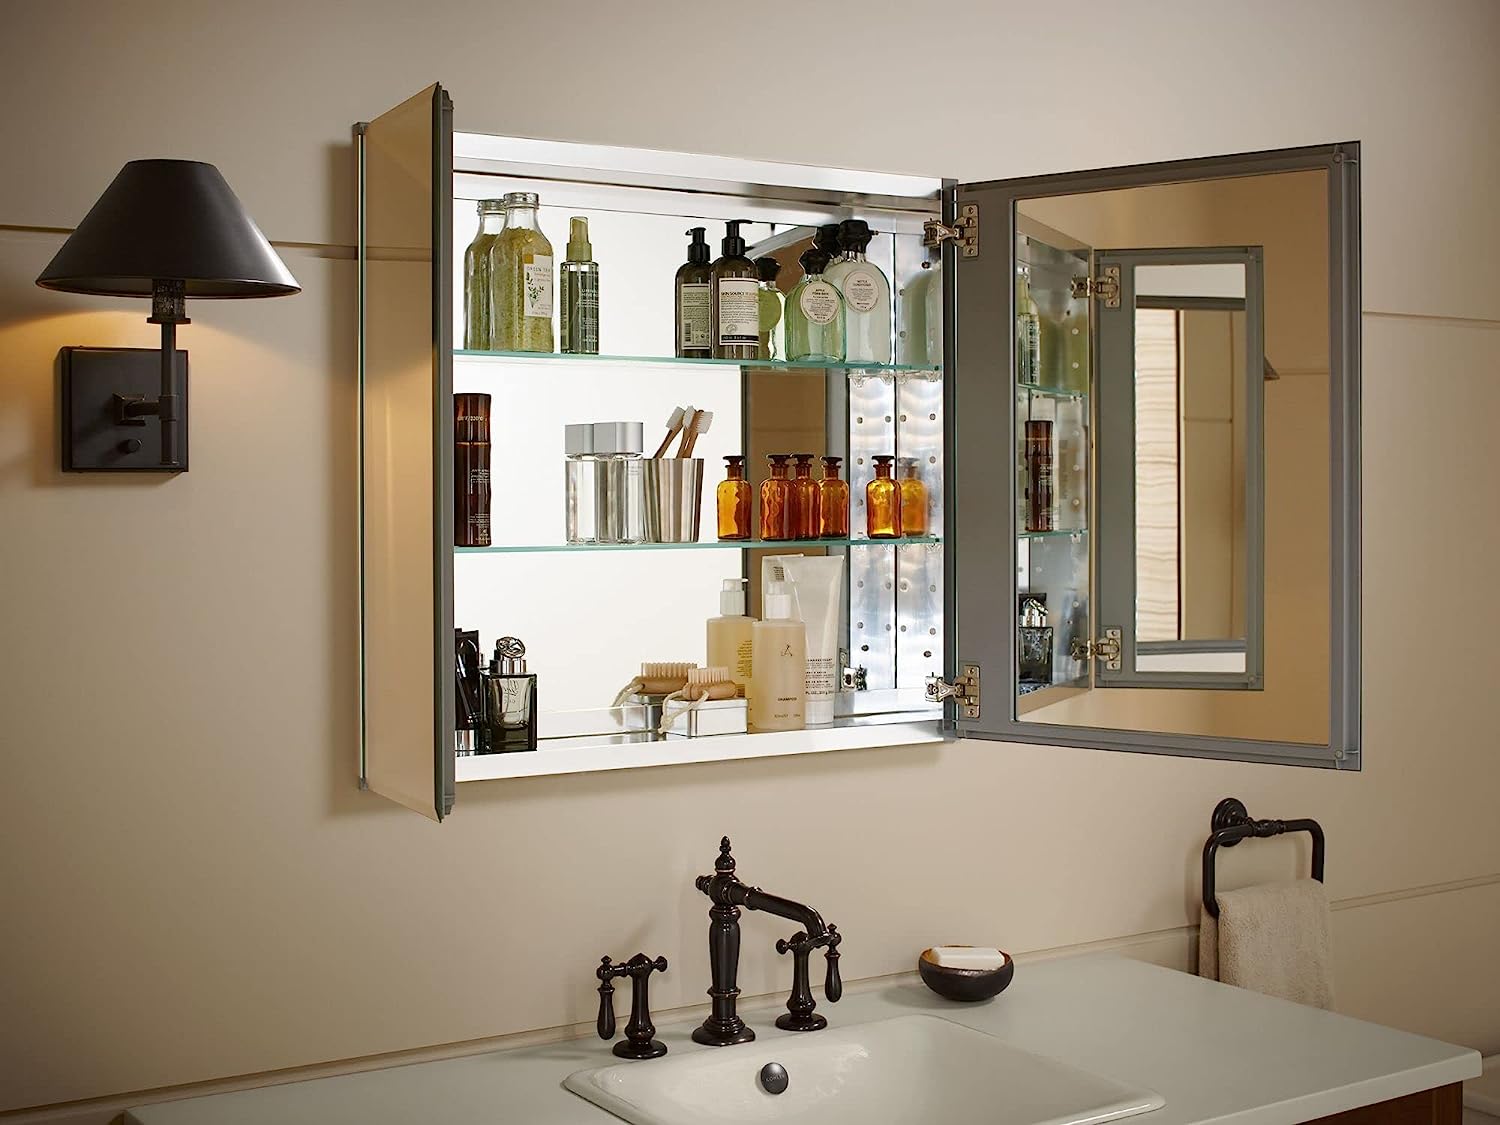
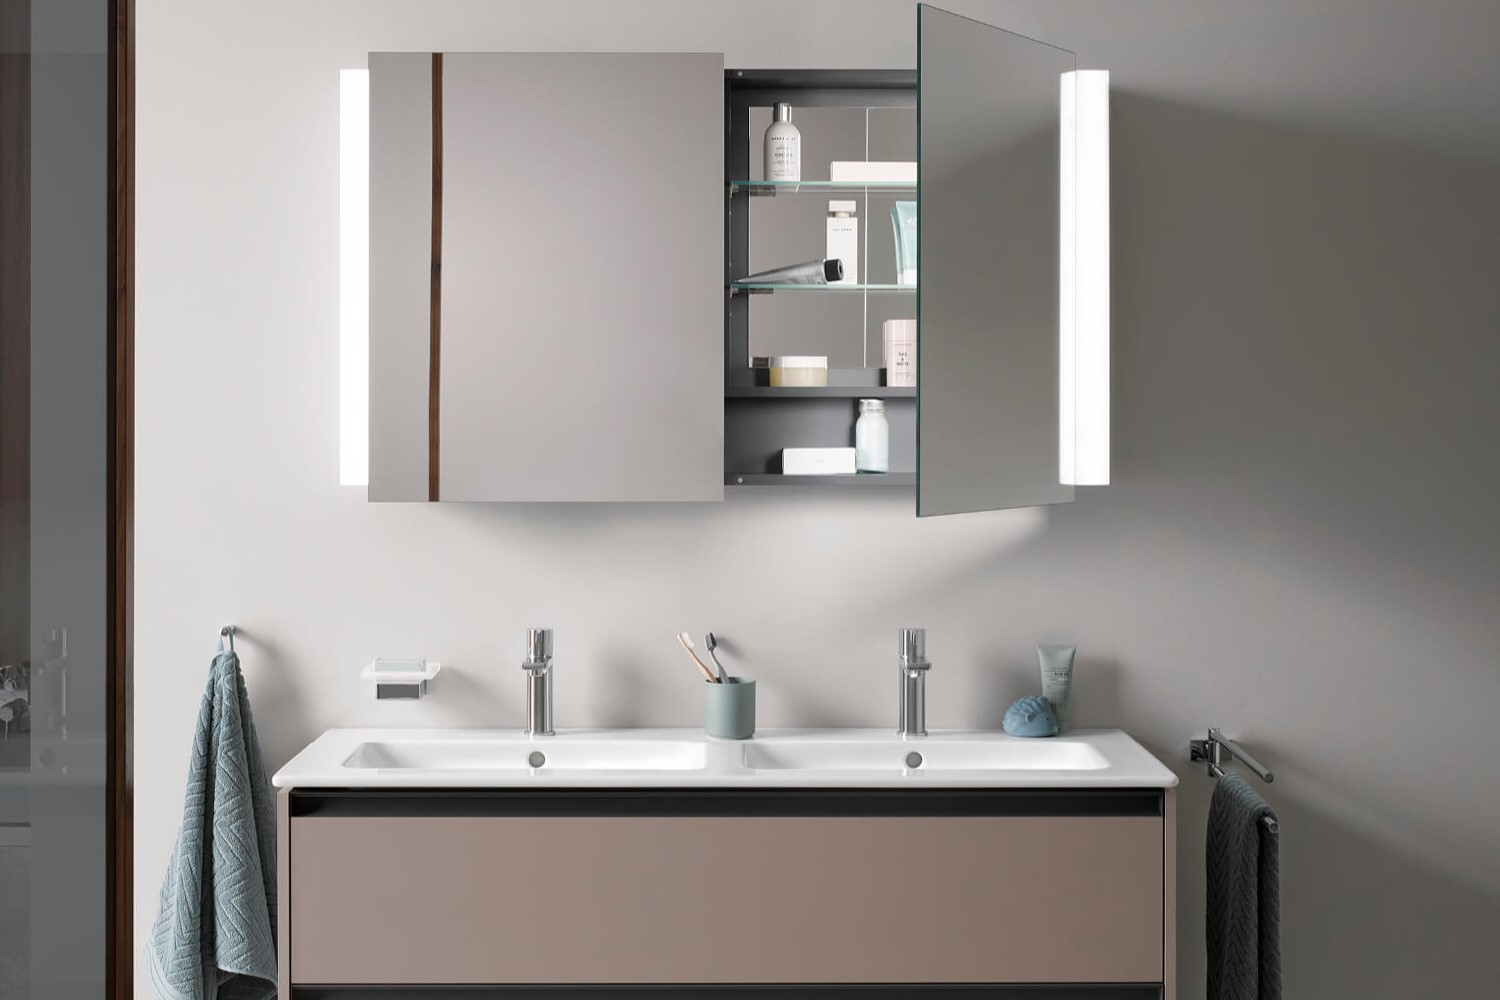
Step 3: Remove the shelves and contents
Before proceeding with the removal of the medicine cabinet itself, it's essential to clear out the interior and remove any shelves or contents that may be housed within. This step not only streamlines the removal process but also ensures that the cabinet is lighter and easier to handle. Here's a detailed guide on how to effectively remove the shelves and contents from your medicine cabinet:
-
Empty the Cabinet: Begin by carefully removing all items stored inside the medicine cabinet. This includes medications, toiletries, and any other items that may be placed on the shelves. It's important to handle these items with care and set them aside in a safe location, away from the work area.
-
Remove the Shelves: Most medicine cabinets are equipped with adjustable shelves that can be lifted and tilted to be removed. Start by gently lifting each shelf and assessing how it is secured within the cabinet. Some shelves may be held in place by plastic clips or brackets, while others may simply rest on support ledges. Carefully detach each shelf from its supports and set them aside.
-
Inspect for Hidden Items: After removing the shelves, take a moment to inspect the interior of the cabinet for any hidden items that may have been tucked away. It's not uncommon to find small items or debris lodged behind the shelves, so thorough inspection is essential.
-
Clean the Interior: With the shelves and contents removed, take the opportunity to clean the interior of the cabinet. Use a mild cleaning solution and a soft cloth to wipe down the surfaces, removing any dust, debris, or residue that may have accumulated over time.
By meticulously following these steps to remove the shelves and contents from your medicine cabinet, you'll ensure that the subsequent removal of the cabinet itself is more manageable and efficient. This preparatory phase sets the stage for a smooth transition to the next steps in the removal process, allowing you to proceed with confidence and precision. With the interior cleared and the contents safely set aside, you're now ready to advance to the next phase of removing the medicine cabinet and rejuvenating your bathroom space.
Step 4: Detach the cabinet from the wall
With the interior of the medicine cabinet cleared and the power safely turned off, it's time to focus on detaching the cabinet from the wall. This step requires precision and care to ensure that the cabinet is removed without causing damage to the surrounding area. Here's a detailed guide on how to effectively detach the cabinet from the wall:
-
Locate and Remove Mounting Screws: Most medicine cabinets are secured to the wall with mounting screws. Using a screwdriver, carefully locate and remove these screws. It's essential to provide support for the cabinet as you remove the final screws to prevent it from falling.
-
Disconnect any Electrical Components: If your medicine cabinet is equipped with built-in lighting or electrical outlets, it's crucial to disconnect these components before proceeding with the removal. Carefully detach any wiring or electrical connections, ensuring that they are safely isolated and no longer powering the cabinet.
-
Cut Through Caulk or Adhesive: In some installations, the cabinet may be sealed to the wall with caulk or adhesive. Use a utility knife to carefully cut through the seal, gently separating the cabinet from the wall. Take your time with this step to avoid damaging the wall surface.
-
Gently Pry the Cabinet from the Wall: Once the screws and any sealant have been addressed, use a pry bar to gently pry the cabinet away from the wall. Start at one edge and work your way around, gradually loosening the cabinet from its position. Exercise caution to prevent any sudden movements that could cause damage.
-
Inspect the Wall and Address Any Issues: As the cabinet is detached, take the opportunity to inspect the wall behind it. Look for any signs of damage, mold, or mildew that may have developed over time. Addressing these issues at this stage will prevent them from escalating and ensure a clean surface for any future renovations.
By following these steps with precision and care, you can effectively detach the medicine cabinet from the wall, setting the stage for the next phase of the removal process. With the cabinet safely removed, you're now ready to proceed with the final steps of patching and refinishing the wall, ultimately transforming your bathroom space.
Step 5: Patch and paint the wall
After successfully removing the medicine cabinet, the next crucial step is to patch and paint the wall to restore its appearance and prepare it for any future modifications or installations. This phase involves addressing any holes, blemishes, or imperfections left behind by the cabinet's removal, ensuring a seamless and polished finish for your bathroom space.
Patching the Wall
-
Fill Holes and Indentations: Begin by inspecting the wall for any screw holes, anchor indentations, or other marks left by the cabinet's mounting hardware. Use a high-quality spackling compound to fill these holes, applying it with a putty knife and smoothing it out to create a level surface.
-
Sand the Patched Areas: Once the spackling compound has dried, lightly sand the patched areas to create a smooth and even surface. This step is essential for achieving a seamless transition between the patched areas and the rest of the wall.
-
Inspect for Imperfections: After sanding, carefully inspect the patched areas for any remaining imperfections. Address any unevenness or rough spots by applying additional spackling compound as needed, followed by another round of sanding.
Read more: How To Paint A Medicine Cabinet
Painting the Wall
-
Choose the Right Paint: Select a high-quality paint that is suitable for bathroom environments, as it should be resistant to moisture and humidity. Consider a semi-gloss or satin finish for easy maintenance and durability.
-
Prepare the Surface: Before painting, ensure that the wall surface is clean and free of dust or debris. Use a damp cloth to wipe down the area, allowing it to dry completely before proceeding.
-
Apply Painter's Tape: Use painter's tape to protect any adjacent surfaces, such as the ceiling, trim, or adjacent walls, from accidental paint splatter. This step helps to achieve clean and precise edges.
-
Prime the Wall (if necessary): If the patched areas are significantly different in color or texture from the rest of the wall, consider applying a primer to ensure uniform paint coverage and adhesion.
-
Paint the Wall: Using a high-quality paint roller or brush, apply an even coat of paint to the patched areas and the surrounding wall. Work methodically and evenly to achieve a consistent finish.
-
Allow Sufficient Drying Time: Follow the manufacturer's instructions regarding drying times between coats, ensuring that each layer of paint has ample time to dry before applying additional coats.
By meticulously patching and painting the wall, you can seamlessly integrate the removed medicine cabinet's space into your bathroom's aesthetic, creating a refreshed and cohesive look. This step sets the stage for potential future installations or design enhancements, allowing you to enjoy a revitalized and polished bathroom space.
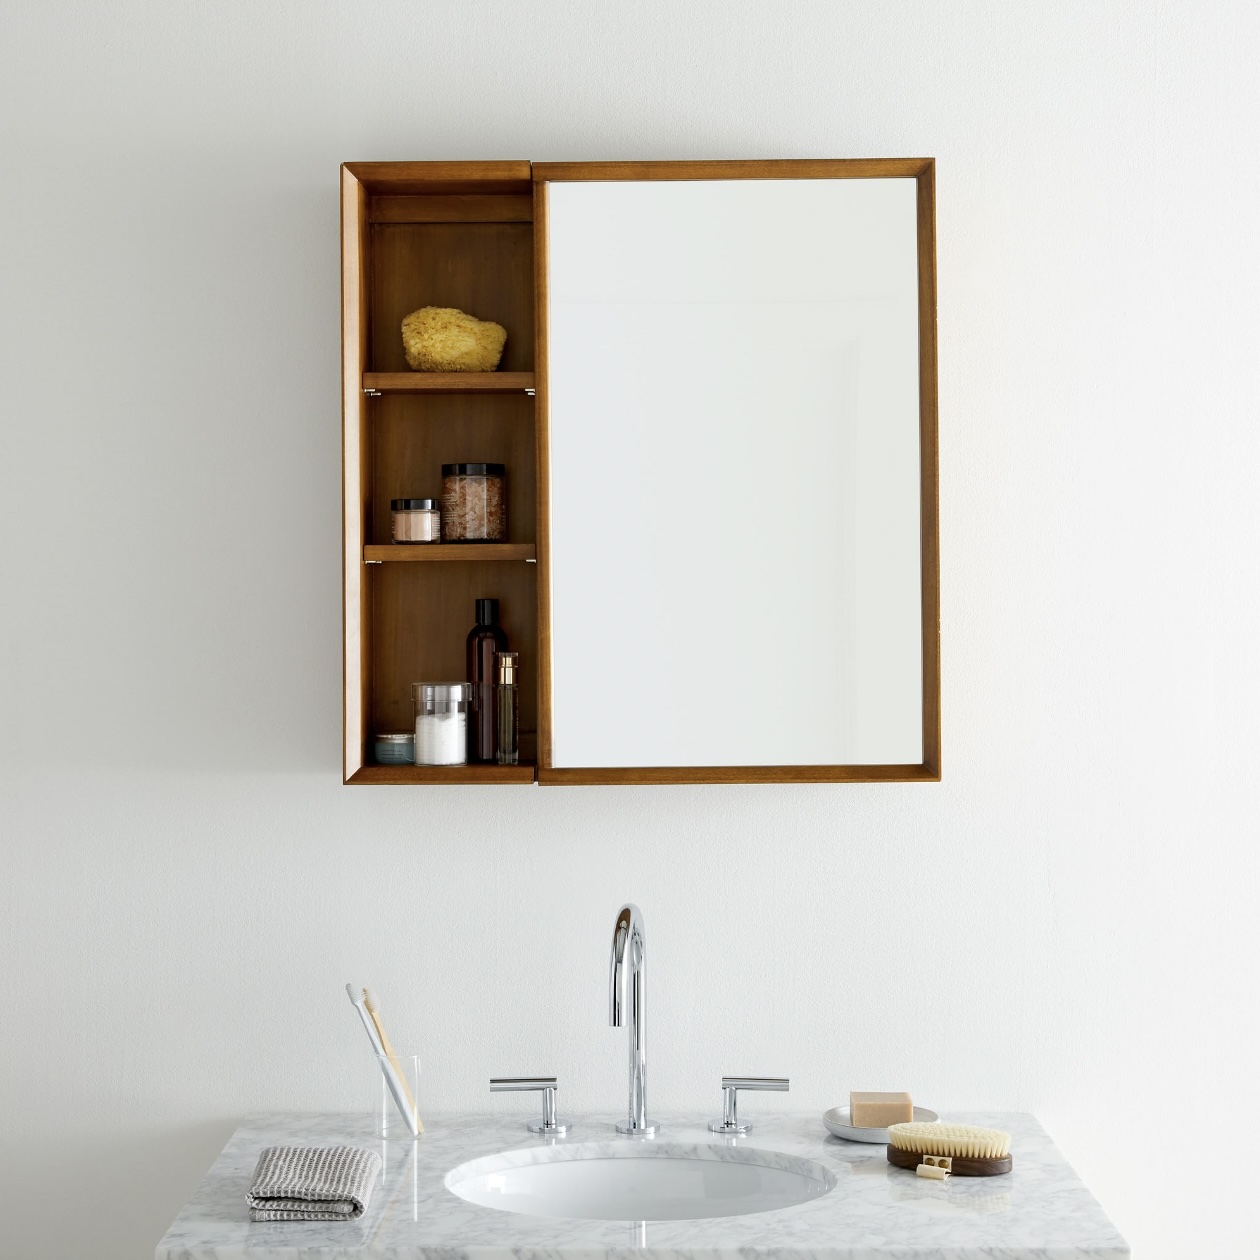
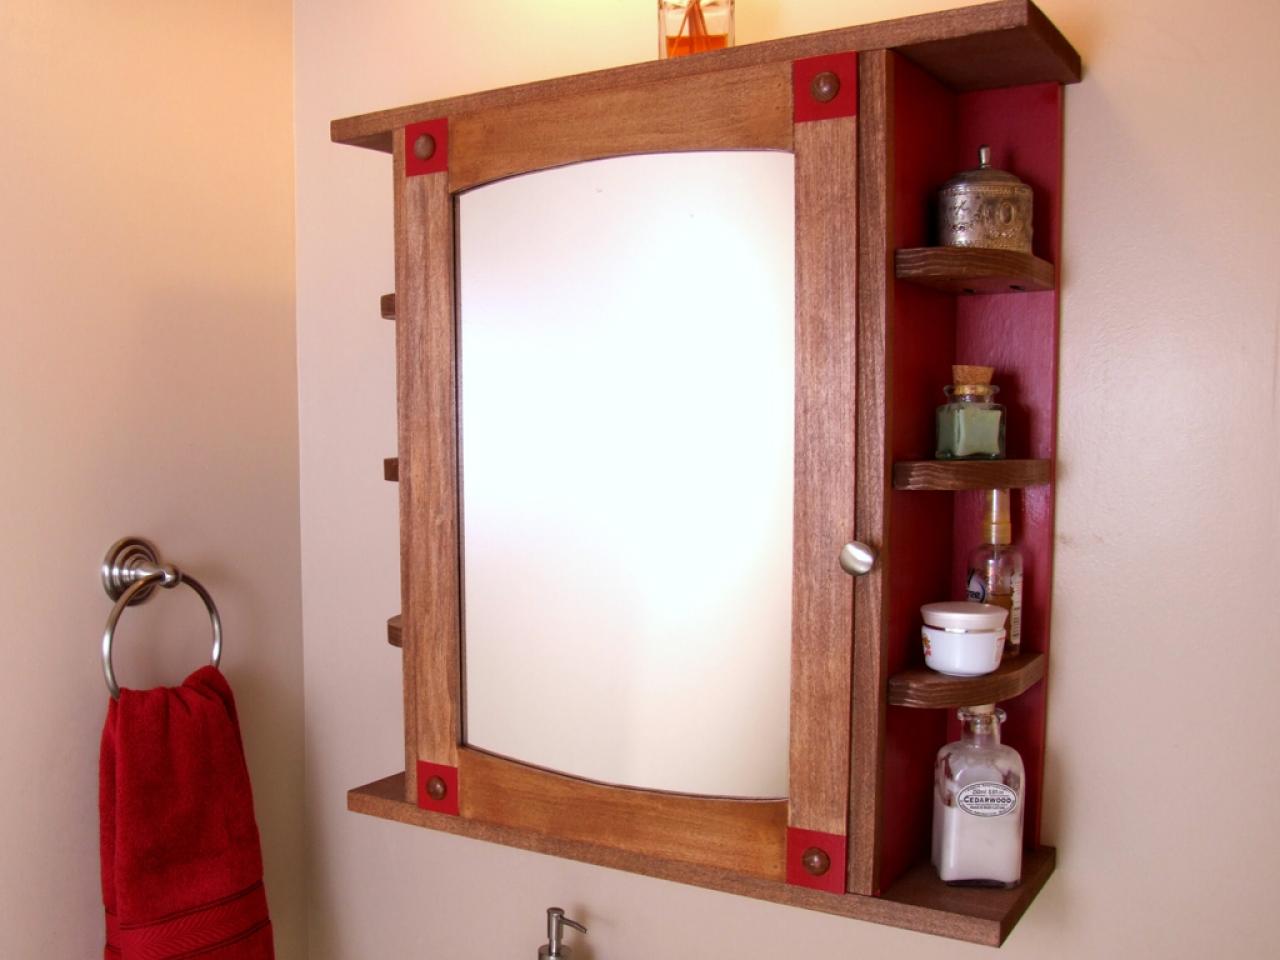
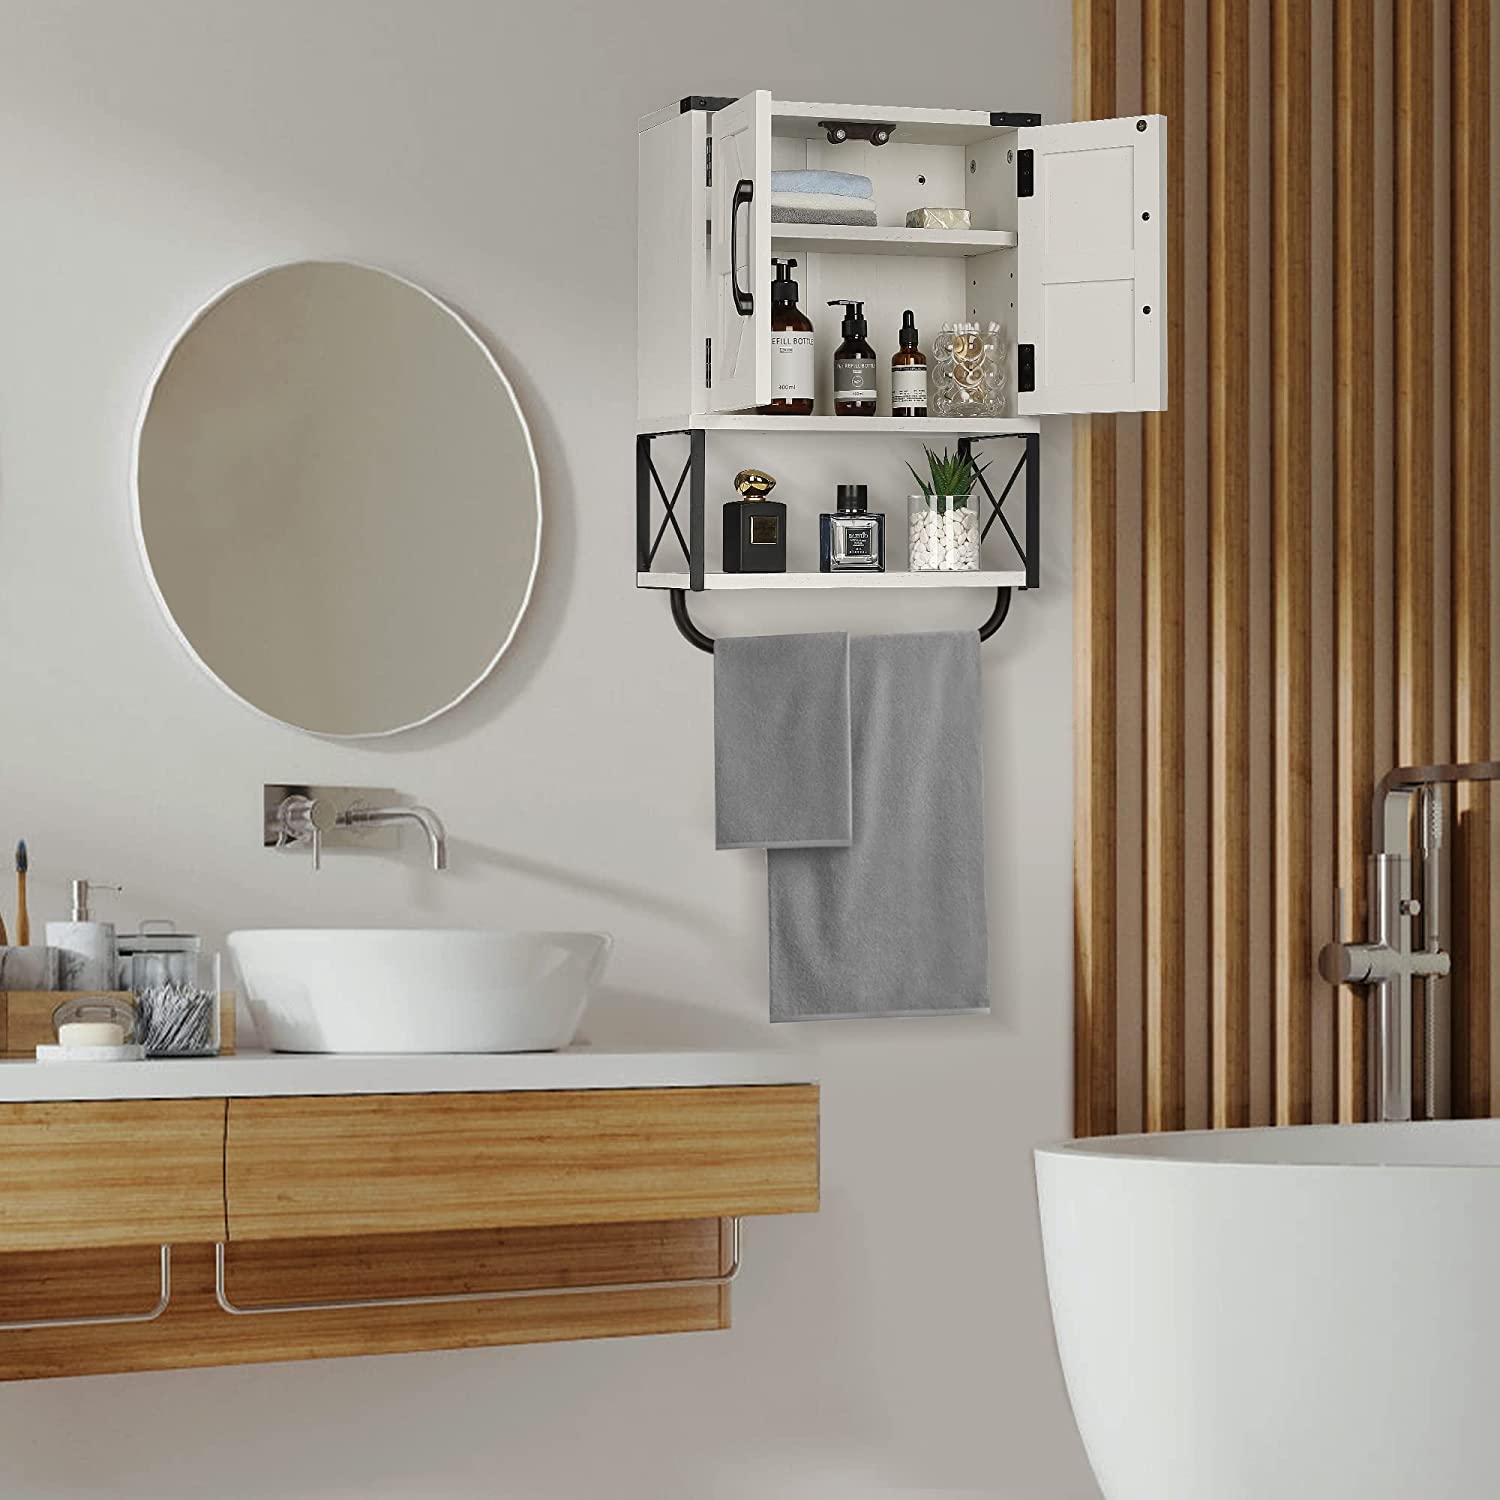
Step 6: Install a new cabinet or cover the opening
With the medicine cabinet successfully removed and the wall patched and painted, you now have the opportunity to introduce a new cabinet or cover the opening, thereby completing the transformation of your bathroom space. This step allows you to customize the area to suit your design preferences and functional needs, ultimately enhancing the overall aesthetic and functionality of the space.
Installing a New Cabinet
If you've chosen to install a new medicine cabinet, begin by carefully selecting a model that complements your bathroom's style and offers the storage capacity you require. When installing the new cabinet, consider the following steps:
-
Measure and Mark: Use a level and measuring tape to determine the precise placement of the new cabinet. Mark the outline of the cabinet on the wall, ensuring that it is aligned with your desired aesthetic and functional considerations.
-
Locate Studs: Use a stud finder to locate the studs within the wall. Securing the new cabinet to the studs will ensure a sturdy and reliable installation.
-
Drill Pilot Holes: With the marked outline as a guide, drill pilot holes into the wall at the locations of the studs. These pilot holes will serve as the entry points for the mounting screws.
-
Mount the Cabinet: With the assistance of a helper, carefully lift the new cabinet into place, aligning it with the pilot holes. Secure the cabinet to the wall by driving screws through the back of the cabinet and into the studs, ensuring a secure and stable installation.
-
Connect Electrical Components (if applicable): If the new cabinet features built-in lighting or electrical outlets, carefully connect these components according to the manufacturer's instructions, ensuring that all electrical connections are secure and safe.
Covering the Opening
If you've opted to cover the opening left by the removed medicine cabinet, there are several creative and functional options to consider:
-
Mirror Installation: Installing a decorative mirror over the opening can enhance the visual appeal of the space while serving a practical purpose. Choose a mirror that complements your bathroom's style and dimensions, and securely mount it to the wall using appropriate hardware.
-
Artwork or Decorative Panel: Consider adding a decorative panel or artwork to cover the opening, adding a personalized touch to your bathroom space. Ensure that the chosen piece is suitable for the bathroom environment and securely mount it to the wall.
-
Custom Shelving or Storage: If additional storage is desired, consider installing custom shelving or a storage unit to fill the space left by the removed cabinet. This can provide functional storage while contributing to the overall design of the bathroom.
By carefully considering these options and executing the installation with precision, you can seamlessly integrate a new cabinet or cover the opening, completing the transformation of your bathroom space and achieving a refreshed and personalized look.
Before removing a medicine cabinet, make sure to turn off the power to any lights or outlets connected to it. Use a screwdriver to remove the screws holding the cabinet in place, then carefully lift it off the wall. Patch any holes left behind.
Read more: How To Replace Medicine Cabinet
Conclusion
Congratulations on successfully completing the process of removing a medicine cabinet and revitalizing your bathroom space! By following the systematic steps outlined in this guide, you've not only achieved the removal of the old cabinet but also set the stage for a refreshed and polished bathroom aesthetic. As you reflect on this transformative endeavor, it's important to acknowledge the impact of your efforts and the potential it holds for enhancing your daily living environment.
The removal of a medicine cabinet goes beyond the physical act of taking down a fixture; it represents a symbolic shift towards embracing change and renewal within your home. By clearing the space and addressing any underlying issues, you've taken proactive steps to ensure the integrity and longevity of your bathroom environment. This proactive approach sets the foundation for future enhancements and design modifications, allowing you to tailor the space to your evolving preferences and needs.
Furthermore, the removal process provides an opportunity for introspection and creativity. As you envision the possibilities for the newly liberated space, you're invited to explore various design options, from installing a new cabinet to incorporating decorative elements that reflect your personal style. This creative freedom empowers you to curate a bathroom environment that not only meets functional requirements but also resonates with your aesthetic sensibilities, fostering a sense of ownership and pride in your living space.
Beyond the tangible outcomes, the journey of removing a medicine cabinet embodies the spirit of transformation and renewal. It signifies a willingness to embrace change, adapt to evolving preferences, and invest in the upkeep of your home. This proactive mindset sets a precedent for future home improvement projects and fosters a sense of empowerment in your ability to shape and enhance your living environment.
As you conclude this chapter of your home improvement journey, take a moment to appreciate the progress you've made and the potential that lies ahead. Whether you choose to install a new cabinet, introduce decorative elements, or simply revel in the newfound spaciousness, the removal of the old medicine cabinet marks a significant milestone in your home's evolution. Embrace this moment as a testament to your proactive spirit and your commitment to creating a living space that reflects your vision and values.
With the removal process complete, you're now poised to embark on the next phase of your home improvement endeavors, armed with newfound knowledge and a refreshed perspective. As you continue to shape and refine your living environment, may this experience serve as a source of inspiration and empowerment, propelling you towards further enhancements and transformations in your home.
The journey of removing a medicine cabinet is not merely a practical task; it's a testament to your proactive spirit and your dedication to creating a living space that embodies your vision and values. As you conclude this chapter of your home improvement journey, may the revitalized bathroom space stand as a testament to your creativity, resourcefulness, and commitment to enhancing your living environment.
Frequently Asked Questions about How To Remove A Medicine Cabinet
Was this page helpful?
At Storables.com, we guarantee accurate and reliable information. Our content, validated by Expert Board Contributors, is crafted following stringent Editorial Policies. We're committed to providing you with well-researched, expert-backed insights for all your informational needs.
0 thoughts on “How To Remove A Medicine Cabinet”