Home>Furniture & Design>Bathroom Accessories>How To Reglaze A Bathtub
Bathroom Accessories
How To Reglaze A Bathtub
Modified: February 19, 2024
Learn how to reglaze a bathtub and give your bathroom a fresh new look. Get expert tips and advice on bathroom accessories for a stunning makeover.
(Many of the links in this article redirect to a specific reviewed product. Your purchase of these products through affiliate links helps to generate commission for Storables.com, at no extra cost. Learn more)
Introduction
Reglazing a bathtub is a cost-effective and efficient way to revitalize the appearance of your bathroom. Over time, bathtubs can become worn, stained, or chipped, detracting from the overall aesthetic of the space. However, with the proper materials and a systematic approach, reglazing can breathe new life into your bathtub, giving it a fresh and glossy finish.
Whether you're a seasoned DIY enthusiast or a novice looking to embark on a home improvement project, reglazing a bathtub can be a rewarding endeavor. Not only does it save you the expense of replacing the entire bathtub, but it also allows you to customize the color and finish to suit your preferences.
In this comprehensive guide, we will walk you through the step-by-step process of reglazing a bathtub, from gathering the necessary materials to applying the reglazing solution and adding the final touches. By following these instructions, you can transform your bathtub into a rejuvenated centerpiece of your bathroom, enhancing the overall appeal of the space.
So, roll up your sleeves, gather your supplies, and get ready to embark on a journey to restore the luster of your bathtub. With a bit of patience and attention to detail, you can achieve professional-looking results and take pride in the transformation you've brought about in your bathroom. Let's dive into the process of reglazing a bathtub and unleash the potential for a stunning bathroom upgrade.
Key Takeaways:
- Revitalize your bathtub with reglazing, saving money and customizing the finish to suit your style. Follow the step-by-step guide for professional results and a stunning bathroom upgrade.
- Reglazing offers a cost-effective and sustainable way to transform your bathtub, contributing to a welcoming and aesthetically pleasing bathroom environment. Enjoy the renewed luxury and comfort it brings to your space.
Read more: How Long Does It Take To Reglaze A Bathtub?
Step 1: Gather the necessary materials
Before embarking on the journey of reglazing your bathtub, it's essential to gather all the necessary materials to ensure a smooth and efficient process. Here's a comprehensive list of items you'll need:
1. Safety Gear
- Respirator Mask: To protect yourself from inhaling fumes and chemicals during the reglazing process, a high-quality respirator mask is essential. Look for a mask specifically designed for chemical fume protection.
- Safety Goggles: Shield your eyes from any potential splashes or drips of reglazing solution with a pair of durable safety goggles.
2. Cleaning Supplies
- Abrasive Cleaner: Choose a non-abrasive cleaner to thoroughly clean the bathtub surface before reglazing. This will help remove any dirt, grime, or soap scum, ensuring a smooth and even application of the reglazing solution.
- Degreaser: An effective degreaser will eliminate any oily residues or lingering substances that could interfere with the reglazing process.
3. Sanding Materials
- Sandpaper: Opt for fine-grit sandpaper to gently sand the bathtub surface, creating a suitable texture for the reglazing solution to adhere to. Ensure that the surface is smooth and free of any imperfections before proceeding.
Read more: How Long Does Bathtub Reglazing Take To Dry
4. Masking and Protection
- Painter's Tape: Use high-quality painter's tape to carefully mask off the surrounding areas of the bathtub, such as the walls and fixtures, to prevent any accidental contact with the reglazing solution.
- Drop Cloths or Plastic Sheeting: Protect the floor and surrounding surfaces from drips and spills by laying down durable drop cloths or plastic sheeting.
5. Reglazing Kit
- Reglazing Solution: Select a high-quality reglazing kit that includes the necessary coatings and activators. Ensure that the kit is designed specifically for bathtub reglazing and comes with detailed instructions for application.
- Applicators: Look for foam brushes or rollers included in the reglazing kit for smooth and even application of the solution.
6. Ventilation
- Fan or Ventilation System: Proper ventilation is crucial during the reglazing process. If your bathroom lacks adequate ventilation, consider using a powerful fan or temporary ventilation system to ensure the dispersal of fumes.
By gathering these essential materials, you'll be well-prepared to initiate the bathtub reglazing process with confidence and precision. Each item plays a critical role in achieving professional results and ensuring a safe and efficient reglazing experience. With the necessary materials at your disposal, you're ready to move on to the next step of preparing the bathtub surface for reglazing.
Step 2: Prepare the bathtub surface
Preparing the bathtub surface is a crucial step in the reglazing process, as it sets the foundation for a successful and long-lasting finish. By meticulously cleaning and sanding the bathtub, you create an optimal canvas for the reglazing solution to adhere to, ensuring a smooth and professional-looking result.
Read more: How Long Do Bathtub Reglazing Fumes Last?
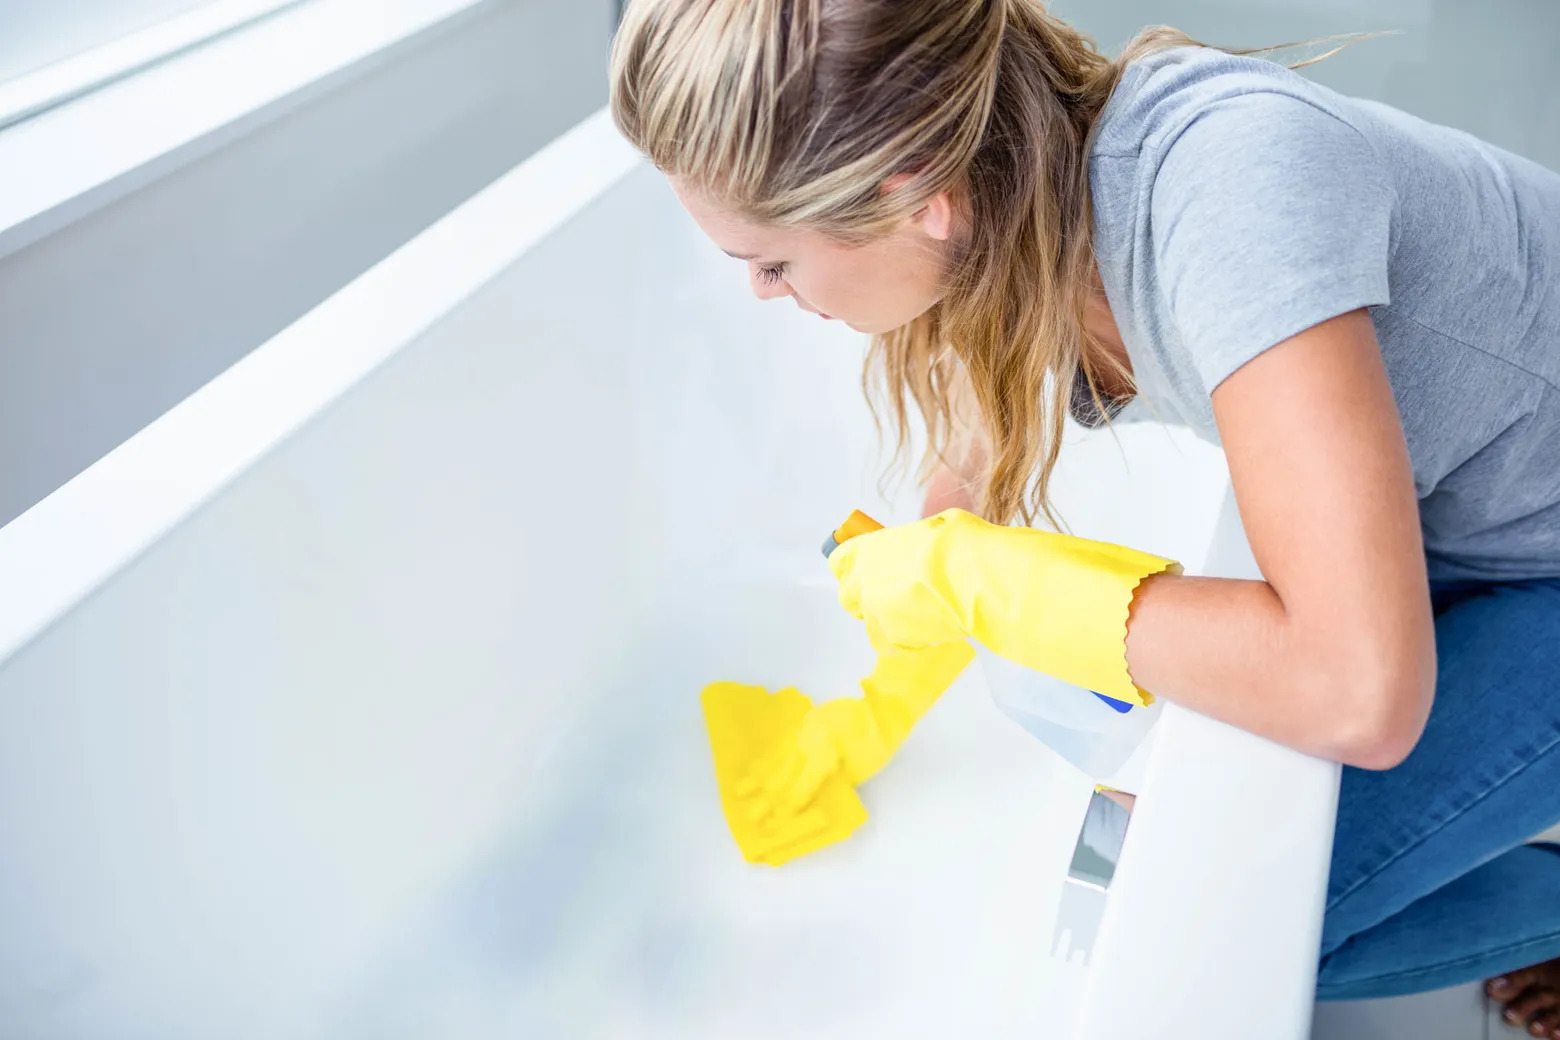
Thorough Cleaning
Begin by thoroughly cleaning the bathtub surface with an abrasive cleaner. This step is essential for removing any built-up dirt, grime, or soap scum that may have accumulated over time. Ensure that the cleaner is non-abrasive to avoid damaging the surface of the bathtub. By diligently scrubbing the entire surface, you'll create a clean and receptive base for the reglazing solution.
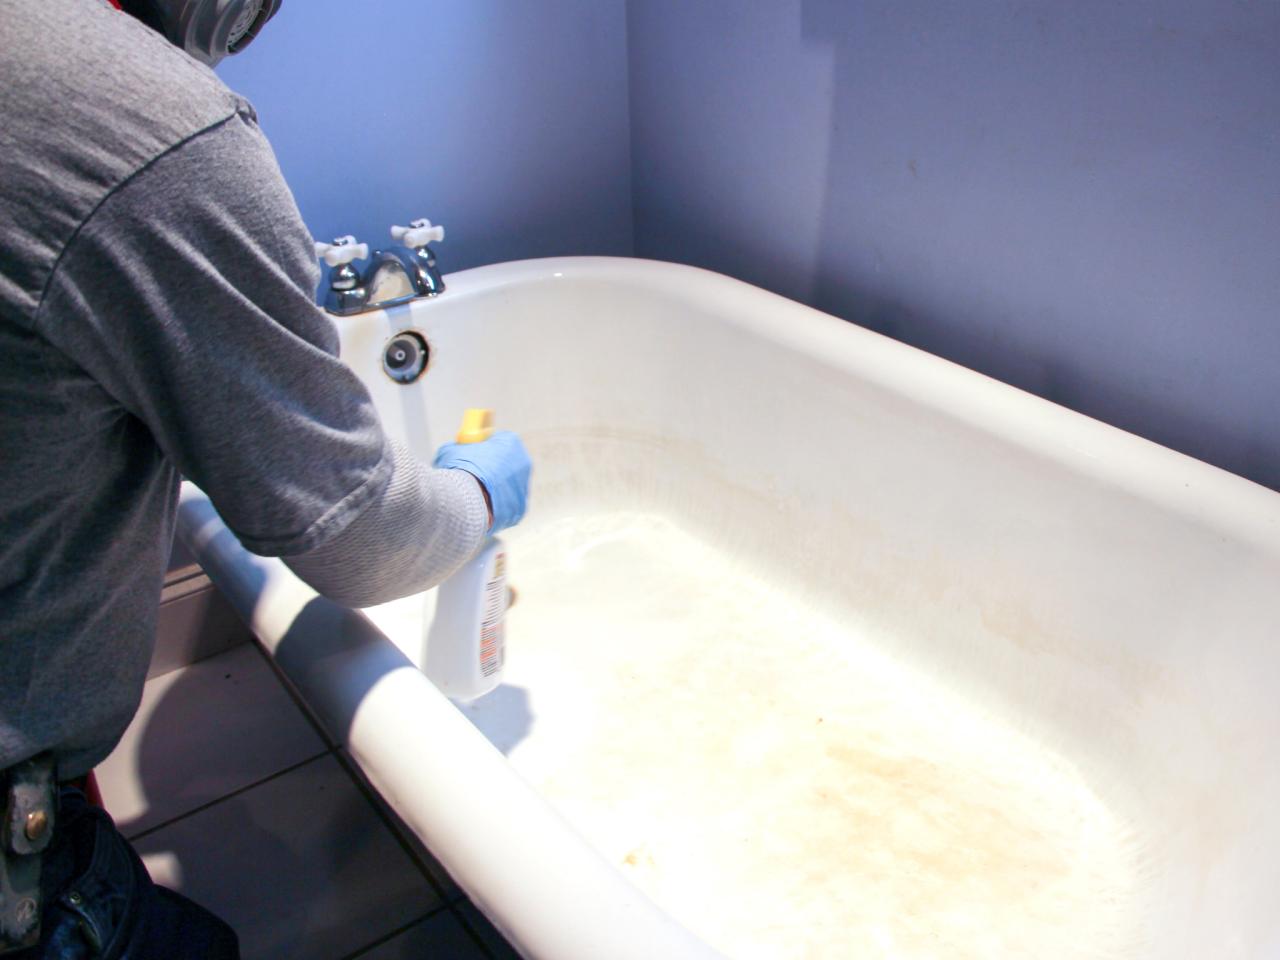
Degreasing
After cleaning, it's important to use a high-quality degreaser to eliminate any oily residues or lingering substances that could interfere with the adhesion of the reglazing solution. Pay close attention to areas around the drain and fixtures, as these areas are prone to accumulating grease and residue. Thoroughly rinse the bathtub after degreasing to ensure that the surface is completely free of any cleaning agents.
Sanding the Surface
Once the bathtub is clean and dry, it's time to sand the surface to create a suitable texture for the reglazing solution to adhere to. Use fine-grit sandpaper to gently sand the entire surface, focusing on any areas with imperfections or rough patches. The goal is to achieve a smooth and even texture that will promote strong adhesion and a flawless finish. Take care to remove any existing coatings or finishes that may be peeling or chipping, as these can compromise the effectiveness of the reglazing process.
Masking Off Surrounding Areas
Before proceeding with the reglazing solution, carefully mask off the surrounding areas of the bathtub using high-quality painter's tape. Protect the walls, fixtures, and any areas that are not intended for reglazing. This meticulous step ensures that the reglazing process remains contained to the bathtub surface, preventing accidental contact with other areas.
By diligently preparing the bathtub surface through thorough cleaning, degreasing, sanding, and masking off surrounding areas, you set the stage for a successful reglazing process. These meticulous preparations lay the groundwork for achieving a professional-looking finish and ensuring the longevity of the reglazed bathtub. With the surface meticulously prepared, you're now ready to proceed to the next step of applying the reglazing solution.
Read more: How To Cover A Bathtub
Step 3: Apply the reglazing solution
With the bathtub surface meticulously prepared, it's time to apply the reglazing solution to rejuvenate and revitalize the appearance of the tub. The reglazing solution, typically included in a reglazing kit, plays a pivotal role in transforming the worn and lackluster surface into a glossy and durable finish. Here's a detailed walkthrough of the process of applying the reglazing solution:
1. Read and Follow Instructions
Before proceeding, carefully read the instructions provided with the reglazing kit. Familiarize yourself with the application process, safety precautions, and recommended drying times. Adhering to the manufacturer's guidelines is crucial for achieving optimal results and ensuring the longevity of the reglazed surface.
2. Mix the Reglazing Solution
If the reglazing kit includes separate coatings and activators, follow the instructions to mix the components thoroughly. Ensure that the mixture is well-blended to activate the reglazing solution's properties effectively. Proper mixing is essential for achieving a consistent and durable finish.
3. Apply the Solution
Using the applicators provided in the reglazing kit, carefully apply the reglazing solution to the bathtub surface. Begin with smooth and even strokes, working in manageable sections to ensure thorough coverage. Pay close attention to achieving a uniform application, avoiding drips or pooling of the solution.
Read more: How To Polish A Bathtub
4. Allow for Proper Ventilation
During the application process, ensure that the bathroom is well-ventilated to disperse any fumes from the reglazing solution. If necessary, use a fan or temporary ventilation system to promote air circulation and minimize the inhalation of fumes.
5. Follow Drying Guidelines
After applying the reglazing solution, allow the bathtub to dry according to the manufacturer's recommendations. This typically involves a specified drying time to ensure that the solution cures effectively, forming a durable and glossy finish. Avoid any contact with the reglazed surface during the drying period to prevent disruptions or imperfections.
6. Apply Additional Coats (If Necessary)
Depending on the reglazing kit and the desired finish, you may need to apply multiple coats of the reglazing solution. Follow the instructions to determine if additional coats are required, ensuring that each layer is applied and dried according to the specified guidelines.
By meticulously following these steps and exercising patience throughout the application process, you can achieve a professional-looking and long-lasting reglazed bathtub. The application of the reglazing solution is a critical stage in the transformation of your bathtub, culminating in a rejuvenated and aesthetically pleasing centerpiece for your bathroom. With the reglazing solution applied, you're now ready to proceed to the next step of letting the bathtub dry and allowing the transformation to take shape.
Step 4: Let the bathtub dry
After the meticulous application of the reglazing solution, allowing the bathtub to dry is a crucial phase in the reglazing process. Proper drying is essential for the reglazing solution to cure effectively, forming a durable and glossy finish that will revitalize the appearance of the bathtub. Here's a detailed overview of the steps involved in letting the bathtub dry:
Read more: How To Frame A Bathtub
1. Maintain Ventilation
As the reglazing solution begins to dry, it's imperative to maintain adequate ventilation in the bathroom. Proper ventilation facilitates the evaporation of any residual fumes from the reglazing solution, ensuring a safe and comfortable environment. If necessary, continue to use a fan or ventilation system to promote air circulation and expedite the drying process.
2. Avoid Disturbances
During the drying period, it's important to avoid any disturbances or contact with the reglazed surface. Even minor disruptions can compromise the integrity of the finish, potentially leading to imperfections or blemishes. Exercise caution to prevent accidental contact with the bathtub, allowing the reglazing solution to set undisturbed.
3. Follow Recommended Drying Time
Refer to the instructions provided with the reglazing kit to determine the recommended drying time for the applied solution. Different reglazing solutions may have varying drying times, and adhering to the specified guidelines is crucial for achieving optimal results. Typically, the drying process may take several hours, during which the reglazing solution undergoes the curing process to form a resilient and glossy finish.
4. Assess the Finish
Once the bathtub has completed the drying process, carefully assess the finish to ensure that it has achieved the desired level of gloss and uniformity. Inspect the surface under adequate lighting to identify any areas that may require additional attention. If necessary, consult the instructions for recommendations on addressing any minor imperfections or inconsistencies in the finish.
Read more: How To Update Bathtub
5. Prepare for Final Touches
As the bathtub nears the completion of the drying process, prepare for the final touches that may be required. This may involve removing the protective masking and drop cloths, as well as tidying up the surrounding area. Ensure that the bathtub is ready for use according to the recommended timeline provided with the reglazing kit.
By allowing the bathtub to dry thoroughly and following the recommended guidelines, you contribute to the longevity and durability of the reglazed surface. The drying process is a pivotal stage in the transformation of your bathtub, culminating in a rejuvenated and aesthetically pleasing centerpiece for your bathroom. With the bathtub effectively dried, you're now ready to proceed to the final step of adding the finishing touches and completing the reglazing process.
Step 5: Final touches and clean up
With the reglazing process nearing completion, the final touches and clean up play a crucial role in ensuring a polished and professional outcome. Attention to detail during this stage contributes to the overall aesthetic appeal and longevity of the reglazed bathtub. Here's a detailed overview of the steps involved in adding the final touches and completing the clean up:
-
Remove Protective Masking and Drop Cloths: Carefully remove the painter's tape and any protective drop cloths or plastic sheeting that were used to shield the surrounding areas during the reglazing process. Take care to avoid any accidental contact with the freshly reglazed surface.
-
Inspect and Touch Up: Thoroughly inspect the reglazed bathtub to identify any areas that may require touch-ups or minor adjustments. Address any imperfections or inconsistencies in the finish by following the recommendations provided in the reglazing kit. This meticulous attention to detail ensures a flawless and professional result.
-
Clean Up Residual Materials: After the reglazing solution has dried and cured, clean up any residual materials such as empty containers, used applicators, and discarded protective coverings. Dispose of these items responsibly, adhering to any disposal guidelines provided with the reglazing kit.
-
Reinstall Fixtures and Accessories: If any fixtures or accessories were temporarily removed or repositioned during the reglazing process, carefully reinstall them in their original positions. This may include faucets, handles, and any other components that were temporarily adjusted to facilitate the reglazing of the bathtub.
-
Final Inspection: Conduct a final inspection of the reglazed bathtub to ensure that all components are in place, the surrounding area is tidy, and the finish meets your expectations. Take a moment to appreciate the transformation and the rejuvenated appearance of the bathtub.
-
Allow for Additional Curing Time: Depending on the specific reglazing solution used, it may be advisable to allow for additional curing time before using the bathtub. Refer to the instructions provided with the reglazing kit to determine the recommended timeline for allowing the reglazed surface to fully cure and harden.
By meticulously attending to the final touches and completing the clean up with care and precision, you contribute to the overall success of the reglazing process. The attention to detail in this stage ensures that the reglazed bathtub achieves a professional and enduring finish, enhancing the visual appeal of your bathroom. With the final touches and clean up completed, you can now admire the revitalized centerpiece of your bathroom and enjoy the transformative impact of reglazing your bathtub.
Conclusion
In conclusion, the process of reglazing a bathtub presents a rewarding opportunity to rejuvenate the focal point of your bathroom with a fresh and glossy finish. By following the step-by-step guide outlined in this comprehensive overview, you can embark on a transformative journey to revitalize the appearance of your bathtub and elevate the overall aesthetic of your bathroom space.
From gathering the necessary materials to meticulously preparing the bathtub surface, applying the reglazing solution, allowing for proper drying, and completing the final touches, each stage of the reglazing process contributes to the successful restoration of your bathtub. The attention to detail and adherence to recommended guidelines are essential for achieving professional results and ensuring the longevity of the reglazed surface.
Reglazing a bathtub offers numerous benefits, including cost-effectiveness, customization options, and the ability to extend the lifespan of your existing bathtub. By opting for reglazing instead of replacement, you not only save on the expense of purchasing a new bathtub but also contribute to sustainable practices by minimizing waste and conserving resources.
Furthermore, the reglazing process allows you to personalize the color and finish of your bathtub, tailoring it to suit your preferences and complement the overall design of your bathroom. Whether you prefer a classic white finish or a contemporary hue, reglazing offers the flexibility to achieve the desired aesthetic while maintaining a durable and resilient surface.
As you complete the reglazing process and admire the revitalized appearance of your bathtub, take pride in the transformative impact you've brought about in your bathroom. The reglazed bathtub serves as a testament to your dedication to home improvement and your ability to achieve professional-looking results through a systematic and meticulous approach.
With the rejuvenated bathtub as the centerpiece of your bathroom, you can revel in the enhanced visual appeal and enjoy the renewed sense of luxury and comfort it brings to the space. The reglazing process not only revitalizes the bathtub but also elevates the entire ambiance of the bathroom, creating a welcoming and aesthetically pleasing environment for relaxation and rejuvenation.
In essence, reglazing a bathtub is a testament to the transformative power of home improvement projects, offering a cost-effective and sustainable solution to breathe new life into your bathroom. By embracing the process with enthusiasm and attention to detail, you can achieve a professional-looking finish and take pride in the revitalized centerpiece of your bathroom.
Frequently Asked Questions about How To Reglaze A Bathtub
Was this page helpful?
At Storables.com, we guarantee accurate and reliable information. Our content, validated by Expert Board Contributors, is crafted following stringent Editorial Policies. We're committed to providing you with well-researched, expert-backed insights for all your informational needs.
0 thoughts on “How To Reglaze A Bathtub”