Home>Furniture & Design>Bathroom Accessories>How To Vent A Bathroom Without An Exhaust Fan
Bathroom Accessories
How To Vent A Bathroom Without An Exhaust Fan
Modified: October 30, 2024
Learn how to effectively vent a bathroom without an exhaust fan using various bathroom accessories. Keep your bathroom fresh and moisture-free with these tips. Ideal for small spaces and budget-friendly solutions.
(Many of the links in this article redirect to a specific reviewed product. Your purchase of these products through affiliate links helps to generate commission for Storables.com, at no extra cost. Learn more)
Introduction
Ventilating a bathroom without an exhaust fan is a common challenge faced by many homeowners. Proper ventilation is crucial for maintaining a healthy and comfortable bathroom environment, as it helps to eliminate excess moisture, odors, and airborne impurities. While exhaust fans are the conventional solution for achieving effective ventilation, there are alternative methods that can be employed to ensure adequate air circulation and moisture control in a bathroom without the need for an exhaust fan.
In this comprehensive guide, we will explore various natural ventilation options and alternative technologies that can be utilized to vent a bathroom without relying on an exhaust fan. Whether you are dealing with a bathroom that lacks an exhaust fan or seeking eco-friendly ventilation solutions, this article will provide you with practical insights and effective strategies to address this common household concern. Let's delve into the diverse approaches that can be employed to achieve optimal bathroom ventilation without the use of a traditional exhaust fan.
Key Takeaways:
- Natural ventilation options like strategic window placement and operable vents can effectively ventilate a bathroom without an exhaust fan, promoting a healthier and more comfortable environment while reducing energy consumption.
- Dehumidifiers and air purifiers offer targeted solutions for managing moisture levels and enhancing air quality in bathrooms without exhaust fans, contributing to a cleaner, more inviting space for occupants.
Read more: How To Fix Bathroom Exhaust Fan
Natural Ventilation Options
Natural ventilation offers a sustainable and cost-effective approach to ventilating a bathroom without relying on an exhaust fan. By harnessing natural airflow and environmental factors, homeowners can effectively manage moisture levels and maintain air quality within the bathroom space. Here are several natural ventilation options that can be implemented to promote air circulation and mitigate humidity in a bathroom:
-
Strategic Placement of Windows:
- Windows serve as a primary source of natural ventilation, facilitating the entry of fresh air and the expulsion of stale air from the bathroom. Properly positioned windows can create a cross-ventilation effect, allowing air to flow freely and carry moisture and odors out of the space. Utilizing operable windows enables homeowners to regulate airflow based on their preferences and the prevailing environmental conditions.
-
Skylights and Solar Tubes:
- Installing skylights or solar tubes in the bathroom ceiling can introduce natural light and ventilation. These features not only enhance the aesthetic appeal of the bathroom but also facilitate the entry of fresh air and the release of warm, moisture-laden air. Skylights and solar tubes are particularly beneficial for bathrooms located in areas where traditional windows may not be feasible due to privacy concerns or limited wall space.
-
Transom Windows and Ventilators:
- Transom windows positioned above the bathroom door or high on the wall can promote air circulation without compromising privacy. Additionally, incorporating ventilators, such as louvered vents or transom openings, can facilitate the exchange of air between the bathroom and adjacent spaces, contributing to improved ventilation and moisture control.
-
Operable Vents and Louvers:
- Integrating operable vents and louvers in the bathroom walls or doors allows for controlled airflow and ventilation. These features enable homeowners to adjust the airflow based on the prevailing conditions, ensuring effective moisture management and air quality within the bathroom.
By leveraging these natural ventilation options, homeowners can create a well-ventilated and comfortable bathroom environment without the need for an exhaust fan. Implementing these strategies not only reduces energy consumption but also promotes sustainable living practices while enhancing the overall functionality and livability of the bathroom space.
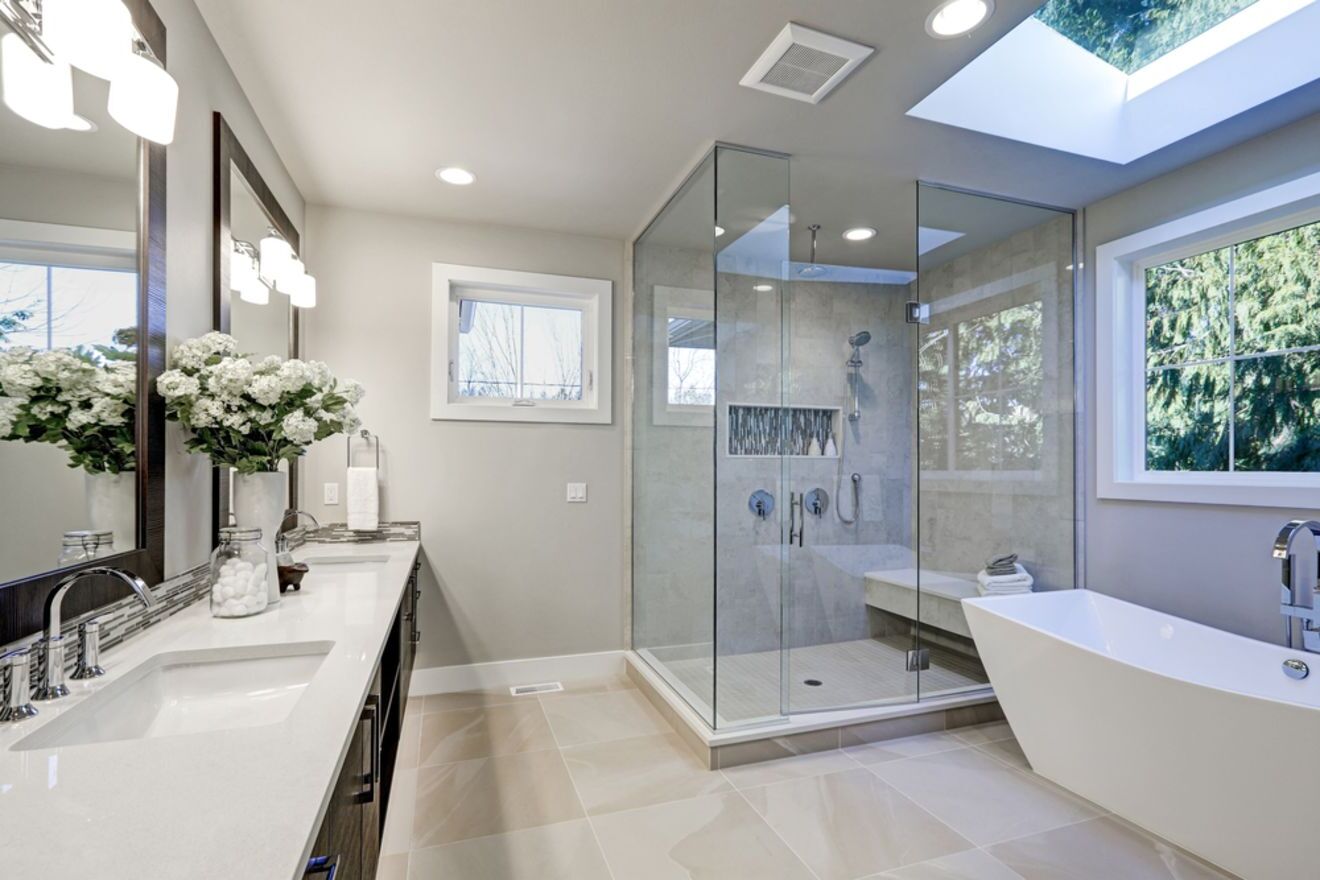
Use of Windows
Windows serve as a fundamental element in promoting natural ventilation within a bathroom space. When strategically positioned and properly utilized, windows can effectively facilitate the entry of fresh air while expelling stagnant air, moisture, and odors from the interior environment. The use of windows as a means of ventilation offers a sustainable and energy-efficient approach to maintaining a healthy and comfortable bathroom atmosphere.
Strategic Placement: The strategic placement of windows plays a pivotal role in optimizing natural ventilation within the bathroom. Ideally, windows should be located to encourage cross-ventilation, allowing air to flow freely and carry moisture and odors out of the space. By strategically situating windows, homeowners can capitalize on natural airflow patterns to promote effective ventilation without the need for an exhaust fan.
Operable Windows: Utilizing operable windows provides homeowners with the flexibility to regulate airflow based on their preferences and the prevailing environmental conditions. This feature allows for the adjustment of ventilation levels, enabling individuals to manage moisture and air quality within the bathroom according to their specific needs. By opening windows when necessary, homeowners can introduce fresh air and promote the expulsion of stale, humid air, contributing to a healthier and more pleasant bathroom environment.
Privacy Considerations: Privacy concerns may influence the design and placement of windows in the bathroom. Frosted or obscured glass can be employed to maintain privacy while still allowing natural light and ventilation to permeate the space. Additionally, transom windows positioned high on the wall or above the door can facilitate airflow without compromising privacy, offering a viable solution for achieving effective ventilation in bathrooms where traditional window placement may be impractical.
Cross-Ventilation Benefits: Properly positioned windows can create a cross-ventilation effect, promoting the circulation of air throughout the bathroom. This natural airflow mechanism helps to mitigate humidity levels, prevent the accumulation of moisture, and reduce the likelihood of mold and mildew growth. By harnessing cross-ventilation, homeowners can foster a fresher, more invigorating bathroom environment without relying on mechanical ventilation systems.
Incorporating windows as a primary source of natural ventilation in the bathroom not only enhances air quality and moisture control but also contributes to sustainable living practices. By leveraging the inherent benefits of natural light and airflow, homeowners can create a well-ventilated and inviting bathroom space while minimizing energy consumption and reducing reliance on traditional exhaust fans.
By thoughtfully integrating windows into the bathroom design and leveraging their natural ventilation capabilities, homeowners can achieve a harmonious balance between functionality, aesthetics, and environmental responsibility within the bathroom environment.
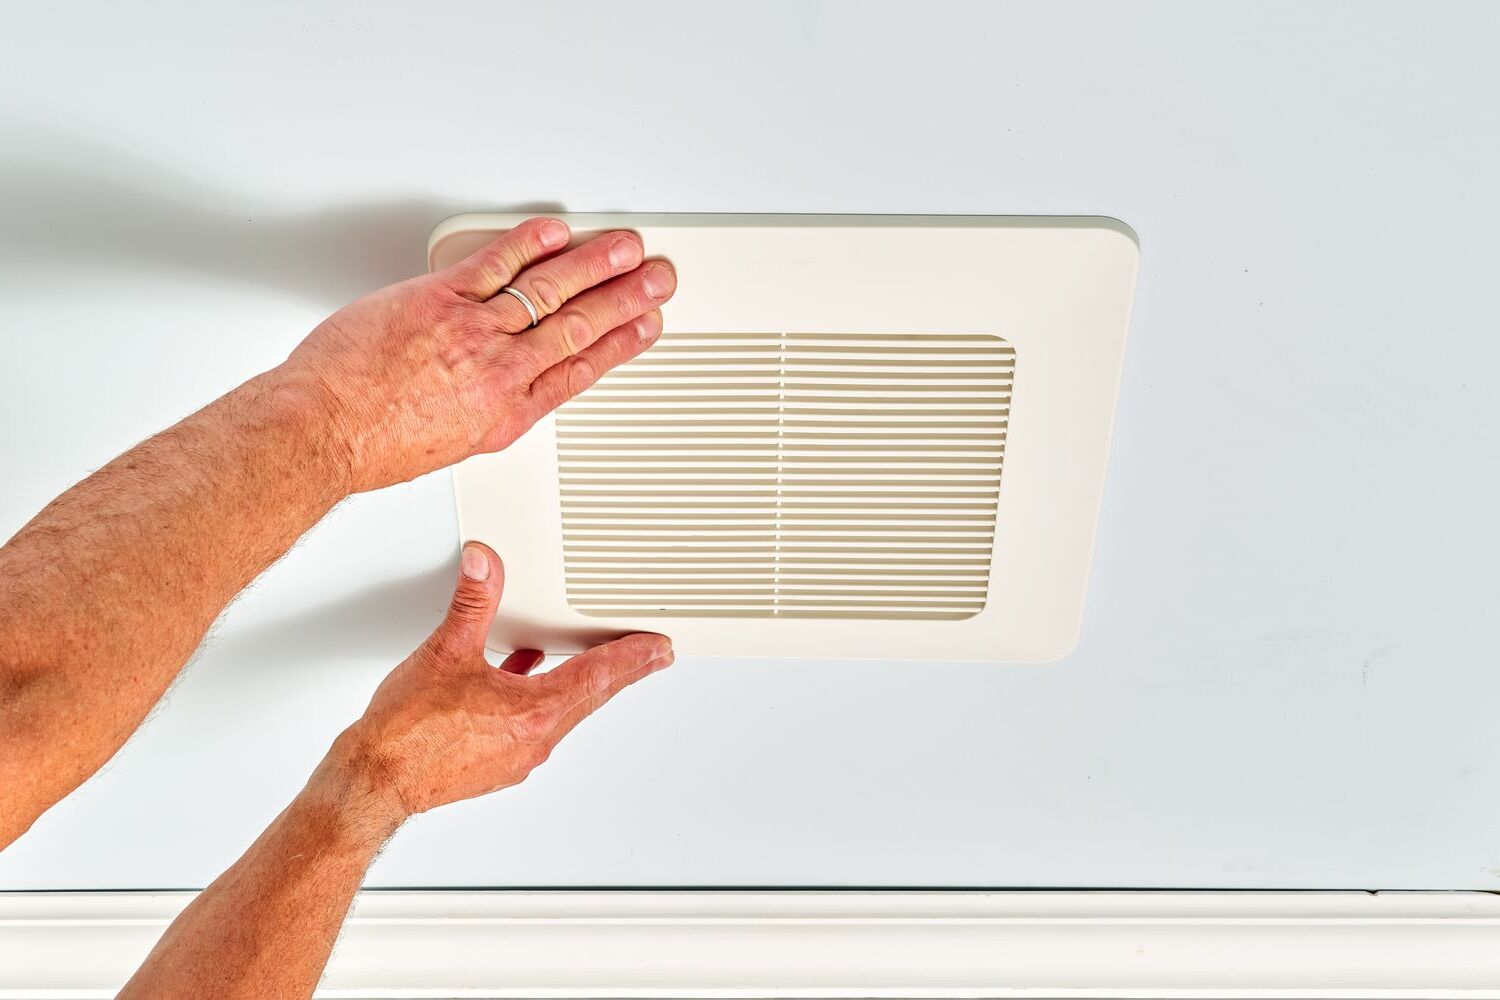
Use of Ventilation Fans
Ventilation fans, also known as exhaust fans, are a popular and effective solution for promoting air circulation and moisture control in bathrooms. While the focus of this article is on alternative methods for ventilating a bathroom without an exhaust fan, it's important to acknowledge the valuable role that ventilation fans play in maintaining a healthy and comfortable bathroom environment.
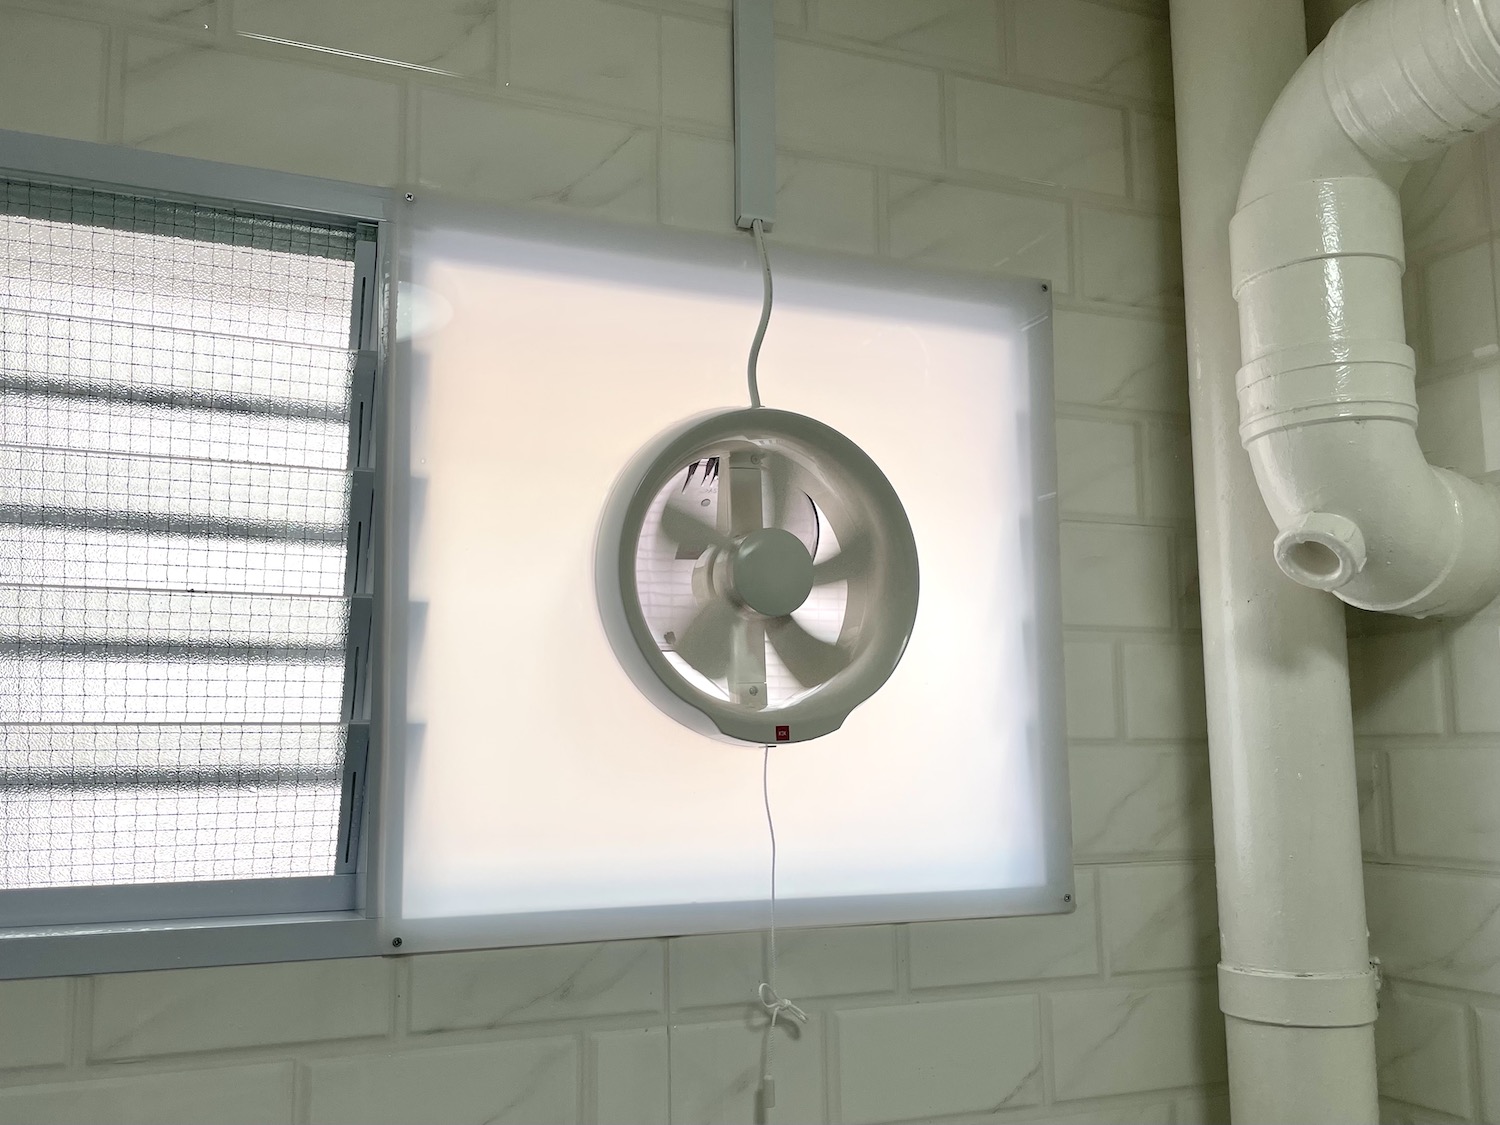
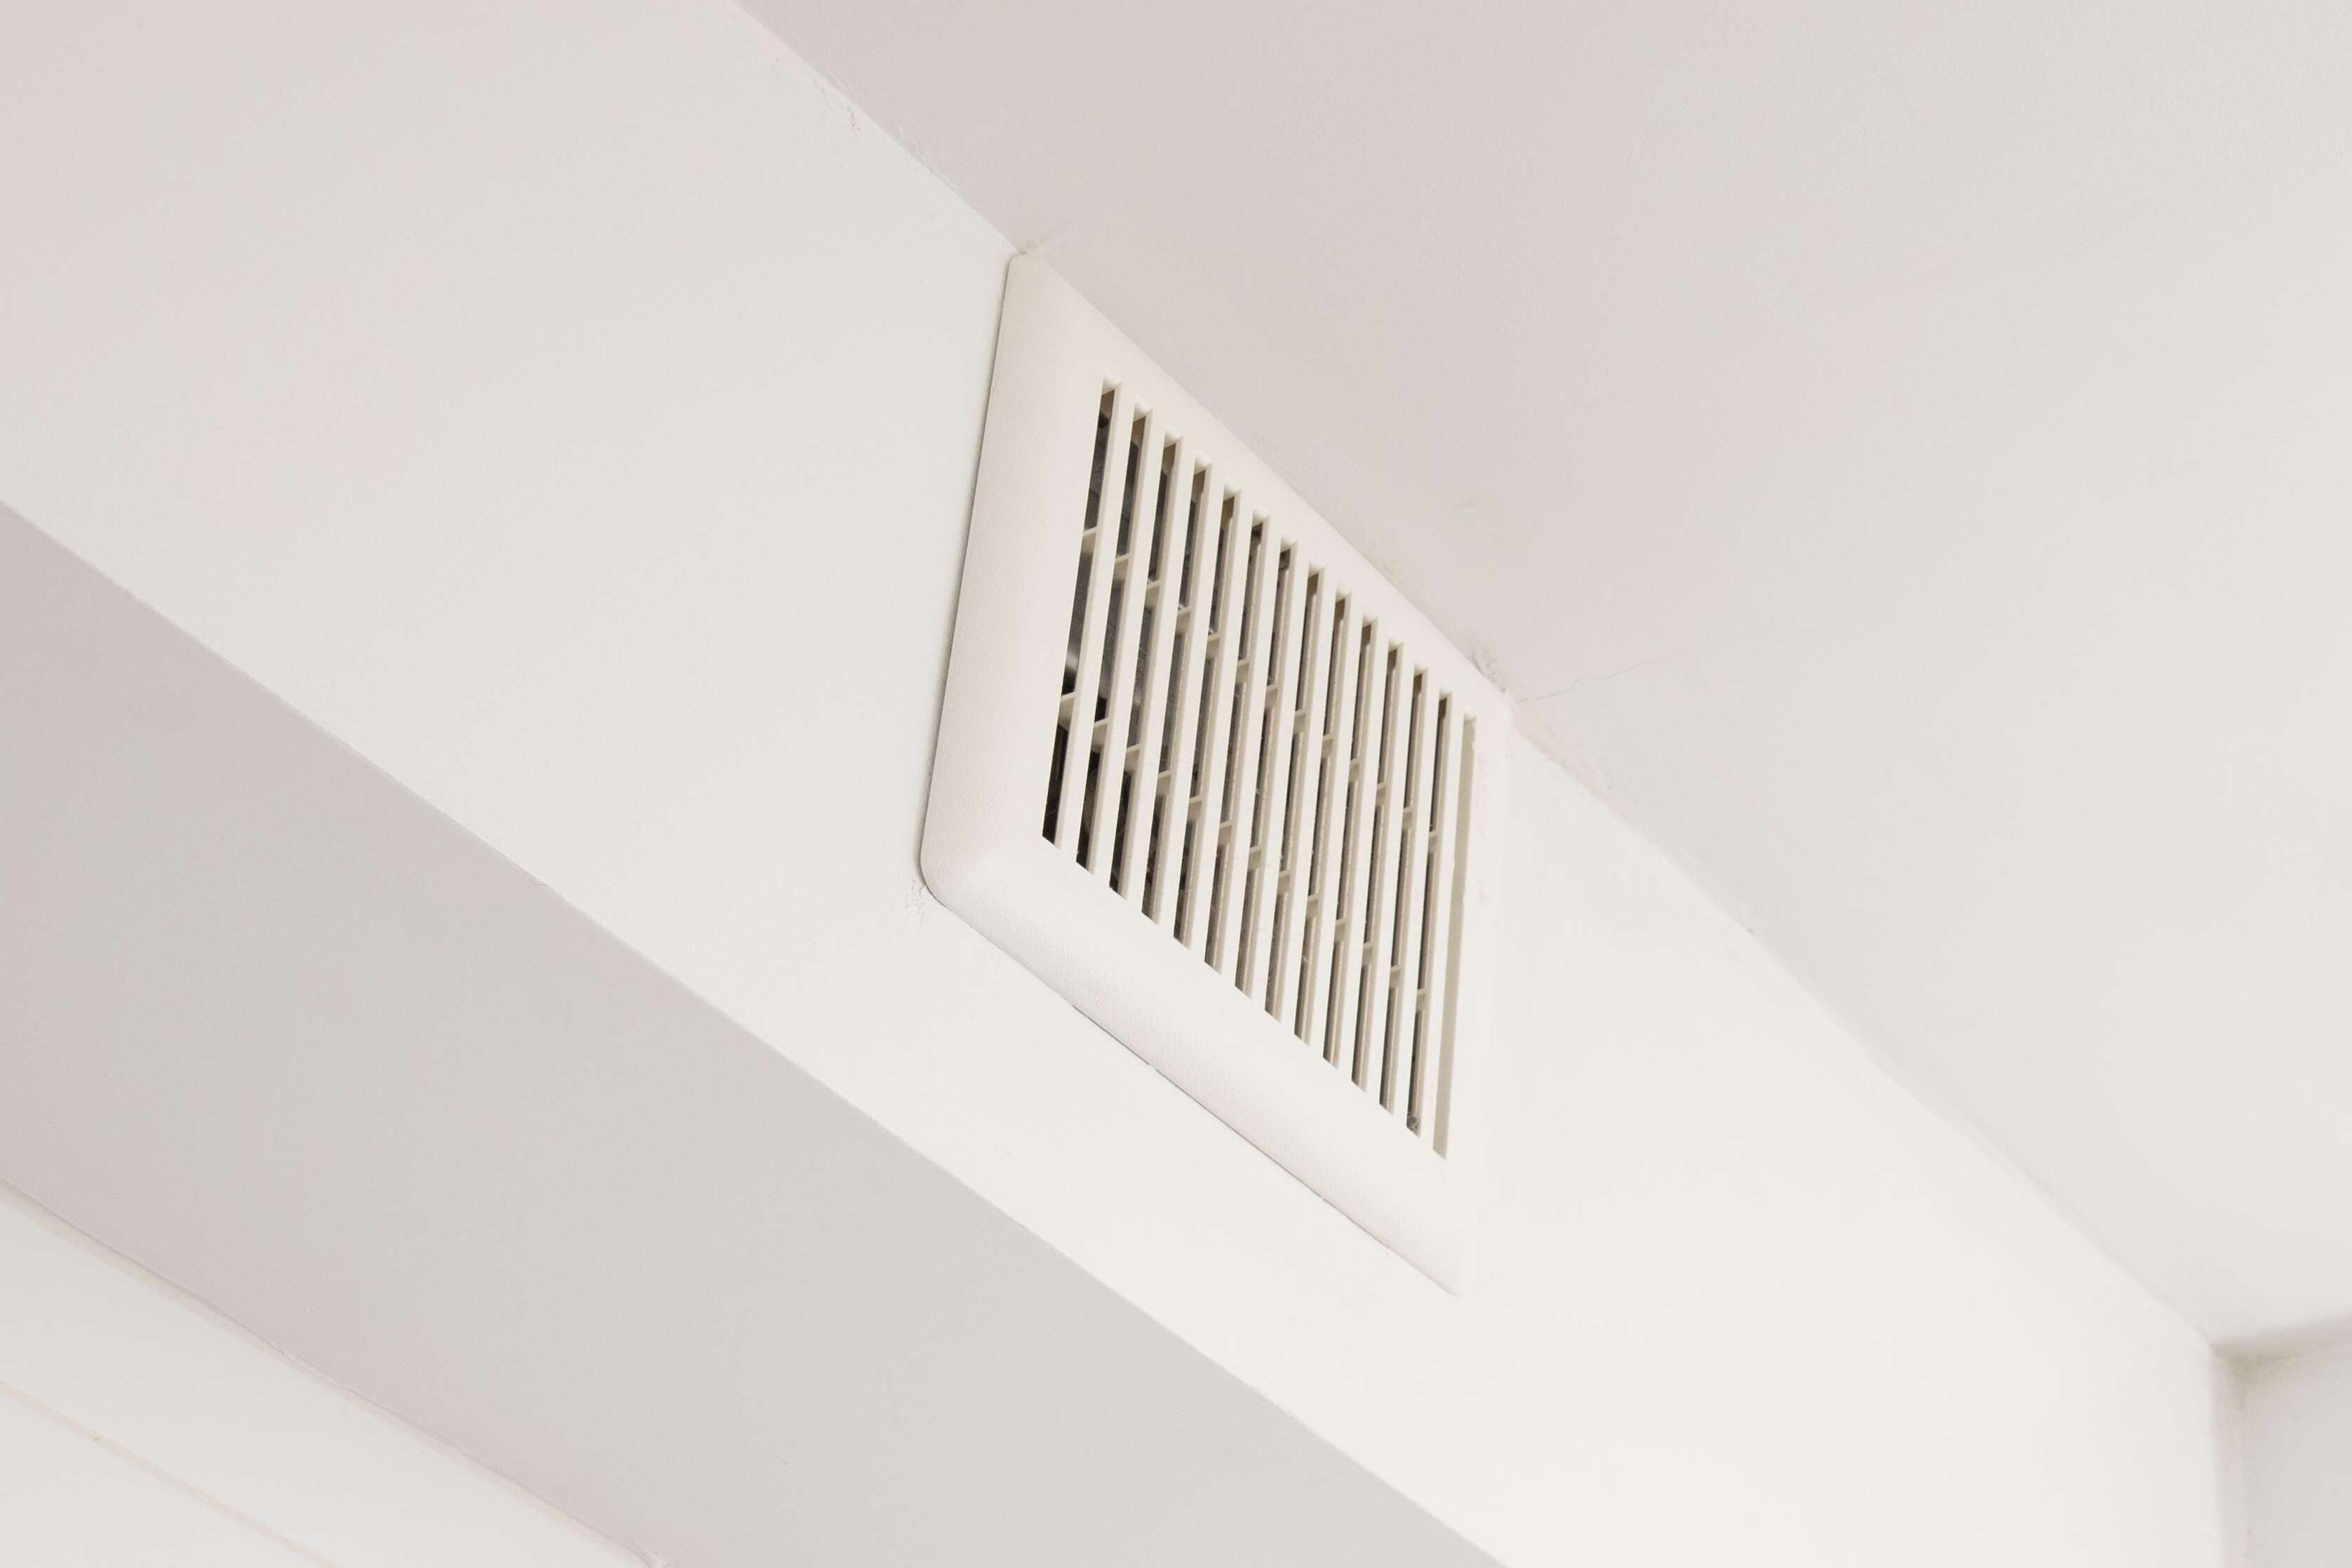
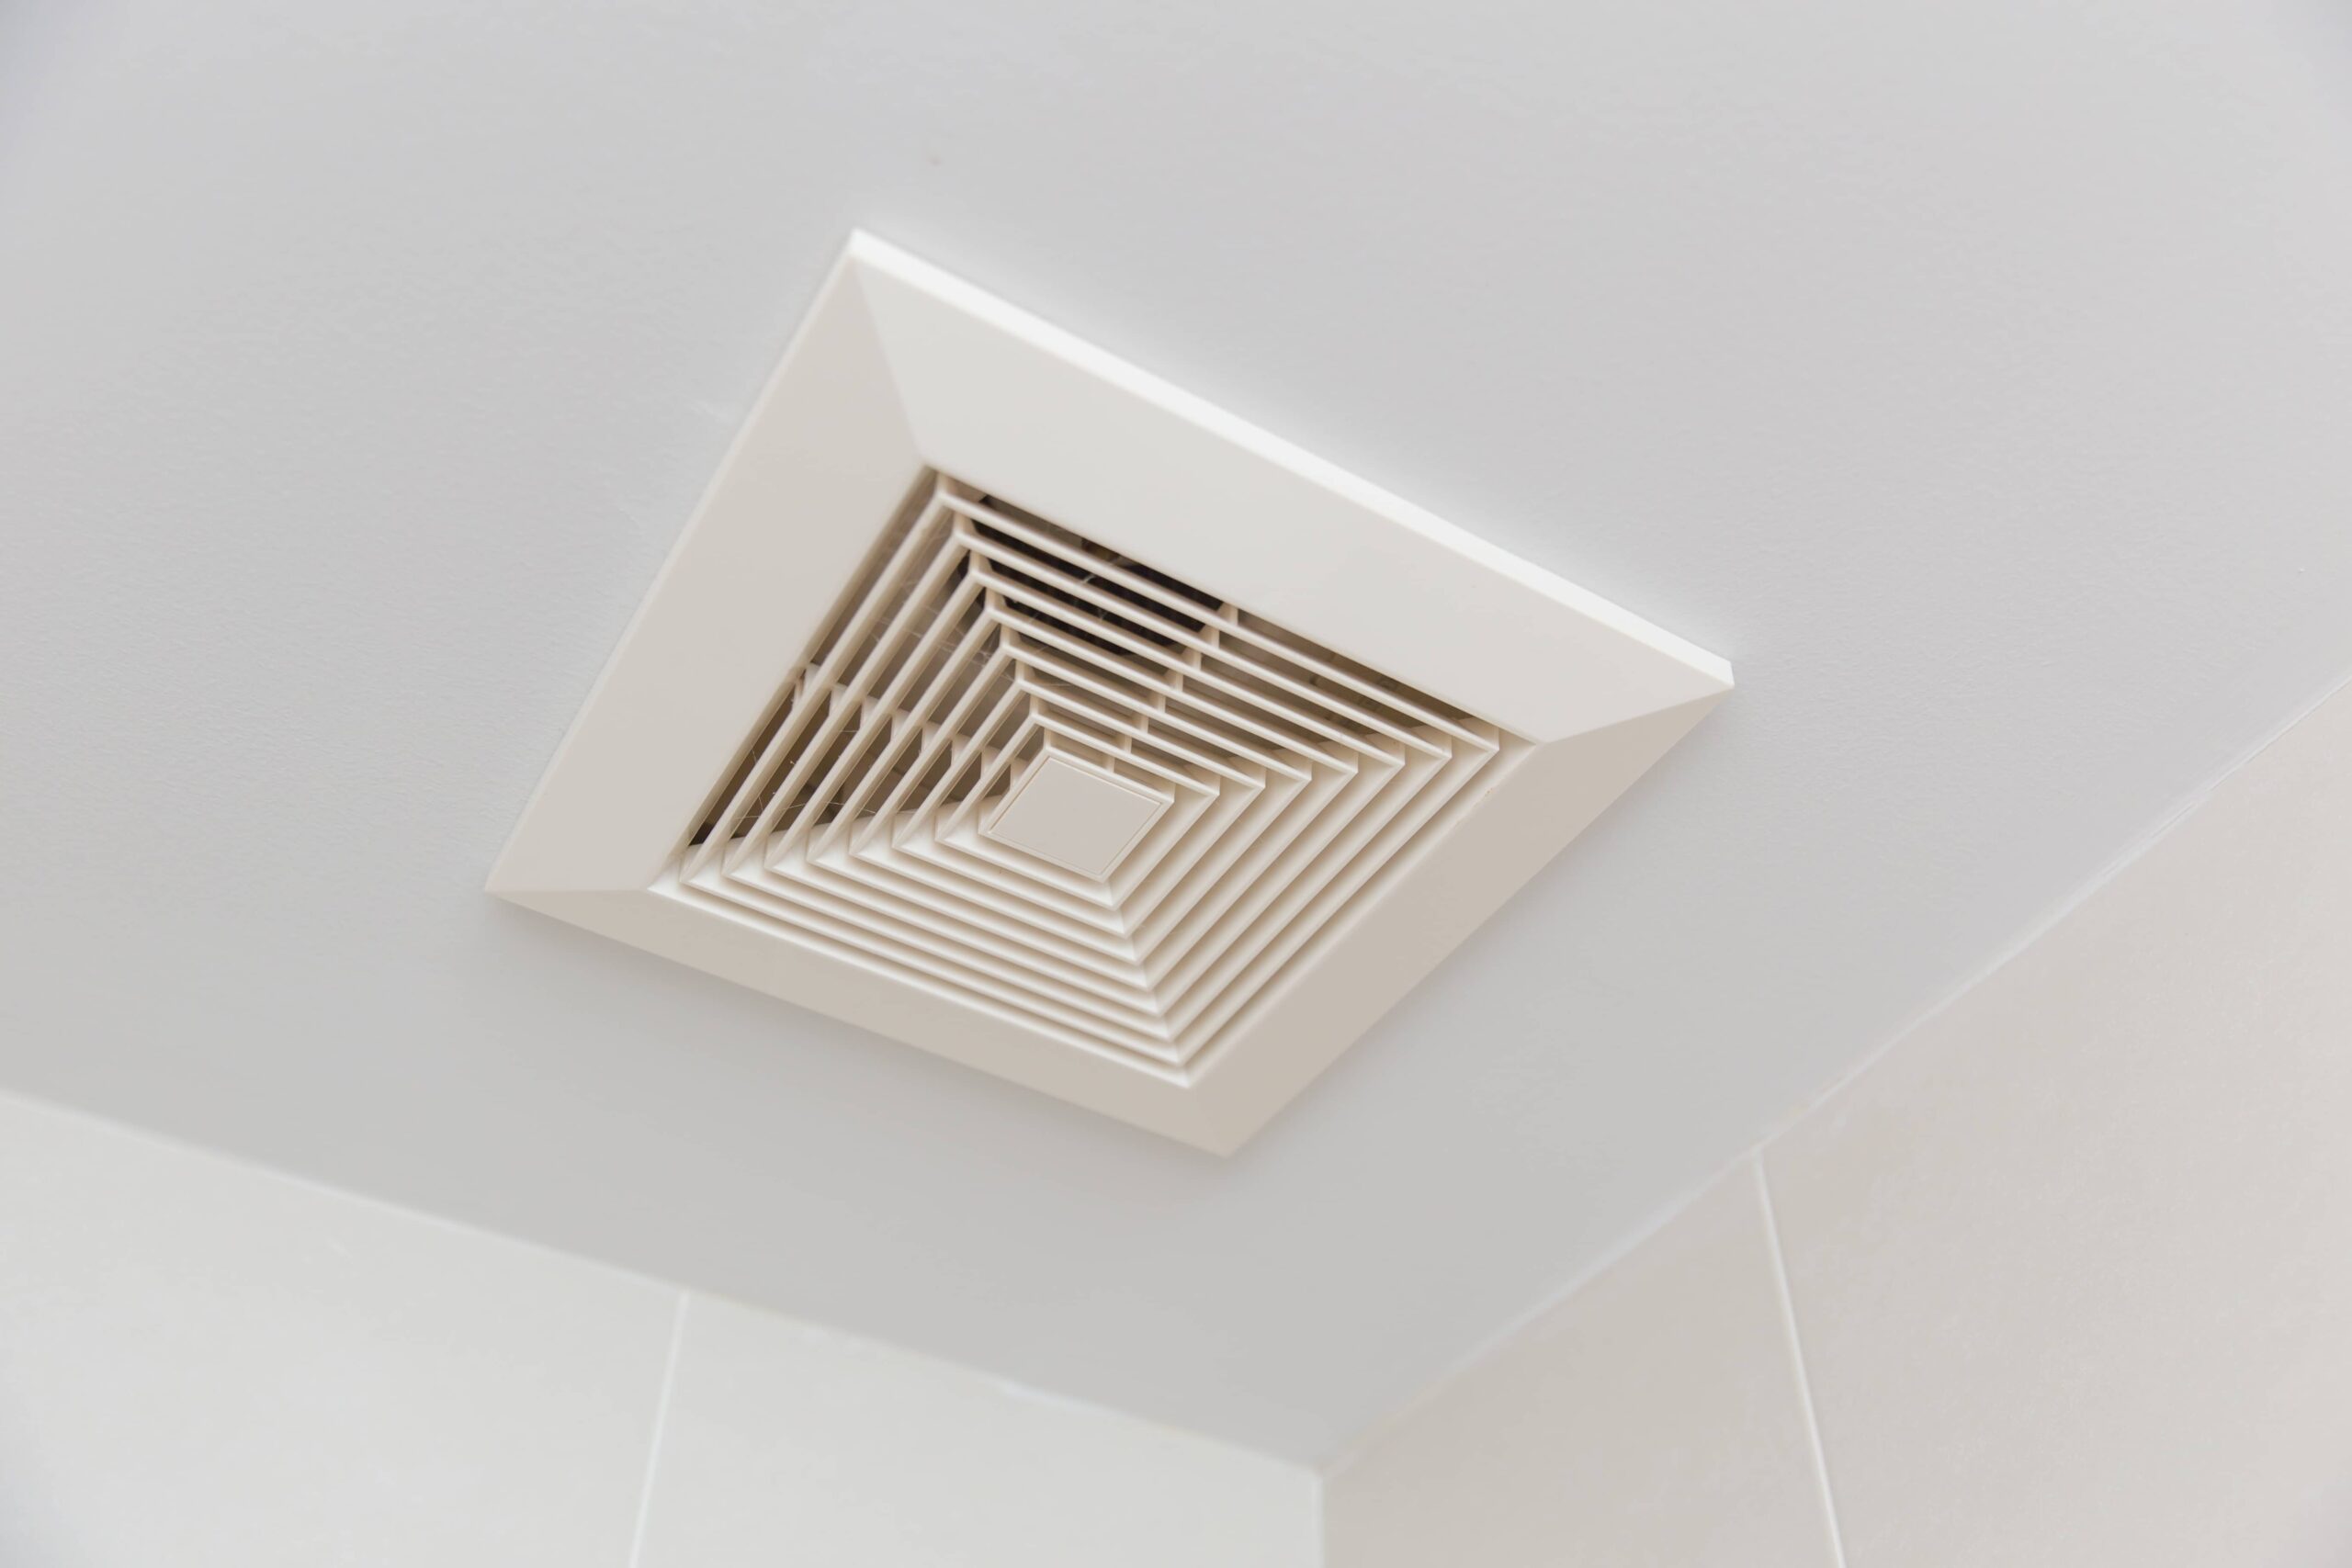
Ventilation fans are designed to expel humid air, odors, and impurities from the bathroom, effectively reducing moisture levels and preventing the buildup of mold and mildew. These fans are typically installed in the ceiling or on the wall and are equipped with a duct that directs the extracted air to the exterior of the home. By actively removing stale air and introducing fresh outdoor air into the bathroom, ventilation fans contribute to improved air quality and a more pleasant bathing experience.
When considering the use of ventilation fans, homeowners have the option to choose from a variety of models with different features and capabilities. Some key considerations when selecting a ventilation fan include the fan's airflow capacity, noise level, energy efficiency, and additional features such as built-in lighting or humidity sensors.
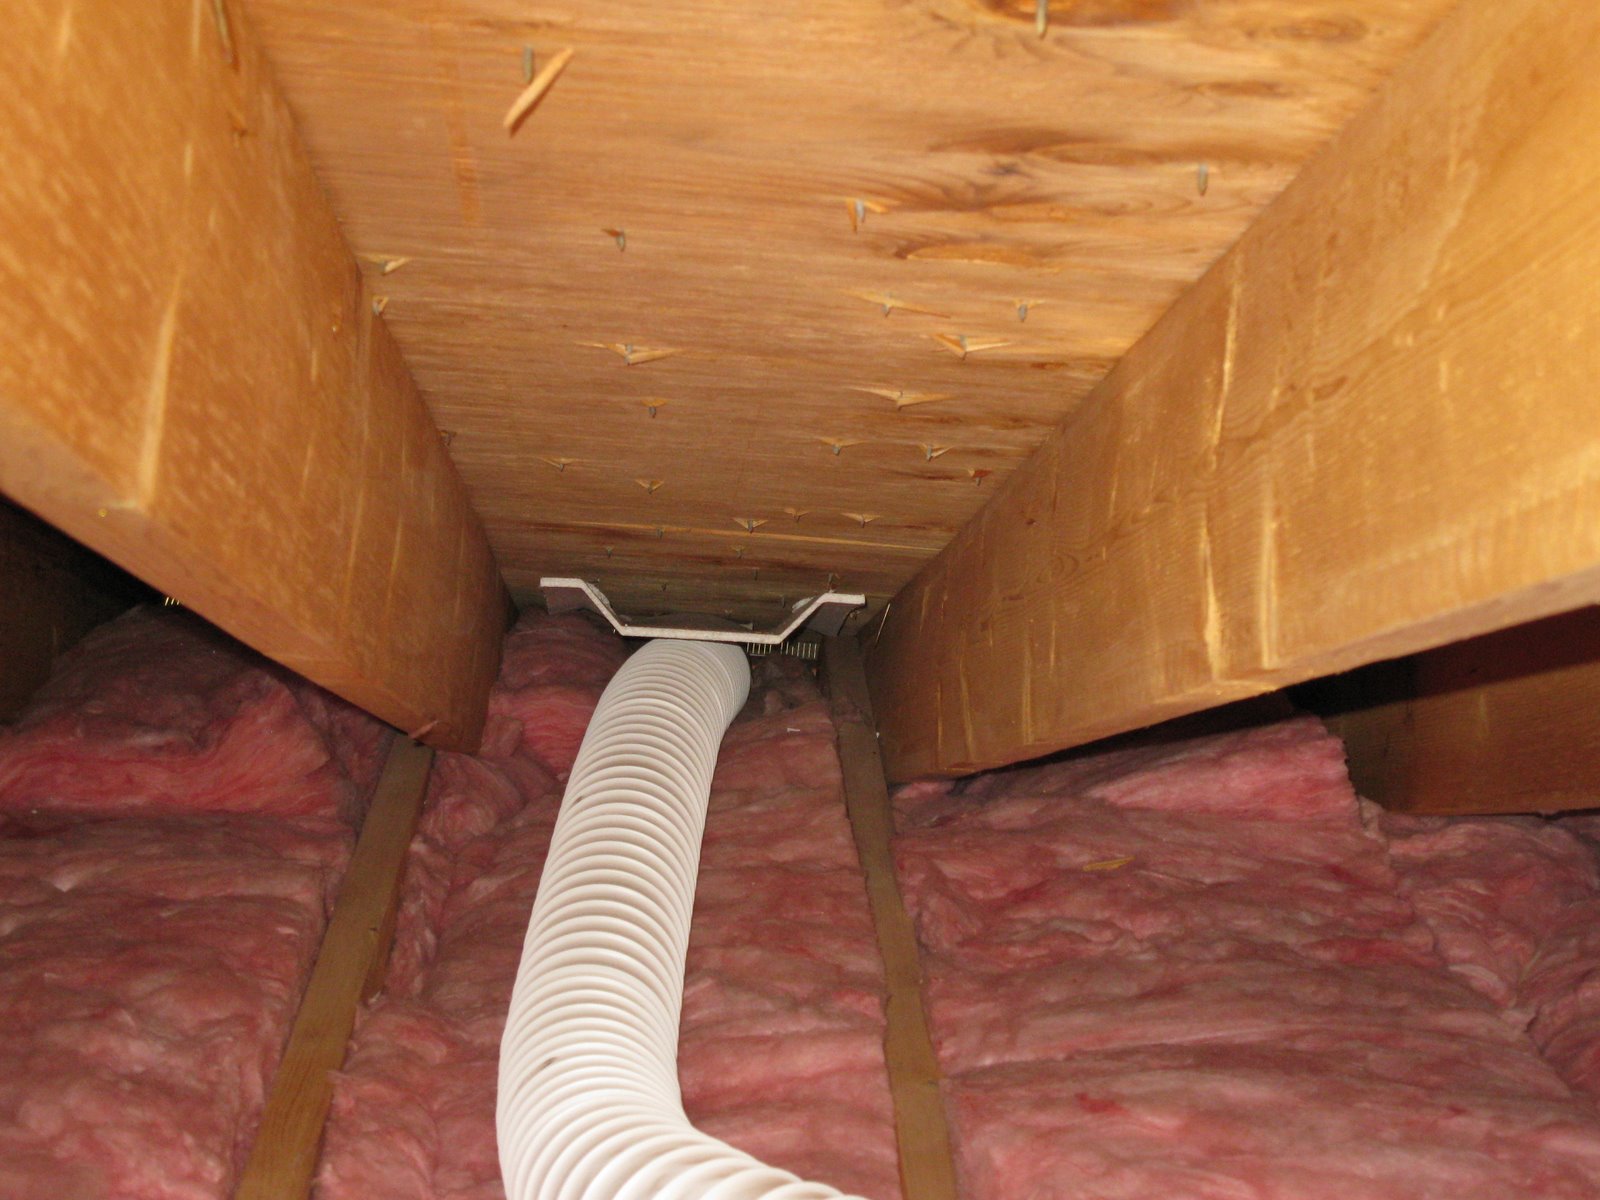
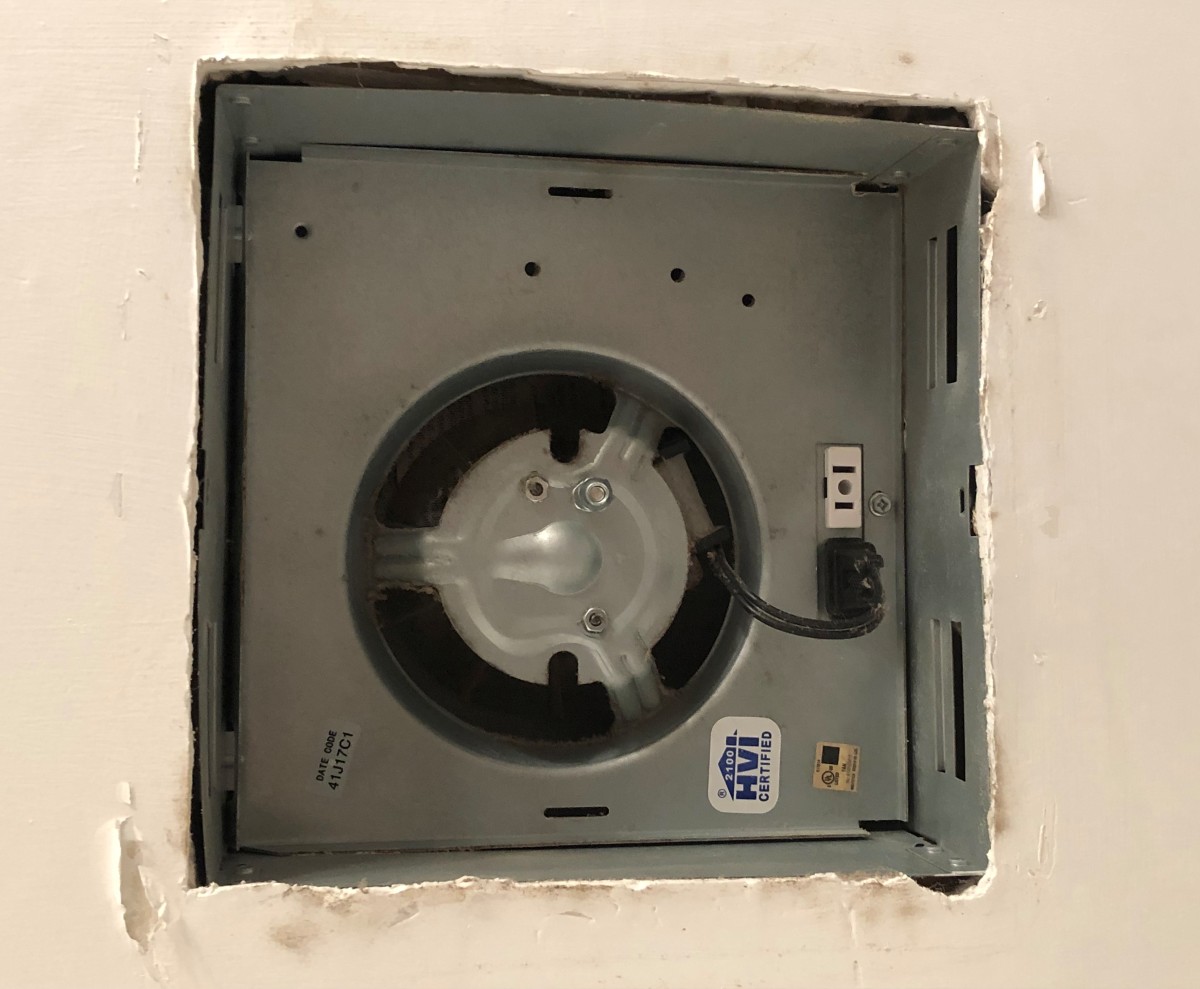
In situations where installing a traditional exhaust fan may not be feasible or desirable, homeowners can explore alternative ventilation fan options. For example, inline ventilation fans can be installed in the attic or ceiling space, allowing for effective air extraction without the need for a fan directly mounted in the bathroom. This approach provides a discreet and space-saving ventilation solution while still achieving the desired air circulation and moisture management benefits.
Furthermore, advancements in ventilation fan technology have led to the development of energy-efficient and ultra-quiet models that offer enhanced performance while minimizing operational noise and energy consumption. These modern ventilation fans are designed to meet the evolving needs of homeowners, providing a balance of functionality, comfort, and sustainability.
While ventilation fans are a conventional method for achieving bathroom ventilation, it's important to recognize that alternative approaches, such as natural ventilation methods and innovative technologies, can also effectively address the need for adequate air circulation and moisture control in the absence of an exhaust fan.
In summary, while ventilation fans remain a prevalent choice for bathroom ventilation, homeowners can explore a range of options to achieve effective air circulation and moisture management, tailored to their specific preferences and the unique characteristics of their bathroom space. Whether opting for traditional exhaust fans or considering alternative ventilation solutions, the primary goal remains consistent: to create a healthy, comfortable, and well-ventilated bathroom environment for the benefit of occupants and the longevity of the space.
Consider installing a window or a vent fan in the bathroom to help with ventilation. If that’s not possible, keep the bathroom door open and use a portable fan to help circulate the air.
Use of Dehumidifiers
Dehumidifiers offer a practical and efficient solution for managing moisture levels in bathrooms, particularly in spaces where traditional exhaust fans are not present or may be insufficient in addressing humidity concerns. These devices are designed to extract excess moisture from the air, helping to prevent the accumulation of dampness and the associated issues of mold, mildew, and musty odors within the bathroom environment.
When considering the use of dehumidifiers in bathrooms, homeowners can choose from a range of portable or built-in models, each offering distinct advantages in addressing moisture-related challenges. Portable dehumidifiers are versatile and can be strategically positioned within the bathroom to target specific areas prone to high humidity, such as near showers or bathtubs. These units are equipped with a water collection reservoir that requires periodic emptying, providing a convenient means of monitoring and managing moisture levels within the space.
In contrast, built-in or whole-house dehumidifiers can be integrated into the home's HVAC system, offering comprehensive moisture control for the entire property, including the bathroom. These systems are designed to operate quietly and efficiently, extracting excess moisture from the air as it circulates through the HVAC ductwork. By incorporating a whole-house dehumidifier, homeowners can benefit from consistent humidity regulation throughout the home, promoting a healthier indoor environment and safeguarding against the detrimental effects of excessive moisture.
The utilization of dehumidifiers in bathrooms presents several advantages, including the prevention of mold and mildew growth, the reduction of musty odors, and the preservation of structural integrity by mitigating moisture-related damage. Furthermore, dehumidifiers contribute to a more comfortable and inviting bathroom atmosphere, enhancing the overall well-being of occupants and prolonging the longevity of fixtures and finishes within the space.
In addition to addressing existing moisture issues, dehumidifiers can serve as a proactive measure to maintain optimal humidity levels in the bathroom, particularly in regions prone to high ambient moisture or during periods of increased humidity. By effectively controlling moisture, dehumidifiers help to create a more pleasant and hygienic bathroom environment, supporting the well-being of individuals and the preservation of the property.
In summary, the use of dehumidifiers in bathrooms offers a targeted and efficient approach to managing moisture levels, promoting a healthier and more comfortable living environment. Whether opting for portable units or integrated whole-house systems, homeowners can leverage the benefits of dehumidifiers to address humidity concerns and enhance the overall quality of the bathroom space.
Read more: How To Vent A Basement Bathroom Exhaust Fan
Use of Air Purifiers
Air purifiers are valuable devices that can significantly contribute to maintaining a clean and healthy bathroom environment. While their primary function is to remove airborne impurities and odors, air purifiers can also play a crucial role in enhancing overall air quality and promoting a more pleasant bathing experience.
When considering the use of air purifiers in bathrooms, homeowners have the opportunity to select from a diverse range of models equipped with various filtration technologies and features. High-efficiency particulate air (HEPA) filters, activated carbon filters, and UV-C light sterilization are among the common technologies integrated into air purifiers, each offering distinct benefits in capturing and neutralizing different types of airborne contaminants.
HEPA filters are renowned for their ability to trap microscopic particles, including dust, pollen, pet dander, and mold spores, thereby improving air quality and reducing potential respiratory irritants within the bathroom. Activated carbon filters excel in absorbing odors and volatile organic compounds (VOCs), effectively neutralizing unpleasant smells and promoting a fresher atmosphere. Additionally, air purifiers equipped with UV-C light technology can help eliminate bacteria, viruses, and germs, further enhancing the hygienic conditions of the bathroom environment.
By incorporating an air purifier in the bathroom, homeowners can effectively mitigate the presence of allergens, odors, and airborne contaminants, creating a cleaner and more inviting space for occupants. This is particularly beneficial for individuals with respiratory sensitivities or allergies, as air purifiers can contribute to reducing potential triggers and promoting respiratory comfort within the bathroom.
Furthermore, the use of air purifiers can complement existing ventilation systems or serve as a standalone solution for addressing air quality concerns in bathrooms without exhaust fans. By continuously circulating and purifying the air, these devices help maintain a fresher and more hygienic environment, supporting the well-being of occupants and the preservation of the bathroom space.
In summary, the integration of air purifiers in bathrooms offers a proactive approach to enhancing air quality, reducing odors, and promoting a healthier indoor environment. Whether utilized independently or in conjunction with natural ventilation methods, air purifiers contribute to creating a more comfortable and hygienic bathroom space, aligning with the desire for a clean and inviting bathing environment.
Conclusion
In conclusion, achieving effective bathroom ventilation without an exhaust fan is indeed feasible through a combination of natural ventilation methods and alternative technologies. The absence of an exhaust fan does not preclude homeowners from creating a well-ventilated, comfortable, and hygienic bathroom environment. By leveraging strategic placement of windows, skylights, transom windows, and operable vents, individuals can harness natural airflow patterns to promote air circulation and moisture control within the bathroom space. These natural ventilation options not only contribute to sustainable living practices but also enhance the overall functionality and livability of the bathroom.
Furthermore, the utilization of dehumidifiers and air purifiers presents targeted and efficient solutions for managing moisture levels and enhancing air quality in bathrooms. Dehumidifiers effectively extract excess moisture from the air, mitigating the risk of mold and mildew growth while promoting a more comfortable and inviting bathroom atmosphere. Similarly, air purifiers play a crucial role in removing airborne impurities and odors, contributing to a cleaner and healthier indoor environment.
While ventilation fans remain a prevalent choice for bathroom ventilation, the exploration of alternative ventilation solutions underscores the adaptability and ingenuity of homeowners in addressing the unique characteristics of their bathroom space. Whether opting for natural ventilation methods, innovative technologies, or a combination of both, the primary objective remains consistent: to create a healthy, comfortable, and well-ventilated bathroom environment for the benefit of occupants and the longevity of the space.
Ultimately, the diverse approaches outlined in this guide empower homeowners to make informed decisions regarding bathroom ventilation, taking into account their specific preferences, environmental considerations, and the distinctive attributes of their living spaces. By embracing alternative methods for ventilating a bathroom without an exhaust fan, individuals can cultivate a harmonious balance between functionality, aesthetics, and environmental responsibility, thereby enhancing the overall quality of their bathroom environment.
In essence, the absence of an exhaust fan should not be perceived as a limitation, but rather as an opportunity to explore innovative and sustainable approaches to achieving optimal bathroom ventilation. By embracing natural ventilation options, integrating advanced technologies, and adopting proactive measures to manage moisture and air quality, homeowners can transform their bathrooms into inviting, well-ventilated sanctuaries that promote well-being, comfort, and long-term sustainability.
Frequently Asked Questions about How To Vent A Bathroom Without An Exhaust Fan
Was this page helpful?
At Storables.com, we guarantee accurate and reliable information. Our content, validated by Expert Board Contributors, is crafted following stringent Editorial Policies. We're committed to providing you with well-researched, expert-backed insights for all your informational needs.


0 thoughts on “How To Vent A Bathroom Without An Exhaust Fan”