Articles
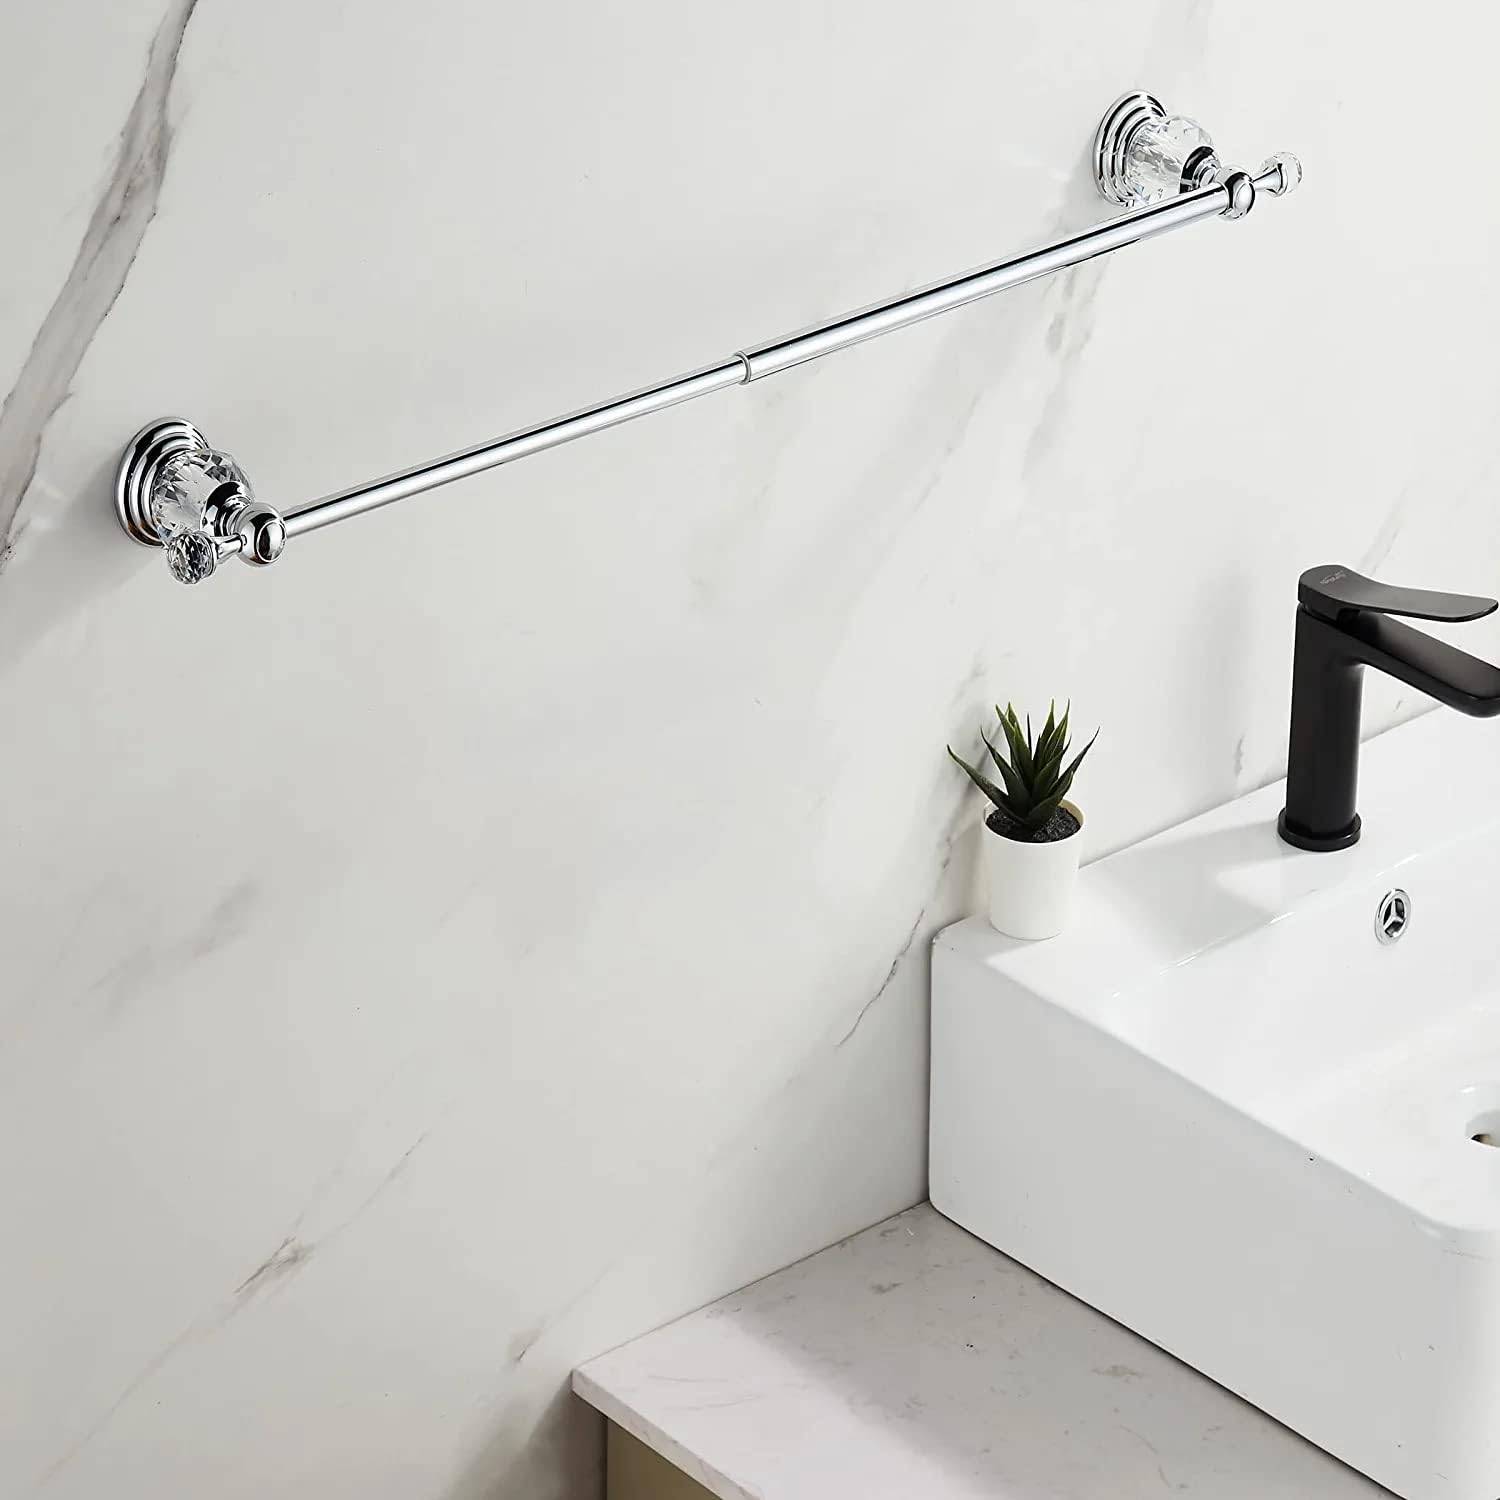
How To Take Towel Ring Off Wall
Modified: March 1, 2024
Remove a towel ring from the wall easily using these helpful articles. Find step-by-step guides, tips, and tricks to take off towel rings without damaging your walls.
(Many of the links in this article redirect to a specific reviewed product. Your purchase of these products through affiliate links helps to generate commission for Storables.com, at no extra cost. Learn more)
Introduction
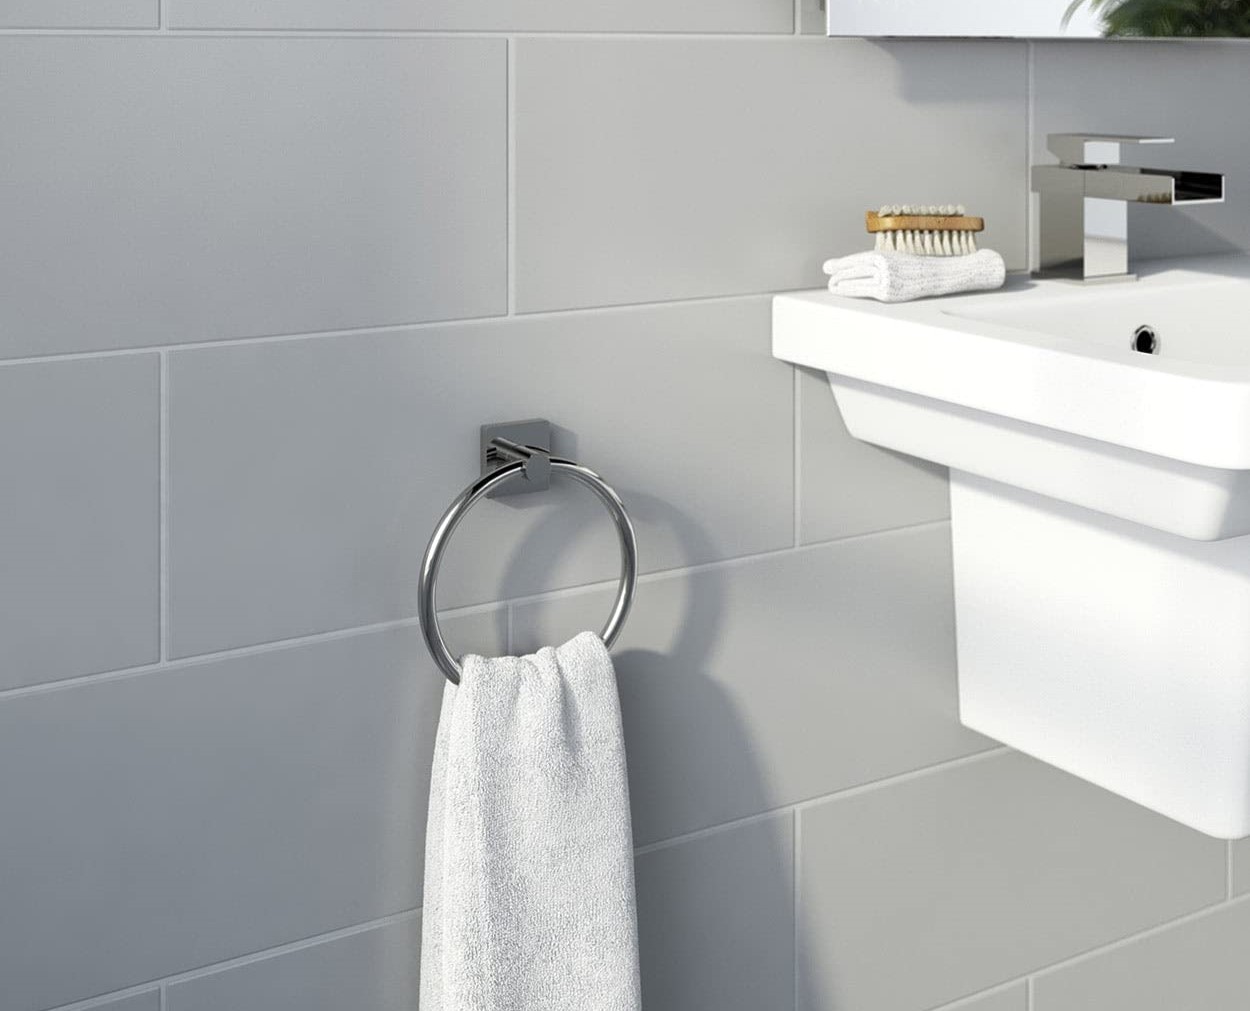
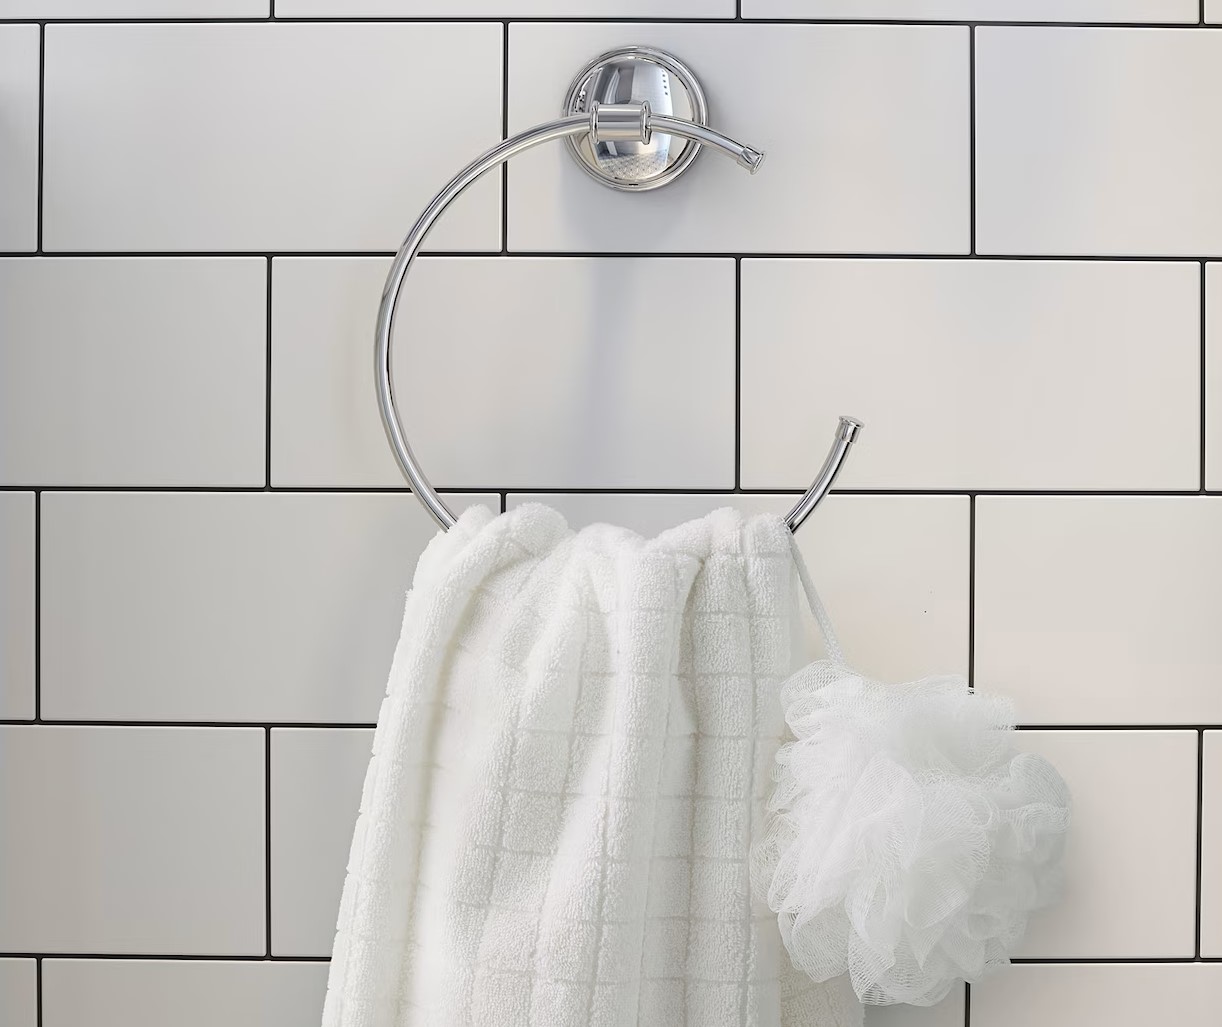
Having a towel ring attached to your bathroom wall is a convenient and space-saving way to hang your towels. However, there may come a time when you need to take the towel ring off the wall, whether it’s for repair, replacement, or simply to change the bathroom decor. In this article, we will guide you through the step-by-step process of removing a towel ring from the wall.
Before we begin, it’s important to mention that the specific steps and tools needed might vary depending on the type of towel ring and the mounting method used. It’s always a good idea to consult the manufacturer’s instructions or seek professional advice if you encounter any difficulties during the process.
Now, let’s gather the necessary tools and materials to get started.
Key Takeaways:
- Easily remove a towel ring from the wall by gathering the right tools, assessing the attachment type, and safely detaching the ring. Follow the step-by-step process to ensure a smooth and damage-free removal.
- After removing the towel ring, patch any wall damage, clean the surface, and decide on a new installation or replacement. Consider factors like style, functionality, and budget to make an informed decision.
Read more: How To Take Off A Towel Rack
Step 1: Gather necessary tools and materials
Before you begin the process of removing a towel ring from the wall, it’s essential to gather all the necessary tools and materials. This will ensure that you have everything you need within reach, making the task smoother and more efficient.
Here are some tools and materials you might need:
- Screwdriver – You may need a flathead or Phillips head screwdriver, depending on the type of screws used to secure the towel ring.
- Utility knife – This will come in handy to score and remove any caulk or adhesive that may be securing the towel ring.
- Putty knife – If there is any caulk or adhesive applied around the towel ring, a putty knife can help scrape it off.
- Pliers – Pliers can be useful for gripping and turning stubborn screws or connectors.
- Lightweight spackle or wall filler – If there are any holes or damages left behind after removing the towel ring, spackle or wall filler can be used to repair them.
- Sanding block – This can be used to smoothen the surface after applying spackle or wall filler.
- Cleaning supplies – Depending on the condition of the wall, you may need cleaning supplies such as a mild detergent, sponge, and clean cloth to remove any dirt or residue.
Make sure to gather all the necessary tools and materials before starting the towel ring removal process. Having everything prepared will save you time and ensure that you can complete the task smoothly.
Step 2: Assess the attachment type
Before you proceed with removing the towel ring, it’s important to assess the attachment type. This will help you determine the specific method to be used for removal.
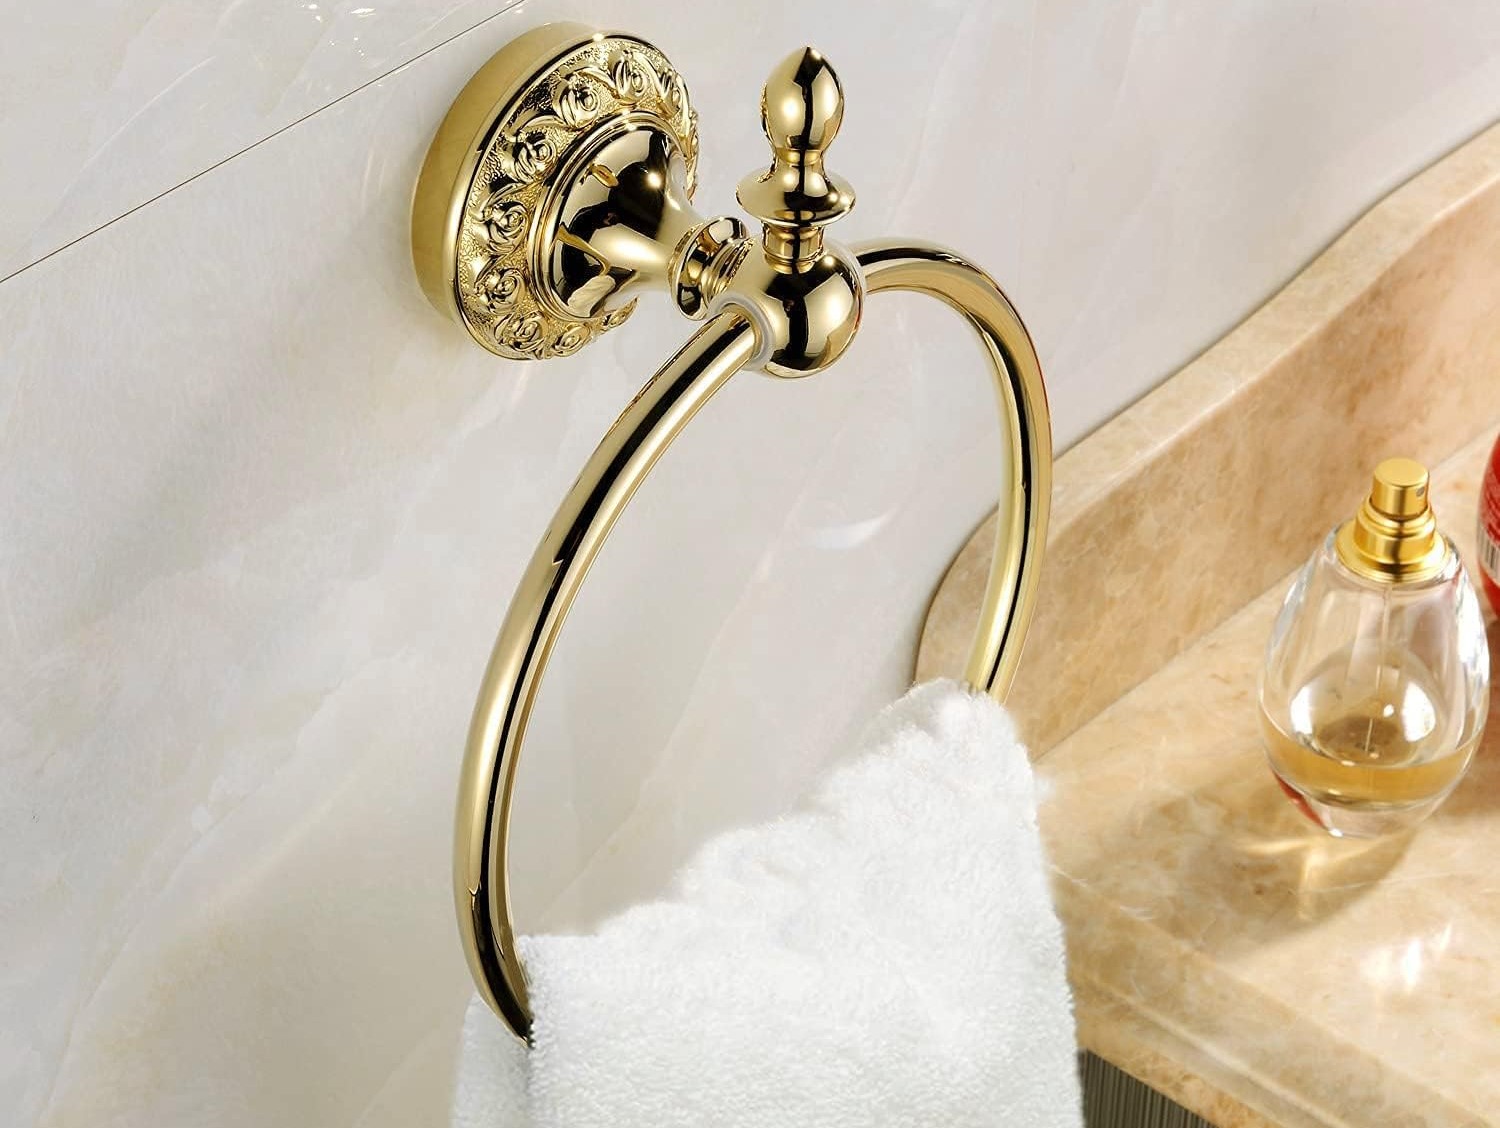
Towel rings can be attached to the wall in various ways, such as:
- Screwed on – The towel ring may be secured to the wall using screws. In this case, you will need to locate and remove the screws to detach the towel ring.
- Adhesive-backed – Some towel rings may be attached to the wall using adhesive pads. In this case, you will need to carefully peel off the adhesive pads to remove the towel ring.
- Caulked – If the towel ring has been caulked onto the wall, you will need to break the caulk seal before removing it. This is commonly seen in tiled bathrooms.
Take a close look at the towel ring attachment to determine the method used. If you’re unsure, consult the manufacturer’s instructions or try to find any visible signs of attachment, such as screws or adhesive pads.
Understanding the attachment type will allow you to proceed with the removal process in the most effective and appropriate manner. With that in mind, let’s move on to the next step: locating the mounting hardware.
Step 3: Locate the mounting hardware
Once you have assessed the attachment type of the towel ring, the next step is to locate the mounting hardware. This is essential as it will determine where you need to focus your efforts to remove the towel ring.
The mounting hardware refers to the screws, anchors, brackets, or other components that secure the towel ring to the wall. Here are some common places to look for the mounting hardware:
- Visible screws: If the towel ring is attached with screws, they are usually visible on the underside or behind the ring itself. Check for any screws that are holding the ring in place.
- Baseplate: Some towel rings have a baseplate that covers the mounting hardware. Look for any visible seams or edges where the baseplate can be detached.
- Adhesive pads: If the towel ring is attached using adhesive pads, they might be hidden beneath the ring or behind a cover. Gently try to lift or peel back the ring to expose the adhesive pads.
- Caulk line: If the towel ring is caulked onto the wall, look for a visible caulk line around the ring. This will indicate where the ring is adhered to the wall surface.
Take your time to thoroughly inspect the towel ring and its surroundings to locate the mounting hardware. This will help you proceed with the removal process correctly and avoid any potential damage to the wall. Once you have located the mounting hardware, you can move on to the next step: removing it.
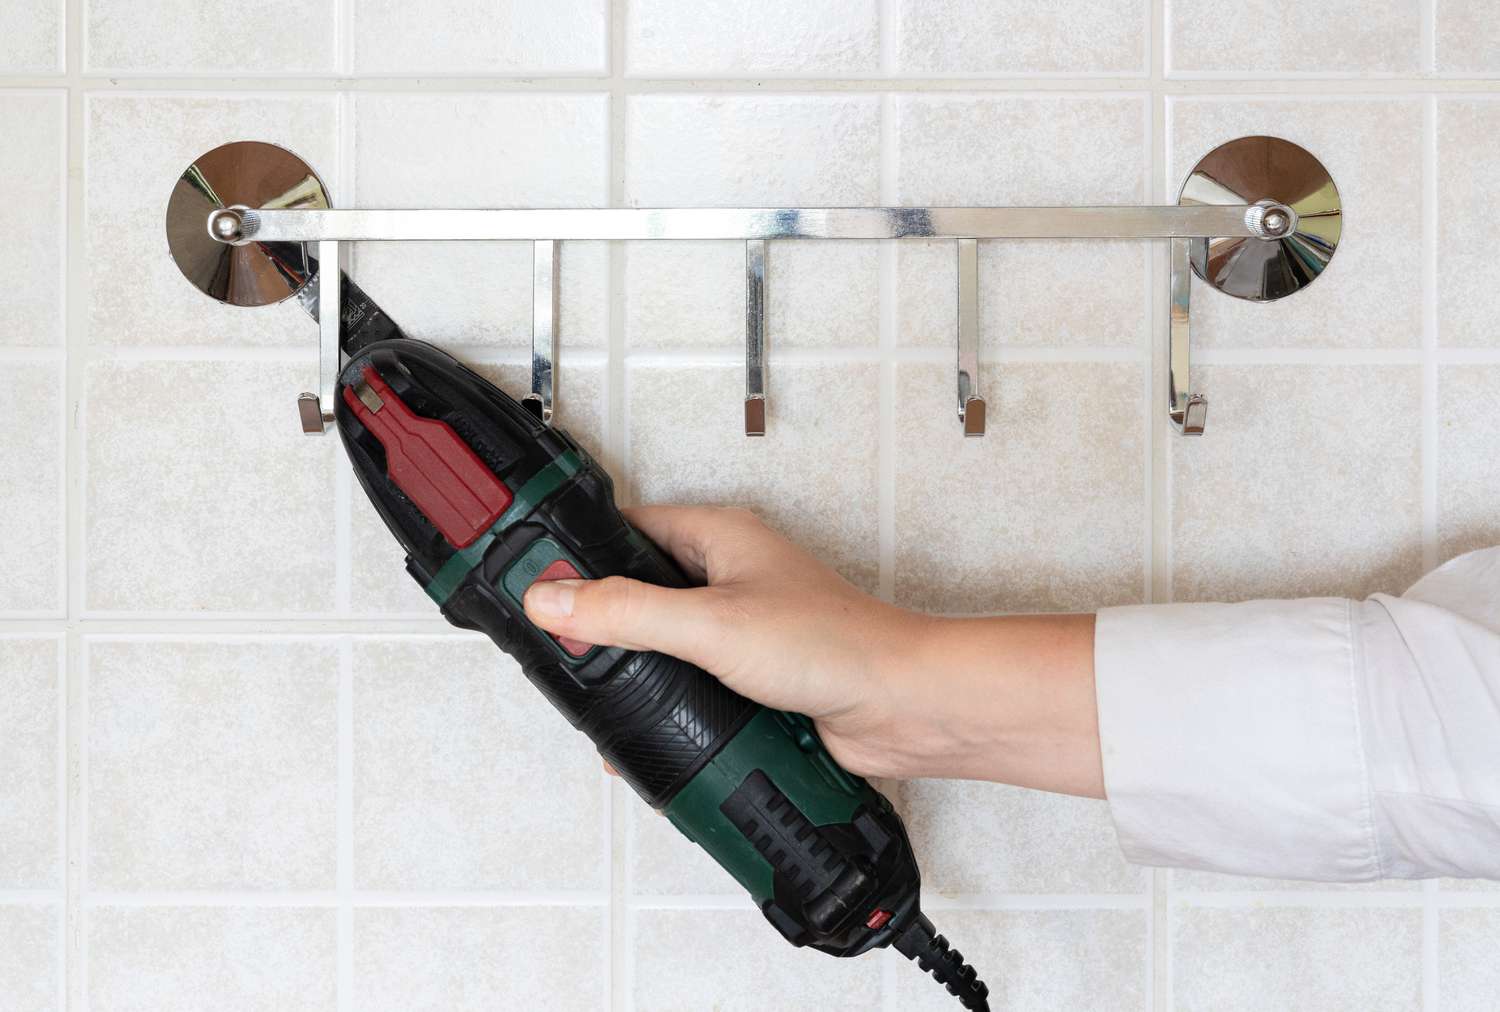
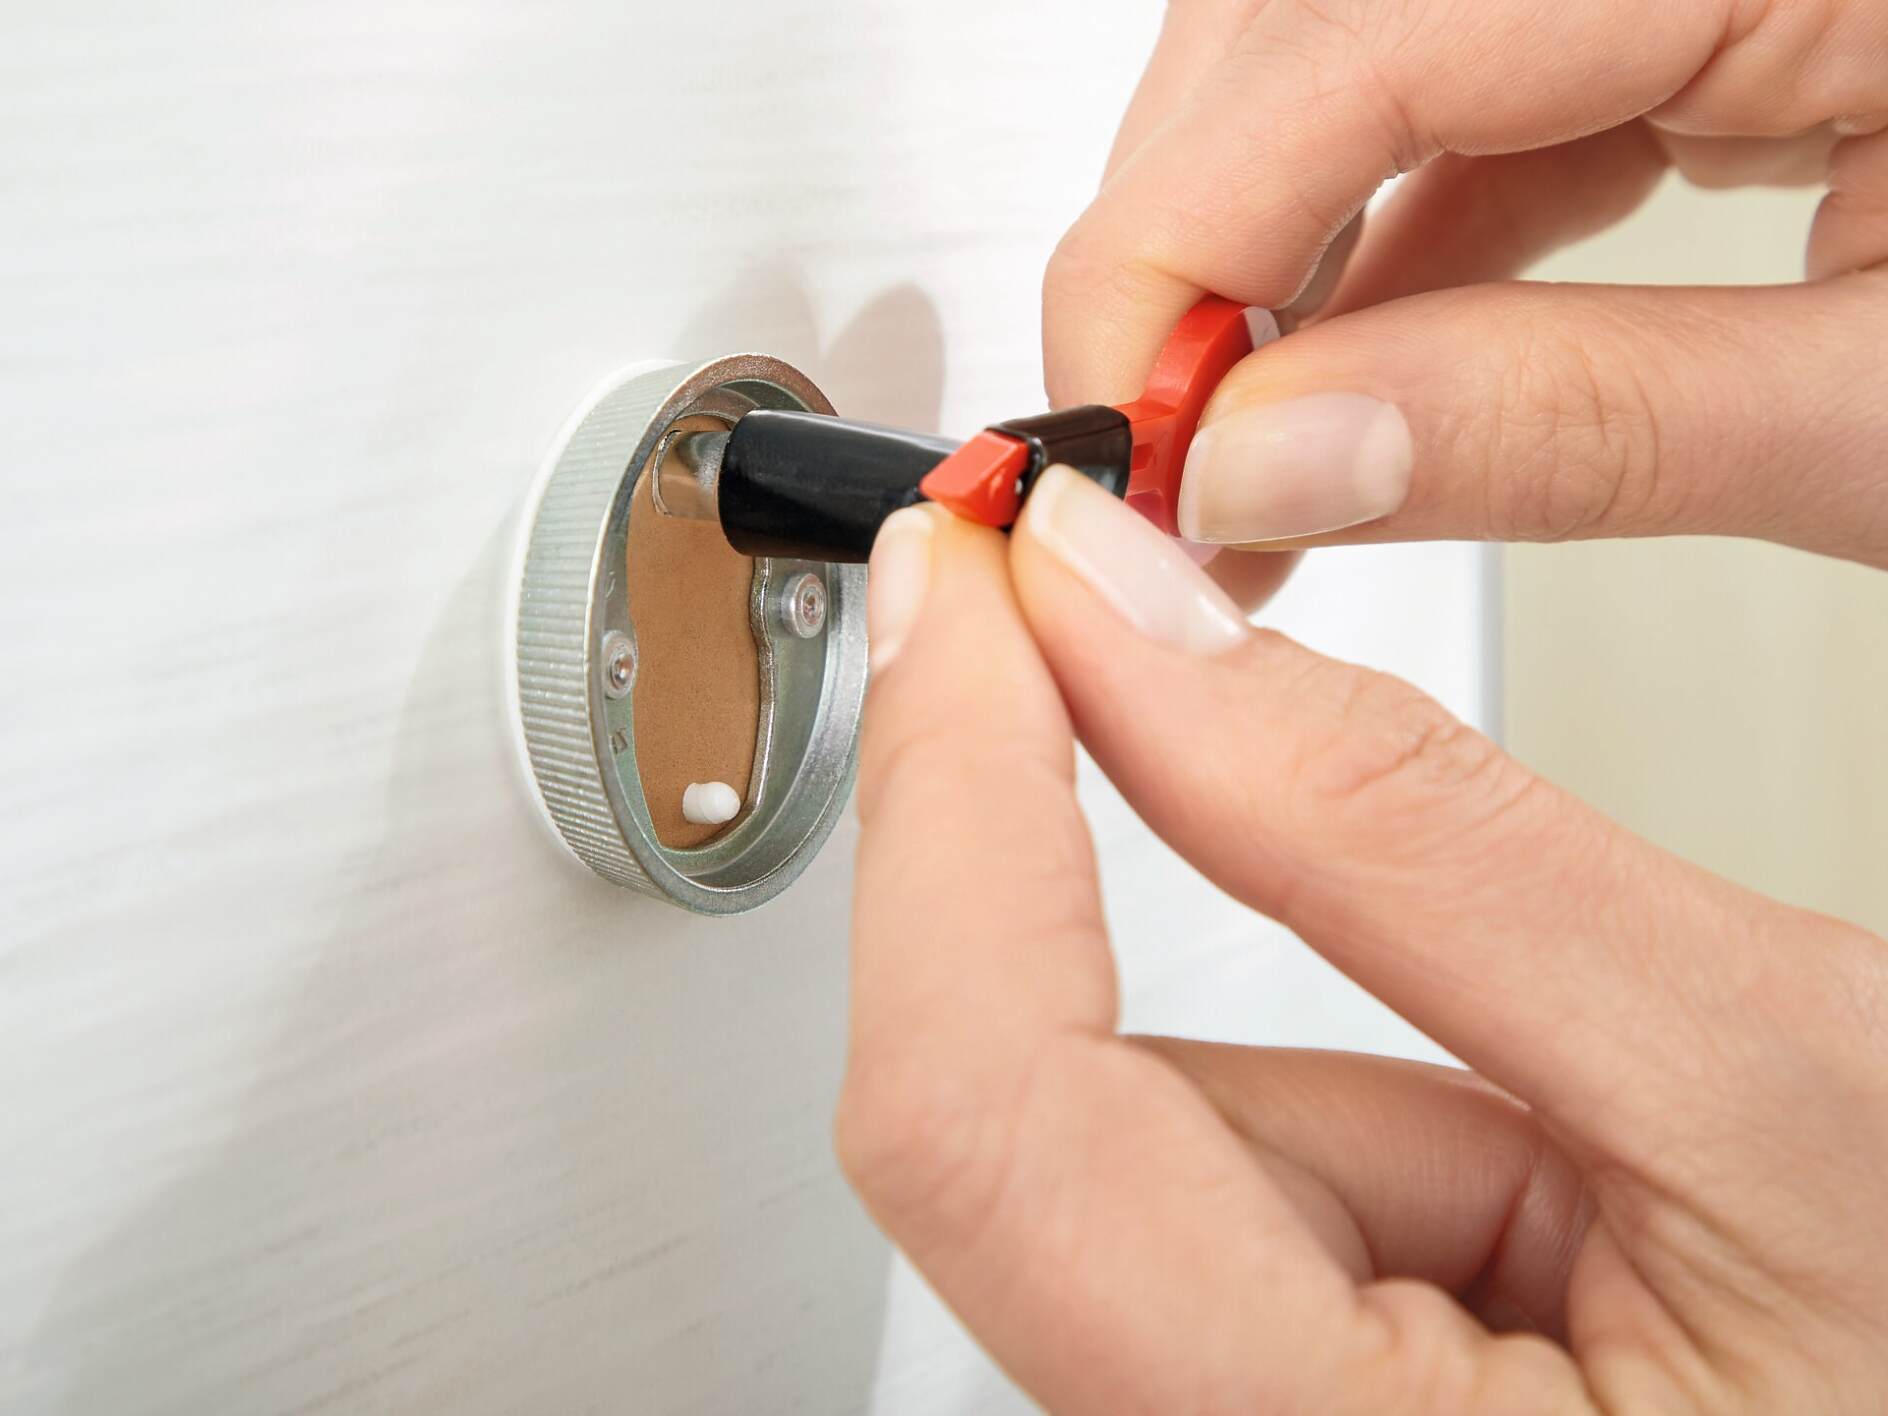
Step 4: Remove the mounting hardware
Now that you have located the mounting hardware of the towel ring, it’s time to remove it. The specific method will depend on the type of attachment used, whether it’s screws, adhesive pads, or caulk. Here are some general guidelines to help you remove the mounting hardware:
- Screwed on: If the towel ring is secured with screws, use a screwdriver that matches the screw type (Phillips or flathead) to unscrew them in a counterclockwise direction. Hold onto the towel ring with your other hand to prevent it from falling once the screws are removed. Once the screws are out, the towel ring should easily lift off the wall.
- Adhesive pads: For towel rings attached with adhesive pads, start by gently heating the pads with a hairdryer to soften the adhesive. Then, slowly peel back the ring from the wall, applying steady pressure. If the adhesive does not easily release, try using a putty knife or utility knife to carefully separate the pads from the wall surface.
- Caulked: If the towel ring was caulked onto the wall, use a utility knife or a caulk softener solution to break the caulk seal. Carefully insert the blade of the utility knife or apply the caulk softener along the caulk line. Once the caulk is loosened, gently pry the towel ring away from the wall using a putty knife or your hands.
Remember to proceed slowly and carefully when removing the mounting hardware to avoid any damage to the wall or the towel ring. If you encounter any difficulties, take your time and adjust your technique as needed. With the mounting hardware removed, you can move on to the next step: detaching the towel ring from the wall.
Use a screwdriver to remove the screws holding the towel ring in place. Once the screws are removed, gently pull the towel ring away from the wall. If there is adhesive, use a putty knife to carefully pry it off.
Read more: How To Take A Ring Doorbell Off
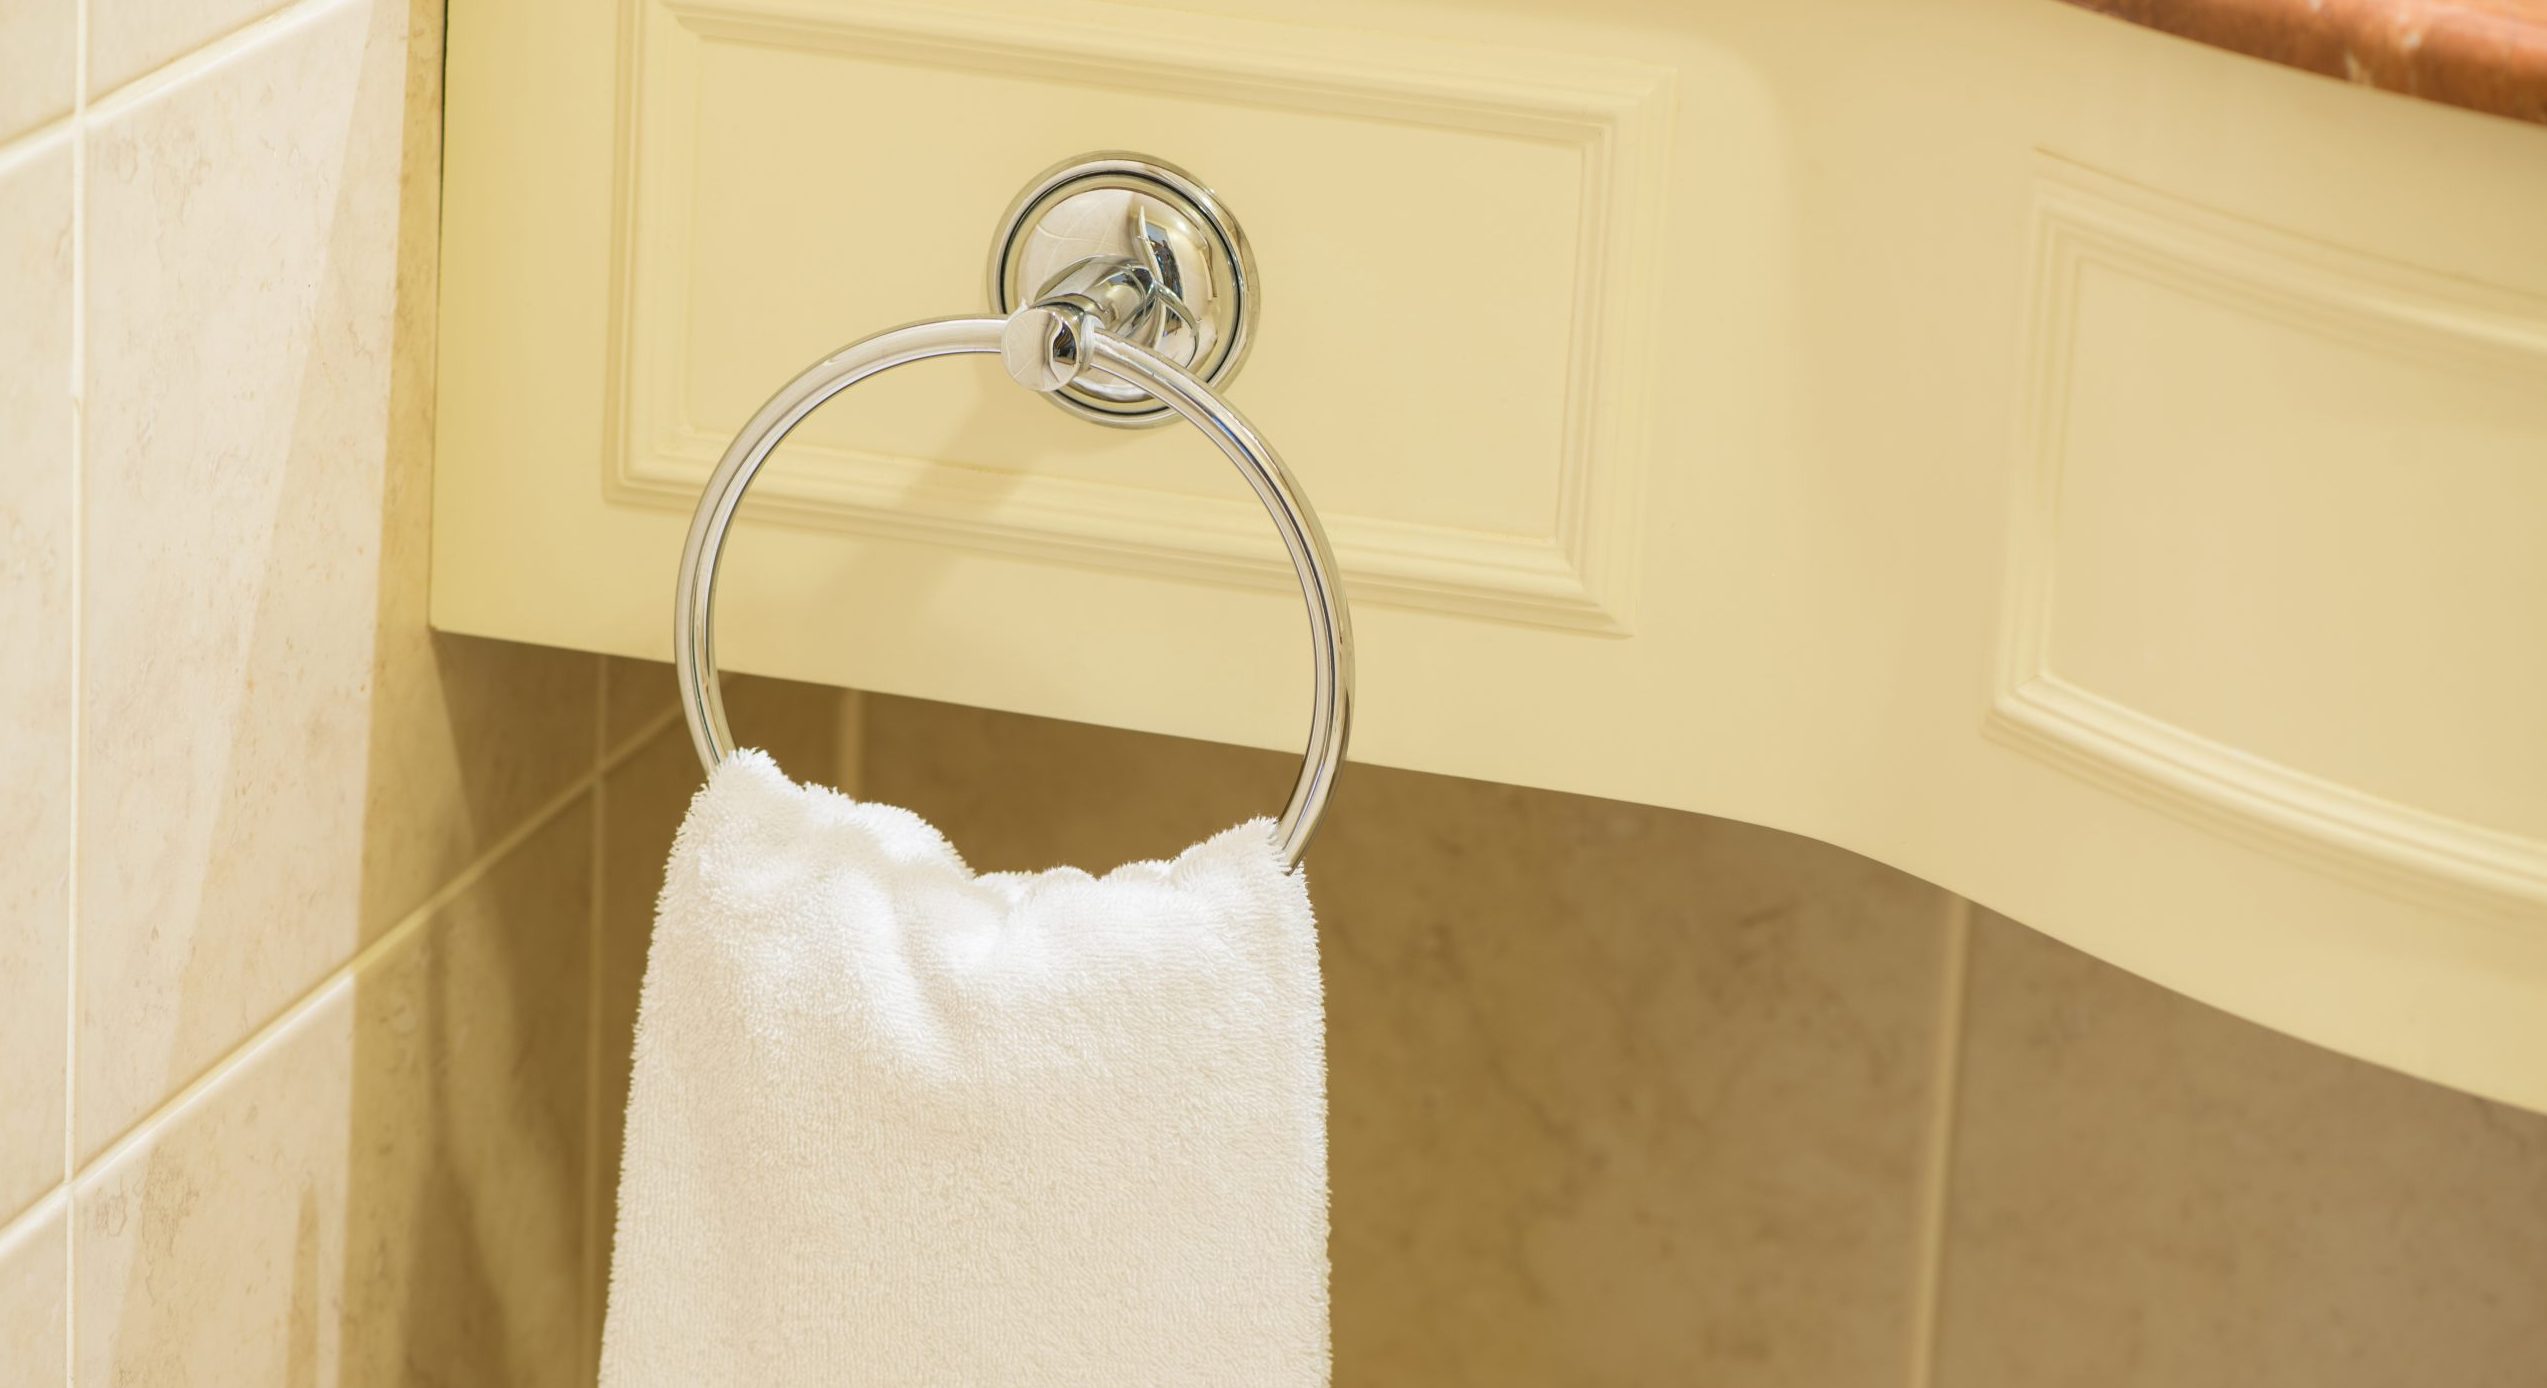
Step 5: Detach the towel ring from the wall
Now that you have successfully removed the mounting hardware, it’s time to detach the towel ring from the wall. The process will vary depending on the design of the towel ring and how it was attached. Follow these general steps to safely detach the towel ring:
- Inspect the towel ring: Take a look at the towel ring and identify any additional screws, clips, or connectors that may be holding it to the wall. These can sometimes be hidden or located underneath the ring or its baseplate.
- Remove any additional attachments: If there are any additional screws or connectors, use the appropriate tool, such as a screwdriver or pliers, to remove them. Keep a firm grip on the towel ring to prevent it from falling during the removal process.
- Gently pull or twist the towel ring: Once all the attachments have been removed, gently pull or twist the towel ring to release it from the wall. Take care not to use excessive force to avoid damaging the towel ring or the wall.
- Inspect for any hidden attachments: After detaching the towel ring, inspect the wall surface for any hidden attachments, such as adhesive pads or leftover caulk. If any remnants are found, remove them carefully using a putty knife or utility knife.
By following these steps, you should be able to safely and effectively detach the towel ring from the wall. Remember to take your time and proceed with caution to prevent any accidental damage. With the towel ring now removed, you can move on to the next step: patching or repairing any damage that may be present on the wall.
Step 6: Patch or repair any damage
After removing the towel ring, there may be holes, marks, or damage left on the wall. It’s essential to patch or repair any such damage to restore the wall to its original condition. Here’s what you can do:
- Filling Holes: If there are any screw holes left behind from the mounting hardware, fill them with lightweight spackle or wall filler. Use a putty knife to apply the spackle or wall filler, smoothing it out to create a level surface. Allow it to dry according to the manufacturer’s instructions, and then sand it down lightly to ensure a seamless finish.
- Repairing Drywall: If the removal process caused damage to the underlying drywall, such as cracks or dents, you may need to repair it. Cut away any damaged or compromised areas using a utility knife. Then, fill the gaps with drywall compound using a putty knife. Smooth out the compound and let it dry. Sand the repaired area, and if necessary, apply another layer of compound for a flawless finish.
- Painting: If the damaged area is noticeable or if you want to refresh the wall’s appearance, consider repainting the affected section. Choose a paint color that matches your bathroom’s color scheme and apply it to the repaired area. Make sure to blend the new paint seamlessly with the existing wall paint for a cohesive look.
Remember to allow ample time for the repairs to dry and cure before moving on to the next step. This will ensure that the patched or repaired area is strong and ready for the next step: cleaning the wall surface.
Step 7: Clean the wall surface
With the towel ring removed and any necessary repairs completed, it’s time to clean the wall surface. This step is crucial to remove any dirt, dust, residue, or adhesive that may be left behind after the removal process. Here’s how to clean the wall surface effectively:
- Prepare a cleaning solution: Mix a mild detergent or soap with water in a bucket or spray bottle. Alternatively, you can use a specialized wall cleaning solution or a homemade solution of vinegar and water.
- Dampen a sponge or cloth: Dip a sponge or clean cloth into the cleaning solution, ensuring that it is damp but not overly saturated.
- Gently scrub the wall surface: Start at the area where the towel ring was attached and work your way outward. Use gentle, circular motions to clean the wall. Pay attention to any stubborn spots or residue, and apply a bit of extra pressure if needed. Avoid using abrasive cleaners or scouring pads that could damage the wall’s finish.
- Rinse and dry the wall: Once you have thoroughly cleaned the wall, rinse the sponge or cloth with clean water and go over the surface again to remove any remaining cleaning solution. Then, use a clean, dry cloth to dry the wall surface completely.
Cleaning the wall surface will not only remove any visible dirt or residue but also create a clean and fresh canvas for the next step, whether it is a new installation or replacement of the towel ring.
Now that the wall surface is clean, it’s time to decide whether you want to proceed with a new installation or explore replacement options for the towel ring.
Step 8: Decide on new installation or replacement
After removing the towel ring and completing the necessary steps to clean and repair the wall, it’s time to decide whether you want to proceed with a new installation or explore replacement options for the towel ring. Consider the following factors to help you make an informed decision:
- Condition of the towel ring: Evaluate the condition of the towel ring itself. If it is still in good working condition and matches your desired aesthetic, you may choose to reinstall it.
- Desired bathroom style: If you’re looking to update or change the overall style of your bathroom, it might be an opportunity to explore new towel ring options. Look for towel rings that complement your desired aesthetic and add a fresh touch to your bathroom decor.
- Functionality and convenience: Consider whether the existing towel ring meets your functional needs. If you find that it’s not providing enough space for your towels or if you prefer a different style of towel storage, it may be worth looking into replacement options that better suit your preferences.
- Budget: Take into account your budget for the project. Reinstalling the existing towel ring may be a cost-effective option, while exploring replacement options may require a larger investment.
Once you have considered these factors, you can confidently decide whether to proceed with a new installation or replacement. Regardless of your choice, ensure that you carefully follow the manufacturer’s instructions or seek professional assistance to ensure a safe and secure attachment to the wall.
By following these steps, you will be able to successfully take a towel ring off the wall, clean the surface, and make a decision about a new installation or replacement. Remember to approach each step with care and attention to detail to achieve the best results. Good luck with your towel ring project!
Read more: How To Take Down Bathroom Towel Ring
Conclusion
Removing a towel ring from the wall can be a straightforward process when approached with the right tools and techniques. By following the step-by-step guide outlined in this article, you can successfully take a towel ring off the wall, whether for repair, replacement, or to change your bathroom decor.
It is important to gather the necessary tools and materials before starting the process, ensuring that you have everything you need within reach. Assessing the attachment type of the towel ring will help you determine the appropriate method for removal, whether it involves unscrewing, peeling off adhesive pads, or breaking a caulk seal.
Locating and removing the mounting hardware is the next step, followed by detaching the towel ring from the wall. Take care to inspect for any hidden attachments and remove them as necessary. Patching or repairing any damage left behind is essential to restore the wall’s appearance and functionality.
Once the towel ring is removed and the wall surface is clean, you have the opportunity to decide whether to proceed with a new installation or explore replacement options. Consider factors such as the condition of the towel ring, desired bathroom style, functionality, and budget to make an informed decision.
Remember to approach each step with caution, taking your time to ensure that the removal process is done carefully and without causing any damage. If you encounter any difficulties or uncertainties, consult the manufacturer’s instructions or seek professional advice.
By following these guidelines, you can successfully take a towel ring off the wall and complete the process with confidence. Whether you’re looking to replace the towel ring or embark on a new installation, your bathroom will soon have a fresh and updated look.
Thank you for reading this comprehensive guide on how to take a towel ring off the wall. We hope it has been helpful and wish you success with your towel ring project!
Frequently Asked Questions about How To Take Towel Ring Off Wall
Was this page helpful?
At Storables.com, we guarantee accurate and reliable information. Our content, validated by Expert Board Contributors, is crafted following stringent Editorial Policies. We're committed to providing you with well-researched, expert-backed insights for all your informational needs.

0 thoughts on “How To Take Towel Ring Off Wall”