Home>Furniture & Design>Bathroom Accessories>How To Tighten A Soft Close Toilet Seat

Bathroom Accessories
How To Tighten A Soft Close Toilet Seat
Modified: May 6, 2024
Learn how to tighten a soft close toilet seat easily with our step-by-step guide. Find out the best bathroom accessories for a secure and comfortable experience.
(Many of the links in this article redirect to a specific reviewed product. Your purchase of these products through affiliate links helps to generate commission for Storables.com, at no extra cost. Learn more)
Introduction
A soft close toilet seat is a modern convenience that adds a touch of luxury and functionality to any bathroom. This innovative feature prevents the toilet seat from slamming shut, offering a gentle and quiet closing mechanism. Over time, the hinges of a soft close toilet seat may become loose, causing the seat to wobble or shift when in use. This can be not only annoying but also potentially hazardous. However, the good news is that tightening a soft close toilet seat is a relatively simple task that can be accomplished with just a few basic tools and a little know-how.
In this comprehensive guide, we will walk you through the step-by-step process of tightening a soft close toilet seat. Whether you are a seasoned DIY enthusiast or a novice homeowner looking to tackle a minor bathroom repair, this article will equip you with the knowledge and confidence to successfully address this common issue. By following the instructions outlined in this guide, you can restore the stability and functionality of your soft close toilet seat, ensuring a peaceful and hassle-free bathroom experience for you and your household.
Understanding the Soft Close Mechanism
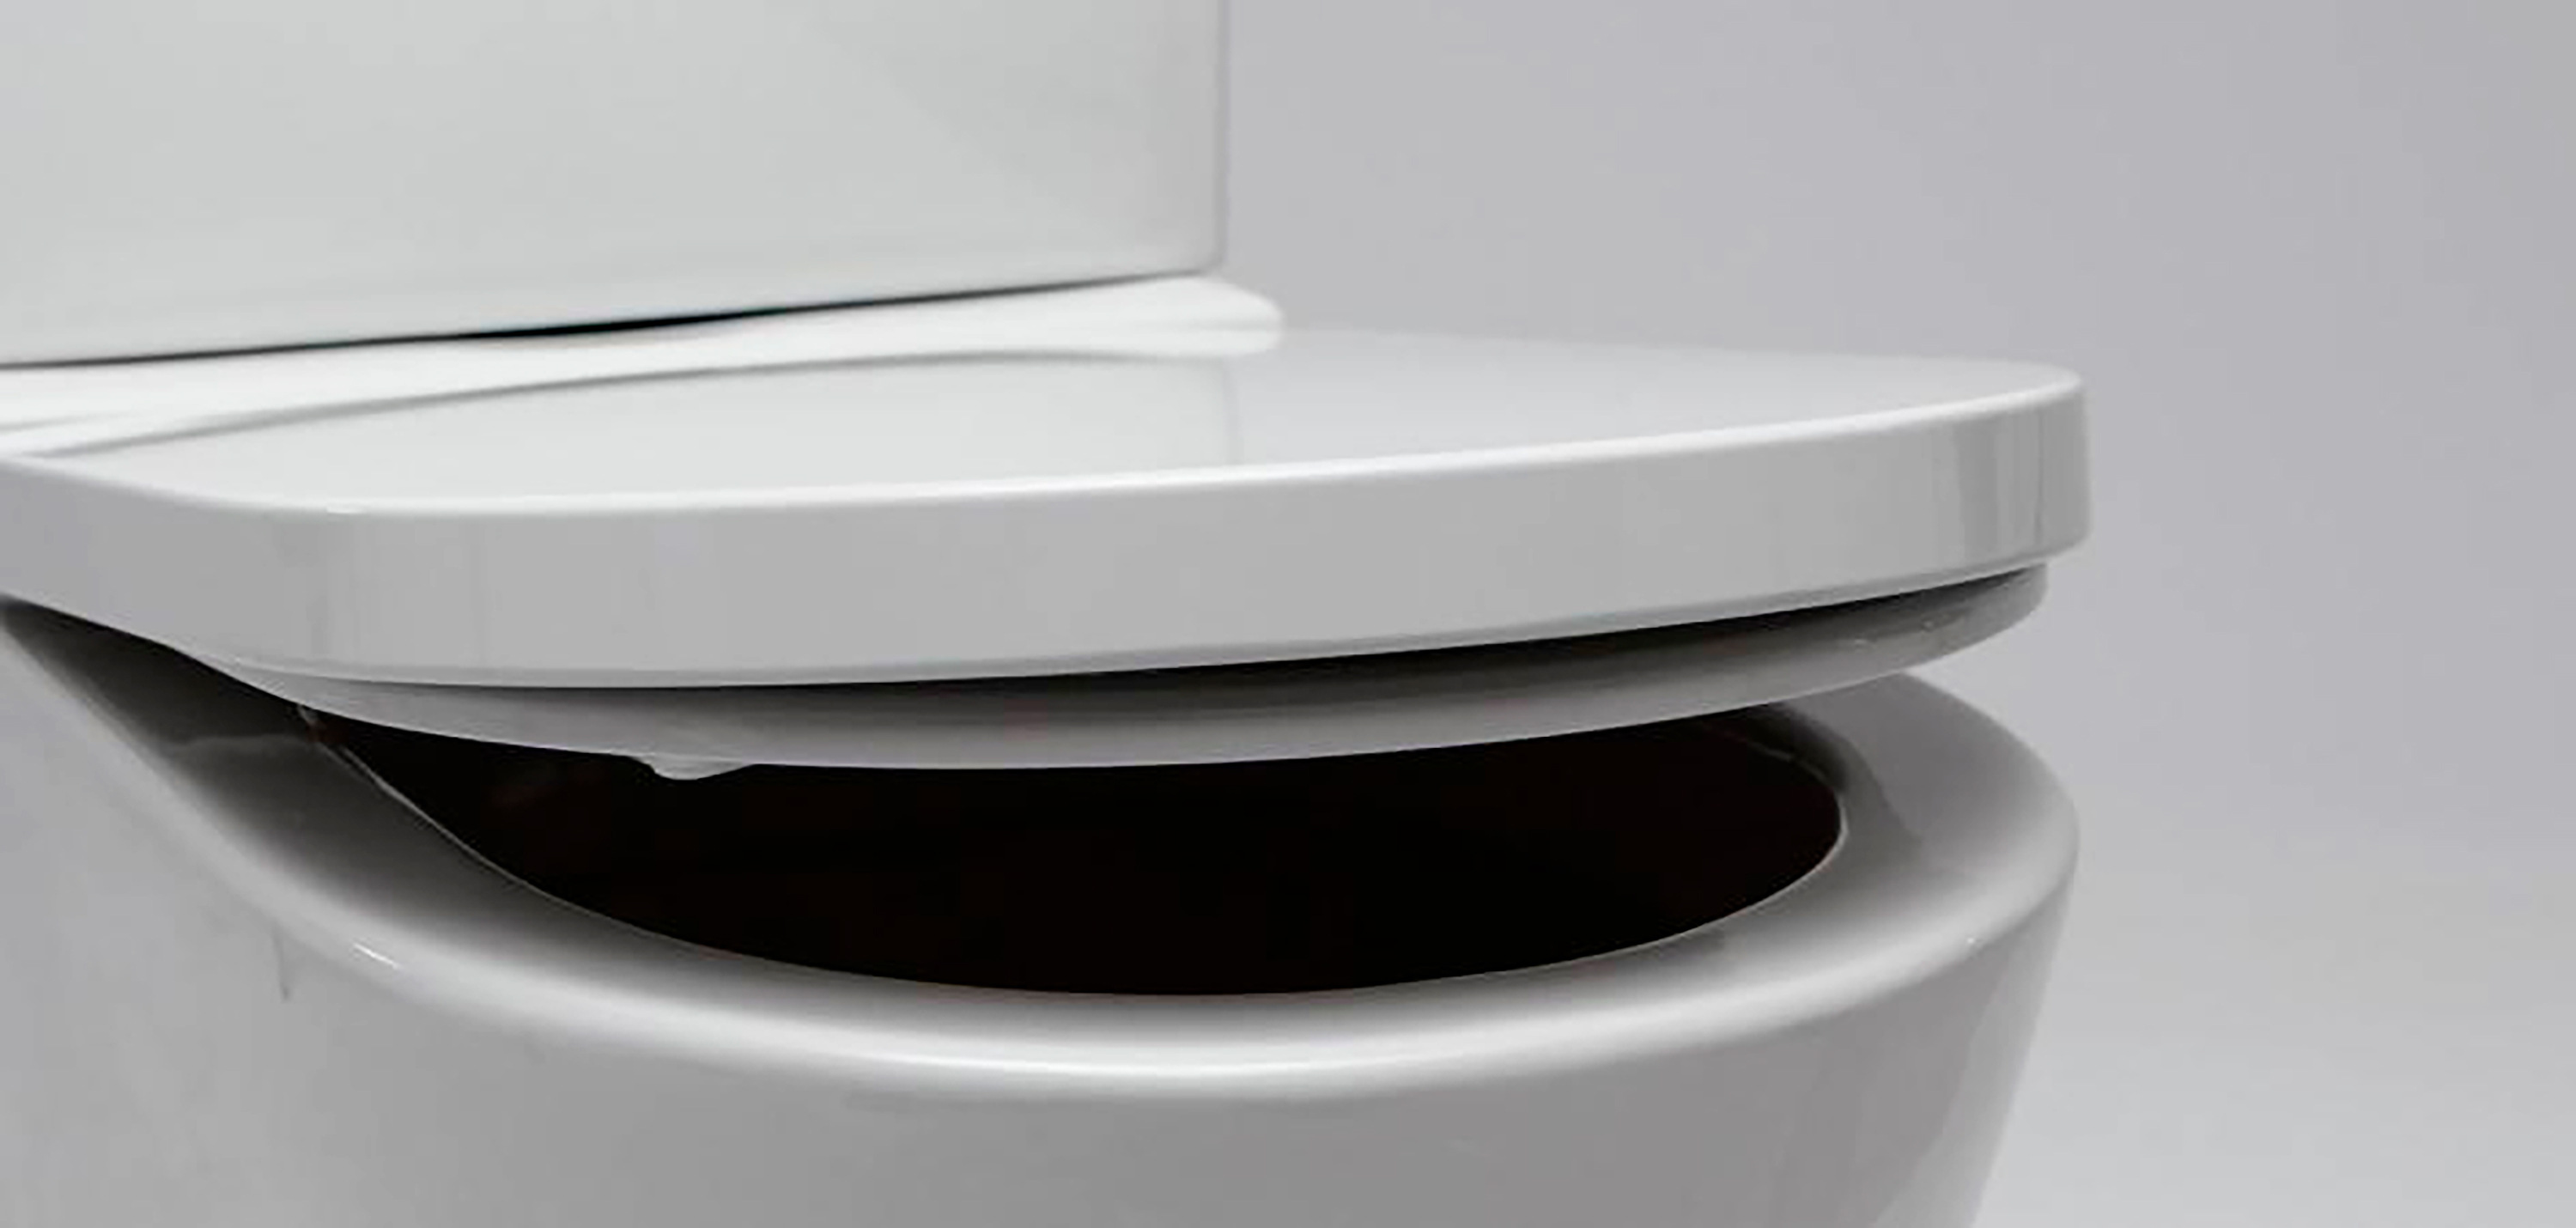
Before delving into the practical steps of tightening a soft close toilet seat, it's essential to have a basic understanding of how the soft close mechanism works. Unlike traditional toilet seats, which rely on gravity to close, soft close seats feature specialized hinges with built-in dampers. These dampers control the speed at which the seat and lid lower, preventing them from slamming shut. The result is a smooth and controlled closing action that minimizes noise and impact, offering a more refined and user-friendly toilet experience.
Now that we've established the importance of a properly functioning soft close toilet seat and gained insight into its unique mechanism, let's explore the tools and materials needed to undertake the task of tightening the seat hinges.
Key Takeaways:
- Enjoy a peaceful bathroom experience by tightening your soft close toilet seat using basic tools like an adjustable wrench and screwdriver. Restore stability and quiet closing action for a hassle-free bathroom routine.
- Understand the unique soft close mechanism and follow simple steps to tighten the hinges, ensuring a smooth and controlled closing action. Reinstall the seat and test the feature for a luxurious bathroom experience.
Read more: How Does A Soft Close Toilet Seat Work
Understanding the Soft Close Mechanism
The soft close mechanism is a remarkable innovation that has revolutionized the functionality and user experience of toilet seats. Unlike traditional toilet seats, which rely on gravity to close with a sudden and often noisy impact, soft close seats are equipped with specialized hinges featuring integrated dampers. These dampers are the key components responsible for the gentle and controlled closing action that sets soft close toilet seats apart.
The dampers within the hinges are designed to regulate the speed at which the toilet seat and lid lower when they are released. This controlled descent prevents the seat and lid from slamming shut, offering a smooth and quiet closing experience. The mechanism ensures that the seat and lid come to a gradual stop just before reaching the fully closed position, eliminating the jarring impact and noise associated with conventional toilet seats.
The technology behind the soft close mechanism involves the use of hydraulic or pneumatic systems within the hinges. These systems create resistance against the force of gravity, slowing down the movement of the seat and lid as they are lowered. The result is a gentle and controlled closing action that enhances safety, minimizes noise, and prolongs the longevity of the toilet seat and its hinges.
In addition to the practical benefits, the soft close mechanism also adds a touch of sophistication and modernity to the bathroom environment. Its smooth and refined operation contributes to a more pleasant and luxurious user experience, making it a sought-after feature in contemporary bathroom designs.
By understanding the intricate workings of the soft close mechanism, homeowners can appreciate the engineering ingenuity that goes into this simple yet impactful innovation. This knowledge also underscores the importance of maintaining the proper function of the soft close hinges, ensuring that the toilet seat continues to deliver its intended benefits for years to come.
Tools and Materials Needed
To successfully tighten a soft close toilet seat, you will need a few basic tools and materials. These items are readily available and can be found in most households or easily obtained from a local hardware store. Here's what you'll need:
Tools:
-
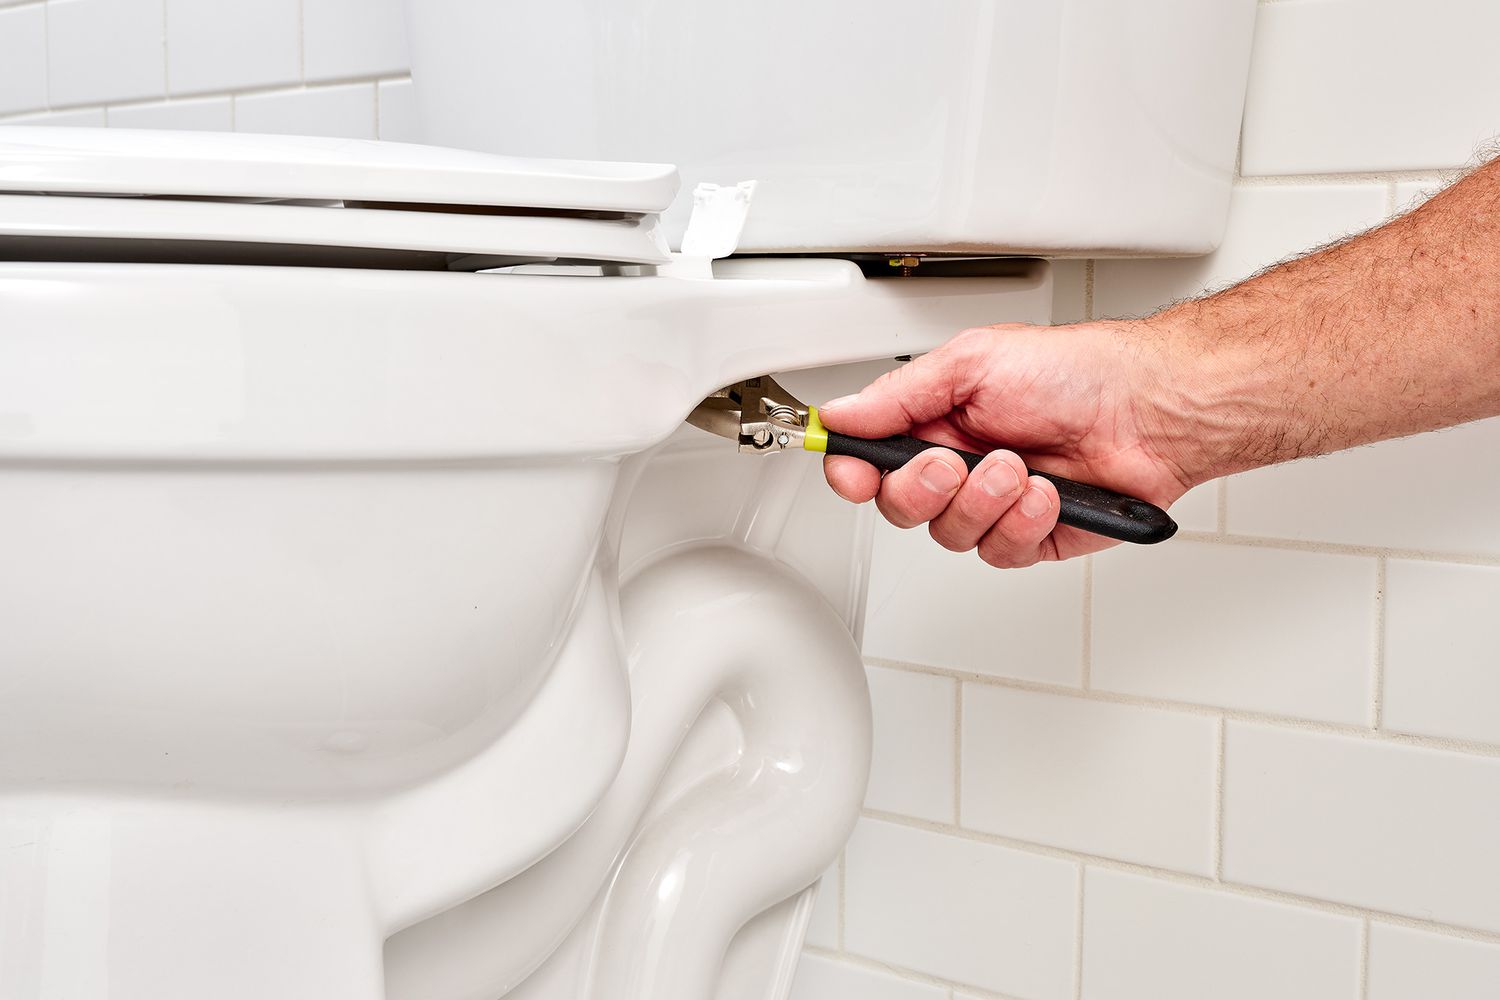
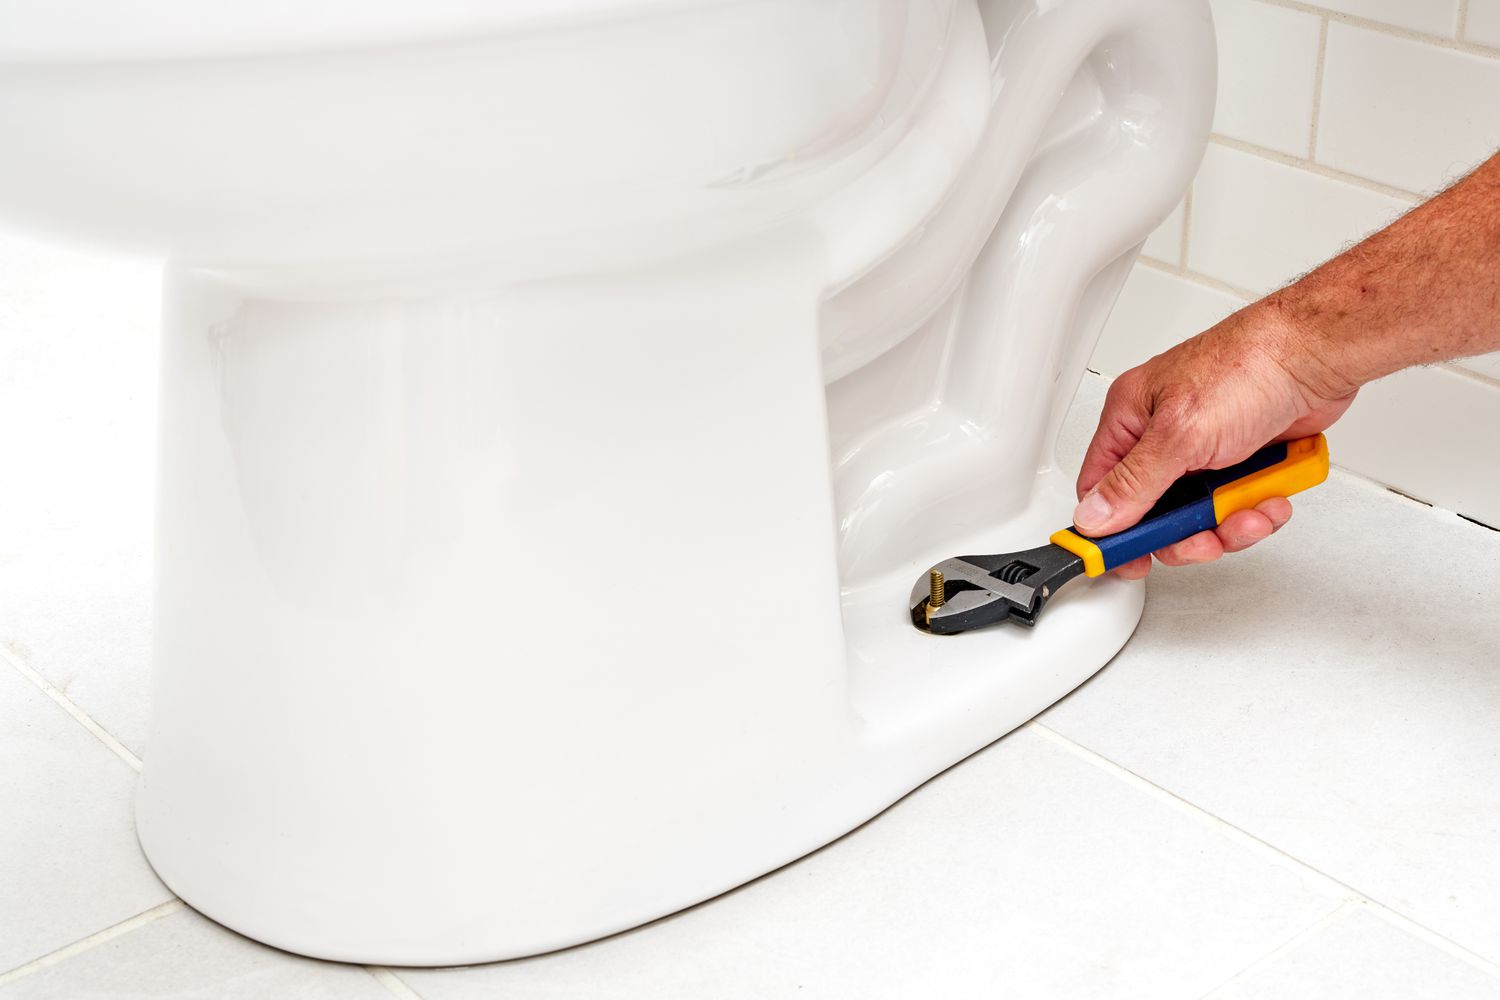
Adjustable Wrench: This versatile tool will be used to tighten the nuts and bolts securing the hinges of the toilet seat. An adjustable wrench allows you to customize the opening size to fit the specific fasteners on your toilet seat, providing a secure grip for effective tightening.
-
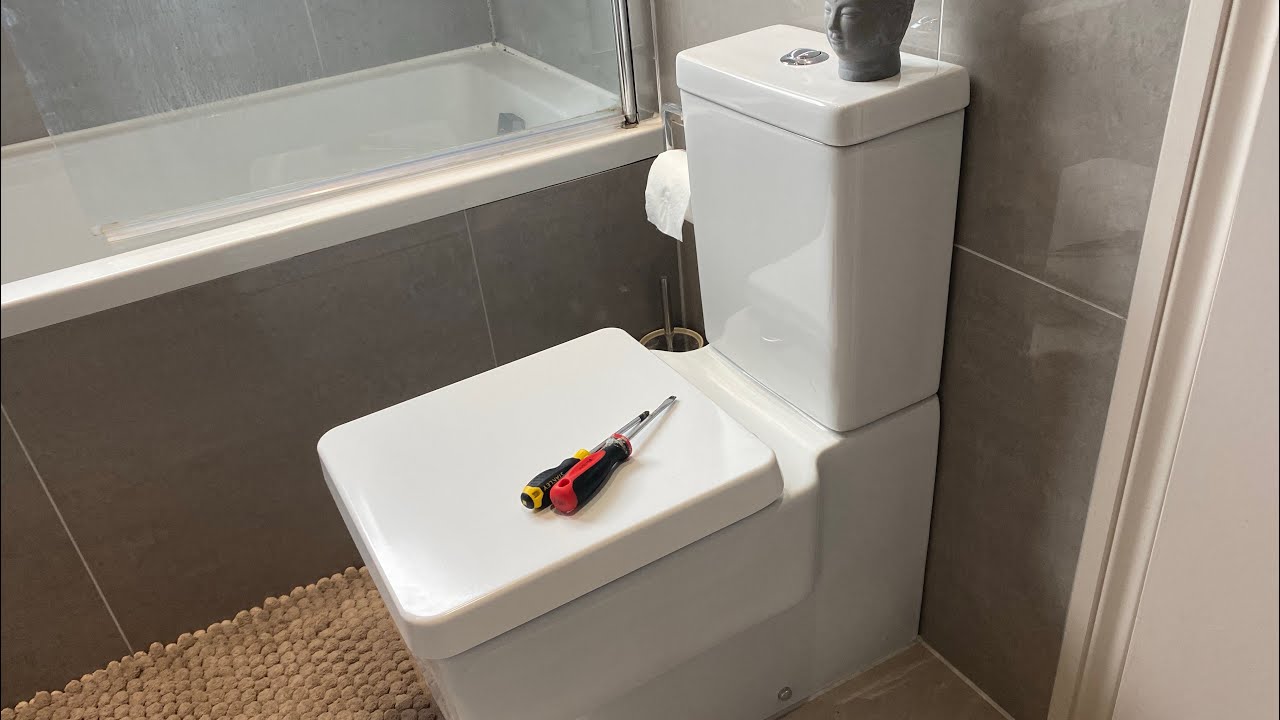
Screwdriver: Depending on the type of fasteners used in your toilet seat hinges, you may need a flathead or Phillips-head screwdriver. This tool is essential for removing and reattaching screws or bolts during the tightening process.
-
Pliers: In some cases, pliers may be necessary to hold the nut in place while tightening the bolt with a screwdriver or wrench. This ensures that the nut remains secure as you adjust the tension of the hinge assembly.
Materials:
-
Rubber Gloves: While not essential, wearing rubber gloves can provide a better grip and protect your hands from any dirt or grime that may be present during the removal and reinstallation of the toilet seat.
-
Cleaning Cloth: Before tightening the toilet seat, it's a good idea to clean the area around the hinges and the underside of the seat. A cleaning cloth or rag will help remove any accumulated debris or residue, ensuring a clean and hygienic working environment.
-
Penetrating Oil (Optional): If the hinges or fasteners are particularly stubborn or corroded, a small amount of penetrating oil can be applied to help loosen them. This can facilitate the removal and tightening process, especially if the seat has not been adjusted for an extended period.
By gathering these tools and materials, you will be well-prepared to tackle the task of tightening your soft close toilet seat. With the right equipment at your disposal, you can proceed with confidence, knowing that you have everything you need to complete the job effectively and efficiently.
Read also: 15 Best Soft Close Toilet Seat for 2024
Step 1: Remove the Toilet Seat
Before you can begin tightening the hinges of your soft close toilet seat, it is essential to remove the seat from the toilet bowl. This initial step provides unobstructed access to the hinges and fasteners, allowing for a thorough inspection and adjustment of the components. Here's a detailed guide on how to remove the toilet seat:
-
Prepare the Work Area: Start by ensuring that the area around the toilet is clear and accessible. Gather your tools and materials, including the adjustable wrench, screwdriver, and pliers, and place them within reach. If desired, wear rubber gloves to maintain a secure grip and protect your hands during the removal process.
-
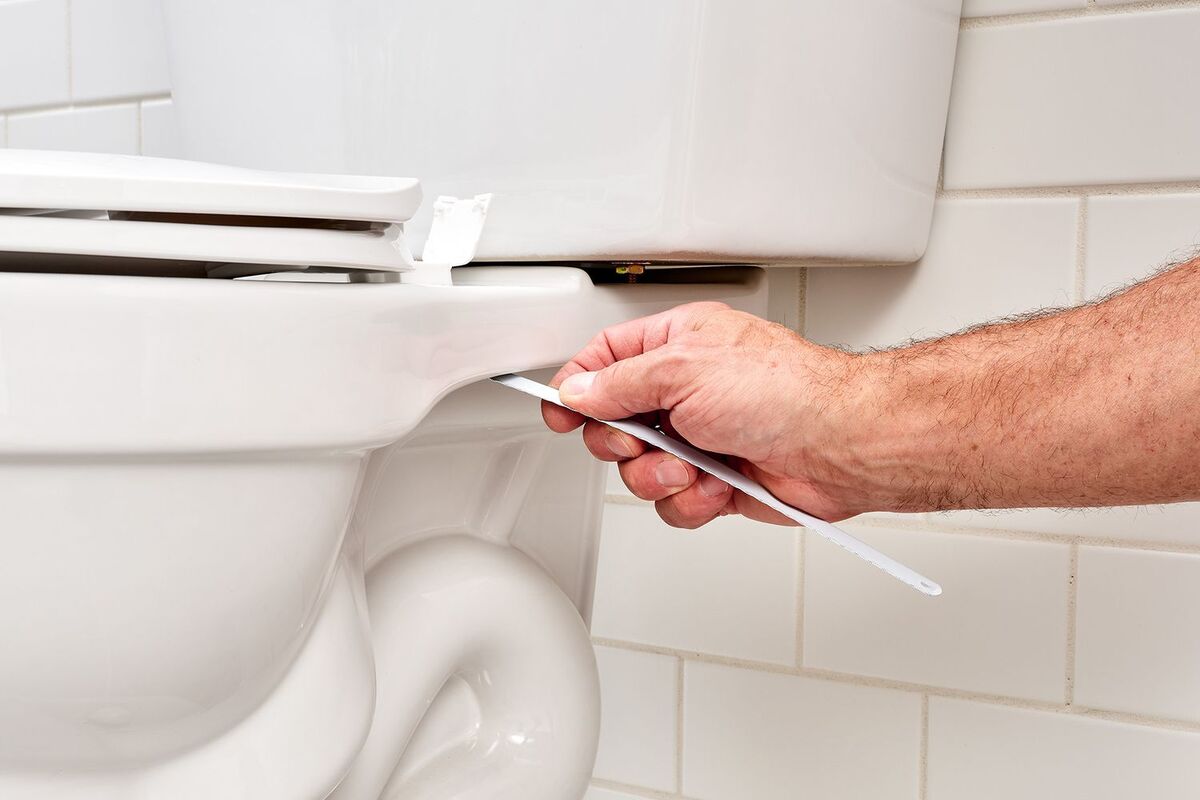
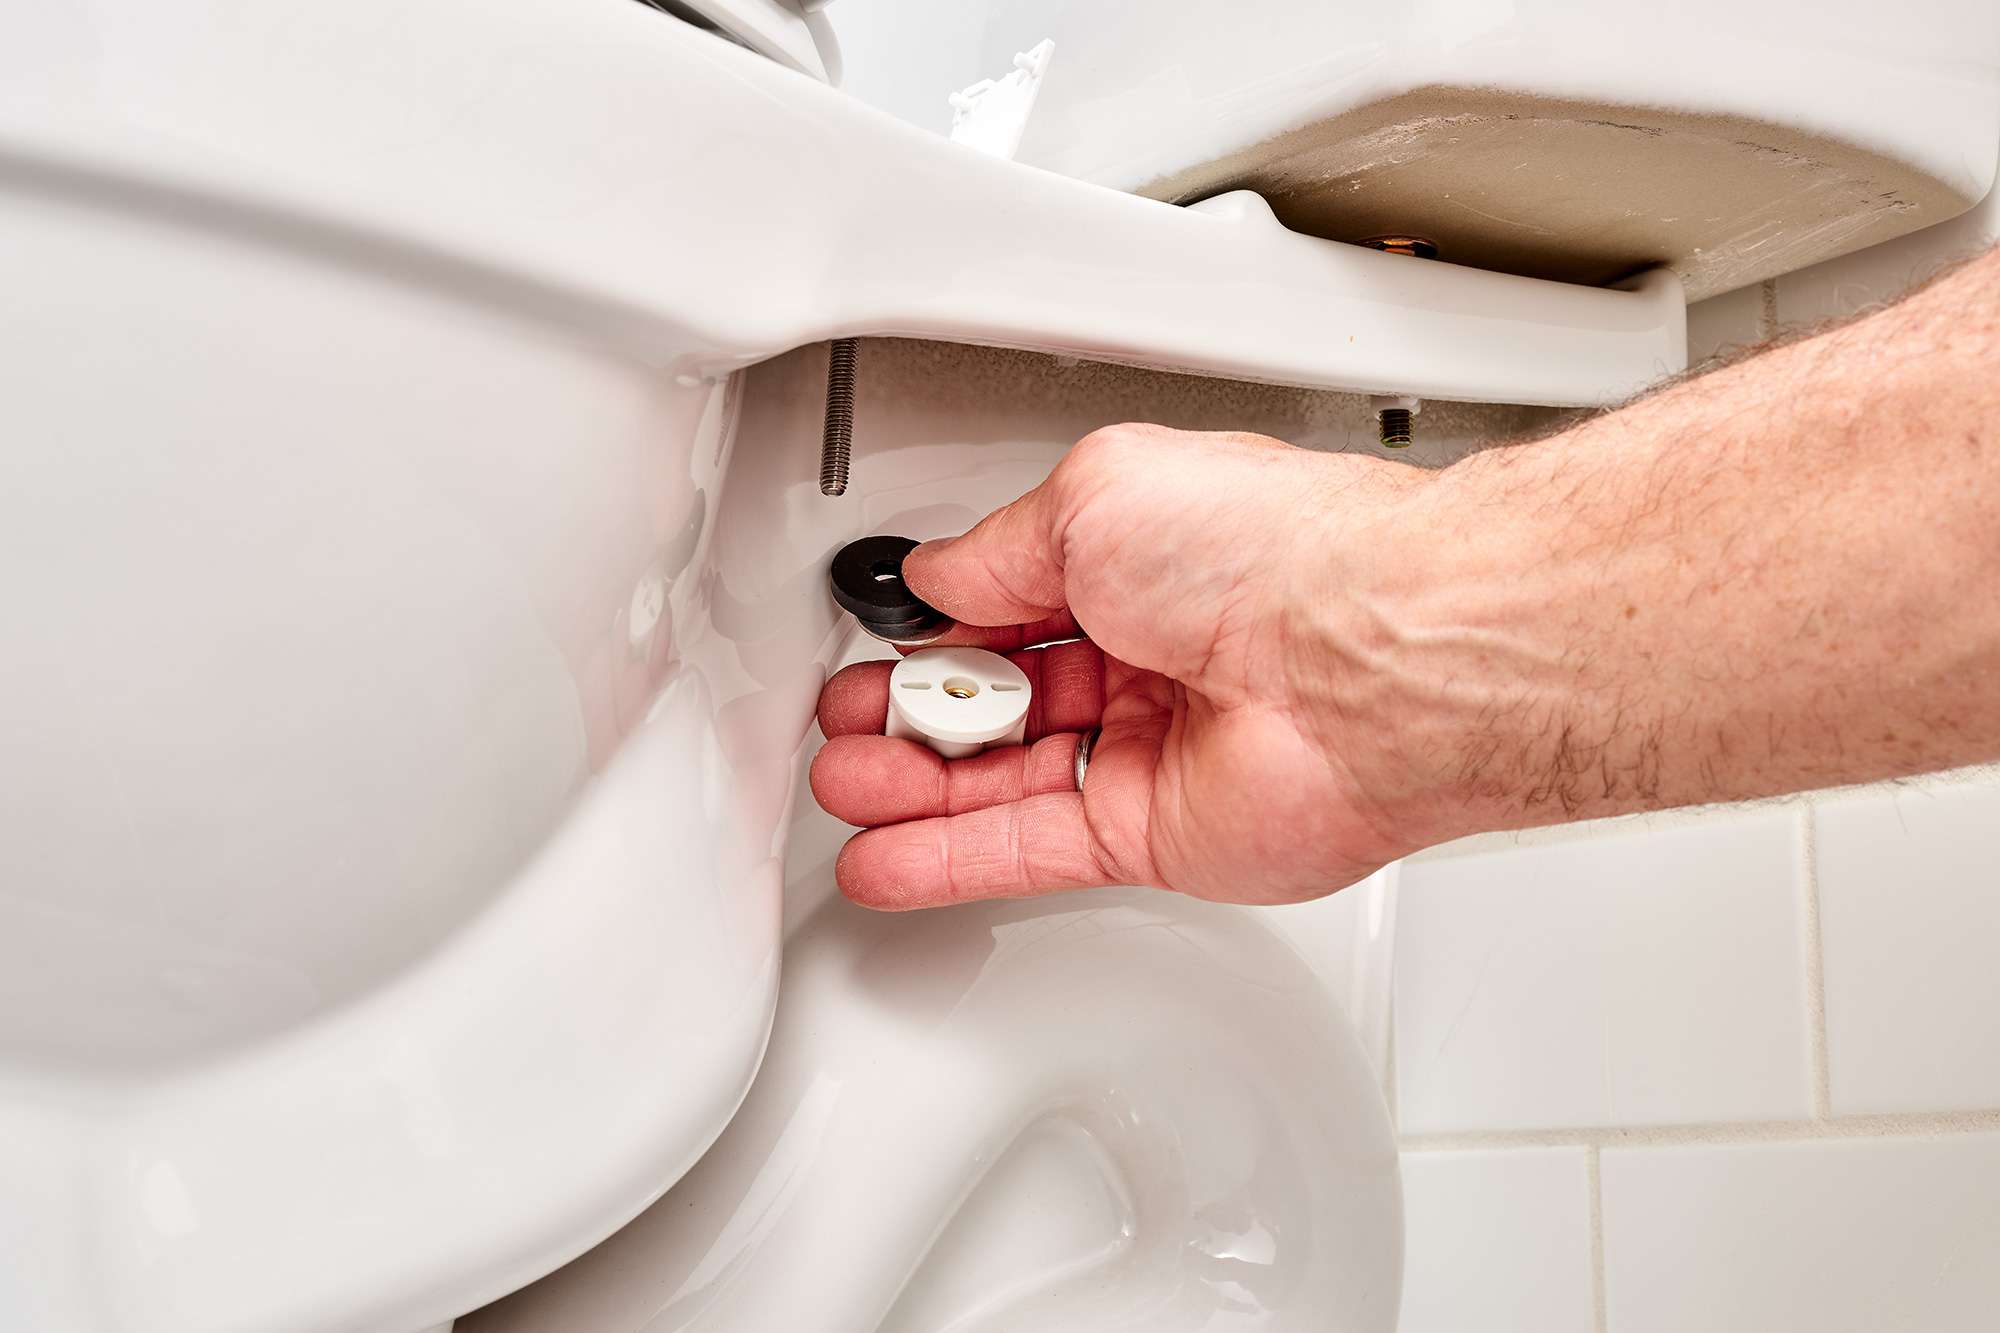
Locate the Hinge Covers: Examine the back of the toilet seat to locate the hinge covers. These covers are typically positioned at the point where the seat connects to the toilet bowl. Depending on the design of your toilet seat, the hinge covers may be secured with tabs, clips, or screws.
-
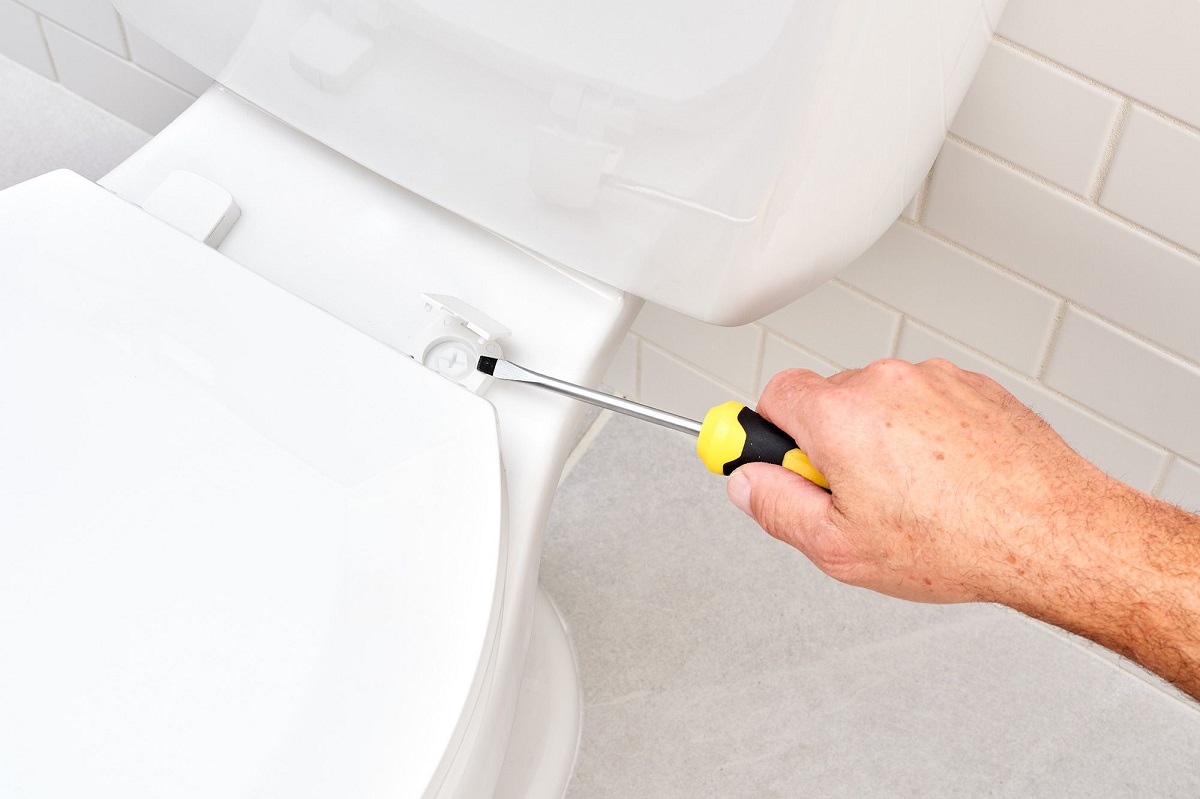
Remove the Hinge Covers: Using a flathead screwdriver or the appropriate tool, carefully pry off or unscrew the hinge covers to reveal the fasteners beneath. Set the covers aside in a safe place, ensuring that they are not misplaced or damaged during the removal process.
-
Loosen the Fasteners: With the hinge covers removed, you will now have access to the fasteners securing the toilet seat to the bowl. Using the adjustable wrench and screwdriver as needed, loosen the nuts or bolts that hold the seat in place. Keep track of the fasteners and any accompanying washers, as these will need to be reinstalled during the reassembly process.
-
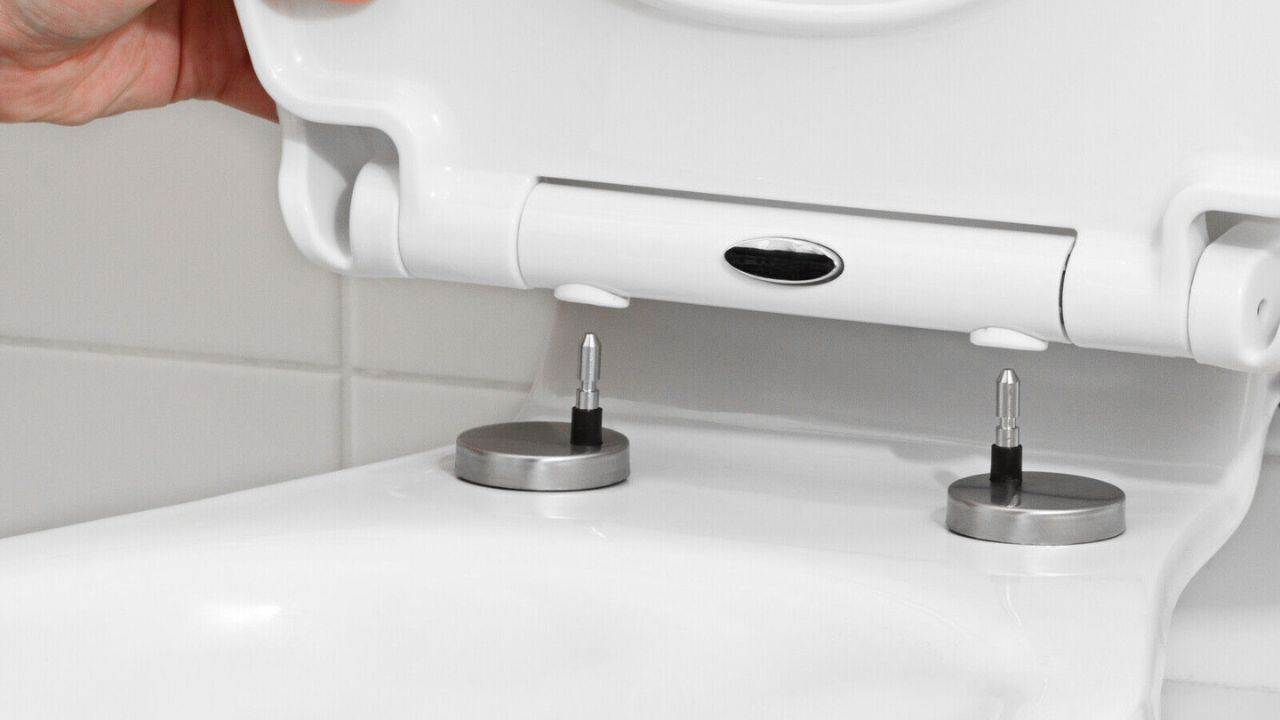
Lift and Remove the Seat: Once the fasteners are sufficiently loosened, gently lift the toilet seat and lid assembly away from the toilet bowl. Take care to support the seat from underneath to prevent it from accidentally falling or becoming damaged. Place the seat in a secure location, away from the work area, to avoid any interference as you proceed with tightening the hinges.
By following these steps, you can safely and effectively remove the soft close toilet seat, setting the stage for the subsequent task of tightening the hinges to restore stability and functionality. With the seat successfully detached, you are now ready to move on to the next phase of the process.
Step 2: Tighten the Hinges
With the soft close toilet seat removed, you can now focus on tightening the hinges to address any wobbling or instability. This step involves inspecting the hinge assembly, identifying any loose components, and adjusting the tension to ensure a secure and stable fit. Here's a detailed guide on how to tighten the hinges of your soft close toilet seat:
-
Inspect the Hinge Components: Begin by closely examining the hinge mechanism to identify any loose nuts, bolts, or other fasteners. Check for any signs of wear or damage that may be contributing to the instability of the seat. Additionally, ensure that the dampers within the hinges are functioning properly and are not compromised in any way.
-
Tighten the Fasteners: Using an adjustable wrench and screwdriver as necessary, proceed to tighten the nuts and bolts that secure the hinges to the toilet bowl. Apply gentle but firm pressure to ensure that the fasteners are snug and secure. Take care not to overtighten, as this may cause damage to the hinge components or the toilet bowl itself.
-
Adjust the Tension: Some soft close toilet seats feature adjustable tension settings to customize the closing action according to personal preference. If your seat offers this feature, take the opportunity to fine-tune the tension to achieve the desired level of resistance. Follow the manufacturer's instructions for adjusting the tension, making incremental changes as needed until the seat operates smoothly and closes securely.
-
Realign the Seat and Lid: As you tighten the hinges, pay attention to the alignment of the seat and lid. Ensure that they are positioned evenly and squarely on the toilet bowl, with no noticeable tilting or misalignment. Adjust the hinge tension as necessary to achieve a balanced and symmetrical fit, taking care to maintain consistent pressure on both sides of the seat.
-
Test the Stability: After tightening the hinges and adjusting the tension, carefully lift and lower the seat and lid to assess the stability and smoothness of the closing action. Check for any remaining wobbling or shifting, and make further adjustments as needed to achieve a secure and controlled movement.
By following these steps, you can effectively tighten the hinges of your soft close toilet seat, restoring stability and functionality to enhance your bathroom experience. With the hinges securely fastened and the tension adjusted to your preference, you can proceed to the final phase of the process: reinstalling the toilet seat and testing the soft close feature.
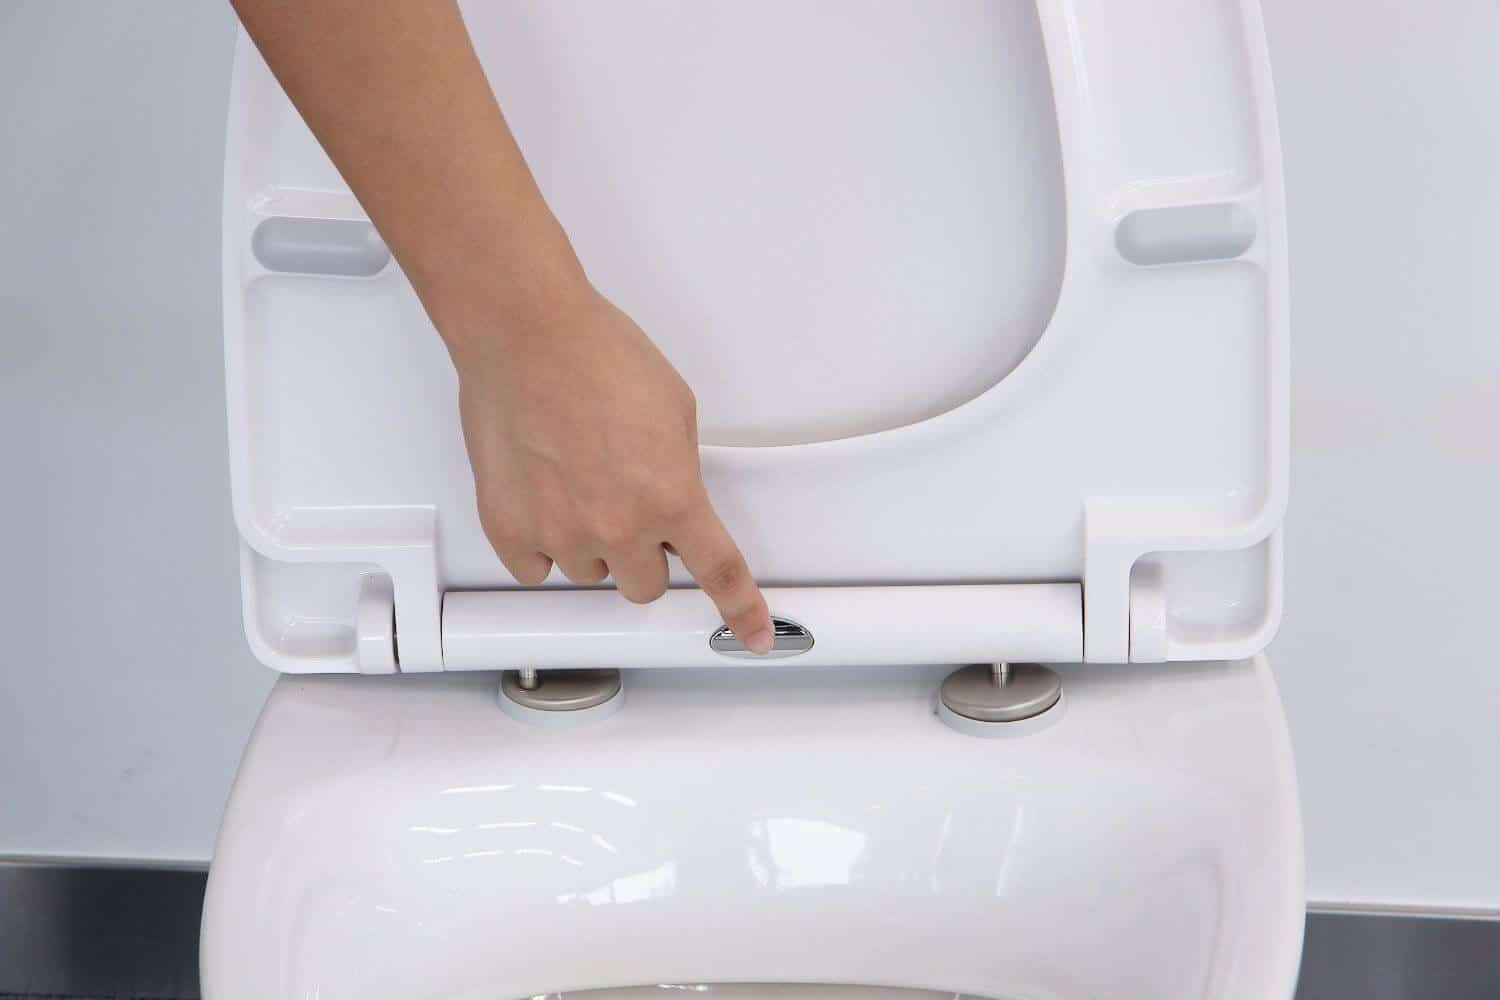
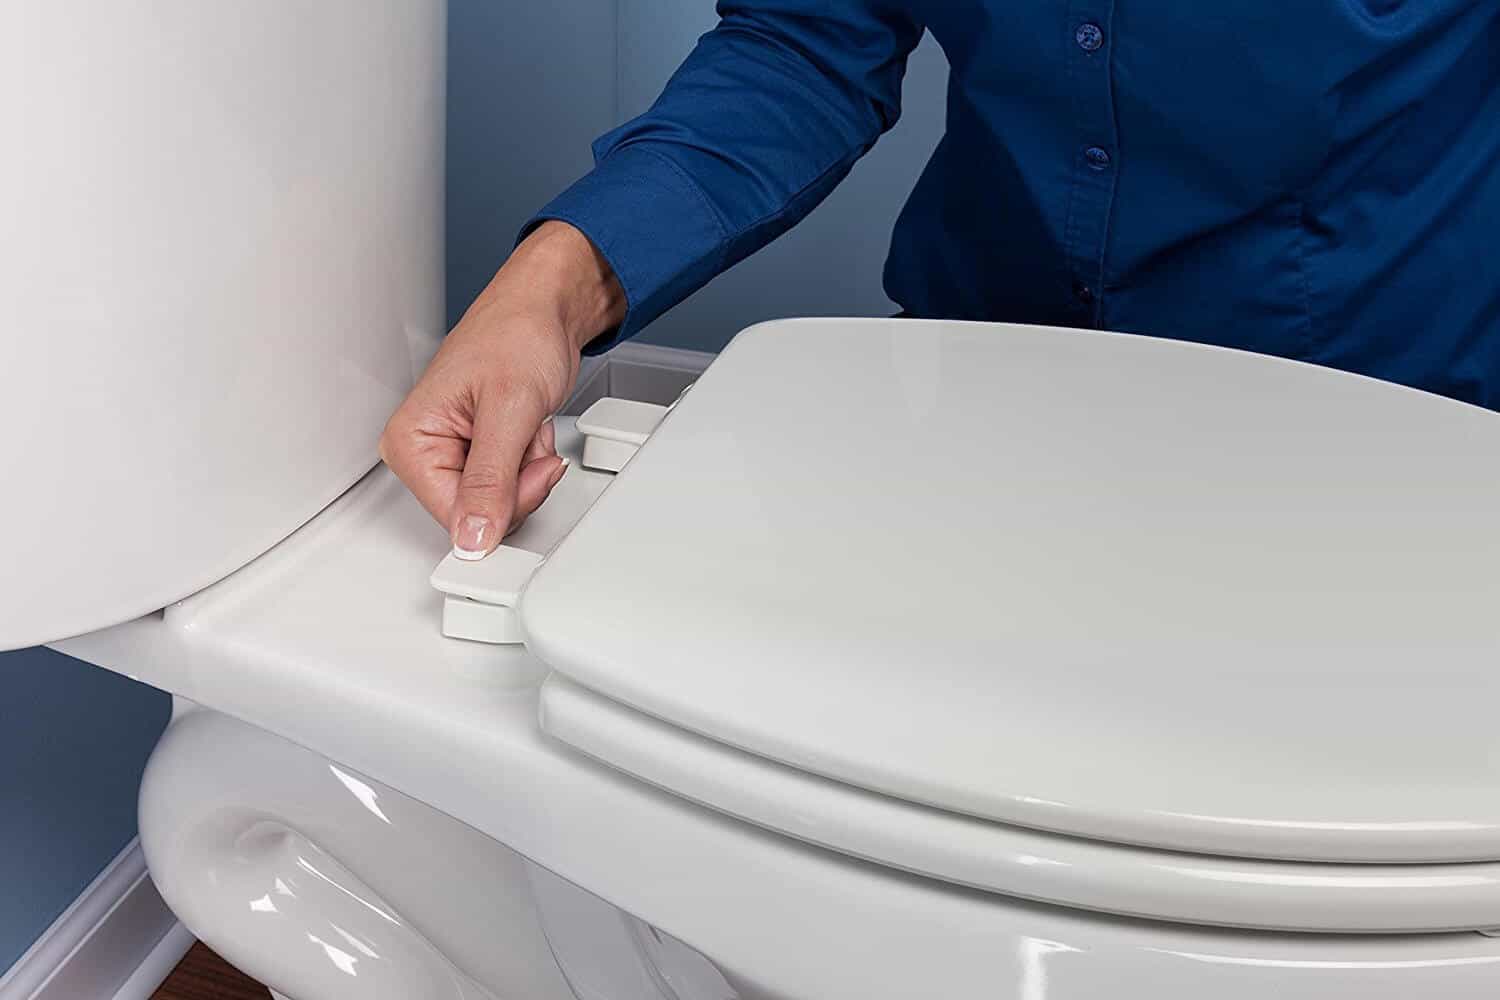
To tighten a soft close toilet seat, locate the bolts at the back of the seat and use a screwdriver to tighten them clockwise until the seat is secure. Check the seat for stability before use.
Step 3: Reinstall the Toilet Seat
With the hinges of your soft close toilet seat successfully tightened, the next crucial step is to reinstall the seat onto the toilet bowl. Proper reinstallation ensures that the seat is securely positioned, allowing for the full functionality of the soft close feature to be restored. Here's a detailed guide on how to reinstall the toilet seat:
-
Prepare the Fasteners: Before reinstalling the seat, ensure that the fasteners, including nuts, bolts, and washers, are clean and free from any debris or residue. If necessary, use a cleaning cloth to wipe down the fasteners and the underside of the seat to promote a secure and hygienic fit.
-
Position the Seat and Lid: Carefully place the seat and lid assembly onto the toilet bowl, aligning the hinges with the corresponding attachment points. Take care to position the seat evenly and squarely, ensuring that it sits securely without any tilting or misalignment.
-
Secure the Fasteners: With the seat in place, begin securing the fasteners to attach the hinges to the toilet bowl. Use the adjustable wrench and screwdriver as needed to tighten the nuts and bolts, applying firm but gentle pressure to ensure a snug and secure fit. Check the alignment and stability of the seat as you fasten the hinges to prevent any shifting or wobbling.
-
Reattach the Hinge Covers: Once the fasteners are securely tightened, reattach the hinge covers to conceal the hinge assembly. Depending on the design of your toilet seat, the covers may snap into place, clip on, or require screws for reinstallation. Ensure that the covers are firmly attached, providing a finished and polished look to the toilet seat.
-
Test the Soft Close Feature: After reinstalling the seat, test the soft close feature to ensure that it operates smoothly and effectively. Gently raise the seat and lid and release them to observe the controlled closing action. Verify that the seat lowers gradually and quietly, coming to a gentle stop without slamming shut. If necessary, make further adjustments to the tension or alignment to optimize the soft close functionality.
By following these steps, you can successfully reinstall the soft close toilet seat, completing the process of tightening the hinges and ensuring that the seat is securely and functionally attached to the toilet bowl. With the seat reinstalled and the soft close feature tested, you can enjoy the enhanced comfort and convenience that this modern bathroom accessory provides.
Testing the Soft Close Feature
After completing the process of tightening the hinges and reinstalling the soft close toilet seat, it is crucial to thoroughly test the functionality of the soft close feature. This step ensures that the adjustments made have effectively restored the smooth and controlled closing action, providing a reliable and user-friendly experience. Here's a detailed guide on how to test the soft close feature:
-
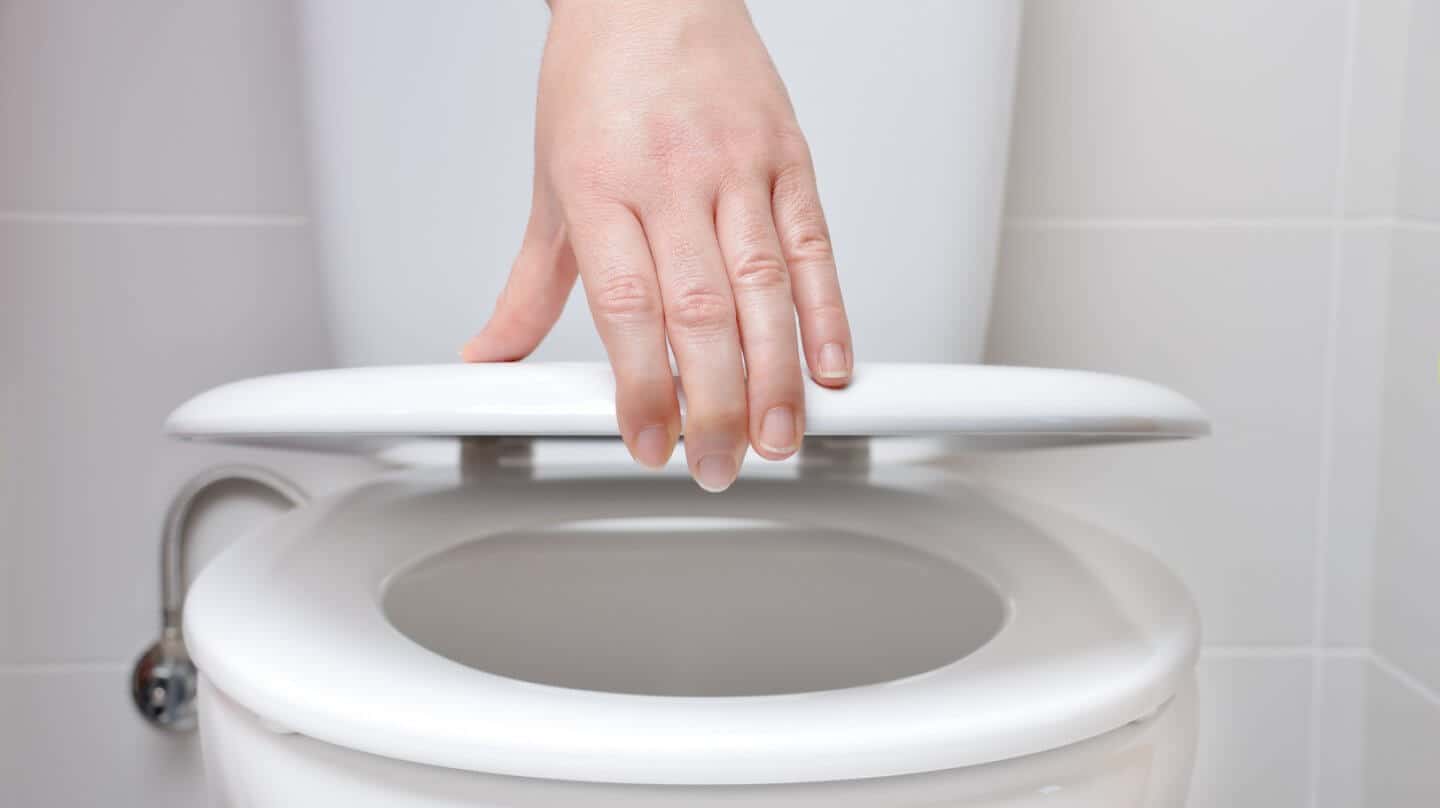
Gentle Release: To initiate the test, gently raise the toilet seat and lid to the fully open position. Ensure that they are fully upright and ready for release. The soft close mechanism should engage as the seat and lid are released, allowing them to lower gradually and quietly.
-
Observation: As you release the seat and lid, observe the closing action closely. The controlled descent should be evident, with the seat and lid lowering smoothly and steadily. Pay attention to any signs of abrupt movement or impact, as these may indicate that further adjustments are needed.
-
Quiet Closure: Listen for any noise or rattling as the seat and lid close. The soft close feature is designed to minimize noise and impact, resulting in a quiet and unobtrusive closing experience. A properly functioning mechanism will ensure that the seat and lid come to a gentle stop without generating any disruptive sounds.
-
Repeat Testing: Perform the soft close test multiple times to confirm the consistency of the closing action. Repeat the process of raising and releasing the seat and lid, paying attention to the smoothness and stability of the descent. Consistent performance across multiple tests indicates that the soft close feature is operating as intended.
-
Stability Check: While testing the soft close feature, assess the stability of the seat and lid as they lower. Ensure that they remain aligned and secure throughout the closing process, without any wobbling or shifting. A stable and controlled descent is indicative of a well-adjusted and properly tightened soft close toilet seat.
By conducting a thorough test of the soft close feature, you can verify that the adjustments made to the hinges have effectively restored the intended functionality of the toilet seat. If any issues are identified during testing, such as inconsistent closing action or residual wobbling, revisit the tightening and adjustment steps to fine-tune the hinge assembly. Once the soft close feature operates smoothly and reliably, you can be confident in the stability and comfort provided by your newly tightened soft close toilet seat.
Conclusion
In conclusion, the process of tightening a soft close toilet seat is a manageable and rewarding endeavor that can significantly enhance the comfort and functionality of your bathroom. By understanding the unique mechanism of the soft close feature and following the step-by-step instructions outlined in this guide, you can successfully address any wobbling or instability in your toilet seat hinges.
The journey begins with the removal of the toilet seat, allowing for unobstructed access to the hinge assembly. This initial step sets the stage for inspecting the components and identifying any loose fasteners or misalignments. With the use of basic tools such as an adjustable wrench, screwdriver, and pliers, you can effectively tighten the hinges and adjust the tension to achieve a secure and stable fit.
Reinstalling the toilet seat onto the bowl is a pivotal phase, ensuring that the adjustments made translate into a fully functional and reliable soft close feature. Proper alignment and secure fastening are essential during this step, culminating in the testing of the soft close mechanism. Thorough testing allows you to verify the smooth and controlled closing action, confirming that the adjustments have successfully restored the intended functionality of the toilet seat.
By embracing this DIY maintenance task, you not only regain the stability and comfort of your soft close toilet seat but also gain valuable insights into the inner workings of this modern bathroom accessory. The satisfaction of completing this repair and the long-term benefits it brings to your daily routine make the effort well worthwhile.
As you reflect on the journey of tightening your soft close toilet seat, you can take pride in your ability to address a common household issue with confidence and skill. With a renewed understanding of the soft close mechanism and the practical experience gained from this process, you are better equipped to maintain and care for your bathroom fixtures, ensuring a comfortable and enjoyable environment for years to come.
Now that you've mastered tightening your soft close toilet seat, why stop there? Bathroom maintenance doesn't have to be a chore. Dive into our latest guide on toilet repair, where you'll uncover 15 cutting-edge fixes that promise to keep your bathroom in top shape for 2024. From simple tweaks to more comprehensive repairs, this article is your go-to resource for ensuring everything in your bathroom works seamlessly. Don't let a wobbly seat throw you off—keep the momentum going with these essential toilet repair strategies.
Frequently Asked Questions about How To Tighten A Soft Close Toilet Seat
Was this page helpful?
At Storables.com, we guarantee accurate and reliable information. Our content, validated by Expert Board Contributors, is crafted following stringent Editorial Policies. We're committed to providing you with well-researched, expert-backed insights for all your informational needs.

0 thoughts on “How To Tighten A Soft Close Toilet Seat”