Home>Furniture & Design>Bathroom Accessories>How To Tighten A Toto Toilet Seat
Bathroom Accessories
How To Tighten A Toto Toilet Seat
Modified: March 22, 2024
Learn how to easily tighten a Toto toilet seat with our step-by-step guide. Find out the best bathroom accessories for a secure and comfortable seat.
(Many of the links in this article redirect to a specific reviewed product. Your purchase of these products through affiliate links helps to generate commission for Storables.com, at no extra cost. Learn more)
Introduction
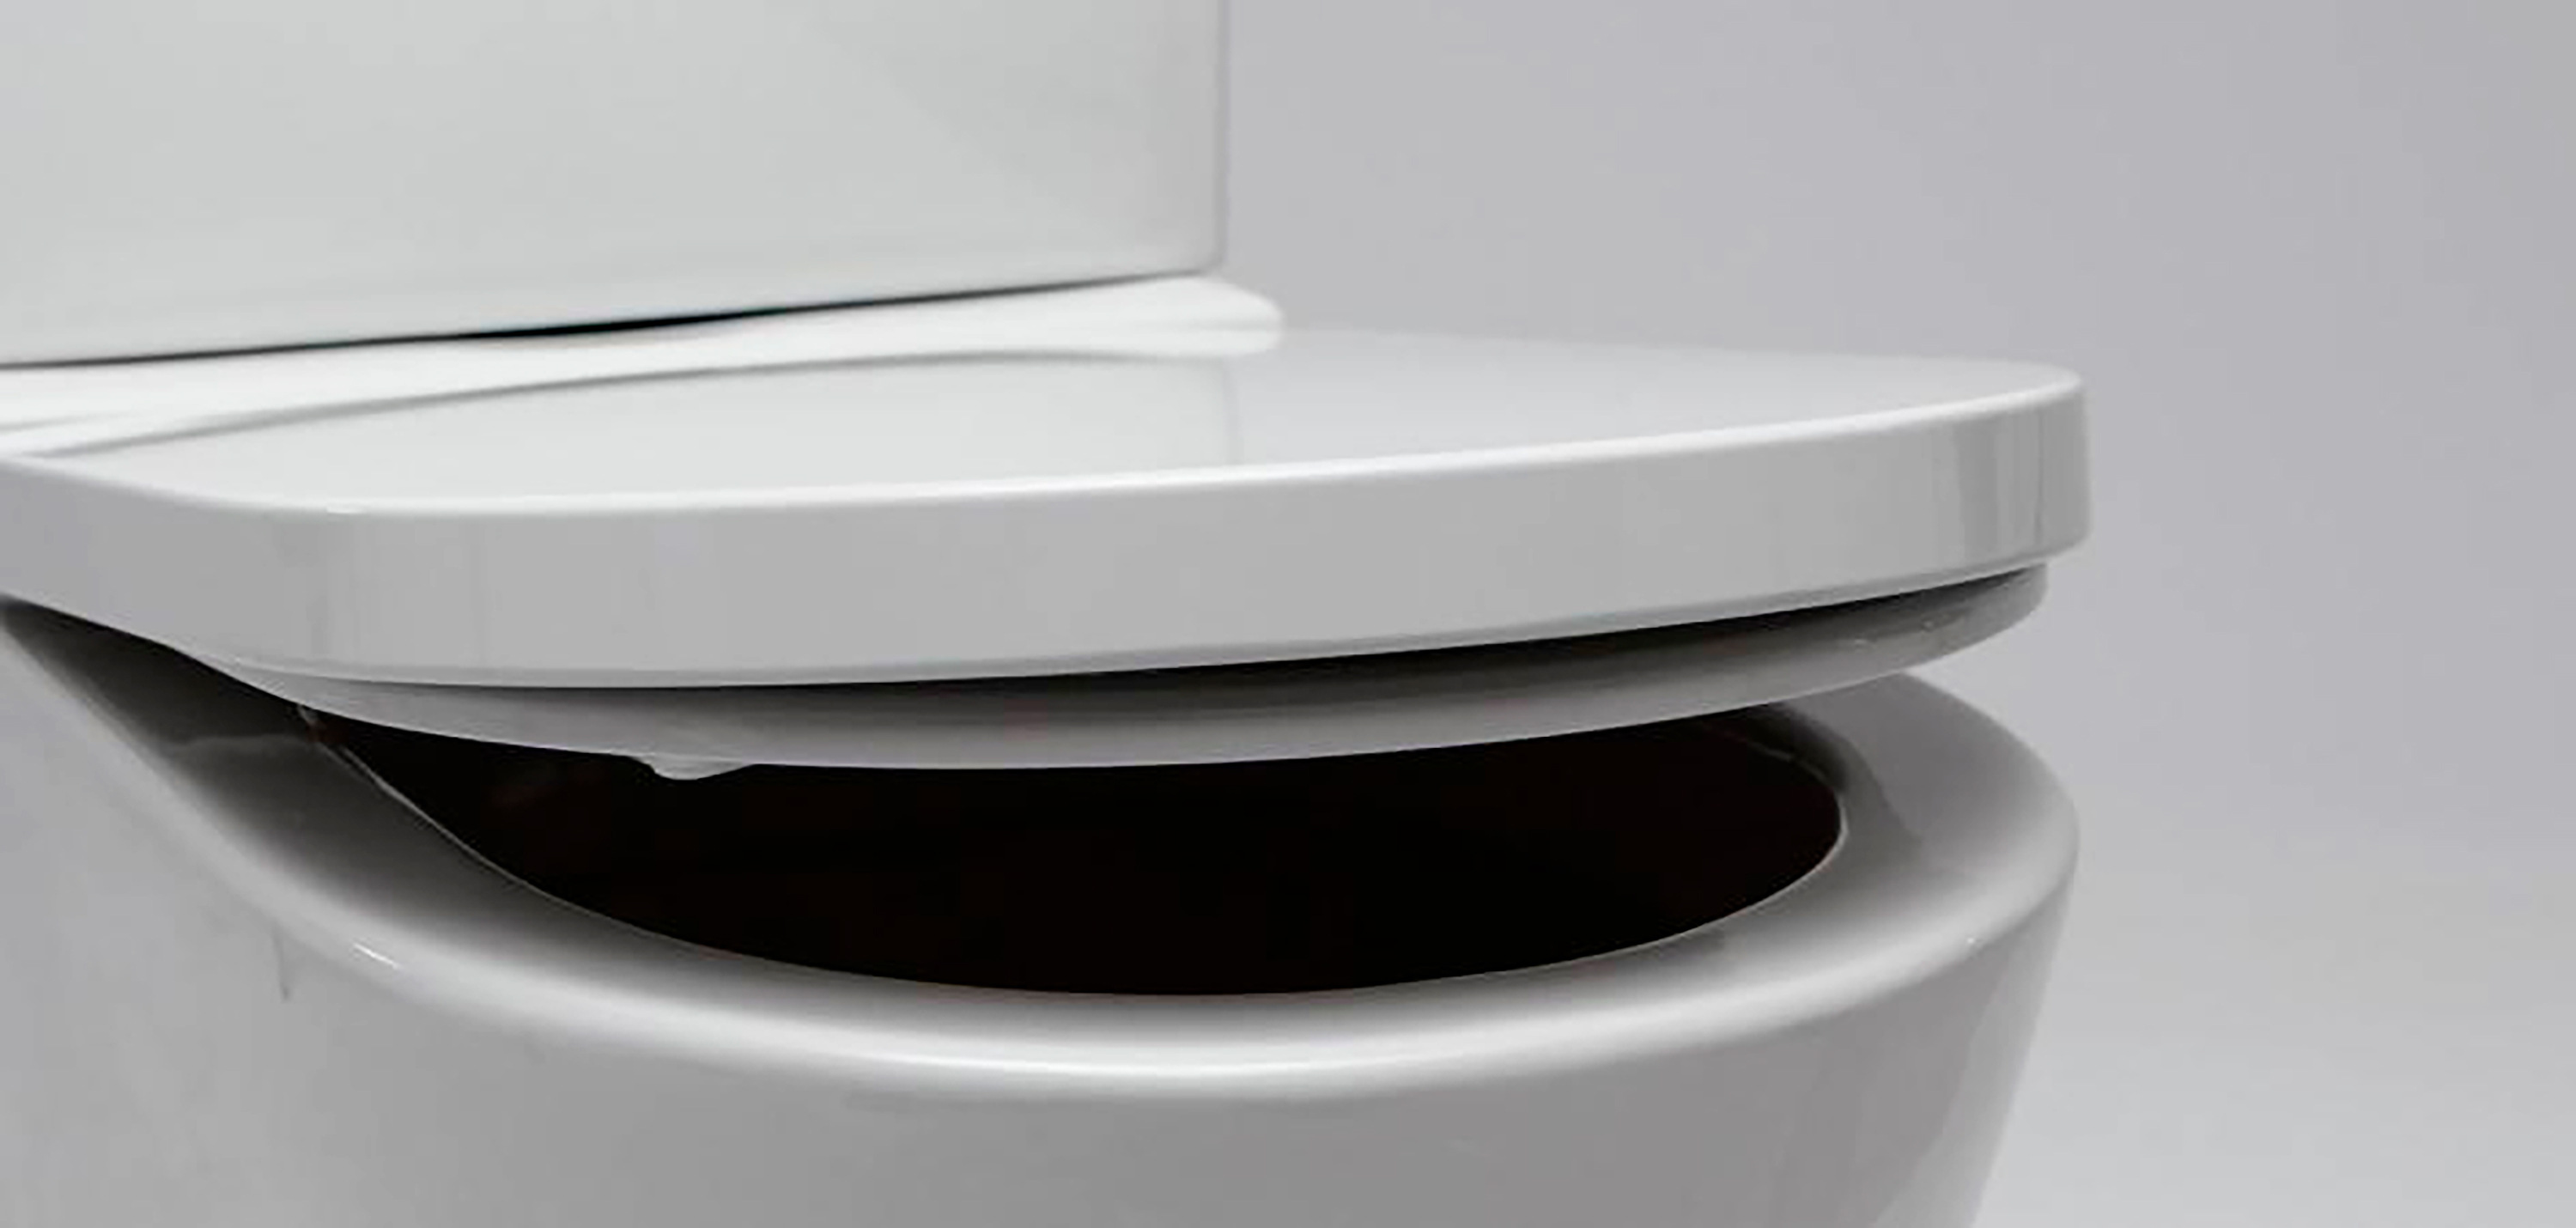
A wobbly or loose toilet seat can be a source of frustration for many homeowners. The constant shifting and movement can not only be annoying but also potentially hazardous. Fortunately, tightening a Toto toilet seat is a relatively straightforward task that can be accomplished with just a few simple tools and a little bit of know-how.
In this comprehensive guide, we will walk you through the step-by-step process of tightening a Toto toilet seat, ensuring that it remains stable and secure for the long haul. Whether you're a seasoned DIY enthusiast or a novice homeowner looking to tackle a minor household repair, this guide will equip you with the knowledge and confidence to address this common issue effectively.
By following the instructions outlined in this article, you'll be able to restore stability to your Toto toilet seat, eliminating any annoying wiggling or shifting. So, gather your tools and let's dive into the process of tightening your Toto toilet seat for a more secure and comfortable bathroom experience.
Key Takeaways:
- Say goodbye to wobbly toilet seats! With just a few tools and simple steps, you can tighten your Toto toilet seat for a stable and secure bathroom experience.
- Gather your tools and follow the steps to tighten your Toto toilet seat, ensuring a stable and comfortable bathroom fixture. No more wobbling or shifting!
Read more: How To Remove Toto Toilet Seat
Step 1: Gather the necessary tools
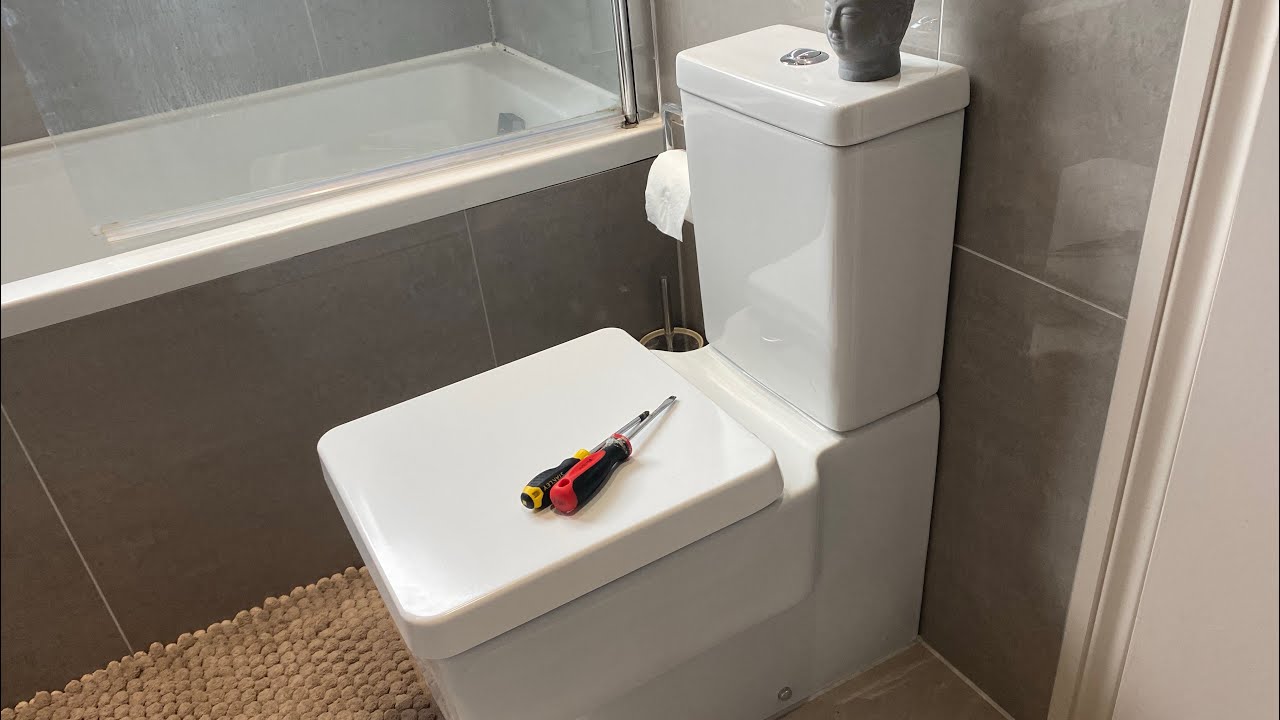
Before embarking on the task of tightening a Toto toilet seat, it's essential to gather the necessary tools to ensure a smooth and efficient process. Having the right tools at your disposal will not only make the job easier but also help you achieve a more secure and stable result. Here's a list of the tools you'll need:
-
Adjustable Wrench: An adjustable wrench is a versatile tool that will allow you to tighten the bolts securing the toilet seat to the bowl. Its adjustable jaws make it suitable for various sizes of nuts and bolts, providing a firm grip for effective tightening.
-
Screwdriver: Depending on the type of fasteners used to secure the toilet seat, you may need a flathead or Phillips screwdriver. This tool will enable you to remove and reattach the screws or bolts holding the seat in place.
-
Locking Pliers: Also known as vice grips, locking pliers can be handy for holding the nut in place while you tighten the bolt from the top. This prevents the nut from spinning, allowing you to achieve a secure and stable connection.
-
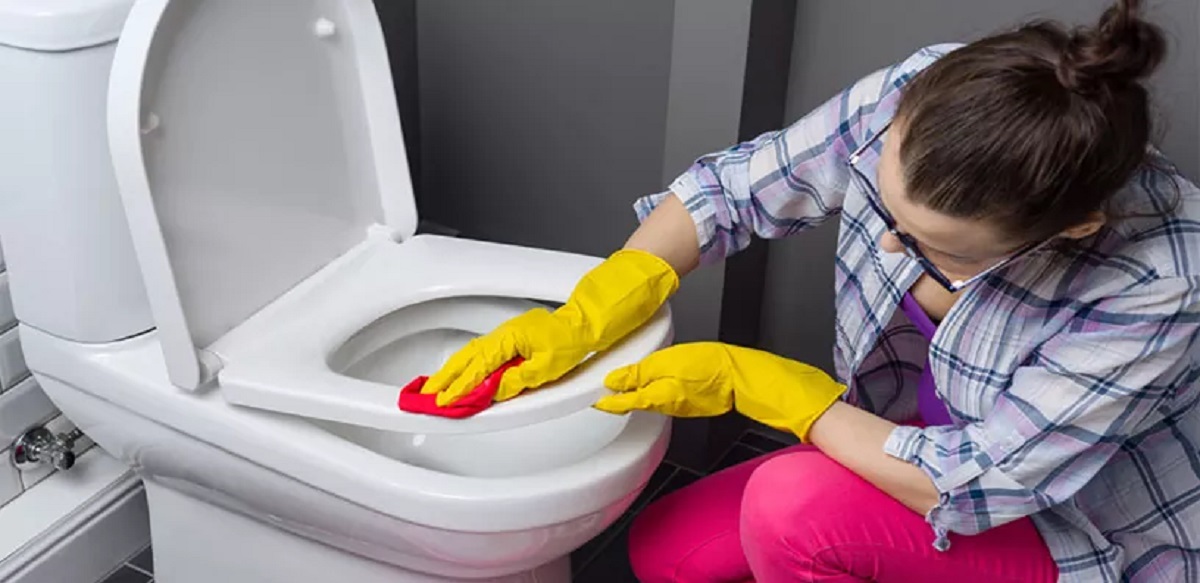
Rubber Gloves: It's always a good idea to wear rubber gloves when working on toilet-related tasks. Gloves provide a barrier between your hands and any dirt or grime that may be present, ensuring a hygienic and comfortable working environment.
-
Cleaning Supplies: Before reattaching the toilet seat, it's advisable to clean the area thoroughly. Having cleaning supplies such as disinfectant wipes or a mild cleaning solution and a cloth on hand will allow you to remove any accumulated dirt or debris, ensuring a clean and sanitary reinstallation.
By ensuring that you have these essential tools readily available, you'll be well-prepared to tackle the task of tightening your Toto toilet seat. With the right tools in hand, you can proceed to the next step with confidence, knowing that you have everything you need to achieve a secure and stable result.
Step 2: Remove the toilet seat
Removing the toilet seat is the crucial first step in the process of tightening a Toto toilet seat. Before you can access the fasteners and make the necessary adjustments, the existing seat must be carefully detached from the toilet bowl. Here's a detailed guide on how to remove the toilet seat effectively:
-
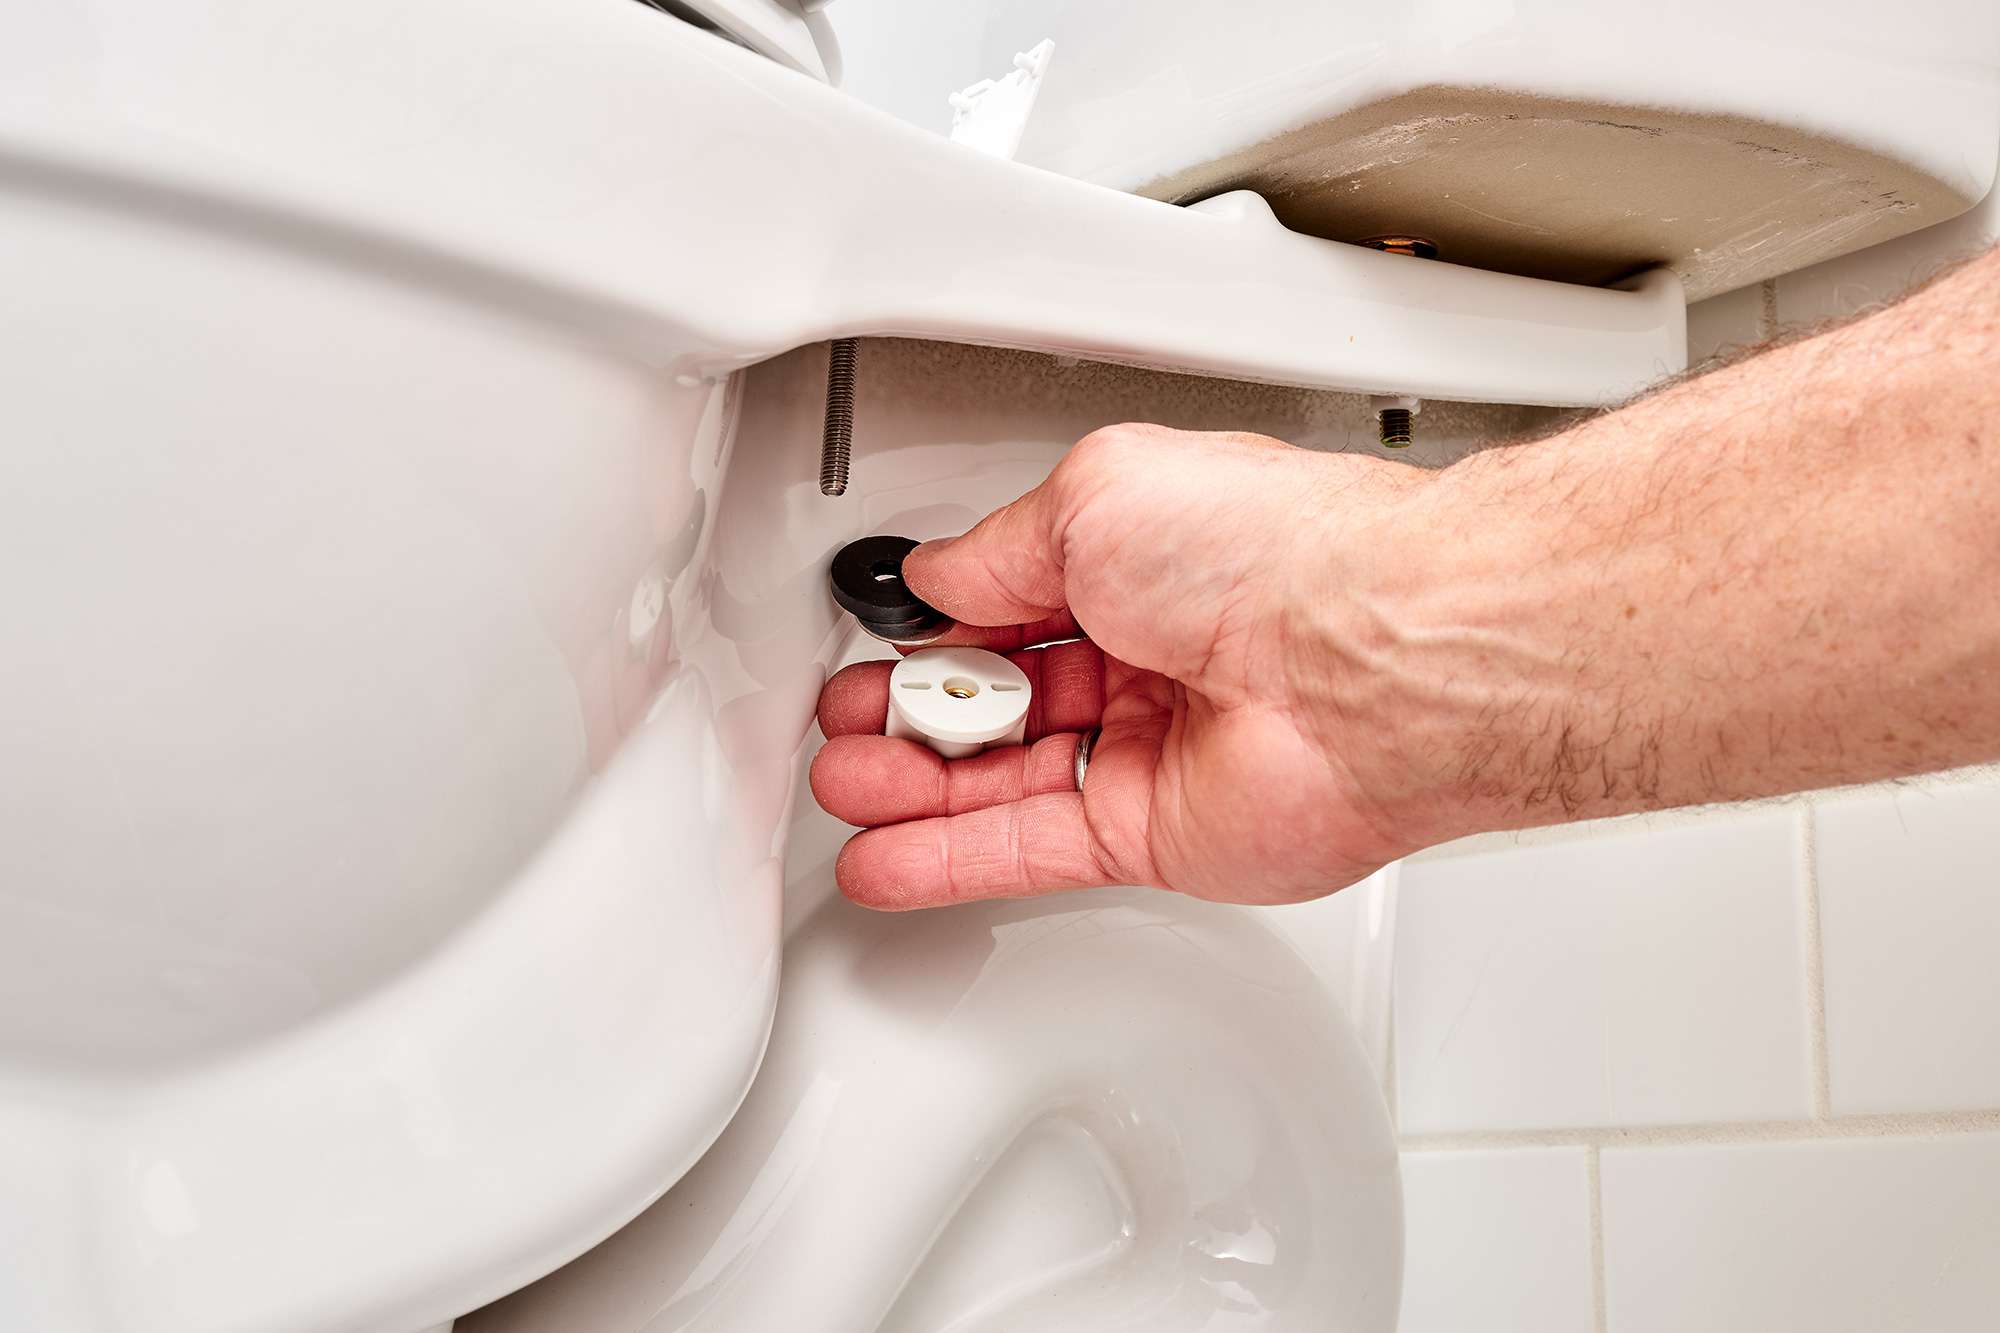
Locate the Fasteners: Begin by identifying the type of fasteners used to secure the toilet seat. Toto toilet seats typically utilize either plastic or metal bolts and nuts to hold the seat in place. These fasteners are usually located at the rear of the toilet bowl, connecting the seat to the hinges.
-
Use the Screwdriver: If the fasteners are secured with screws, use a suitable screwdriver (either flathead or Phillips, depending on the screw type) to loosen and remove the screws. Turn the screws counterclockwise to release them from the hinges. Keep the screws in a safe place, as they will be needed for reinstallation.
-
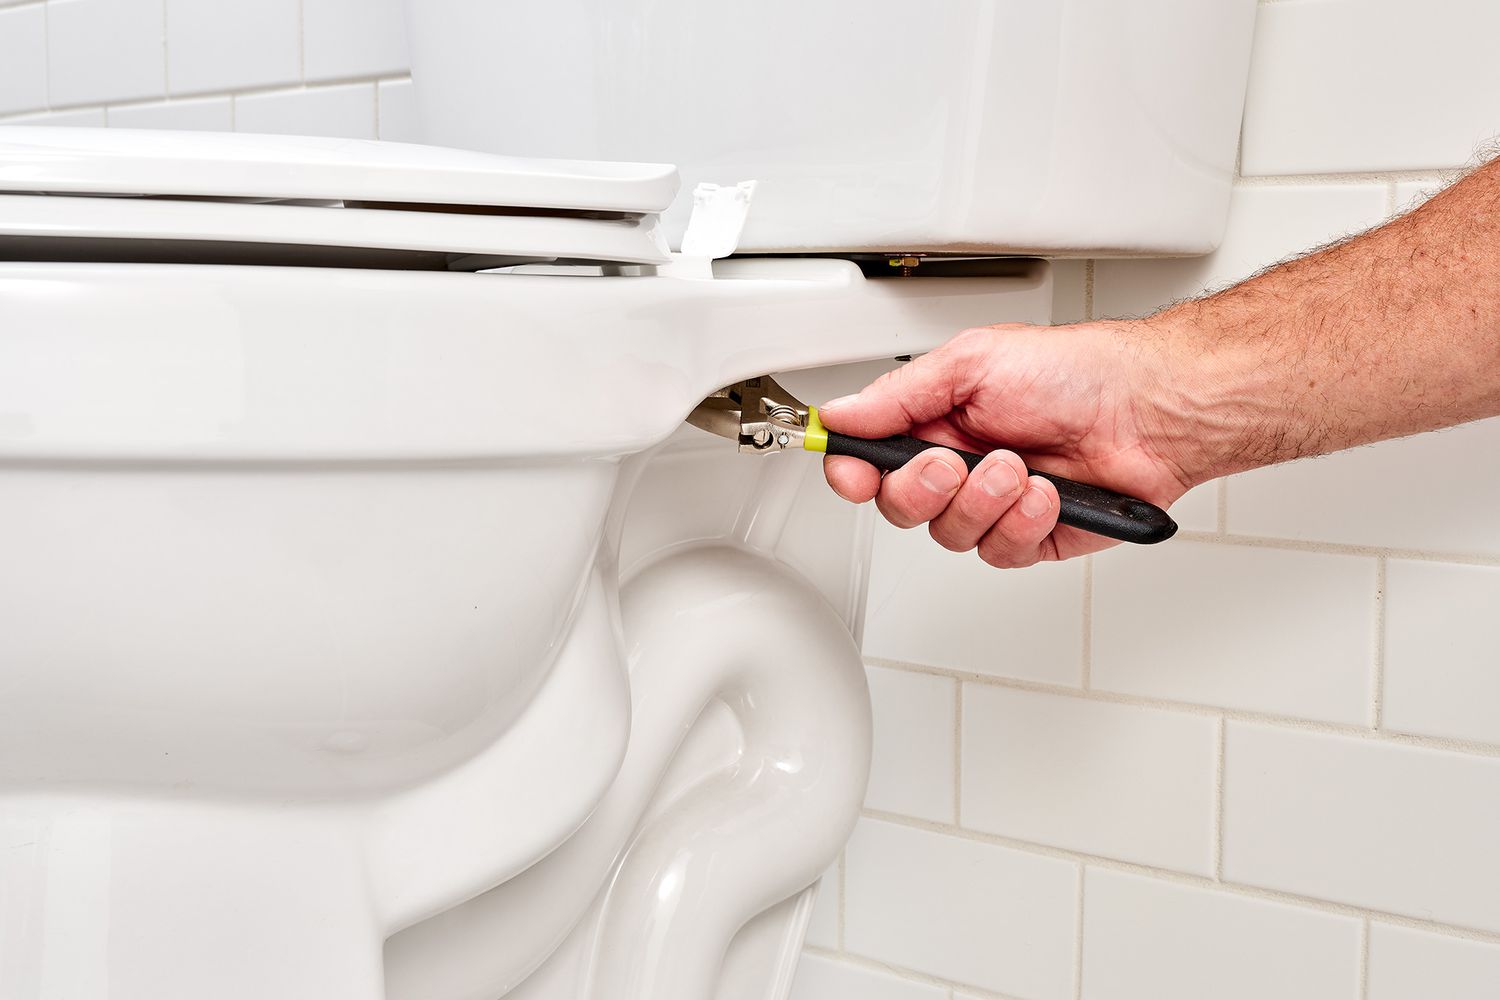
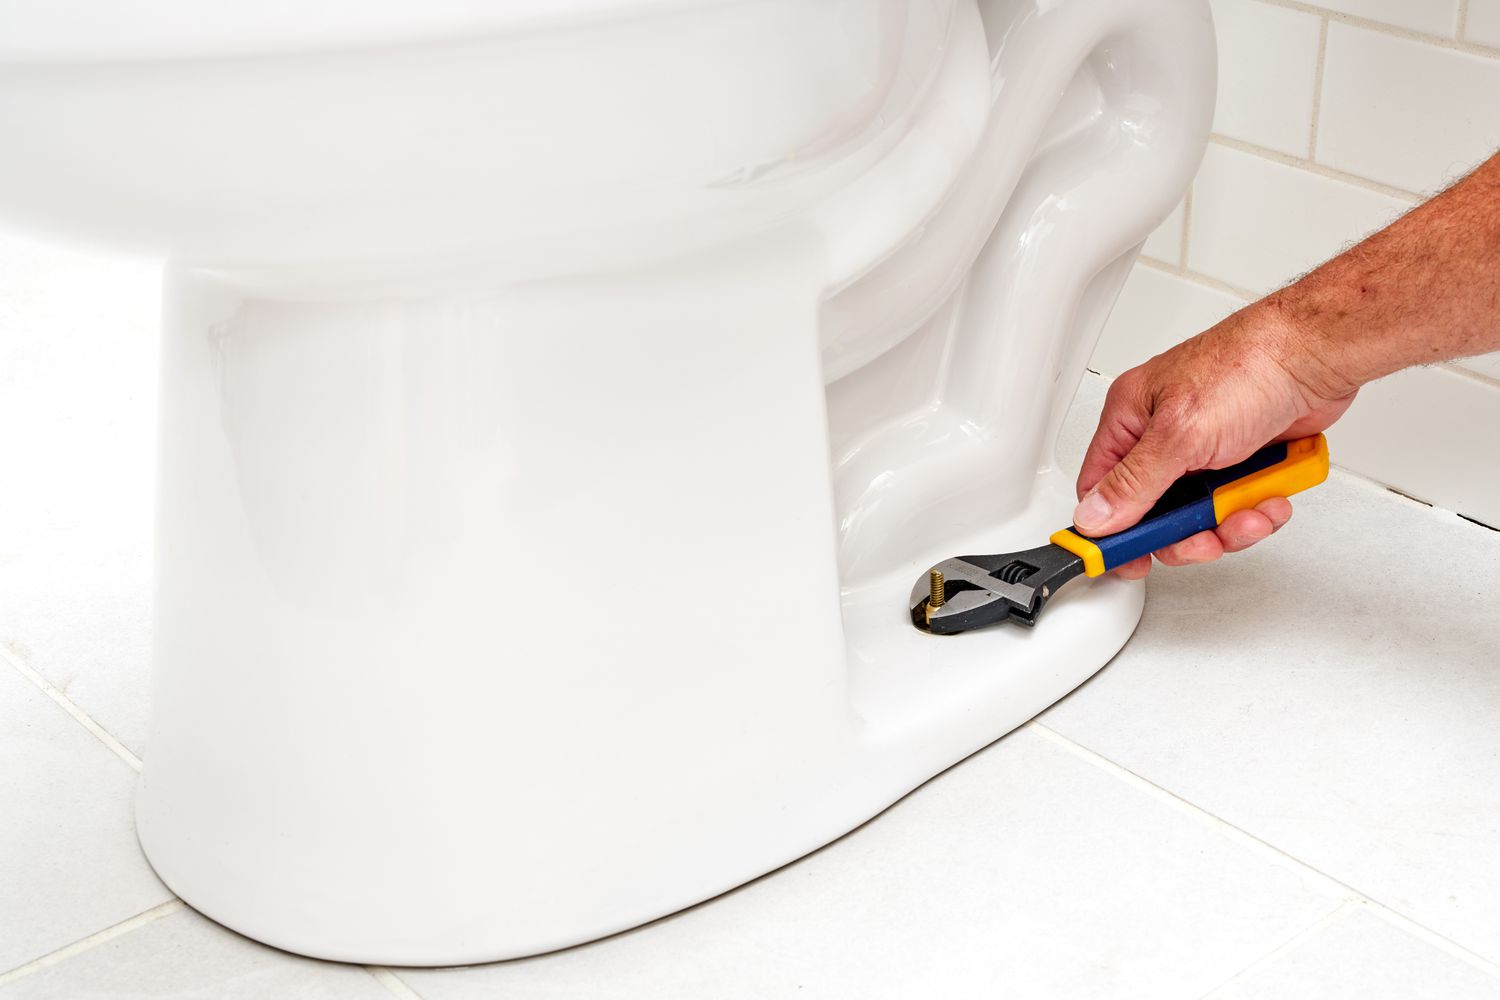
Access the Nuts: In the case of fasteners secured with nuts underneath the toilet bowl, you may need to reach underneath the bowl to access and loosen the nuts. This can be done by reaching behind the bowl or using a flashlight to locate the nuts. Once located, use an adjustable wrench to loosen and remove the nuts, disconnecting them from the bolts.
-
Lift and Remove the Seat: With the fasteners detached, carefully lift the toilet seat and lid assembly away from the bowl. Be mindful of any remaining hardware or attachments, ensuring that the seat is completely free from the bowl before setting it aside.
-
Clean the Area: After removing the toilet seat, take the opportunity to clean the exposed area on the toilet bowl thoroughly. Use disinfectant wipes or a mild cleaning solution to sanitize the surface and remove any accumulated grime or residue. This will prepare the area for reinstallation and contribute to a clean and hygienic outcome.
By following these steps, you can effectively remove the Toto toilet seat, providing access to the fasteners and allowing for the necessary adjustments to be made. With the seat successfully detached, you can proceed to the next step of tightening the toilet seat, ensuring a secure and stable fit for a more comfortable and reliable bathroom experience.
Step 3: Tighten the toilet seat
With the Toto toilet seat successfully removed, the next crucial step is to tighten the seat to ensure a stable and secure fit. This process involves addressing any looseness or wobbling by adjusting the fasteners and making necessary modifications. Follow these detailed steps to effectively tighten the toilet seat:
-
Inspect the Fasteners: Before proceeding with the tightening process, carefully inspect the fasteners, including the bolts and nuts, to assess their condition. Look for any signs of wear, corrosion, or damage that may have contributed to the loosening of the seat. If the fasteners appear worn or damaged, consider replacing them with new hardware to ensure a reliable and long-lasting solution.
-
Adjust the Bolts and Nuts: Using an adjustable wrench, locate the bolts and nuts that secure the toilet seat to the bowl. Begin by tightening the nuts from underneath the bowl, ensuring a firm and snug connection. If the nuts are difficult to reach or manipulate, consider using locking pliers to hold the nut in place while tightening the bolt from the top. This approach prevents the nut from spinning, allowing for effective tightening.
-
Apply Threadlocker: For added security, consider applying a small amount of threadlocker to the bolt threads before reattaching the nuts. Threadlocker is a specialized adhesive that helps prevent fasteners from loosening over time, providing an extra layer of stability. Be sure to use a threadlocker formula suitable for use with toilet seat fasteners, as some varieties are designed specifically for plumbing applications.
-
Check for Stability: After tightening the fasteners, carefully test the stability of the toilet seat by gently applying pressure and attempting to move it from side to side. The seat should feel secure and stable, with minimal to no movement. If any wobbling or shifting persists, revisit the fasteners and ensure that they are tightened to the appropriate level.
-
Reevaluate and Adjust: Once the initial tightening is complete, take a moment to reevaluate the stability of the toilet seat. Sit on the seat and test its sturdiness, ensuring that it remains secure under weight and pressure. If any further adjustments are needed, revisit the fasteners and make additional modifications as necessary to achieve the desired level of stability.
By following these detailed steps, you can effectively tighten the Toto toilet seat, addressing any looseness or wobbling to ensure a secure and stable fit. With the fasteners properly adjusted and secured, the toilet seat will provide reliable support and comfort, enhancing the overall bathroom experience. Proceed to the next step to reattach the toilet seat, completing the process of restoring stability and functionality to your Toto toilet.
To tighten a Toto toilet seat, use a screwdriver to tighten the bolts underneath the seat. Make sure the seat is centered and then tighten the bolts evenly on both sides. Check for any wobbling and re-tighten if necessary.
Step 4: Reattach the toilet seat
After successfully tightening the Toto toilet seat, the next crucial step is to reattach the seat to the toilet bowl, ensuring a secure and stable installation. Proper reattachment is essential to guarantee that the seat remains firmly in place, providing reliable support and comfort for everyday use. Follow these detailed steps to effectively reattach the toilet seat:
-
Position the Seat: Begin by positioning the toilet seat and lid assembly over the bowl, aligning it with the fastener holes and ensuring that it sits evenly and securely. Take care to orient the seat correctly, with the lid facing the front of the toilet bowl and the seat opening aligned with the bowl's opening.
-
Insert the Fasteners: If the fasteners utilize screws, carefully insert the screws through the hinge openings on the seat and align them with the corresponding holes on the bowl. Use a screwdriver to tighten the screws, securing the seat in place. For fasteners with nuts, align the bolts with the hinge openings and carefully insert them through the holes, ensuring a snug fit.
-
Tighten the Fasteners: Once the fasteners are in place, use the appropriate tool, such as a screwdriver or adjustable wrench, to tighten them securely. Ensure that the seat is firmly attached to the bowl, with minimal to no movement. Take care not to overtighten the fasteners, as this can lead to damage or cracking of the seat or bowl.
-
Check for Stability: After reattaching the seat, carefully test its stability by applying gentle pressure and attempting to move it from side to side. The seat should remain secure and stable, with no wobbling or shifting. If any instability is detected, revisit the fasteners and make necessary adjustments to achieve a secure fit.
-
Clean and Inspect: Once the seat is securely reattached, take a moment to clean the exterior surfaces of the seat and bowl, removing any fingerprints or smudges. Inspect the fasteners and surrounding areas to ensure that everything is in proper order and that the seat is securely affixed to the bowl.
By following these detailed steps, you can effectively reattach the Toto toilet seat, completing the process of tightening and securing the seat for reliable and comfortable use. With the seat firmly in place, you can proceed to the final step of testing the seat's stability and functionality, ensuring that it meets your expectations for a secure and stable bathroom experience.
Read more: How To Tighten A Loose Toilet Seat
Step 5: Test the toilet seat
After reattaching the Toto toilet seat, it's essential to thoroughly test its stability and functionality to ensure that the tightening process has been successful. Testing the seat will allow you to confirm that it remains secure and stable under normal usage, providing peace of mind and reliability for everyday use. Follow these detailed steps to effectively test the toilet seat:
-
Apply Pressure: To begin the testing process, gently apply pressure to the seat by sitting on it and shifting your weight from side to side. The seat should remain firmly in place, with no noticeable movement or shifting. Testing the seat under pressure simulates typical usage and allows you to assess its stability in real-world conditions.
-
Check for Wobbling: While seated on the toilet, check for any wobbling or instability by moving slightly from side to side. A stable and secure seat should remain firmly anchored to the bowl, providing a comfortable and reliable experience. If any wobbling is detected, revisit the fasteners and make additional adjustments to achieve the desired stability.
-
Lift and Lower the Seat: Test the functionality of the seat by lifting and lowering it to ensure smooth operation. The seat should move freely without sticking or catching on the hinges, allowing for effortless opening and closing. Confirm that the seat remains securely attached to the bowl during this movement, indicating a successful reattachment.
-
Evaluate Comfort and Support: Sit on the seat for an extended period to evaluate its comfort and support. A properly tightened and secured seat should provide a stable and comfortable seating surface, enhancing the overall bathroom experience. Take note of any discomfort or instability and make further adjustments if necessary.
-
Repeat the Stability Check: After testing the seat under various conditions, repeat the stability check by applying pressure and attempting to move the seat from side to side. Confirm that the seat remains secure and stable, providing reliable support for everyday use. Address any remaining issues to ensure a secure and comfortable outcome.
By thoroughly testing the Toto toilet seat, you can verify that the tightening process has been successful, and the seat remains stable and secure for regular use. A properly tightened seat contributes to a comfortable and reliable bathroom experience, providing peace of mind and functionality for you and your household. With the seat successfully tested and confirmed to be stable, you can enjoy the benefits of a securely attached Toto toilet seat, free from wobbling or shifting, ensuring a comfortable and reliable bathroom experience.
Conclusion
In conclusion, the process of tightening a Toto toilet seat is a manageable task that can be accomplished with the right tools, a methodical approach, and attention to detail. By following the step-by-step guide outlined in this article, homeowners can effectively address a loose or wobbly toilet seat, restoring stability and comfort to their bathroom fixtures.
The initial step of gathering the necessary tools sets the stage for a successful tightening process. With essential tools such as an adjustable wrench, screwdriver, locking pliers, rubber gloves, and cleaning supplies at hand, homeowners are well-prepared to tackle the task with confidence.
The subsequent steps, including removing the toilet seat, tightening the fasteners, reattaching the seat, and thorough testing, provide a comprehensive framework for achieving a secure and stable outcome. By carefully inspecting the fasteners, making necessary adjustments, and testing the seat under real-world conditions, homeowners can ensure that the toilet seat remains firmly in place, free from wobbling or shifting.
The importance of proper reattachment cannot be overstated, as it is the final step in the process that seals the success of the tightening endeavor. By positioning the seat correctly, securing the fasteners, and testing for stability, homeowners can confirm that the seat is securely affixed to the bowl, providing reliable support and comfort for everyday use.
Ultimately, a securely tightened Toto toilet seat contributes to a more comfortable and reliable bathroom experience, enhancing the overall functionality and aesthetics of the space. By addressing a loose or wobbly seat, homeowners can eliminate a common source of frustration and potential hazard, promoting a safer and more enjoyable bathroom environment for themselves and their families.
In summary, the process of tightening a Toto toilet seat is a practical and rewarding endeavor that empowers homeowners to take proactive steps in maintaining their bathroom fixtures. With the knowledge and guidance provided in this article, homeowners can confidently address a loose or wobbly toilet seat, achieving a secure and stable outcome that enhances the overall comfort and functionality of their bathroom.
Frequently Asked Questions about How To Tighten A Toto Toilet Seat
Was this page helpful?
At Storables.com, we guarantee accurate and reliable information. Our content, validated by Expert Board Contributors, is crafted following stringent Editorial Policies. We're committed to providing you with well-researched, expert-backed insights for all your informational needs.

0 thoughts on “How To Tighten A Toto Toilet Seat”