Home>Furniture & Design>Bathroom Accessories>How To Fill Large Gaps Around A Bathtub
Bathroom Accessories
How To Fill Large Gaps Around A Bathtub
Modified: August 30, 2024
Learn how to effectively fill large gaps around your bathtub with the right bathroom accessories. Keep your bathroom looking clean and well-maintained.
(Many of the links in this article redirect to a specific reviewed product. Your purchase of these products through affiliate links helps to generate commission for Storables.com, at no extra cost. Learn more)
Introduction
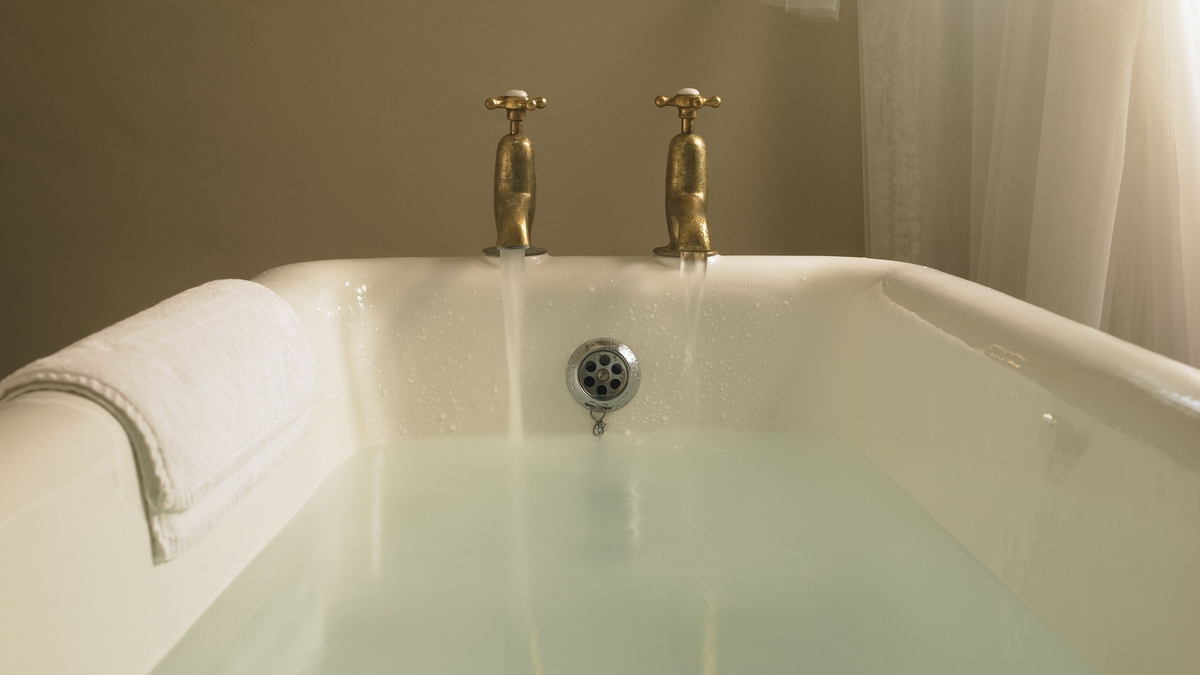
When it comes to maintaining a pristine and functional bathroom, addressing gaps around the bathtub is a crucial task. These gaps not only compromise the aesthetic appeal of the bathroom but also pose potential risks of water damage and mold growth. Therefore, knowing how to effectively fill large gaps around a bathtub is essential for preserving the integrity of your bathroom space.
In this comprehensive guide, we will delve into the step-by-step process of filling large gaps around a bathtub, ensuring that you are equipped with the knowledge and skills to tackle this task with confidence. From assessing the gaps to selecting the appropriate materials and executing the filling process, we will cover every aspect to help you achieve a seamless and professional-looking result.
By understanding the nuances of this process, you will not only enhance the visual appeal of your bathroom but also contribute to the longevity and durability of the bathtub installation. Whether you are a seasoned DIY enthusiast or a homeowner looking to address this issue for the first time, this guide will provide you with the insights and techniques needed to accomplish the task effectively.
So, let's embark on this journey to transform the gaps around your bathtub into a flawlessly finished space that exudes both functionality and aesthetic charm. With the right approach and attention to detail, you can elevate the overall appeal of your bathroom while ensuring that the gaps are effectively sealed and protected against potential water damage. Let's dive into the process and discover the art of filling large gaps around a bathtub.
Key Takeaways:
- Properly assessing and preparing the gaps around a bathtub, and choosing the right filling material, are crucial for achieving a durable and visually appealing seal. This ensures protection against water damage and enhances the overall aesthetic of the bathroom.
- Filling the gaps around a bathtub requires precision and attention to detail. By methodically applying and shaping the caulking, and attending to finishing touches, you can create a seamless and polished finish that fortifies the area against water infiltration and contributes to the visual harmony of the bathroom.
Read more: How To Fill Gaps In A Driveway
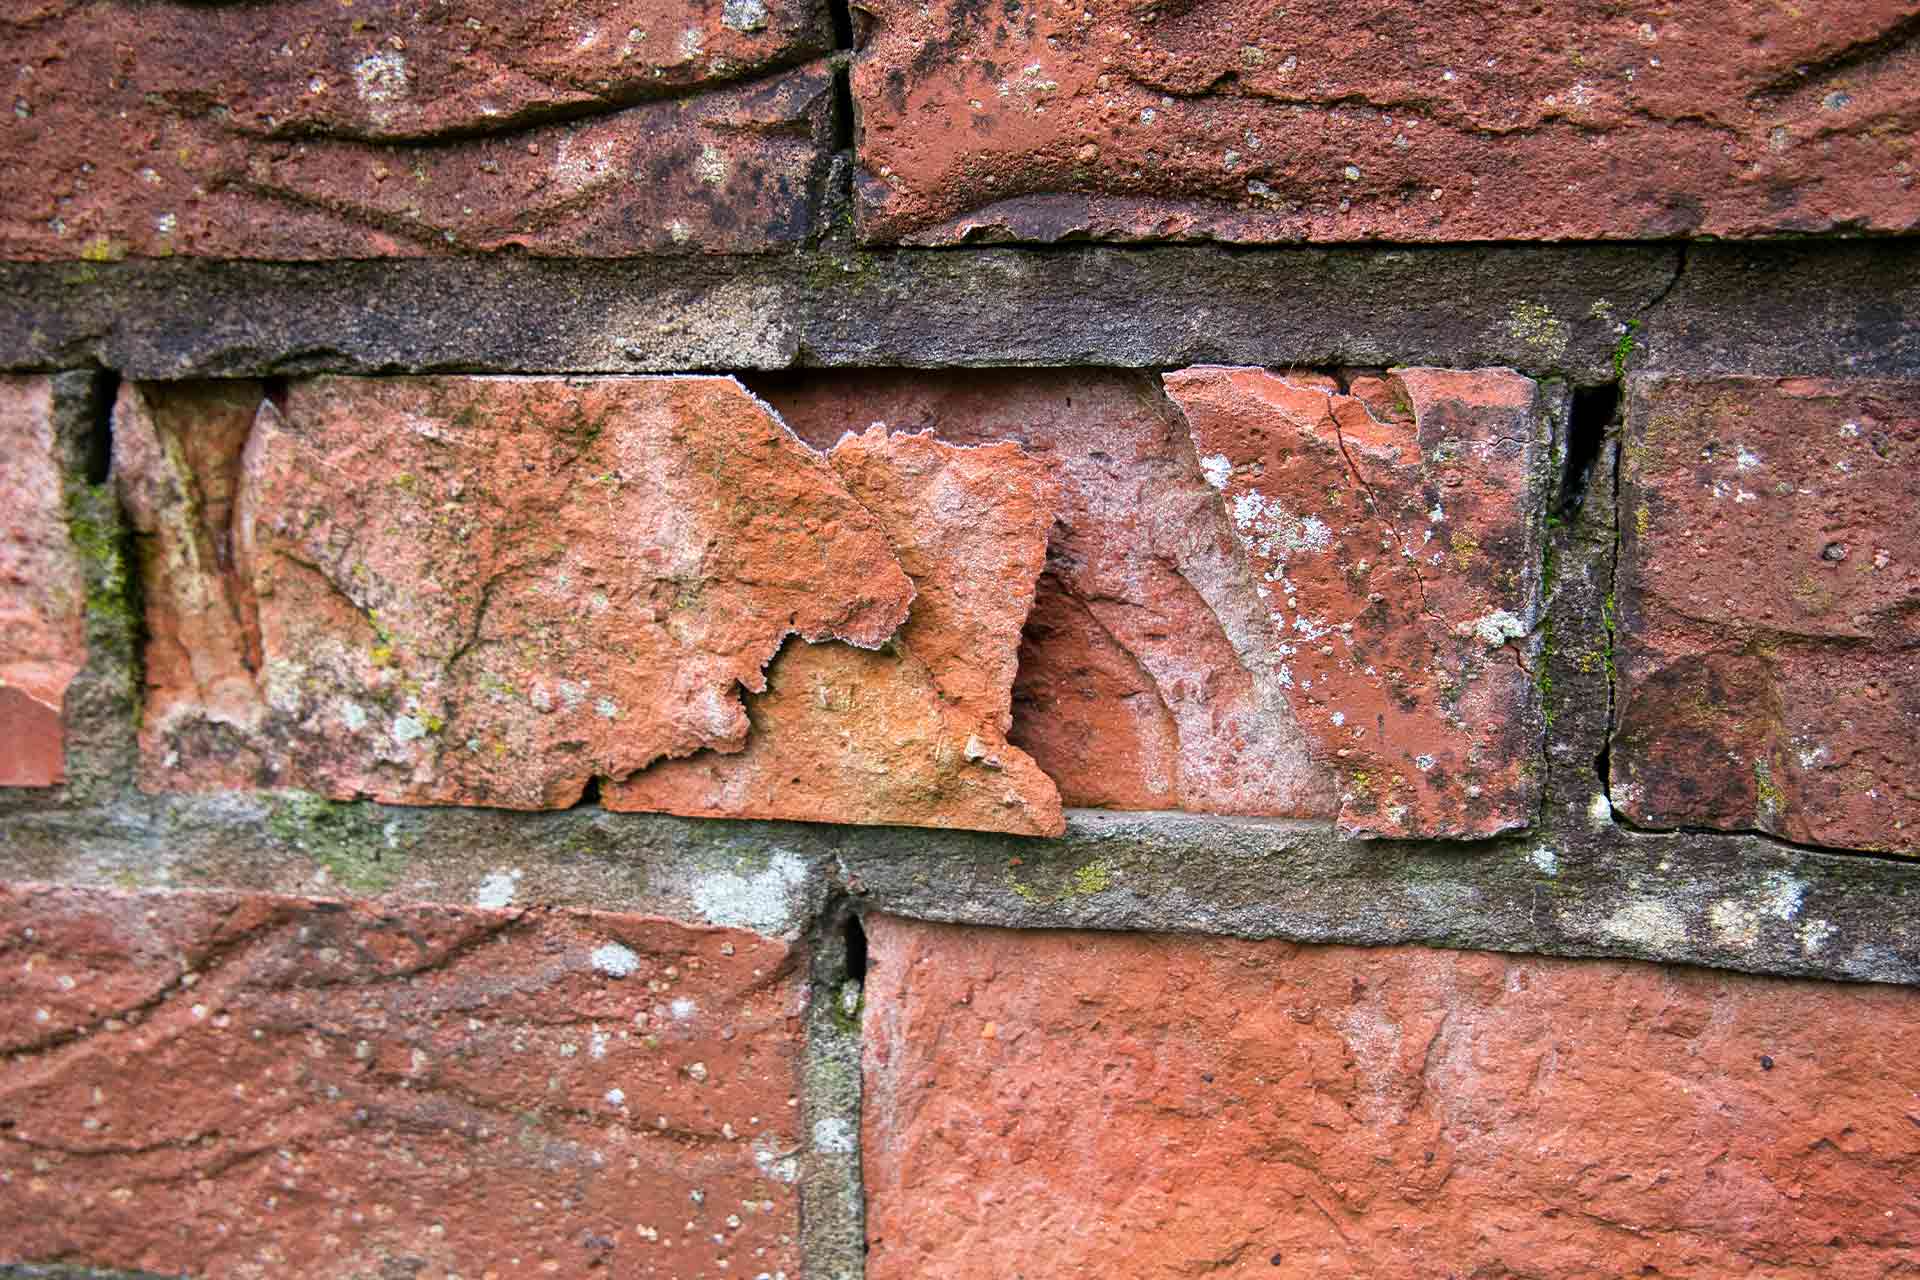
Assessing the Gaps
Before embarking on the task of filling large gaps around a bathtub, it is imperative to conduct a thorough assessment of the existing gaps. This initial step serves as the foundation for the entire process, allowing you to gain a comprehensive understanding of the extent and nature of the gaps. By carefully evaluating the gaps, you can tailor your approach and select the most suitable materials for the filling process.
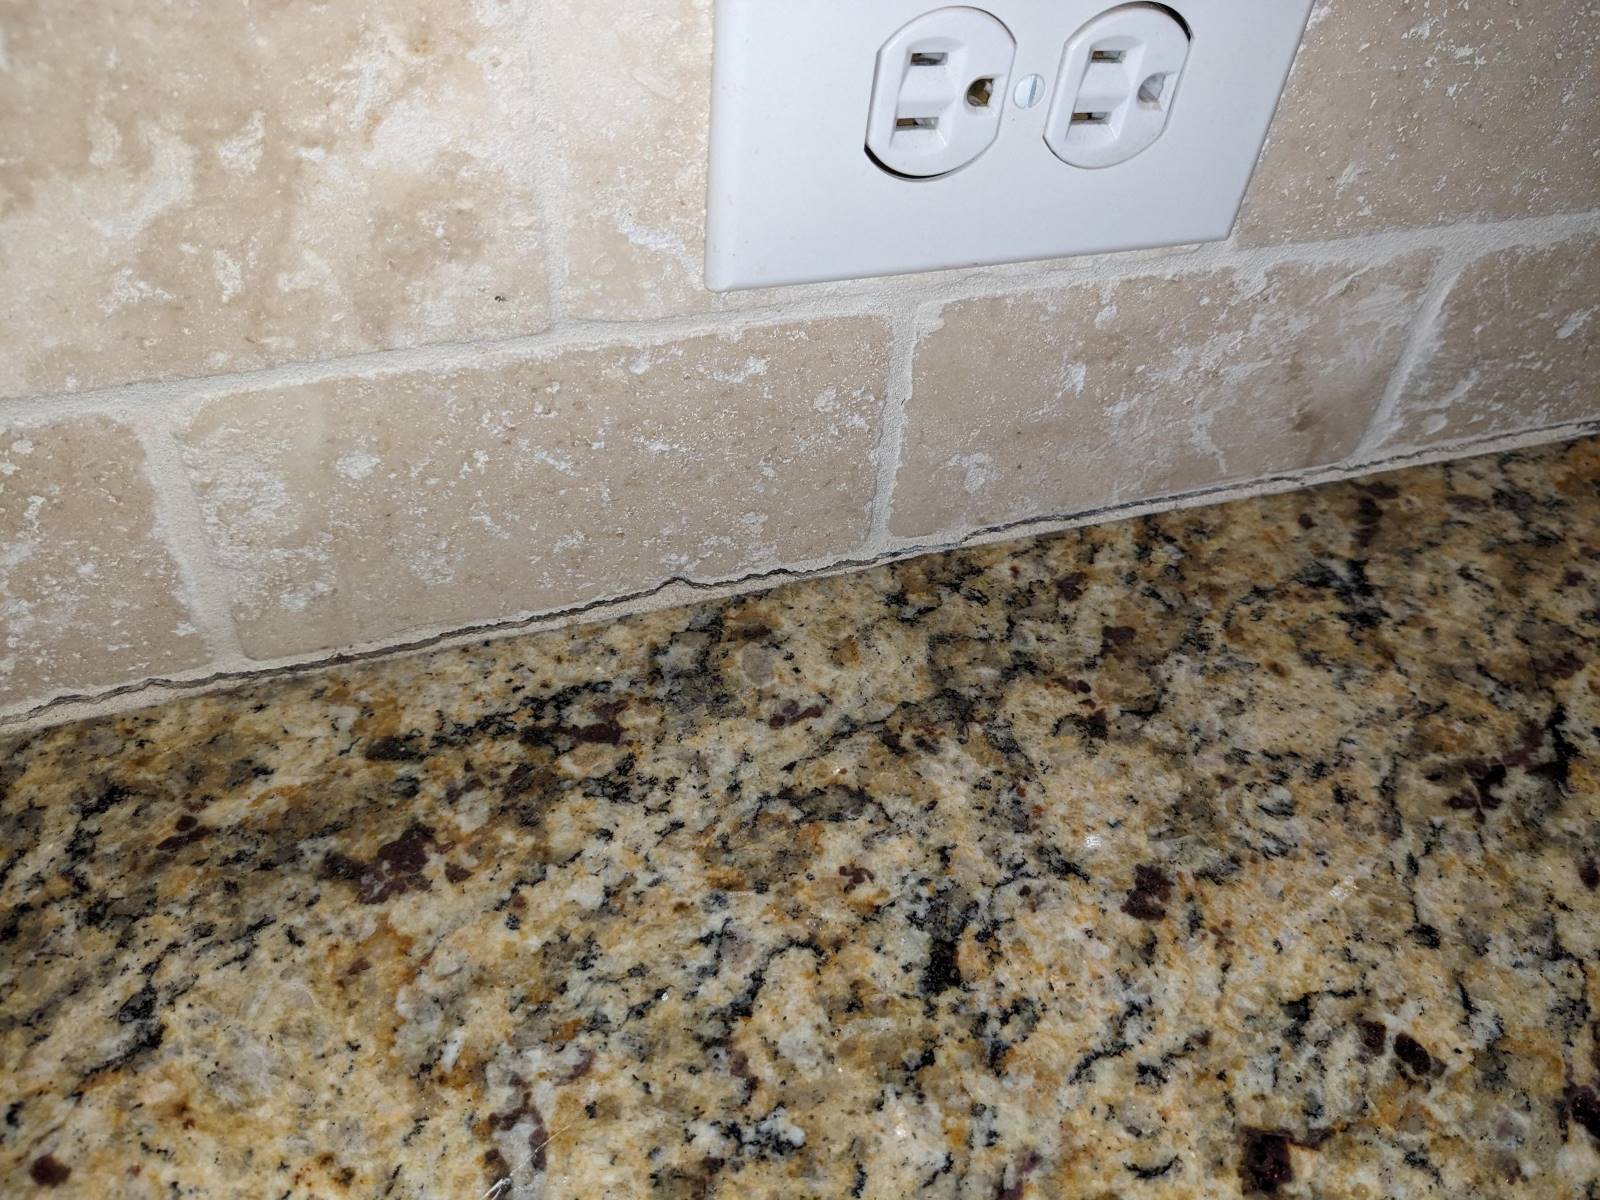
Begin by visually inspecting the gaps around the bathtub, paying close attention to their size, depth, and location. Large gaps may vary in width and depth, and some may be more prominent in specific areas around the bathtub. Take note of any irregularities or uneven surfaces that may impact the filling process, as addressing these nuances will be crucial for achieving a seamless and professional finish.
Next, assess the material surrounding the bathtub, as this will influence the compatibility and adhesion of the filling material. Whether the bathtub is surrounded by tiles, acrylic panels, or other materials, understanding the surface composition is essential for selecting the appropriate filling material that adheres effectively and complements the existing aesthetic.
Furthermore, consider the potential causes of the gaps. Whether due to settling, movement, or inadequate installation, identifying the underlying reasons for the gaps can inform your approach to filling them effectively. By addressing the root cause, you can mitigate the risk of future gap formation and ensure a long-lasting solution.
In addition to visual inspection, it is beneficial to physically measure the dimensions of the gaps. This step provides precise data that will guide your selection of filling materials and techniques. By accurately measuring the width and depth of the gaps, you can determine the optimal approach for achieving a uniform and secure fill.
Lastly, assess the level of exposure to moisture and water. Gaps around a bathtub are particularly susceptible to water exposure, and selecting a filling material that is resistant to moisture is crucial for preventing water damage and mold growth.
By meticulously assessing the gaps around the bathtub, you lay the groundwork for a successful filling process. This comprehensive evaluation equips you with the insights needed to select the appropriate materials and techniques, ensuring that the gaps are effectively addressed and the bathtub area is safeguarded against potential water damage.
Choosing the Right Material
Selecting the appropriate material for filling large gaps around a bathtub is a critical decision that significantly influences the effectiveness and longevity of the sealing process. The ideal filling material should possess specific characteristics that cater to the unique requirements of the bathtub environment, ensuring a durable and visually appealing result.
One of the primary considerations when choosing the filling material is its compatibility with the surrounding surfaces. For gaps between tiles and the bathtub, silicone caulking emerges as a popular choice due to its flexibility and waterproof properties. Silicone caulking adheres well to ceramic, porcelain, and glass surfaces, providing a reliable seal that withstands moisture and temperature variations. Alternatively, acrylic latex caulk is suitable for acrylic or fiberglass surrounds, offering excellent adhesion and resistance to water exposure.
In addition to compatibility, the filling material should exhibit resilience in the face of moisture and humidity. Given the bathroom's inherently humid environment, the selected material must possess waterproof qualities to prevent water infiltration and mold formation. Silicone-based caulks, renowned for their water-resistant nature, effectively seal gaps and joints, safeguarding the underlying structures from water damage and deterioration.
Furthermore, the flexibility of the filling material is paramount, especially for areas prone to movement and settling. Flexible caulks, such as silicone and polyurethane-based options, accommodate the natural shifts and vibrations that occur in the bathtub surroundings, ensuring that the seal remains intact and secure over time. This flexibility minimizes the risk of cracks and separation, preserving the integrity of the seal in the face of environmental stressors.
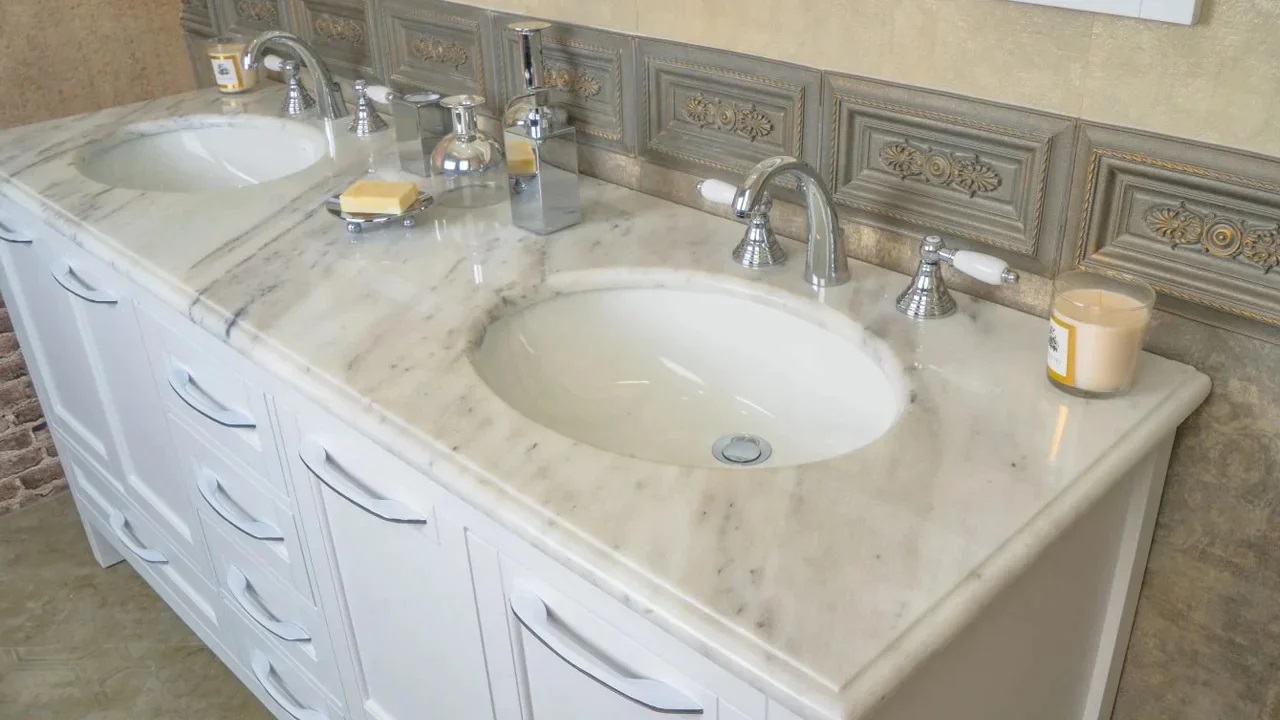
Another crucial aspect to consider is the aesthetic compatibility of the filling material. Opting for a caulk that closely matches the color of the bathtub or surrounding tiles contributes to a cohesive and visually pleasing finish. Many caulking products are available in a range of colors, allowing you to seamlessly integrate the filled gaps with the existing aesthetic, creating a harmonious and polished appearance.
By carefully considering these factors, you can confidently select the right filling material that aligns with the specific requirements of the bathtub environment. Whether prioritizing adhesion, waterproofing, flexibility, or visual appeal, the chosen material plays a pivotal role in achieving a successful and enduring seal around the bathtub, elevating both functionality and aesthetics.
Use expanding foam to fill large gaps around a bathtub. Apply the foam, let it expand and cure, then trim off the excess. Finally, seal the gap with silicone caulk for a waterproof finish.
Preparing the Area
Before commencing the filling process, thorough preparation of the surrounding area is essential to ensure optimal adhesion and a seamless finish. Proper preparation sets the stage for a successful sealing endeavor, enabling the filling material to adhere effectively and form a durable, watertight seal around the bathtub.
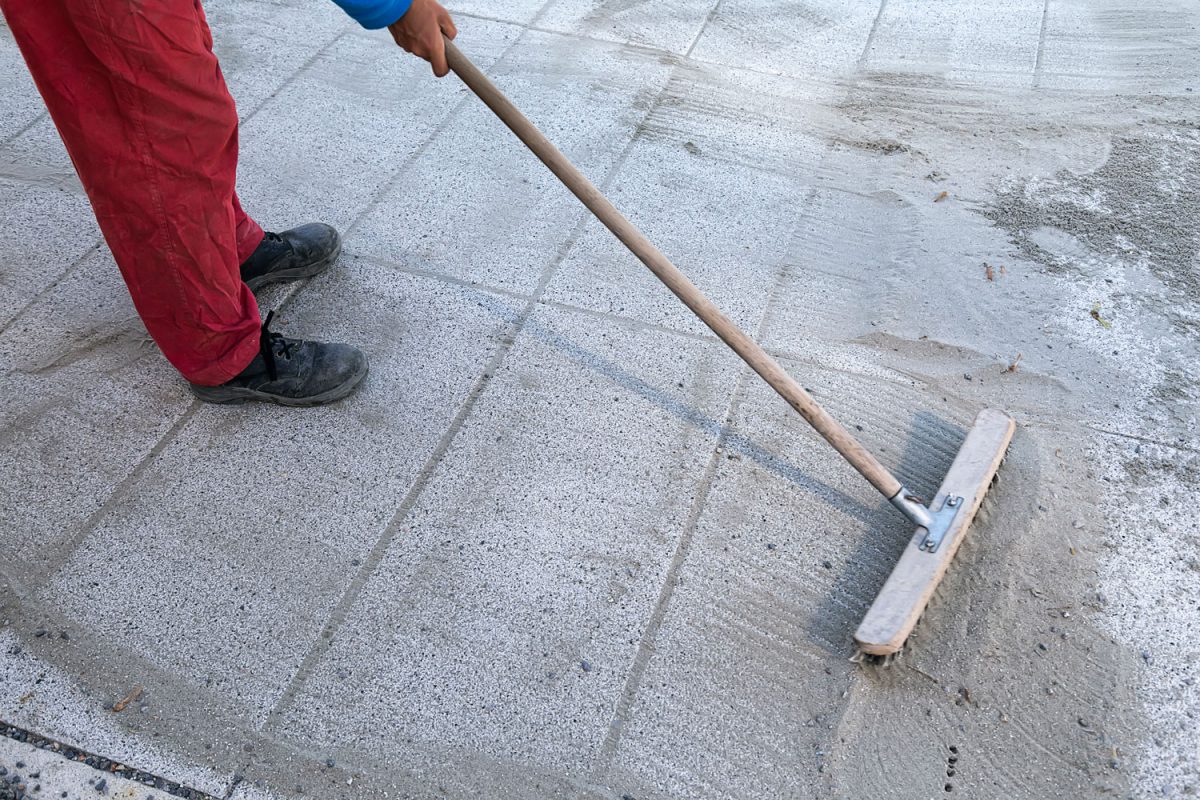
The first step in preparing the area involves cleaning the gaps and the adjacent surfaces. Remove any debris, dust, or old caulking residue from the gaps using a putty knife or a suitable cleaning tool. Ensure that the surfaces are free from any contaminants that may hinder the adhesion of the new filling material. Additionally, use a mild detergent or a specialized surface cleaner to eliminate any grease, soap scum, or residue that may compromise the bonding of the caulking.
Once the gaps and surrounding surfaces are thoroughly cleaned, it is imperative to dry the area completely. Moisture can impede the adhesion of the filling material, leading to potential issues such as mold growth and compromised sealing. Use a clean, dry cloth to remove any residual moisture, ensuring that the gaps and adjacent surfaces are completely dry before proceeding with the filling process.
After cleaning and drying the area, consider applying a primer to enhance the adhesion of the filling material. A high-quality primer formulated for the specific surface material, such as tiles or acrylic, promotes strong bonding and improves the overall effectiveness of the seal. Apply the primer according to the manufacturer's instructions, allowing it to dry completely before proceeding with the caulking.
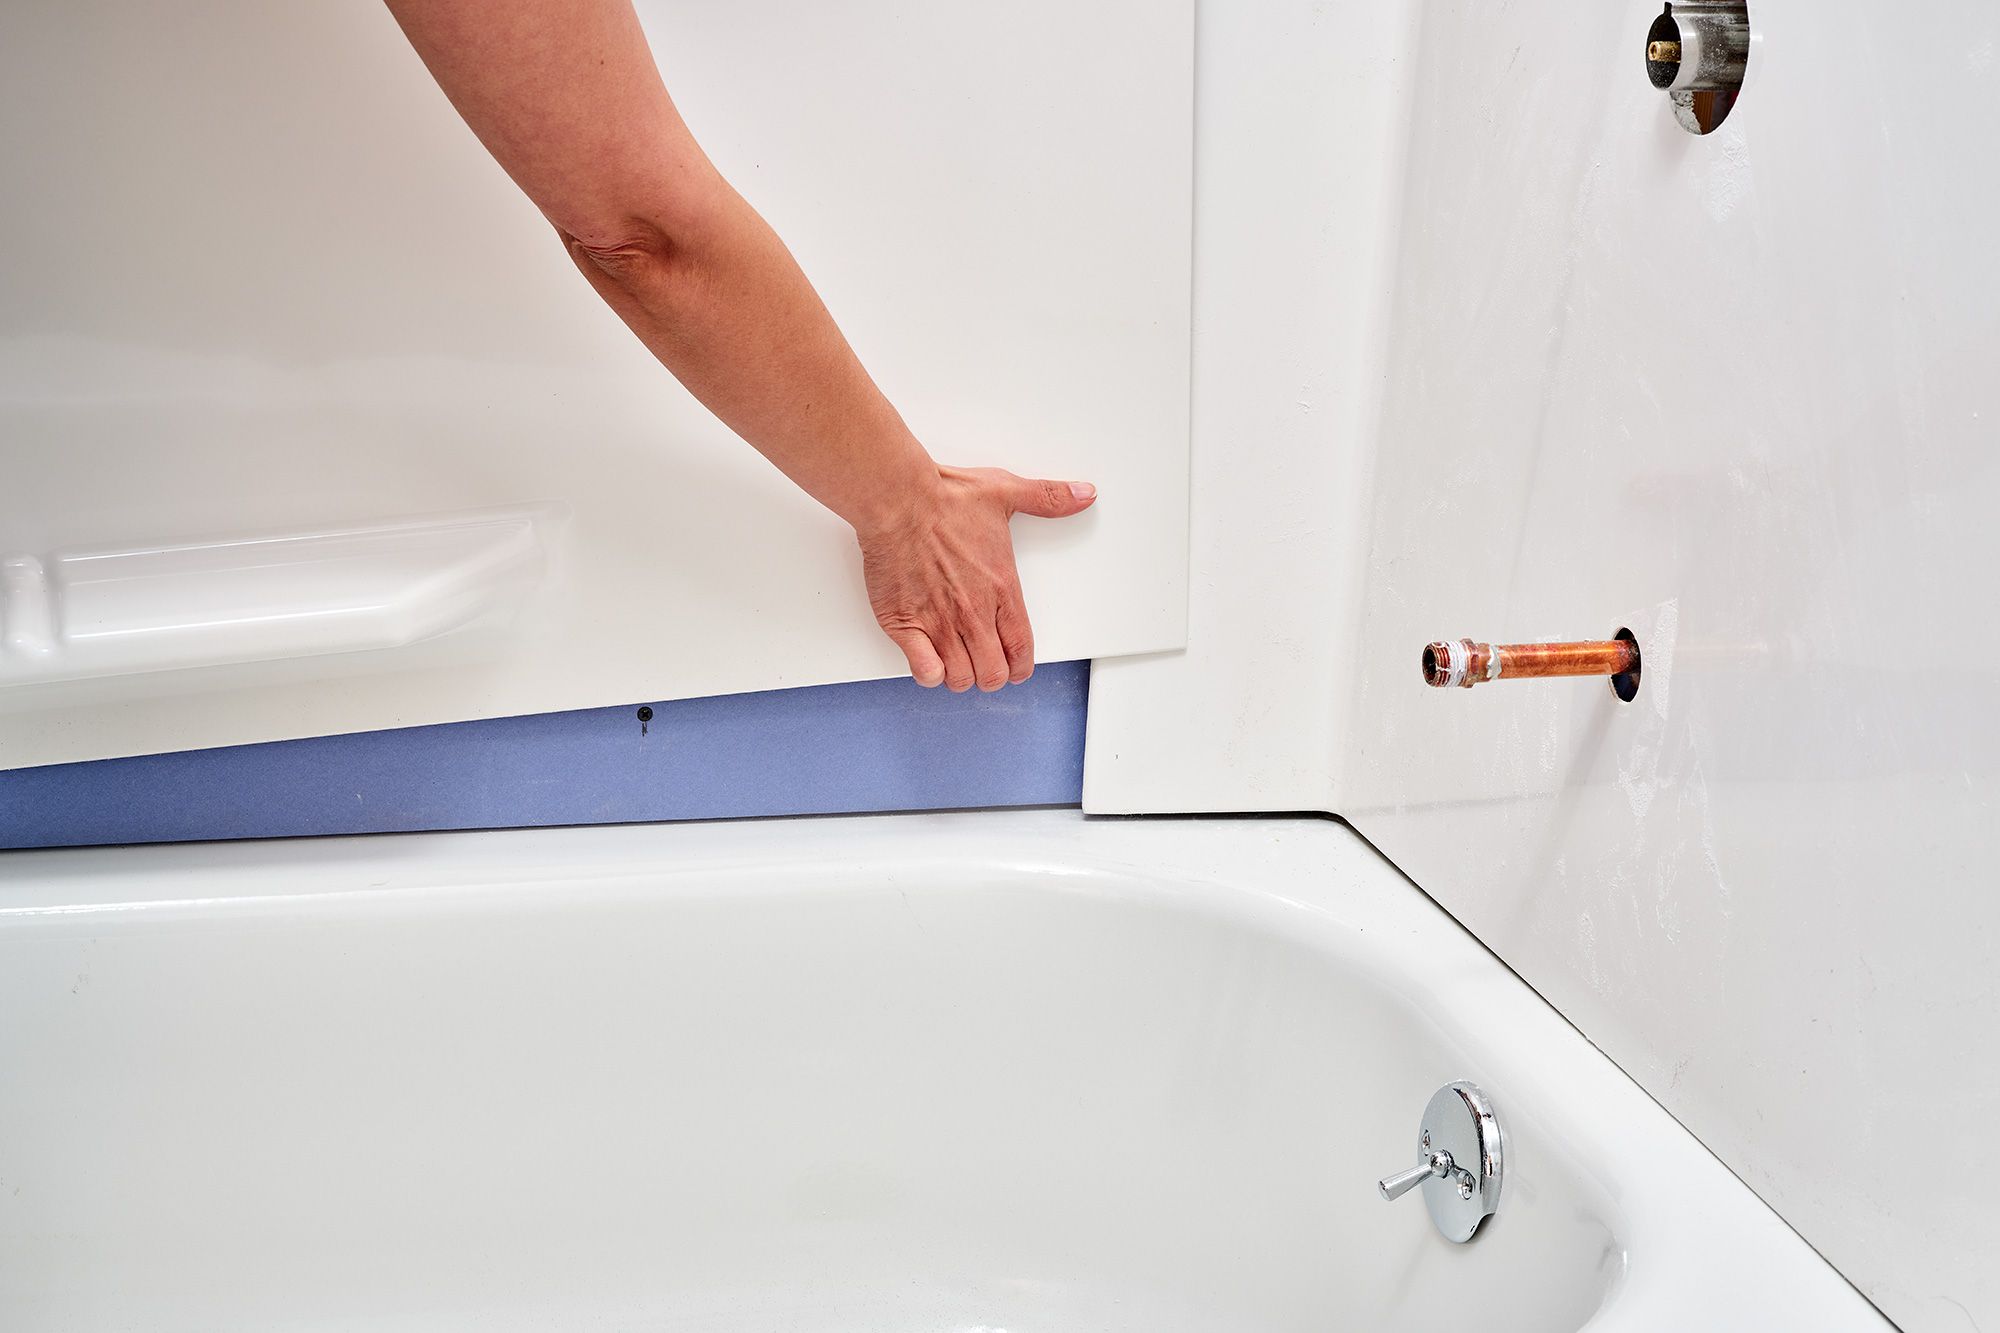
In addition to cleaning and priming, it is beneficial to mask off the surrounding areas to achieve clean and precise caulking lines. Use painter's tape to carefully mask off the edges of the gaps, creating defined boundaries for the caulking application. This meticulous step ensures that the caulking is applied with precision, resulting in a professional and polished finish.
By meticulously preparing the area before filling the gaps, you establish an optimal foundation for the caulking process. Through thorough cleaning, drying, priming, and masking, you create an environment conducive to effective adhesion and a visually appealing result. This meticulous preparation sets the stage for a successful sealing endeavor, ensuring that the filled gaps around the bathtub are not only watertight but also seamlessly integrated into the overall aesthetic of the bathroom.
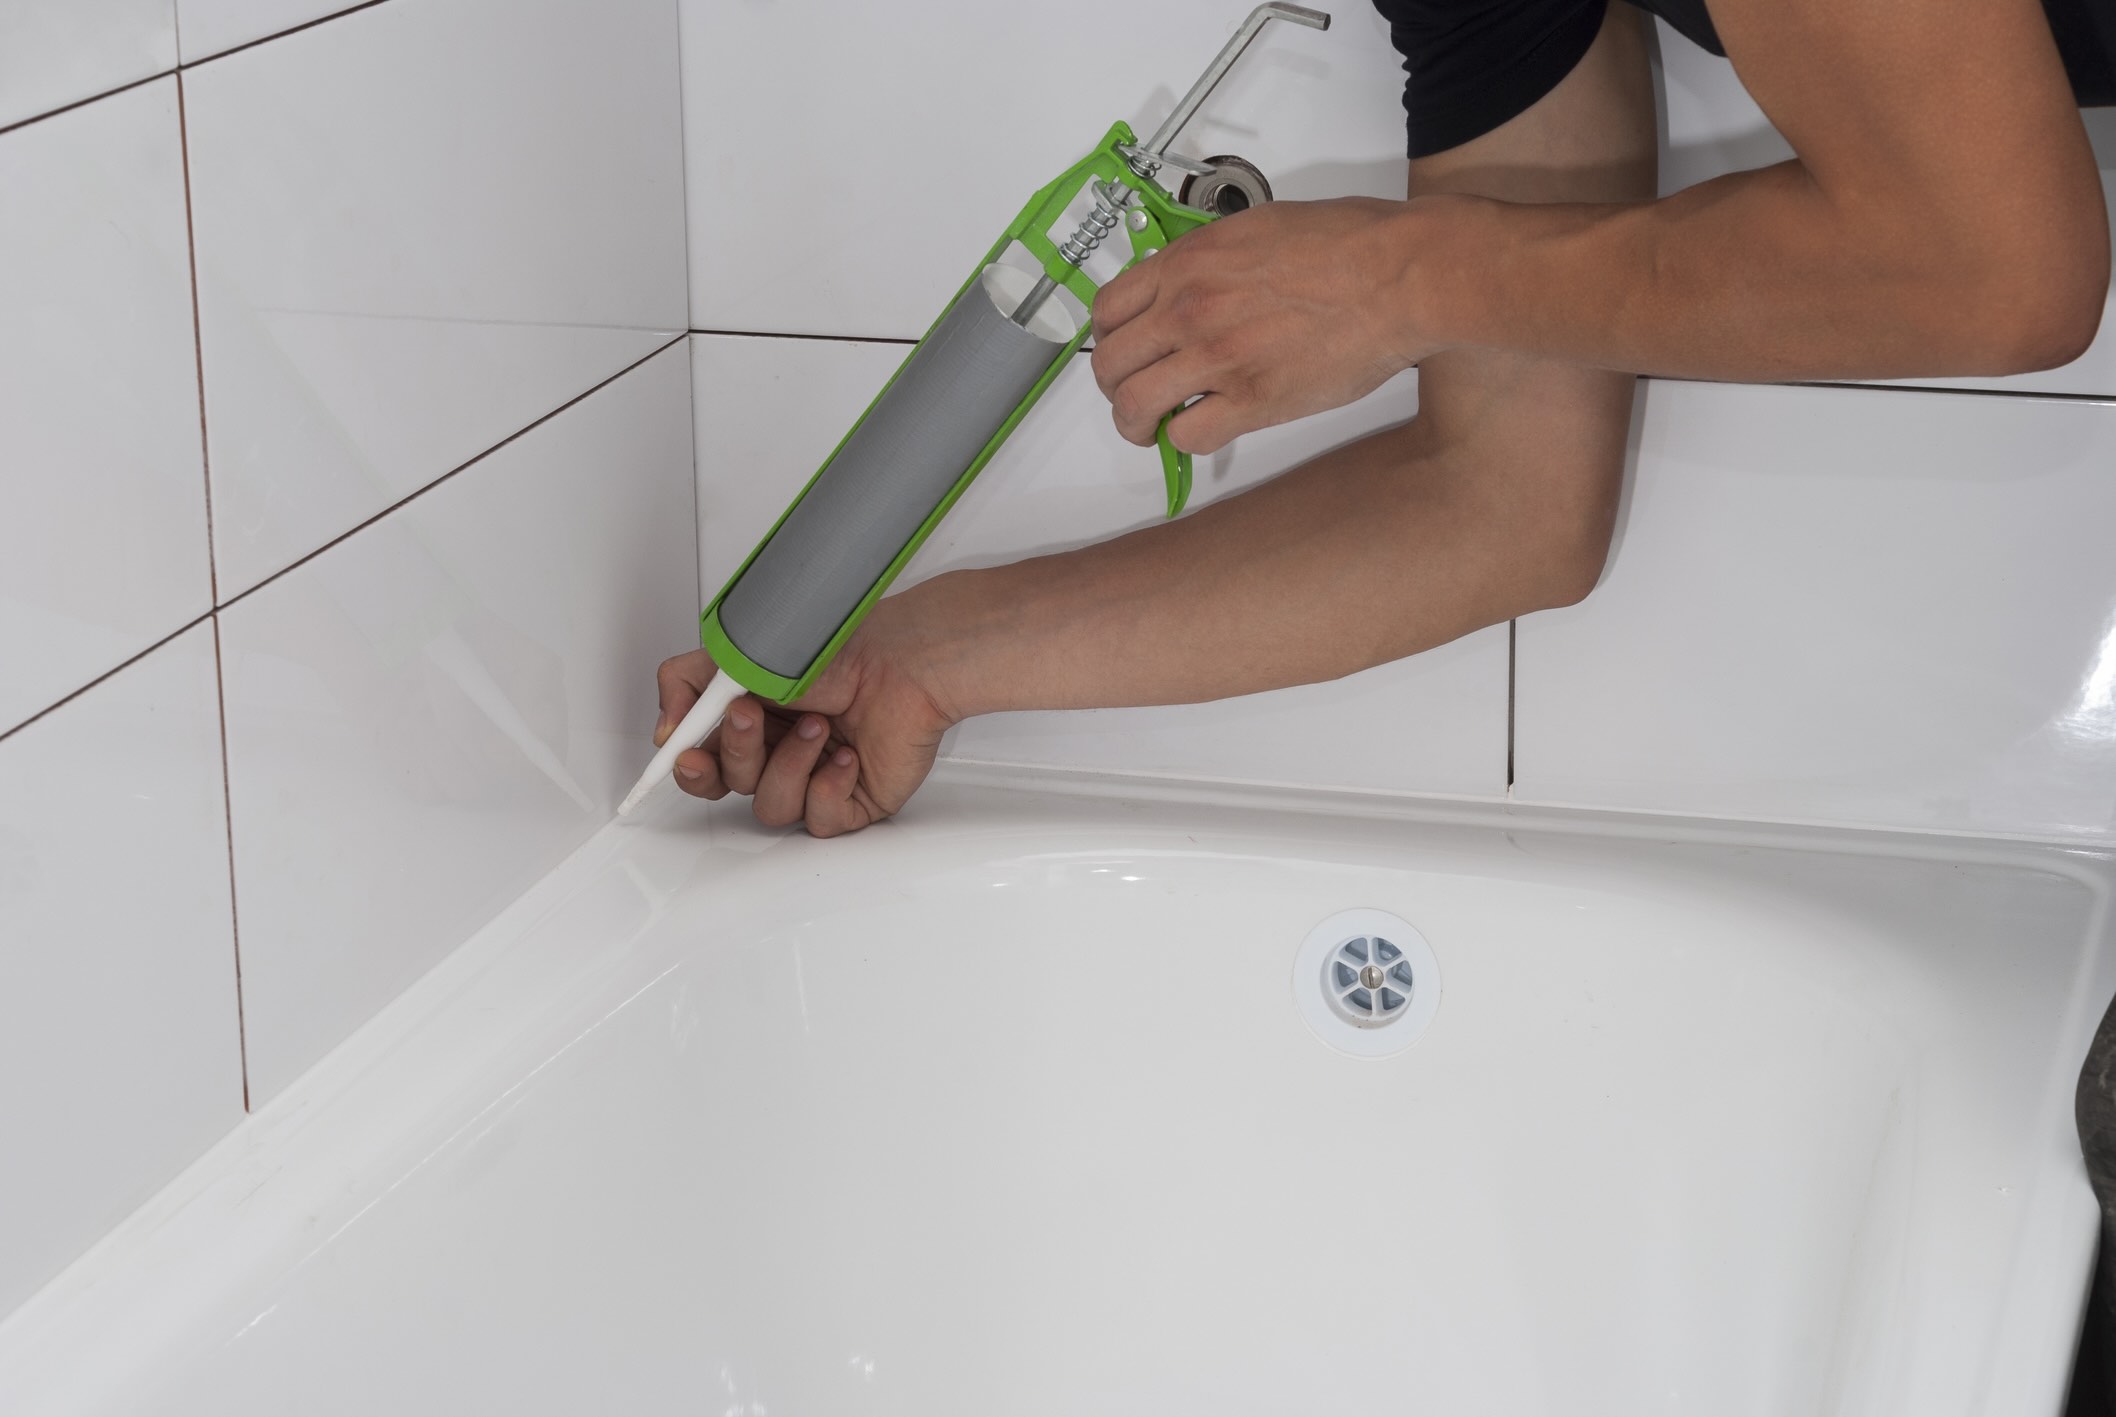
Filling the Gaps
With the area meticulously prepared, it is time to embark on the pivotal step of filling the gaps around the bathtub. This process demands precision, attention to detail, and a methodical approach to ensure that the gaps are effectively sealed, contributing to both the visual appeal and structural integrity of the bathtub installation.
Begin by selecting the appropriate caulking gun and the chosen filling material, whether it is silicone caulking, acrylic latex caulk, or another suitable option based on the specific requirements of the bathtub environment. Load the caulking gun with the filling material, ensuring a secure fit and smooth dispensing for precise application.
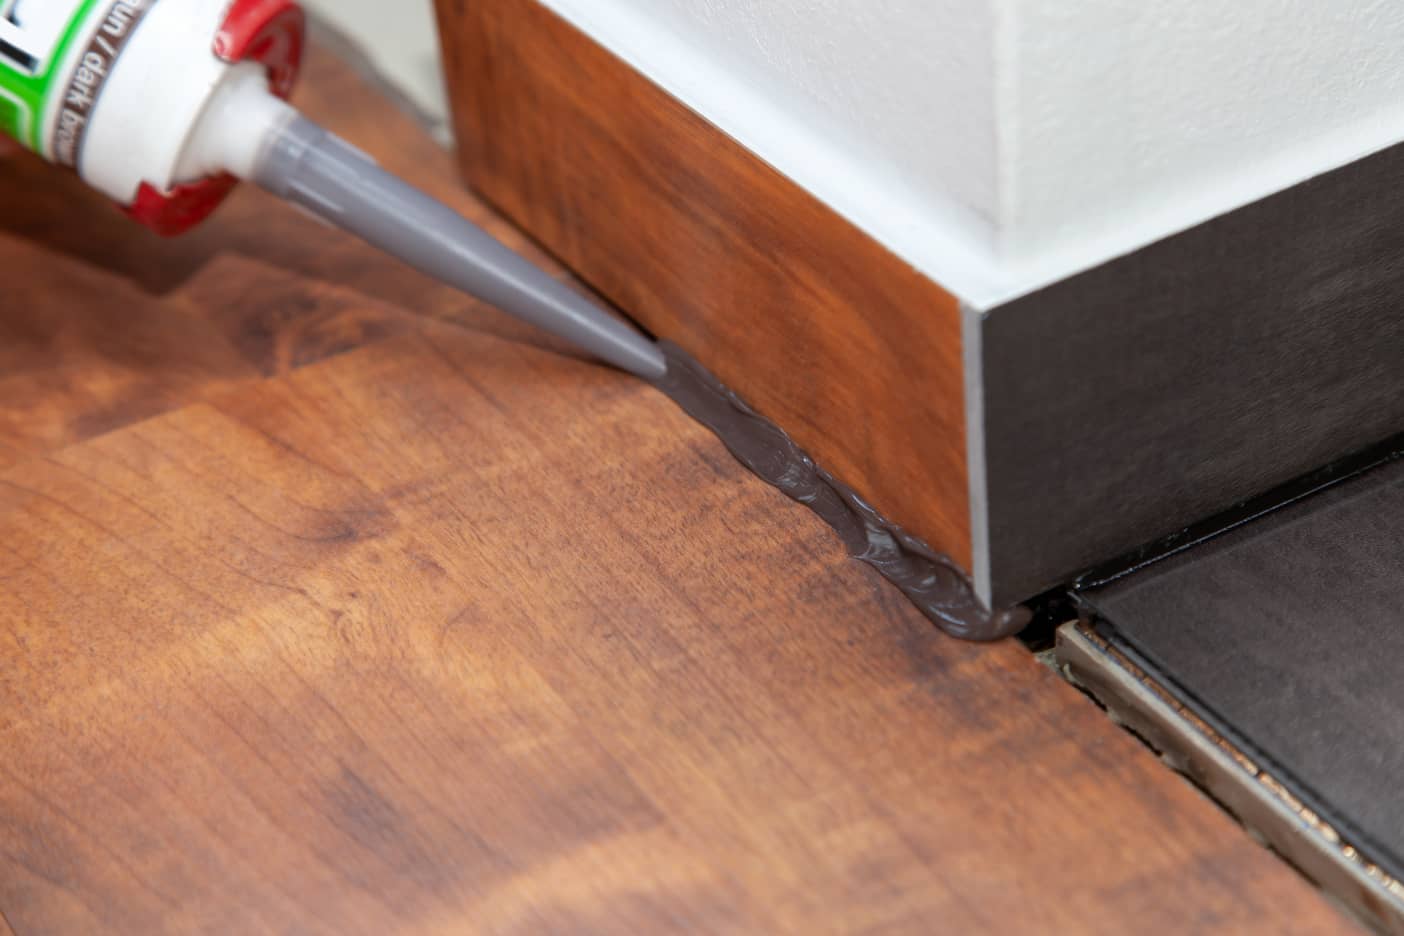
Carefully apply the filling material into the gaps, starting from one end and working methodically to ensure even coverage. Hold the caulking gun at a consistent angle to achieve a uniform bead of caulking, guiding it along the gaps with steady and controlled movements. Maintain a consistent pressure on the caulking gun to regulate the flow of the filling material, preventing gaps or inconsistencies in the application.
As you dispense the caulking, ensure that the gaps are adequately filled, with the material slightly protruding to account for potential shrinkage. This proactive approach minimizes the risk of gaps or voids in the sealed areas, promoting a robust and enduring seal around the bathtub.
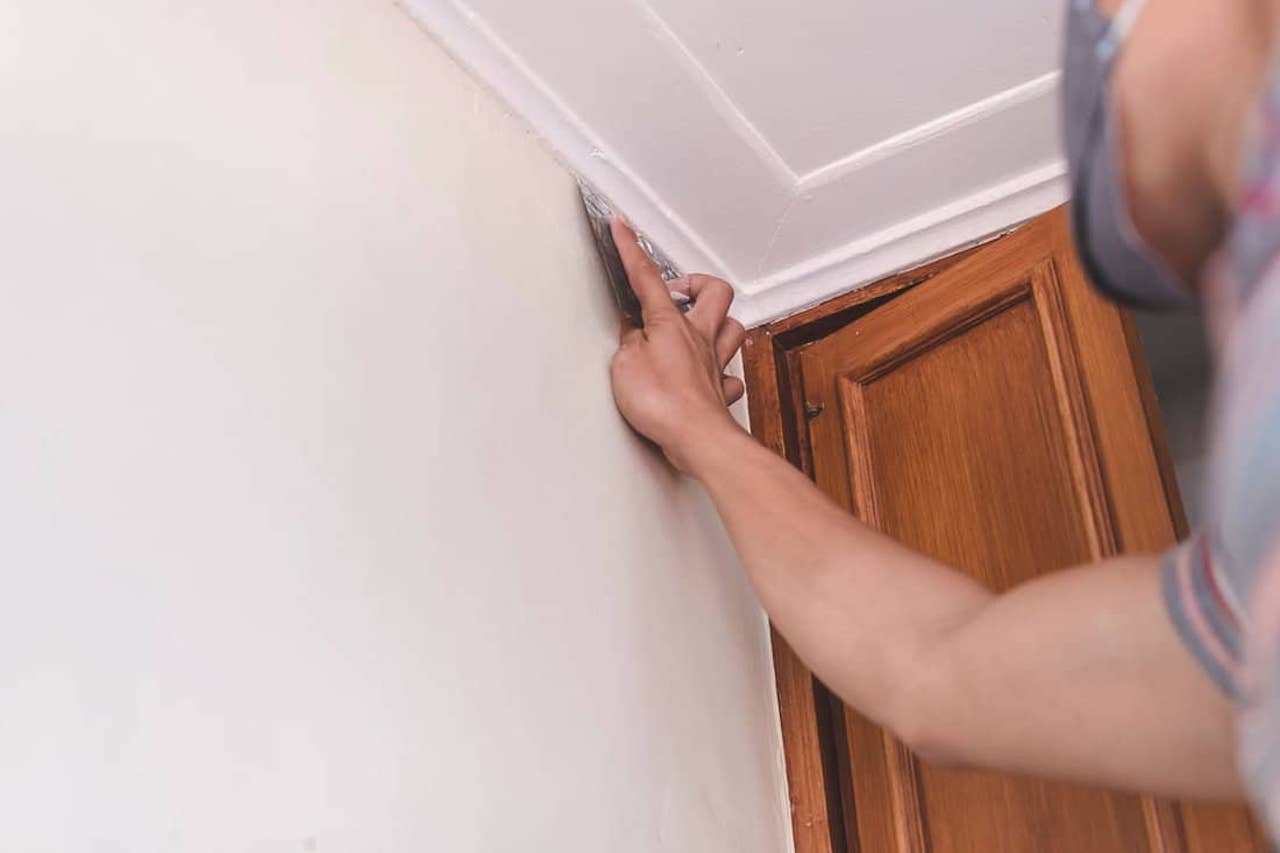
Once the gaps are filled with the caulking, utilize a caulking tool or a moistened finger to smooth and shape the caulking bead. This meticulous step not only refines the appearance of the seal but also ensures that the caulking adheres securely to the surrounding surfaces, creating a seamless transition between the filled gaps and the bathtub environment.
After shaping the caulking bead, carefully remove the painter's tape, if applied during the preparation phase, to reveal clean and defined caulking lines. This unveiling marks the culmination of the filling process, showcasing the precision and attention to detail that have been instrumental in achieving a professional and visually appealing result.
By executing the filling process with precision and care, you have effectively sealed the gaps around the bathtub, fortifying the area against water infiltration and contributing to the overall aesthetic harmony of the bathroom. This meticulous approach ensures that the filled gaps not only serve a functional purpose but also enhance the visual appeal of the bathtub installation, elevating the entire bathroom space with a seamless and polished finish.
Read more: How To Fill Hardwood Floor Gaps
Finishing Touches
With the gaps around the bathtub effectively filled and sealed, attention to the finishing touches is essential to elevate the overall presentation and durability of the sealing endeavor. These final steps not only contribute to the visual appeal of the bathtub area but also ensure that the seal remains robust and resilient in the face of daily use and environmental factors.
One crucial aspect of the finishing touches involves inspecting the filled gaps for any imperfections or inconsistencies. Carefully examine the caulking lines to identify any areas that may require additional touch-ups or refinement. Addressing any irregularities at this stage ensures that the seal is uniform and visually cohesive, enhancing the overall aesthetic of the bathtub area.
Following the inspection, it is beneficial to allow the caulking to cure according to the manufacturer's recommendations. Proper curing time is essential for the filling material to achieve its optimal strength and adhesion, fortifying the seal and enhancing its longevity. Adhering to the recommended curing duration ensures that the filled gaps attain their full structural integrity, providing a reliable barrier against water intrusion and potential damage.
In addition to curing, consider applying a bead of silicone caulk along the edges of the filled gaps to create a seamless transition between the caulking and the surrounding surfaces. This meticulous step not only enhances the visual continuity of the seal but also reinforces the edges, minimizing the risk of water seepage and ensuring a durable and resilient finish.
Furthermore, incorporating a protective sealant over the cured caulking can provide an additional layer of defense against moisture and environmental elements. Select a high-quality sealant designed for bathroom applications and apply it over the cured caulking to enhance its water resistance and durability. This proactive measure safeguards the caulking, prolonging its effectiveness and preserving the integrity of the seal over time.
Finally, consider integrating the filled gaps into the overall aesthetic of the bathtub area by ensuring that the color and texture of the caulking complement the surrounding surfaces. This harmonious integration creates a cohesive and polished appearance, seamlessly blending the filled gaps with the bathtub environment and contributing to a visually unified and appealing space.
By attending to these finishing touches, you not only enhance the visual cohesion and durability of the filled gaps around the bathtub but also reinforce the effectiveness of the seal, ensuring that it remains resilient and aesthetically pleasing. These meticulous steps elevate the sealing endeavor to a professional standard, culminating in a flawlessly finished bathtub area that exudes both functionality and visual charm.
Frequently Asked Questions about How To Fill Large Gaps Around A Bathtub
Was this page helpful?
At Storables.com, we guarantee accurate and reliable information. Our content, validated by Expert Board Contributors, is crafted following stringent Editorial Policies. We're committed to providing you with well-researched, expert-backed insights for all your informational needs.


0 thoughts on “How To Fill Large Gaps Around A Bathtub”