Home>Furniture & Design>Bathroom Accessories>How To Replace The Bathtub Drain
Bathroom Accessories
How To Replace The Bathtub Drain
Modified: March 2, 2024
Learn how to replace the bathtub drain with our step-by-step guide. Find the best bathroom accessories and tools for the job.
(Many of the links in this article redirect to a specific reviewed product. Your purchase of these products through affiliate links helps to generate commission for Storables.com, at no extra cost. Learn more)
Introduction
Replacing a bathtub drain may seem like a daunting task, but with the right guidance and a bit of know-how, it can be a manageable DIY project. Over time, bathtub drains can become corroded, clogged, or simply outdated, prompting the need for a replacement. Whether you're looking to upgrade to a more modern drain or simply need to address a persistent drainage issue, understanding the process of replacing a bathtub drain is essential.
In this comprehensive guide, we will walk you through the step-by-step process of replacing your bathtub drain. From removing the old drain to installing the new one, we'll cover everything you need to know to successfully complete this project. By following these instructions and tips, you can restore the functionality and aesthetics of your bathtub while avoiding the need for professional assistance.
Before diving into the process, it's important to gather the necessary tools and materials. You'll likely need a drain removal tool, adjustable pliers, a screwdriver, plumber's putty, and the new bathtub drain assembly. Additionally, having a bucket, rags, and a wrench on hand can be helpful for managing any water or debris that may arise during the process.
By taking the time to understand the steps involved and preparing the required items, you can approach this project with confidence. Whether you're a seasoned DIY enthusiast or a novice looking to expand your home improvement skills, replacing a bathtub drain is a rewarding endeavor that can enhance the functionality and appearance of your bathroom.
Now, let's delve into the detailed steps for replacing your bathtub drain, empowering you to tackle this project with ease and achieve a satisfying outcome.
Key Takeaways:
- Replacing a bathtub drain is a manageable DIY project that involves removing the old drain, cleaning the area, applying plumber’s putty, installing the new drain, and testing its functionality.
- By following the step-by-step guide, you can enhance your bathroom’s functionality and aesthetics while gaining valuable DIY skills and a sense of accomplishment.
Read more: How To Replace Bathtub Drain Plug
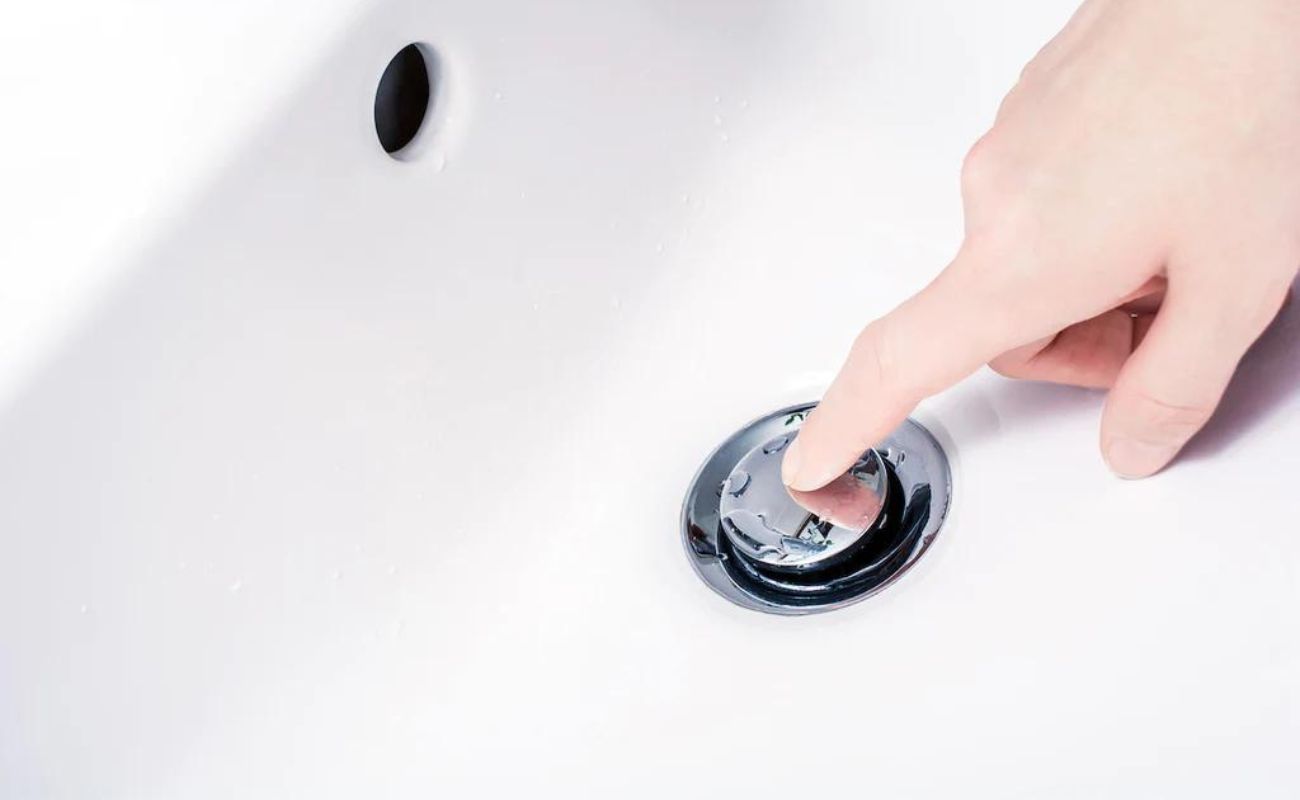
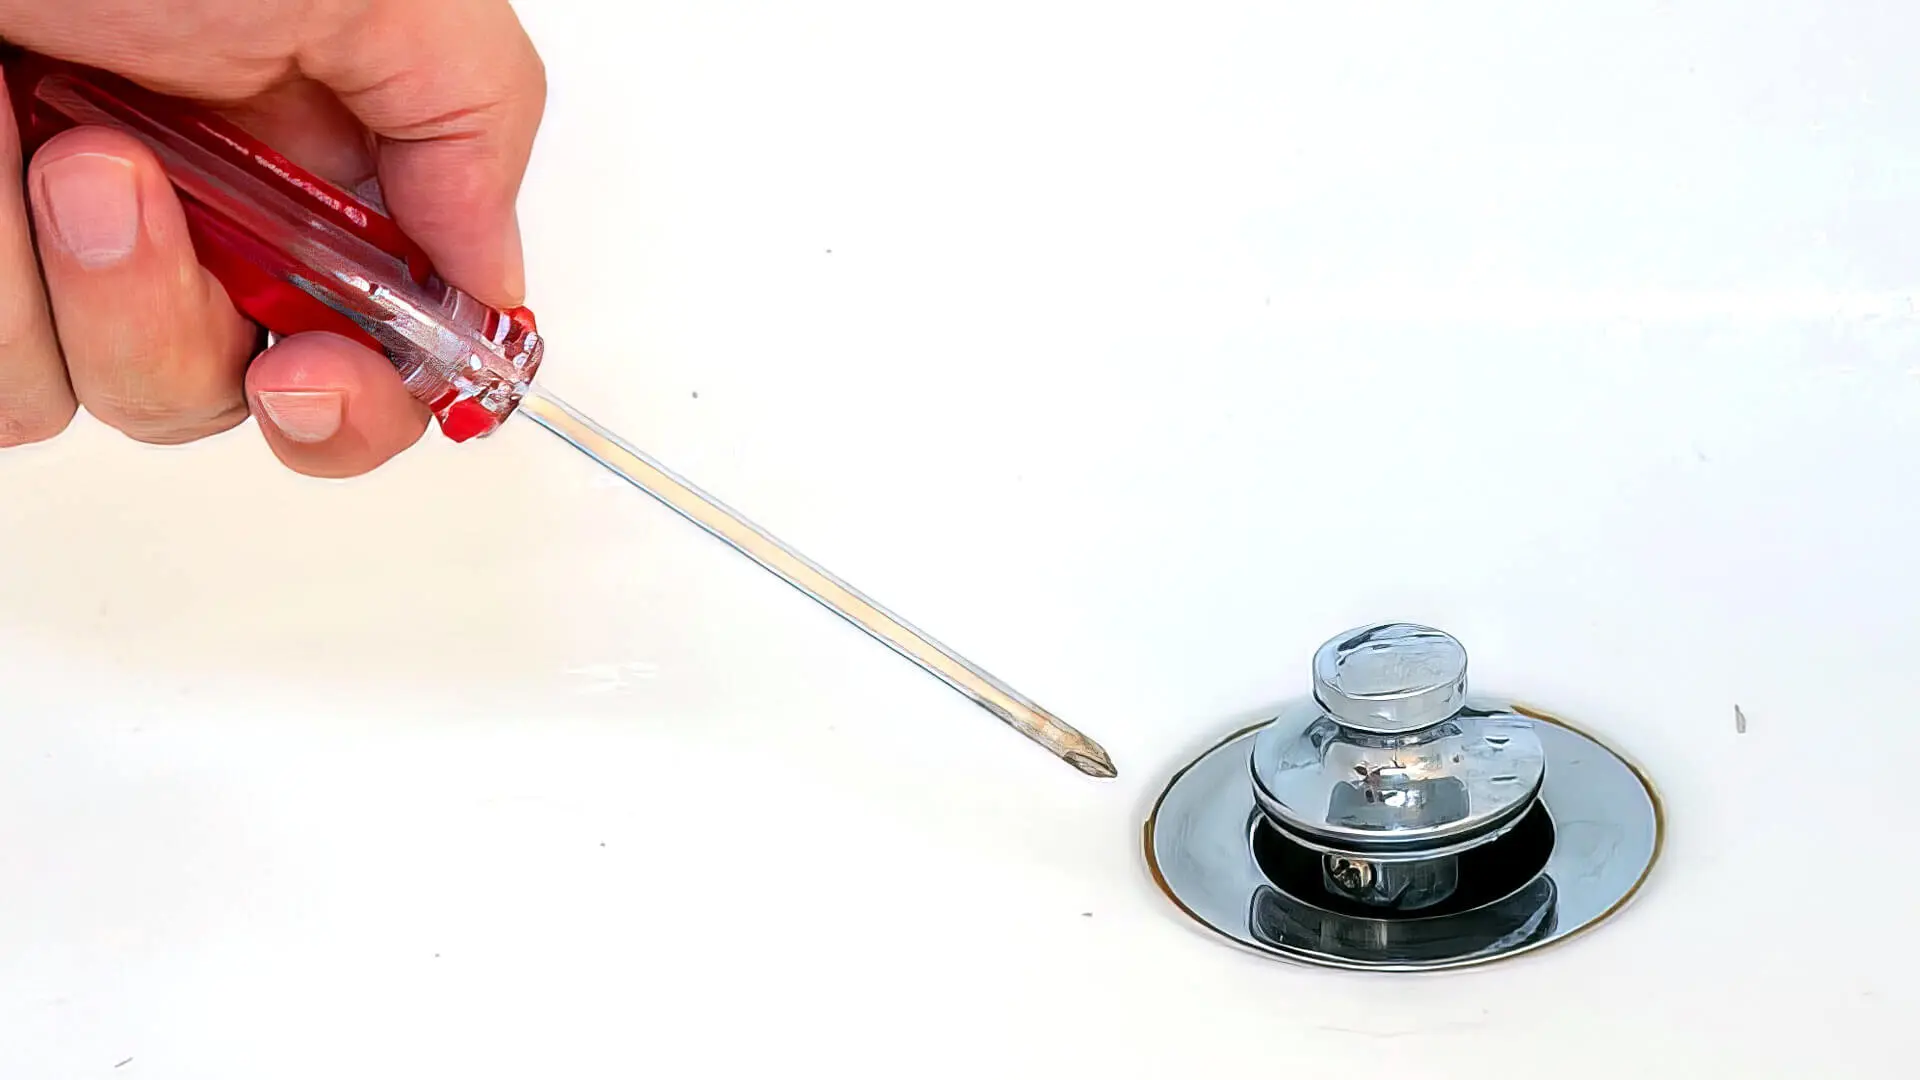
Step 1: Remove the old drain
Removing the old bathtub drain is the crucial first step in the process of replacement. This task requires careful attention to detail and the use of specific tools to ensure a successful outcome. Here's a detailed guide on how to remove the old drain:
-
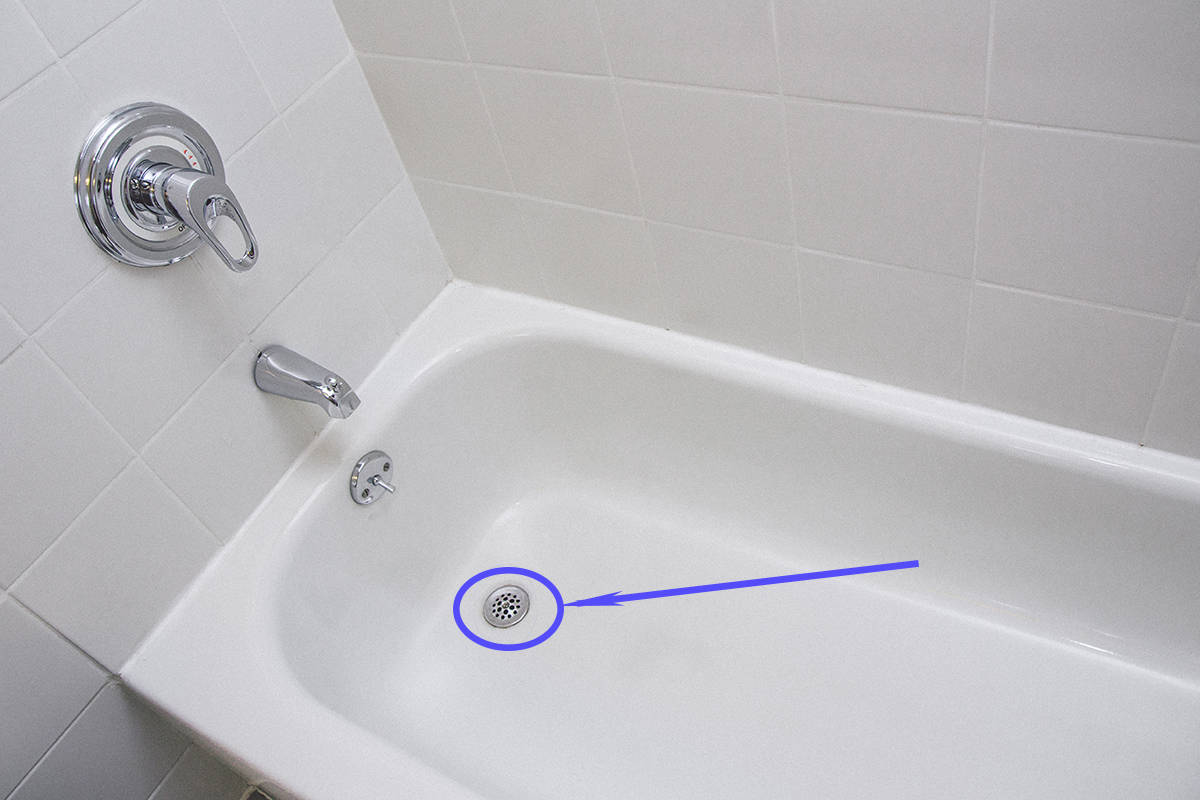
Access the Drain: Start by locating the access panel for the bathtub drain, which is typically found on the wall behind the tub. If there is no access panel, you may need to create an opening to reach the drain.
-
Clear the Area: Before proceeding, clear the space around the drain to ensure easy access. Remove any items or debris that may obstruct your work area.
-
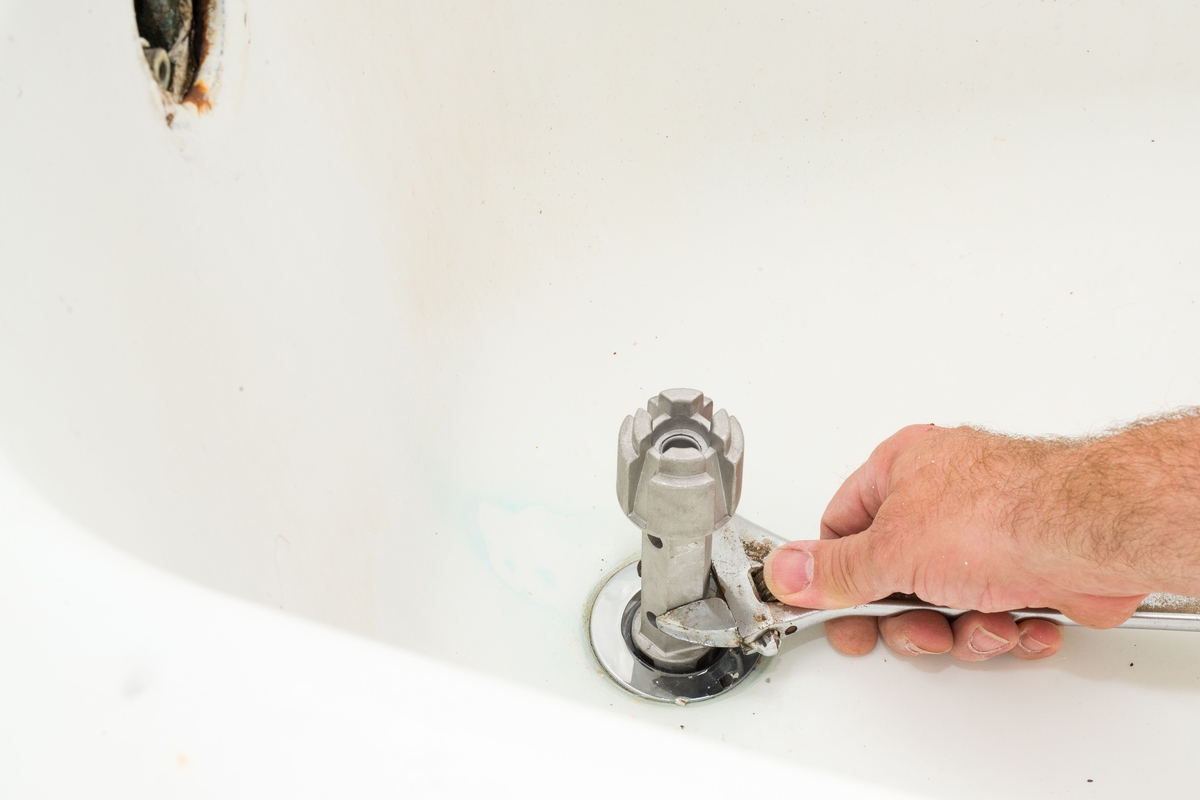
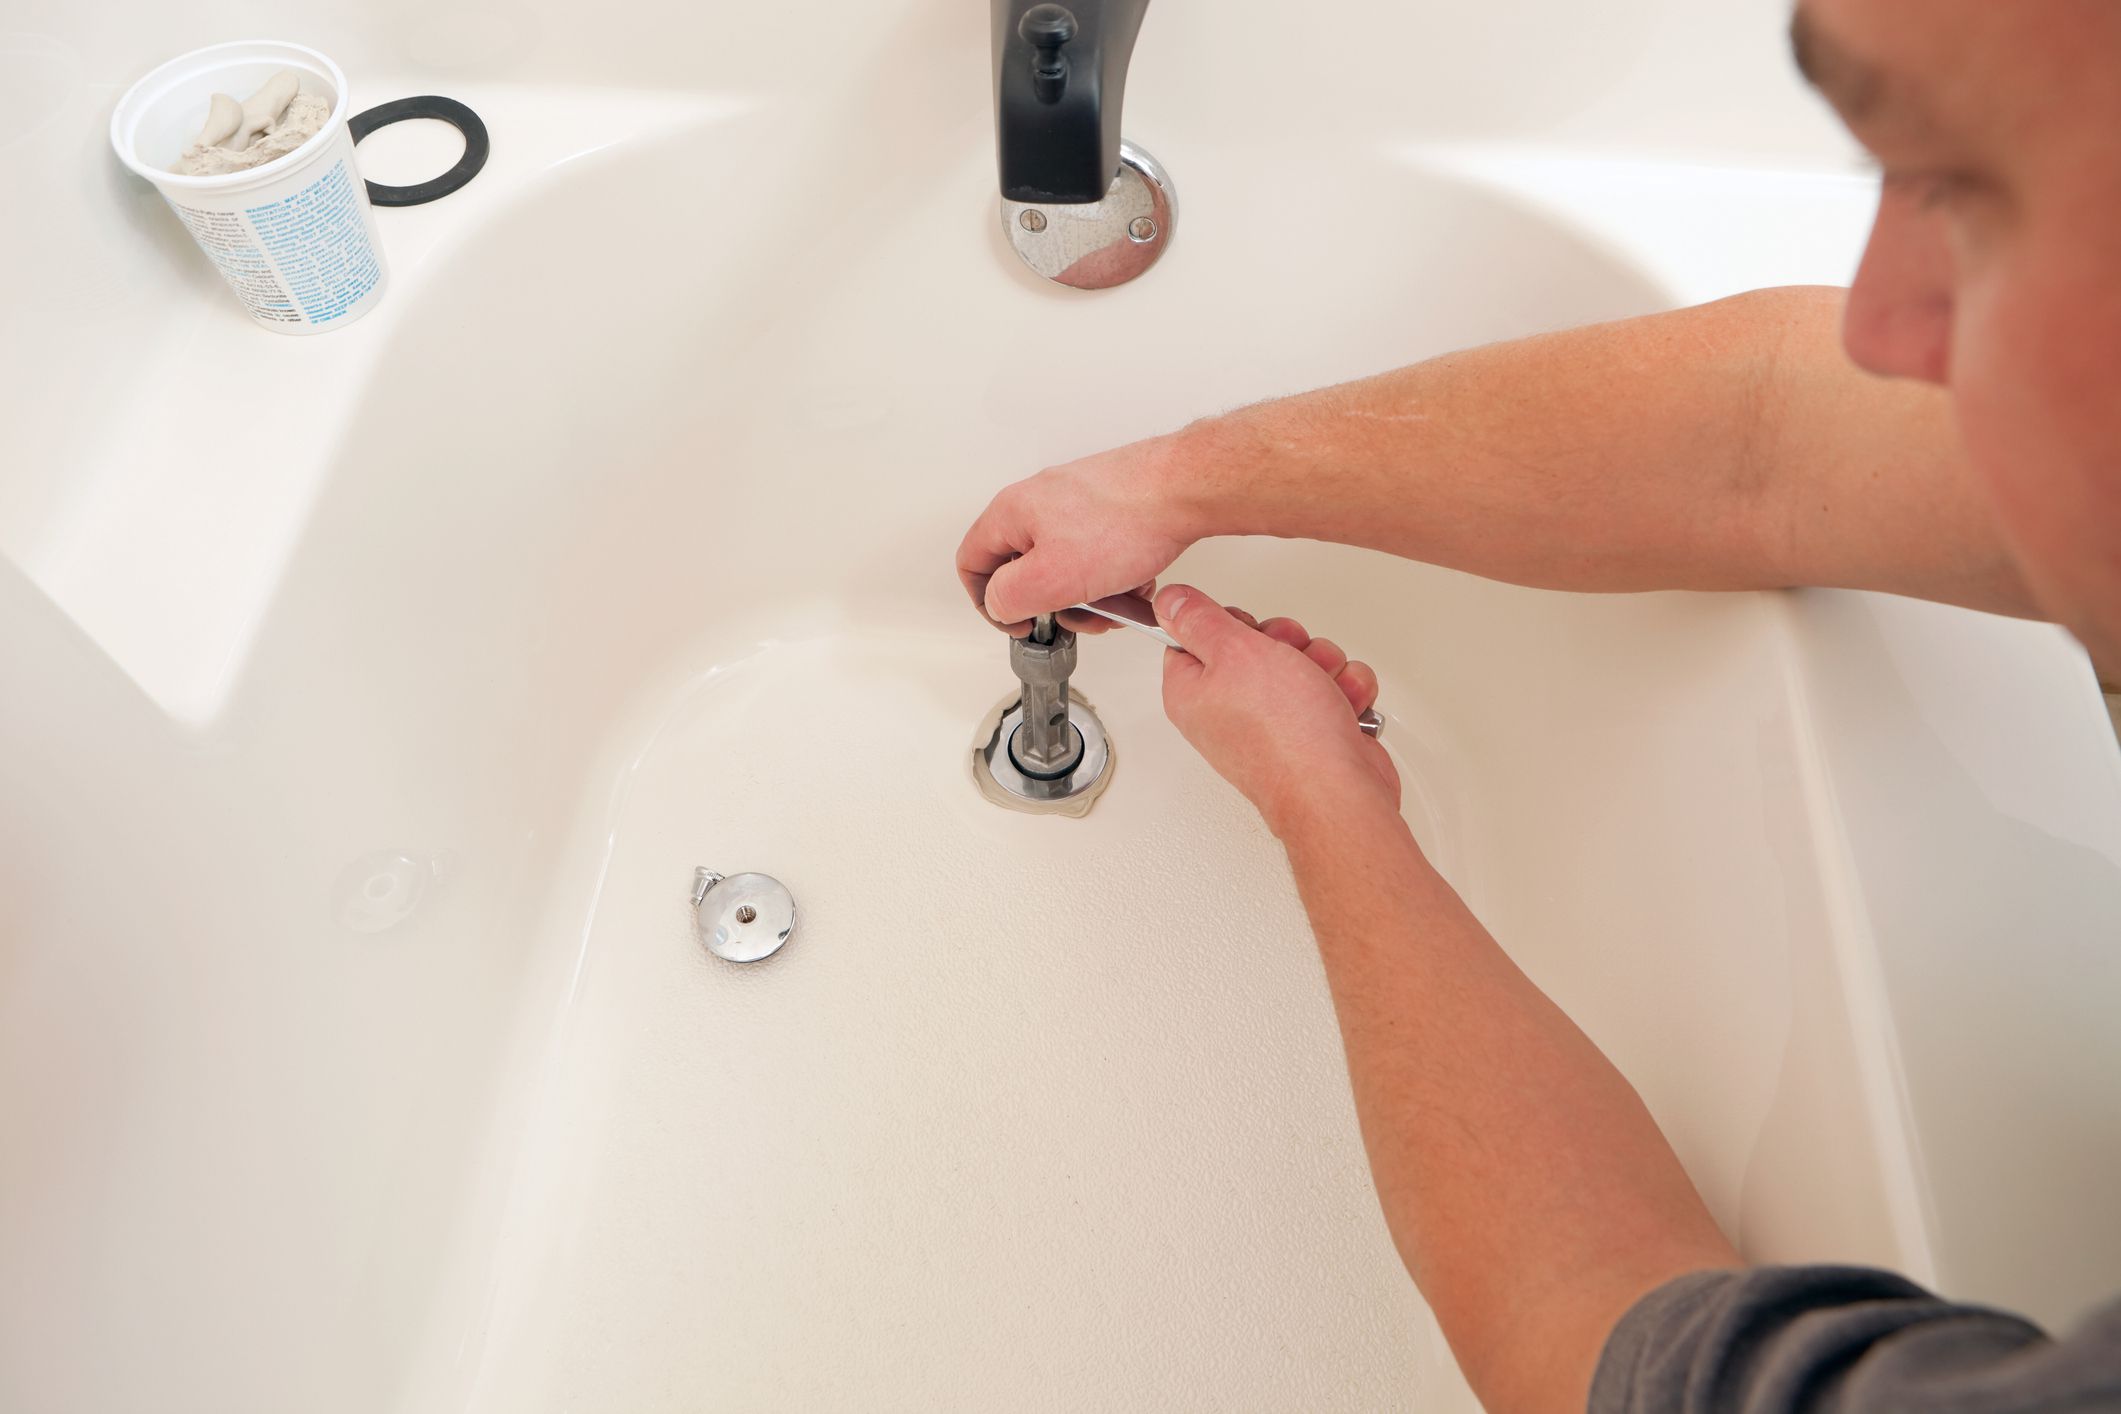
Use a Drain Removal Tool: A drain removal tool, also known as a drain key, is essential for loosening the old drain. Insert the drain removal tool into the drain and turn it counterclockwise to release the old drain from the bathtub.
-
Apply Pressure: Using adjustable pliers, apply gentle pressure to the drain removal tool to ensure a secure grip. Slowly rotate the tool to break the seal and loosen the old drain. It's important to proceed with caution to avoid damaging the surrounding area.
-
Inspect the Drain: Once the old drain is loosened, carefully lift it out of the bathtub. Take this opportunity to inspect the drain and surrounding area for any signs of damage or corrosion. Cleaning the exposed area can help prepare it for the installation of the new drain.
-
Dispose of the Old Drain: Properly dispose of the old drain in accordance with local waste disposal regulations. If the old drain is in good condition, consider donating it or recycling it if possible.
By following these detailed steps, you can effectively remove the old bathtub drain in preparation for the installation of the new drain. Taking the time to execute this step with precision sets the stage for a seamless transition to the subsequent phases of the replacement process. With the old drain successfully removed, you are now ready to proceed to the next step of cleaning the drain area in readiness for the installation of the new drain.
Step 2: Clean the drain area
Once the old bathtub drain has been successfully removed, the next critical step in the replacement process is to thoroughly clean the drain area. This essential task ensures that the installation of the new drain is carried out on a clean and debris-free surface, promoting optimal functionality and longevity. Here's a detailed guide on how to effectively clean the drain area:
-
Remove Residue: Begin by inspecting the exposed drain area for any residue or debris left behind from the old drain. Use a rag or brush to carefully remove any accumulated grime, soap scum, or mineral deposits. Pay close attention to the edges and surrounding surfaces to achieve a clean and smooth foundation for the new drain.
-
Clear Drain Opening: Take the time to clear the drain opening of any obstructions or blockages that may impede proper drainage. Use a small brush or pipe cleaning tool to dislodge and remove any buildup within the drain opening. Ensuring a clear and unobstructed pathway for water flow is essential for the optimal performance of the new drain.
-
Inspect Drain Components: While cleaning the drain area, inspect the components within the drain opening, including the drain flange and surrounding gaskets. Check for signs of wear, damage, or deterioration that may affect the functionality of the new drain. If any components appear compromised, consider replacing them to ensure a reliable and watertight seal.
-
Apply Cleaning Solution: For stubborn residue or mineral deposits, consider using a mild cleaning solution or vinegar to dissolve and remove buildup. Apply the cleaning solution to the affected areas and allow it to sit for a few minutes before gently scrubbing with a brush or sponge. Thoroughly rinse the area with water to remove any remaining cleaning solution.
-
Dry the Area: Once the drain area has been cleaned and rinsed, use a clean, dry cloth to thoroughly dry the surfaces. Ensuring that the area is completely dry is crucial for promoting adhesion when applying plumber's putty during the installation of the new drain.
By meticulously cleaning the drain area and preparing it for the installation of the new drain, you are setting the stage for a successful and long-lasting replacement. This step not only promotes the proper functioning of the new drain but also contributes to the overall cleanliness and maintenance of your bathtub. With the drain area now clean and primed for the next phase, you are ready to proceed to the crucial task of applying plumber's putty in preparation for the installation of the new drain.
Step 3: Apply plumber's putty
Applying plumber's putty is a critical step in the process of replacing a bathtub drain. This versatile and pliable substance plays a key role in creating a watertight seal between the new drain and the bathtub, preventing leaks and ensuring the integrity of the installation. Here's a detailed guide on how to effectively apply plumber's putty in preparation for the installation of the new drain:
-
Prepare the Plumber's Putty: Start by preparing the plumber's putty for application. Knead and roll a small amount of plumber's putty between your hands to warm and soften it, making it more malleable and easier to work with. Ensure that the putty is pliable and free from any hardened or dry portions.
-
Create a Putty Rope: Once the plumber's putty is properly softened, roll it into a rope-like shape of uniform thickness. The putty rope should be long enough to encircle the underside of the new drain flange, providing a complete seal when installed.
-
Apply the Putty to the Drain Flange: Carefully position the putty rope around the underside of the new drain flange, ensuring that it forms a continuous and even seal. Gently press the putty into place, allowing it to conform to the shape of the flange and create a secure barrier against water intrusion.
-
Remove Excess Putty: After applying the putty to the drain flange, carefully trim any excess putty using a putty knife or a small, non-serrated knife. The goal is to achieve a clean and uniform seal without any protruding or uneven portions of putty that may interfere with the installation process.
-
Inspect the Putty Seal: Once the putty is applied and excess putty is removed, inspect the seal to ensure that it is uniform, continuous, and free from gaps or inconsistencies. A well-executed putty seal is essential for preventing water from seeping beneath the new drain and compromising the integrity of the installation.
By following these detailed steps, you can effectively apply plumber's putty in readiness for the installation of the new bathtub drain. This crucial step sets the foundation for a secure and watertight seal, ensuring the long-term functionality and reliability of the new drain. With the plumber's putty successfully applied, you are now prepared to proceed to the next phase of the replacement process: installing the new drain.
Use a drain removal tool or pliers to unscrew the old drain. Clean the area and apply plumber’s putty to the new drain before installing. Tighten the new drain in place and test for leaks.
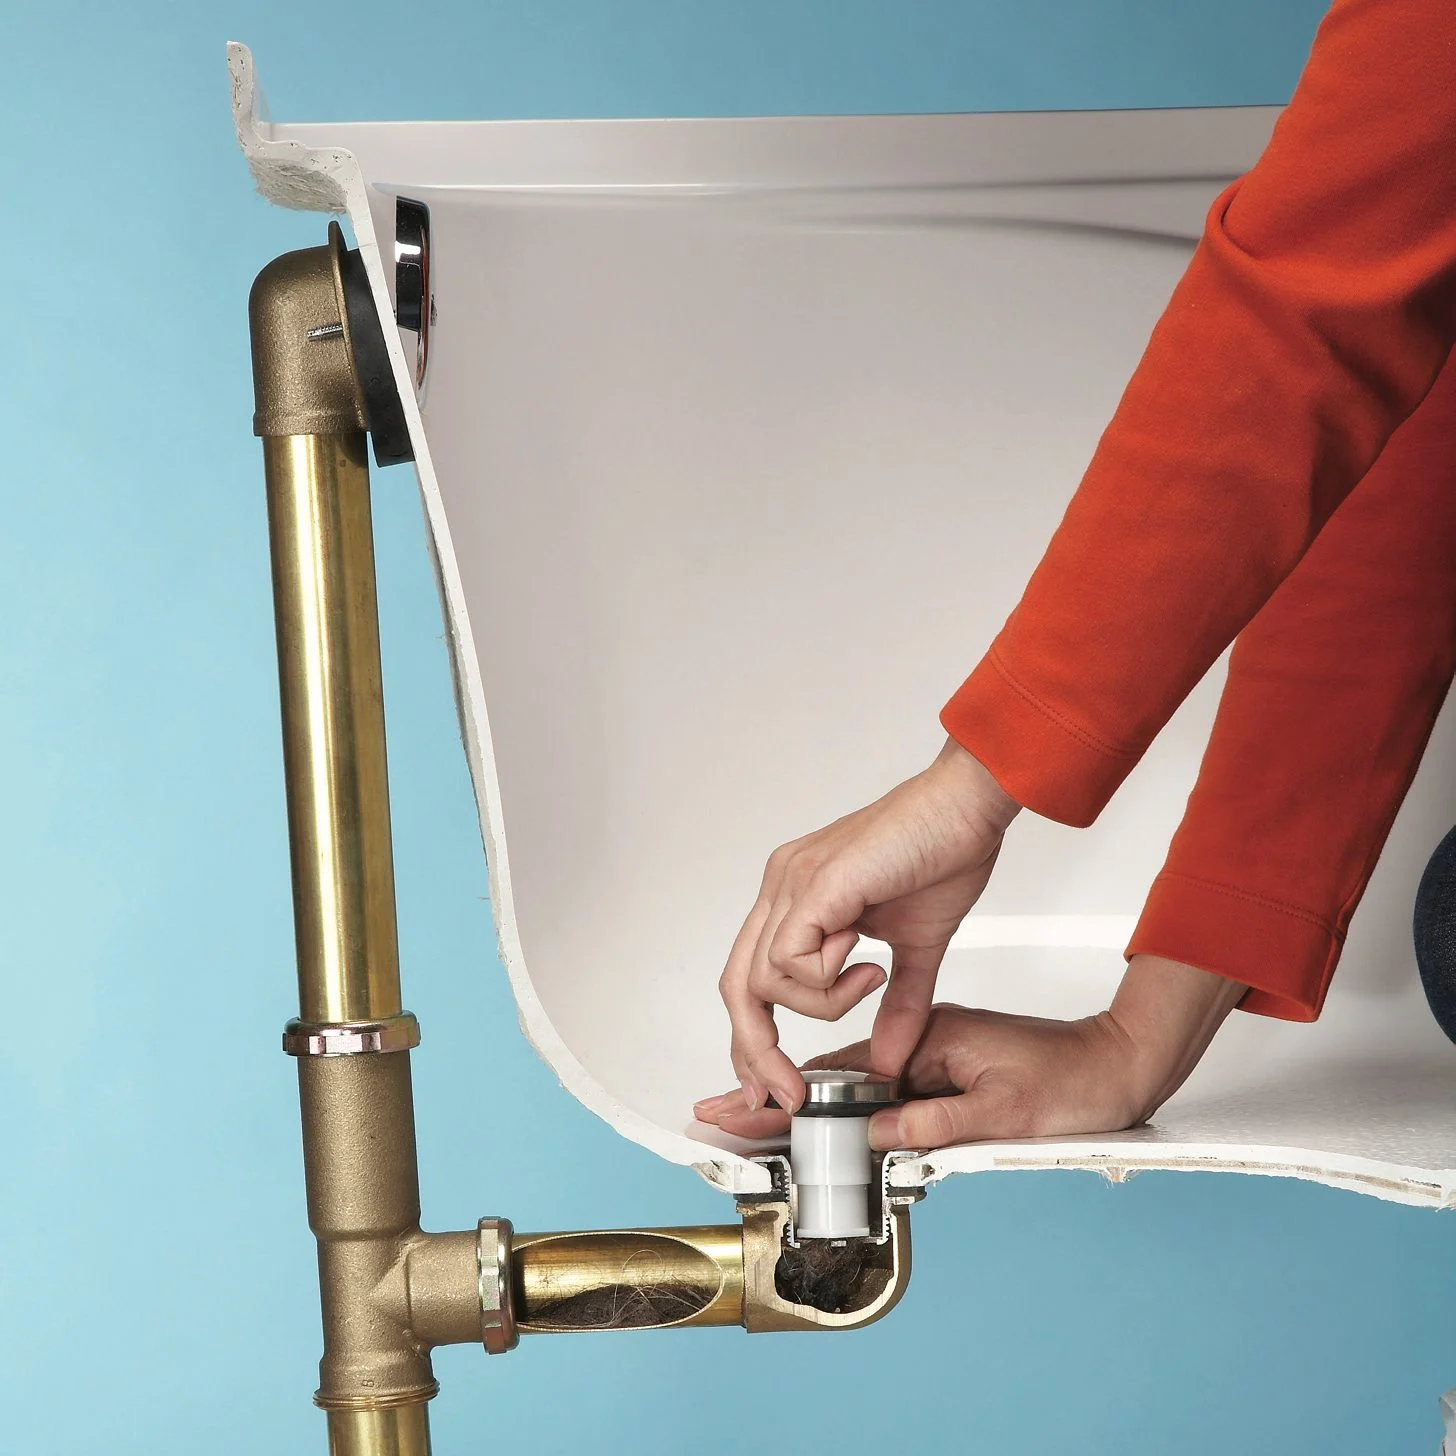
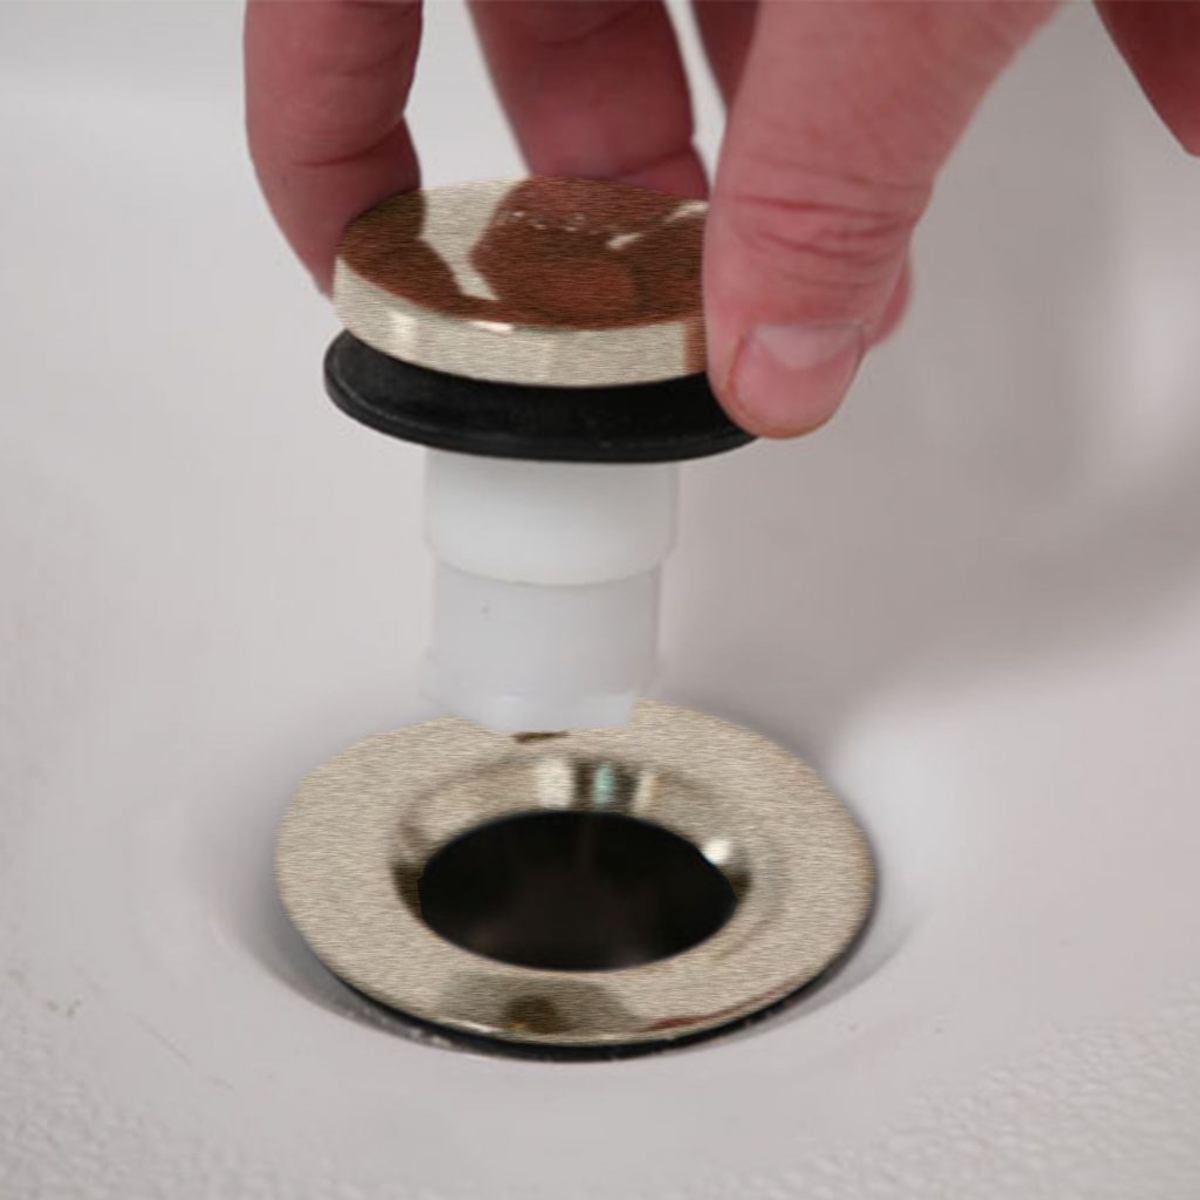
Step 4: Install the new drain
Installing the new bathtub drain is a pivotal phase in the replacement process, marking the transition from preparation to implementation. This step requires precision and attention to detail to ensure a secure and watertight fit, promoting optimal functionality and longevity. Here's a comprehensive guide on how to effectively install the new drain:
-
Position the New Drain: Begin by positioning the new drain assembly into the drain opening, ensuring that it aligns properly and sits flush against the bathtub surface. Take care to orient the drain assembly according to the manufacturer's specifications, as some designs may feature specific alignment requirements.
-
Secure the Drain Flange: Once the drain assembly is properly positioned, secure the drain flange by gently pressing it into place. Ensure that the plumber's putty creates a uniform seal between the drain flange and the bathtub surface, providing a barrier against water infiltration.
-
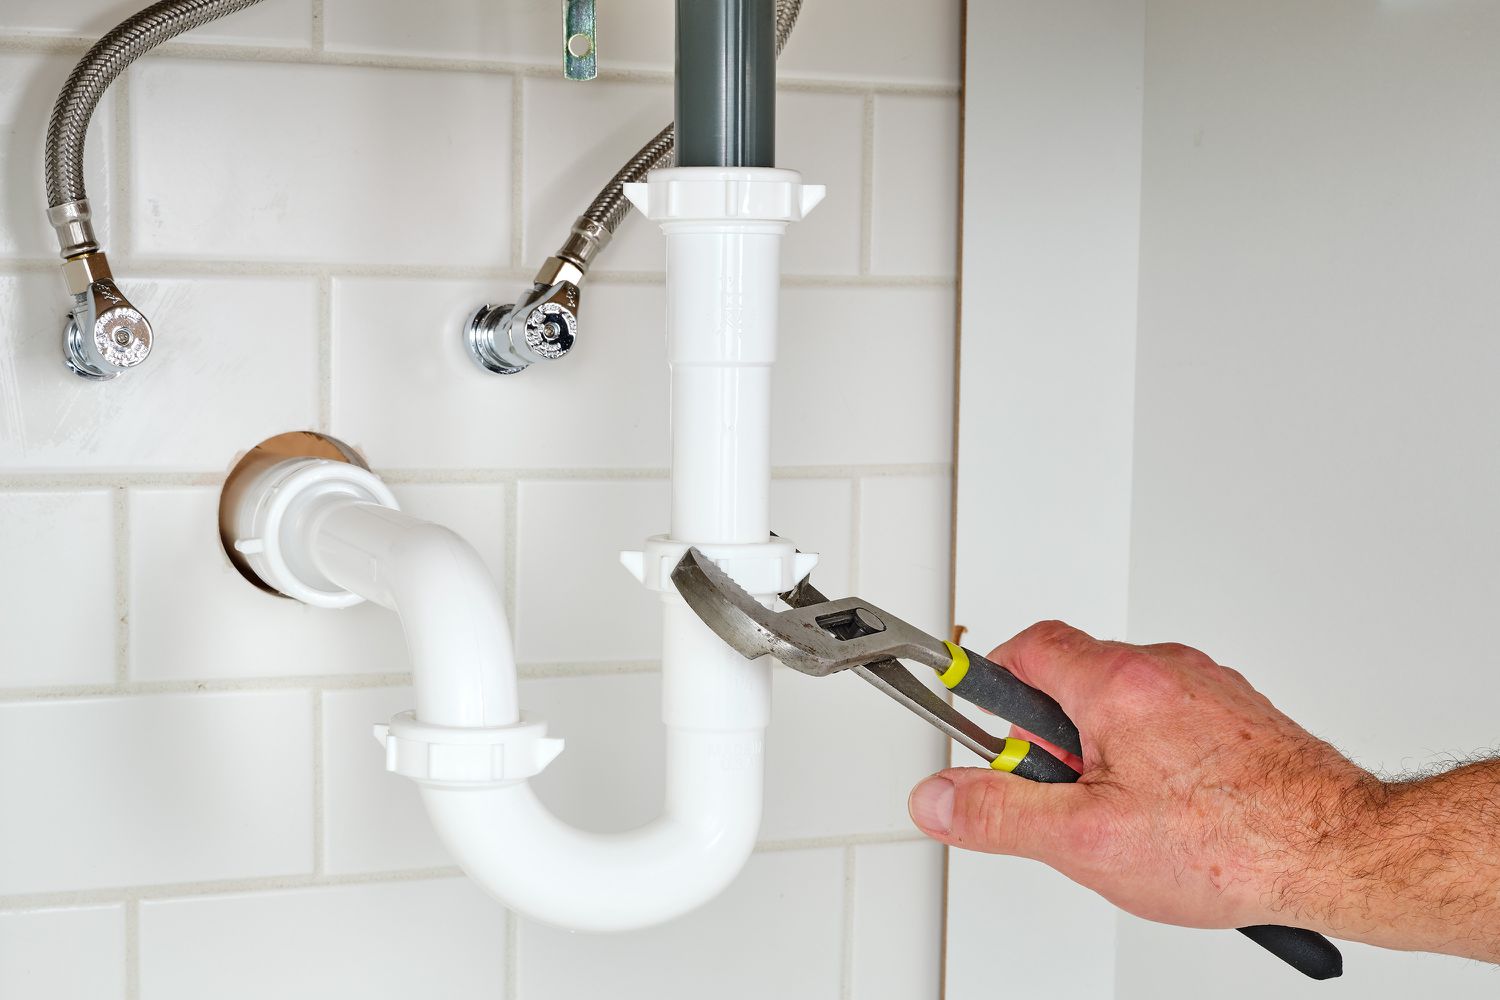
Tighten the Drain Body: Using a drain wrench or pliers, carefully tighten the drain body to secure it in place. Exercise caution to avoid over-tightening, as this can potentially damage the drain components or compromise the integrity of the seal. Verify that the drain assembly is snug and stable without excessive force.
-
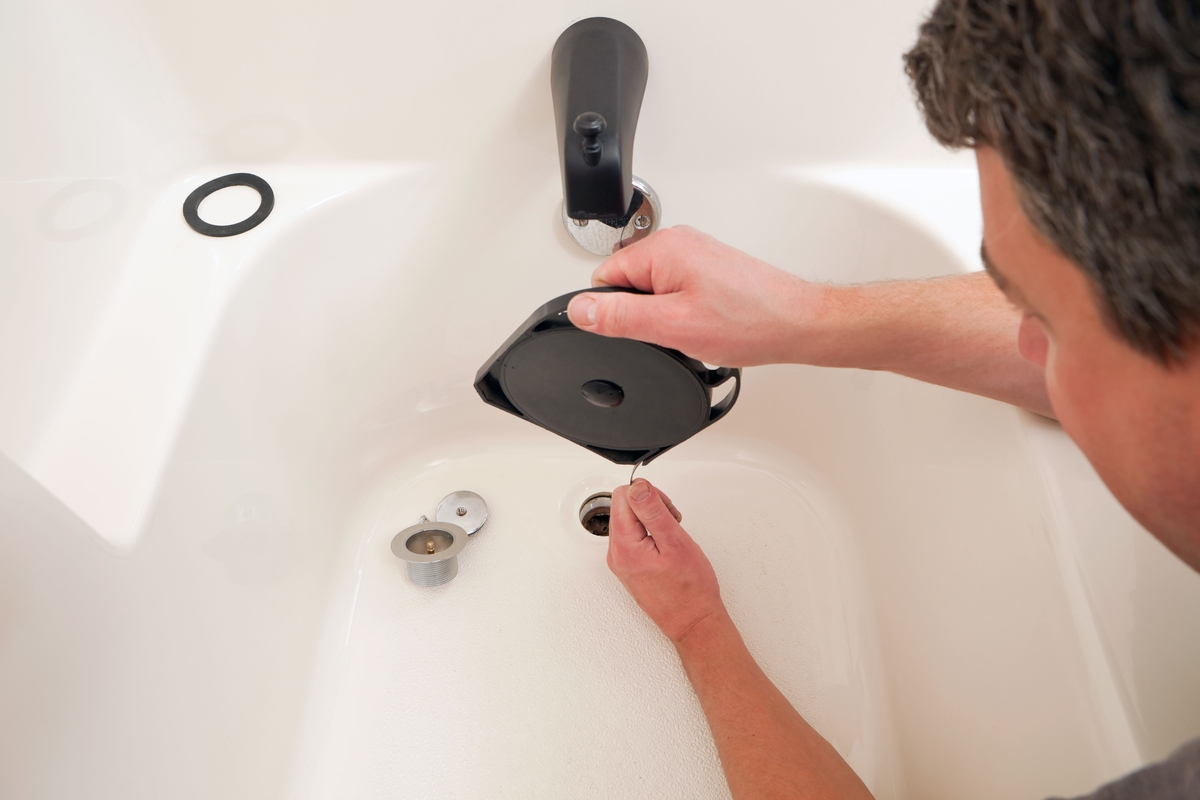
Connect the Drain Components: If the new drain assembly includes additional components such as a stopper or overflow plate, carefully connect these elements according to the manufacturer's instructions. Ensure that all connections are secure and properly aligned to facilitate smooth operation.
-
Test the Drain Operation: With the new drain installed, perform a preliminary test to ensure its functionality. Fill the bathtub with water and observe the drainage process to confirm that the new drain operates as intended. Check for any signs of leakage or inadequate drainage, addressing any issues promptly.
-
Inspect and Adjust as Needed: After testing the new drain, inspect the surrounding area for any signs of water seepage or irregularities. If necessary, make minor adjustments to the drain assembly to optimize its performance and address any potential concerns.
By meticulously following these steps, you can effectively install the new bathtub drain, completing a crucial phase of the replacement process. A well-executed installation ensures the seamless integration of the new drain, promoting reliable drainage and contributing to the overall functionality of your bathtub. With the new drain successfully installed, you are now prepared to proceed to the final phase of the replacement process: testing the new drain to confirm its effectiveness and reliability.
Read more: How To Replace Overflow Drain On A Bathtub
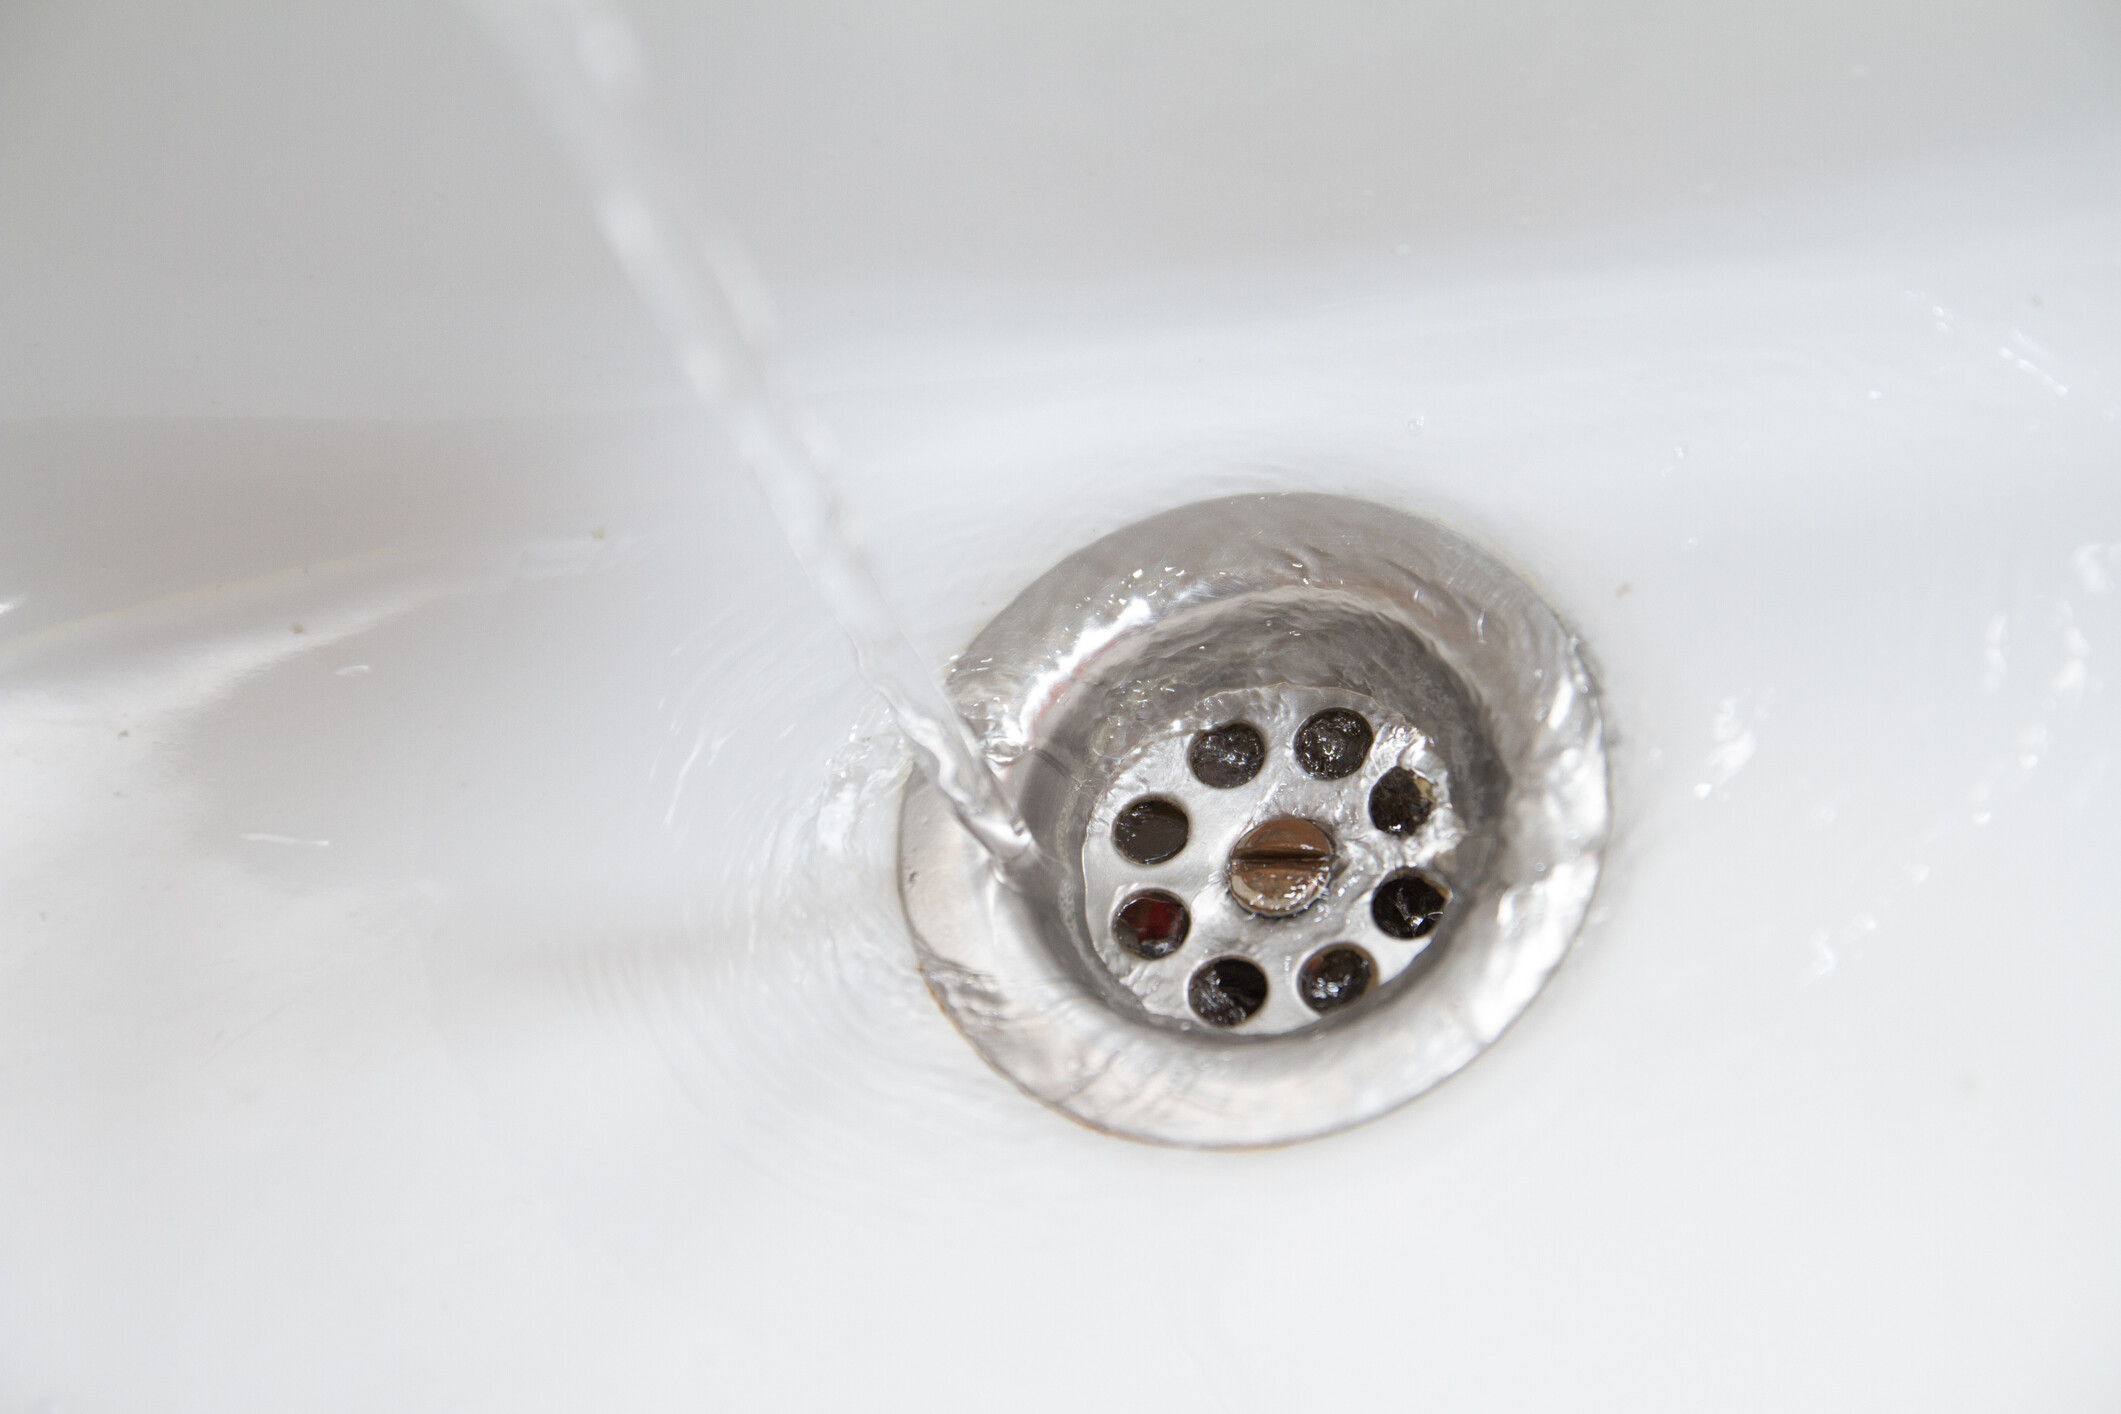
Step 5: Test the new drain
Testing the new bathtub drain is a critical and final step in the replacement process, serving as the ultimate validation of the installation's success. This phase allows you to confirm the functionality, efficiency, and reliability of the new drain, ensuring that it meets the essential criteria for seamless operation. Here's a comprehensive guide on how to effectively test the new drain:
-
Run Water Through the Drain: Begin by running water through the bathtub drain to simulate typical usage. Allow the water to flow freely into the drain while observing its drainage rate and the absence of any unusual sounds or obstructions. This initial test provides valuable insight into the drain's ability to handle water flow without encountering issues.
-
Check for Leakage: While the water is running, carefully inspect the area around the drain for any signs of leakage or seepage. Pay close attention to the connection points, drain flange, and surrounding surfaces to identify any potential leaks. A thorough visual inspection during this test can reveal any underlying issues that may require attention.
-
Test the Stopper Mechanism: If the new drain assembly includes a stopper or plug mechanism, engage and disengage it to assess its functionality. Verify that the stopper operates smoothly and effectively seals the drain when engaged, preventing water from escaping. Testing the stopper mechanism ensures that it contributes to the overall efficiency of the new drain.
-
Evaluate Drainage Efficiency: Observe the drainage efficiency of the new drain as the water recedes. Note the speed at which the water drains and whether any residual water remains after the drainage process. A well-functioning drain should efficiently remove water from the bathtub, leaving the surface dry and free from standing water.
-
Address Any Issues: If the test reveals any issues such as slow drainage, leakage, or operational irregularities, address them promptly. Investigate the root cause of the problem and make necessary adjustments to optimize the drain's performance. This may involve repositioning components, tightening connections, or applying additional sealing measures as needed.
-
Repeat the Test as Needed: After addressing any identified issues, repeat the testing process to confirm that the adjustments have resolved the concerns. Iterative testing allows you to validate the effectiveness of the corrective measures and ensures that the new drain meets the desired performance standards.
By meticulously conducting these tests and addressing any identified issues, you can confidently verify the effectiveness and reliability of the new bathtub drain. A successful test confirms that the replacement process has been executed with precision, resulting in a fully functional and dependable drain that enhances the overall functionality and aesthetics of your bathtub. With the new drain thoroughly tested and validated, you have successfully completed the replacement process, achieving a satisfying outcome and ensuring the long-term performance of your bathtub drainage system.
Conclusion
In conclusion, the process of replacing a bathtub drain encompasses a series of meticulous steps that culminate in the successful installation of a new drain, promoting enhanced functionality and aesthetics in the bathroom. By following the comprehensive guide outlined in this article, you have gained valuable insights into the intricacies of replacing a bathtub drain, empowering you to undertake this DIY project with confidence and proficiency.
Throughout the replacement process, you have navigated through essential tasks, including the removal of the old drain, thorough cleaning of the drain area, application of plumber's putty, installation of the new drain, and comprehensive testing to validate its functionality. Each step has been carefully outlined to provide a clear and systematic approach to achieving a seamless and reliable replacement.
By meticulously executing each phase of the replacement process, you have contributed to the overall maintenance and improvement of your bathroom, ensuring that the bathtub drain operates optimally and contributes to a pleasant bathing experience. The successful replacement of the bathtub drain not only addresses existing issues such as corrosion, clogging, or outdated components but also enhances the overall efficiency and reliability of the drainage system.
Furthermore, by embracing the DIY approach to replacing the bathtub drain, you have demonstrated a proactive and resourceful mindset, taking ownership of home improvement projects and expanding your skill set. This hands-on experience not only fosters a deeper understanding of plumbing and maintenance but also instills a sense of accomplishment and self-sufficiency in managing household tasks.
As you reflect on the completion of the replacement process, you can take pride in the tangible results achieved through your efforts. The newly installed bathtub drain represents a significant enhancement to your bathroom, contributing to its functionality and visual appeal. Moreover, the knowledge and proficiency gained from this project position you to tackle future home improvement endeavors with greater confidence and expertise.
In essence, the successful replacement of the bathtub drain serves as a testament to your ability to navigate and execute complex tasks, fostering a sense of empowerment and accomplishment. By embracing the guidance provided in this comprehensive guide, you have not only revitalized your bathroom but also honed your DIY skills, paving the way for continued success in maintaining and enhancing your living space.
Frequently Asked Questions about How To Replace The Bathtub Drain
Was this page helpful?
At Storables.com, we guarantee accurate and reliable information. Our content, validated by Expert Board Contributors, is crafted following stringent Editorial Policies. We're committed to providing you with well-researched, expert-backed insights for all your informational needs.


0 thoughts on “How To Replace The Bathtub Drain”