Home>Furniture & Design>Bathroom Accessories>How To Turn On A Kitchen Exhaust Fan
Bathroom Accessories
How To Turn On A Kitchen Exhaust Fan
Modified: March 25, 2024
Learn how to turn on a kitchen exhaust fan and improve ventilation with our top bathroom accessories. Keep your kitchen fresh and clean with these simple tips.
(Many of the links in this article redirect to a specific reviewed product. Your purchase of these products through affiliate links helps to generate commission for Storables.com, at no extra cost. Learn more)
Introduction
Turning on a kitchen exhaust fan may seem like a simple task, but it plays a crucial role in maintaining a fresh and clean environment in your kitchen. Whether you're cooking up a storm or simply clearing the air after a meal, the exhaust fan is a valuable tool for removing cooking odors, excess moisture, and airborne grease particles. By following a few simple steps, you can effectively operate your kitchen exhaust fan and ensure a pleasant cooking experience.
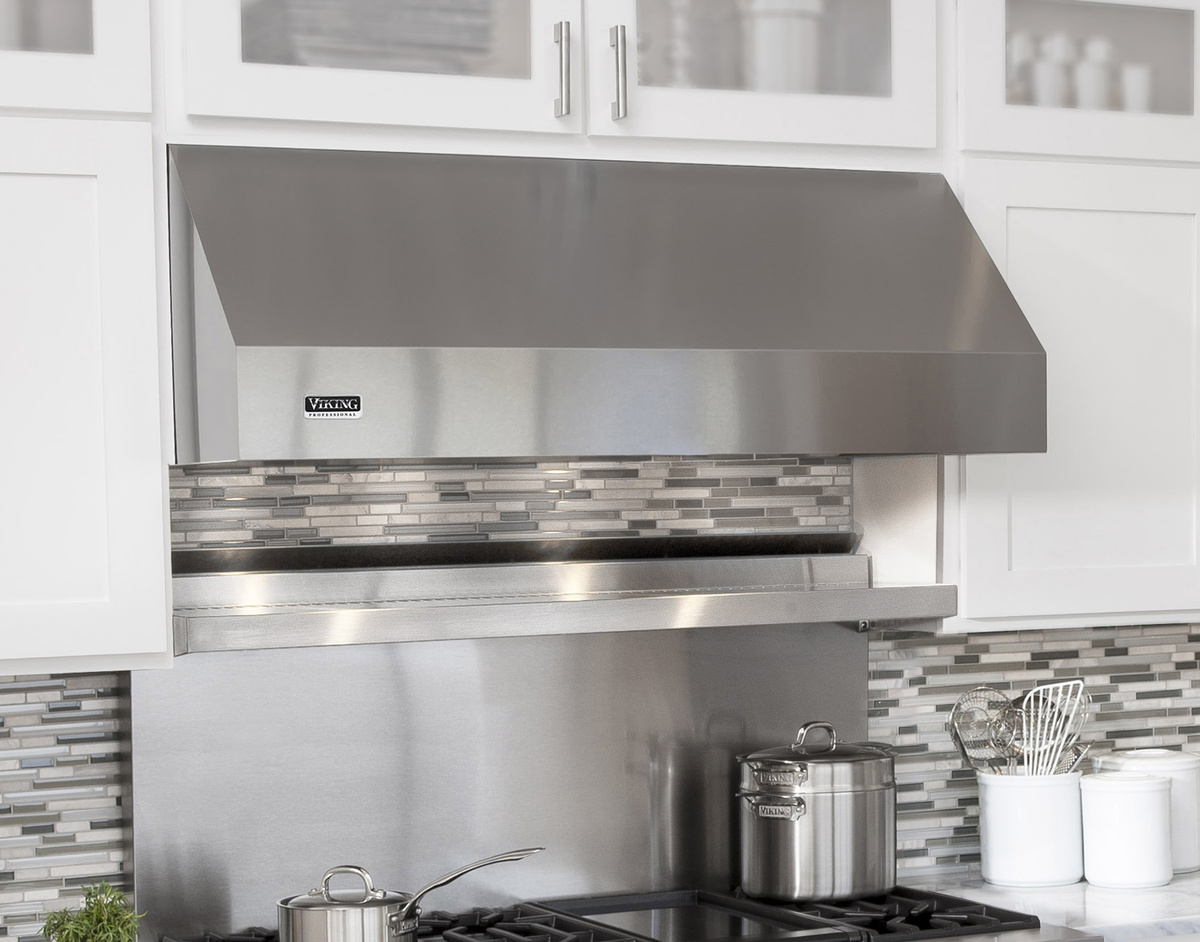
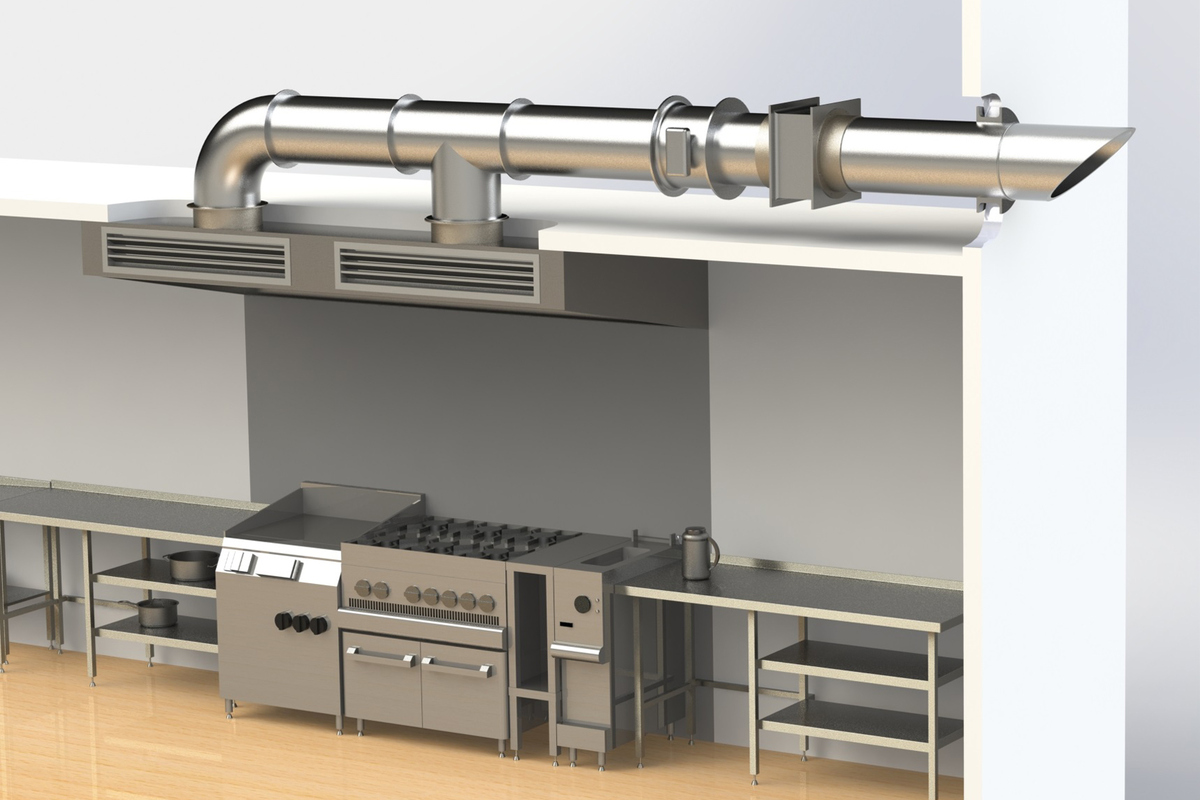
The kitchen exhaust fan, also known as a range hood, is typically installed above the stovetop to capture and vent out cooking byproducts. It comes in various designs, including under-cabinet, wall-mounted, and island hoods, each offering unique features to suit different kitchen layouts and preferences. Some models are equipped with built-in lights to illuminate the cooking area, while others boast advanced filtration systems to trap grease and other impurities.
Understanding how to operate your kitchen exhaust fan not only helps maintain a comfortable kitchen environment but also contributes to the longevity of the appliance. By using the fan appropriately, you can prevent the buildup of grease and grime in your kitchen, reducing the need for frequent deep cleaning and extending the lifespan of your appliances.
In the following steps, we will guide you through the process of turning on and adjusting the speed of your kitchen exhaust fan. Whether you're a seasoned chef or a novice cook, mastering the art of using your kitchen exhaust fan effectively will undoubtedly enhance your culinary experience and keep your kitchen smelling fresh and inviting. So, let's dive into the simple yet essential steps to harness the power of your kitchen exhaust fan.
Key Takeaways:
- Mastering the art of turning on, adjusting, and turning off your kitchen exhaust fan ensures a fresh and inviting cooking environment, enhancing your culinary experiences and the overall ambiance of your home.
- By confidently identifying and engaging with the exhaust fan switch, you can effortlessly initiate the ventilation process, creating a customized ventilation experience that complements your cooking style.
Read more: How To Install An Exhaust Fan
Step 1: Locate the Exhaust Fan Switch
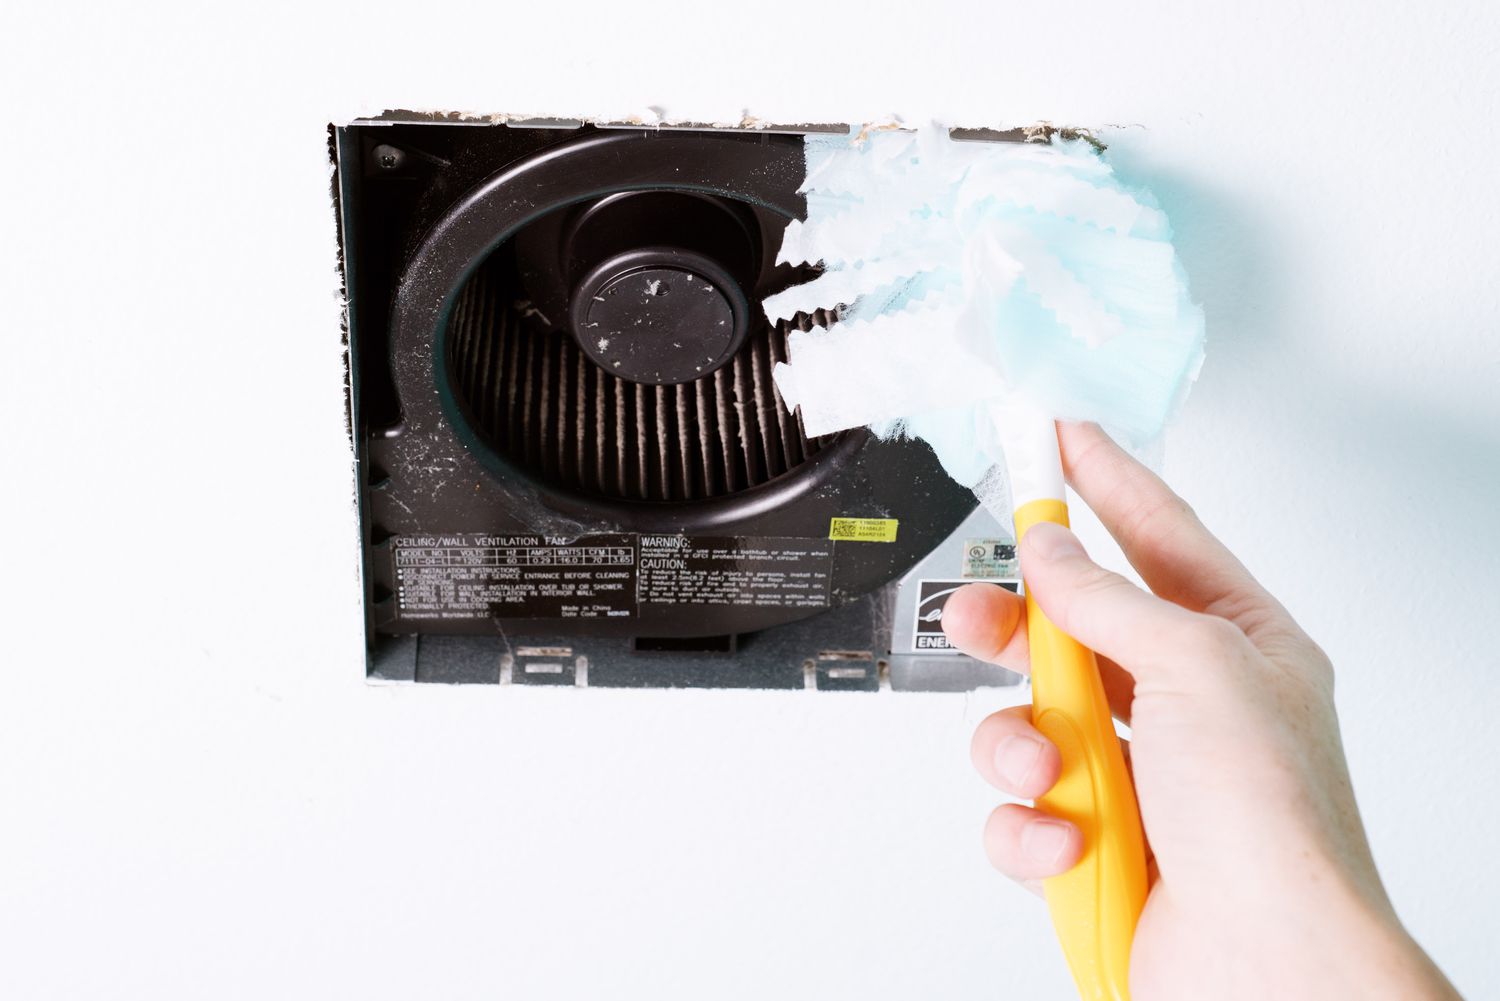
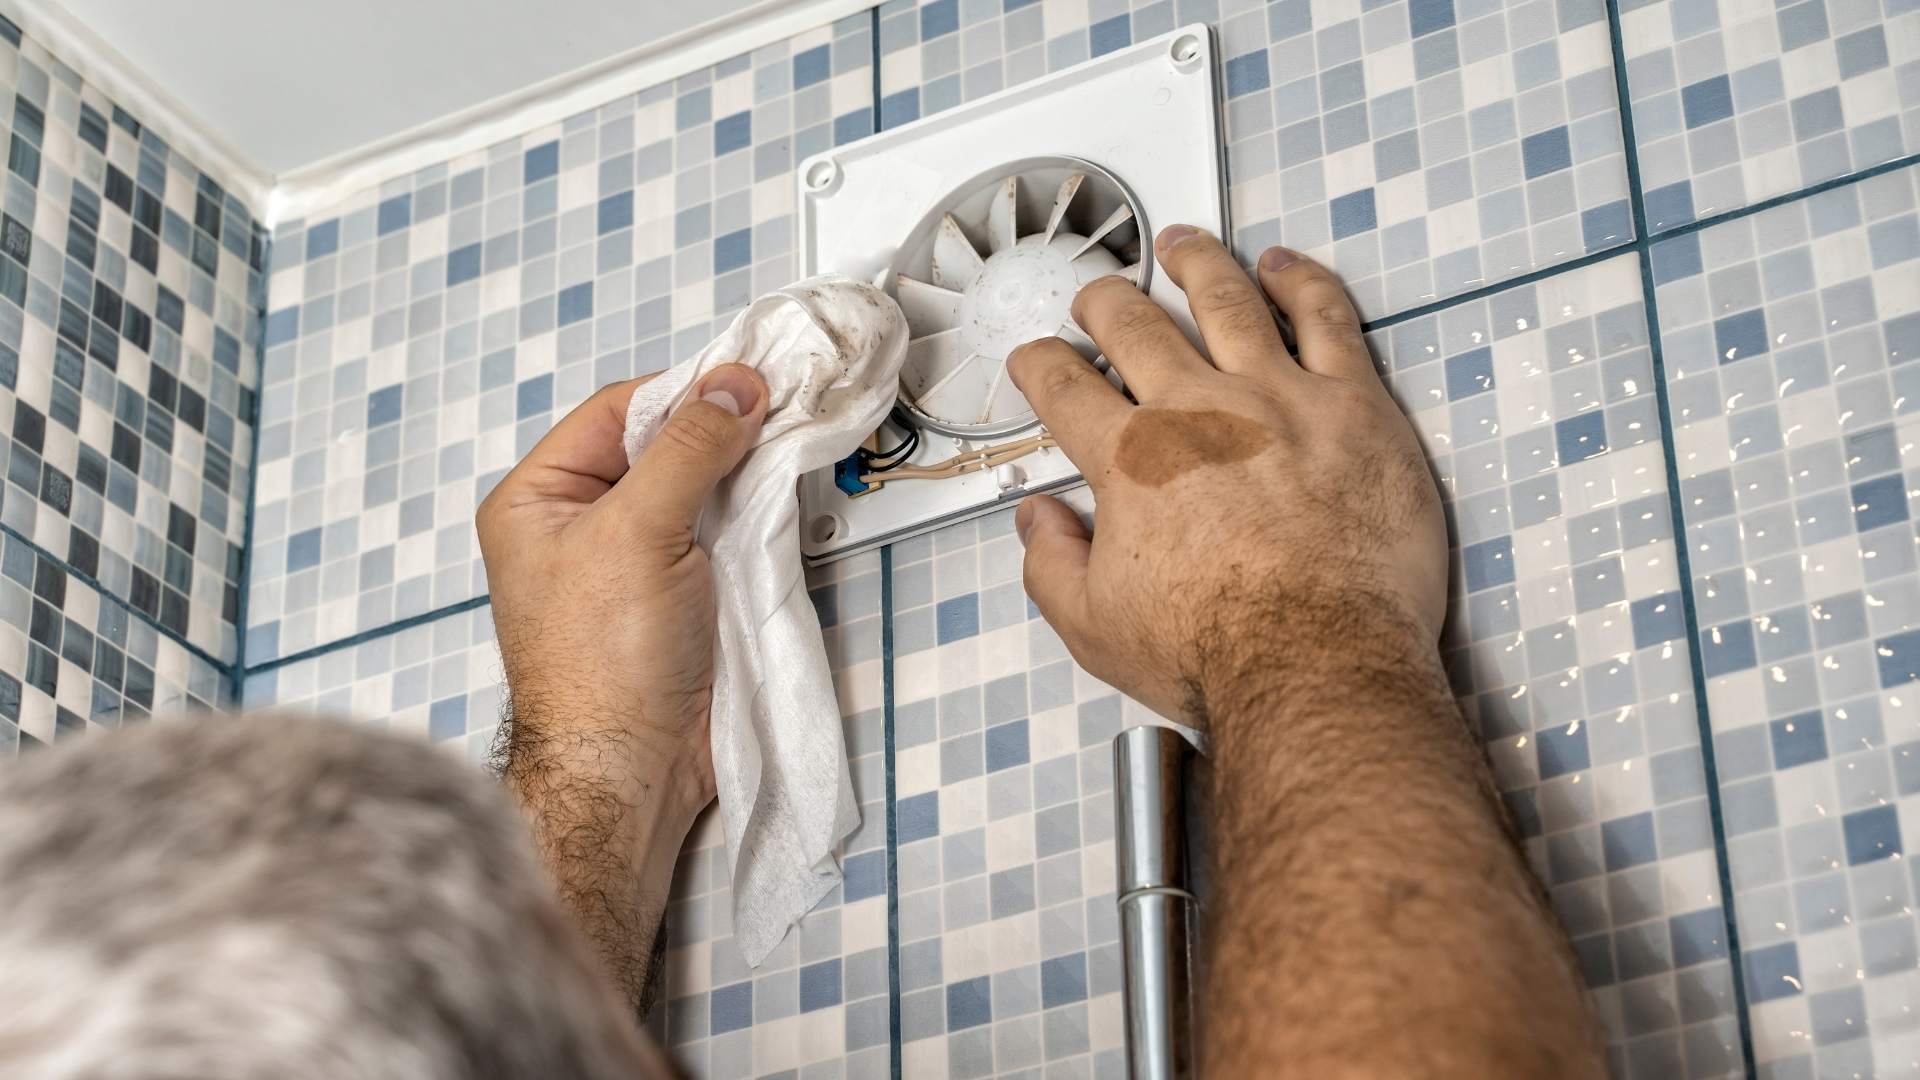
Locating the exhaust fan switch is the first crucial step in activating your kitchen's ventilation system. The switch is typically positioned within close proximity to the cooking area for convenient access. Depending on the design of your kitchen, the exhaust fan switch may be integrated into the range hood itself or installed on a nearby wall.
When searching for the exhaust fan switch, start by visually inspecting the area above your stovetop. If you have an overhead range hood, the switch is likely to be located on the front panel, either to the right or left of the hood. Some modern range hoods feature sleek touch controls, while others may have traditional push buttons or switches.
For under-cabinet range hoods, the switch is commonly situated beneath the front edge of the hood, allowing for easy reach and operation. Wall-mounted range hoods typically have the switch positioned on the wall near the hood, often within arm's length from the cooking surface.
In the absence of a visible switch on the range hood or nearby wall, consult the appliance's user manual for specific instructions on locating the switch. Manufacturers often provide detailed diagrams and descriptions to help users identify the switch's exact placement.
If you are unable to locate the exhaust fan switch through visual inspection or the user manual, consider checking the circuit breaker panel to ensure that the range hood is receiving power. In some cases, the switch may be integrated into the home's electrical system, requiring a different method for activation.
Once you have successfully located the exhaust fan switch, take a moment to familiarize yourself with its operation. Depending on the model, the switch may offer multiple fan speed settings or additional features such as lighting controls. Understanding the functionality of the switch will enable you to effectively control the ventilation and lighting elements of your kitchen exhaust system.
By confidently identifying and understanding the exhaust fan switch's location and operation, you are now prepared to proceed to the next step of activating the fan and optimizing its performance to suit your cooking needs.
Step 2: Turn on the Exhaust Fan
With the exhaust fan switch located and its functionality understood, you are now ready to activate the kitchen exhaust fan. Whether you're preparing a sizzling stir-fry or simmering a savory stew, turning on the exhaust fan is essential for maintaining a comfortable and odor-free kitchen environment.
To begin, ensure that the stovetop is clear of any flammable materials or obstructive cookware. This precautionary measure helps prevent accidental fires and allows the exhaust fan to effectively capture cooking byproducts without interference.
Once the cooking area is clear, reach for the exhaust fan switch and prepare to engage the ventilation system. Depending on the design of your range hood, the activation process may vary slightly. If your range hood features a traditional switch or button, simply press or slide the control to the desired fan speed setting. For range hoods equipped with touch controls, gently tap the designated fan speed or power button to initiate the ventilation process.
As the exhaust fan springs to life, you may notice the immediate removal of cooking odors and the gentle hum of the fan motor. The airflow generated by the fan swiftly draws in airborne particles, steam, and odors, effectively preventing them from lingering in your kitchen. This rapid ventilation process not only keeps the air fresh but also helps prevent the accumulation of grease on surfaces and appliances, contributing to a cleaner and more hygienic cooking environment.
In the event that your range hood is equipped with built-in lighting, the activation of the exhaust fan may also trigger the illumination of the cooking area. The combination of effective ventilation and ample lighting enhances visibility and creates an inviting atmosphere for culinary endeavors.
Once the exhaust fan is running, take a moment to assess the airflow and ensure that it is functioning optimally. Depending on the fan speed setting, you may notice varying levels of airflow and noise. Higher fan speeds result in more robust ventilation but may produce increased noise, while lower speeds offer quieter operation with reduced airflow.
By effectively turning on the exhaust fan, you have taken a significant step toward maintaining a pleasant and well-ventilated kitchen environment. With the ventilation system in operation, you can confidently proceed with your culinary creations, knowing that the kitchen exhaust fan is diligently working to keep the air clean and fresh.
Now that the exhaust fan is running, let's explore the next step of adjusting the fan speed to further optimize its performance and tailor it to your specific cooking needs.
Make sure the power switch for the exhaust fan is turned on. If it’s a vent hood, pull the fan switch or press the button to turn it on. If it’s a built-in fan, locate the switch on the wall or under the cabinet and turn it on.
Step 3: Adjust the Fan Speed
After successfully turning on the kitchen exhaust fan, you have the flexibility to adjust the fan speed to suit your specific cooking requirements. Whether you're whipping up a quick breakfast or preparing a multi-course feast, optimizing the fan speed allows you to effectively manage cooking byproducts and maintain a comfortable kitchen environment.
Most modern range hoods are equipped with multiple fan speed settings, typically ranging from low to high, and sometimes including an additional boost setting for intense ventilation. The fan speed controls are designed to accommodate various cooking scenarios, providing the versatility to tailor the ventilation intensity to your needs.
To adjust the fan speed, locate the designated speed control on the range hood or the integrated control panel. Depending on the model, the speed control may consist of a simple push-button interface, a sliding switch, or touch-sensitive controls. Engage with the speed control mechanism to select the desired fan speed, taking into consideration the intensity of your cooking activities and the volume of airborne byproducts generated.
When cooking dishes that produce minimal steam and odors, such as sautéed vegetables or lightly seared proteins, opting for a lower fan speed setting can effectively maintain a pleasant kitchen atmosphere while gently removing any lingering cooking aromas. The subdued airflow at lower fan speeds also contributes to quieter operation, allowing you to cook without the distraction of excessive noise.
In contrast, when tackling high-heat cooking methods or preparing dishes with strong aromatics, adjusting the fan speed to a higher setting ensures robust ventilation, swiftly capturing and expelling steam, smoke, and odors from the cooking area. The increased airflow at higher fan speeds effectively prevents the accumulation of airborne grease particles and helps maintain a pristine kitchen environment.
Some range hoods feature an intuitive auto-adjust function that automatically regulates the fan speed based on detected cooking byproducts, providing hands-free ventilation management. This advanced feature optimizes the fan speed in real time, ensuring efficient air purification without the need for manual adjustments.
By adeptly adjusting the fan speed to align with your cooking activities, you can harness the full potential of your kitchen exhaust fan, creating a customized ventilation experience that enhances your culinary endeavors and sustains a fresh and inviting kitchen atmosphere.
With the fan speed optimized to your preference, you are now equipped with the knowledge and skills to effectively operate and control your kitchen exhaust fan, ensuring a pleasant cooking environment and the longevity of your appliances.
Step 4: Turn Off the Exhaust Fan
As you conclude your culinary endeavors and the lingering aromas of your delicious creations dissipate, it's essential to properly power down the kitchen exhaust fan to complete the ventilation process. Turning off the exhaust fan not only conserves energy but also ensures the appliance remains in optimal condition for future use.
To deactivate the exhaust fan, locate the fan speed control or power button on the range hood or integrated control panel. Depending on the model, the deactivation process may involve pressing a designated power button, sliding the speed control to the off position, or tapping a touch-sensitive control to power down the fan.
Once the deactivation method is identified, proceed to engage with the control mechanism to halt the operation of the exhaust fan. As the fan comes to a stop, you may notice the gradual dissipation of airflow and the cessation of any audible noise generated by the fan motor.
After turning off the exhaust fan, take a moment to ensure that the ventilation system has effectively cleared the cooking area of any residual odors, steam, and airborne particles. This final step in the ventilation process contributes to maintaining a fresh and clean kitchen environment, ready for your next culinary adventure.
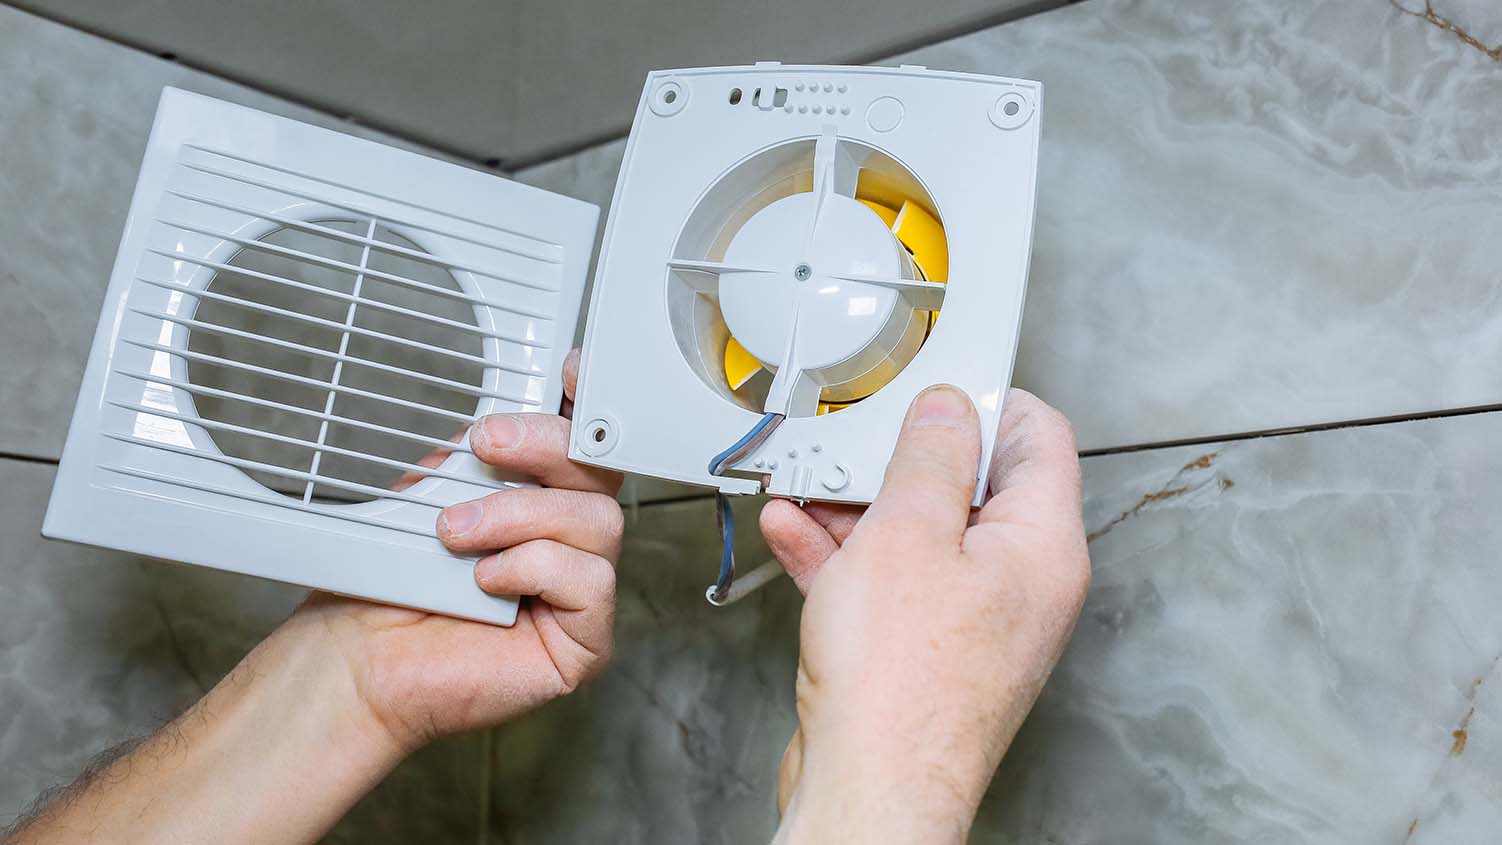
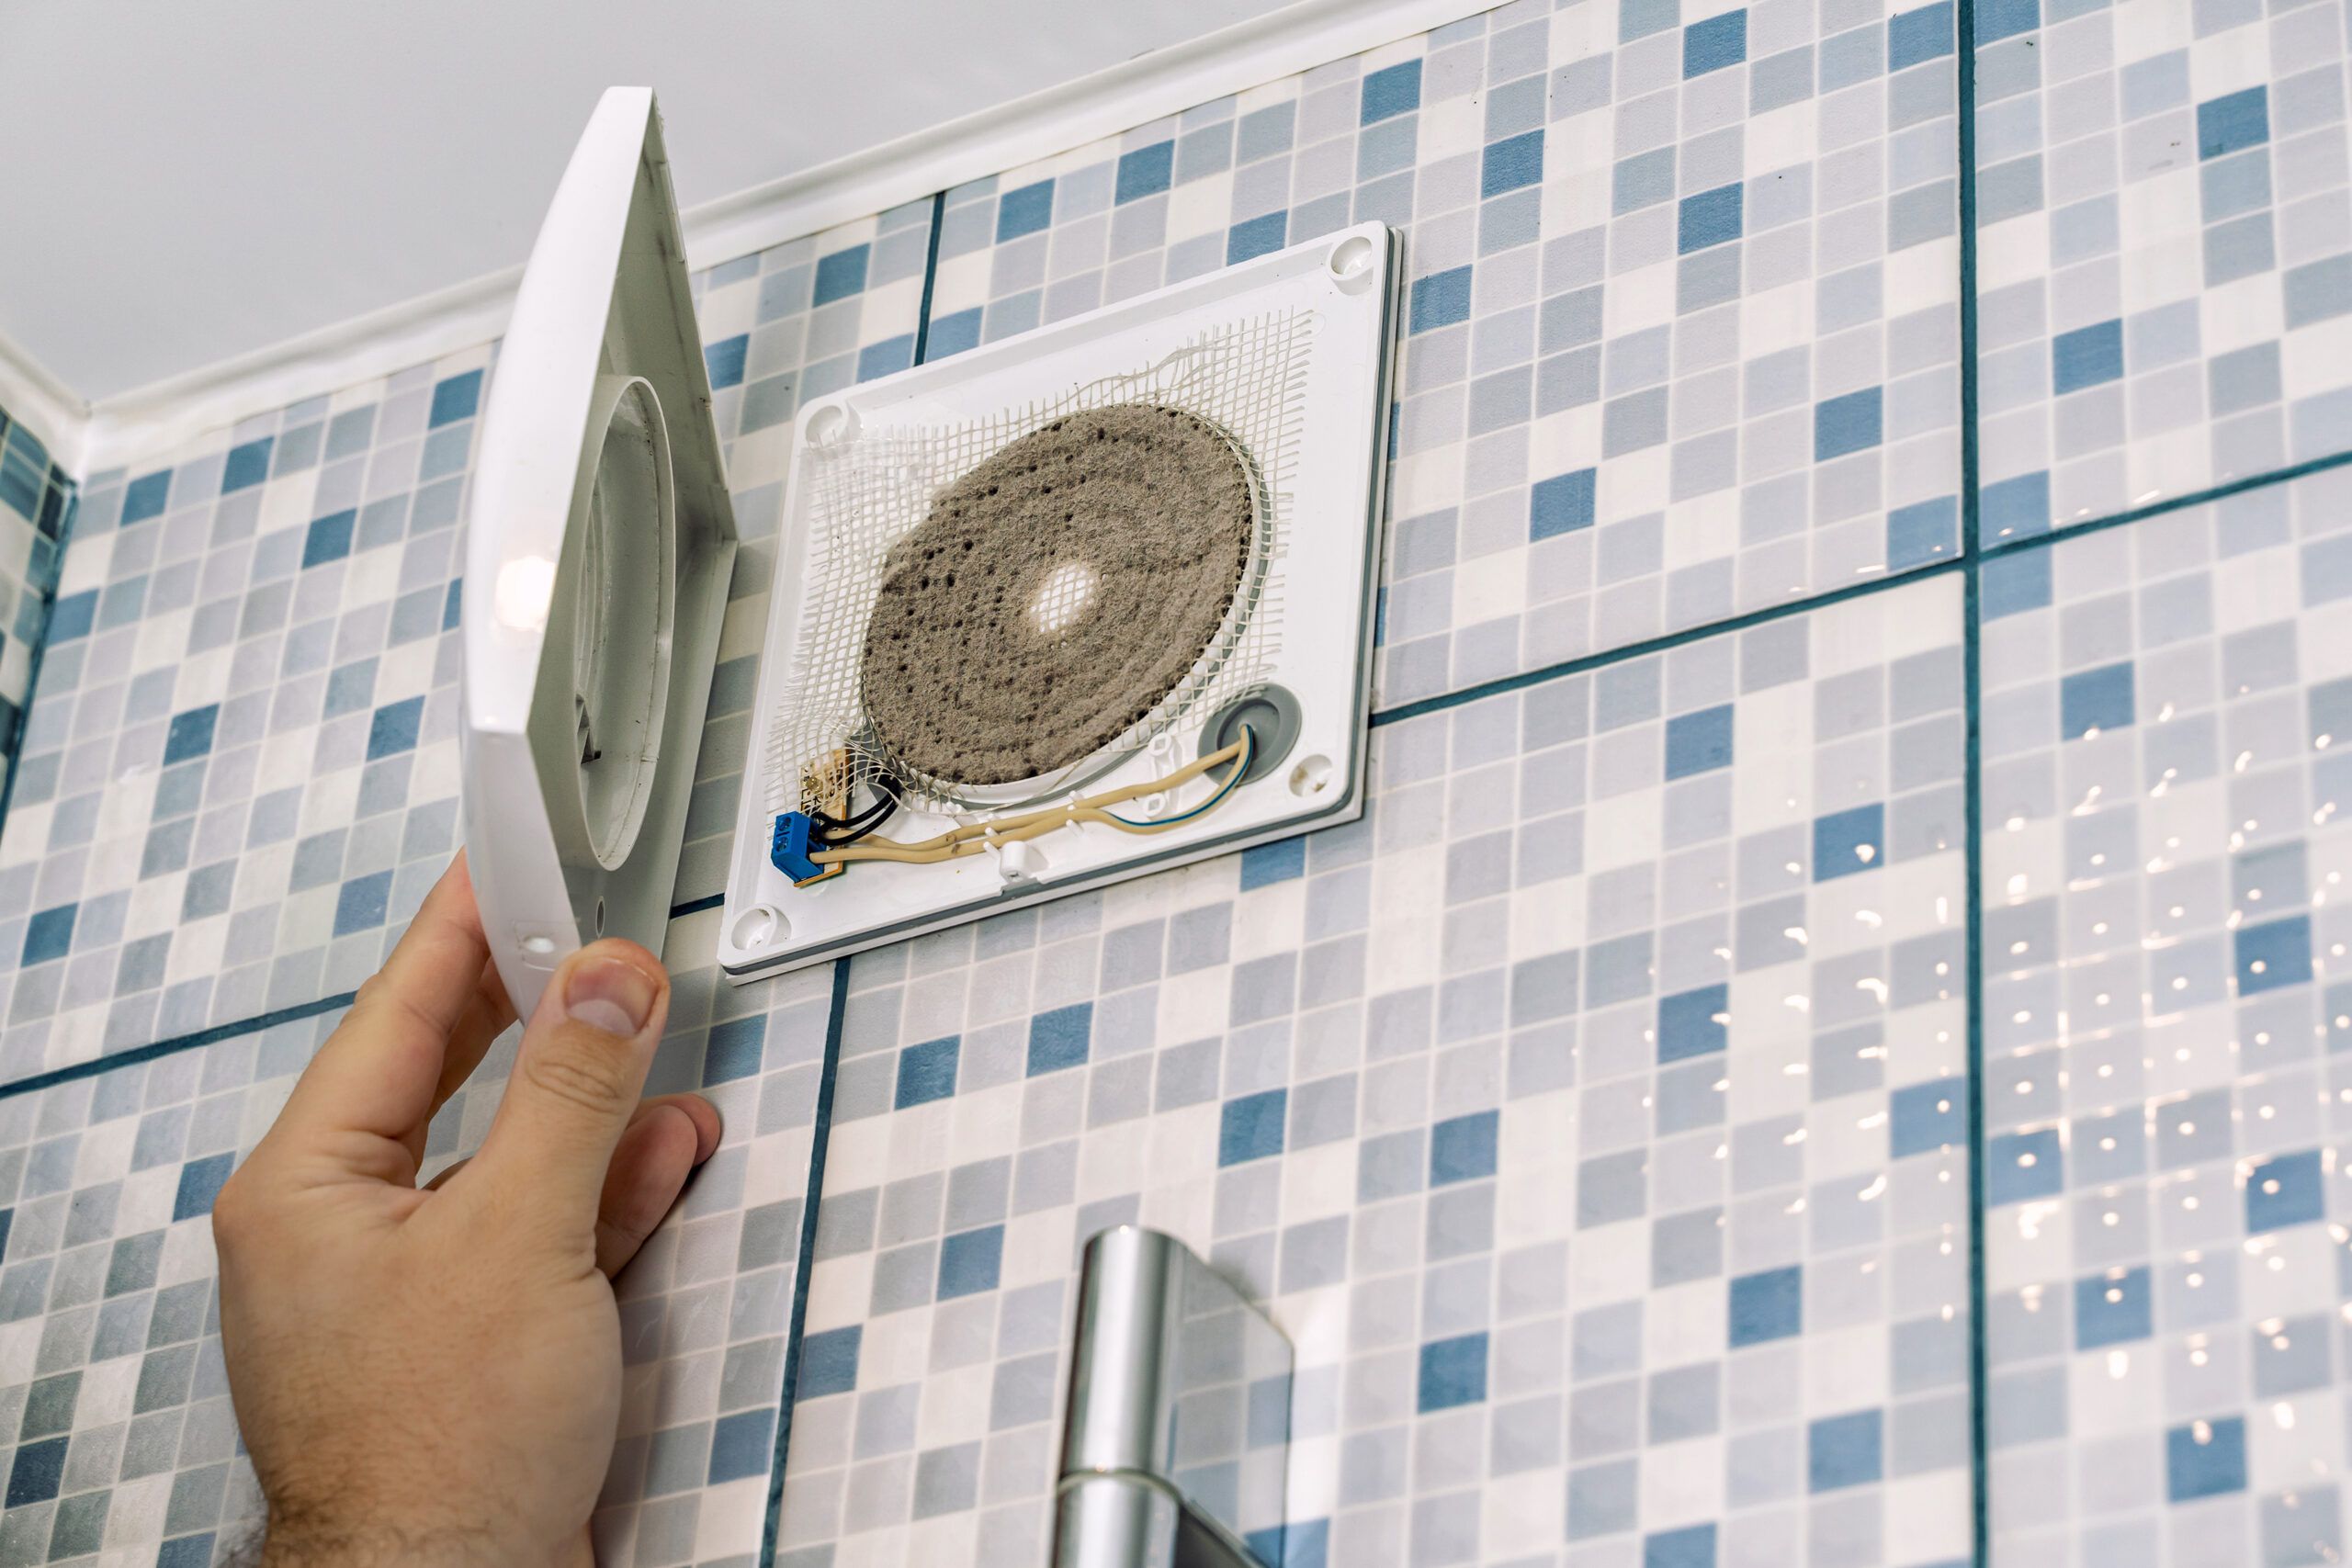
As the exhaust fan is powered down, you can also take the opportunity to assess the overall cleanliness of the range hood and its filters. Regularly inspecting and cleaning the range hood components, including the grease filters and ventilation ducts, helps maintain optimal performance and prolongs the lifespan of the appliance.
By diligently turning off the exhaust fan after each cooking session, you not only conserve energy but also contribute to the efficient operation and longevity of your kitchen ventilation system. This simple yet essential practice ensures that your kitchen remains a welcoming and hygienic space for culinary creativity.
With the exhaust fan successfully powered down, you have completed the fundamental steps of operating your kitchen ventilation system. By mastering the art of turning on, adjusting, and turning off the exhaust fan, you have empowered yourself to maintain a comfortable and inviting kitchen environment, enhancing your culinary experiences and the overall ambiance of your home.
Read more: How To Install Kitchen Exhaust Fan
Conclusion
Mastering the operation of your kitchen exhaust fan is a fundamental aspect of maintaining a fresh, clean, and inviting culinary space. By following the simple yet essential steps outlined in this guide, you have gained the knowledge and confidence to effectively harness the power of your kitchen ventilation system.
Understanding the significance of locating the exhaust fan switch and familiarizing yourself with its operation sets the stage for seamless activation and control of the ventilation system. Whether your range hood features traditional switches, touch controls, or integrated lighting, confidently identifying and engaging with the exhaust fan switch ensures that you can effortlessly initiate the ventilation process when needed.
By adeptly turning on the exhaust fan, you have experienced firsthand the immediate benefits of effective ventilation. The swift removal of cooking odors, steam, and airborne particles not only contributes to a pleasant cooking environment but also aids in maintaining the cleanliness of your kitchen surfaces and appliances. The combination of efficient ventilation and optional lighting creates an inviting atmosphere for culinary endeavors, enhancing the overall cooking experience.
Adjusting the fan speed to align with your specific cooking activities further amplifies the versatility and effectiveness of your kitchen exhaust fan. Whether opting for gentle ventilation during light cooking tasks or engaging robust airflow for high-heat culinary adventures, the ability to tailor the fan speed to your needs empowers you to create a customized ventilation experience that complements your cooking style.
As you conclude each culinary session by powering down the exhaust fan, you contribute to the efficient operation and longevity of your kitchen ventilation system. This simple yet essential practice not only conserves energy but also ensures that your kitchen remains a welcoming and hygienic space for future culinary creations.
By mastering the art of turning on, adjusting, and turning off the exhaust fan, you have equipped yourself with the essential skills to maintain a comfortable and inviting kitchen environment. Embracing the role of your kitchen exhaust fan as a valuable ally in your culinary journey enhances the overall ambiance of your home and elevates your cooking experiences to new heights.
Incorporating these practices into your culinary routine ensures that your kitchen remains a space where creativity flourishes, aromas delight, and the air is always fresh and inviting. With your newfound expertise in operating your kitchen exhaust fan, you are poised to create memorable culinary moments while maintaining a pristine and welcoming kitchen environment.
Frequently Asked Questions about How To Turn On A Kitchen Exhaust Fan
Was this page helpful?
At Storables.com, we guarantee accurate and reliable information. Our content, validated by Expert Board Contributors, is crafted following stringent Editorial Policies. We're committed to providing you with well-researched, expert-backed insights for all your informational needs.


0 thoughts on “How To Turn On A Kitchen Exhaust Fan”