Home>Furniture & Design>Bathroom Fixtures>How To Fix A Cracked Shower Tile

Bathroom Fixtures
How To Fix A Cracked Shower Tile
Modified: January 24, 2024
Learn how to effectively fix a cracked shower tile and restore your bathroom fixtures to their former glory with our expert tips and advice.
(Many of the links in this article redirect to a specific reviewed product. Your purchase of these products through affiliate links helps to generate commission for Storables.com, at no extra cost. Learn more)
Introduction
So, you've noticed a crack in your shower tile. Don't panic! It's a common issue that can be fixed with the right tools and a little know-how. Whether it's a hairline crack or a larger fissure, addressing the problem promptly can prevent further damage and maintain the aesthetic appeal of your bathroom.
In this guide, we'll walk through the step-by-step process of fixing a cracked shower tile. From assessing the damage to applying the adhesive and replacing the tile, we'll cover everything you need to know to tackle this project with confidence. By following these instructions, you can restore your shower to its former glory and ensure that the crack becomes nothing more than a distant memory.
Before we dive into the nitty-gritty of tile repair, it's important to approach this task with patience and attention to detail. While it may seem daunting at first, with a methodical approach and a willingness to learn, you'll soon discover that fixing a cracked shower tile is a manageable and rewarding endeavor.
So, roll up your sleeves, gather your materials, and let's get started on transforming that unsightly crack into a seamless, polished surface that you can be proud of. Let's embark on this journey to reclaim the beauty and functionality of your shower, one tile at a time.
Key Takeaways:
- Assess the damage and gather materials before fixing a cracked shower tile. Patience and attention to detail are key to a successful repair.
- Precision is crucial when removing, preparing, and replacing the tile. The finishing touches elevate the repair to its full potential, resulting in a polished, professional outcome.
Read more: How To Fix A Cracked Shower Floor
Assessing the Damage
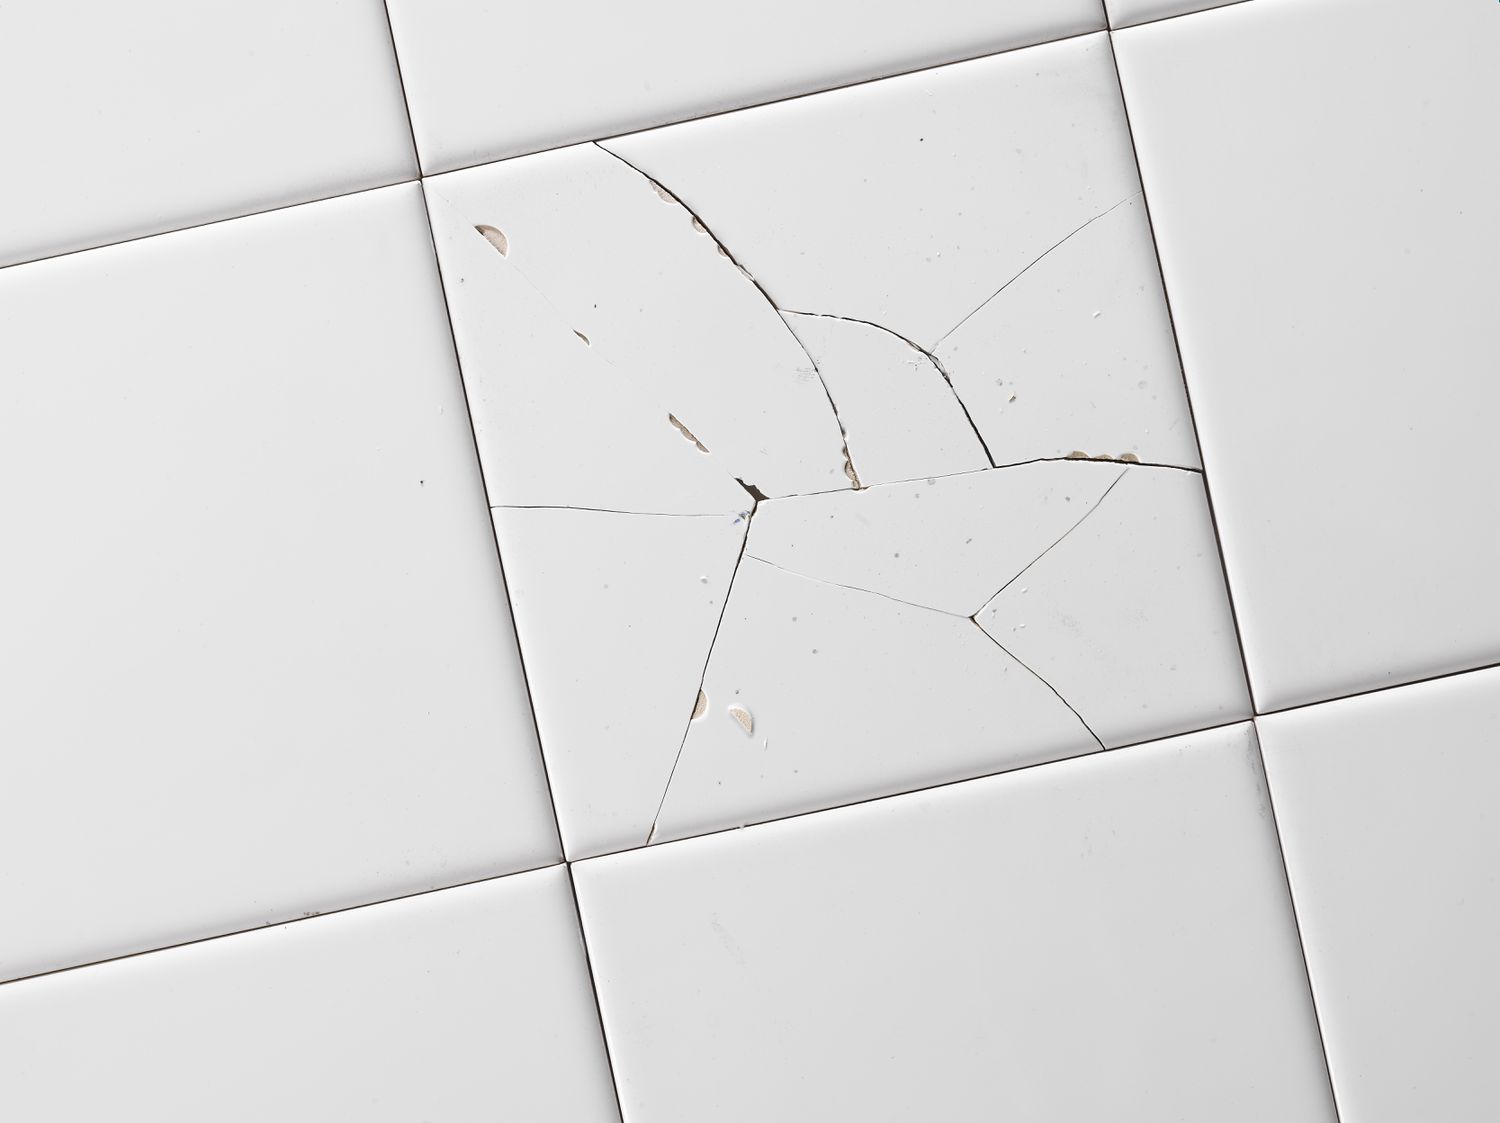
Before diving into the repair process, it’s crucial to assess the extent of the damage to your shower tile. Different types of cracks may require varying approaches, so a thorough evaluation will guide your next steps.
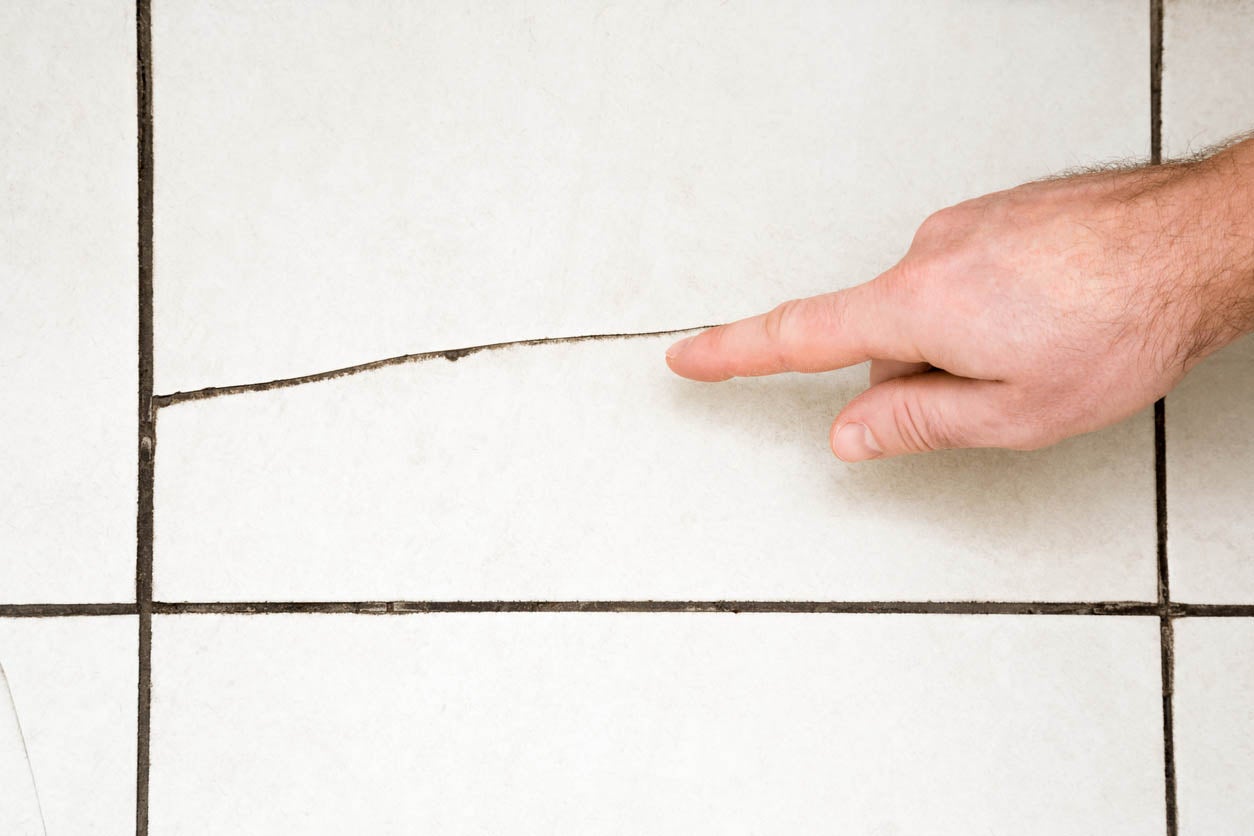
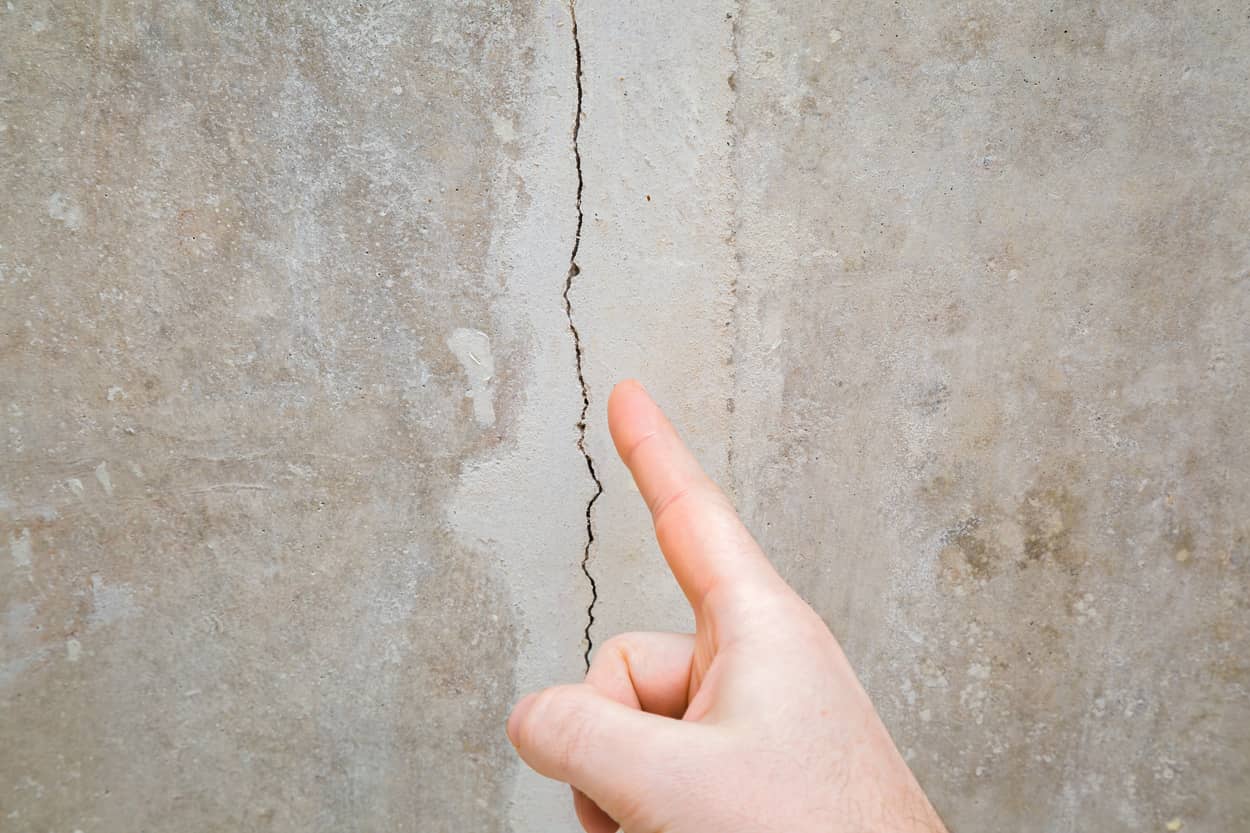
Start by examining the crack closely. Is it a hairline crack, or does it extend deeper into the tile? Is the crack isolated, or are there surrounding tiles that show signs of damage? Understanding these details will help determine the best course of action.
- Inspect the Grout: Check the condition of the grout surrounding the cracked tile. If the grout is also damaged, it may need to be replaced or repaired along with the tile.
- Probe the Cracked Tile: Gently tap the cracked tile with a small tool or the handle of a screwdriver. If the tile sounds hollow or loose, it may indicate that the crack has compromised its adhesion to the substrate.
- Assess the Tile Material: Identify the type of tile you have. Whether it’s ceramic, porcelain, or another material, understanding the composition of the tile will inform your choice of adhesive and replacement tile, if necessary.
By carefully assessing the damage, you’ll be equipped to make informed decisions as you proceed with the repair. Remember, each crack tells a story, and by understanding its nature, you can tailor your approach to achieve the best possible outcome.
Gathering Materials
Now that you’ve assessed the damage and are ready to embark on the repair, it’s time to gather the necessary materials. Having the right tools and supplies at hand will streamline the process and ensure that you can tackle the project efficiently.
Here’s a list of materials you’ll need to fix a cracked shower tile:
- Replacement Tile: If the crack is irreparable, or if you anticipate damaging the tile during removal, having a replacement tile on hand is essential. Ensure that the replacement tile matches the size, style, and material of the existing tiles in your shower.
- Adhesive: Choose a high-quality tile adhesive that is suitable for the material of your tile. For example, if you have a ceramic tile, opt for an adhesive specifically designed for ceramic surfaces.
- Grout: If the grout surrounding the cracked tile is damaged, you may need grout for resealing the tile after it’s replaced.
- Chisel or Putty Knife: A chisel or putty knife will be essential for removing the cracked tile from its place.
- Hammer: You’ll need a hammer to gently tap the chisel or putty knife during the tile removal process.
- Tile Spacer: To ensure proper alignment and spacing when placing the replacement tile, tile spacers will be invaluable.
- Level: A level will help you confirm that the replacement tile is installed evenly and flush with the surrounding tiles.
- Clean Cloth and Sponge: These will be used for cleaning the area before applying the adhesive and grout.
By gathering these materials in advance, you’ll create a seamless and efficient repair experience. With your toolkit assembled, you’re well-prepared to tackle the next steps in the process and restore your shower to its pristine condition.
Removing the Cracked Tile
With your materials assembled, it’s time to begin the process of removing the cracked tile. This step requires precision and care to avoid causing further damage to the surrounding tiles and the substrate beneath the tile.
Here’s a step-by-step guide to removing the cracked tile:
- Protective Gear: Before starting, ensure that you’re wearing protective eyewear and gloves to shield yourself from any debris that may result from the tile removal process.
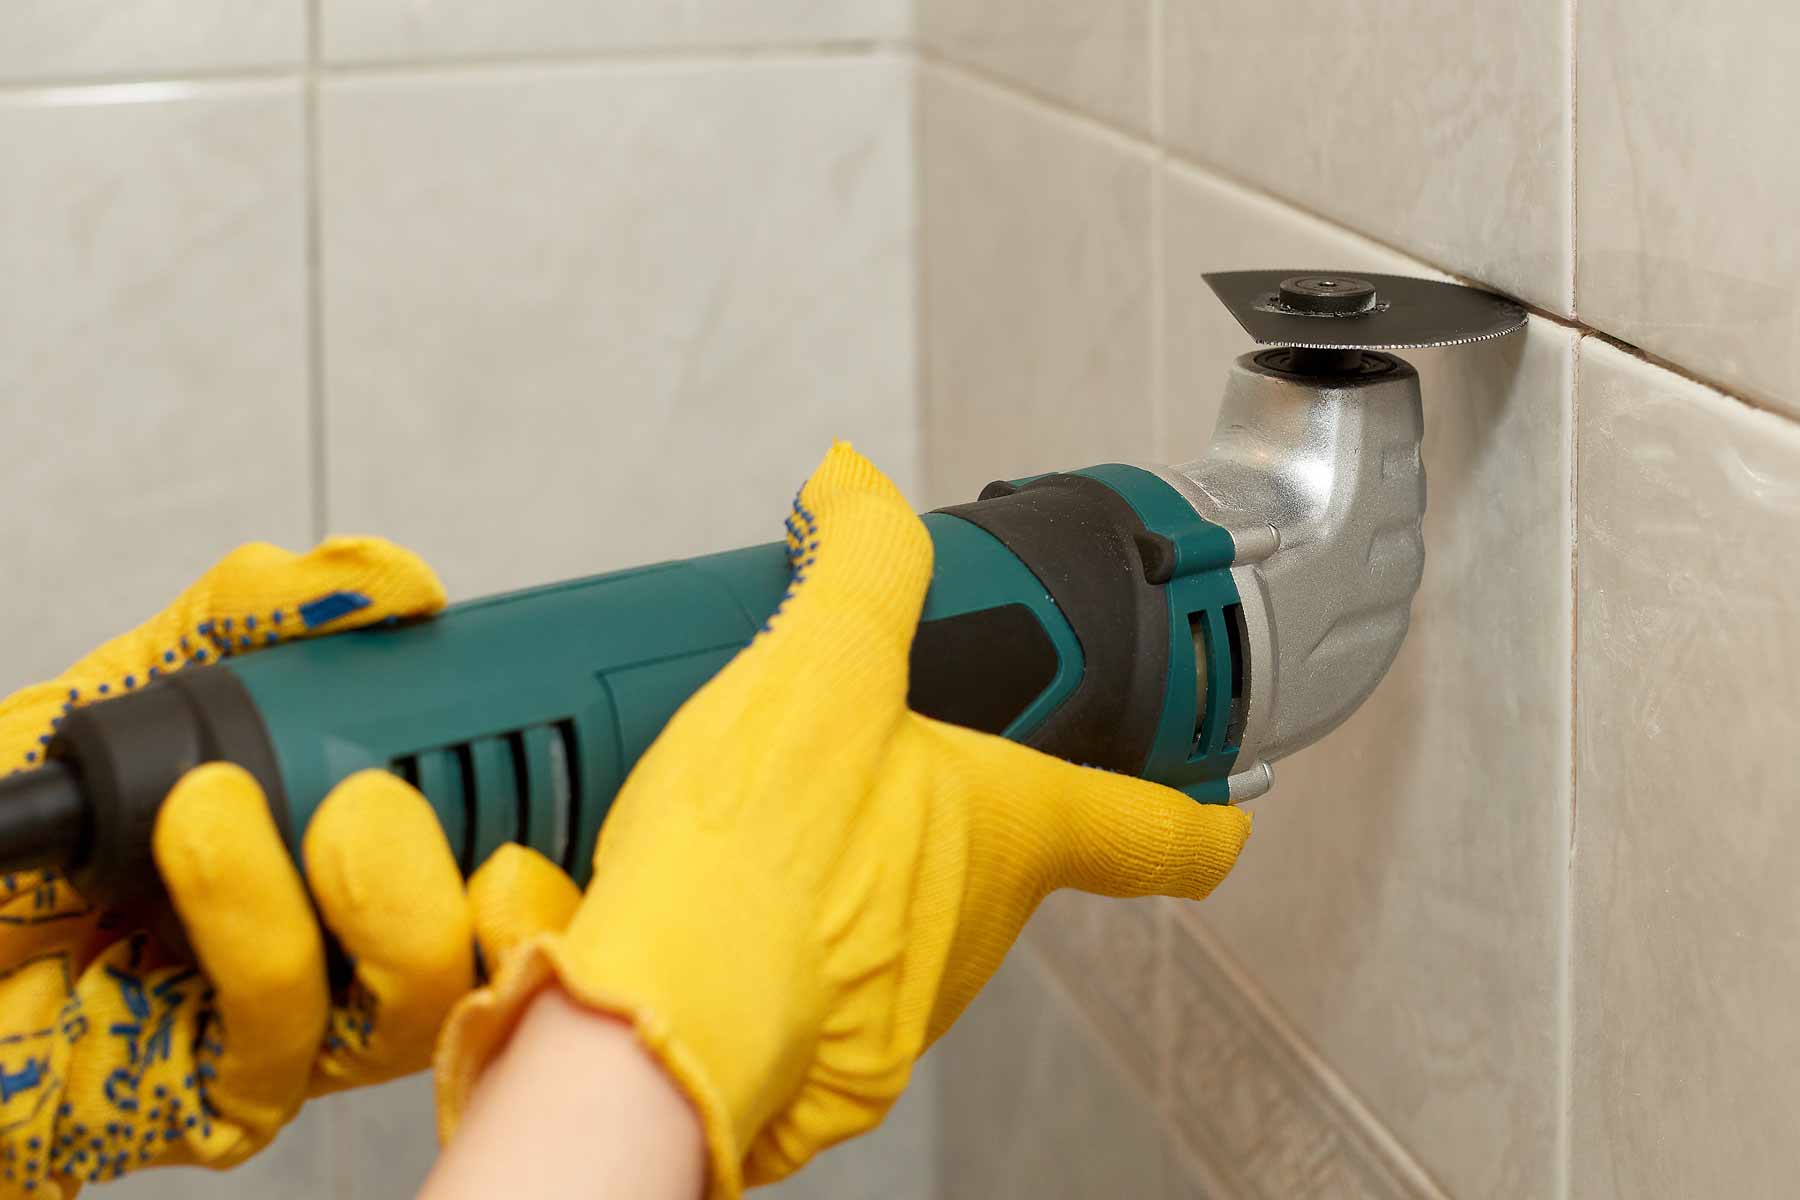
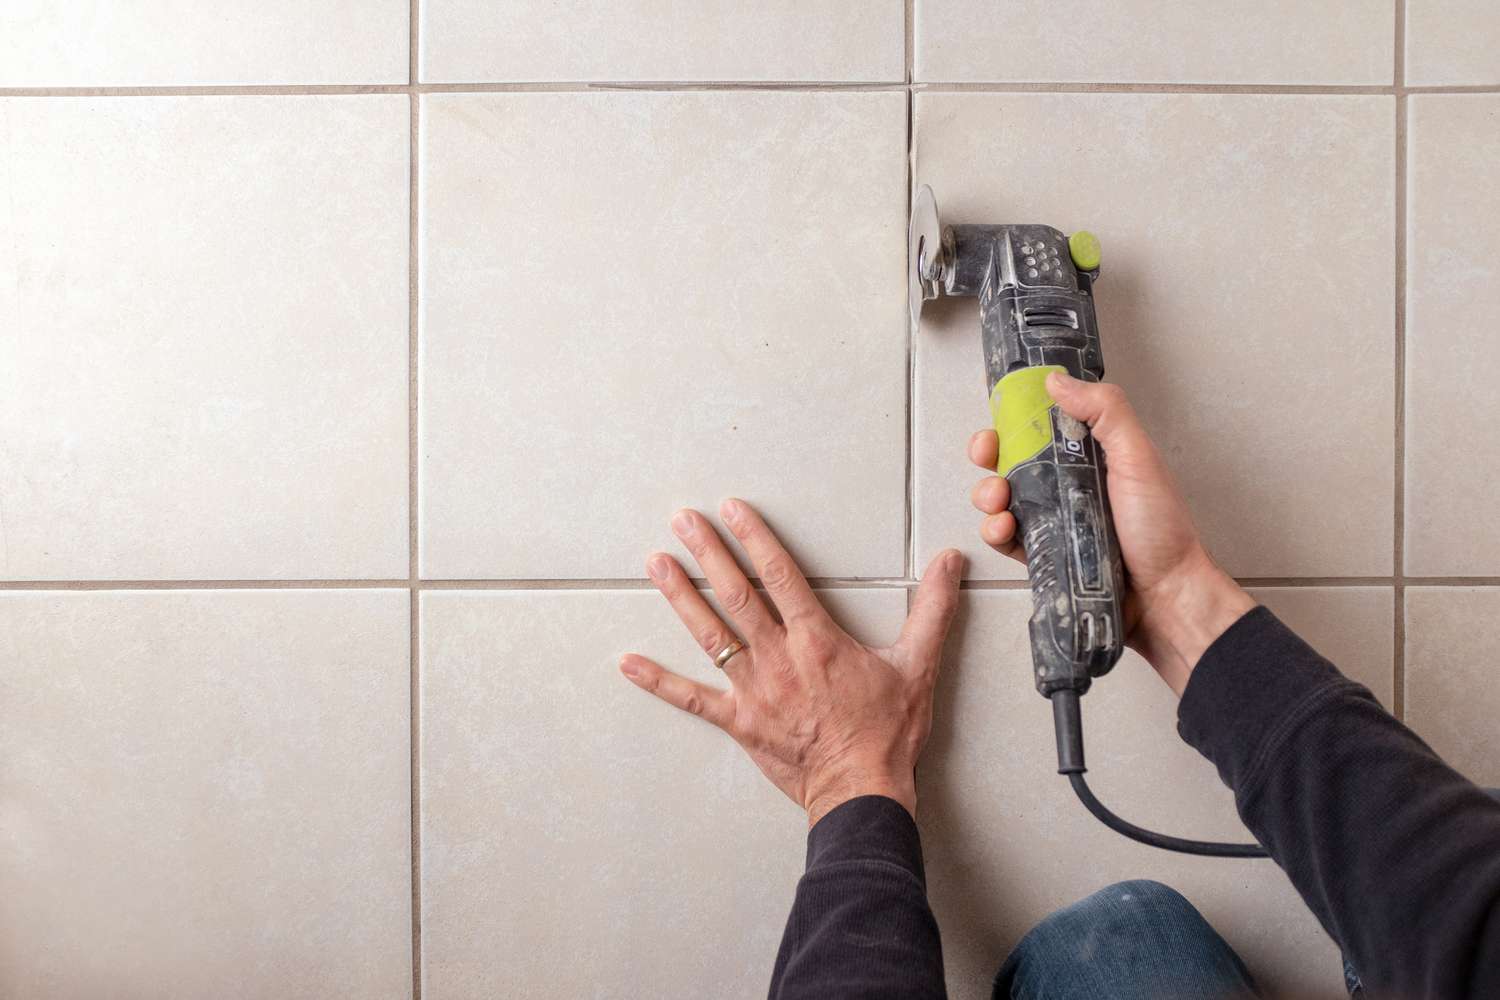
- Loosen the Grout: Using a grout saw or rotary tool, carefully remove the grout surrounding the cracked tile. This will create space and ease the tile removal process.
- Position the Chisel: Place the chisel or putty knife at the edge of the cracked tile, being cautious not to damage the adjacent tiles. Use a hammer to gently tap the chisel and create a separation between the cracked tile and the substrate.
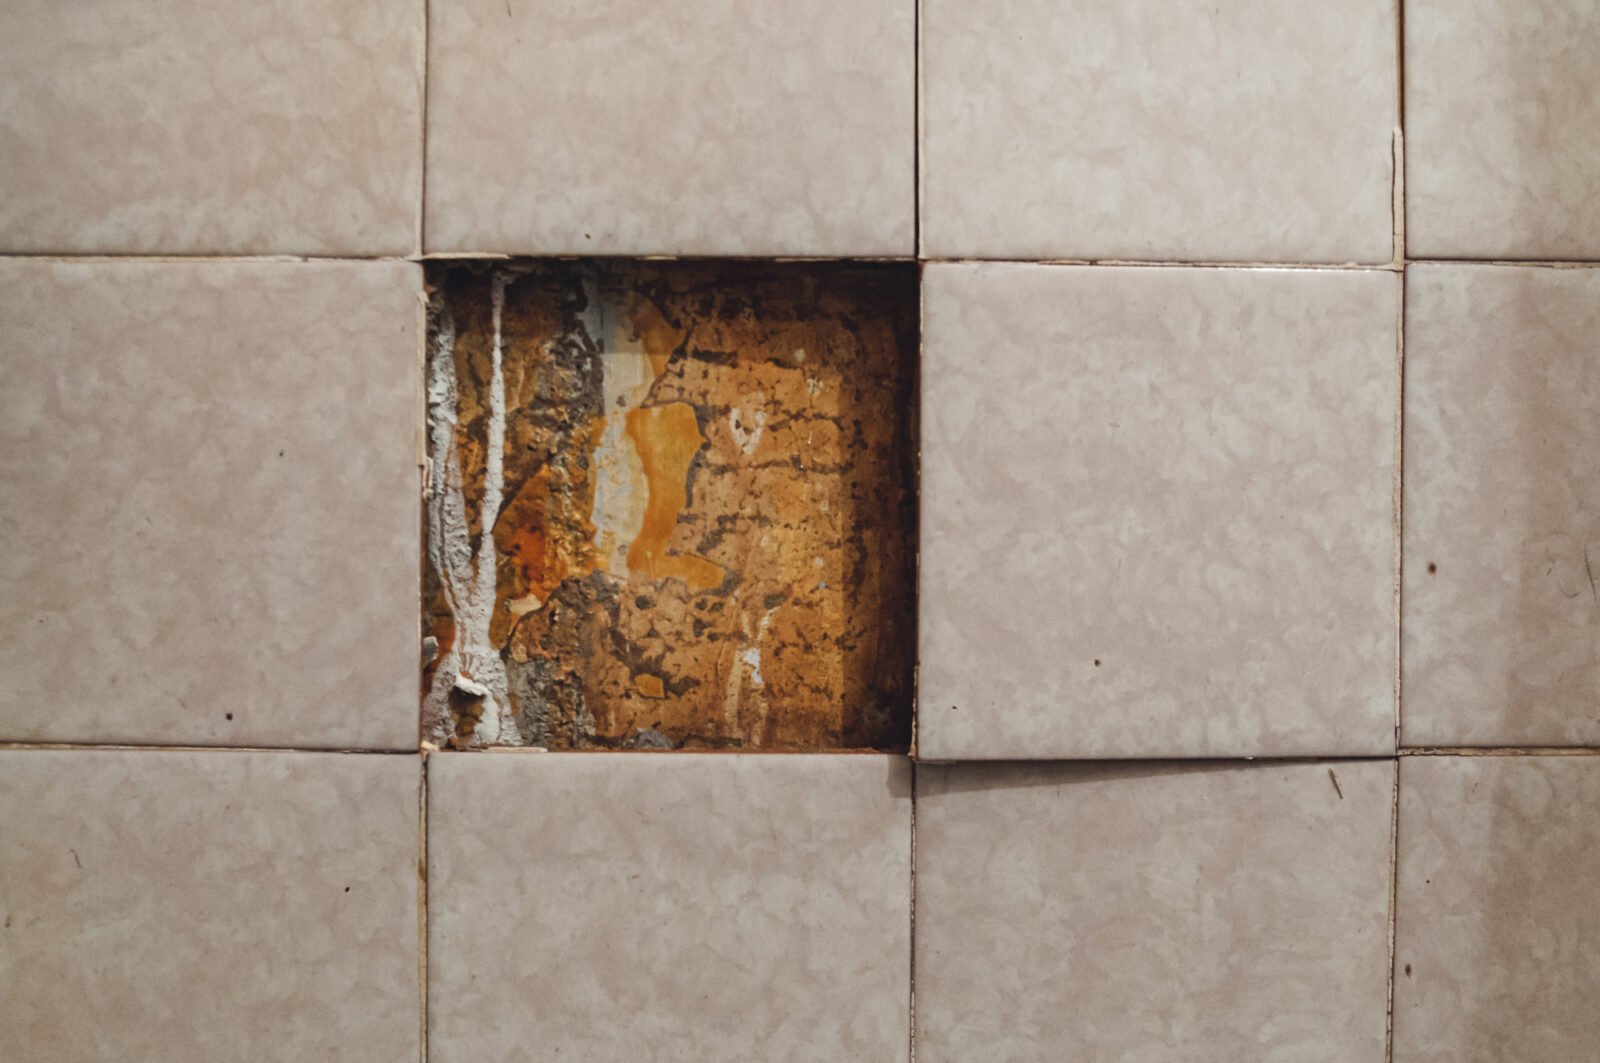
- Remove the Tile: Once the cracked tile is loosened, carefully lift it away from the substrate. Be mindful of any adhesive or mortar that may be attached to the back of the tile.
- Clean the Substrate: After removing the cracked tile, use a putty knife or similar tool to scrape away any remaining adhesive or mortar from the substrate. Ensure that the surface is smooth and free of debris before proceeding.
By following these steps with precision and patience, you can safely remove the cracked tile without causing harm to the surrounding tiles or the underlying surface. With the damaged tile out of the way, you’re now ready to prepare the surface for the installation of the replacement tile.
Preparing the Surface
With the cracked tile successfully removed, it’s time to focus on preparing the surface for the installation of the replacement tile. This crucial step sets the foundation for a secure and long-lasting repair, ensuring that the new tile will adhere firmly and seamlessly integrate with the existing tiles.
Here’s a detailed guide to preparing the surface for the replacement tile:
- Clean the Substrate: Thoroughly clean the substrate from any debris, dust, or remnants of adhesive or grout. A clean surface is essential for optimal adhesion and a smooth installation.
- Apply Primer (if necessary): Depending on the type of substrate and adhesive being used, applying a primer may be recommended to enhance the bond between the substrate and the adhesive.
- Check for Levelness: Use a level to ensure that the substrate is level and free of any uneven areas. If needed, make adjustments to achieve a flat and even surface for the replacement tile.
- Dry Fit the Replacement Tile: Before applying the adhesive, perform a dry fit of the replacement tile to confirm that it aligns perfectly with the surrounding tiles and sits flush on the substrate.
- Prepare the Adhesive: Follow the manufacturer’s instructions to prepare the tile adhesive. Ensure that it is mixed to the proper consistency for optimal adhesion.
By meticulously preparing the surface, you’re laying the groundwork for a successful tile replacement. Attention to detail at this stage will contribute to a seamless and durable repair, ensuring that the new tile integrates flawlessly with the existing shower tile layout.
Use a grout saw to remove the cracked grout around the tile. Clean the area and apply new grout. If the tile is still loose, use a tile adhesive to secure it back in place.
Read more: How To Fix A Broken Shower Tile
Applying the Adhesive
With the surface meticulously prepared, the next crucial step in the tile repair process is applying the adhesive. Proper application of the adhesive is essential for ensuring a secure bond between the replacement tile and the substrate, setting the stage for a seamless and durable repair.
Here’s a comprehensive guide to applying the adhesive for the replacement tile:
- Begin with a Small Area: It’s advisable to start by applying adhesive to a small area of the substrate, as this allows you to work efficiently and prevent the adhesive from drying out before the tile is placed.
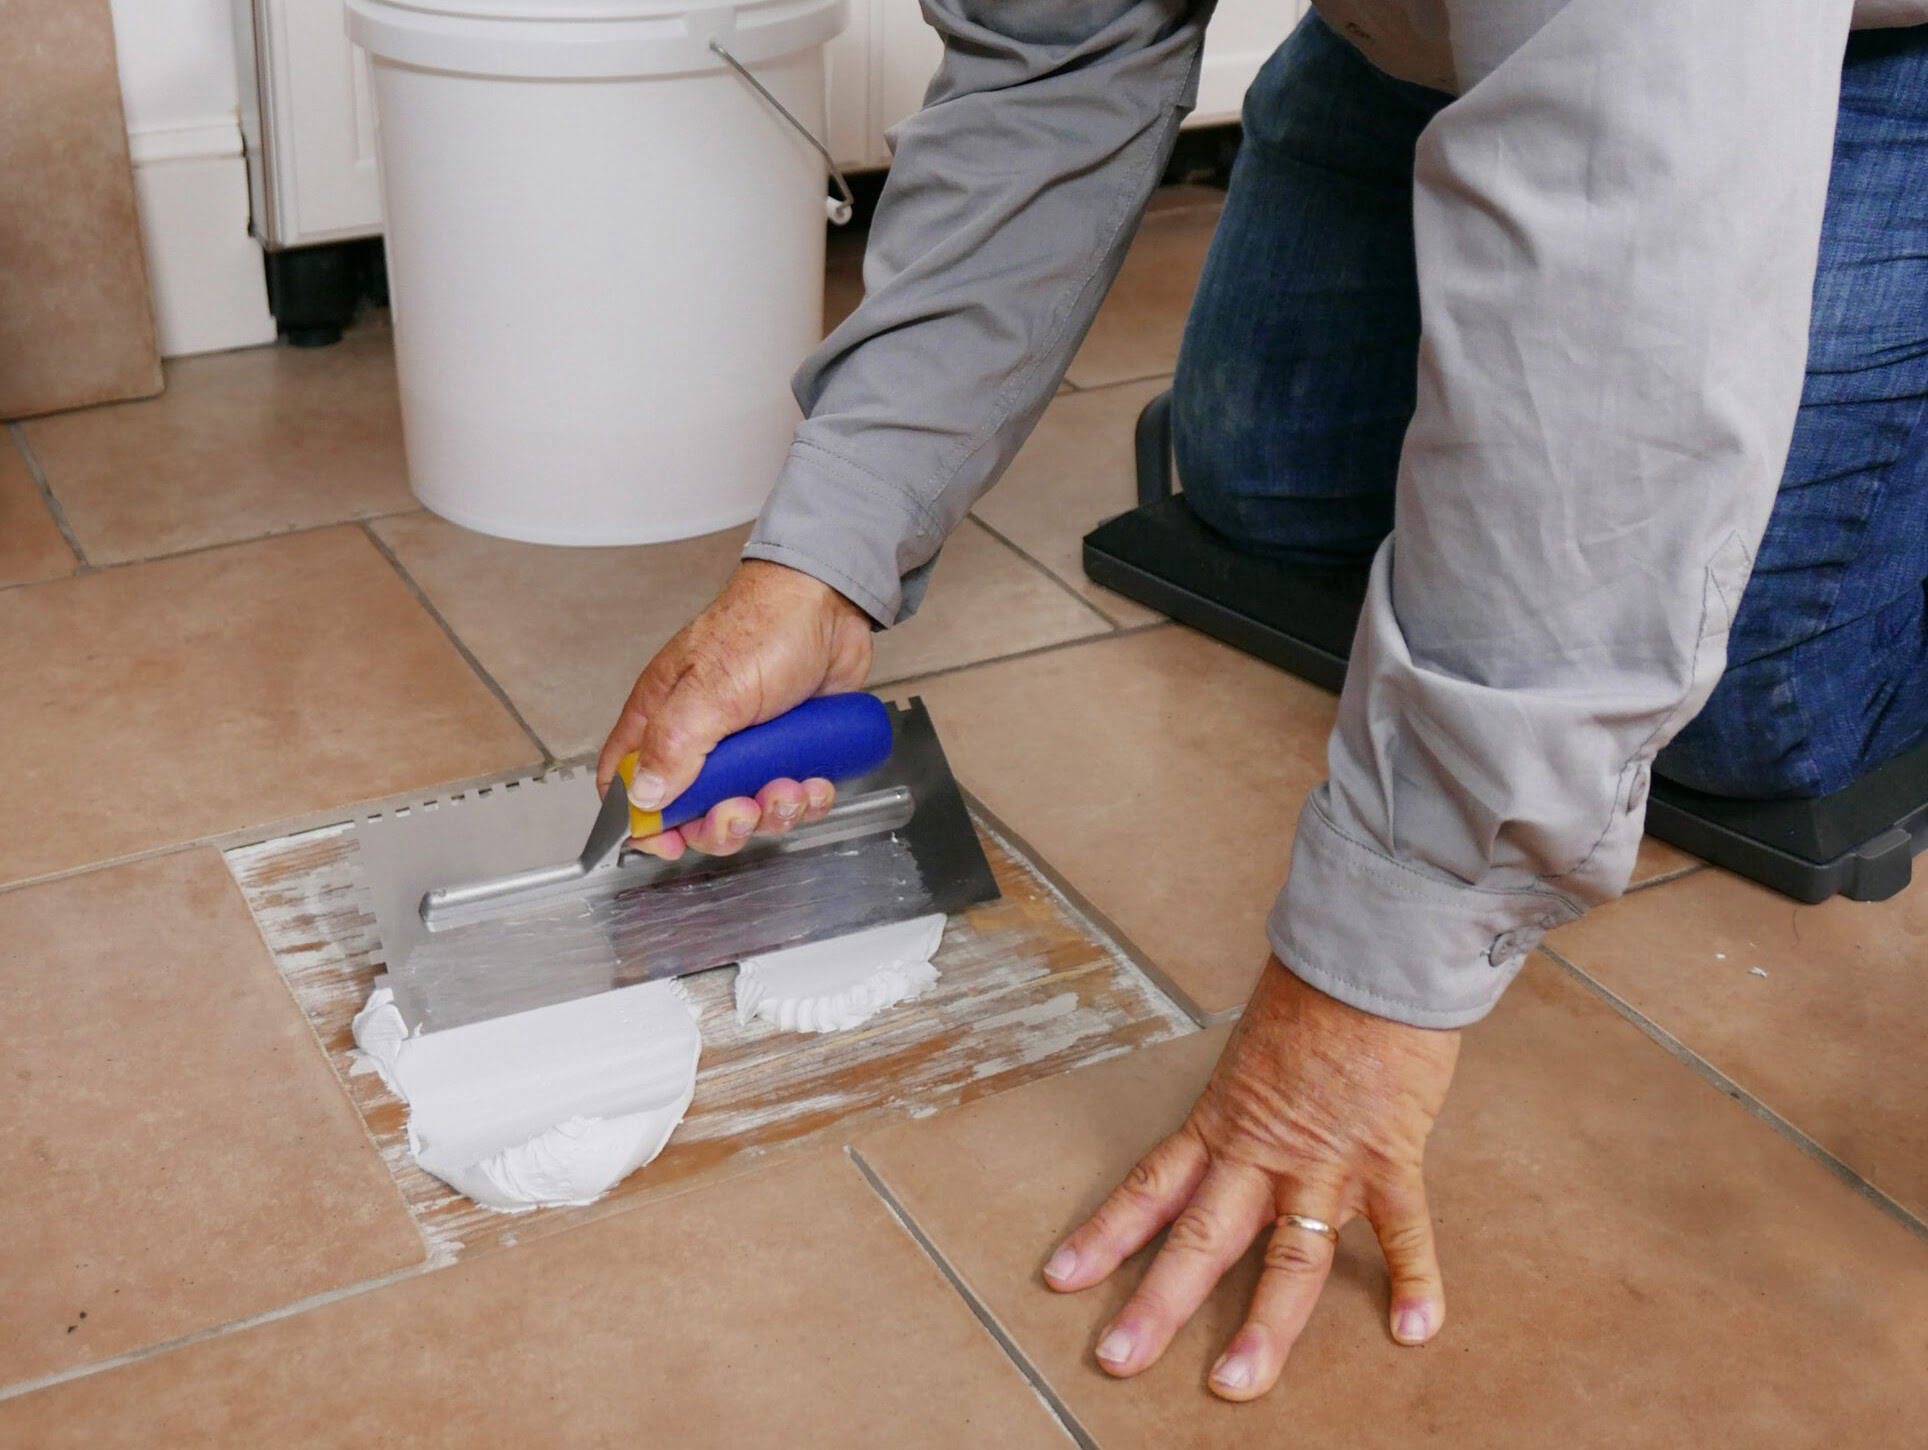
- Use the Proper Trowel: Select a notched trowel that is suitable for the size of the replacement tile. The trowel’s notches will create ridges in the adhesive, promoting strong adhesion and ensuring an even application.
- Apply the Adhesive: Using the notched trowel, spread the adhesive evenly over the prepared substrate, ensuring that the ridges created by the trowel are consistent in height and spacing.
- Avoid Excess Adhesive: Be mindful not to apply an excessive amount of adhesive, as this can lead to an uneven surface and may seep through the tile joints, complicating the grouting process.
- Work in Sections: If the adhesive dries quickly, consider working in small sections at a time to ensure that the adhesive remains workable during the tile installation.
By following these steps and exercising precision in the application of the adhesive, you’ll establish a strong foundation for the replacement tile, setting the stage for a secure and long-lasting repair. With the adhesive in place, you’re now ready to seamlessly integrate the replacement tile into the shower’s tile layout.
Replacing the Tile
With the adhesive applied and the surface primed for the replacement tile, it’s time to seamlessly integrate the new tile into the existing shower tile layout. This pivotal step brings the repair process closer to its culmination, as the replacement tile takes its place, restoring the aesthetic appeal and functionality of your shower.
Here’s a detailed guide to replacing the tile with precision and care:
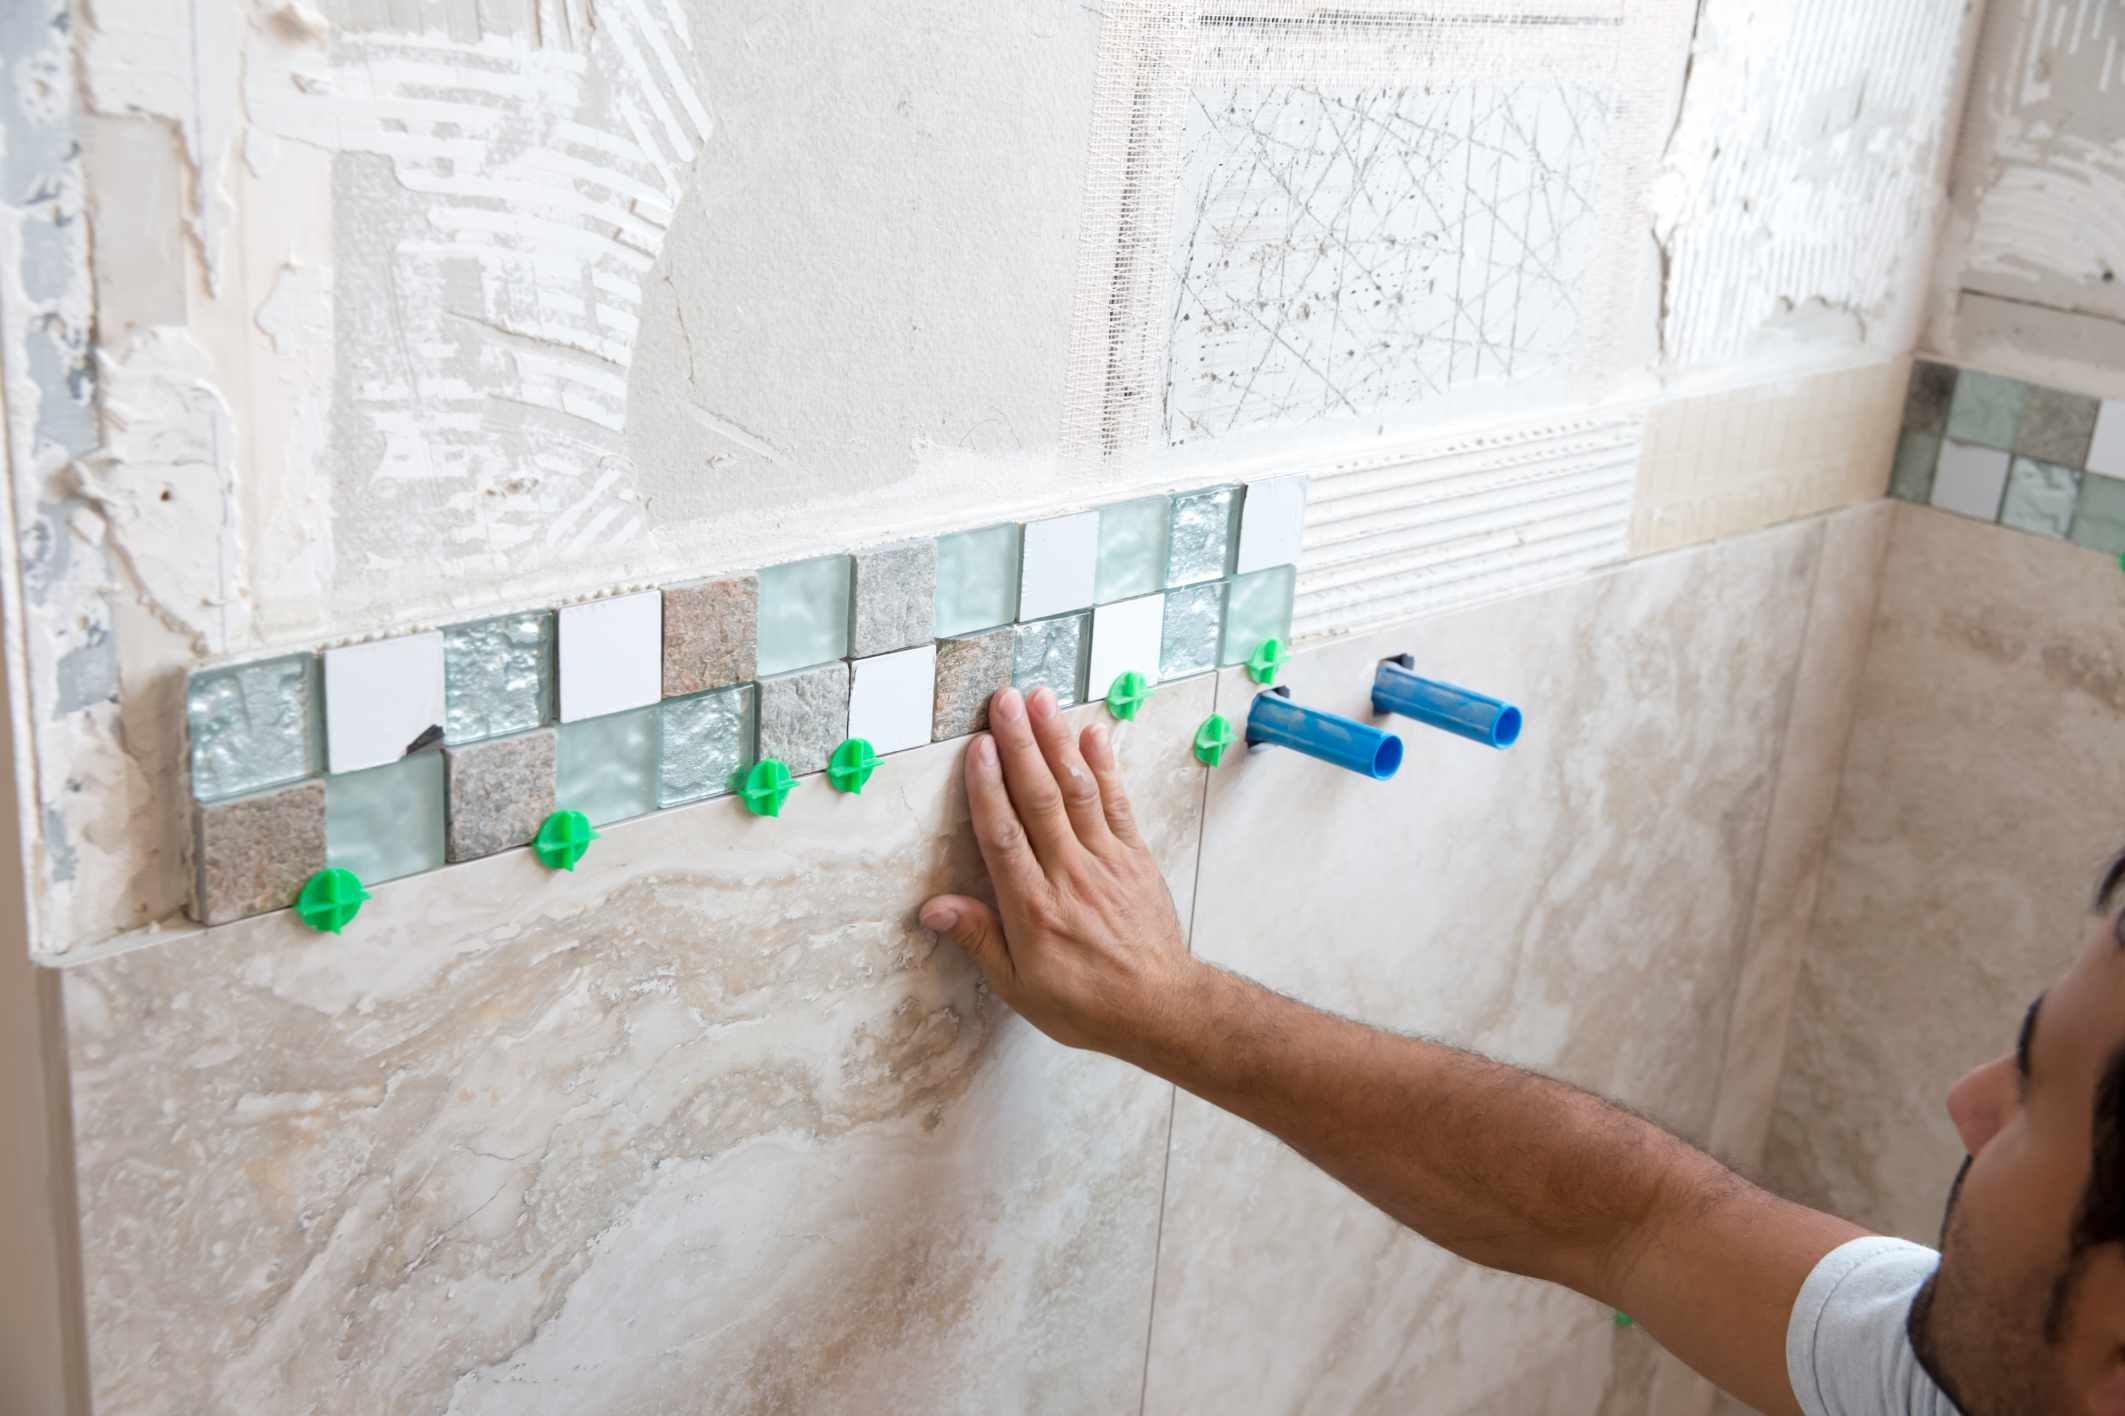
- Align the Tile: Carefully position the replacement tile, ensuring that it aligns perfectly with the surrounding tiles and sits flush on the adhesive-covered substrate.
- Press Firmly: Once the tile is in place, press down firmly to ensure that it adheres securely to the adhesive and forms a strong bond with the substrate.
- Check for Evenness: Use a level to confirm that the replacement tile is installed evenly and sits at the same level as the surrounding tiles. Make any necessary adjustments to achieve a seamless integration.
- Remove Excess Adhesive: If any adhesive seeps through the tile joints, promptly remove it using a clean, damp cloth to prevent it from interfering with the grouting process.
- Allow for Setting Time: Follow the manufacturer’s guidelines regarding the setting time for the adhesive. It’s crucial to allow sufficient time for the adhesive to cure and form a strong bond with the replacement tile and the substrate.
By meticulously following these steps, you’ll seamlessly integrate the replacement tile into the existing shower tile layout, bringing the repair one step closer to completion. With the new tile in place, the visual and functional integrity of your shower is on its way to being fully restored.
Finishing Touches
As the replacement tile settles into place, it’s time to attend to the finishing touches that will complete the repair process and ensure a polished, professional outcome. These final steps will not only enhance the visual appeal of the repaired area but also contribute to the durability and longevity of the repair.
Here’s a comprehensive guide to the finishing touches that will elevate the repair to its full potential:
- Grouting: Once the adhesive has fully set, carefully apply grout to the joints between the replacement tile and the surrounding tiles. Use a grout float to spread the grout evenly and ensure that the joints are completely filled.
- Smooth the Grout: After applying the grout, use a damp sponge to smooth and shape the grout lines, removing any excess grout from the tile surfaces. This step contributes to a clean, uniform appearance and promotes the longevity of the grout.
- Seal the Grout (if necessary): Depending on the type of grout used, applying a grout sealer may be recommended to protect the grout from moisture and staining, enhancing its longevity and resilience.
- Final Cleaning: Thoroughly clean the repaired area to remove any grout residue, adhesive smudges, or debris. A clean, polished surface will showcase the seamless integration of the replacement tile and the meticulous attention to detail in the repair process.
- Inspect and Appreciate: Take a moment to inspect the repaired area, appreciating the transformation from a cracked tile to a flawlessly restored surface. Admire the visual cohesion and structural integrity that the replacement tile has brought to your shower.
By meticulously attending to these finishing touches, you’ll elevate the repair to its full potential, ensuring that the replaced tile seamlessly integrates with the existing shower tile layout and contributes to the overall aesthetic and functionality of your bathroom.
Conclusion
Congratulations! You’ve successfully navigated the process of fixing a cracked shower tile, transforming a seemingly daunting issue into a manageable and rewarding project. By approaching the repair with patience, attention to detail, and the right tools, you’ve restored the visual appeal and functionality of your shower, ensuring that the cracked tile is now a distant memory.
Throughout this journey, you’ve demonstrated a keen eye for assessing the damage, meticulously preparing the surface, and seamlessly integrating the replacement tile into the existing shower tile layout. Your dedication to the finishing touches has elevated the repair to its full potential, resulting in a polished, professional outcome that enhances the overall aesthetic of your bathroom.
As you admire the flawlessly restored surface of your shower, take pride in the craftsmanship and care that you’ve invested in this project. The seamless integration of the replacement tile stands as a testament to your commitment to maintaining a beautiful and functional living space.
Remember, in the realm of home maintenance and repair, challenges such as a cracked shower tile are opportunities to showcase your resourcefulness and skill. By embracing these tasks with confidence and a willingness to learn, you not only enhance the value of your home but also cultivate a sense of empowerment and accomplishment.
So, as you revel in the success of this repair, know that you’ve acquired valuable skills and knowledge that will serve you well in future home improvement endeavors. Your willingness to tackle challenges head-on and see them through to a successful conclusion is a testament to your capability and determination.
With the cracked shower tile now a thing of the past, you can relish the revitalized beauty and functionality of your shower, knowing that your efforts have contributed to a space that exudes both comfort and elegance.
Here’s to your successful repair and the many more fulfilling home improvement projects that await on your journey to creating a space you’re proud to call home.
Frequently Asked Questions about How To Fix A Cracked Shower Tile
Was this page helpful?
At Storables.com, we guarantee accurate and reliable information. Our content, validated by Expert Board Contributors, is crafted following stringent Editorial Policies. We're committed to providing you with well-researched, expert-backed insights for all your informational needs.


0 thoughts on “How To Fix A Cracked Shower Tile”