Home>Furniture & Design>Bathroom Fixtures>How To Remove A Shower Tile

Bathroom Fixtures
How To Remove A Shower Tile
Modified: February 18, 2024
Learn how to remove a shower tile and update your bathroom fixtures with our step-by-step guide. Transform your space with these simple DIY tips.
(Many of the links in this article redirect to a specific reviewed product. Your purchase of these products through affiliate links helps to generate commission for Storables.com, at no extra cost. Learn more)
**
Introduction
**
Removing shower tiles can be a daunting task, but with the right tools, materials, and know-how, it can be a manageable DIY project. Whether you're renovating your bathroom or simply need to replace a few damaged tiles, understanding the step-by-step process is crucial for a successful outcome. By following a systematic approach and taking the time to properly prepare and execute each step, you can effectively remove shower tiles without causing damage to the surrounding area.
In this comprehensive guide, we'll walk you through the process of removing shower tiles, from gathering the necessary tools and materials to cleaning the area and preparing it for new tiles. Each step is essential for a smooth and efficient tile removal process, and we'll provide tips and insights to help you navigate potential challenges along the way.
By the end of this guide, you'll have the knowledge and confidence to tackle the task of removing shower tiles, whether it's for a full bathroom renovation or a targeted tile replacement. So, roll up your sleeves and get ready to transform your shower space by mastering the art of removing shower tiles.
Key Takeaways:
- Safely and efficiently remove shower tiles by gathering the right tools, carefully removing grout, and loosening tiles with precision. Prepare the area for new tiles by cleaning and repairing the substrate.
- Master the art of removing shower tiles with patience and attention to detail. Embrace the opportunity to infuse personal style into the installation of new tiles for a refreshing and inviting shower space.
Read more: How To Remove Shower Floor Tile
Step 1: Gather the Necessary Tools and Materials
Before diving into the tile removal process, it’s essential to gather the right tools and materials to ensure a smooth and efficient operation. Here’s a list of items you’ll need:
- Protective Gear: Start by ensuring your safety with protective gear, including safety goggles, work gloves, and a dust mask. These items will shield you from potential eye injuries, hand abrasions, and inhaling dust and debris.
- Pry Bar or Chisel: A sturdy pry bar or chisel will be your primary tools for loosening and removing the tiles. Look for a tool with a flat, angled edge to effectively wedge under the tiles.
- Hammer: A hammer will complement your pry bar or chisel, allowing you to apply controlled force to dislodge the tiles without causing excessive damage to the underlying surface.
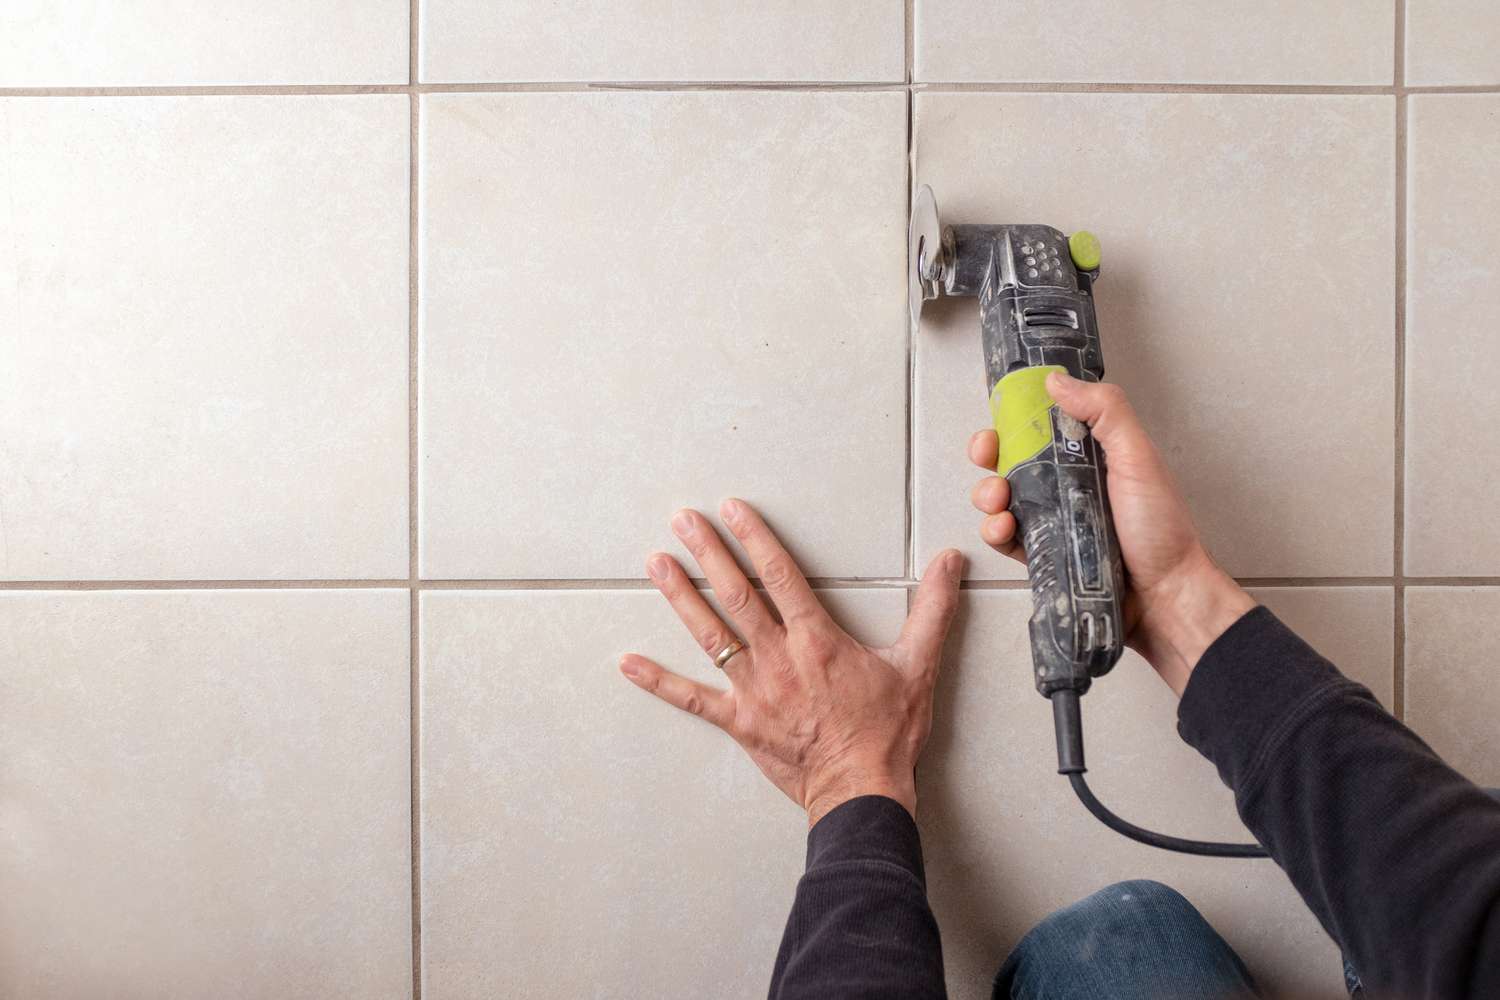
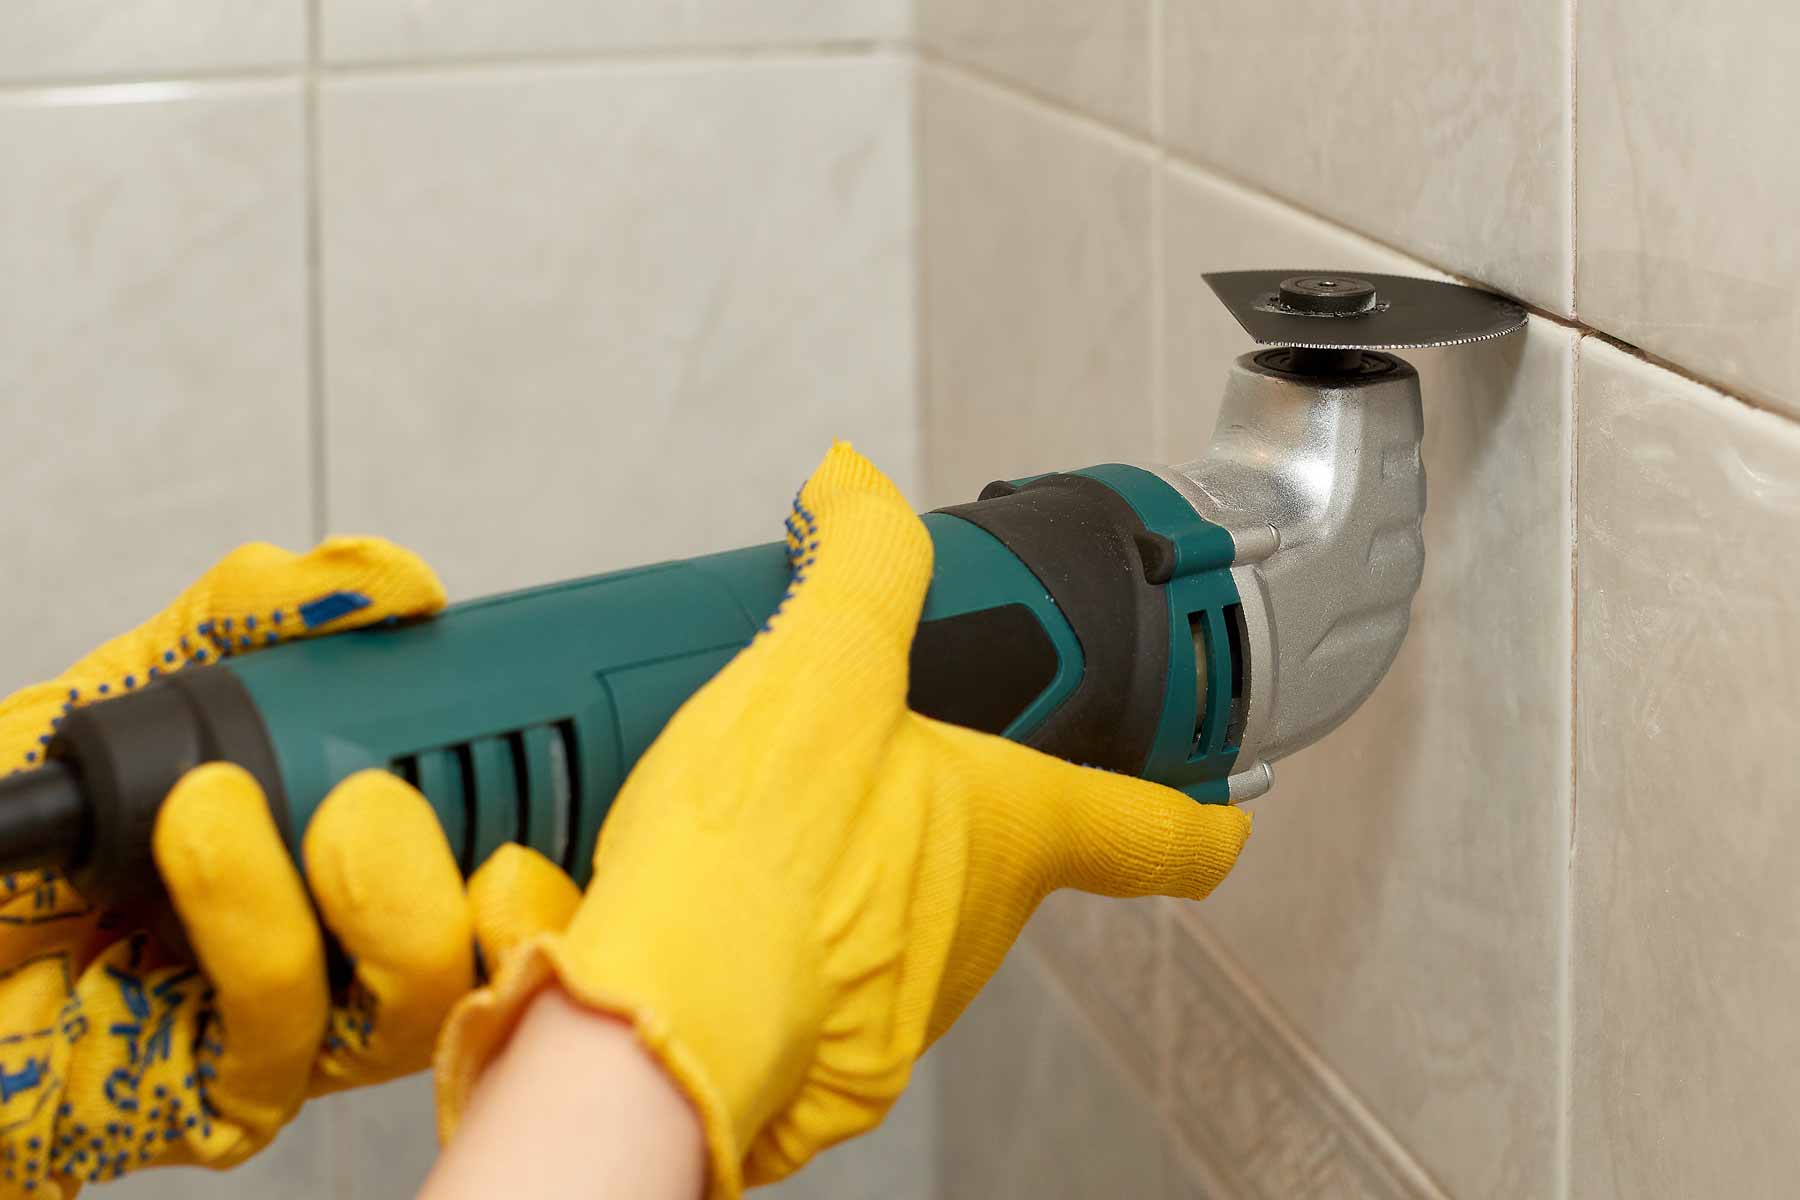
- Grout Saw or Multi-Tool: A grout saw or multi-tool equipped with a grout removal attachment will facilitate the process of removing grout from between the tiles.
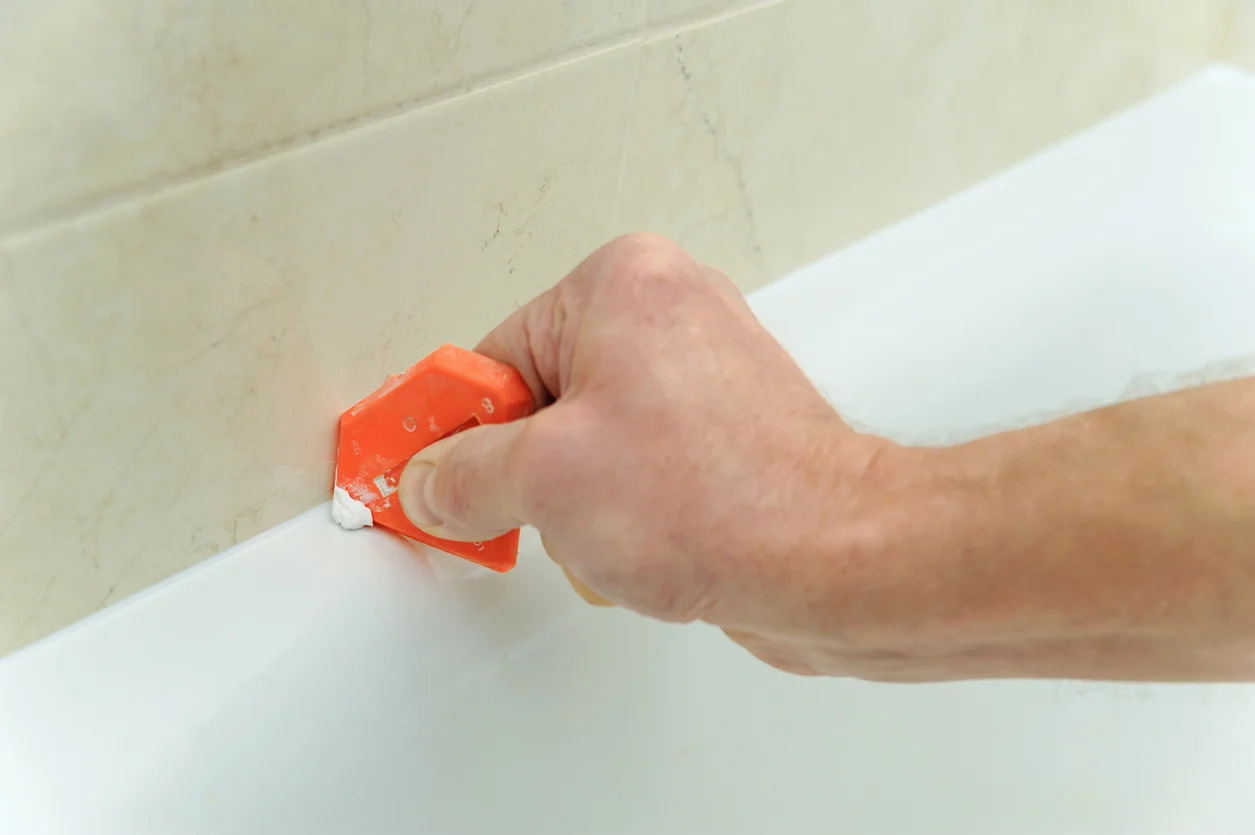
- Putty Knife: A putty knife is useful for scraping away any remaining grout or adhesive after the tiles have been removed.
- Container for Debris: Have a container or trash bag on hand to collect and dispose of the removed tiles and debris, keeping the work area tidy.
- Tile Adhesive Remover: Depending on the type of adhesive used for the tiles, you may need a specialized adhesive remover to dissolve and remove any stubborn adhesive residue.
- Cleaning Supplies: Prepare cleaning supplies such as a sponge, bucket, and mild detergent to clean the exposed surface after the tiles have been removed.
Once you have gathered these tools and materials, you’ll be well-equipped to proceed with the tile removal process efficiently and safely. With the right gear at your disposal, you can confidently move on to the next steps, knowing that you have everything you need to tackle the project effectively.
Step 2: Remove the Grout
Removing the grout surrounding the tiles is a crucial preliminary step in the tile removal process. The grout acts as a bonding agent between the tiles and also provides structural support. Here’s how to effectively remove the grout:
Assess the Grout Condition: Before starting, examine the condition of the grout. If it is cracked, crumbling, or discolored, it indicates that the grout is compromised and needs to be removed. Use a grout saw or a multi-tool equipped with a grout removal attachment to carefully cut through the grout. Work methodically, focusing on small sections at a time to avoid damaging the surrounding tiles.
Apply Controlled Pressure: When using the grout saw or multi-tool, apply controlled pressure to avoid slipping and accidentally damaging the adjacent tiles. Work in a back-and-forth motion, gradually loosening and removing the grout from between the tiles. Take your time and be patient, as thorough grout removal is essential for the subsequent tile removal steps.
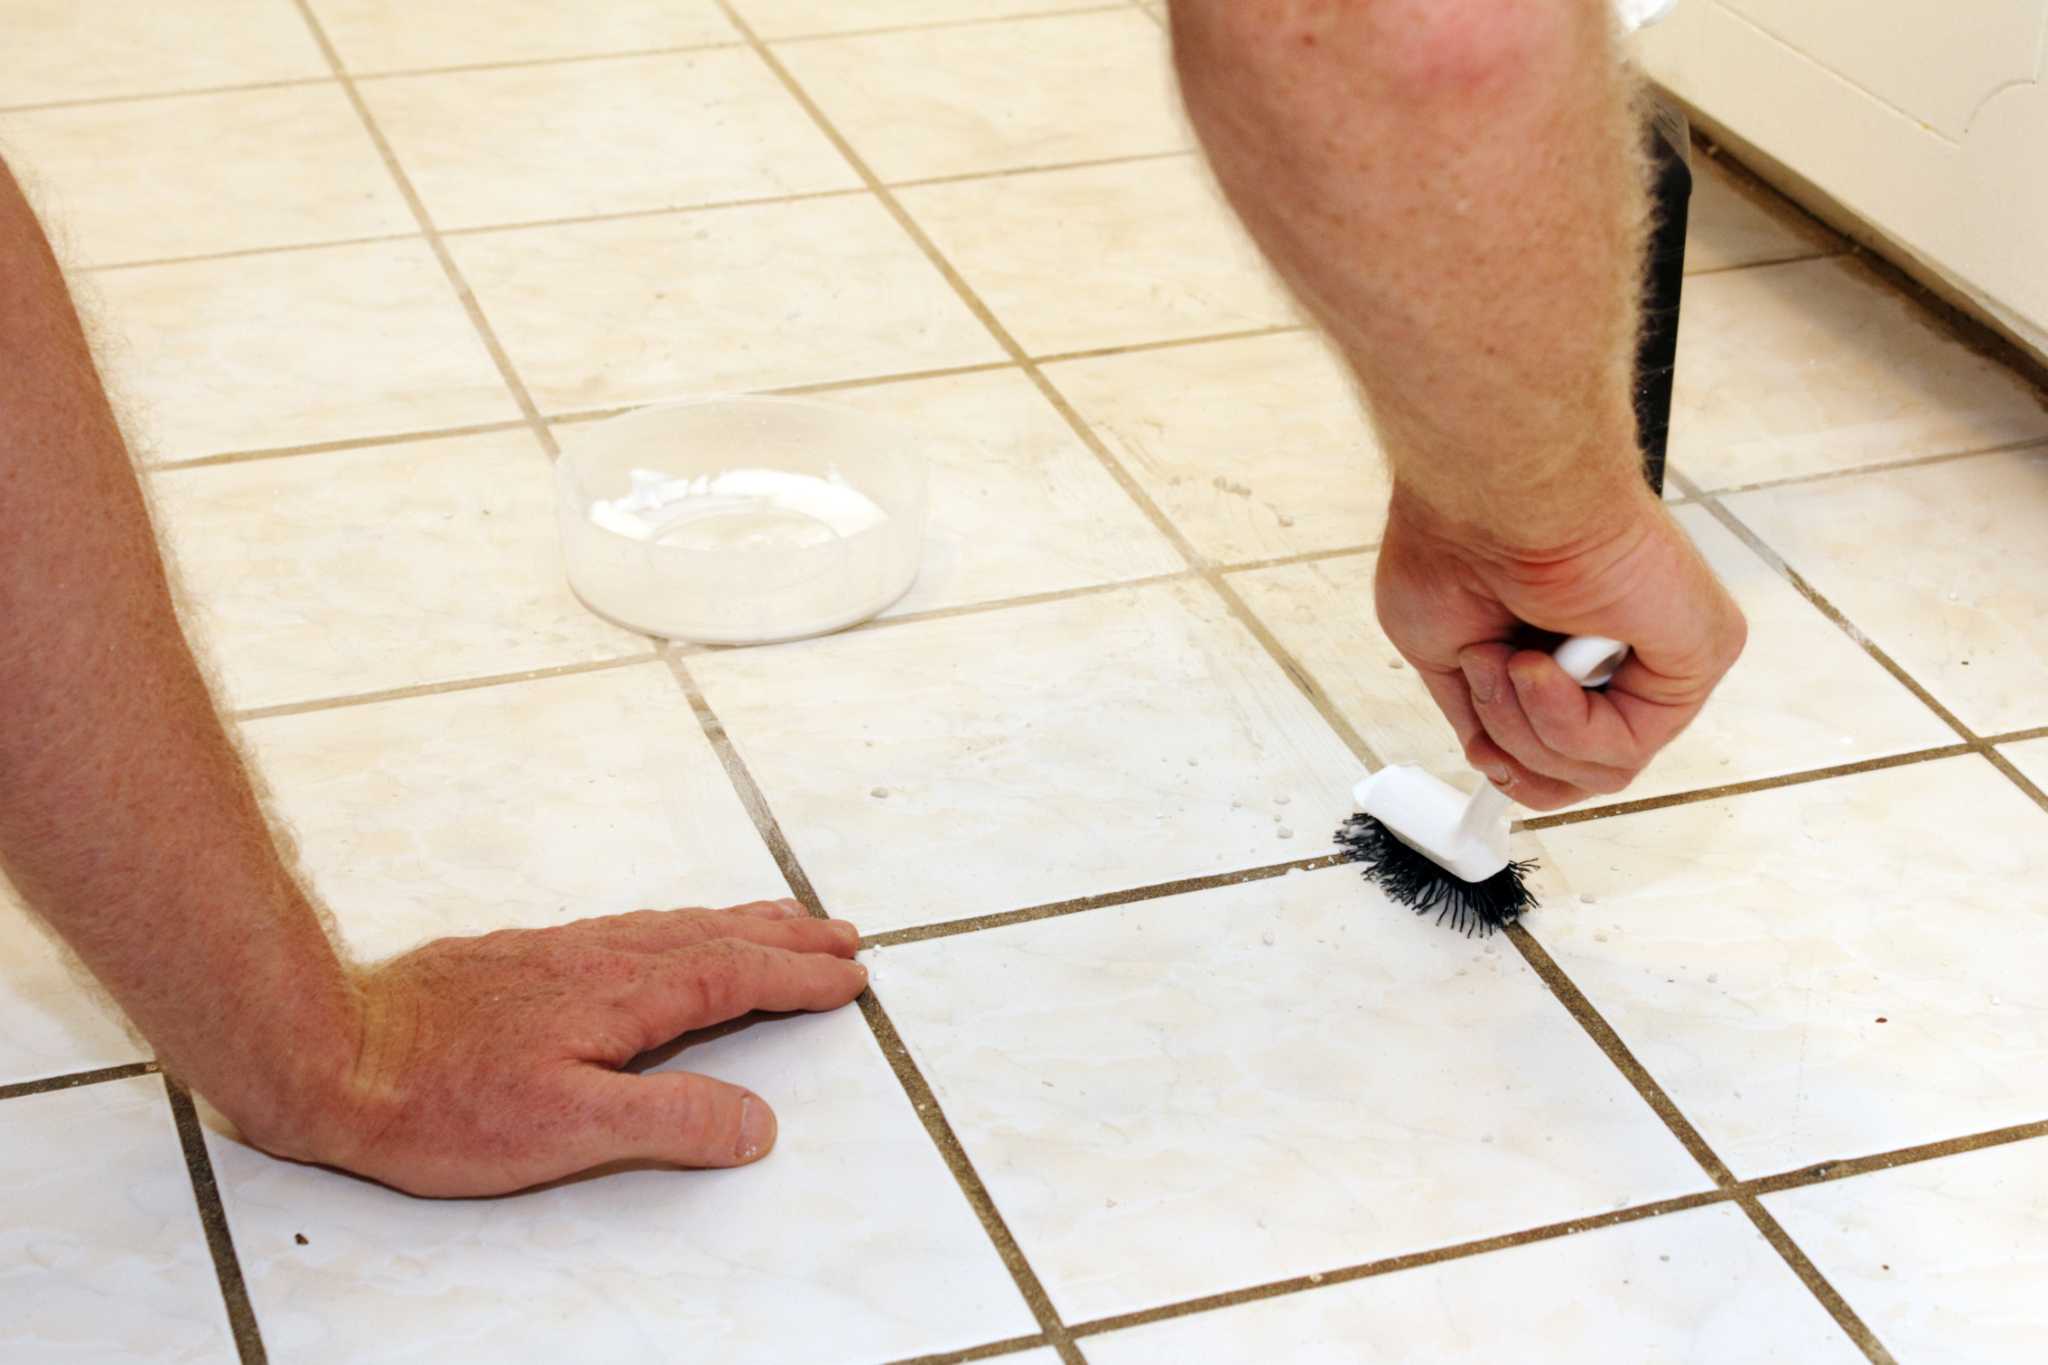
Clear the Debris: As you remove the grout, clear away the debris using a vacuum or a small brush. This will allow you to clearly see the edges of the tiles and assess the condition of the underlying adhesive. It’s important to have a clear view of the tiles before proceeding to the next steps.
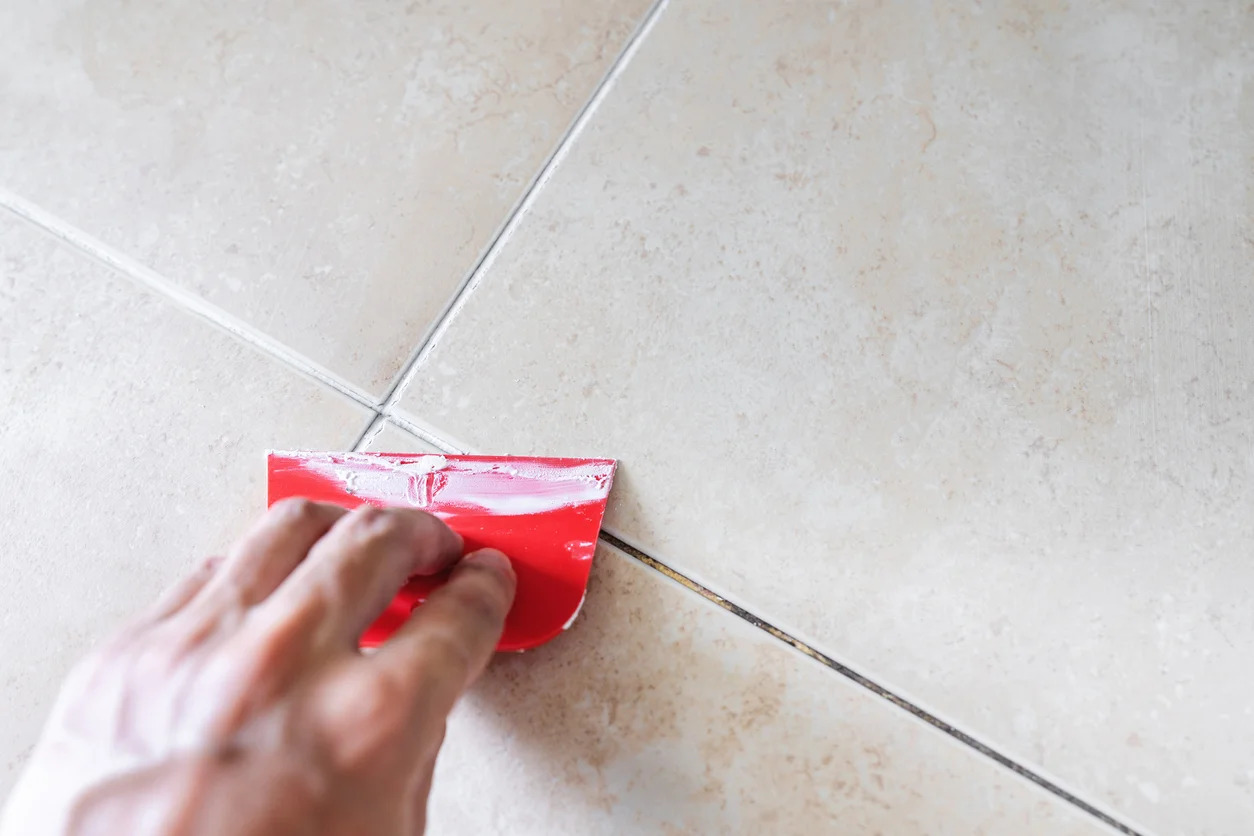
Inspect for Stubborn Grout: After the initial grout removal, inspect the area for any stubborn grout that may still be clinging to the tiles or the substrate. Use a putty knife to gently scrape away any remaining grout, taking care not to apply excessive force that could damage the tile edges.
By effectively removing the grout, you’ll create the necessary clearance to proceed with loosening and removing the tiles without unnecessary resistance. This meticulous step sets the stage for a successful tile removal process, ensuring that the tiles can be extracted without causing damage to the surrounding area.
Step 3: Loosen the Tiles
With the grout successfully removed, the next step is to focus on loosening the tiles from their adhesive bond to the substrate. Here’s how to proceed with this critical phase of the tile removal process:
Assess the Tile Adhesive: Before attempting to loosen the tiles, assess the type of adhesive used during the initial installation. Depending on the adhesive’s composition, you may need to employ specific techniques or solutions to effectively release the tiles.
Start at the Edges: Using a pry bar or chisel, carefully insert the tool at the edge of a tile and gently apply pressure to begin loosening it from the substrate. Work methodically, starting at one corner or edge of the tile and gradually progressing along the perimeter. It’s essential to avoid applying excessive force that could result in tile breakage or damage to the underlying surface.
Work in Sections: If the tiles are large or if you encounter resistance during the loosening process, consider working in smaller sections. By dividing the area into manageable portions, you can maintain control over the tile removal and minimize the risk of accidental damage.
Apply Even Pressure: As you work to loosen the tiles, apply even pressure with the pry bar or chisel to gradually separate them from the adhesive. Be mindful of the surrounding tiles, ensuring that the force applied is targeted and controlled to prevent collateral damage.
Handle Delicate Tiles with Care: In the case of delicate or fragile tiles, exercise extra caution when loosening them. These tiles may require a more delicate touch and additional support to prevent breakage during the removal process.
By methodically loosening the tiles, you’ll pave the way for their successful extraction without causing unnecessary damage to the surrounding area. This careful approach sets the stage for a smooth transition to the subsequent tile removal and cleaning steps, ensuring that the substrate remains intact and ready for the next phase of the renovation process.
Use a grout saw to remove the grout around the tile. Then, use a chisel and hammer to carefully break and remove the tile from the wall. Be sure to wear safety goggles and gloves.
Step 4: Remove the Tiles
With the tiles effectively loosened from their adhesive bond, it’s time to proceed with their removal. This step requires precision and care to ensure that the tiles are extracted without causing damage to the underlying surface. Here’s how to proceed with the tile removal process:
Use Controlled Force: Begin by applying controlled force to lift and remove the loosened tiles from the substrate. Utilize the pry bar or chisel to gently elevate the tiles, gradually releasing them from the adhesive while minimizing the risk of breakage or damage to the adjacent tiles.
Work Methodically: Approach the tile removal process methodically, focusing on one tile at a time to maintain control and precision. By systematically removing each tile, you can minimize the potential for accidental damage and ensure a smooth transition to the subsequent cleaning and preparation steps.
Inspect for Stubborn Tiles: In some instances, certain tiles may require additional effort to dislodge them completely. If you encounter stubborn tiles, carefully assess the adhesive bond and apply targeted force to release them without causing undue strain on the surrounding tiles or the substrate.
Collect and Dispose of Debris: As you remove the tiles, collect and dispose of the debris in a designated container or trash bag. Keeping the work area clear of debris will facilitate a more efficient and organized tile removal process.
Protect the Exposed Surface: Once the tiles have been removed, take care to protect the exposed surface from damage or debris. Cover the area with a protective material, such as a drop cloth or tarp, to prevent any foreign objects from compromising the substrate during the subsequent cleaning and preparation steps.
By carefully removing the tiles and managing the debris, you’ll set the stage for the final steps of the tile removal process. This meticulous approach ensures that the substrate is prepared for the subsequent cleaning and repair, laying the groundwork for the installation of new tiles and the revitalization of the shower space.
Read more: How To Remove Rust From A Shower Tile
Step 5: Clean the Area
After the tiles have been successfully removed, it’s essential to thoroughly clean the exposed area to prepare it for the next phase of the renovation process. Here’s how to effectively clean the area and ensure that it is ready for the installation of new tiles:
Remove Residual Adhesive and Grout: Begin by inspecting the exposed surface for any residual adhesive or grout. Use a putty knife or a suitable adhesive remover to carefully scrape away any remaining adhesive or grout remnants. It’s important to achieve a clean and level surface to facilitate the installation of new tiles.
Clean the Substrate: Once the adhesive and grout remnants have been removed, clean the substrate using a mild detergent and water. A sponge or soft cloth can be used to gently scrub the surface, removing any lingering debris and preparing it for the application of new adhesive and tiles.
Inspect for Damage: Take the time to inspect the substrate for any signs of damage or irregularities. Address any areas that require repair or leveling to ensure that the surface is primed for the installation of new tiles. By addressing any underlying issues, you can create a solid foundation for the next phase of the renovation.
Allow for Drying Time: Once the area has been cleaned and inspected, allow sufficient time for the substrate to dry completely. A dry surface is essential for the successful application of new adhesive and the seamless installation of new tiles. Be patient and ensure that the substrate is thoroughly dry before proceeding with the next steps.
Protect the Cleaned Area: While the substrate is drying, take measures to protect the cleaned area from dust, debris, and potential damage. Cover the surface with a protective material to maintain its cleanliness and integrity during the preparation for the installation of new tiles.
By diligently cleaning the exposed area and preparing the substrate for the next phase of the renovation, you’ll lay the groundwork for a successful tile replacement. This meticulous approach ensures that the surface is primed for the installation of new tiles, setting the stage for the revitalization of the shower space and the transformation of the bathroom environment.
Step 6: Repair and Prepare for New Tiles
As the cleaned area dries, it’s time to focus on repairing and preparing the substrate for the installation of new tiles. This critical step sets the stage for the successful revitalization of the shower space, ensuring that the new tiles are installed on a solid and level surface. Here’s how to proceed with repairing and preparing the area for the new tiles:
Address Any Substrate Damage: If the substrate exhibits any damage, such as cracks, uneven surfaces, or deteriorated areas, take the necessary steps to address these issues. Depending on the extent of the damage, you may need to apply a suitable patching compound or leveling material to restore the substrate to a smooth and stable condition.
Prime the Substrate: Once any repairs have been completed, consider applying a primer to the cleaned and repaired substrate. A primer serves as a bonding agent, promoting adhesion between the substrate and the new tile adhesive. Follow the manufacturer’s instructions for the proper application of the primer, ensuring thorough coverage and adherence to the substrate.
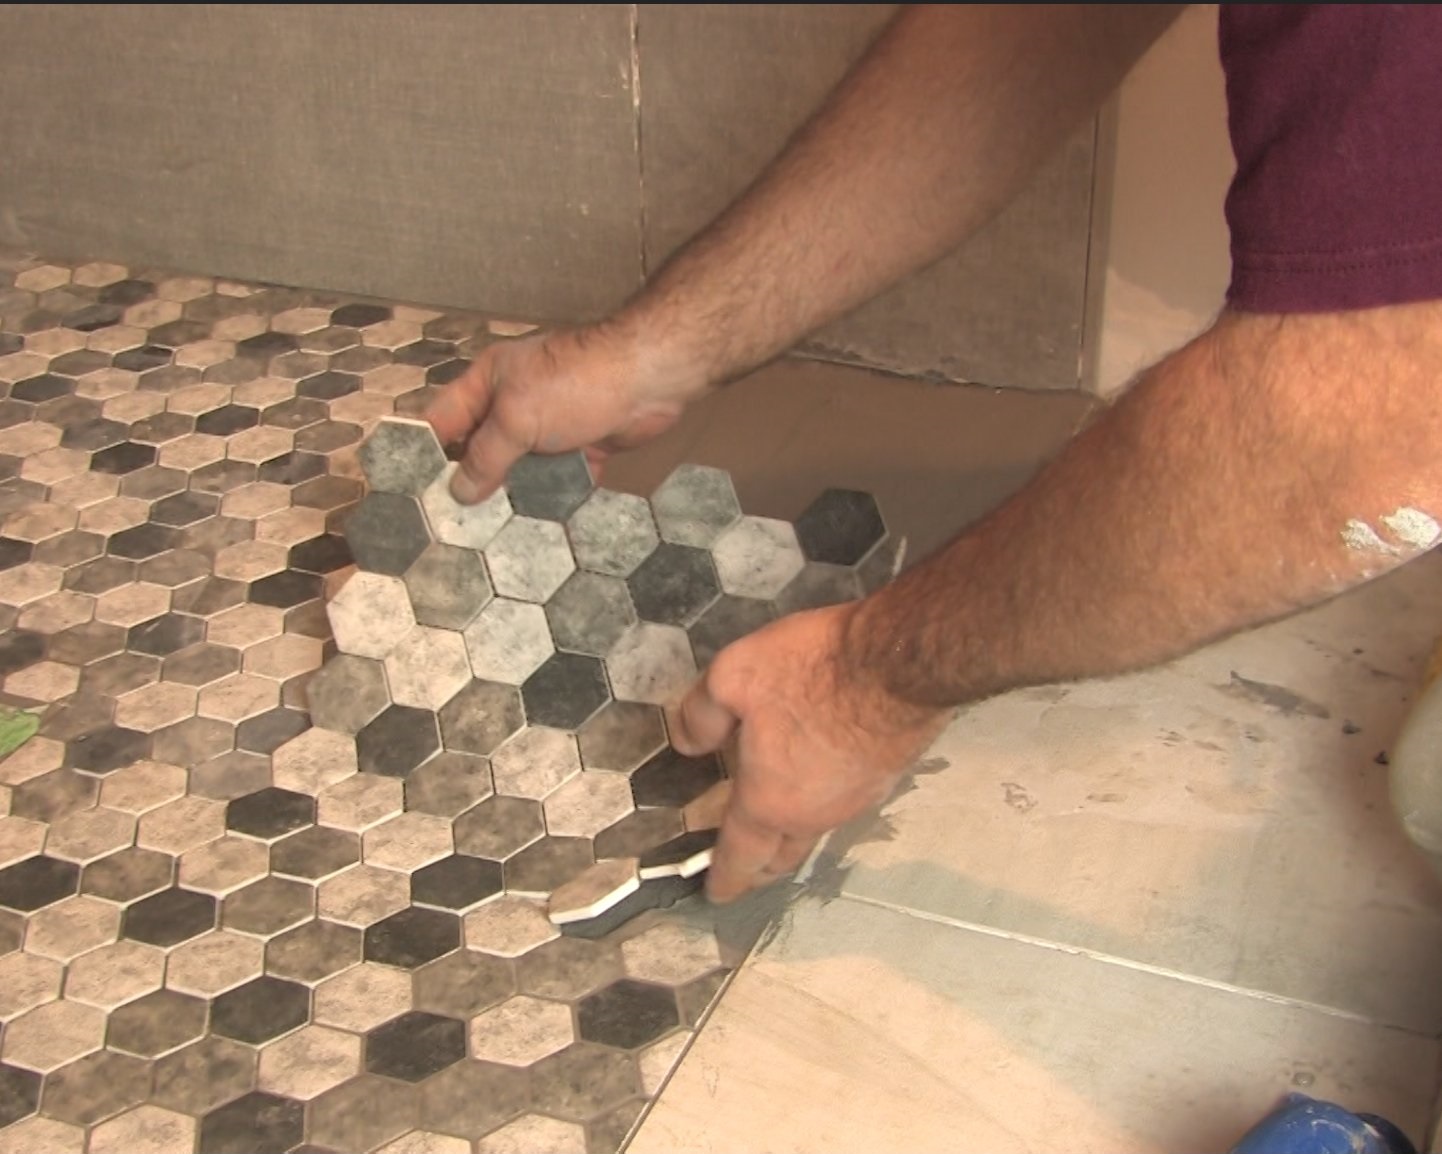
Select and Prepare the New Tiles: Before proceeding with the installation, select the new tiles that will adorn the shower space. Ensure that the chosen tiles are suitable for the environment, considering factors such as water resistance, durability, and aesthetic appeal. Prepare the new tiles by arranging them in the desired pattern and ensuring that they are ready for seamless installation.
Prepare the New Tile Adhesive: Depending on the type of tiles and the substrate, prepare the appropriate tile adhesive according to the manufacturer’s guidelines. Thoroughly mix the adhesive to achieve a consistent and workable texture, ensuring that it is ready for the precise installation of the new tiles.
Plan the Tile Layout: Before applying the adhesive and installing the new tiles, plan the layout to ensure a visually appealing and balanced arrangement. Consider factors such as tile orientation, spacing, and alignment to create a cohesive and aesthetically pleasing design for the shower space.
By diligently repairing and preparing the substrate for the installation of new tiles, you’ll establish a solid foundation for the transformation of the shower area. This meticulous approach ensures that the new tiles will be installed on a stable and well-prepared surface, setting the stage for the revitalization of the bathroom environment and the creation of a refreshed and inviting shower space.
Conclusion
Congratulations! You’ve successfully navigated the process of removing shower tiles, laying the groundwork for the revitalization of your shower space. By following the comprehensive steps outlined in this guide, you’ve gained the knowledge and confidence to tackle the task with precision and efficiency. As you reflect on the journey from gathering the necessary tools and materials to repairing and preparing the substrate for new tiles, you’ve acquired valuable insights into the intricacies of tile removal and renovation.
Throughout the process, you’ve demonstrated a meticulous approach, prioritizing safety, precision, and attention to detail. By carefully removing the grout, loosening the tiles, and executing the tile removal with finesse, you’ve preserved the integrity of the underlying surface, setting the stage for the installation of new tiles. The thorough cleaning and preparation of the substrate have further solidified the foundation for the transformation of the shower space, ensuring that the new tiles will be installed on a stable and level surface.
As you prepare to embark on the next phase of the renovation journey, envision the possibilities that lie ahead. The removal of the old tiles has cleared the path for the introduction of new, captivating tiles that will breathe new life into your shower space. Whether you’re embarking on a full bathroom renovation or targeting a specific tile replacement, the knowledge and skills you’ve acquired will serve as invaluable assets as you move forward with the revitalization process.
Embrace the opportunity to infuse your personal style and creativity into the selection and installation of the new tiles. Consider the aesthetic impact, functionality, and durability of the chosen tiles, envisioning the transformation that awaits. With the meticulous groundwork laid during the tile removal process, you’re poised to embark on the exciting journey of enhancing your shower space and creating a refreshing and inviting environment.
As you prepare to embark on the installation of new tiles, carry forward the diligence and precision that have guided you through the tile removal process. With the knowledge and experience gained, you’re well-equipped to embark on the next phase of the renovation journey, embracing the potential for a revitalized and rejuvenated shower space.
With the foundation set and the vision in mind, take the next steps with confidence, knowing that you’ve mastered the art of removing shower tiles and are ready to embark on the transformative journey that lies ahead.
Frequently Asked Questions about How To Remove A Shower Tile
Was this page helpful?
At Storables.com, we guarantee accurate and reliable information. Our content, validated by Expert Board Contributors, is crafted following stringent Editorial Policies. We're committed to providing you with well-researched, expert-backed insights for all your informational needs.


0 thoughts on “How To Remove A Shower Tile”