
Articles
How To Cut Peel And Stick Vinyl Tile
Modified: December 7, 2023
Learn the step-by-step process of cutting, peeling, and sticking vinyl tile with our informative articles. Achieve professional results with ease!
(Many of the links in this article redirect to a specific reviewed product. Your purchase of these products through affiliate links helps to generate commission for Storables.com, at no extra cost. Learn more)
Introduction
Welcome to our comprehensive guide on how to cut, peel, and stick vinyl tile. Vinyl tile is an affordable and versatile flooring option that is perfect for DIY enthusiasts looking to update their homes. Whether you are tackling a small bathroom renovation or revamping your entire kitchen, vinyl tile is a fantastic choice.
In this article, we will walk you through the step-by-step process of cutting, peeling, and sticking vinyl tile. From preparing the surface to the final finishing touches, we will provide you with all the information you need to achieve professional-looking results.
Before we dive into the details, let’s take a moment to understand why vinyl tile is such a popular choice for flooring. Vinyl tile is not only budget-friendly but also highly durable. It can withstand heavy foot traffic, spills, and even the occasional dropped object without losing its charm. Additionally, vinyl tile is available in a wide range of colors, patterns, and styles, allowing you to find the perfect option to complement your home’s aesthetic.
Now that we’ve established the many benefits of vinyl tile, let’s get started on the installation process. Get ready to transform your space with this step-by-step guide on how to cut, peel, and stick vinyl tile.
Key Takeaways:
- Vinyl tile is a budget-friendly and durable flooring option that offers a wide range of styles, making it a versatile choice for DIY home improvement projects.
- Proper surface preparation, accurate measurements, and careful planning are essential for achieving a seamless and professional-looking vinyl tile installation.
Read more: How To Cut Peel And Stick Backsplash Tiles
Materials Needed
Before you start cutting, peeling, and sticking vinyl tile, there are a few essential materials that you will need. Make sure you have the following items on hand before beginning the installation process:
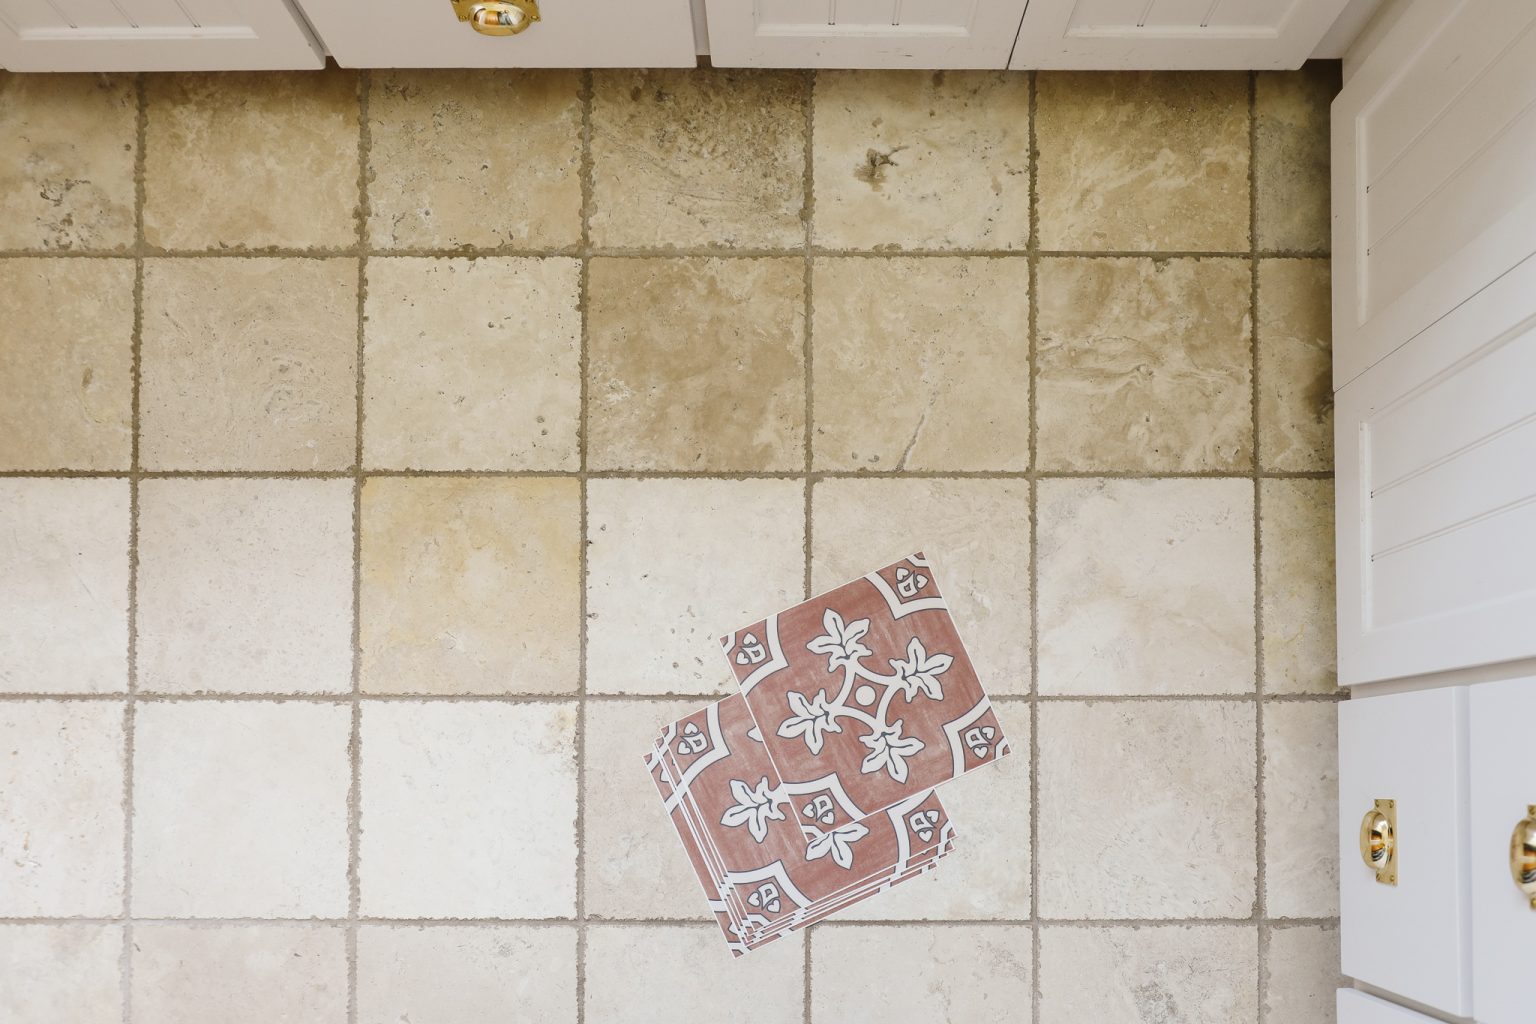
- Vinyl tile: Purchase enough vinyl tile to cover the desired area plus a little extra for mistakes or future repairs.
- Measuring tape: Use a measuring tape to accurately measure the dimensions of the space you are planning to tile.
- Straightedge: A straightedge will help you create clean and straight-cut lines on the vinyl tile.
- Utility knife: A sharp utility knife is necessary for cutting the vinyl tile to size and creating precise cuts.
- Adhesive: Choose a high-quality adhesive that is specifically designed for vinyl tile installation. Make sure it is compatible with the type of vinyl tile you have.
- Trowel: A trowel will be used to spread the adhesive evenly on the surface.
- Notched trowel: If you are using vinyl tile with a self-adhesive backing, a notched trowel is not necessary. However, if you are applying adhesive manually, a notched trowel will help you achieve an even application.
- Rolling pin or floor roller: A rolling pin or floor roller will be used to ensure that the vinyl tile adheres properly to the floor surface.
- Level: Use a level to ensure that the floor surface is even and flat before installing the vinyl tile.
- Pencil or pen: A pencil or pen will be used to mark the cutting lines on the vinyl tile.
- Safety goggles and gloves: Protect yourself by wearing safety goggles and gloves when cutting and handling the vinyl tile.
- Clean cloth: Keep a clean cloth handy to wipe away excess adhesive or any spills.
Gather these materials before you begin the installation process to ensure a smooth and efficient workflow. Having everything prepared will save you time and prevent any interruptions during the installation.
Step 1: Prepare the Surface
Proper surface preparation is crucial for a successful vinyl tile installation. Before you can start cutting, peeling, and sticking the vinyl tile, you need to ensure that the surface is clean, smooth, and free from any debris or imperfections. Follow these steps to prepare the surface:
- Clear the area: Remove any furniture, appliances, or other objects from the area where you will be installing the vinyl tile. This will give you a clear and open workspace.
- Clean the floor: Thoroughly sweep or vacuum the floor to remove any dust, dirt, or loose particles. Use a damp mop to remove any stubborn stains or spills. Allow the floor to dry completely before proceeding.
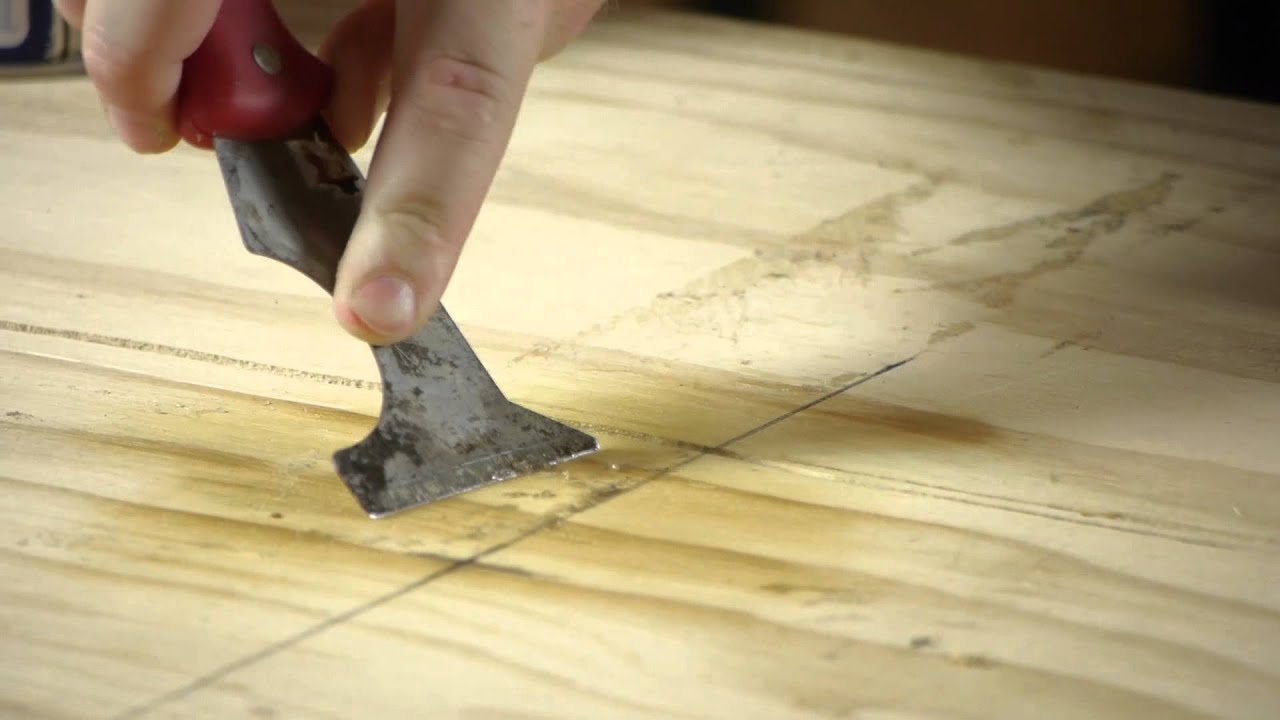
- Repair any damages: Inspect the floor for any cracks, holes, or uneven areas. Fill in any gaps or cracks with a suitable floor patching compound and smooth it out using a putty knife. Sand down any high spots or bumps in the floor to create a level surface.
- Remove baseboards: If you have any baseboards or trim along the walls, consider removing them before installing the vinyl tile. This will make the installation process easier and ensure a neat and professional finish. Use a pry bar or a small crowbar to gently lift and remove the baseboards. Set them aside for reinstallation later.
- Check for moisture: Moisture can be detrimental to vinyl tile, so it’s essential to check for any signs of excess moisture in the floor. You can use a moisture meter to assess the moisture level or conduct a simple plastic sheet test. Place a sheet of plastic on the floor, secure the edges with tape, and leave it for 24 to 48 hours. If moisture accumulates under the plastic, you may need to address the moisture issue before proceeding with the installation.
- Level the floor: Use a long straightedge or level to check if the floor is level. Place the straightedge across different areas of the floor and look for any gaps or inconsistencies. If you find any uneven areas, you may need to use a self-leveling compound to create a smooth and even surface.
Once you have completed these steps, you can move on to the next phase of the vinyl tile installation process. Taking the time to prepare the surface properly will ensure a flawless and long-lasting installation.
Step 2: Measure and Plan
Accurate measurements and careful planning are essential for a successful vinyl tile installation. Before cutting and sticking the vinyl tile, you need to measure the area and plan the layout. Follow these steps to measure and plan:
- Measure the area: Use a measuring tape to measure the length and width of the room or space where you will be installing the vinyl tile. Round up the measurements to the nearest foot or inch, depending on your preference.
- Add extra for waste: Vinyl tile is durable, but mistakes can happen. It’s always best to have some extra tiles on hand in case of any mishaps or future repairs. Experts recommend adding an additional 10% to 15% of the total square footage to account for waste.
- Plan the layout: Consider the layout of the room when planning the placement of the vinyl tile. Start by determining the center point of the room and use this as your starting point. For rectangular rooms, you can create a grid-like pattern, starting from the center and working your way outwards. For irregularly shaped rooms, lay out a dry run with loose tiles to visualize how the pattern will look.
- Account for obstacles: Take into account any obstacles such as cabinets, appliances, or fixtures in the room. Measure and mark these areas on the floor plan to ensure that the vinyl tile will fit properly around them. Make accurate cuts and allowances to accommodate these obstacles.
- Consider the aesthetic: Think about the overall aesthetic you want to achieve with your vinyl tile installation. Choose a pattern, color, and style that complements the rest of the space and creates a cohesive look. Take into consideration the natural light in the room and how it may affect the appearance of the vinyl tile.
- Mark guidelines: Use a straightedge and a pencil or chalk to mark guidelines on the floor. These guidelines will serve as a reference point for the installation and help ensure that the vinyl tiles are laid straight and in the desired pattern. Double-check your measurements and guidelines before moving on to the cutting and sticking process.
By measuring accurately and planning the layout in advance, you can avoid costly mistakes and ensure a professional-quality vinyl tile installation. Take your time during this step to create a solid foundation for the rest of the process.
When cutting peel and stick vinyl tile, use a sharp utility knife and a straight edge to ensure clean, precise cuts. Score the tile several times before snapping it along the line for best results.
Step 3: Cut the Vinyl Tile
Now that you have prepared the surface and planned the layout, it’s time to cut the vinyl tile to fit your space. Cutting the tile accurately is crucial for achieving a seamless and professional-looking installation. Follow these steps to cut the vinyl tile:
- Take accurate measurements: Measure the area where the tile needs to be cut and transfer the measurements onto the vinyl tile. Use a measuring tape and a straightedge to ensure precise measurements. Mark the cutting lines lightly with a pencil or a pen.
- Gather your cutting tools: You will need a sharp utility knife and a straightedge for the cutting process. Ensure that the blade of the utility knife is fresh and sharp for clean cuts.
- Score the tile: Place the straightedge along the cutting line and firmly press down to keep it in place. Hold the utility knife at a slight angle and apply firm, even pressure as you make a straight, shallow cut along the cutting line. Repeat the scoring process a few times to ensure a clean and accurate cut.
- Break the tile: After scoring the tile, carefully lift it and place it on the edge of a sturdy surface, such as a table or workbench. Apply downward pressure on the tile, snapping it along the scored line. Use your hands or a pair of pliers to break the tile if necessary.
- Trim any irregular edges: Once the tile is cut, use the utility knife to trim any irregular edges or smooth out rough areas. Take your time to ensure that the edges are clean and the tile fits seamlessly into the designated area.
- Repeat the process: Continue measuring, marking, scoring, and cutting the vinyl tile until you have all the pieces you need to cover the area. Double-check your measurements and make any necessary adjustments before moving on to the next step.
Remember to work carefully and take your time during the cutting process. A smooth and accurate cut will result in a visually pleasing vinyl tile installation.
Read more: How To Cut Peel And Stick Tile Around Toilet
Step 4: Peel and Stick Installation
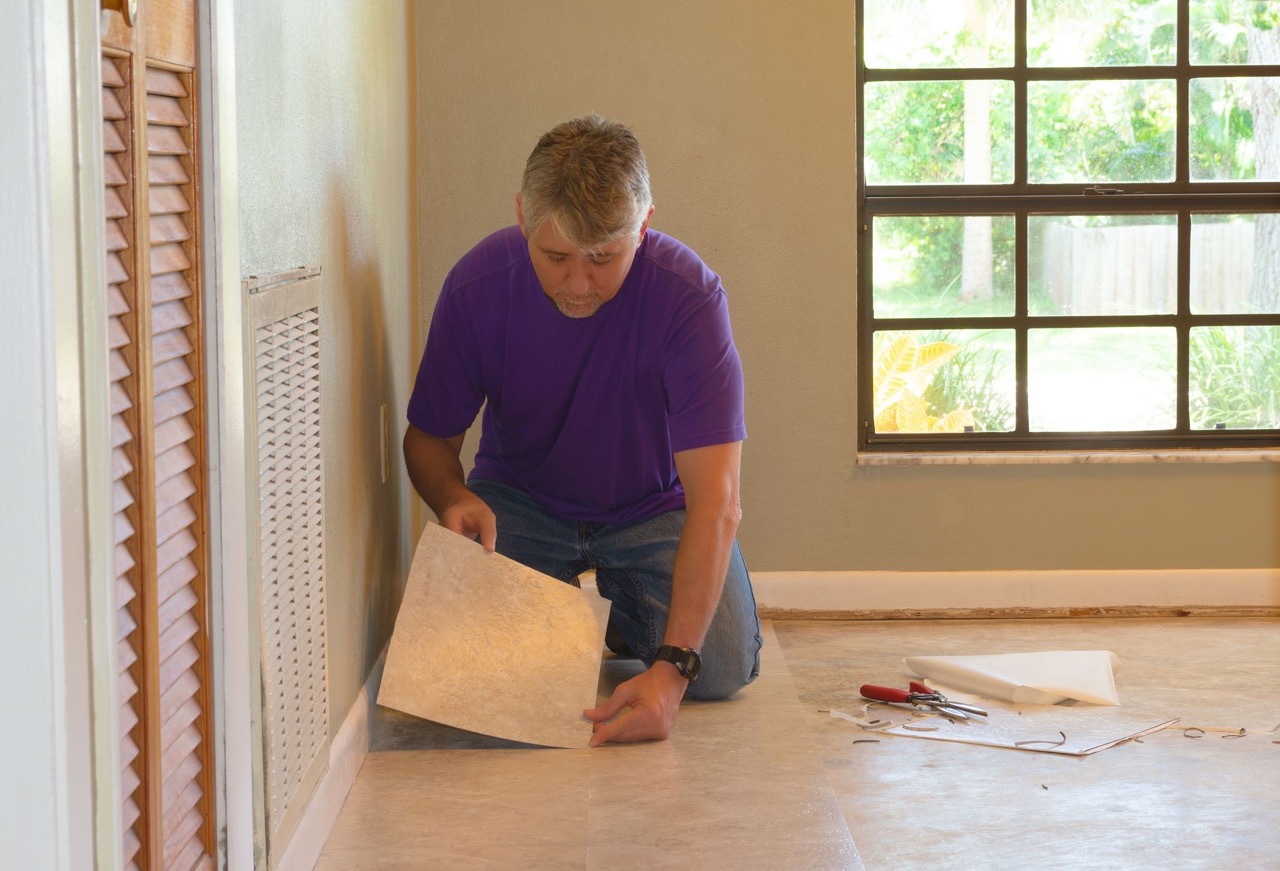
With your vinyl tile pieces cut to size, it’s time to move on to the installation process. The peel and stick method is a popular and straightforward approach that allows for easy placement and adhesive bonding. Follow these steps to properly peel and stick your vinyl tile:
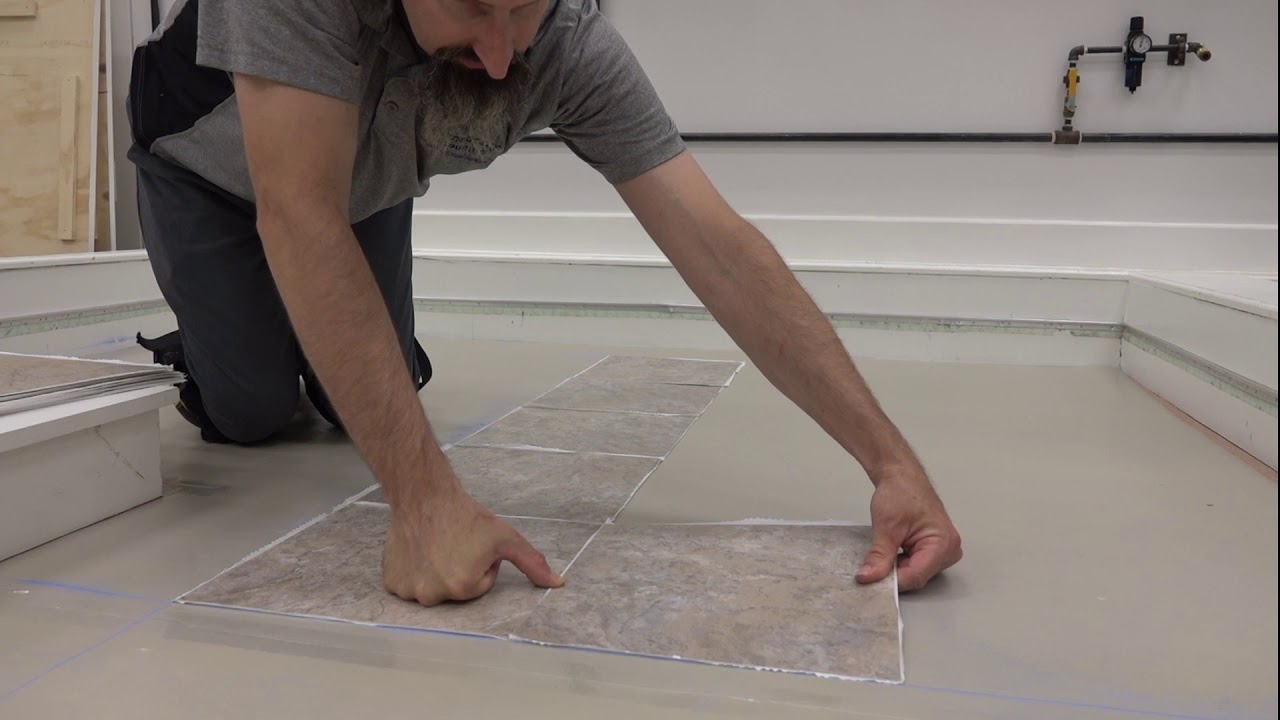
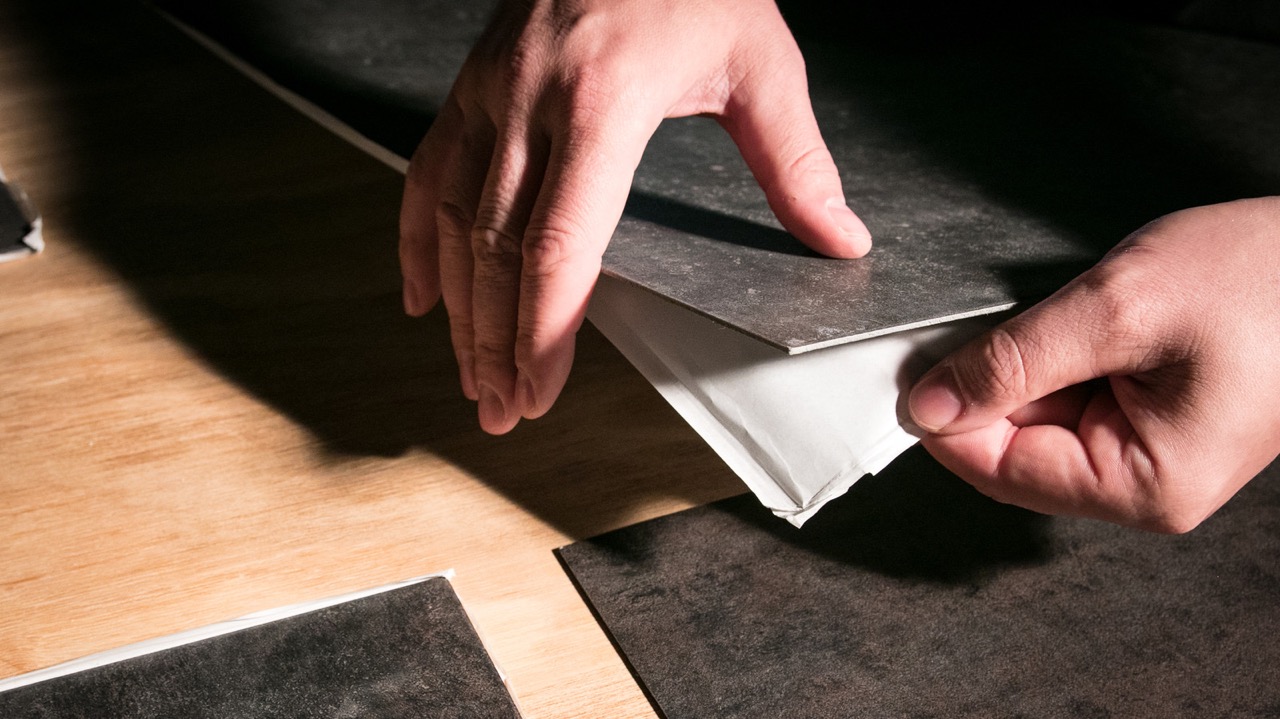
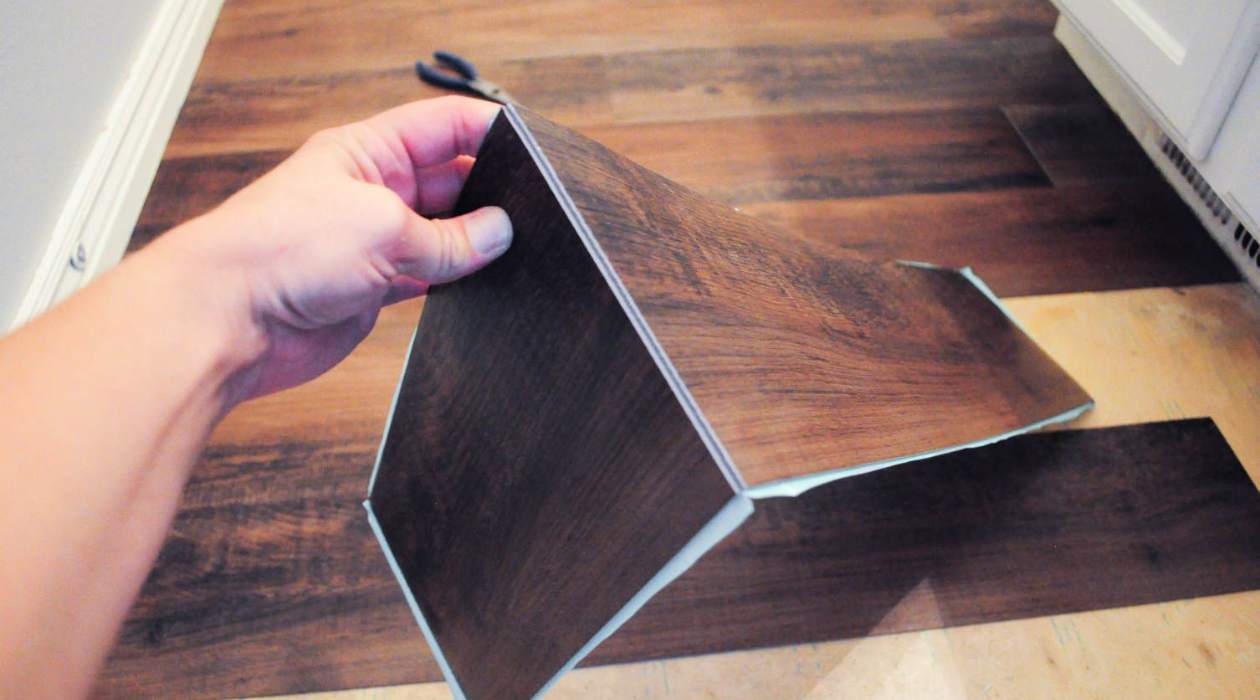
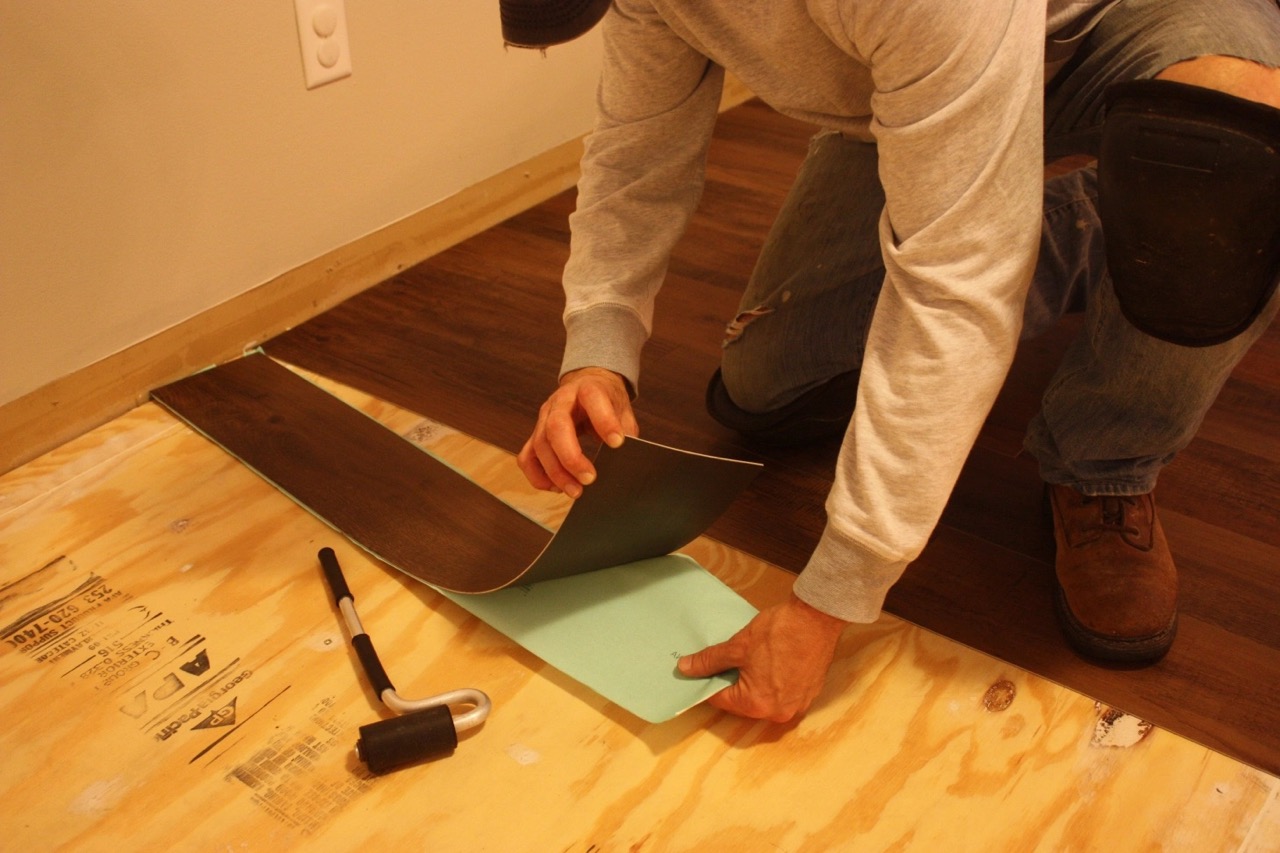
- Start from the center: Begin by placing your first vinyl tile at the center point of the room or the designated starting point. Peel off the backing of the tile to expose the adhesive side.
- Align and press: Align the tile carefully with the guidelines or marks you made. Once aligned, firmly press it down onto the surface, applying even pressure to ensure proper adhesion.
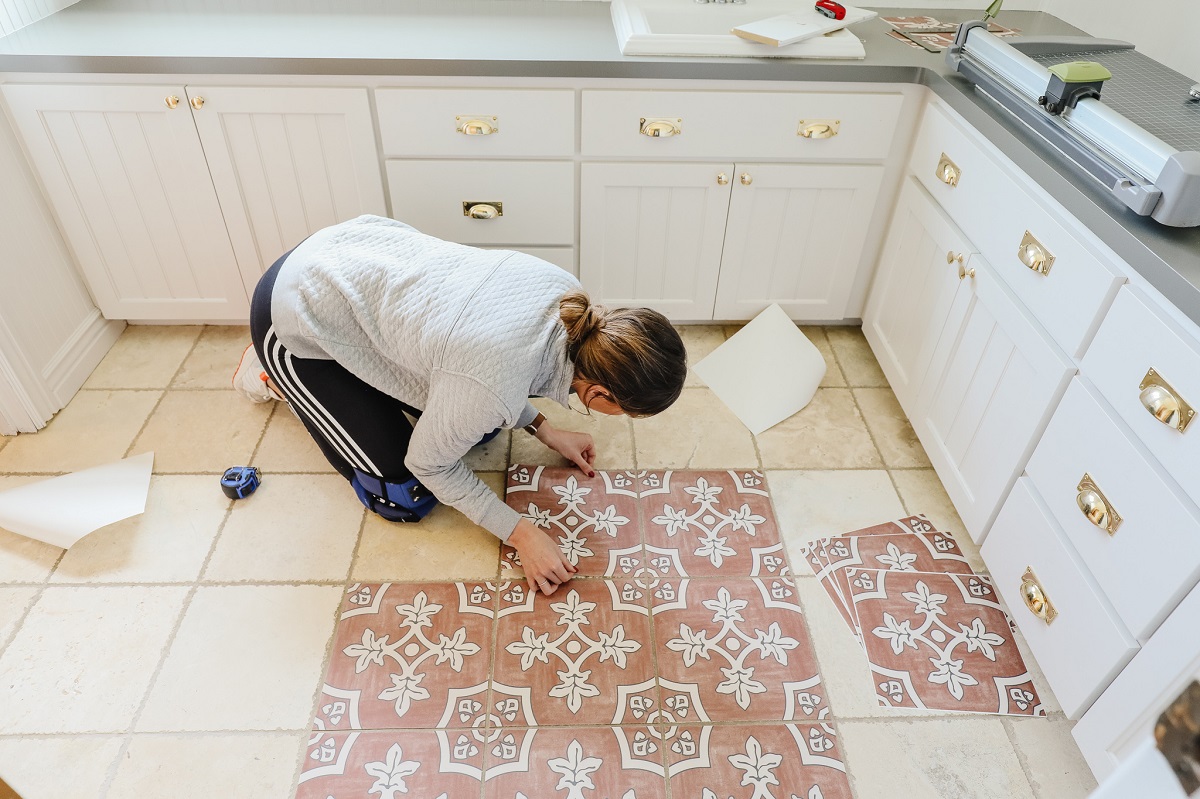
- Continue with the pattern: Place the next tile next to the first one, ensuring a tight fit and proper alignment with the guidelines. Press it down firmly to adhere it to the surface. Repeat this process, adding one tile at a time, until you have covered the designated area.
- Use a roller: Once all the tiles are in place, go over them with a rolling pin or a floor roller. This will help to ensure a secure bond between the adhesive and the surface. Apply even pressure as you roll over each tile, working from the center to the edges.
- Trim excess adhesive: If excess adhesive oozes out from between the tiles, use a clean cloth or sponge to wipe it away before it dries. This will help create clean and neat seams between the tiles.
- Allow the adhesive to set: Give the adhesive time to set and bond with the surface before walking or placing heavy objects on the tiles. Follow the manufacturer’s instructions regarding the recommended drying time.
It’s important to work carefully and methodically during the peel and stick installation process. Take your time to ensure proper alignment and adhesion for a professional result. If you encounter any issues or find that a tile is misaligned, gently lift and reposition it before the adhesive sets.
With the peel and stick installation method, you’ll have your vinyl tiles in place in no time, providing an attractive and durable flooring solution for your space.
Step 5: Trim and Finishing Touches
Once you have completed the peel and stick installation of your vinyl tile, it’s time to add the finishing touches and make any necessary trims to achieve a polished look. The final steps of your vinyl tile installation include trimming and adding those extra details. Here’s what you need to do:
- Trim around obstacles: If you encounter any obstacles such as cabinets, appliances, or fixtures, you will need to trim the vinyl tile to fit around them. Using a sharp utility knife, carefully cut the tile to the appropriate shape and size, ensuring a precise fit.
- Trim along walls and edges: After installing the vinyl tile, you may need to trim the tiles along the walls and edges to create a clean and finished look. Use a straightedge and a utility knife to make straight cuts and achieve smooth edges. Take your time to ensure accuracy.
- Replace baseboards and trim: If you removed the baseboards or trim before installing the vinyl tile, now is the time to reattach them. Use a nail gun or finish nails to secure the baseboards back into place. Make any necessary cuts or adjustments for a seamless fit with the newly installed vinyl tile.
- Clean and inspect: Once all the trimming and finishing touches are complete, take the time to clean the newly installed vinyl tile. Remove any dust or debris using a broom, vacuum, or mop. Inspect the entire installation for any loose tiles or areas that may require additional adhesive.
- Enjoy your new vinyl tile floor: Congratulations! You have successfully completed the installation process, including trimming and finishing touches. Now, you can step back and admire your newly transformed space. Enjoy the beauty, durability, and functionality of your vinyl tile floor for years to come.
Remember to take your time with the trimming and finishing touches to ensure a professional and polished appearance. Attention to detail in these final steps will elevate the overall aesthetic and provide a seamless transition between the vinyl tile and the surrounding areas.
By following these steps and taking your time with each stage of the installation process, you can achieve a stunning vinyl tile floor that enhances the beauty and value of your home.
Conclusion
Congratulations on successfully completing the process of cutting, peeling, and sticking vinyl tile! By following the step-by-step guide outlined in this article, you have transformed your space with a beautiful and durable flooring option. Let’s recap the key points:
First, we discussed the benefits of vinyl tile, including its affordability, durability, and wide range of styles. Vinyl tile is a versatile option that can enhance any room in your home.
We then delved into the materials needed for the project, such as vinyl tile, measuring tape, utility knife, adhesive, and more. Gathering these materials beforehand ensures a smooth and uninterrupted installation process.
The next step we covered was preparing the surface. This included clearing the area, cleaning the floor, repairing any damages, and ensuring a level surface. Proper surface preparation is crucial for a successful vinyl tile installation.
After surface preparation, we moved on to measuring and planning. Accurate measurements and careful planning help you determine the right amount of vinyl tile, plan the layout, and account for any obstacles in the room.
Next, we discussed the process of cutting the vinyl tile. Taking accurate measurements and using a sharp utility knife and straightedge allows for clean and precise cuts, ensuring a seamless installation.
Once the vinyl tile was cut to size, we explored the peel and stick installation method. Starting from the center of the room, aligning and pressing down each tile firmly, and using a roller for proper adhesion were crucial steps in achieving a professional-looking result.
After completing the installation, we addressed the importance of trimming and adding finishing touches. Trimming around obstacles, along walls, and replacing baseboards or trim creates a polished look and seamless transition between the vinyl tile and the surrounding areas.
Finally, we concluded with a reminder to clean the new vinyl tile floor and enjoy the beauty and functionality it brings to your space.
By following these steps and incorporating your creativity and personal touch, you have successfully completed the process of cutting, peeling, and sticking vinyl tile, elevating the aesthetic and value of your home. Now, it’s time to sit back and relish in your accomplishment!
Frequently Asked Questions about How To Cut Peel And Stick Vinyl Tile
Was this page helpful?
At Storables.com, we guarantee accurate and reliable information. Our content, validated by Expert Board Contributors, is crafted following stringent Editorial Policies. We're committed to providing you with well-researched, expert-backed insights for all your informational needs.


0 thoughts on “How To Cut Peel And Stick Vinyl Tile”