Home>Furniture & Design>Interior Design Trends>How To Replace Window Glass In Vinyl Frame
Interior Design Trends
How To Replace Window Glass In Vinyl Frame
Modified: October 20, 2024
Learn how to replace window glass in a vinyl frame and stay updated with the latest interior design trends. Upgrade your home with these expert tips!
(Many of the links in this article redirect to a specific reviewed product. Your purchase of these products through affiliate links helps to generate commission for Storables.com, at no extra cost. Learn more)
Introduction
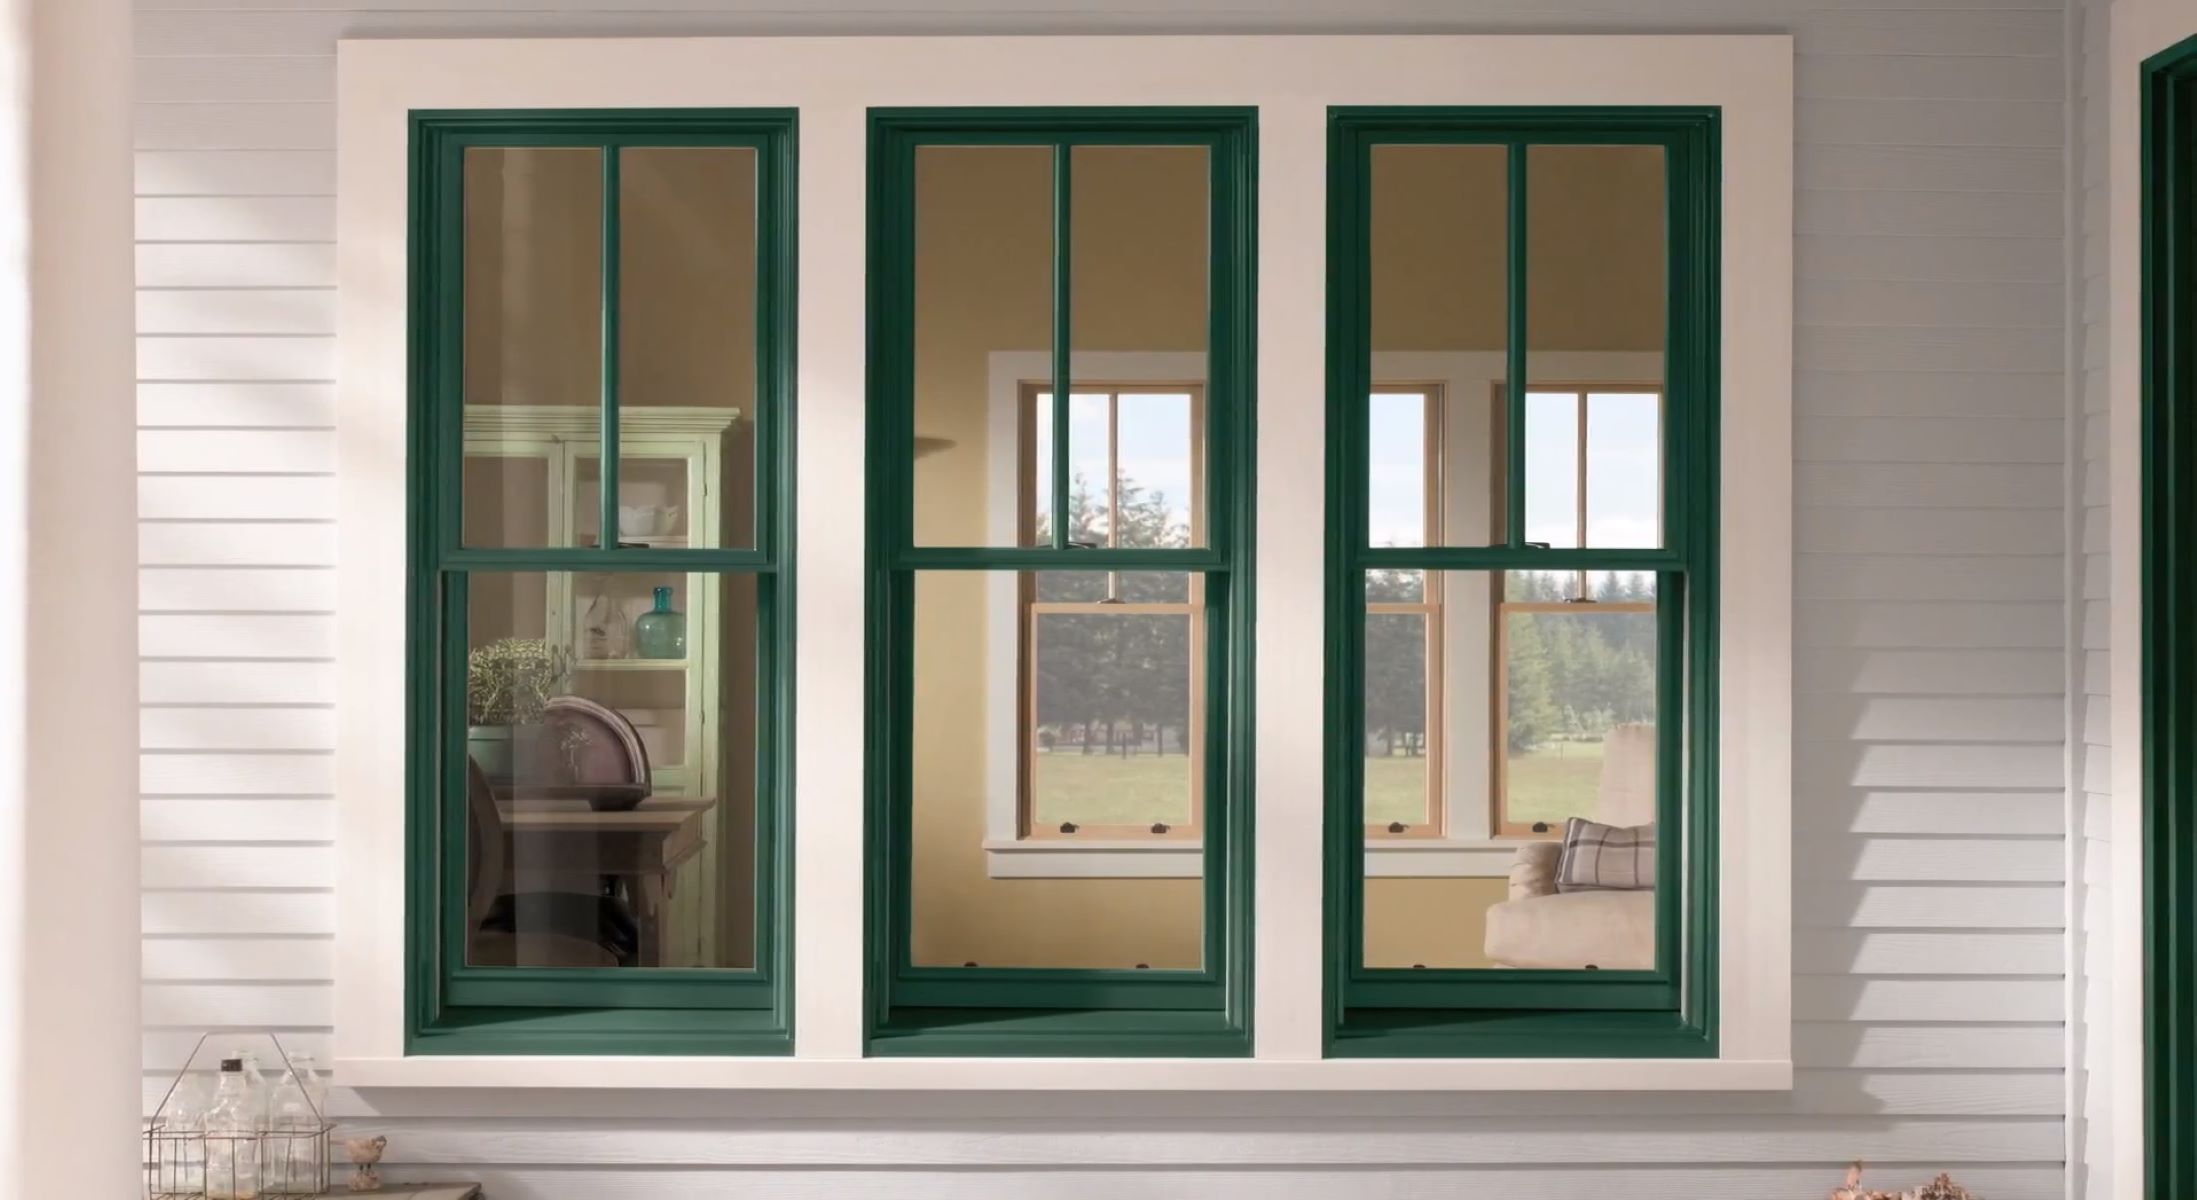
Replacing window glass in a vinyl frame is a practical and cost-effective way to restore the functionality and aesthetics of your windows. Whether you're dealing with a cracked, foggy, or outdated glass pane, this DIY project can breathe new life into your living space. By following a few simple steps and using the right tools and materials, you can successfully tackle this task and enjoy the benefits of clear, unobstructed views and improved energy efficiency.
In this comprehensive guide, we will walk you through the process of replacing window glass in a vinyl frame, providing detailed instructions and valuable tips to ensure a smooth and successful outcome. From gathering the necessary tools and materials to reinstalling the vinyl frame, each step is crucial in achieving a professional-looking result.
By taking on this project, you not only save on the costs associated with hiring a professional, but you also gain a sense of accomplishment and the satisfaction of enhancing your home's appeal. So, roll up your sleeves, gather your supplies, and let's embark on this rewarding journey of rejuvenating your windows.
Key Takeaways:
- Revitalize your windows by replacing glass in a vinyl frame. Save money, feel accomplished, and enjoy clear views with improved energy efficiency. DIY with confidence and transform your living space!
- Enhance your home with a rewarding DIY project. Replacing window glass in a vinyl frame not only improves aesthetics but also boosts insulation and saves on professional costs. Enjoy the results!
Step 1: Gather Necessary Tools and Materials
Before embarking on the window glass replacement project, it's essential to gather all the required tools and materials. Having everything at hand will streamline the process and minimize interruptions, ensuring a smooth and efficient workflow. Here's a comprehensive list of the necessary items:
Tools:
- Safety Equipment: Safety goggles, work gloves, and a dust mask are essential for protecting yourself during the glass replacement process.
- Putty Knife: This tool will aid in removing the old putty and glazing points from the window frame.
- Utility Knife: A sharp utility knife is necessary for cutting and removing the old glazing compound.
- Pry Bar: Use a pry bar to carefully detach the vinyl frame from the window opening.
- Caulking Gun: You'll need a caulking gun to apply a new sealant around the replacement glass.
- Hammer: A hammer will come in handy for gently tapping the glass and removing any remaining pieces from the frame.
- Measuring Tape: Accurate measurements are crucial for ensuring the replacement glass fits perfectly within the frame.
- Screwdriver: Depending on the type of screws used in the vinyl frame, have a suitable screwdriver on hand for removal and reinstallation.
Materials:
- Replacement Glass: Measure the dimensions of the window opening to determine the size of the replacement glass needed.
- Glazing Points: These small metal pieces are used to secure the glass within the frame.
- Glazing Compound or Putty: A high-quality glazing compound or putty is essential for sealing the replacement glass in place.
- Vinyl Frame Sealant: Ensure you have a suitable sealant for resealing the vinyl frame once the new glass is installed.
- Painter's Tape: This will help protect the surrounding areas of the window frame during the replacement process.
- Cleaning Supplies: Have a glass cleaner, lint-free cloths, and a scraper to clean the window frame and remove any residue.
By gathering these tools and materials, you'll be well-prepared to proceed with the subsequent steps of the window glass replacement process. With everything in place, you can confidently move on to the next phase of removing the vinyl frame and old glass.
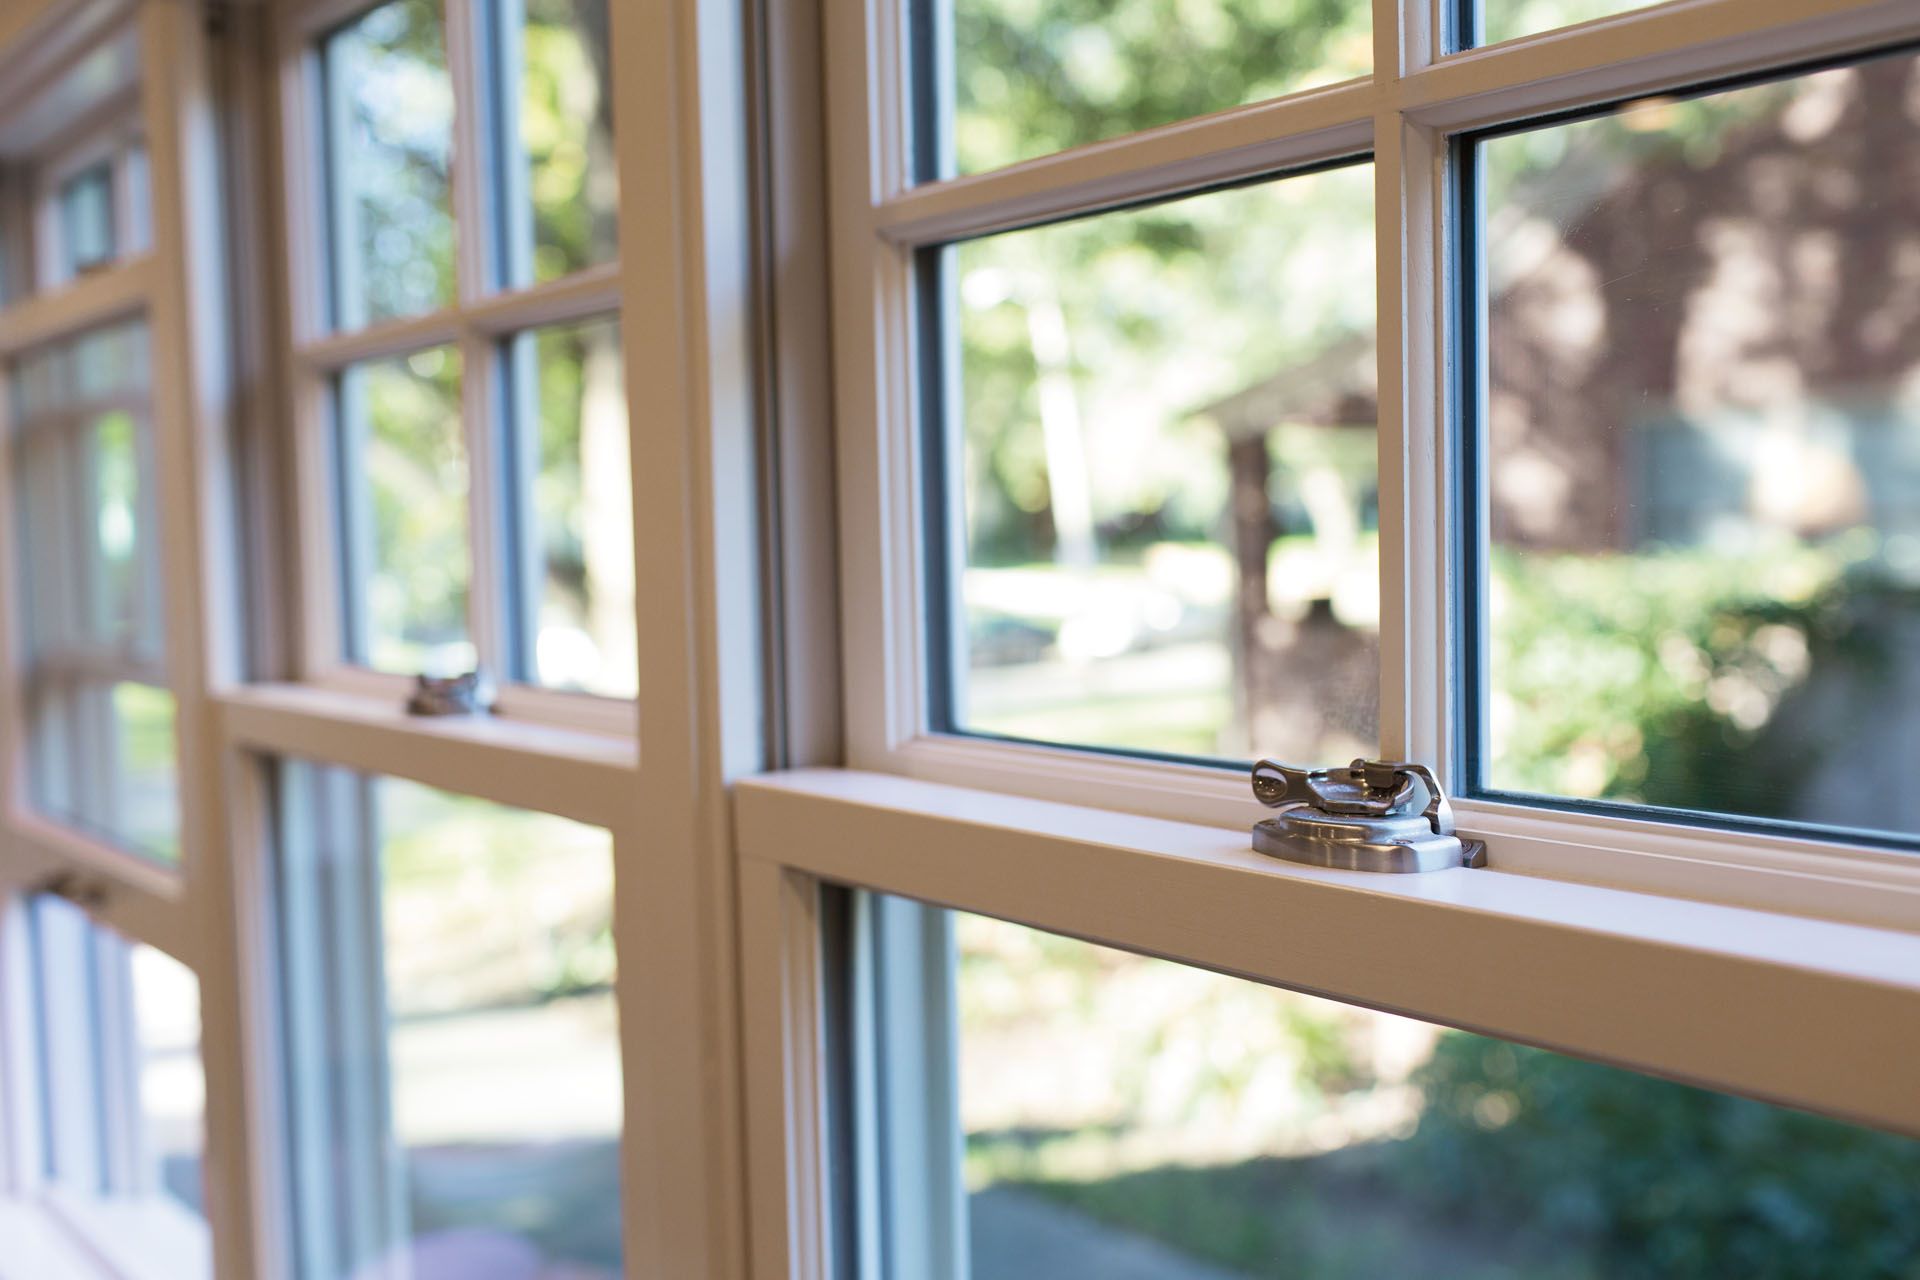
Step 2: Remove the Vinyl Frame
Removing the vinyl frame is a crucial step in the process of replacing window glass. This task requires precision and care to avoid damaging the frame or surrounding areas. Here's a detailed guide on how to effectively remove the vinyl frame:
-
Prepare the Work Area: Begin by clearing the area around the window to create ample space for maneuvering. Remove any curtains, blinds, or decorations near the window to prevent obstruction during the frame removal process.
-
Protect the Surrounding Areas: To safeguard the adjacent walls and surfaces, use painter's tape to cover the edges of the vinyl frame. This precautionary measure helps prevent accidental scratches or damage to the surrounding areas during the removal process.
-
Locate and Remove the Screws: Inspect the vinyl frame to identify any screws securing it in place. Using the appropriate screwdriver, carefully remove the screws from the frame. It's essential to keep track of the screws and store them in a safe place for reinstallation later.
-
Detach the Frame: Once the screws are removed, gently pry the vinyl frame away from the window opening using a pry bar. Exercise caution to avoid applying excessive force that could lead to cracking or warping of the frame. Work methodically around the frame, gradually releasing it from the window.
-
Check for Adhesives or Sealants: In some instances, the vinyl frame may be secured with adhesives or sealants. If this is the case, use a utility knife to carefully cut through the adhesive or sealant, gradually loosening the frame from the window opening.
-
Inspect for Any Remaining Attachments: After the frame is detached, inspect the window opening for any remaining attachments or obstructions. Clear away any residual sealants, adhesives, or debris to ensure a clean and smooth surface for the installation of the new glass.
By following these detailed steps, you can effectively remove the vinyl frame without causing damage to the frame or surrounding areas. With the frame successfully detached, you are now ready to proceed to the next phase of removing the old glass from the window.
Read more: How To Seal Glass In Window Frame
Step 3: Remove the Old Glass
With the vinyl frame successfully detached, the next crucial step in the window glass replacement process is removing the old glass from the window opening. This task requires careful handling to prevent injuries and ensure the safe extraction of the old glass. Here's a detailed guide on how to effectively remove the old glass:
-
Wear Protective Gear: Prior to handling the old glass, it's essential to prioritize safety. Equip yourself with safety goggles and work gloves to shield your eyes and hands from potential hazards. Additionally, wearing a dust mask can prevent inhalation of any debris or particles during the removal process.
-
Assess the Condition of the Glass: Before proceeding, assess the condition of the old glass. If the glass is cracked or broken, exercise extreme caution to avoid injuries. Use a broom and dustpan to carefully sweep away any loose shards or fragments around the window opening.
-
Release the Glass from the Frame: Gently tap the edges of the old glass with a hammer to loosen it from the frame. Exercise caution and apply minimal force to avoid shattering the glass further. Once the glass is loosened, carefully lift it out of the frame and place it in a secure location away from the work area.
-
Remove Remaining Glass Pieces: After the main portion of the glass is removed, inspect the frame for any remaining glass pieces or shards. Use a putty knife or pliers to carefully extract any stubborn fragments, ensuring that the frame is completely clear of old glass.
-
Clean the Frame: With the old glass removed, take the opportunity to clean the window frame thoroughly. Use a glass cleaner and lint-free cloths to wipe down the frame, removing any dirt, residue, or adhesive remnants. A scraper can be useful for stubborn spots or residual adhesive.
-
Inspect for Damage: While cleaning the frame, inspect it for any signs of damage or deterioration. Address any issues such as rot, decay, or warping, as these may impact the installation of the new glass.
By following these detailed steps, you can safely and effectively remove the old glass from the window opening, preparing the space for the installation of the new replacement glass. With the old glass successfully extracted and the frame cleaned, you are now ready to proceed to the next phase of installing the new glass in the vinyl frame.
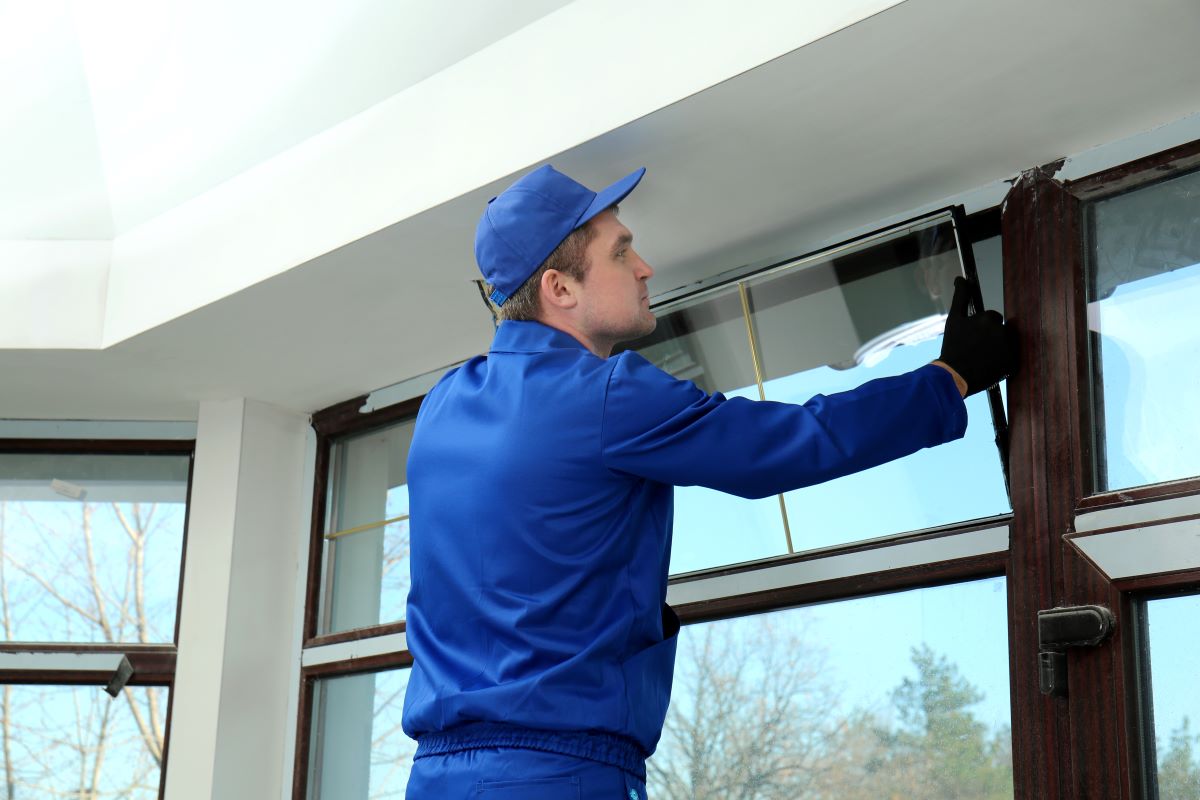
Step 4: Install the New Glass
With the old glass removed and the window frame meticulously cleaned, it's time to proceed with the installation of the new glass. This phase of the window glass replacement process requires precision and attention to detail to ensure a secure and seamless fit. Here's a comprehensive guide on how to effectively install the new glass in the vinyl frame:
-
Measure the Opening: Begin by accurately measuring the dimensions of the window opening to determine the precise size of the replacement glass needed. Measure both the width and height of the opening, ensuring that the replacement glass will fit snugly without gaps or misalignment.
-
Prepare the Replacement Glass: Prior to installation, thoroughly clean the replacement glass to ensure it is free from any dirt, debris, or smudges. Additionally, inspect the edges of the glass for any imperfections or sharp edges that may require attention.
-
Apply Sealant: Using a high-quality vinyl frame sealant, apply a continuous bead of sealant around the perimeter of the window frame where the replacement glass will be positioned. Ensure that the sealant is evenly distributed and provides a secure foundation for the new glass.
-
Position the Glass: Carefully place the replacement glass into the prepared opening, ensuring that it fits snugly against the sealant. Exercise caution to avoid applying excessive pressure that could displace the sealant or cause damage to the glass.
-
Secure with Glazing Points: Once the replacement glass is in position, use glazing points to secure it within the frame. Gently press the glazing points into the frame using a putty knife, ensuring that they hold the glass firmly in place without protruding or causing uneven pressure.
-
Apply Glazing Compound or Putty: To further secure the replacement glass and create a weatherproof seal, apply a layer of glazing compound or putty along the edges of the glass. Use a putty knife to carefully press the compound into place, creating a uniform and durable seal around the glass.
-
Clean Excess Sealant: After the glazing compound or putty is applied, use a damp cloth to carefully clean any excess sealant from the glass and frame. This step ensures a neat and professional finish while preventing any sealant residue from interfering with the functionality of the window.
By following these detailed steps, you can effectively install the new glass in the vinyl frame, ensuring a secure and weather-resistant fit. With the replacement glass successfully installed, you are now ready to proceed to the final phase of re-installing the vinyl frame to complete the window glass replacement process.
When replacing window glass in a vinyl frame, make sure to measure the dimensions accurately before ordering the new glass. Use a putty knife to remove the old glass and apply a thin layer of silicone caulk before installing the new glass.
Step 5: Reinstall the Vinyl Frame
With the new glass securely in place, the final phase of the window glass replacement process involves re-installing the vinyl frame. This step is essential for ensuring the structural integrity and aesthetic appeal of the window, as well as providing a secure enclosure for the newly installed glass. Here's a detailed guide on how to effectively re-install the vinyl frame:
-
Inspect the Frame: Before re-installing the vinyl frame, carefully inspect it for any signs of damage, wear, or deterioration. Address any issues such as rot, decay, or warping, as these may impact the frame's ability to provide a secure and weatherproof enclosure for the replacement glass.
-
Prepare the Frame: If necessary, clean the vinyl frame to remove any dirt, debris, or residual sealants. Additionally, ensure that the frame's interior surfaces are free from obstructions or irregularities that could hinder the proper seating of the replacement glass.
-
Apply Sealant: Prior to re-installing the vinyl frame, apply a fresh bead of vinyl frame sealant along the edges of the window opening. This sealant serves as a protective barrier, preventing moisture infiltration and ensuring a secure bond between the frame and the replacement glass.
-
Position the Frame: Carefully position the vinyl frame back into the window opening, ensuring that it aligns precisely with the surrounding surfaces. Exercise caution to avoid displacing the sealant or causing damage to the replacement glass during the re-installation process.
-
Secure with Screws: If the vinyl frame was originally secured with screws, re-insert and tighten them to firmly anchor the frame in place. Ensure that the screws are evenly distributed and provide consistent pressure to secure the frame without warping or distortion.
-
Check for Alignment: Once the frame is secured, verify that it is aligned correctly and sits flush against the window opening. Any misalignment or gaps can compromise the integrity of the installation and may require adjustments to ensure a proper fit.
-
Clean and Inspect: After re-installing the vinyl frame, carefully clean any excess sealant or debris from the frame and surrounding surfaces. Inspect the frame to ensure that it is securely in place and provides a stable enclosure for the replacement glass.
By following these detailed steps, you can effectively re-install the vinyl frame, completing the window glass replacement process with a secure and professionally finished result. With the frame securely in place, admire the revitalized appearance and functionality of your windows, knowing that you've successfully undertaken a rewarding home improvement project.
Conclusion
Congratulations on successfully completing the window glass replacement process in a vinyl frame! By following the comprehensive steps outlined in this guide, you've not only revitalized the appearance of your windows but also enhanced their functionality and energy efficiency. This DIY project has empowered you to take control of home improvement, saving on professional costs while achieving a rewarding sense of accomplishment.
As you stand back and admire the clear, unobstructed views through your newly installed glass, take pride in the meticulous attention to detail and precision you've demonstrated throughout the process. From gathering the necessary tools and materials to delicately removing the old glass and re-installing the vinyl frame, each step has contributed to the overall success of this endeavor.
Beyond the immediate visual impact, the replacement of window glass in a vinyl frame offers long-term benefits. The new glass provides improved insulation, contributing to a more comfortable indoor environment and potential energy savings. Additionally, the enhanced aesthetics of your windows can uplift the overall ambiance of your living space, creating a welcoming and visually appealing atmosphere.
By taking on this DIY project, you've not only transformed your windows but also gained valuable hands-on experience in home maintenance and improvement. The skills and knowledge acquired through this process can be applied to future projects, empowering you to tackle new challenges with confidence and expertise.
As you reflect on the journey of rejuvenating your windows, remember the importance of safety and precision in every step of the process. Prioritizing safety equipment, meticulous measurements, and careful handling of materials have contributed to the successful outcome of this project.
In conclusion, the replacement of window glass in a vinyl frame is a testament to your dedication to maintaining and enhancing your living space. Embrace the renewed elegance and functionality of your windows, knowing that your efforts have made a meaningful difference in the comfort and aesthetics of your home. Whether it's enjoying the clear views, feeling the improved insulation, or simply taking pride in a job well done, this project exemplifies the transformative power of DIY home improvement.
Frequently Asked Questions about How To Replace Window Glass In Vinyl Frame
Was this page helpful?
At Storables.com, we guarantee accurate and reliable information. Our content, validated by Expert Board Contributors, is crafted following stringent Editorial Policies. We're committed to providing you with well-researched, expert-backed insights for all your informational needs.


0 thoughts on “How To Replace Window Glass In Vinyl Frame”