Home>Furniture & Design>Interior Design Trends>How To Hang Glass Art
Interior Design Trends
How To Hang Glass Art
Modified: October 18, 2024
Discover the latest interior design trends with our guide on how to hang glass art, adding a touch of elegance and style to your space. Explore creative ideas and tips for showcasing glass art in your home.
(Many of the links in this article redirect to a specific reviewed product. Your purchase of these products through affiliate links helps to generate commission for Storables.com, at no extra cost. Learn more)
Introduction
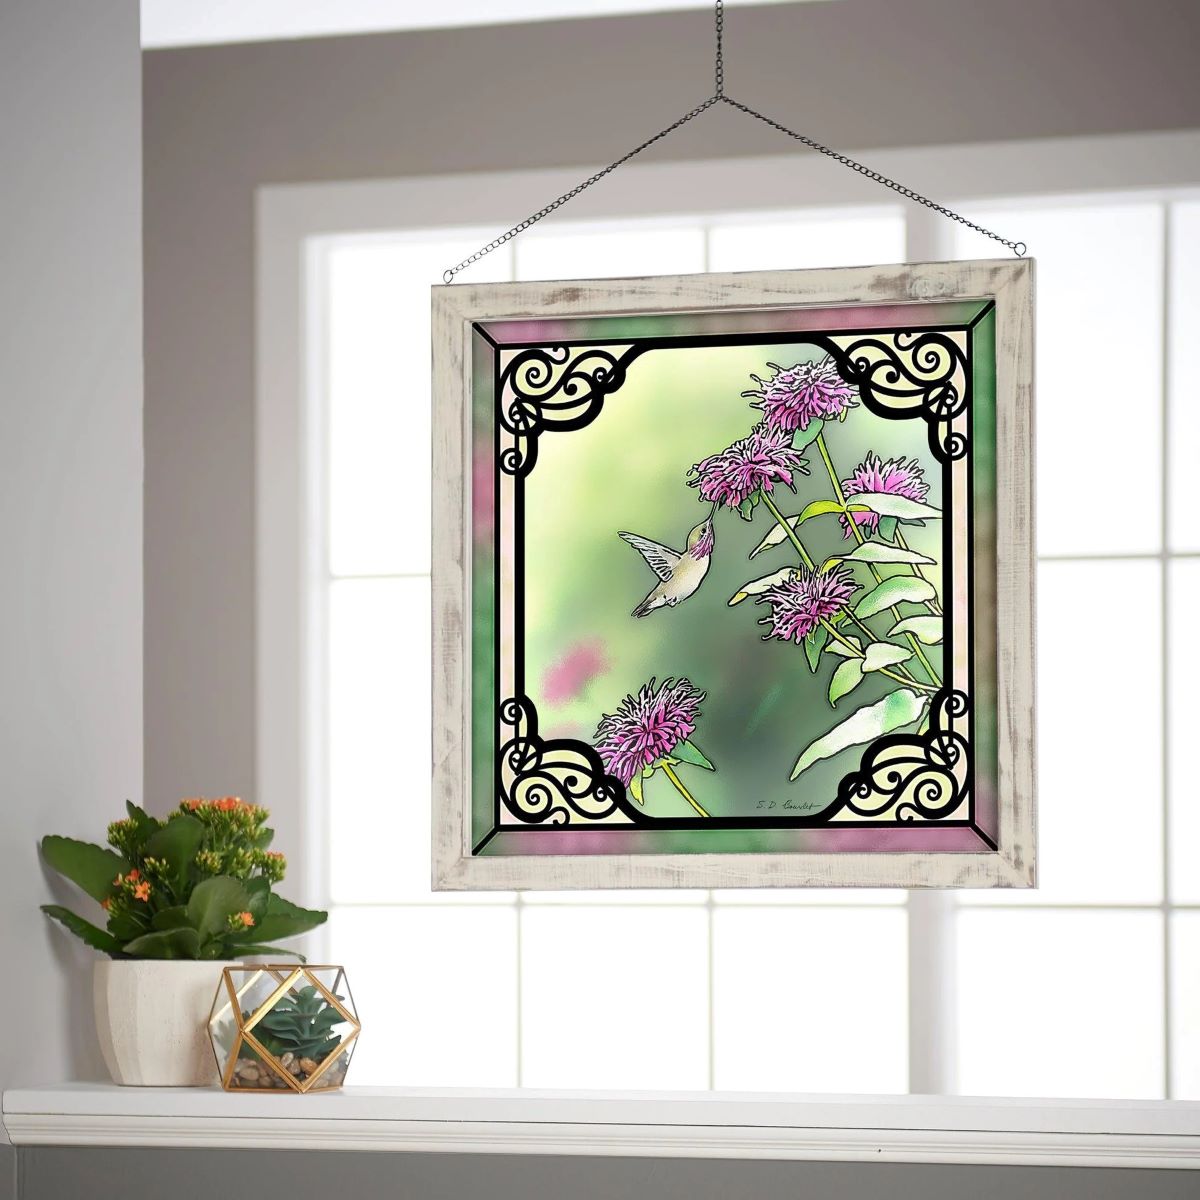
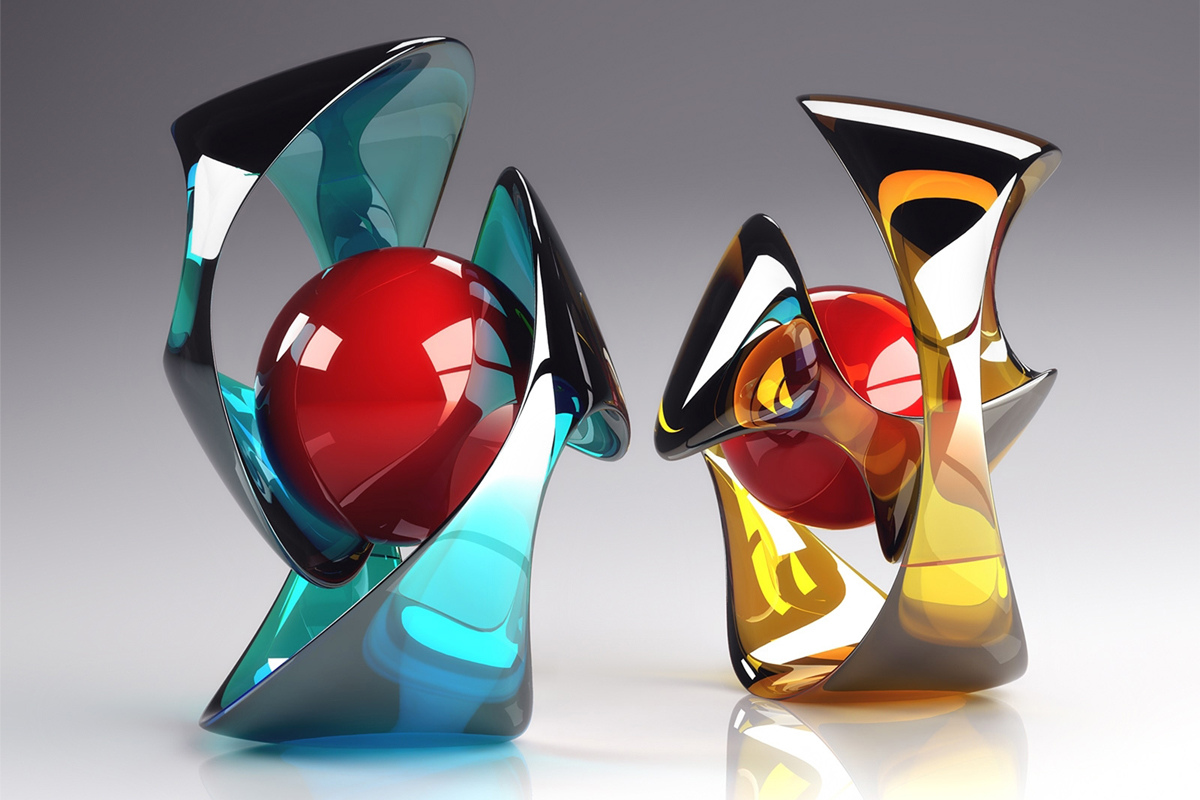
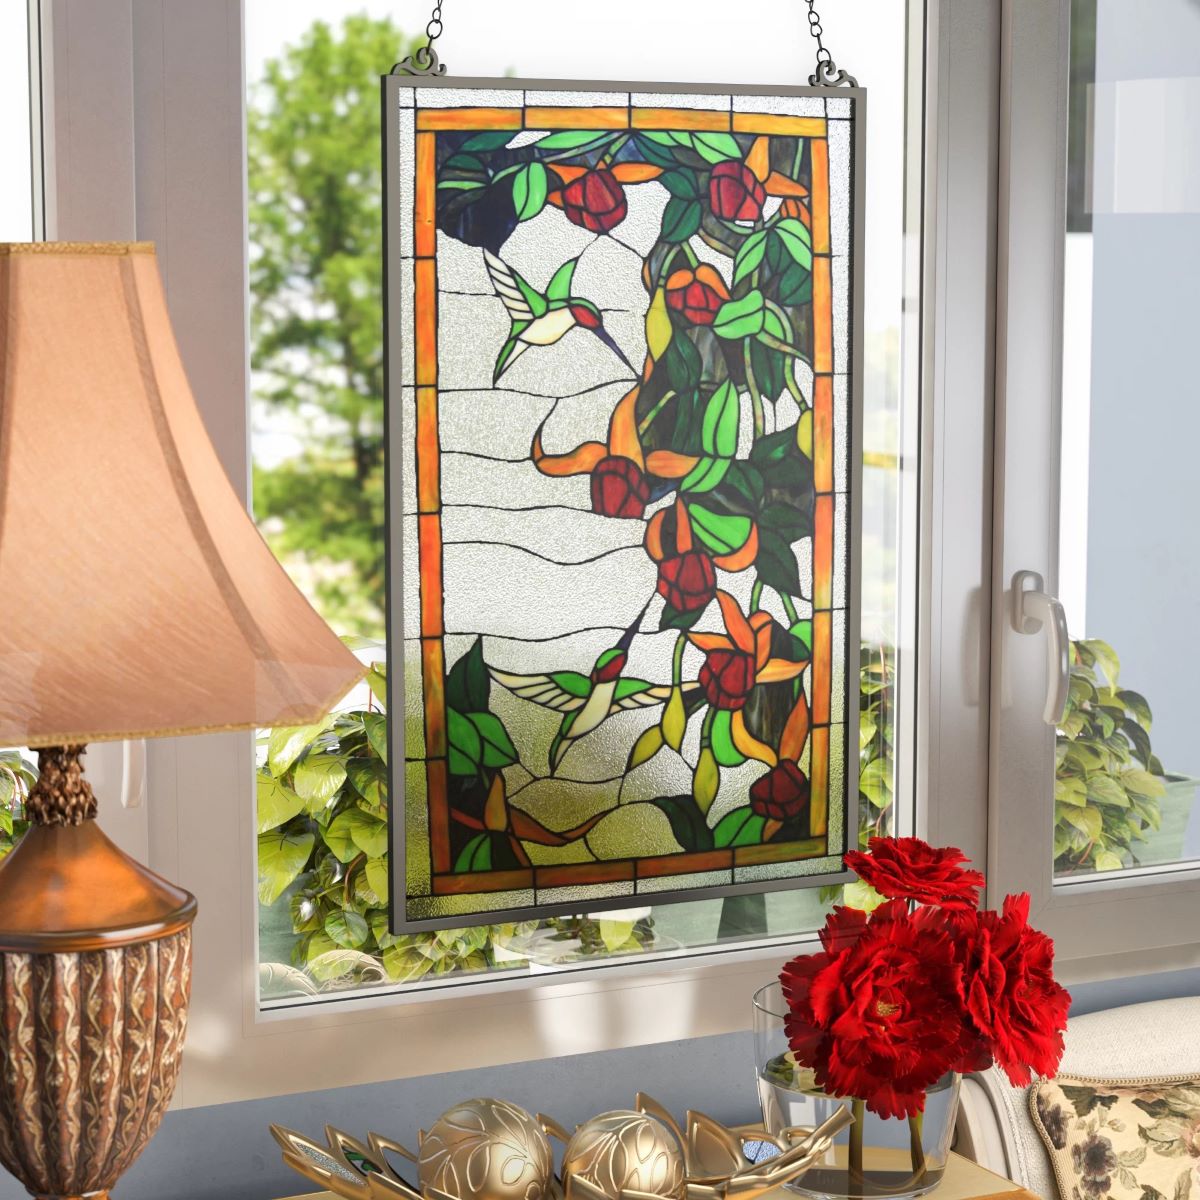
Hanging glass art can instantly elevate the aesthetic appeal of any space, adding a touch of elegance and sophistication. Whether you're a seasoned art collector or a novice decorator, incorporating glass art into your interior design can create a captivating focal point that draws the eye and sparks conversation. From delicate blown glass sculptures to vibrant stained glass panels, the versatility of glass art allows for endless possibilities in enhancing the ambiance of your home or office.
In this comprehensive guide, we will delve into the intricacies of hanging glass art, providing you with valuable insights and practical tips to ensure a seamless and visually stunning display. Whether you're looking to showcase a single statement piece or create an artful arrangement of multiple glass artworks, this guide will equip you with the knowledge and confidence to adorn your walls with exquisite glass creations.
As we embark on this journey, it's important to recognize that hanging glass art is not just about aesthetics; it's also about preserving the integrity of the artwork and ensuring its safety. By understanding the nuances of selecting the right hardware, preparing the wall, and executing the hanging process with precision, you can safeguard your glass art while enhancing its allure.
Join us as we explore the art of hanging glass art, uncovering the nuances of this captivating design endeavor and empowering you to transform your space into a gallery of mesmerizing glass creations. Let's embark on this enriching journey together, unlocking the secrets to showcasing glass art with finesse and flair.
Key Takeaways:
- Elevate your space with captivating glass art by choosing durable hooks, meticulous wall preparation, and precise hanging. Create an elegant gallery while ensuring safety and stability for your exquisite glass creations.
- Curate visually dynamic displays of multiple glass artworks by establishing themes, balancing compositions, and considering sight lines. Infuse your space with artistic allure and captivate the eye with creative glass ensembles.
Read more: How To Hang Metal Wall Art
Choosing the Right Hardware
When it comes to hanging glass art, selecting the appropriate hardware is paramount to ensuring the safety and stability of the artwork. The right hardware not only supports the weight of the glass but also minimizes the risk of accidents, such as the art falling and shattering. Here's a comprehensive look at the key factors to consider when choosing the right hardware for hanging glass art:
1. Durable Hooks and Hangers
The first step in selecting the right hardware is to opt for durable hooks and hangers specifically designed for hanging glass art. These hooks should be capable of bearing the weight of the artwork without bending or breaking. Look for hooks made from sturdy materials such as stainless steel or brass, as they offer the necessary strength and resilience to support the glass art securely.
2. Adjustable Wire Systems
Utilizing adjustable wire systems provides flexibility in positioning the glass art at the desired height and angle. These systems allow for precise adjustments, ensuring that the artwork is level and well-balanced on the wall. Additionally, adjustable wire systems offer the convenience of easy installation and repositioning, enabling you to achieve the perfect display with minimal effort.
3. Wall Anchors and Screws
When hanging glass art on drywall or plaster, it's essential to use wall anchors and screws that are suitable for the wall material. Wall anchors provide crucial support by distributing the weight of the artwork across a larger area, reducing the risk of damage to the wall and enhancing the overall stability of the installation. Be sure to select anchors and screws that are compatible with the specific wall type to ensure a secure and reliable mounting.
Read more: How To Hang 3 Piece Wall Art
4. Protective Bumpers
In addition to the primary hanging hardware, incorporating protective bumpers is essential for safeguarding the glass art and the wall surface. These bumpers, typically made of soft silicone or rubber, act as buffers between the artwork and the wall, preventing scratches and minimizing the potential for slippage. By adding protective bumpers to the back of the glass art, you can enhance its stability while preserving the integrity of the wall.
By carefully considering these hardware options and prioritizing the safety and stability of the glass art, you can confidently proceed with the hanging process, knowing that your chosen hardware is tailored to support and protect your valuable artworks. With the right hardware in place, you are poised to embark on the next steps of preparing the wall and executing the hanging of your glass art with precision and assurance.
Preparing the Wall
Before embarking on the process of hanging glass art, it is crucial to prepare the wall meticulously to ensure a secure and visually appealing display. Proper wall preparation not only facilitates the installation process but also contributes to the longevity and stability of the artwork. Here's a detailed exploration of the essential steps involved in preparing the wall for hanging glass art:
-
Surface Inspection: Begin by thoroughly examining the wall where the glass art will be displayed. Look for any imperfections, such as cracks, uneven textures, or protruding nails. It's imperative to address any surface irregularities to create a smooth and even foundation for the artwork.
-
Cleaning and Dusting: Clean the wall surface to remove any dust, dirt, or debris that could affect the adhesion of the hanging hardware. Use a mild cleaning solution and a soft cloth to gently wipe the wall, ensuring that it is free from any particles that may hinder the installation process.
-
Marking the Placement: Determine the precise location where the glass art will be hung. Use a pencil to mark the spot where the hardware will be installed, ensuring that the placement aligns with your desired positioning for the artwork. Take measurements to guarantee accuracy and symmetry in the placement of the hanging hardware.
-
Wall Reinforcement: If the chosen location for hanging the glass art requires additional support, consider reinforcing the wall with a suitable backing material. This may involve installing a plywood panel or utilizing wall anchors to fortify the area where the artwork will be displayed, especially if the wall material or structure necessitates extra reinforcement.
-
Allowing for Clearance: When preparing the wall, it's essential to consider the clearance needed for the glass art to hang securely without making contact with the wall. Ensure that there is ample space between the back of the artwork and the wall surface to prevent any potential damage or instability.
By meticulously preparing the wall using these fundamental steps, you can establish a solid foundation for hanging glass art with confidence and precision. This meticulous preparation sets the stage for a seamless and secure installation, allowing the beauty of the glass art to shine while ensuring its stability and longevity on display.
Hanging the Glass Art
With the wall meticulously prepared and the appropriate hardware at your disposal, the time has come to execute the pivotal step of hanging the glass art. This process demands precision, patience, and a keen eye for detail to ensure that the artwork is securely and aesthetically displayed. Here's a comprehensive guide to hanging glass art with finesse and confidence:
-
Positioning the Hardware: Begin by affixing the selected hooks or hangers to the marked spots on the wall. Ensure that the hardware is level and securely anchored, providing a stable foundation for the glass art. If utilizing an adjustable wire system, carefully attach and adjust the wires to achieve the desired positioning for the artwork.
-
Handling with Care: Prior to hanging the glass art, handle it with the utmost care to prevent any accidental damage. Wear gloves to avoid leaving fingerprints or smudges on the artwork, and consider enlisting the assistance of another person to support the artwork while it is being hung.
-
Balancing Act: When hanging the glass art, pay close attention to achieving balance and symmetry. Whether it's a single statement piece or a collection of glass artworks, ensure that they are aligned and spaced evenly for a harmonious visual impact. Use a level to confirm that the artwork is perfectly horizontal and adjust as needed.
-
Securing the Artwork: Once the glass art is in position, double-check the stability of the installation. Ensure that the hooks or wires securely support the weight of the artwork and make any necessary adjustments to enhance its stability. Test the resilience of the hanging system by gently nudging the artwork to confirm that it is firmly in place.
-
Final Assessment: Step back and assess the placement of the glass art from various angles to ensure that it complements the surrounding space. Take the time to make any final adjustments, ensuring that the artwork is impeccably displayed and serves as a captivating focal point within the room.
By meticulously following these steps and approaching the hanging process with attentiveness and precision, you can elevate your space with the allure of glass art while ensuring its safety and longevity. With the glass art now elegantly adorning your walls, it's time to revel in the captivating beauty it brings to your interior environment.
Tips for Displaying Multiple Pieces
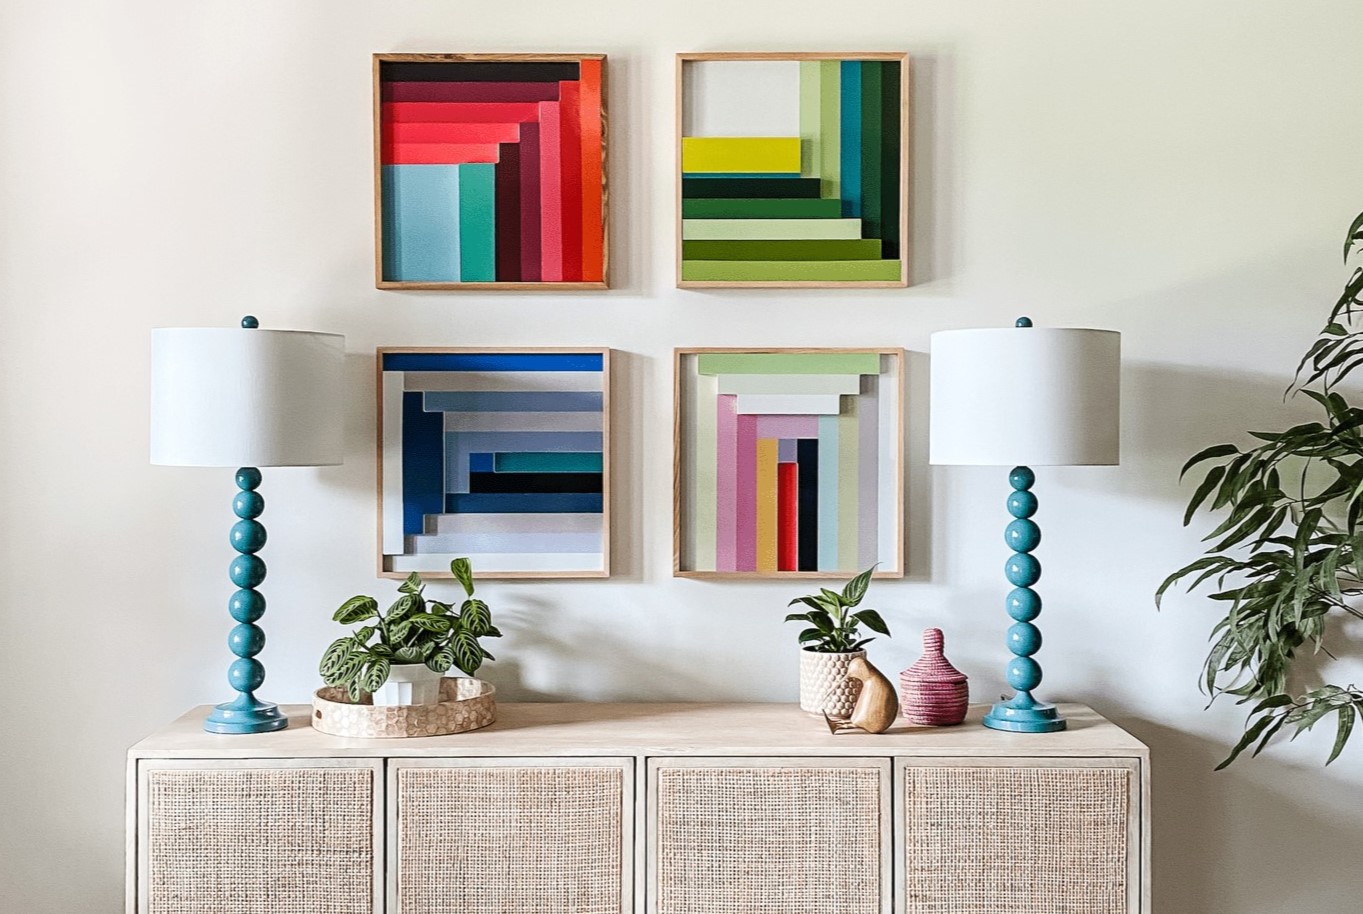
Arranging multiple pieces of glass art presents a unique opportunity to create a visually dynamic and captivating display. Whether you're curating a cohesive collection or juxtaposing diverse styles, the artful arrangement of multiple glass pieces can infuse your space with depth and intrigue. Here are essential tips for displaying multiple pieces of glass art with finesse and creativity:
-
Establish a Unifying Theme: When curating a collection of glass art, consider a unifying theme or aesthetic that ties the pieces together. This could be a shared color palette, a common artistic style, or a thematic connection. By establishing a cohesive theme, you can create a harmonious visual narrative that unites the individual artworks into a compelling ensemble.
-
Create Visual Balance: Achieving visual balance is crucial when displaying multiple pieces of glass art. Experiment with different arrangements, considering the size, shape, and visual weight of each artwork. Strive for equilibrium in the composition, ensuring that the display feels harmonious and well-proportioned.
-
Layering and Depth: Introduce depth and dimension by layering the glass pieces. Utilize varying depths of wall mounts or display shelves to create a sense of depth within the arrangement. This technique adds visual interest and allows each artwork to shine independently while contributing to the overall composition.
-
Play with Symmetry and Asymmetry: Explore the interplay of symmetry and asymmetry in your arrangement. Symmetrical displays can exude a sense of order and formality, while asymmetrical compositions offer a more dynamic and organic feel. Experiment with different configurations to find the balance that best complements your space.
-
Consider Sight Lines and Viewing Angles: Take into account the sight lines and viewing angles within the room. Ensure that the arrangement remains visually engaging from various vantage points, considering how the glass art will be perceived from different areas of the space.
-
Mindful Spacing: Pay attention to the spacing between the individual pieces. Allow for adequate breathing room between the artworks to prevent visual clutter and ensure that each piece commands its own presence within the display.
-
Lighting Enhancements: Strategically illuminate the glass art to accentuate its beauty. Consider incorporating ambient lighting or spotlights to highlight specific pieces and create a captivating interplay of light and shadow within the display.
By applying these tips, you can curate a stunning display of multiple glass artworks that captivate the eye and infuse your space with artistic allure. Embrace the creative freedom that comes with arranging multiple pieces, and let your glass art ensemble become a captivating focal point within your interior environment.
When hanging glass art, use picture hanging hooks or adhesive hooks designed for heavy items to ensure the art is secure and won’t fall. Always check the weight limit of the hooks to ensure they can support the glass art.
Read more: How To Hang Up Wall Art
Conclusion
In conclusion, the art of hanging glass art is a captivating endeavor that combines aesthetic finesse with practical considerations. By carefully selecting the right hardware, meticulously preparing the wall, and executing the hanging process with precision, you can transform your space into a gallery of mesmerizing glass creations. Whether you're showcasing a single statement piece or curating an ensemble of glass artworks, the process of hanging glass art offers an opportunity to infuse your interior environment with elegance and artistic allure.
As you embark on your journey of adorning your walls with glass art, remember that the safety and stability of the artwork are paramount. By choosing durable hooks and hangers, utilizing adjustable wire systems, and incorporating protective bumpers, you can safeguard your glass art while ensuring a secure and reliable display. These considerations not only protect the artwork but also provide peace of mind, allowing you to revel in the beauty of your glass creations without concerns about their stability.
Meticulously preparing the wall sets the stage for a seamless and visually appealing installation. By inspecting the surface, cleaning and marking the placement, reinforcing the wall as needed, and allowing for clearance, you establish a solid foundation for showcasing your glass art with confidence. This meticulous preparation not only facilitates the hanging process but also contributes to the longevity and stability of the artwork on display.
When it comes to hanging the glass art, precision and attention to detail are key. Positioning the hardware, handling the artwork with care, achieving balance and symmetry, securing the artwork, and conducting a final assessment ensure that your glass art is elegantly displayed with finesse and assurance. These steps, when approached with attentiveness and precision, elevate your space with the allure of glass art while ensuring its safety and longevity.
For those considering the display of multiple glass pieces, the tips provided offer valuable insights into creating visually dynamic and captivating arrangements. By establishing a unifying theme, creating visual balance, playing with symmetry and asymmetry, and considering sight lines and viewing angles, you can curate a stunning display that captivates the eye and infuses your space with artistic allure.
In essence, the art of hanging glass art transcends mere decoration; it is an opportunity to infuse your space with elegance, creativity, and the timeless allure of glass craftsmanship. As you embark on this enriching journey, may the beauty of glass art enrich your surroundings and inspire admiration for the captivating art form that graces your walls.
Frequently Asked Questions about How To Hang Glass Art
Was this page helpful?
At Storables.com, we guarantee accurate and reliable information. Our content, validated by Expert Board Contributors, is crafted following stringent Editorial Policies. We're committed to providing you with well-researched, expert-backed insights for all your informational needs.


0 thoughts on “How To Hang Glass Art”