Articles
How To Hang 3 Piece Wall Art
Modified: January 19, 2024
Learn how to hang 3 piece wall art with our expert articles. Find step-by-step instructions and tips for creating a stunning display in your home.
(Many of the links in this article redirect to a specific reviewed product. Your purchase of these products through affiliate links helps to generate commission for Storables.com, at no extra cost. Learn more)
Introduction
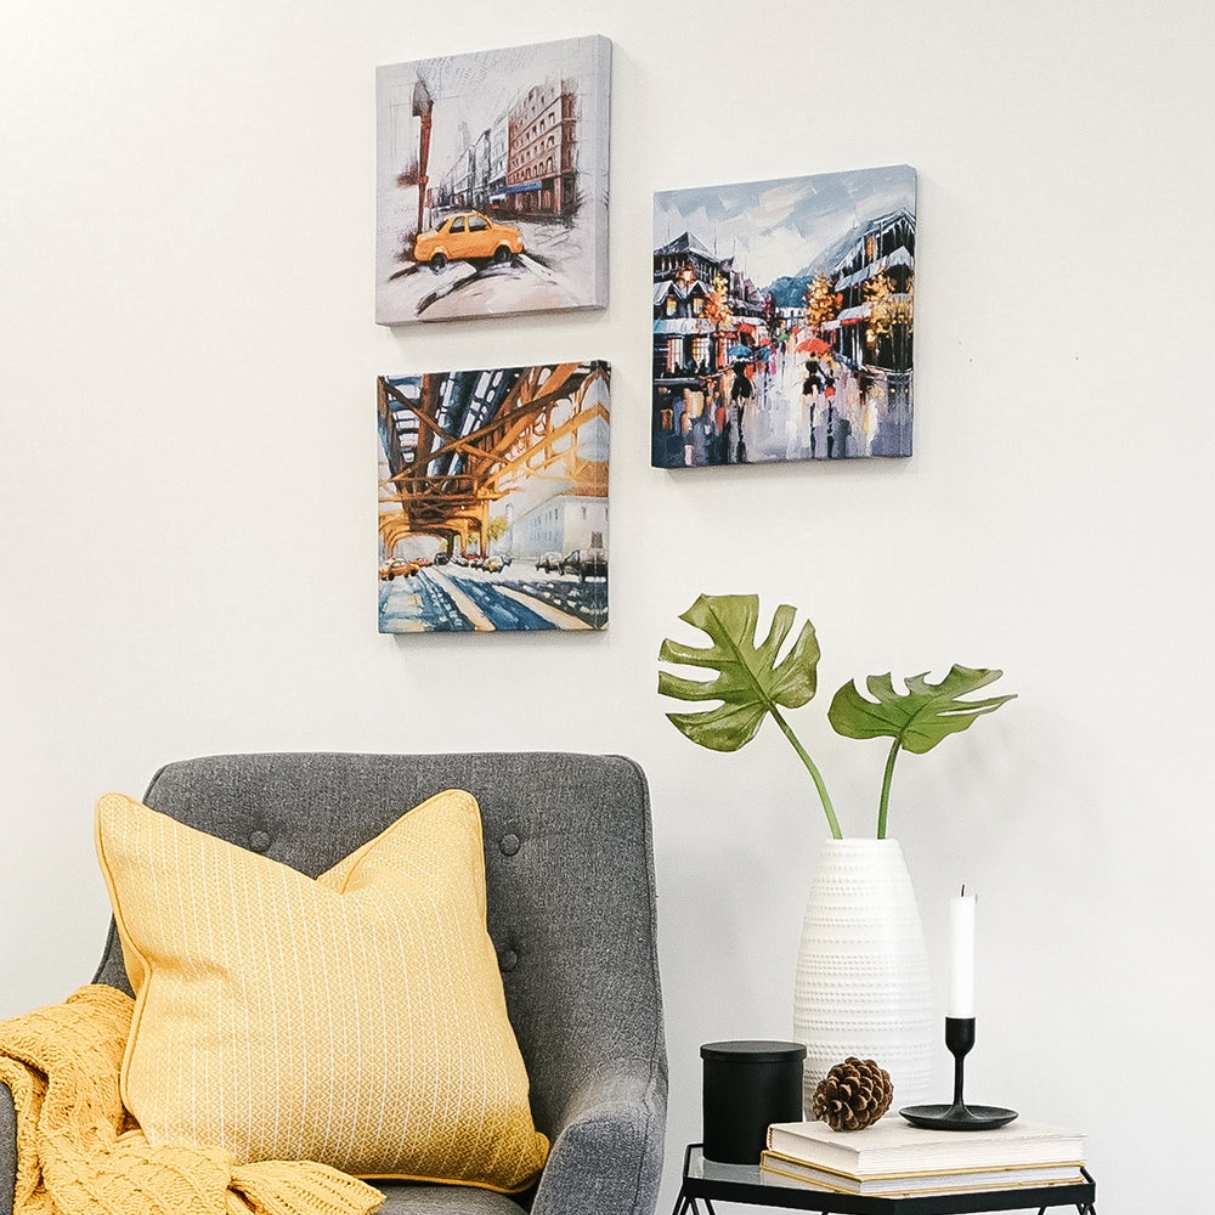
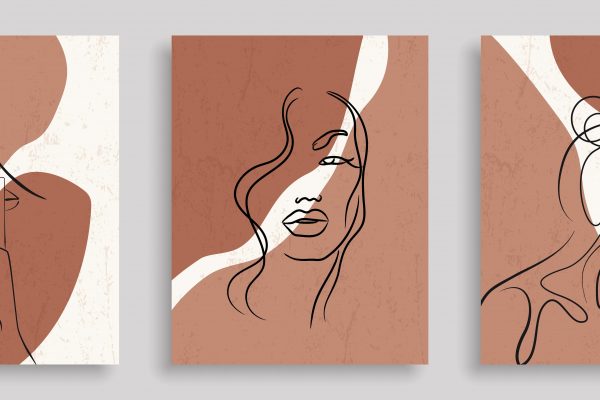
Decorating your walls with artwork is a fantastic way to add personality and style to your living space. 3-piece wall art, in particular, has become increasingly popular due to its ability to create an impactful and visually appealing display. Whether you’re a seasoned art collector or just starting to curate your collection, hanging a 3-piece wall art requires careful consideration and attention to detail.
In this article, we will guide you through the process of hanging a 3-piece wall art, from choosing the right pieces to adjusting and straightening the artwork. By following these steps, you’ll be able to create a stunning and well-balanced display that enhances the overall aesthetic of your home.
Before we dive into the steps, it’s important to note that the information provided here is just a general guide. Every wall and artwork is unique, so adjust the techniques as needed to suit your specific situation.
Key Takeaways:
- Transform your living space with a visually appealing 3-piece wall art display that reflects your personal style and creativity. From choosing the right artwork to making final touches, let your walls become a stunning gallery of your love for art.
- Create a visually harmonious arrangement by carefully measuring, marking, and hanging each piece of your 3-piece wall art. Let your creativity shine as you transform your walls into a captivating gallery that enhances the overall aesthetic of your home.
Read more: How To Hang Metal Wall Art
Choosing the Right Wall Art
The first step to hanging a 3-piece wall art is selecting the right artwork that fits your personal style and complements your existing decor. Here are some tips to consider when choosing the perfect piece:
- Size: Measure the wall space where you intend to hang the artwork and take note of the dimensions. Consider the overall size of the wall art and how it will fit within the space. Ensure that it’s neither too small nor too large for the wall.
- Theme: Think about the theme or style you want to convey in the room. Whether it’s modern, abstract, nature-inspired, or a specific color palette, choose artwork that aligns with the overall ambiance and aesthetic you’re seeking.
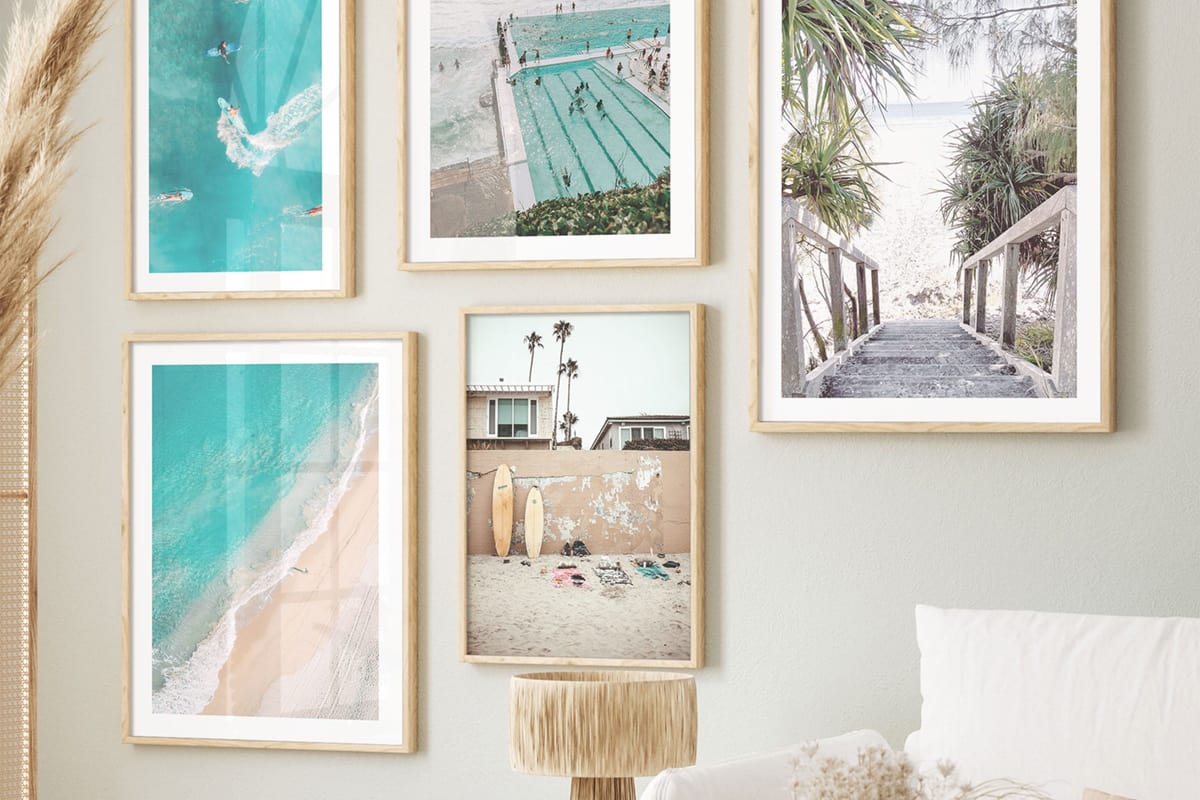
- Coherence: If you’re hanging multiple pieces, ensure that they have a cohesive theme, color scheme, or artistic style. This will create a harmonious visual flow and prevent the artwork from feeling disjointed or overpowering.
- Balance: Consider the placement of the wall art in relation to other elements in the room. If you have furniture or other wall decor nearby, make sure the scale and placement of the artwork create a balanced composition.
- Personal Connection: Choose artwork that speaks to you on a personal level. Whether it’s a piece that evokes emotions, reminds you of a fond memory, or simply brings you joy, the connection you have with the artwork will make it even more meaningful.
Take your time in selecting the right wall art as it will be the focal point of the room. Browse through galleries, art fairs, online platforms, or even consider creating your own custom piece. Remember that art is subjective, so trust your intuition and choose pieces that resonate with you.
Measuring and Marking the Wall
Once you have chosen the perfect 3-piece wall art, the next step is to measure and mark the wall to ensure accurate placement. Follow these steps to get started:
- Clear the Space: Remove any existing artwork or decorations from the wall to provide a clean canvas for your new artwork. Clearing the space will also give you a better visual of how the new pieces will look.
- Measure the Wall: Use a tape measure to determine the height and width of the wall where you will be hanging the artwork. Take note of these measurements to use as a reference during the hanging process.
- Find the Center: Divide the width of the wall by 2 to locate the center point. This will be the starting point for hanging the first piece of the 3-piece wall art.
- Mark the Wall: Use a pencil or painter’s tape to mark the center point on the wall. This will serve as a guide for aligning the artwork. You can also use a level to ensure the mark is straight.
- Spacing: Depending on the size of the wall art and the desired layout, measure and mark the spacing between each piece. This will ensure that the artwork is evenly spaced and aligned when hung.
- Double-check: Before proceeding further, step back and visually assess the marked points on the wall. Ensure that they are positioned correctly and that the spacing looks visually appealing.
Once you have measured and marked the wall, you’re ready to start hanging the 3-piece wall art. The measurements and markings you have made will act as a guide throughout the process, ensuring that the artwork is positioned accurately and aesthetically.
Hanging the First Piece
Now that you have measured and marked the wall, it’s time to hang the first piece of your 3-piece wall art. Follow these steps to ensure proper hanging:
- Gather Tools: Before you begin, gather the necessary tools such as a hammer, nails, a measuring tape, a level, and a stud finder (if needed).
- Positioning: Start by positioning the first piece of artwork on the marked center point. Adjust the height, making sure it’s at the desired level for optimal visual impact.
- Locate Studs: Use a stud finder to locate the studs behind the wall. It’s ideal to anchor the artwork to the studs for added stability and support. If studs are not present, you can use wall anchors or alternative hanging equipment suitable for your wall type.
- Marking the Mounting Points: Once you have determined the location of the studs or identified the appropriate mounting points, use a pencil to mark their positions on the wall.
- Prep the Wall: If you’re hanging the artwork using nails, lightly tap them into the marked positions on the wall. For wall anchors or other hanging devices, follow the specific instructions provided with the equipment to properly prepare the wall.
- Hanging the Artwork: Carefully lift the first piece of artwork and align it with the mounting points on the wall. Gently press it against the wall, ensuring it’s level and securely affixed.
- Check Alignment: Step back and assess the placement of the artwork. Use a level to confirm that it’s perfectly straight. Make any necessary adjustments before proceeding.
By following these steps, you’ll successfully hang the first piece of your 3-piece wall art. Ensure that it’s securely mounted and properly aligned before moving on to the next piece.
Hanging the Second Piece
Now that the first piece of your 3-piece wall art is securely hung, it’s time to move on to hanging the second piece. Follow these steps to ensure proper alignment and placement:
- Positioning: Position the second piece of artwork next to the first piece, aligning it with the marked spacing on the wall. Take a step back to visually assess the placement and ensure it looks balanced with the first piece.
- Measuring: Use a measuring tape to double-check the spacing between the first and second pieces. Make any adjustments necessary to achieve the desired alignment.
- Mounting Points: If possible, align the second piece with the existing wall anchors or mounting points used for the first piece. This will ensure consistency in the hanging technique and keep the artwork level.
- Marking and Preparing the Wall: Use a pencil to mark the mounting points for the second piece. If needed, prepare the wall by inserting nails or wall anchors as per the instructions for your specific hanging method.
- Hanging the Artwork: Lift the second piece of artwork and carefully align it with the marked mounting points on the wall. Securely affix it to the wall, ensuring it’s level and properly positioned.
- Check Alignment: Step back and assess the placement of the second piece. Use a level to confirm that it’s perfectly straight and aligned with the first piece. Make any necessary adjustments before proceeding.
It’s important to take your time during this step to ensure that the second piece is properly aligned with the first piece and maintains a cohesive appearance. Double-check the spacing, alignment, and levelness of the artwork before moving on to the final piece.
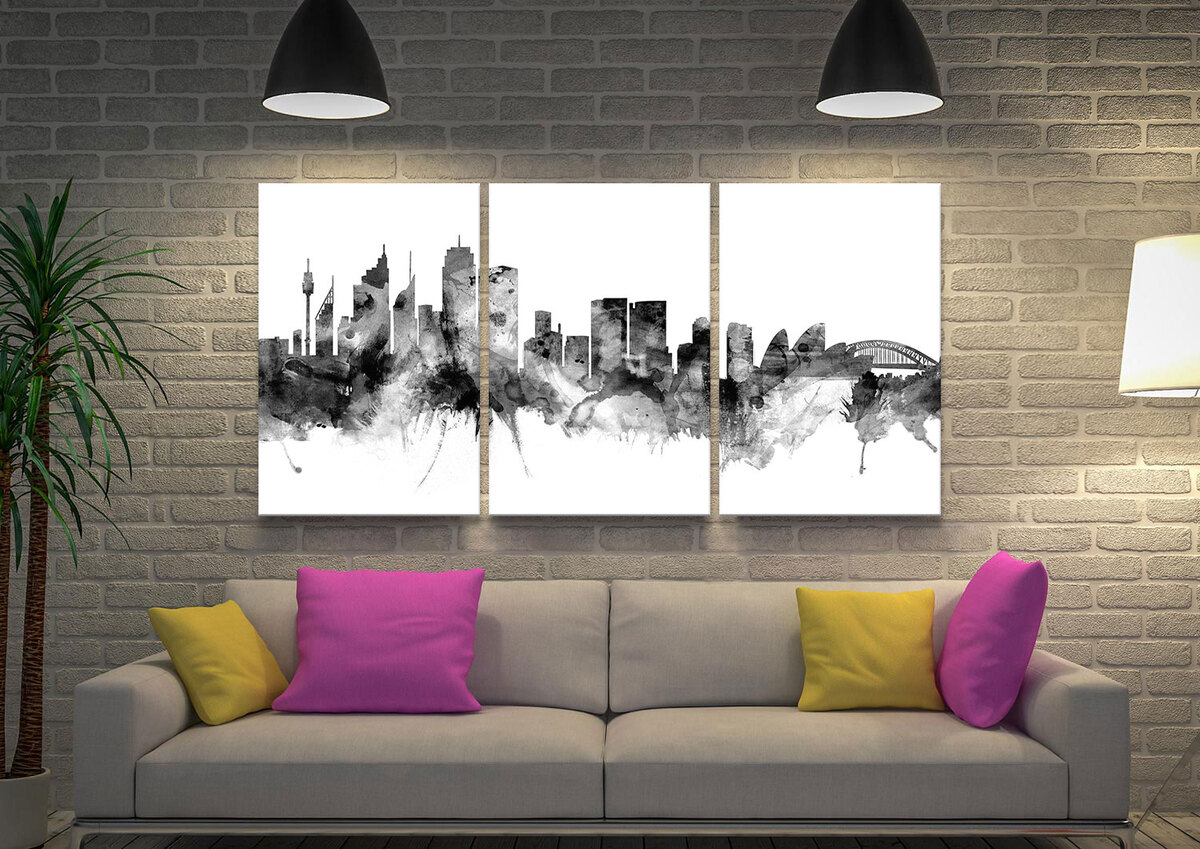
When hanging 3 piece wall art, use a level to ensure each piece is straight. Start with the center piece at eye level, then hang the other pieces evenly spaced on either side.
Read more: How To Hang Up Wall Art
Hanging the Third Piece
With the first two pieces of your 3-piece wall art securely in place, it’s time to hang the third and final piece. Follow these steps to ensure proper alignment and a visually balanced display:
- Positioning: Position the third piece of artwork next to the second piece, aligning it with the marked spacing on the wall. Step back and visually assess the placement to ensure it complements the overall composition.
- Measuring: Use a measuring tape to double-check the spacing and alignment between the second and third pieces. Make any necessary adjustments to achieve the desired balance and visual flow.
- Mounting Points: Align the third piece with the existing wall anchors or mounting points used for the first two pieces, if possible. This will ensure consistency in hanging technique and maintain a level display.
- Marking and Preparing the Wall: Use a pencil to mark the mounting points for the third piece. If needed, prepare the wall by inserting nails or wall anchors according to the specific hanging method you are using.
- Hanging the Artwork: Lift the third piece of artwork and carefully align it with the marked mounting points on the wall. Securely affix it to the wall, ensuring it’s level and in line with the adjacent pieces.
- Check Alignment: Step back and assess the placement of the third piece. Use a level to confirm that it’s perfectly straight and aligned with the first two pieces. Make any necessary adjustments before moving on.
Double-check the spacing, alignment, and levelness of the artwork before proceeding. Taking the time to properly hang the third piece will complete the 3-piece wall art display and create a visually harmonious arrangement.
Adjusting and Straightening the Artwork
Once all three pieces of your 3-piece wall art are hung, it’s important to step back and assess the overall arrangement. Adjusting and straightening the artwork will help ensure a visually pleasing display. Follow these steps to make any necessary adjustments:
- Step back: Take a few steps back from the wall to get a better perspective of the artwork as a whole. This will allow you to see any imbalances or misalignments that may need to be corrected.
- Check the levelness: Use a level to confirm that each individual piece is straight. If any pieces are slightly askew, gently adjust them until they are level.
- Consider eye level: Take into account the average eye level of viewers when adjusting the artwork. Generally, the center of the pieces should be at eye level for optimal viewing.
- Spacing and alignment: Evaluate the spacing and alignment between each piece. Make sure they are evenly spaced and visually balanced. If adjustments need to be made, carefully move the pieces until you achieve the desired look.
- Step back and reassess: After making adjustments, step back again to ensure that the overall arrangement is cohesive and visually appealing.
Remember, art is subjective, and there is no strict formula for what is “correct” or “perfect.” Trust your eye and make adjustments that feel right to you. The goal is to create a pleasing aesthetic and balanced composition.
Additionally, periodically check the stability of the artwork over time. Ensure that the pieces remain securely fastened to the wall, especially if they are heavier or subjected to vibrations.
By taking the time to adjust and straighten your 3-piece wall art, you’ll be able to create a visually pleasing display that enhances the overall atmosphere of your space.
Final Touches and Tips
After you have hung and adjusted your 3-piece wall art, there are a few final touches and tips to consider to ensure a polished and well-curated display:
- Clean and dust: Before stepping away from your newly hung artwork, take a moment to clean and dust the pieces. Use a soft cloth or feather duster to gently remove any dust or dirt that may have accumulated during the hanging process.
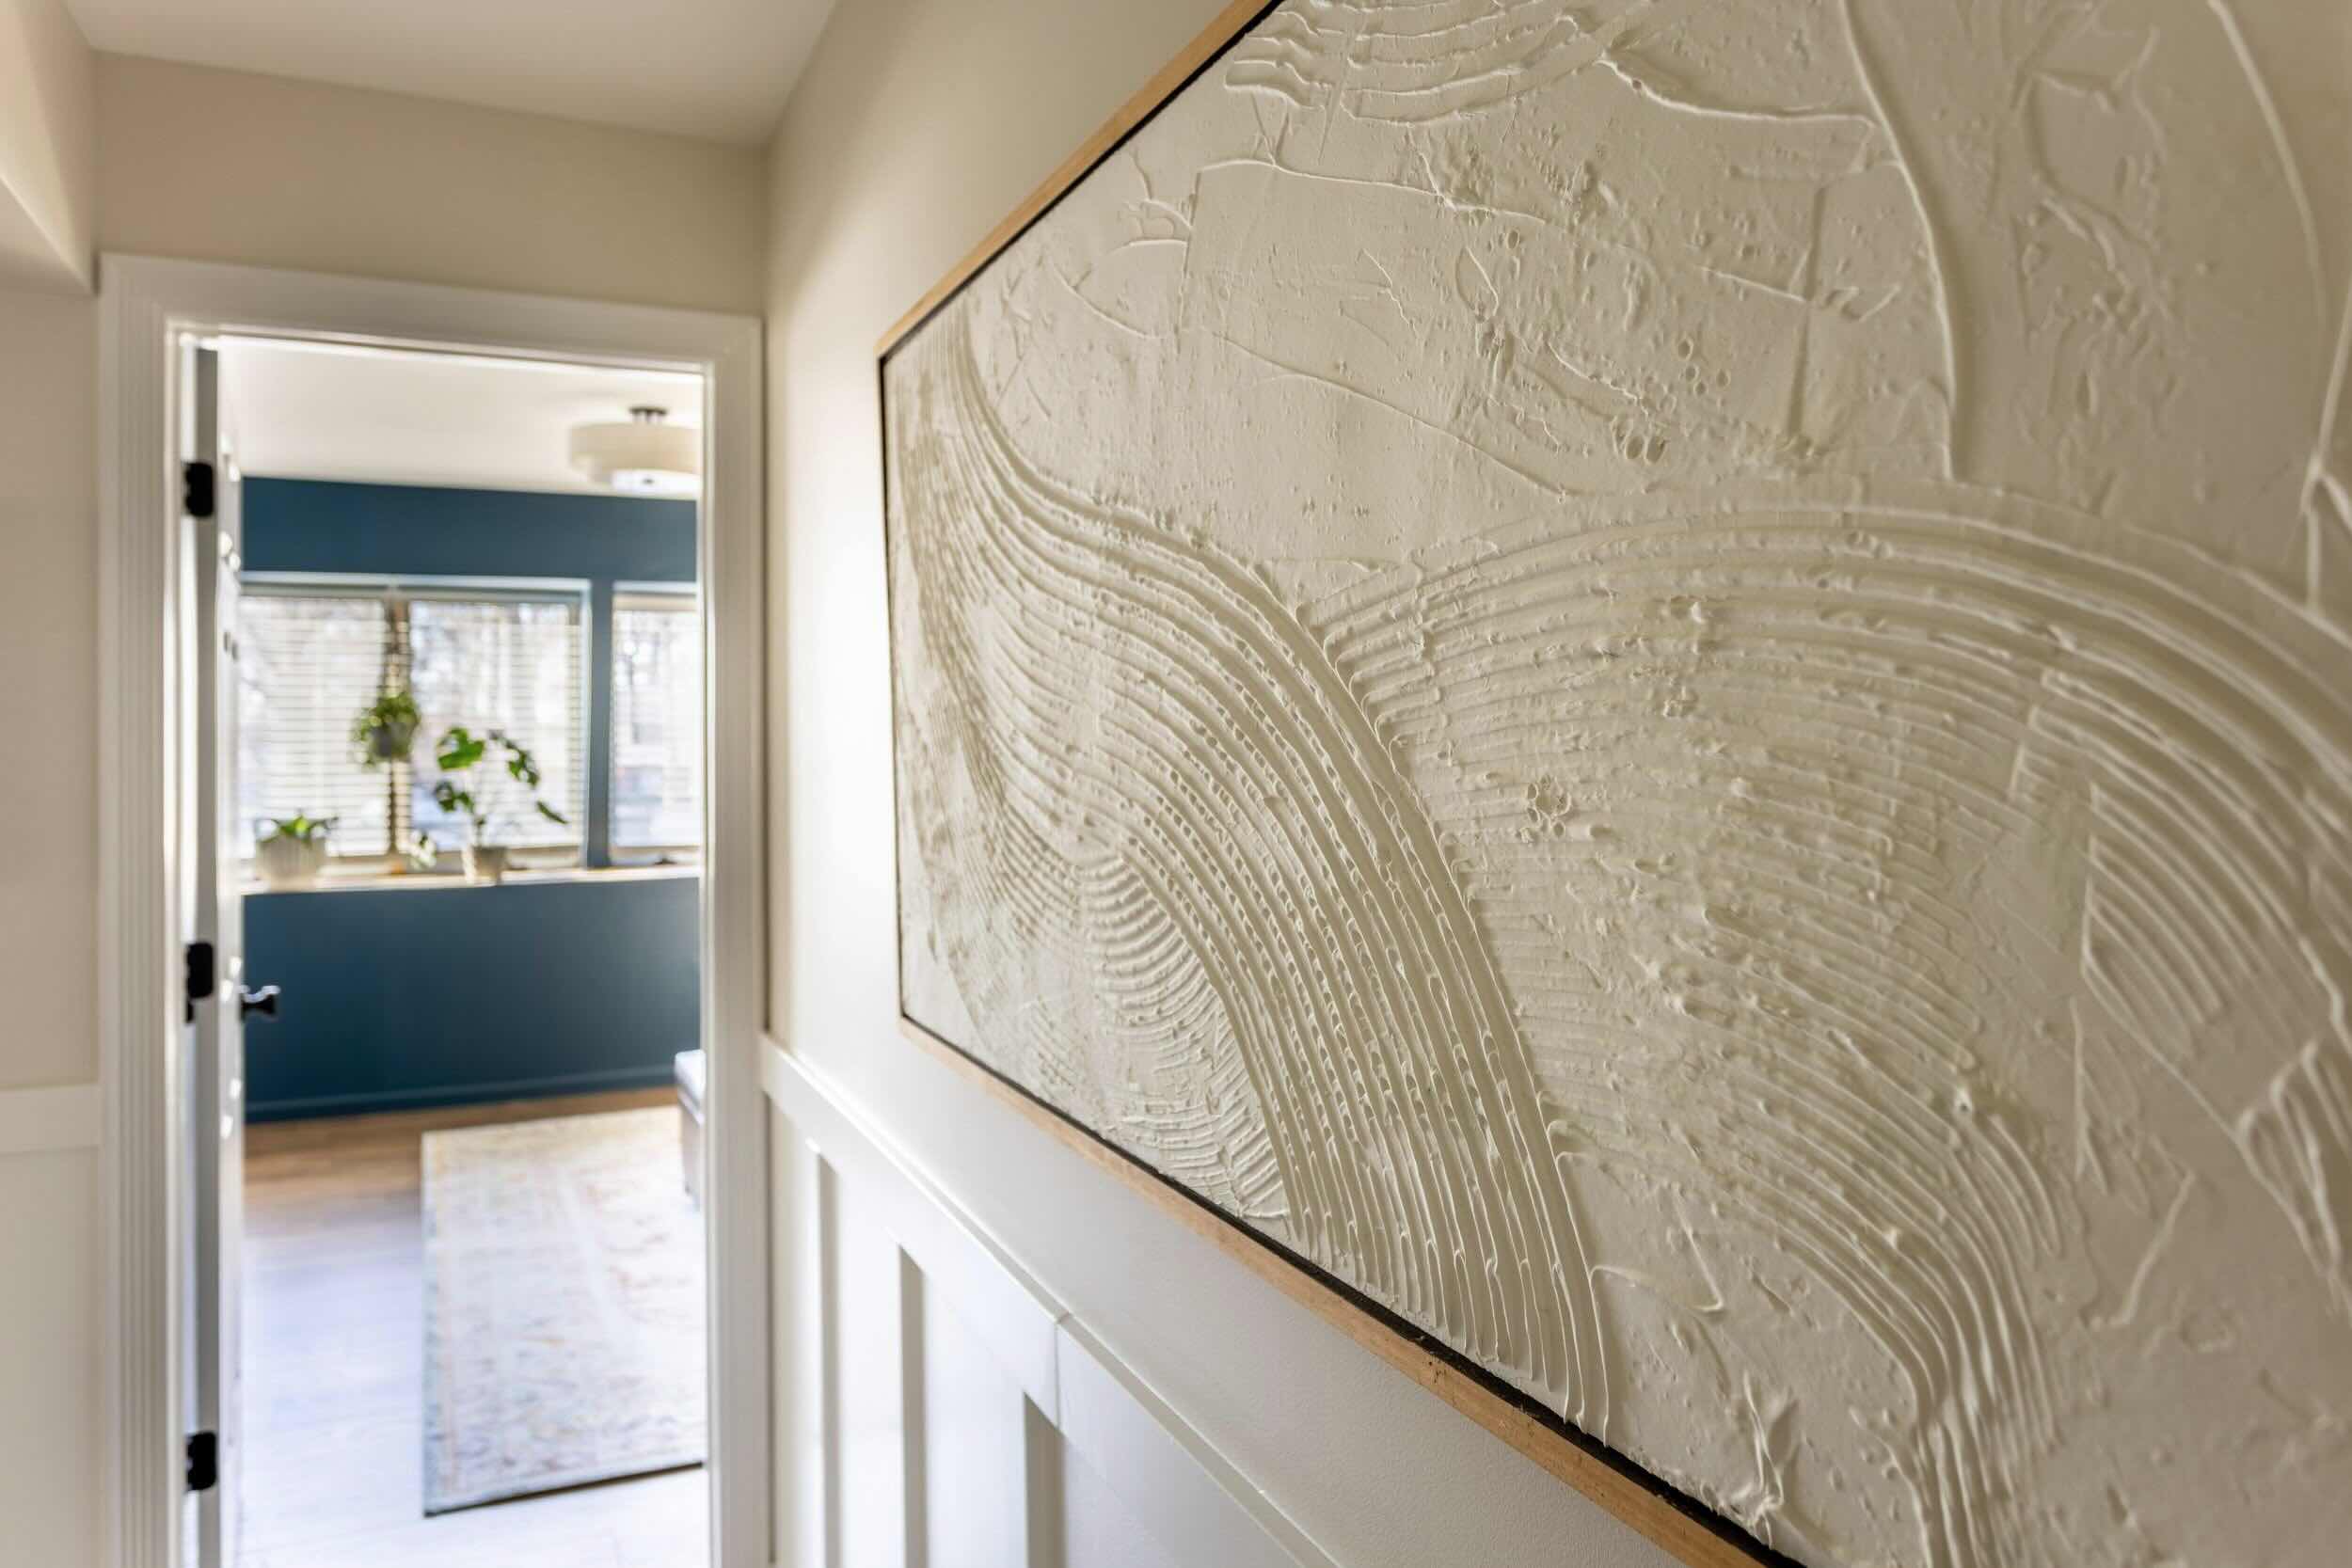
- Lighting: Consider the lighting in the space where the artwork is hanging. Proper lighting can enhance the visual impact and bring out the details of the artwork. Experiment with different lighting options such as wall sconces or spotlights to highlight the art.
- Protective measures: If you are hanging your artwork in an area prone to high humidity, direct sunlight, or other potentially damaging conditions, consider using protective measures. This may include UV-resistant glass or protective coatings to preserve the integrity of the artwork.
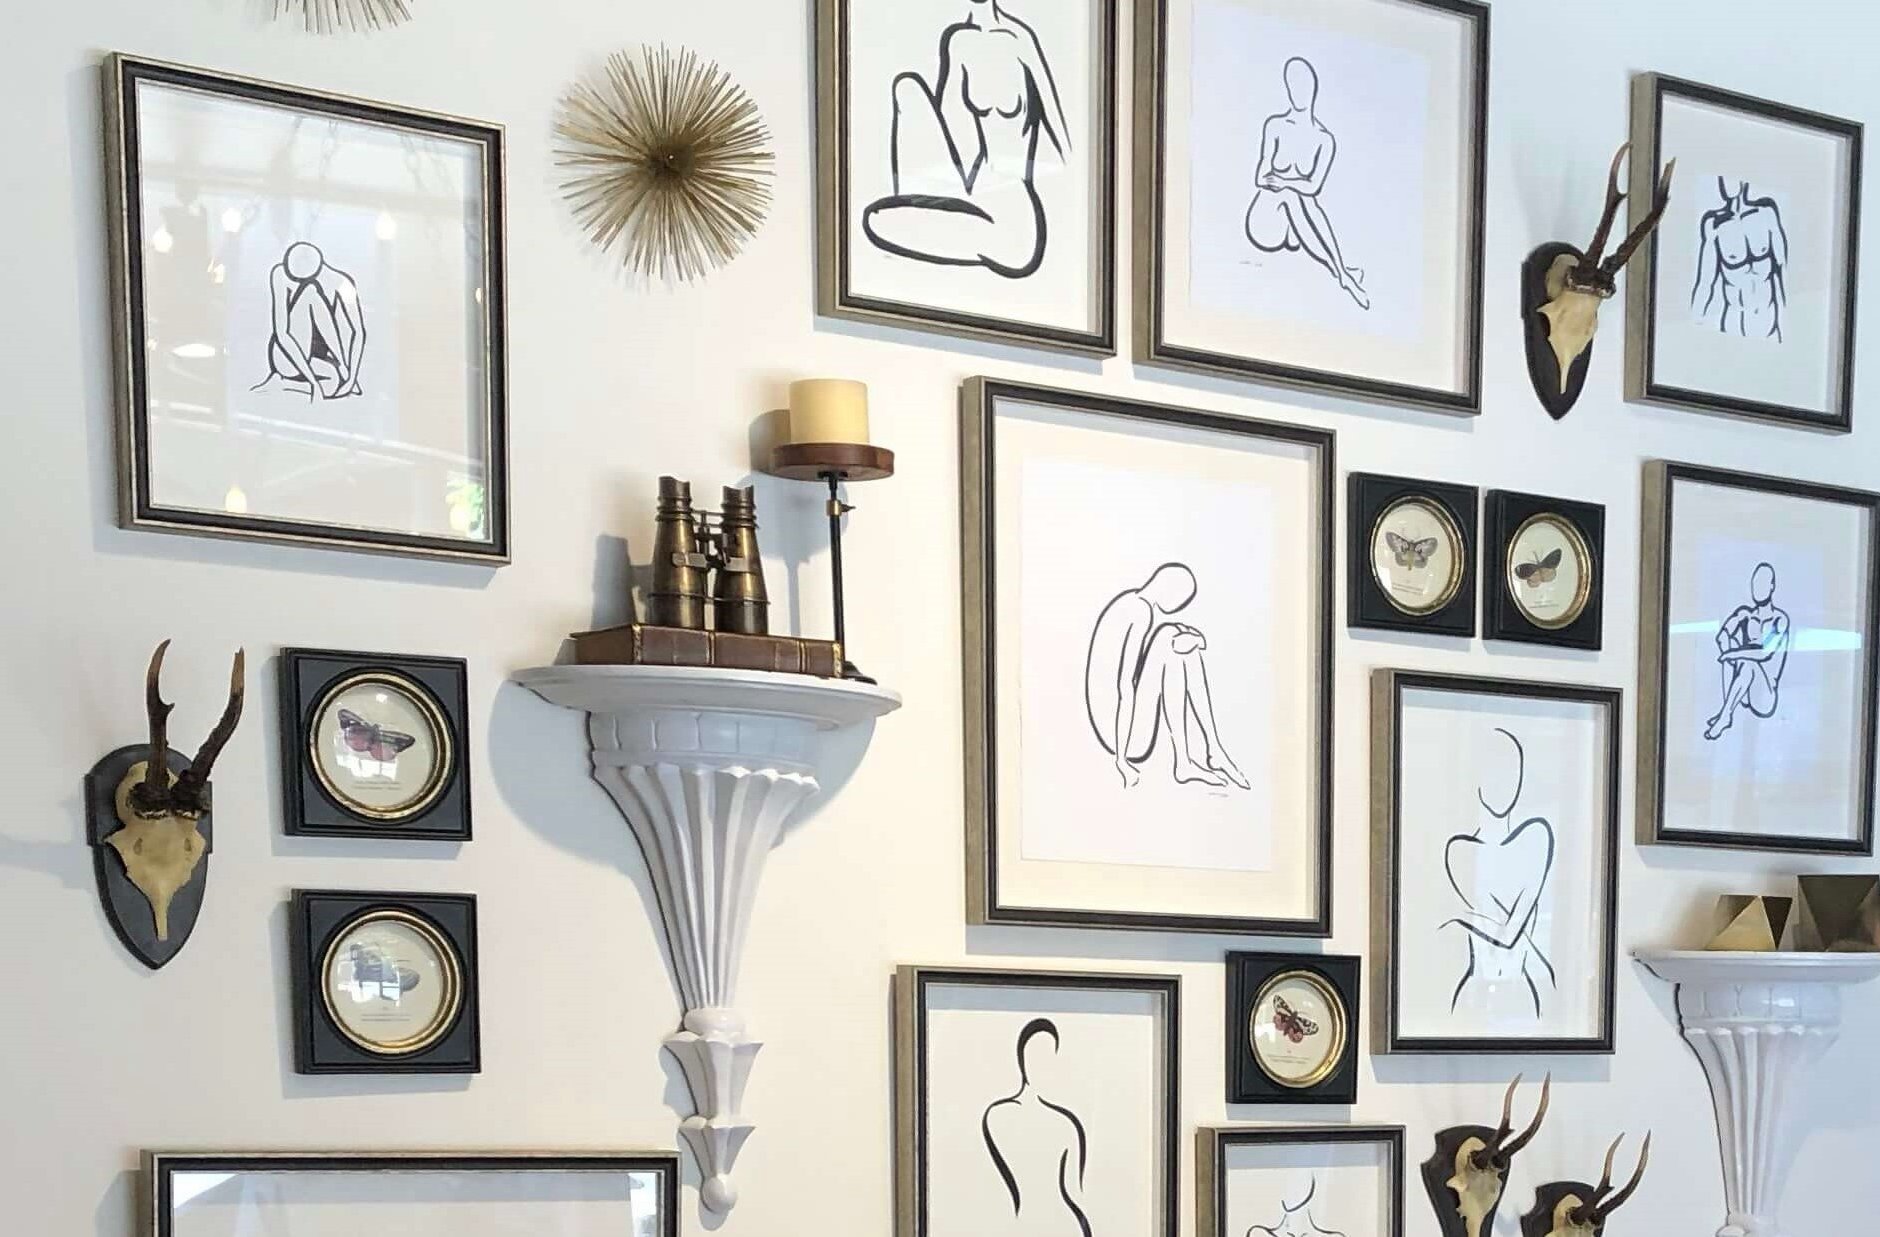
- Grouping with other decor: If you have additional wall decor or accessories, consider how they can complement the 3-piece wall art. Grouping other pieces around the artwork can create a visually appealing arrangement and further enhance the overall aesthetic of the space.
- Regular maintenance: Periodically check the stability of the artwork and ensure that the pieces remain securely attached to the wall. If any adjustments or repairs are necessary, attend to them promptly to maintain the integrity of the display.
- Showcase your collection: If you have multiple sets of 3-piece wall art or other artwork collections, consider rotating and showcasing them throughout the year. This can keep your space fresh and allow you to enjoy different pieces depending on the season or your mood.
Remember, hanging 3-piece wall art is an opportunity to express your style and creativity. Don’t be afraid to experiment with different arrangements and combinations to create a unique and personalized display. Trust your instinct and let your personality shine through in the artwork you choose and how you hang it.
By paying attention to these final touches and following these tips, you will be able to create a stunning and cohesive display of your 3-piece wall art that adds beauty and personality to your home.
Conclusion
Hanging a 3-piece wall art can transform your living space and add a touch of elegance and creativity to your walls. By following the steps outlined in this article – from choosing the right artwork to adjusting and straightening the pieces – you can create a visually appealing and balanced display that reflects your personal style.
Remember to consider factors such as size, theme, cohesiveness, balance, and personal connection when selecting your wall art. Take the time to measure and mark the wall accurately, ensuring proper spacing and alignment. By using the right tools and techniques, you can securely hang each piece, paying attention to levelness and stability.
After hanging the artwork, step back and make any necessary adjustments to ensure that it is visually pleasing and properly aligned. Consider cleaning and maintaining your artwork regularly to keep it looking its best, and take protective measures if needed to preserve its integrity.
Lastly, let your creativity shine and have fun with your wall art display. Experiment with different arrangements, lighting, and complementary decor to create a unique and captivating ambiance in your space.
By following these guidelines and adding your personal touch, you can transform your walls into a stunning gallery that reflects your individual style and enhances the overall aesthetic of your home. Let your 3-piece wall art become a focal point and a conversation starter, showcasing your love for art and creating an inviting atmosphere.
Now, it’s time to grab a hammer, unleash your creativity, and start hanging your 3-piece wall art masterpiece!
Frequently Asked Questions about How To Hang 3 Piece Wall Art
Was this page helpful?
At Storables.com, we guarantee accurate and reliable information. Our content, validated by Expert Board Contributors, is crafted following stringent Editorial Policies. We're committed to providing you with well-researched, expert-backed insights for all your informational needs.


0 thoughts on “How To Hang 3 Piece Wall Art”