Articles
How To Hang Metal Wall Art
Modified: December 7, 2023
Looking for step-by-step articles on how to hang metal wall art? Check out our expert tips and tricks for a seamless display that enhances your space.
(Many of the links in this article redirect to a specific reviewed product. Your purchase of these products through affiliate links helps to generate commission for Storables.com, at no extra cost. Learn more)
Introduction
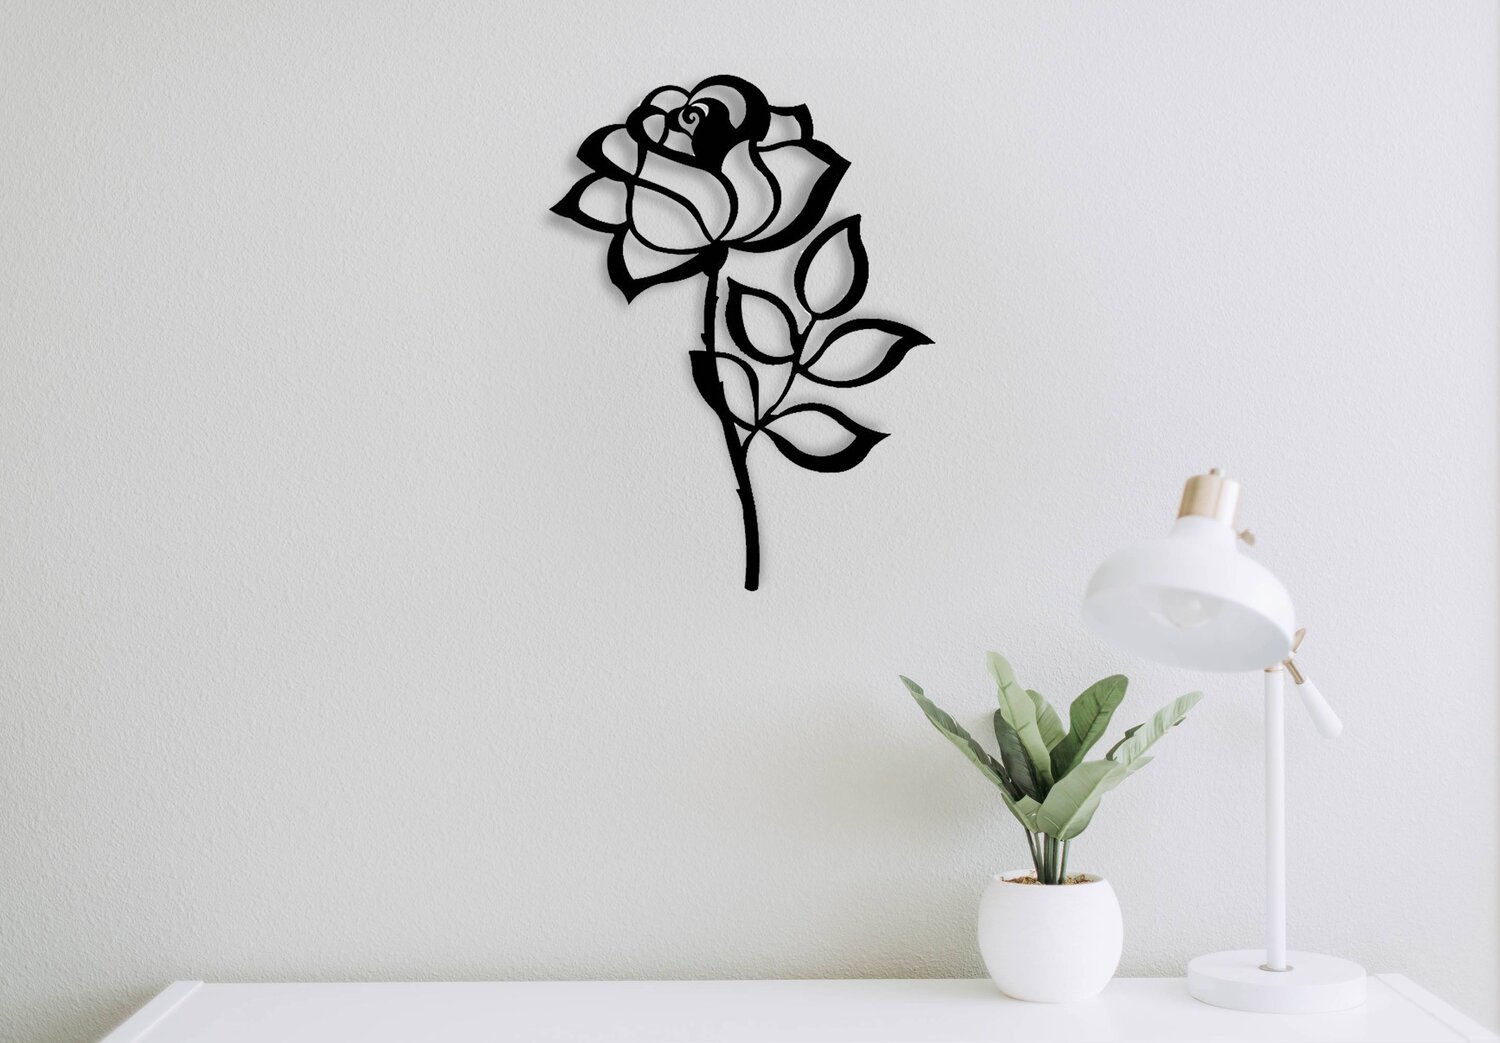
Welcome to this guide on how to hang metal wall art. Metal wall art is a popular choice for adding a touch of elegance and uniqueness to any space. Whether you have a stunning metal sculpture or a sleek metal wall decor piece, proper hanging techniques are essential to ensure its safety and visual appeal. In this article, we will walk you through the step-by-step process of hanging metal wall art, from gathering the necessary tools to making sure it is properly leveled on the wall. So, let’s dive in and learn how to showcase your metal wall art with confidence!
Key Takeaways:
- Hanging metal wall art requires careful consideration of location, precise measurements, and proper support. By following the step-by-step guide, you can confidently showcase your unique style and enhance your space with elegance.
- Attention to detail, patience, and creativity are essential when hanging metal wall art. From gathering tools to making final adjustments, the process allows you to curate a visually captivating display that reflects your personal style.
Read more: How To Make Metal Wall Art
Step 1: Gather Necessary Tools
Before you begin hanging your metal wall art, it’s important to gather all the necessary tools to make the process smoother and more efficient. Here’s a list of items you’ll need:
- Tape Measure: To accurately measure the wall and artwork dimensions.
- Pencil: For marking the hanging points on the wall.
- Level: To ensure your metal wall art is straight and level.
- Wall Anchors (if needed): If you’re hanging heavy or large metal wall art, wall anchors will provide additional support.
- Screwdriver: To install the wall anchors or screws.
- Hanging Hardware: Depending on the type of metal wall art and the hanging method you choose, you may need picture hooks, d-rings, wire, or specialized hanging hardware.
- Step Stool or Ladder: If your metal wall art is being hung at a higher location, ensure you have a stable ladder or step stool to reach the desired height safely.
Having these tools readily available will save you time and frustration during the hanging process. Now that you have everything you need, it’s time to move on to the next step: choosing an appropriate location for your metal wall art.
Step 2: Choose an Appropriate Location
Choosing the right location for your metal wall art is crucial to enhancing its visual impact. Take a moment to consider the following factors before settling on a spot:
- Wall Space: Look for a wall that has enough space to accommodate the size and dimensions of your metal wall art. Keep in mind that larger pieces may require more prominent walls to avoid overwhelming the surrounding space.
- Room Lighting: Consider the lighting in the room where you plan to hang your metal wall art. Natural or artificial light can enhance the beauty and shine of the metal, so choose a spot where the art will be well-lit and easily visible.
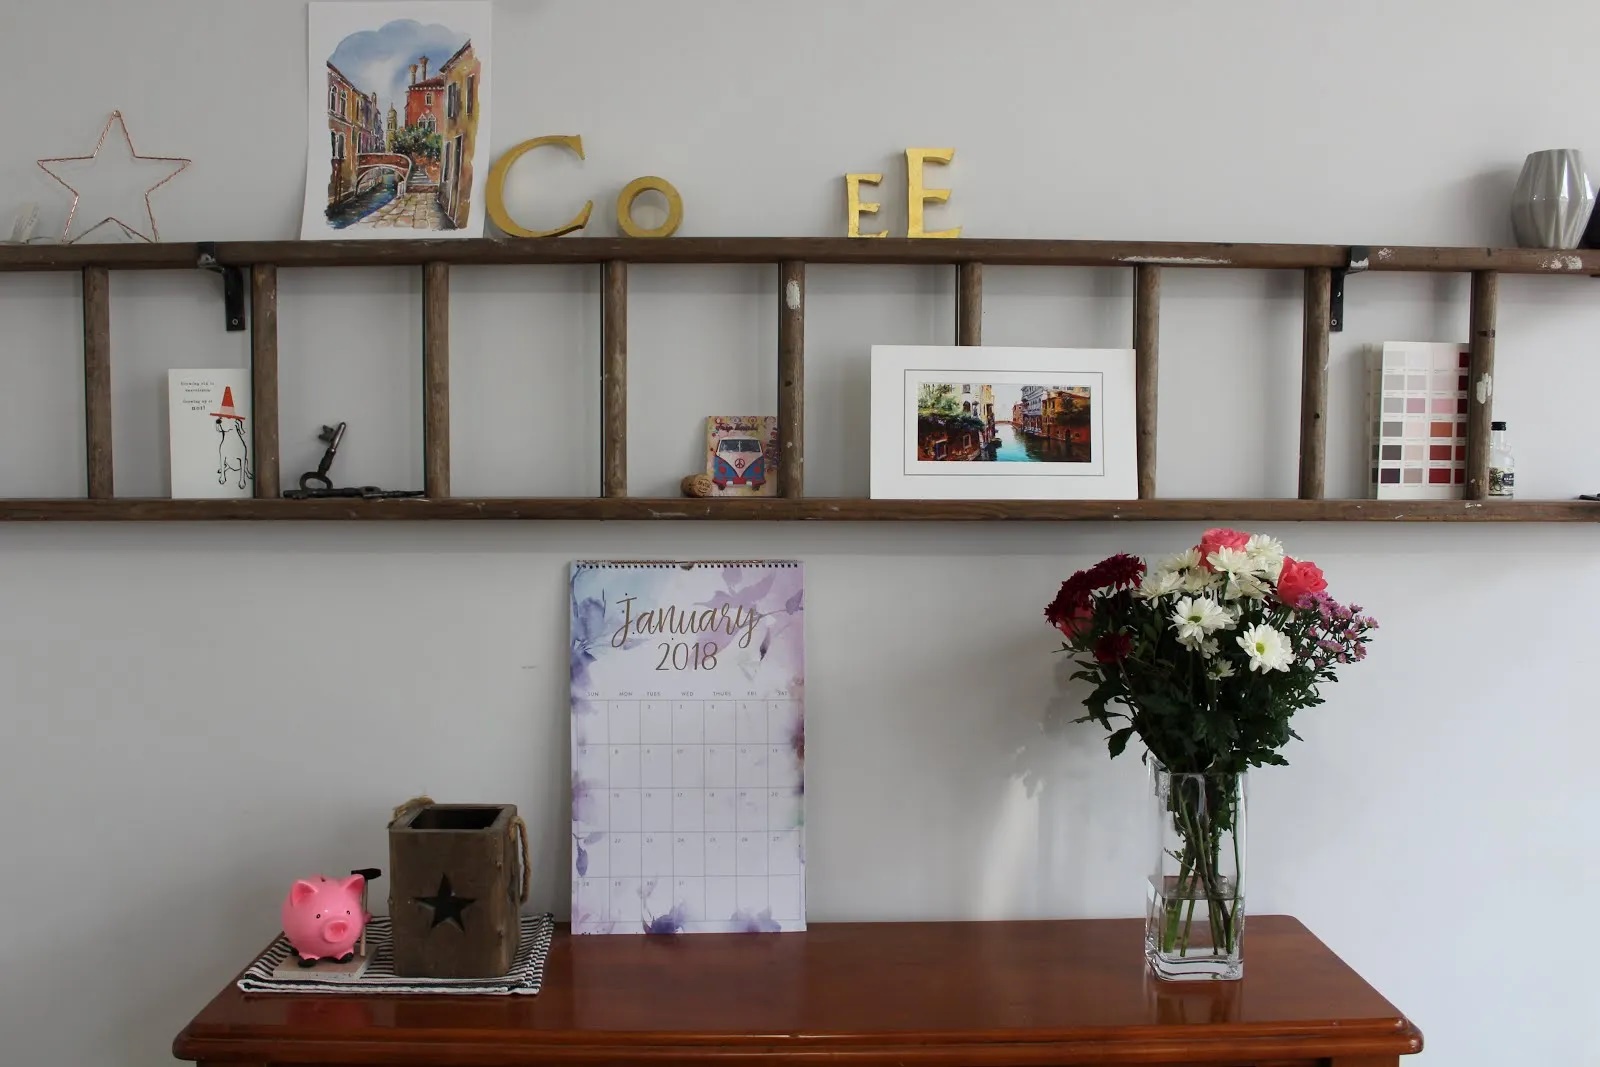
- Room Decor: Take into account the overall aesthetics of the room. Your metal wall art should complement the existing decor and create a cohesive look. Consider the color scheme, style, and theme of the room when selecting the location.
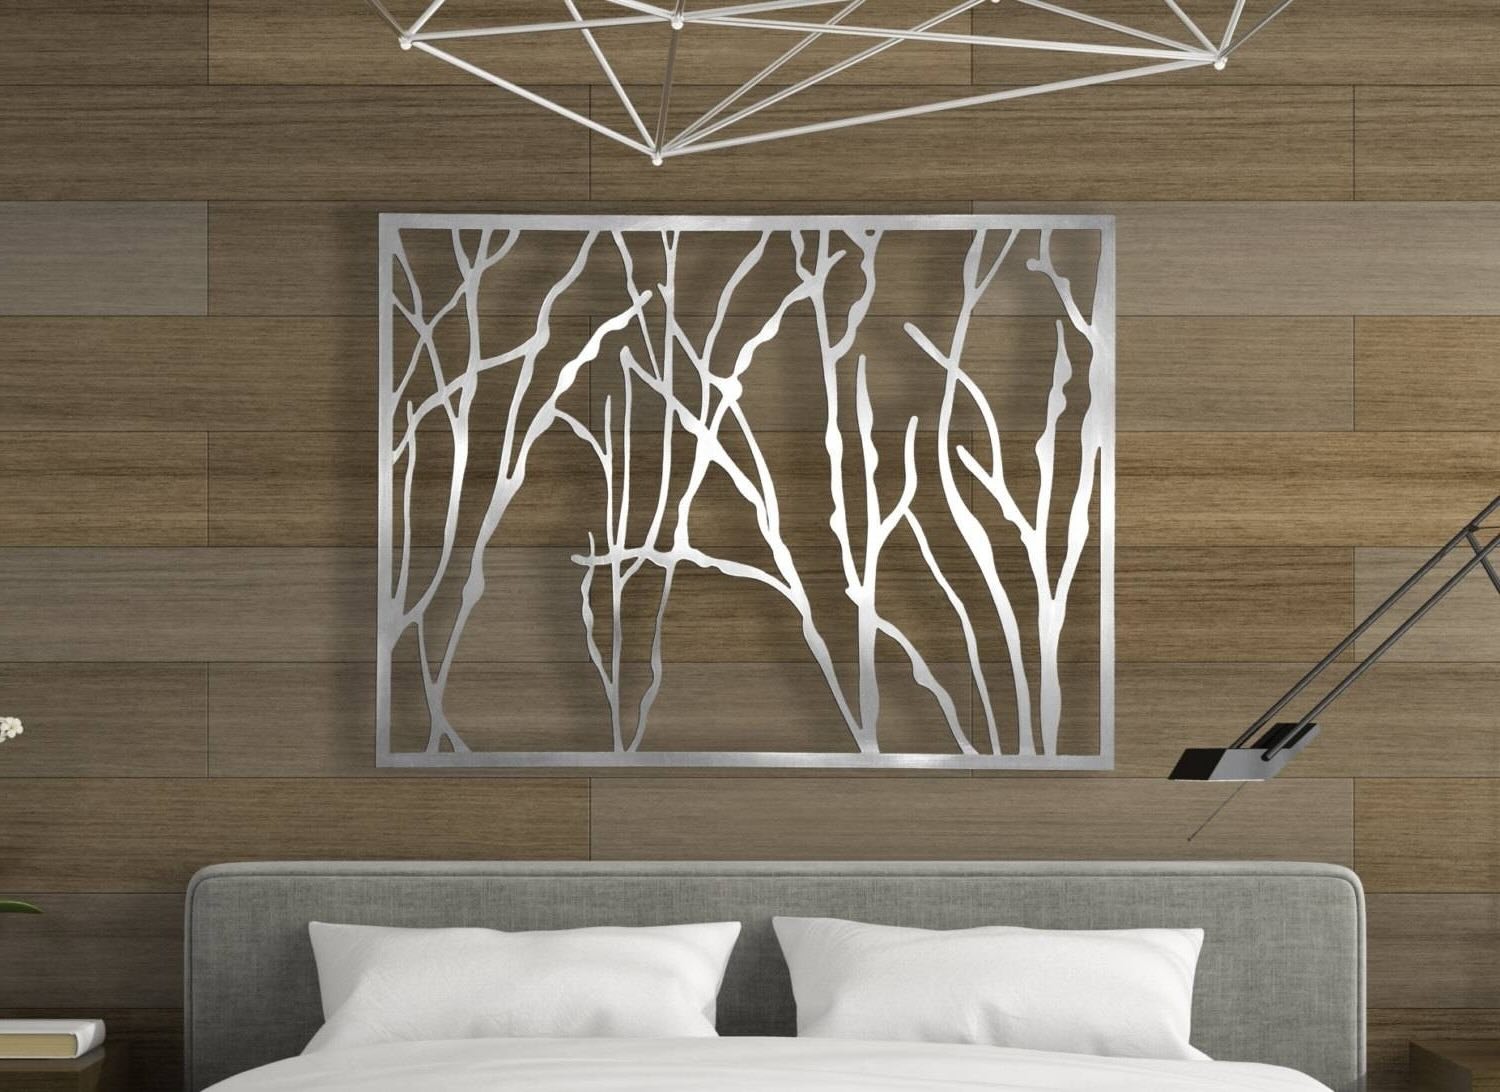
- Eye-Level Placement: For optimal viewing and appreciation, it’s generally recommended to hang your metal wall art at eye level. This ensures that it can be easily admired without straining the neck or eyes. However, there may be exceptions based on the size or purpose of the art piece.
- Focus Point: Consider the focal point of the room and use your metal wall art to enhance it. For example, if you have a fireplace or a statement piece of furniture, hanging the art above or near it can create a visually appealing arrangement.
Once you have taken these factors into consideration, visually imagine how your metal wall art will look in different locations. You can even use painter’s tape to create mock outlines on the wall to get a better sense of how it will fit into the space.
Remember, the location you choose will have a significant impact on the overall ambiance and visual appeal of your metal wall art. Take your time, experiment, and trust your instincts to find the perfect spot. With the location finalized, it’s time to move on to the next step: measuring the wall and artwork.
Step 3: Measure the Wall and Artwork
Precision is key when it comes to hanging metal wall art. Before proceeding, take the time to measure both the wall and the artwork to ensure a proper fit. Follow these steps:
- Measure the Wall: Use a tape measure to determine the height and width of the wall where you plan to hang your metal art. Note down these measurements for reference.
- Measure the Artwork: Measure the height and width of the metal wall art itself. Be sure to include any protruding elements, such as hooks or wires, in your measurements.
Once you have precise measurements, compare them to ensure that the metal wall art will fit comfortably within the designated wall space. Consider the surrounding areas as well, allowing for some breathing room to create an aesthetically balanced look.
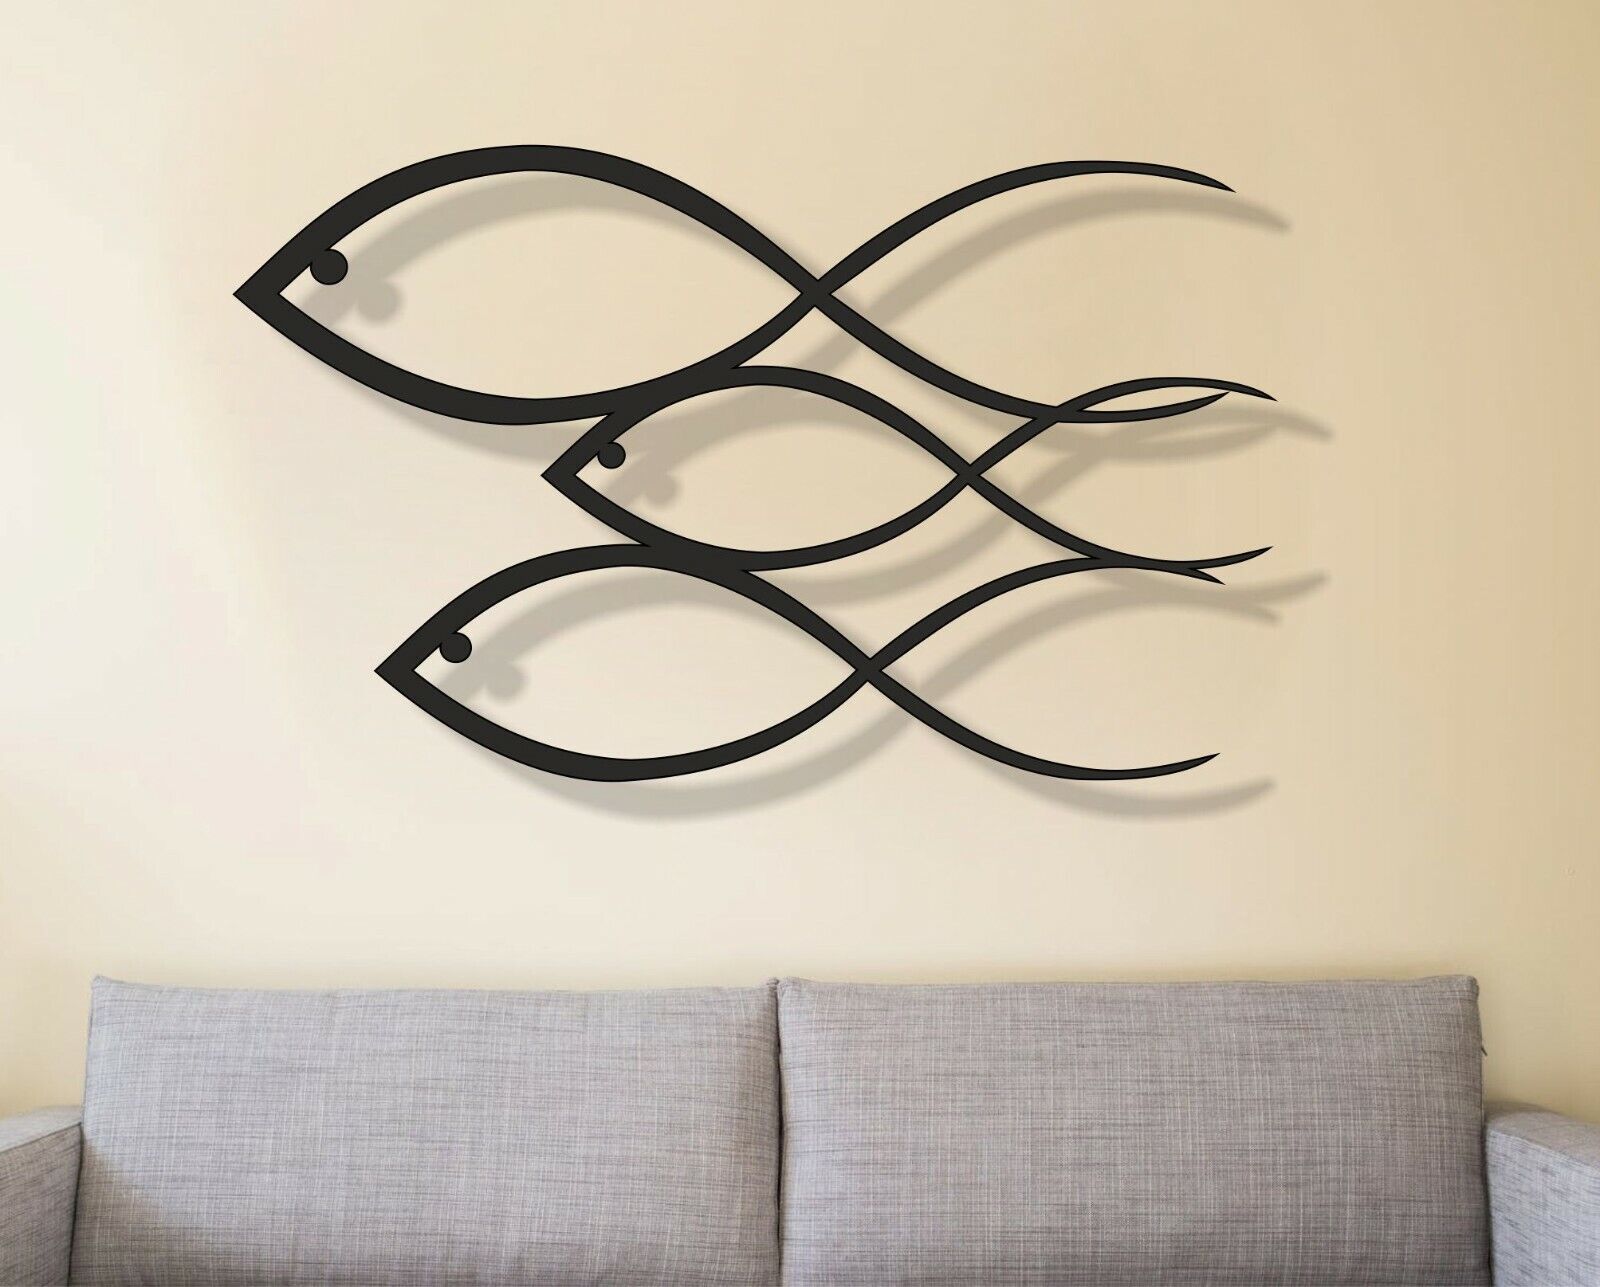
When hanging multiple metal art pieces, pay attention to the spacing between each piece. Measure the distances between the artworks, both horizontally and vertically, to achieve the desired arrangement.
Remember, accurate measurements are crucial in achieving a visually pleasing display. Taking the time to measure carefully will save you from potential repositioning or adjustments later. With the wall and artwork measurements in hand, you’re ready to move on to the next step: preparing the hanging hardware.
Step 4: Prepare the Hanging Hardware
Now that you have measured the wall and artwork, it’s time to prepare the appropriate hanging hardware. The type of metal wall art you have and the weight it carries will determine the hanging method you choose. Here are some common hanging hardware options:
- Picture Hooks: Picture hooks are ideal for smaller metal wall art pieces. They have a curved shape that grips the back of the artwork, providing stability and ease of hanging.
- D-Rings: D-rings are sturdy, D-shaped metal rings that are attached to the back of the artwork. They allow for easy attachment of wire or hanging hooks.
- Wire: Wire can be used in combination with D-rings to add stability and distribute the weight of larger metal wall art. Ensure the wire is securely attached to the D-rings, leaving a slight slack for hanging.
- Hanging Hardware Kits: These kits come with all the necessary components, including hooks, screws, and wires, for hanging various types of metal wall art. They provide convenience and often include weight recommendations for different hanging options.
Consider the weight and size of your metal wall art when selecting the appropriate hanging hardware. If you’re unsure, consult the manufacturer’s recommendations or consult with a hardware professional.
Before attaching the hanging hardware to the artwork, place it against the wall to visualize its placement and make any necessary adjustments. Once you’re satisfied with the positioning, proceed to attach the hardware securely. Use the appropriate screws or nails to ensure the artwork is securely mounted to the wall.
With the hanging hardware prepared, you’re now ready to move on to the next step: marking the hanging points on the wall.
Read more: How To Hang Up Wall Art
Step 5: Mark the Hanging Points
Now that you have the hanging hardware prepared, it’s time to mark the exact spots where the metal wall art will be hung. Follow these steps:
- Hold the artwork against the wall in the desired position. Use a level to ensure it is straight and aligned with your vision.
- With the artwork held firmly in place, use a pencil to mark the top edges or the hanging points on the wall. You can also trace around the edges of the artwork to create an outline as a visual guide.
- If you’re hanging multiple pieces in a specific arrangement, mark the positions of each piece accordingly, making sure to maintain proper spacing as determined during the measurement step.
When marking the hanging points, keep in mind the weight distribution of the metal wall art. Ensure that the marks correspond to the locations of the hanging hardware on the back of the artwork.
If you’re using picture hooks or D-rings, mark the spot where the hooks will be inserted or where the wire will be attached. Double-check the alignment and levelness of the artwork before proceeding to the next steps.
With the hanging points marked, you’re now ready to move on to Step 6: installing wall anchors (if needed).
When hanging metal wall art, use a level to ensure it is straight. Measure the distance between hanging points and mark the wall accordingly for accurate placement. Use appropriate hanging hardware for the weight of the art.
Step 6: Install Wall Anchors (if needed)
If you’re hanging heavy or large metal wall art, it’s essential to ensure proper support and stability. This may require the installation of wall anchors. Follow these steps to install wall anchors:
- Refer to the manufacturer’s instructions or guidelines to determine if wall anchors are necessary based on the weight and size of your metal wall art.
- Choose the appropriate type of wall anchor based on your wall type (drywall, plaster, concrete, etc.) and the weight of the artwork.
- Using a drill and the designated drill bit, create holes where the wall anchors will be inserted. Make sure to follow the recommended size and depth guidelines provided by the manufacturer.
- Insert the wall anchors into the drilled holes until they are flush with the wall surface. If needed, gently tap them into place using a hammer.
- Ensure the wall anchors are securely in place by giving them a slight tug or twist.
Wall anchors provide additional support and help distribute the weight of the metal wall art evenly across the wall, reducing the risk of damage or the art piece falling. However, not all metal wall art pieces require wall anchors. Always refer to the manufacturer’s guidelines and recommendations to determine the best approach for your specific artwork.
With wall anchors installed (if needed) or if your metal wall art doesn’t require them, you’re ready to move on to the exciting part: hanging the metal wall art!
Step 7: Hang the Metal Wall Art
With the necessary preparations complete, it’s time to hang your metal wall art. Follow these steps to ensure a secure and visually pleasing display:
- Hold the artwork up to the wall, aligning the hanging points or hooks with the marks you made in Step 5.
- Slowly and carefully, lower the artwork onto the wall, making sure the hanging hardware aligns with the corresponding wall anchors, hooks, or marks.
- Gently press the artwork against the wall to ensure it is securely in place. If using a wire for hanging, ensure it is evenly tensioned and properly attached to the hooks or D-rings.
- Step back and assess the positioning and levelness of the artwork. Make any necessary adjustments by slightly shifting or repositioning the artwork as needed.
- Once you’re satisfied with the placement, use a pencil to mark the locations of any additional hanging points or hooks that need adjustments or improvements.
Take your time during this step to ensure that the metal wall art is properly hung and securely fastened to the wall. It’s better to make adjustments as needed and ensure stability rather than risking damage or accidents later on.
Congratulations! You have successfully hung your metal wall art. But before you finish, there’s just one more important step remaining: checking for levelness.
Step 8: Check for Levelness
Once your metal wall art is hung, it’s essential to ensure that it is level. A crooked or unevenly placed artwork can be visually distracting and undermine the overall aesthetic. Follow these steps to check for levelness:
- Place a level horizontally or vertically against the top or side of the artwork, depending on the orientation and shape.
- Adjust the position of the artwork as needed to align it with the level indicator. This may involve slightly moving or tilting the artwork until it appears level.
- Check the levelness from different angles and distances to confirm that the artwork is hanging straight.
- Make any necessary adjustments by repositioning or straightening the artwork until it achieves proper levelness.
Checking for levelness ensures that your metal wall art looks professional and visually pleasing. It also creates a balanced and harmonious display in combination with other elements in the room.
Remember to be patient and meticulous during this step to achieve the desired levelness. Even a slight misalignment can make a noticeable difference, so take your time to get it just right.
Once you’re satisfied with the levelness of your metal wall art, you’re almost done. There’s just one final step left to complete: final touches and adjustments.
Read more: How To Hang 3 Piece Wall Art
Step 9: Final Touches and Adjustments
As you near the end of the hanging process for your metal wall art, take a moment to make any final touches and adjustments to perfect the display. Follow these steps to ensure your artwork looks its best:
- Inspect the artwork and surrounding area for any smudges, fingerprints, or dust. Use a soft cloth or microfiber cloth to gently clean the metal surface, ensuring it shines and sparkles.
- Check the stability of the artwork by giving it a slight but firm push or shake. If it feels loose or wobbles, make any necessary adjustments to the hanging hardware or fasteners to secure it in place.
- Step back and take a few moments to admire your metal wall art from different angles and perspectives. Assess the overall look and consider if any additional adjustments are needed.
- Take note of any changes or enhancements you may want to make in the future, such as adding accent lighting or rearranging surrounding decor to further highlight the artwork.
This final step allows you to refine the presentation of your metal wall art and make any last-minute tweaks to ensure it is visually captivating. Don’t rush this process; take your time to appreciate the final result and make any necessary finishing touches.
Congratulations! You have successfully learned how to hang metal wall art. By following these steps and paying attention to detail, you have created a stunning display that adds elegance and personality to your space.
Remember, the key to a successful hanging process is using the right tools, making accurate measurements, ensuring proper support, and paying attention to aesthetics. With this newfound knowledge, you can confidently hang metal wall art in your home or any other space with ease.
Enjoy the beauty of your metal wall art and the vibrant ambiance it brings to your surroundings. Get creative, have fun, and continue to explore the possibilities of incorporating metal art into your interior decor.
Thank you for following this guide, and we wish you many delightful moments admiring your stunning metal wall art!
Conclusion
Hanging metal wall art is a creative and rewarding process that allows you to showcase your unique style and enhance the ambiance of your space. By following the step-by-step guide provided here, you now have the knowledge and confidence to hang your metal wall art with ease and precision.
Remember to gather all the necessary tools, choose an appropriate location, measure both the wall and artwork, prepare the hanging hardware, mark the hanging points, install wall anchors if needed, hang the artwork, check for levelness, and make any final touches or adjustments.
Throughout the process, take your time to ensure accuracy, precision, and levelness. Carefully consider the aesthetics, lighting, and positioning to create a visually pleasing and harmonious display. Don’t hesitate to experiment and trust your instincts to find the perfect placement for your metal wall art.
By following these steps, you can confidently hang your metal wall art, transforming your space into a captivating showcase of artistry and style. Enjoy the beauty and elegance it brings to your surroundings, and don’t forget to periodically inspect and clean your artwork to maintain its shine and vibrancy.
Now that you have the knowledge and skills to hang metal wall art, it’s time to unleash your creativity and explore the endless possibilities of decorating your space with this stunning medium. Let your personal style shine through as you curate a collection that reflects your tastes and passions.
Thank you for joining us on this journey of learning how to hang metal wall art. We hope you found this guide informative, inspiring, and enjoyable. Happy hanging!
Frequently Asked Questions about How To Hang Metal Wall Art
Was this page helpful?
At Storables.com, we guarantee accurate and reliable information. Our content, validated by Expert Board Contributors, is crafted following stringent Editorial Policies. We're committed to providing you with well-researched, expert-backed insights for all your informational needs.


0 thoughts on “How To Hang Metal Wall Art”