Home>Furniture & Design>Interior Design Trends>How To Install Glass Block Windows


Interior Design Trends
How To Install Glass Block Windows
Modified: August 28, 2024
Learn how to enhance your interior design with the latest trend of glass block windows. Follow our step-by-step guide for a stylish and functional upgrade.
(Many of the links in this article redirect to a specific reviewed product. Your purchase of these products through affiliate links helps to generate commission for Storables.com, at no extra cost. Learn more)
Introduction
Installing glass block windows is a fantastic way to add natural light, privacy, and a touch of modern elegance to any space. Whether you're renovating your home or embarking on a new construction project, glass block windows offer a unique blend of functionality and aesthetic appeal. With their translucent properties and ability to complement various architectural styles, these windows have become increasingly popular in interior design trends.
In this comprehensive guide, we will walk you through the step-by-step process of installing glass block windows. From gathering the necessary tools and materials to sealing and finishing the installation, you'll gain valuable insights and practical tips to ensure a successful and visually stunning outcome. Whether you're a seasoned DIY enthusiast or a first-time homeowner eager to take on a new project, this guide will equip you with the knowledge and confidence to tackle the installation process with ease.
So, roll up your sleeves, put on your safety goggles, and let's dive into the exciting world of glass block windows. By the end of this guide, you'll be well-prepared to transform your living space with the timeless allure and practical benefits of these captivating windows. Let's get started!
Key Takeaways:
- Installing glass block windows adds natural light, privacy, and modern elegance to any space. With the right tools and meticulous preparation, you can transform your home with a visually stunning and functional addition.
- The installation of glass block windows is a celebration of artistry and design, blending timeless elegance with modern innovation. By following the step-by-step guide, you can create a captivating living space that seamlessly combines beauty and functionality.
Step 1: Gather the necessary tools and materials
Before embarking on the installation of glass block windows, it's essential to gather all the required tools and materials to ensure a smooth and efficient process. Here's a comprehensive list of what you'll need:
Tools:
- Measuring Tape: Accurate measurements are crucial for a precise fit, so a reliable measuring tape is a must-have.
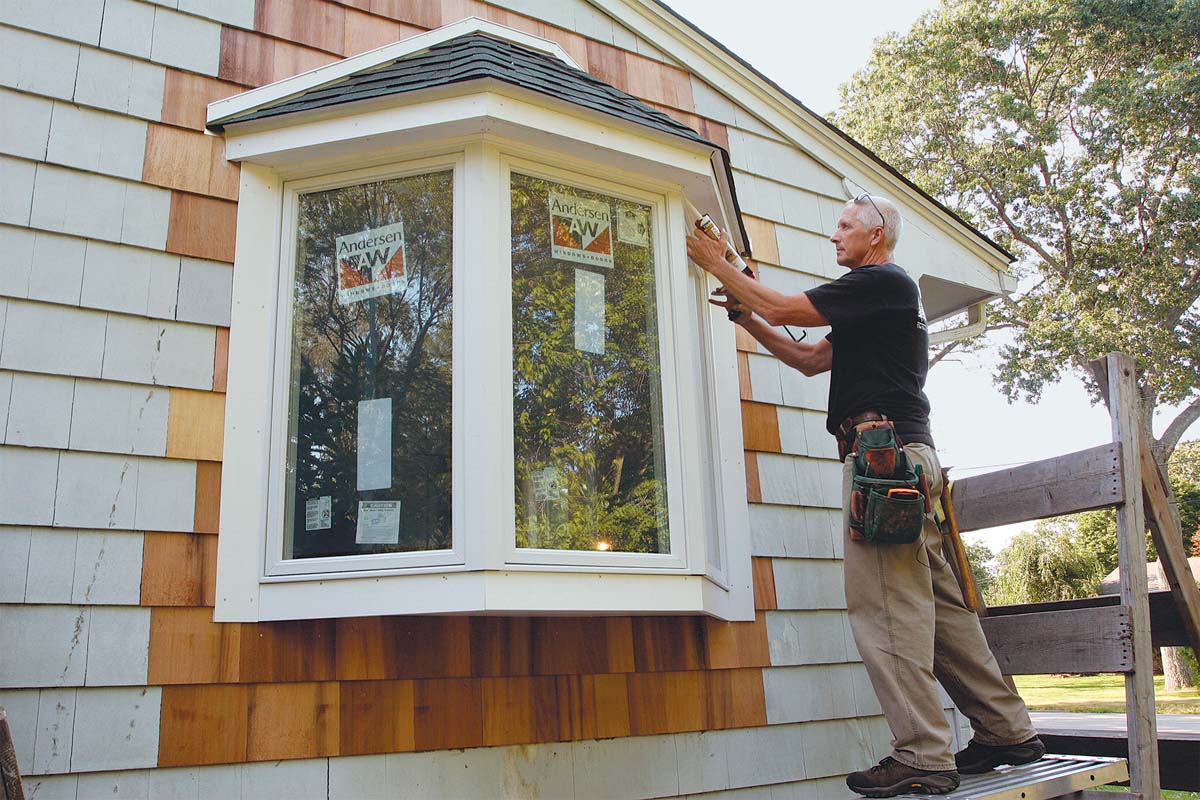
- Caulking Gun: To apply sealant and adhesive with precision, a high-quality caulking gun is indispensable.
- Level: Ensuring that the window is installed perfectly plumb and level is essential for both functionality and aesthetics.
- Hammer and Chisel: These tools are necessary for removing the existing window frame and preparing the opening for the glass block installation.
- Screwdriver: A versatile tool for various tasks during the installation process.
- Drill with Masonry Bit: If you're working with a masonry or concrete wall, a drill with the appropriate bit is essential for creating anchor points.
- Safety Gear: This includes gloves, safety goggles, and a dust mask to protect yourself during the installation process.
Materials:
- Glass Blocks: Select high-quality glass blocks in the desired size and style to suit your space and design preferences.
- Sealant and Adhesive: Choose a durable, weather-resistant sealant and adhesive specifically designed for glass block installations.
- Spacers: These are essential for maintaining consistent spacing between the glass blocks during installation.
- Shims: Used for leveling and adjusting the position of the glass blocks within the window opening.
- Anchor Screws: If you're installing the glass blocks into a masonry or concrete wall, anchor screws will be necessary for secure attachment.
- Grout: Opt for grout that complements the color and style of the glass blocks to achieve a polished and cohesive look.
By ensuring that you have all the necessary tools and materials at your disposal, you'll be well-prepared to proceed with confidence to the next step of measuring and preparing the window opening. With careful planning and attention to detail at this initial stage, the installation process will proceed smoothly, resulting in a stunning addition to your living space.
Step 2: Measure and prepare the window opening
Accurate measurements and thorough preparation are crucial for a successful glass block window installation. Before diving into the physical installation, it's essential to meticulously measure and prepare the window opening to ensure a seamless fit and optimal functionality. Here's a detailed breakdown of the steps involved in this critical phase:
Read more: How To Install Glass Blocks
1. Measure the Opening:
Begin by measuring the width and height of the window opening. Use a reliable measuring tape to obtain precise dimensions, accounting for any irregularities or variations in the opening. It's essential to measure at multiple points to ensure accuracy, as even minor discrepancies can impact the installation process.
2. Assess the Structural Integrity:
Before proceeding, assess the structural integrity of the window opening and surrounding walls. Look for signs of damage, decay, or structural issues that may need to be addressed before the installation. It's crucial to address any underlying structural concerns to ensure the long-term stability and performance of the glass block window.
3. Prepare the Opening:
Clear the window opening of any obstructions, debris, or remnants from the previous window. Use a hammer and chisel to carefully remove the existing window frame, taking care to avoid damage to the surrounding walls. Ensure that the opening is clean, level, and free of any protrusions that could hinder the installation process.
4. Install Support and Anchors:
Depending on the specific requirements of the installation, consider installing support structures or anchors to reinforce the window opening. This is particularly important for larger or custom-designed glass block windows, as it ensures the stability and longevity of the installation.
Read more: How To Update Glass Block Window
5. Consider Ventilation and Drainage:
If the glass block window is intended for a space that requires ventilation, such as a bathroom or kitchen, consider incorporating ventilation options into the design. Additionally, ensure that proper drainage mechanisms are in place to prevent water accumulation and potential damage to the window and surrounding walls.
6. Verify Measurements:
Once the window opening has been prepared, verify the measurements to confirm that they align with the specifications of the glass block window. Double-check the width, height, and depth of the opening to ensure a precise fit for the glass blocks and associated components.
By meticulously measuring and preparing the window opening, you'll set the stage for a smooth and successful glass block window installation. This preparatory phase lays the foundation for a visually striking and structurally sound addition to your living space, ensuring that the installation process progresses with precision and confidence.
Step 3: Install the glass block window
With the window opening meticulously prepared, it's time to embark on the exciting phase of installing the glass block window. This step-by-step process requires precision, attention to detail, and a methodical approach to ensure a seamless integration of the glass blocks into the designated space. Let's delve into the intricacies of this pivotal phase:
1. Arrange the Glass Blocks:
Begin by arranging the glass blocks in the desired configuration, taking into account the design, size, and spacing preferences. Lay out the blocks on a clean, flat surface, ensuring that they are positioned according to the predetermined layout for the window. This preparatory step allows for a visual assessment of the arrangement and facilitates a smooth transition to the installation phase.
Read more: How To Remove Glass Block Windows
2. Apply Sealant and Adhesive:
Using a high-quality sealant and adhesive specifically designed for glass block installations, apply a consistent bead along the edges of the first glass block. Carefully position the block within the prepared window opening, ensuring a snug fit and proper alignment. Repeat this process for subsequent blocks, applying sealant and adhesive as needed to secure each block in place.
3. Maintain Consistent Spacing:
As you install the glass blocks, use spacers to maintain consistent spacing between each block. This not only ensures a uniform and visually appealing layout but also facilitates the application of grout in the subsequent phase. Pay close attention to the alignment and spacing of the blocks, making adjustments as necessary to achieve a cohesive and polished appearance.
4. Secure the Blocks:
Once the glass blocks are in position, use shims and a level to ensure that they are perfectly aligned and plumb within the window opening. Make any necessary adjustments to achieve a precise fit and uniform positioning. If the installation involves multiple rows of glass blocks, ensure that each row is aligned with the others to maintain a seamless and professional finish.
5. Address Structural Considerations:
Depending on the specific requirements of the installation, consider any additional structural reinforcements or support mechanisms to enhance the stability and longevity of the glass block window. This may involve anchoring the blocks to the surrounding walls or integrating support structures to fortify the installation.
Read more: How To Cover Glass Block Windows
6. Finalize the Installation:
Once all the glass blocks are securely in place, carefully remove the spacers and proceed to apply grout to the joints between the blocks. Select a grout color that complements the overall design and aesthetic of the space, ensuring a cohesive and visually appealing finish. Thoroughly clean any excess grout and seal the joints to enhance the durability and weather resistance of the installation.
By following these meticulous steps, you'll successfully install a captivating glass block window that not only enhances the natural light and privacy of your space but also serves as a stunning focal point in your interior design. The installation phase represents the culmination of careful planning and precise execution, resulting in a transformative addition to your living environment.
Step 4: Seal and finish the installation
With the glass block window securely in place, the final phase involves sealing and finishing the installation to ensure long-lasting durability, weather resistance, and a polished aesthetic. This critical step not only enhances the visual appeal of the window but also contributes to its structural integrity and performance. Let's delve into the detailed process of sealing and finishing the glass block window installation:
-
Apply Sealant to Joints:
Begin by applying a high-quality, weather-resistant sealant to the joints between the glass blocks. The sealant serves as a protective barrier, preventing moisture infiltration and enhancing the overall stability of the installation. Carefully fill the joints with the sealant, ensuring thorough coverage and a secure bond between the blocks. -
Smooth and Shape the Sealant:
After applying the sealant, use a sealant tool or a putty knife to smooth and shape the sealant in the joints. This step not only ensures a clean and uniform appearance but also eliminates any excess sealant that could detract from the window's visual appeal. Pay close attention to detail, creating crisp, well-defined lines along the joints. -
Clean Excess Sealant:
Once the sealant has been shaped and smoothed, carefully clean any excess sealant from the glass blocks and surrounding surfaces. A damp cloth or sponge can be used to gently remove any stray sealant, ensuring that the window's appearance remains pristine and free of unsightly residue. -
Inspect and Touch-Up Grout:
Take the time to inspect the grout between the glass blocks, ensuring that it is uniformly applied and free of any imperfections. If necessary, touch up any areas where the grout may require additional filling or smoothing to achieve a seamless and polished finish. -
Seal the Exterior Perimeter:
To further fortify the installation against the elements, apply an additional layer of sealant along the exterior perimeter of the glass block window. This extra measure of protection helps safeguard the window against moisture, wind, and other environmental factors, prolonging its lifespan and maintaining its pristine appearance. -
Final Clean-Up and Inspection:
Once the sealant and grout have been applied and shaped to perfection, conduct a final clean-up and inspection of the entire installation. Remove any remaining debris, ensure that the window's surfaces are spotless, and verify that all sealant and grout lines are impeccably finished.
By meticulously sealing and finishing the glass block window installation, you not only elevate its visual allure but also fortify its structural integrity and longevity. This meticulous attention to detail ensures that the window stands as a testament to craftsmanship and design, providing enduring beauty and functionality for years to come.
Conclusion
In conclusion, the installation of glass block windows represents a transformative endeavor that seamlessly blends functionality, aesthetics, and craftsmanship. As you wrap up the installation process, you can take pride in the remarkable impact that these windows have on your living space. The captivating interplay of natural light, privacy, and modern elegance that glass block windows offer is a testament to the enduring appeal of this timeless design element.
By meticulously following the step-by-step guide outlined in this comprehensive installation manual, you have not only acquired the practical skills to install glass block windows but also gained a deeper appreciation for the artistry and precision involved in interior design. From gathering the necessary tools and materials to meticulously measuring, preparing, and installing the glass blocks, you have embarked on a journey that culminates in a visually striking and functionally superior addition to your home.
As you stand back and admire the newly installed glass block window, you can revel in the knowledge that you have contributed to the enhancement of your living environment in a profound and tangible way. The interplay of light and shadow, the seamless integration of modern design with timeless elegance, and the practical benefits of enhanced privacy and natural illumination all converge within the captivating allure of the glass block window.
Moreover, the meticulous sealing and finishing of the installation ensures that the glass block window stands as a testament to your attention to detail and commitment to excellence. The durability, weather resistance, and polished aesthetic achieved through the final phase of the installation serve as a testament to the enduring quality of your craftsmanship.
In the broader context of interior design trends, the installation of glass block windows represents a harmonious fusion of tradition and innovation. These windows have transcended time and trends, maintaining their relevance and desirability in contemporary design landscapes. By embracing the installation of glass block windows, you have not only added a touch of modern elegance to your space but also contributed to the preservation of a design legacy that continues to captivate and inspire.
As you reflect on the journey from the initial gathering of tools and materials to the meticulous sealing and finishing of the installation, you can take pride in the enduring impact of your efforts. The glass block window stands as a testament to your dedication to craftsmanship, your appreciation for timeless design elements, and your commitment to creating a living space that seamlessly blends beauty and functionality.
In essence, the installation of glass block windows transcends the mere act of construction; it embodies a celebration of artistry, design, and the enduring allure of natural light. It represents a testament to the transformative power of interior design and the profound impact that thoughtful installations can have on the ambiance and functionality of a space. As you bask in the radiant glow of your newly installed glass block window, you can take pride in the knowledge that you have not only enhanced your living space but also contributed to a legacy of timeless design that continues to inspire and captivate.
Frequently Asked Questions about How To Install Glass Block Windows
Was this page helpful?
At Storables.com, we guarantee accurate and reliable information. Our content, validated by Expert Board Contributors, is crafted following stringent Editorial Policies. We're committed to providing you with well-researched, expert-backed insights for all your informational needs.








0 thoughts on “How To Install Glass Block Windows”