Home>Articles>How To Install Mounting Blocks On Vinyl Siding
Articles
How To Install Mounting Blocks On Vinyl Siding
Modified: May 6, 2024
Learn how to properly install mounting blocks on vinyl siding with our informative articles. We provide step-by-step instructions and tips for a successful installation.
(Many of the links in this article redirect to a specific reviewed product. Your purchase of these products through affiliate links helps to generate commission for Storables.com, at no extra cost. Learn more)
Introduction
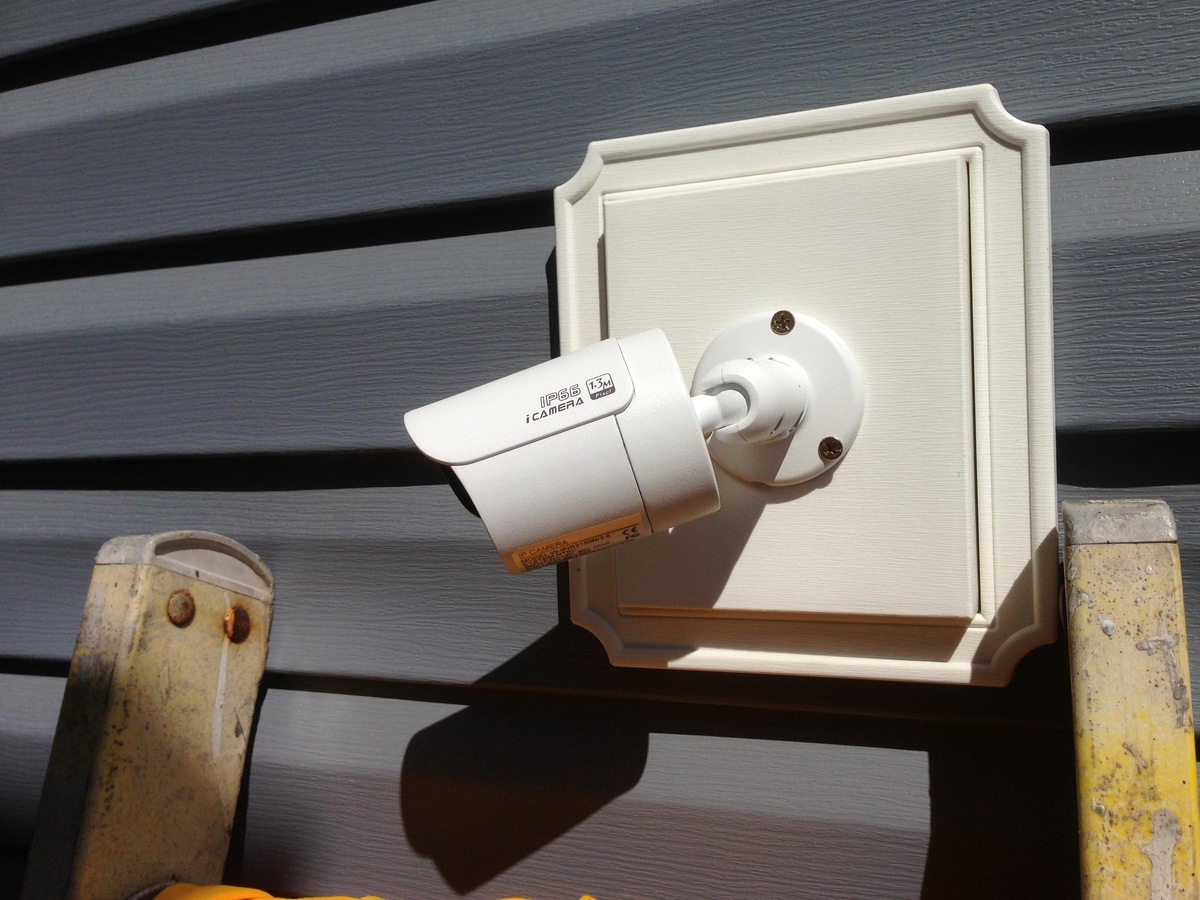
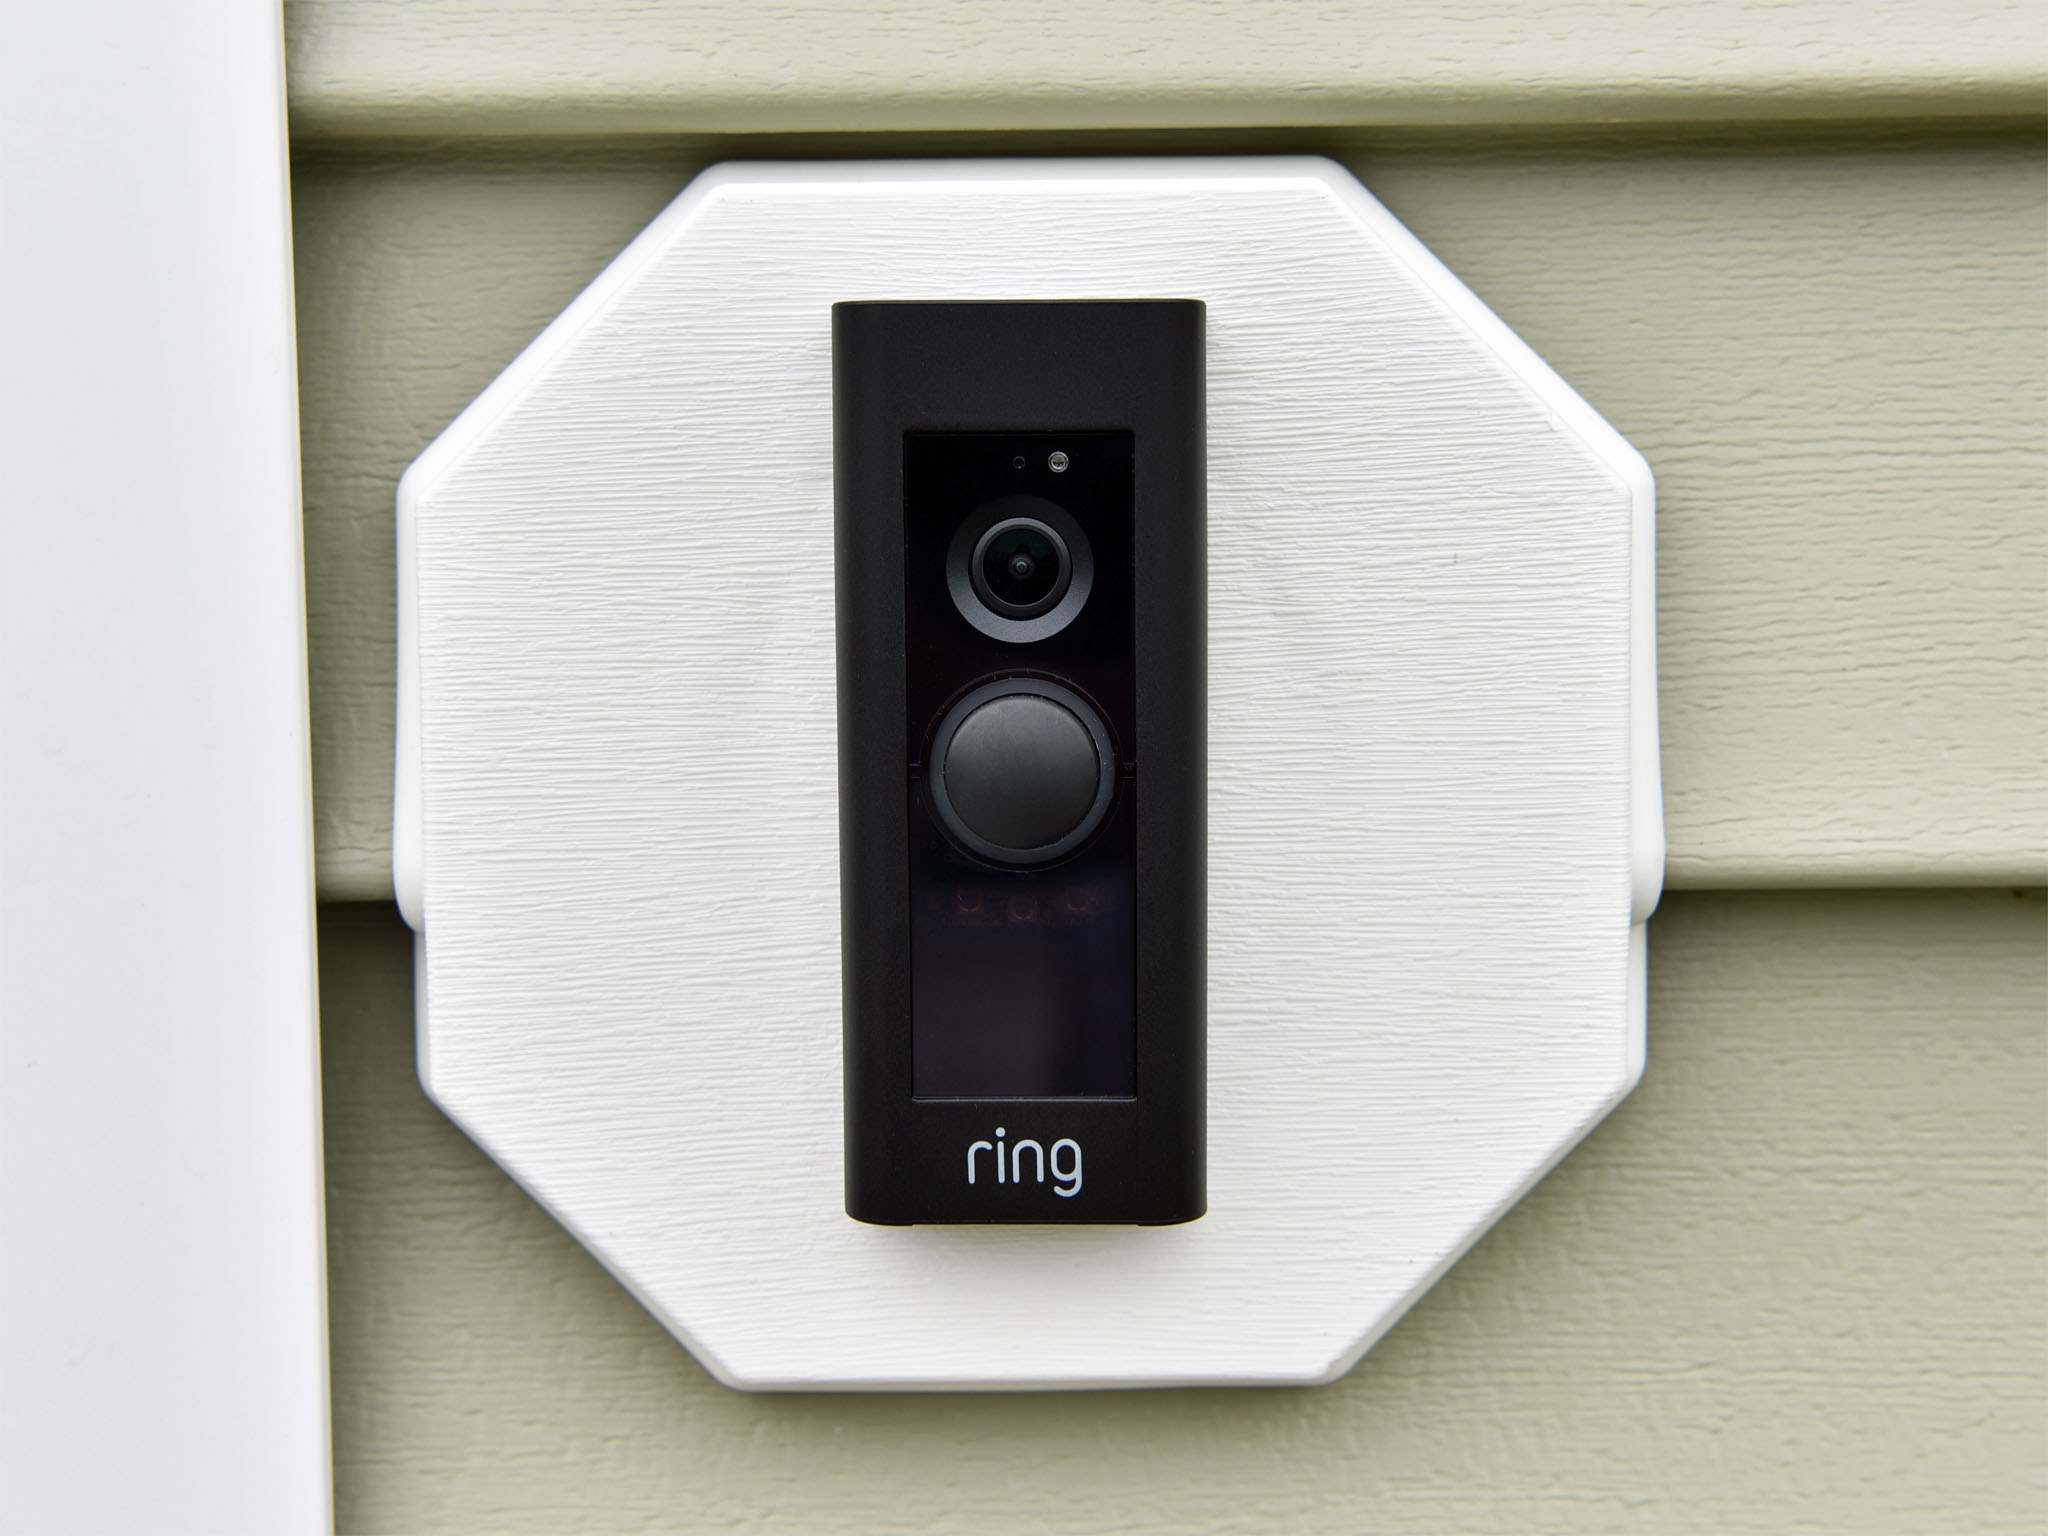
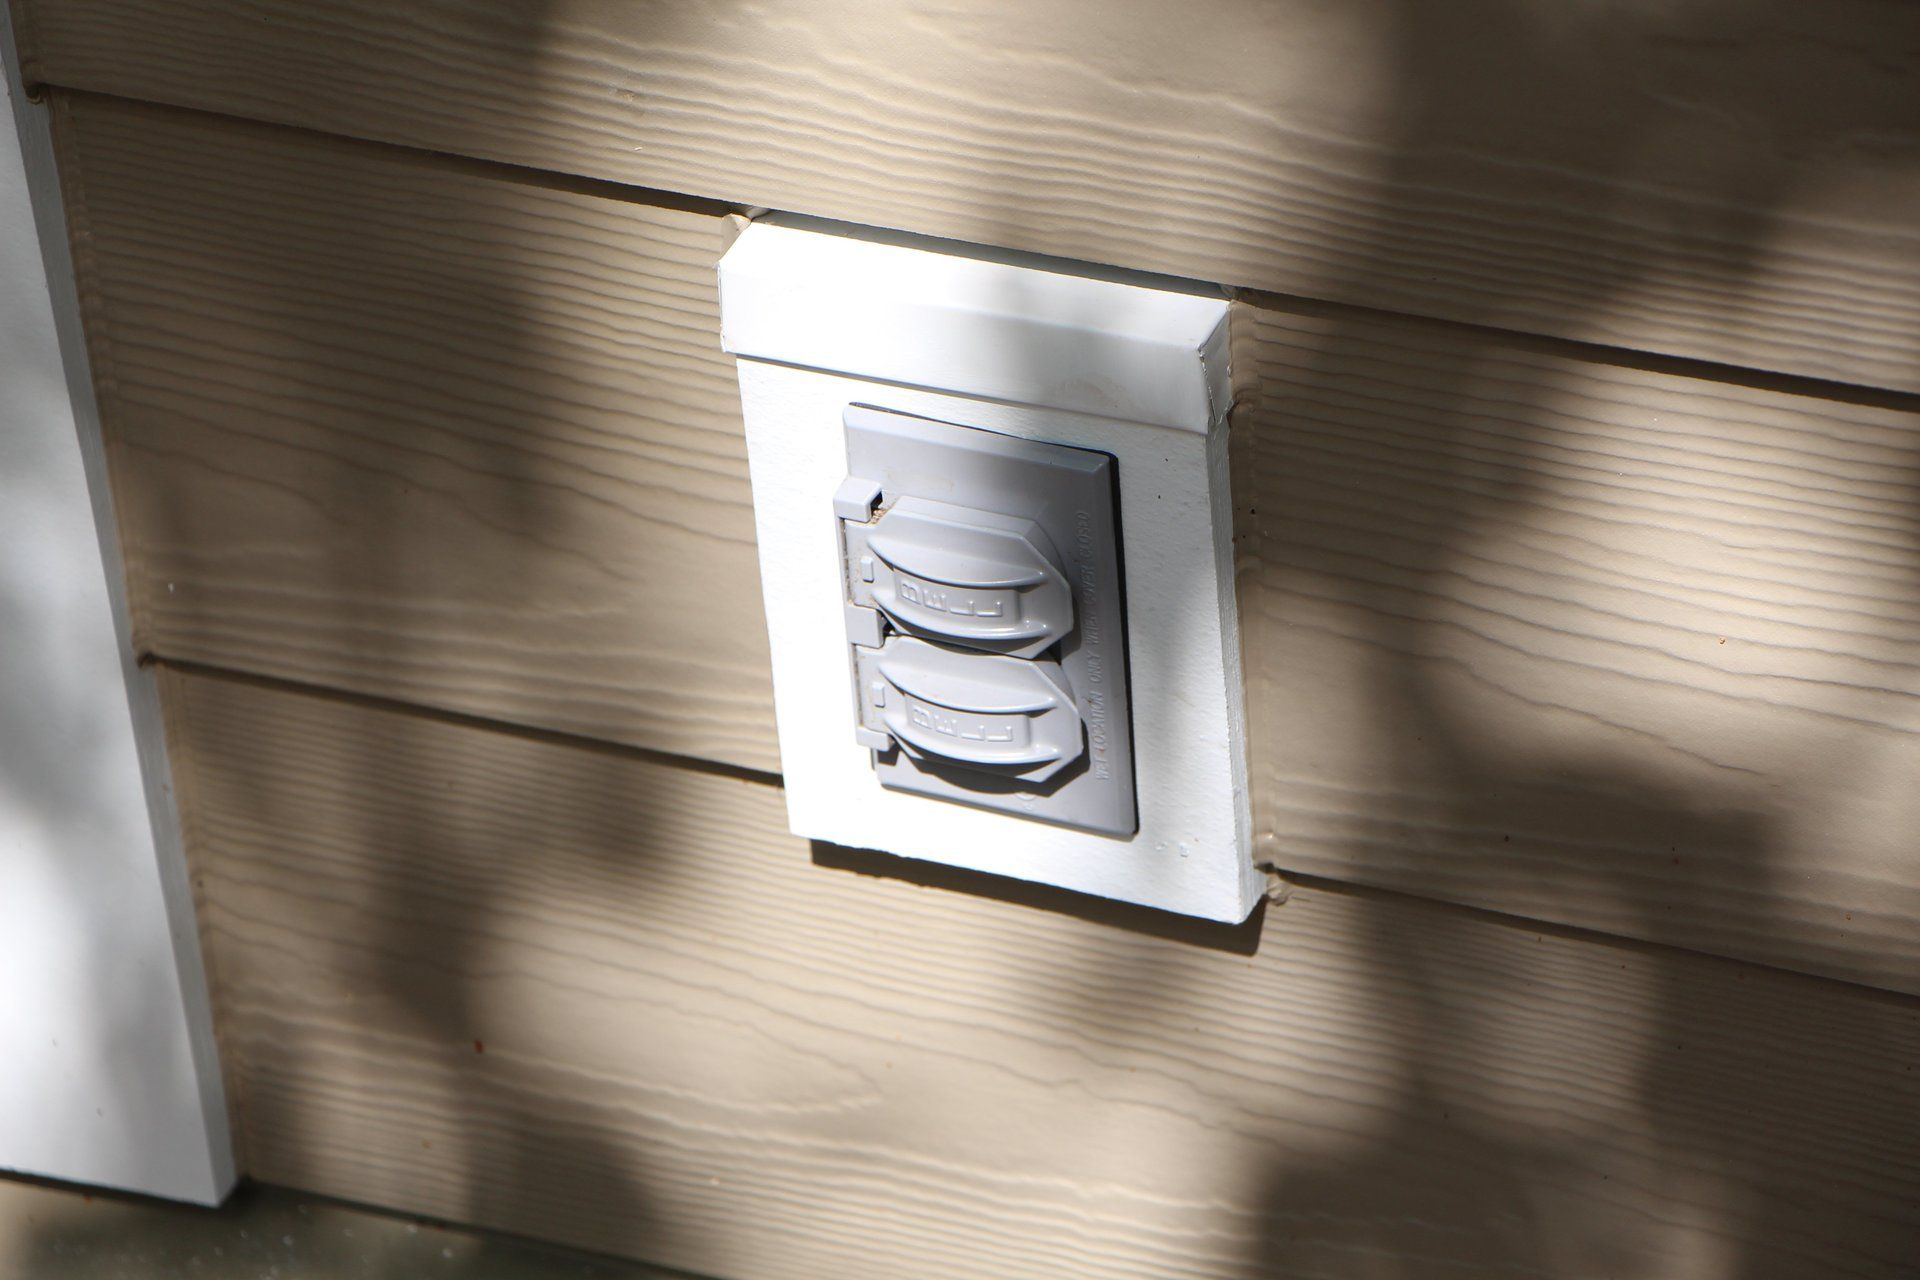
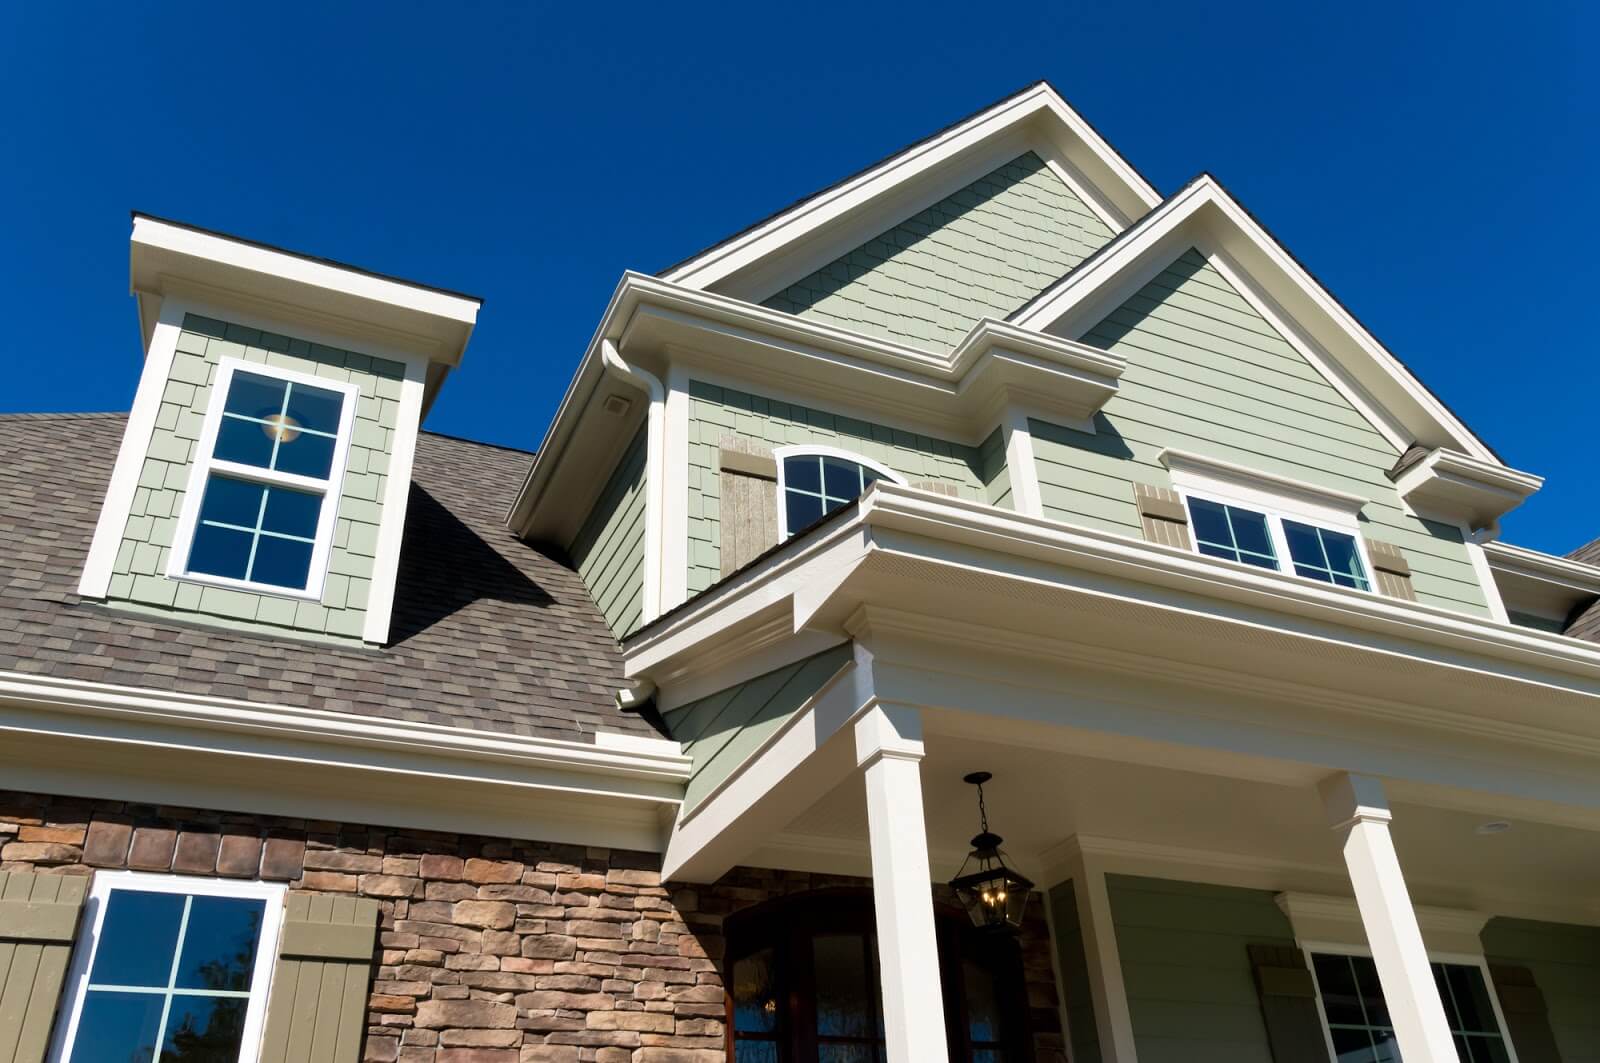
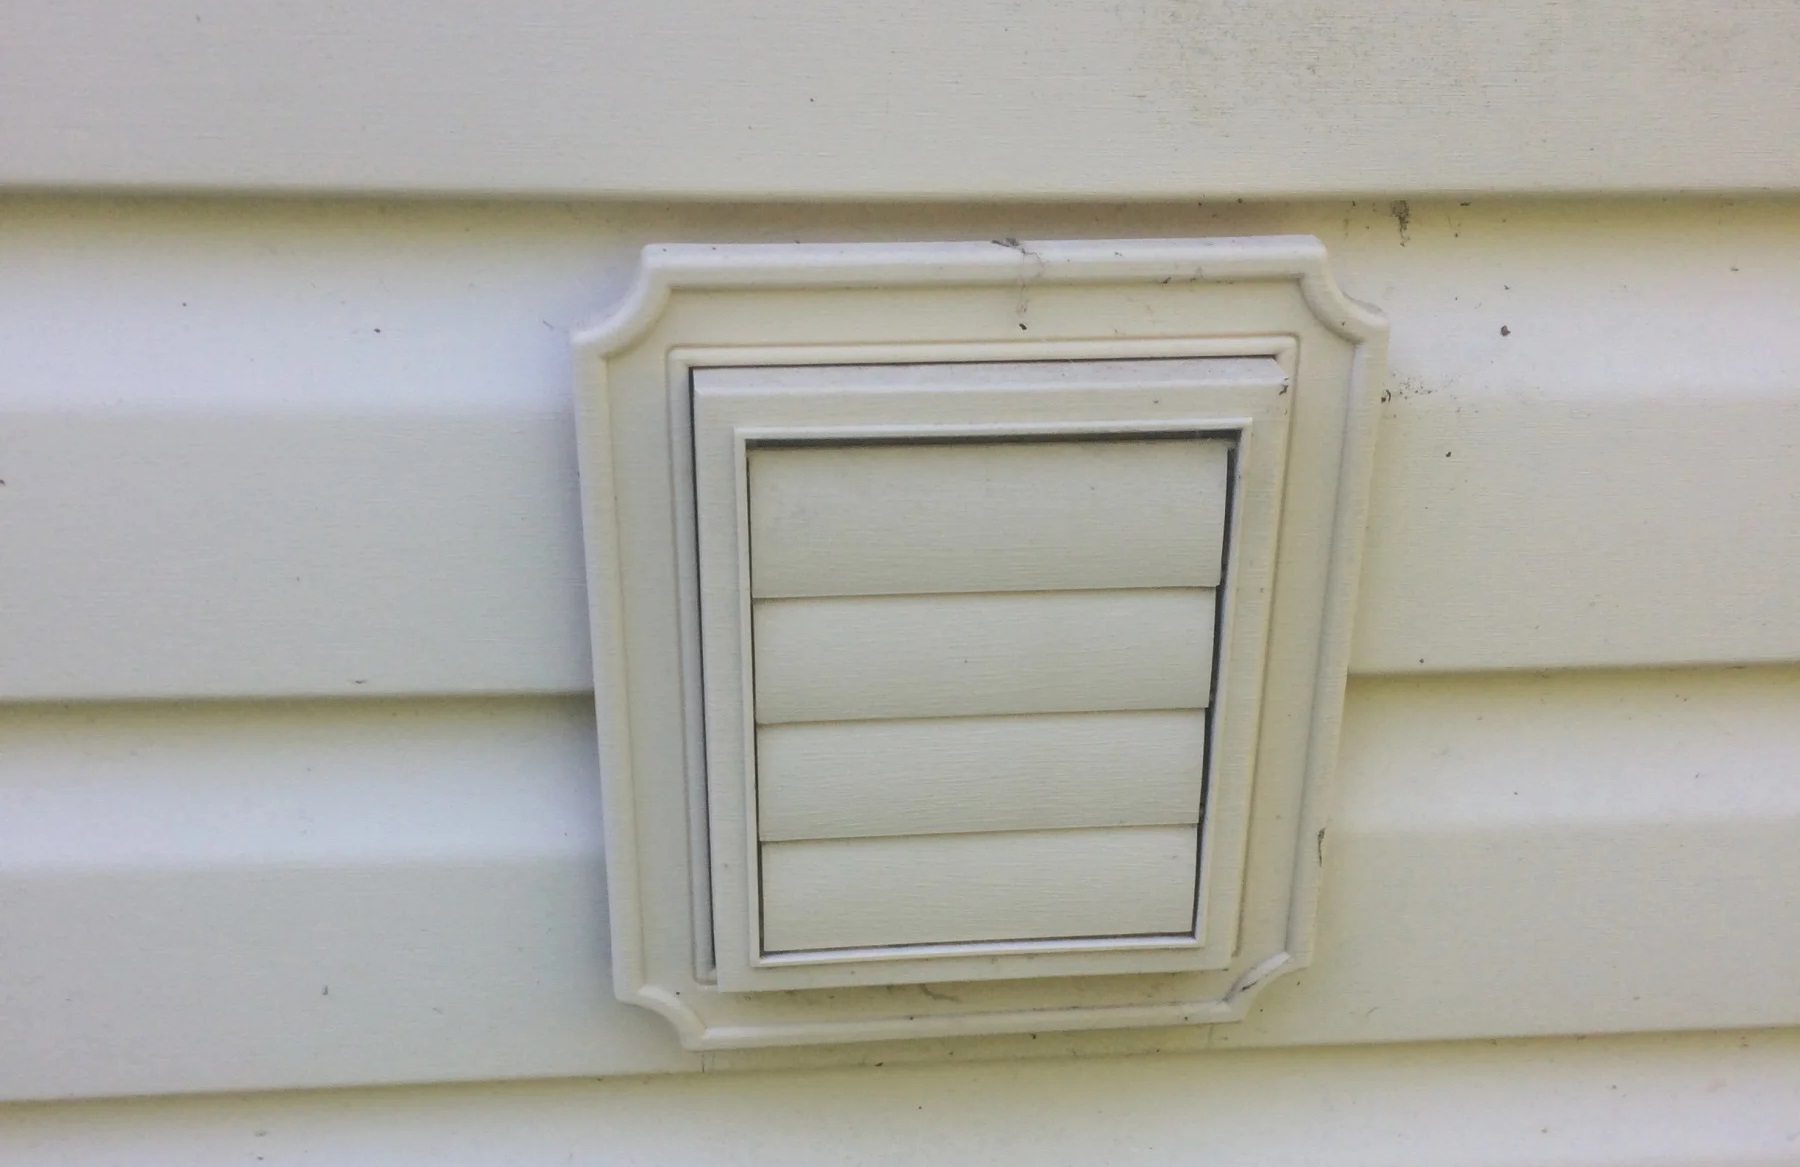
Installing mounting blocks on vinyl siding is a crucial step for securely attaching various outdoor fixtures, such as light fixtures, electrical outlets, and water faucets. Mounting blocks not only provide stability and support, but they also contribute to the overall aesthetics of the exterior of your home. Understanding the process of installing mounting blocks on vinyl siding can help you complete this task efficiently and effectively.
In this article, we will guide you through the step-by-step process of installing mounting blocks on vinyl siding. We will provide you with the necessary tools and materials, detailed instructions on placement and installation, as well as tips to ensure the stability and longevity of the mounting blocks. So, let’s dive right in!
Key Takeaways:
- Securely install mounting blocks on vinyl siding by gathering necessary tools, determining precise placement, preparing the siding, and attaching the blocks with care. Test stability for long-lasting outdoor fixture support.
- Enhance your home’s exterior and ensure the safety of outdoor fixtures by following a detailed step-by-step guide to install mounting blocks on vinyl siding. Attention to detail and proper installation are key for stability and longevity.
Step 1: Gather the Necessary Tools and Materials
Before you begin the installation process, it is important to gather all the necessary tools and materials. Here is a list of items you will need:
- Mounting blocks: Choose the appropriate size and style based on the fixture you plan to install.
- Tape measure: Used to measure the dimensions and spacing of the mounting blocks.
- Pencil or marker: For marking the placement of the mounting blocks on the vinyl siding.
- Level: Ensures that the mounting blocks are straight and level during installation.
- Drill and drill bits: Used for creating holes in the vinyl siding and securing the mounting blocks.
- Screws: Select screws that are suitable for outdoor use and compatible with the mounting blocks and vinyl siding.
- Screwdriver or power drill: For driving the screws into the mounting blocks and vinyl siding.
- Caulk or adhesive: Optional, but recommended for added security and weatherproofing.
- Cloth or sponge: Used for cleaning the vinyl siding before installation.
Make sure you have all these tools and materials on hand before you proceed with the installation process. This will help ensure a smooth and efficient installation.
Step 2: Determine the Placement of the Mounting Blocks
Once you have gathered all the necessary tools and materials, the next step is to determine the placement of the mounting blocks on your vinyl siding. Proper placement is vital for stability and to ensure that the fixture you are mounting aligns correctly with the mounting block.
Here are some guidelines to follow when determining the placement:
- Consider the function and purpose of the fixture you are mounting. For example, if you are installing a light fixture, you will want to place the mounting block near a power source.
- Take into account the height of the fixture and the desired placement on the wall. Ensure that the mounting block is positioned at a suitable height for easy access and optimal visibility.
- Consult the manufacturer’s instructions for the fixture to determine any specific requirements or recommendations for mounting block placement.
- Consider the overall aesthetic of your home’s exterior. Aim for a placement that is visually appealing and harmonizes with the surrounding elements.
- Ensure that the mounting block is positioned on a flat and stable surface of the vinyl siding. Avoid placing it on uneven areas or near edges that may weaken the structure.
Take your time to carefully determine the placement of the mounting blocks. Once you have decided on the ideal location, proceed to the next step to prepare the vinyl siding for installation.
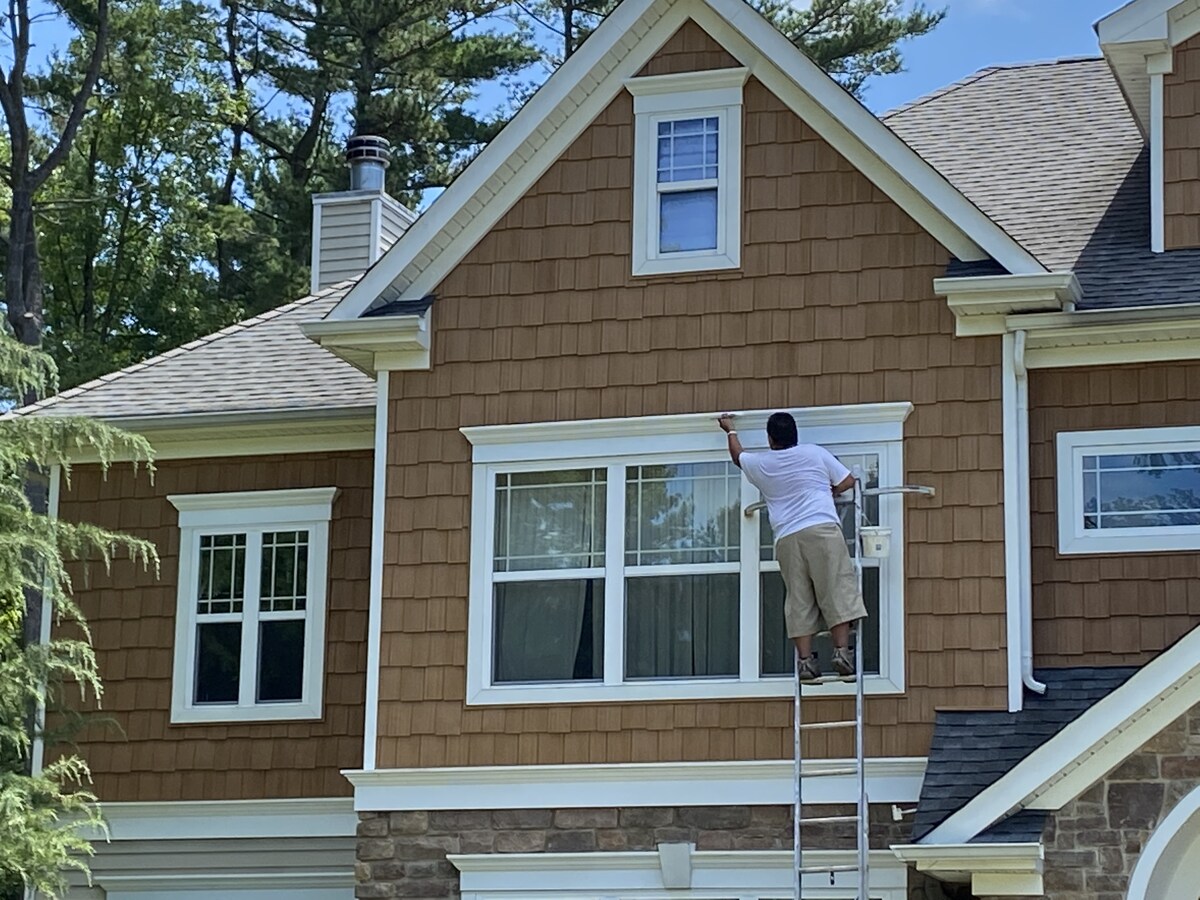
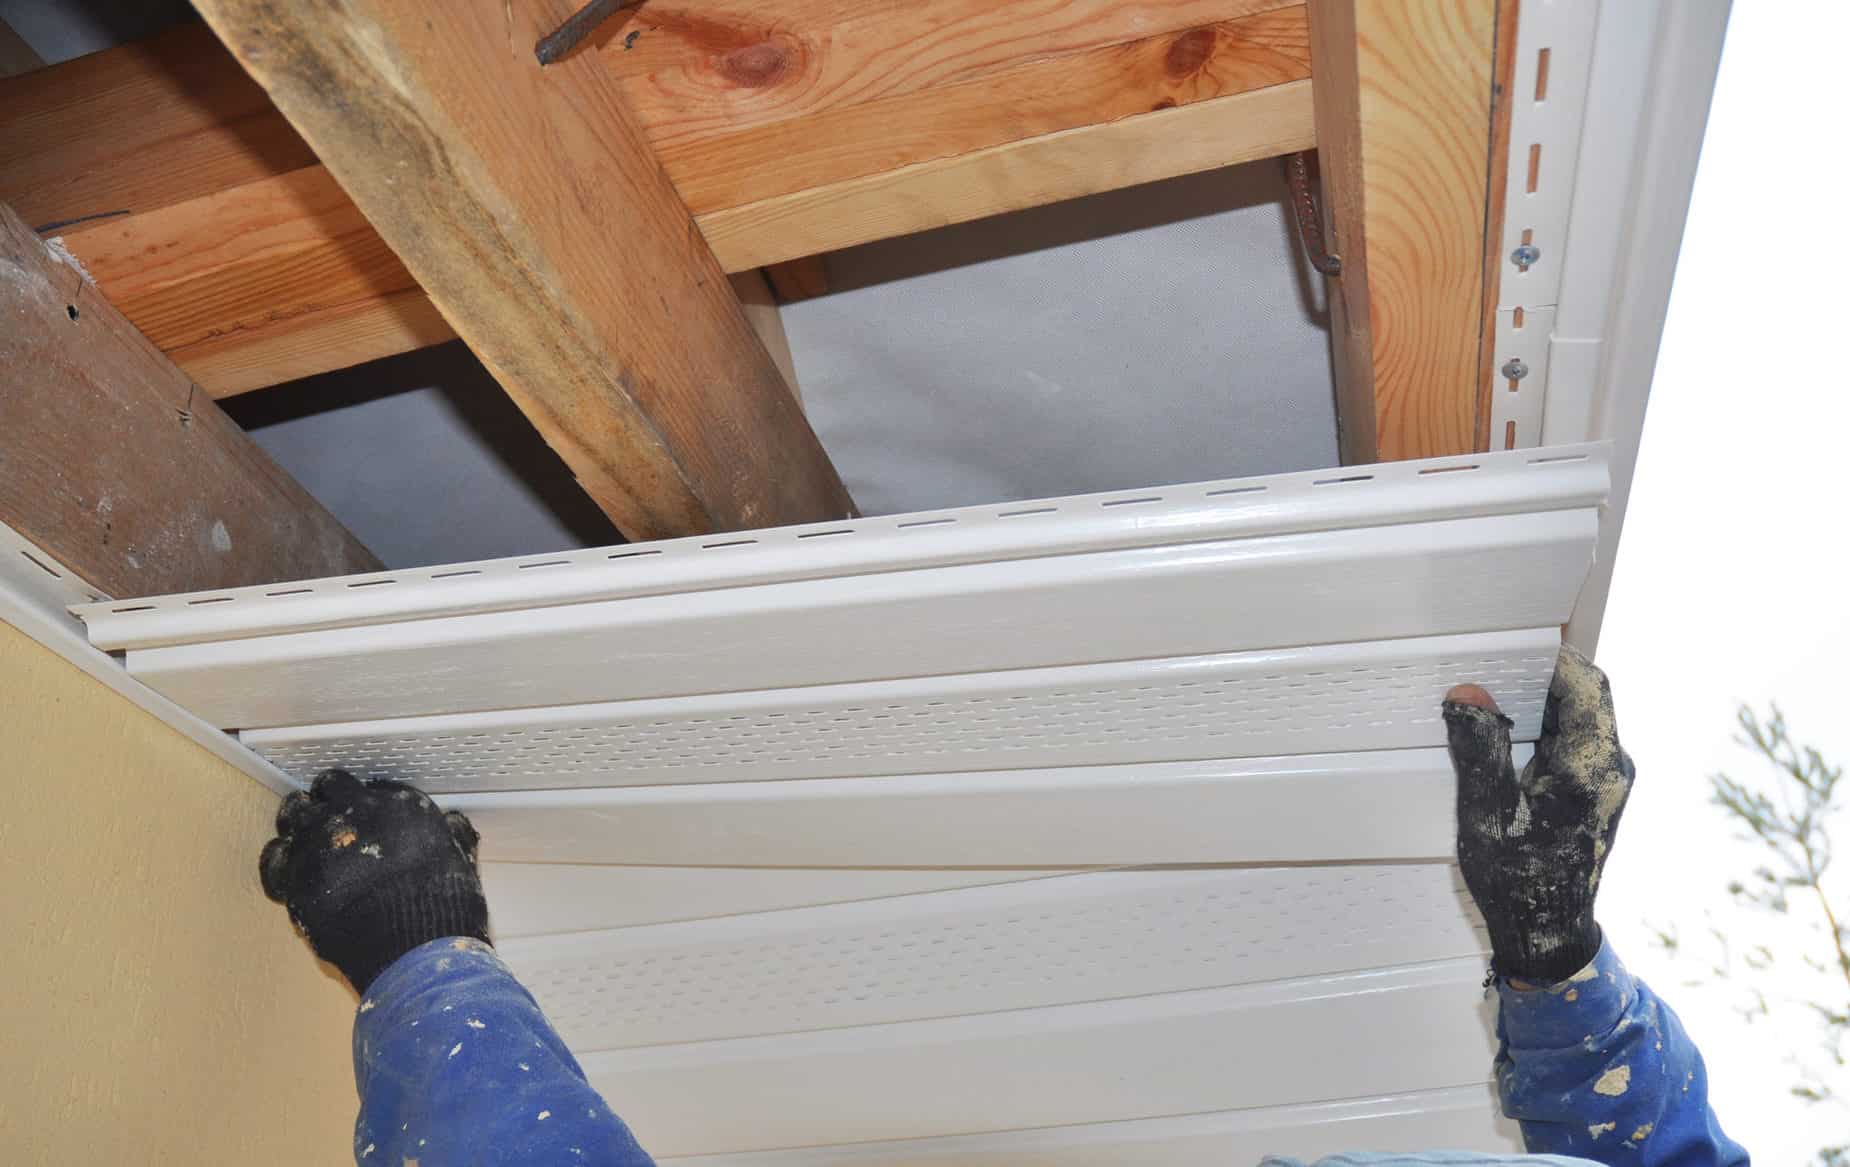
Step 3: Prepare the Vinyl Siding
Before you can install the mounting blocks on your vinyl siding, it is essential to prepare the surface to ensure a secure and long-lasting installation. Here are the steps to prepare the vinyl siding:
- Begin by cleaning the area where you plan to install the mounting block. Use a cloth or sponge and mild detergent to remove any dirt, grime, or debris. This will ensure a clean surface for proper adhesion.
- Inspect the vinyl siding for any damage or cracks. If you notice any issues, it is best to repair or replace the damaged sections before proceeding with the installation. A sturdy and intact siding will provide a strong foundation for the mounting block.
- Allow the cleaned areas of the vinyl siding to dry completely before moving on to the next step. This will ensure that the mounting block adheres properly without any moisture interference.
By properly preparing the vinyl siding, you are minimizing the risk of any future issues such as water damage, loose mounting blocks, or compromised stability. Taking the time to clean and inspect the surface will contribute to a successful and durable installation.
Step 4: Measure and Mark the Mounting Block Placement
Once the vinyl siding is prepared, it’s time to measure and mark the precise placement of the mounting blocks. Proper measurements and markings are crucial to ensure that the mounting blocks align correctly and securely with the fixtures you’ll be installing. Here’s how to do it:
- Using a tape measure, determine the height and width of the fixture you plan to install. Take note of these measurements.
- On the vinyl siding, measure and mark the desired location for the bottom edge of the mounting block. Use a pencil or marker to make a clear and visible mark.
- Measure and mark the width and height of the mounting block, starting from the initial mark you made in step 2. Ensure that the measurements correspond to the dimensions of the mounting block and fixture.
When marking the placement of the mounting block, make sure to use a level to ensure that the markings are straight and level. This will prevent any crooked or misaligned installations.
Double-check your measurements and markings to ensure accuracy before proceeding to the next step. This attention to detail will contribute to a secure and professional-looking installation of the mounting blocks.
Read more: How To Mount To Vinyl Siding
Step 5: Cut an Opening in the Vinyl Siding
With the placement of the mounting blocks marked on the vinyl siding, it’s time to cut an opening to accommodate the blocks. This step is crucial to ensure a proper fit and secure attachment. Follow these steps to cut the opening:
- Put on safety goggles and gloves to protect yourself during the cutting process.
- Using a drill with an appropriately sized drill bit, create a pilot hole near one of the corners of the marked rectangle. This hole will serve as a starting point for the following steps.
- Insert the blade of a jigsaw into the pilot hole and carefully cut along the marked lines to remove the rectangular section of the vinyl siding. Take your time and follow the markings to ensure an accurate and clean cut.
- After cutting the opening, check for any rough edges or burrs. Use sandpaper or a file to smooth out any imperfections.
It’s important to note that when cutting the opening, you should avoid cutting too close to the edge of the marked lines. Give yourself a small buffer to ensure that the mounting block will fully cover the opening and provide a secure attachment point.
Once the opening is cut and the edges are smoothed, you are ready to proceed to the next step: attaching the mounting block to the vinyl siding.
When installing mounting blocks on vinyl siding, make sure to use a level to ensure they are straight and properly aligned. This will help prevent any issues with the installation and ensure a professional finish.
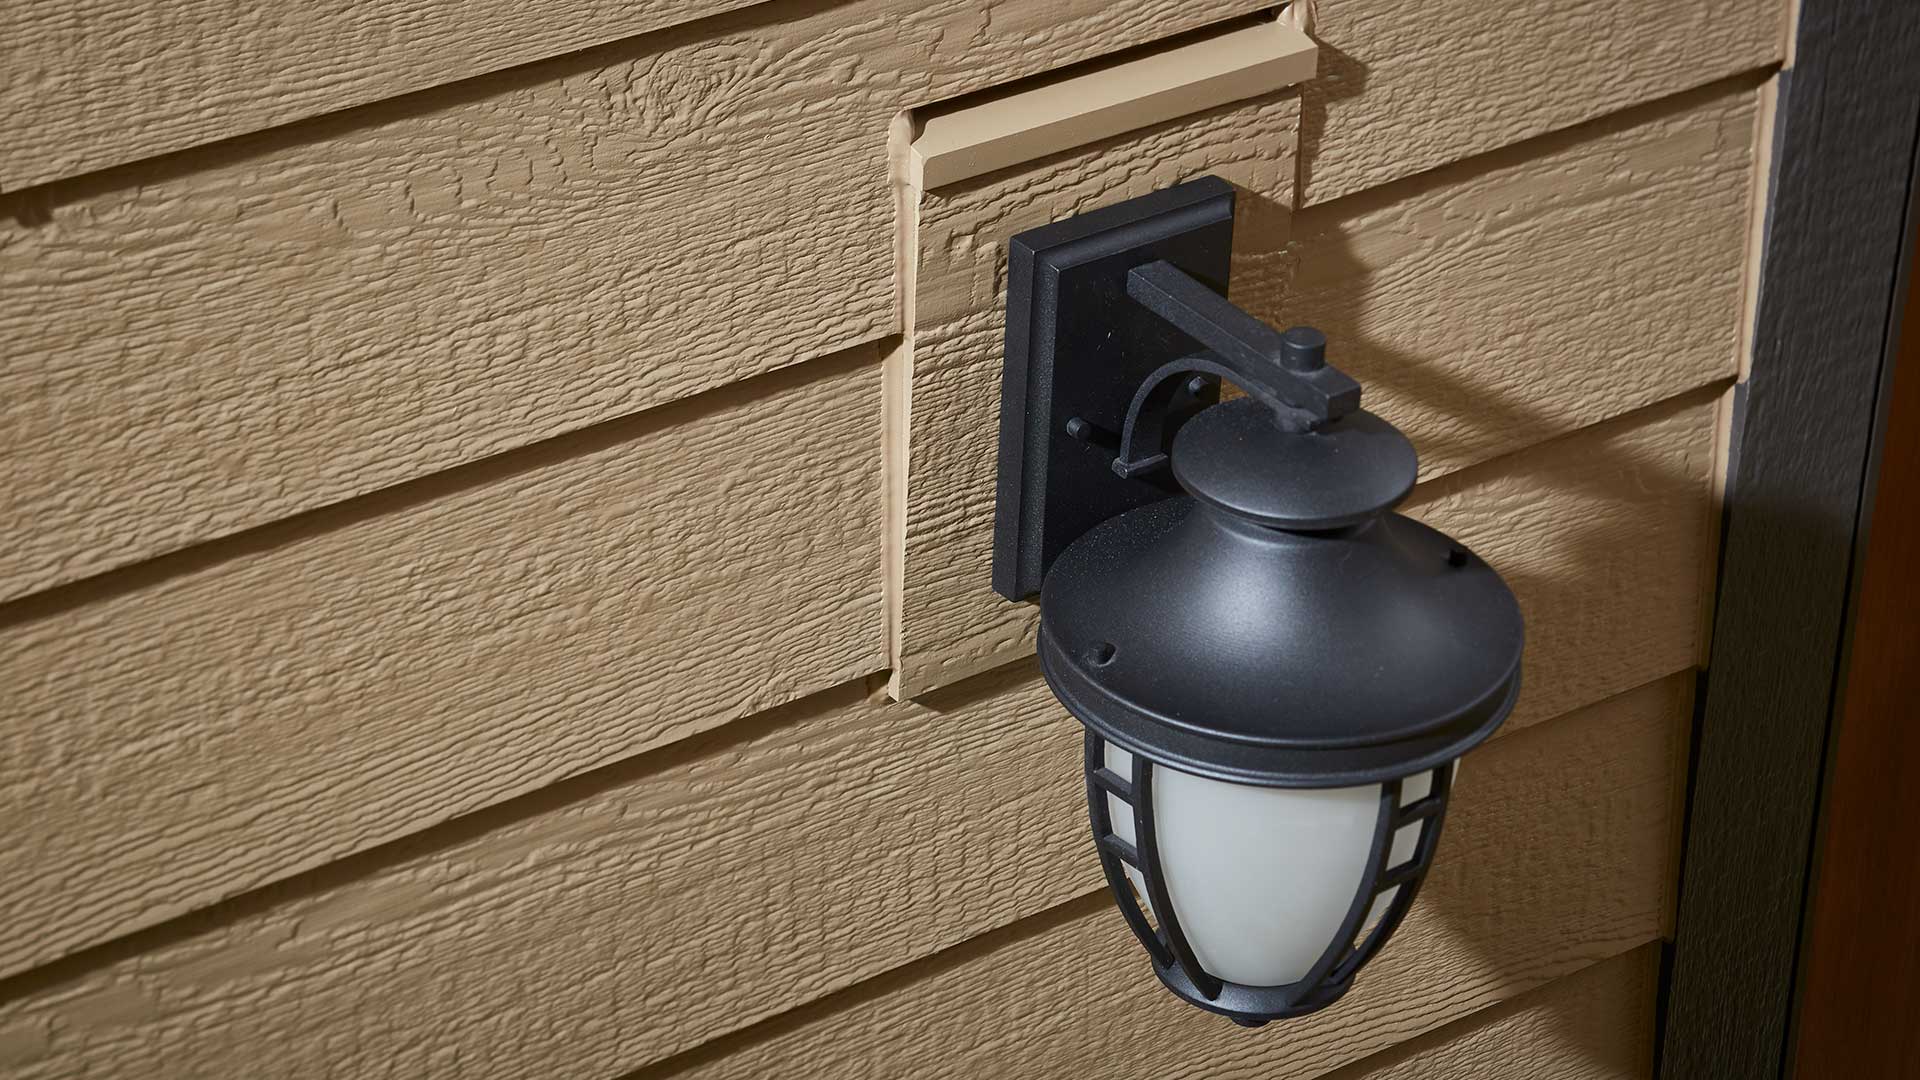
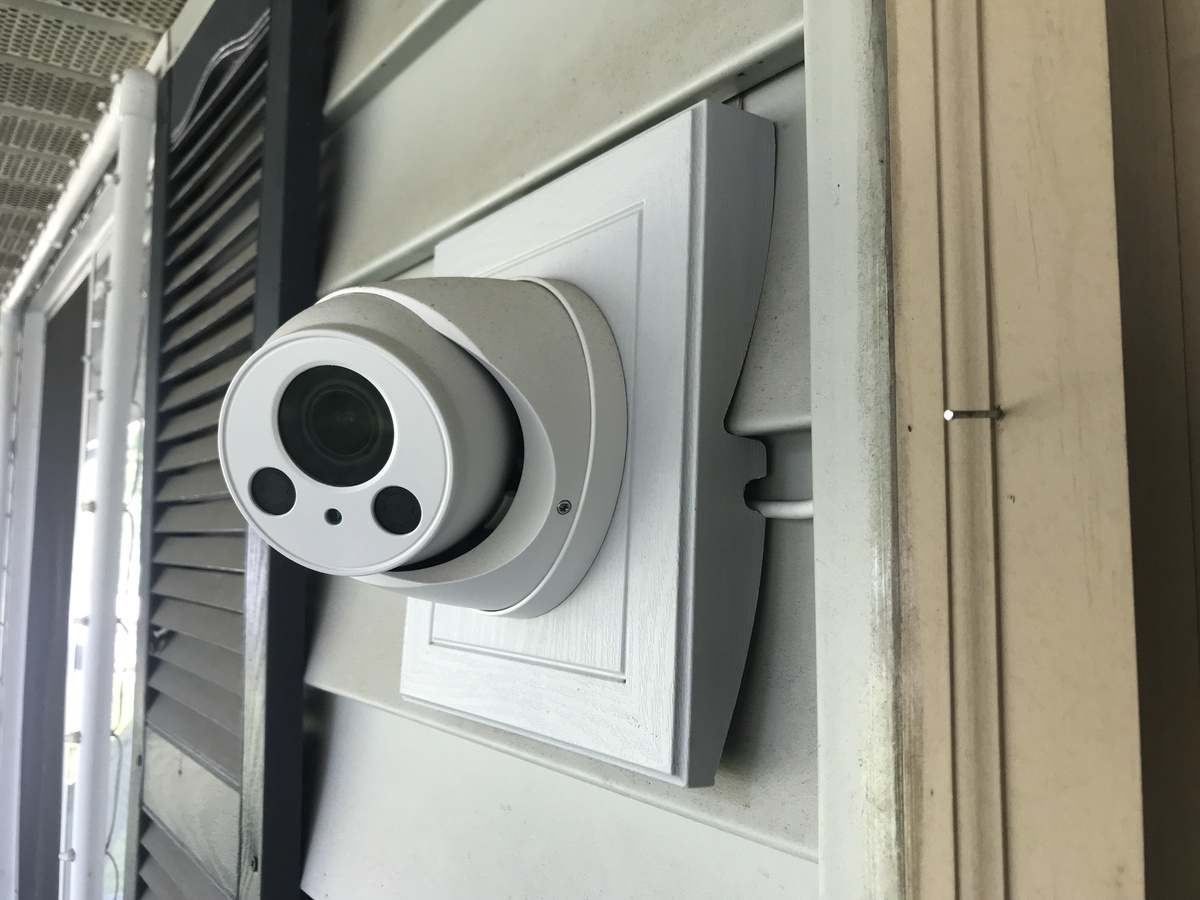
Step 6: Attach the Mounting Block to the Vinyl Siding
Now that you have prepared the opening in the vinyl siding, it’s time to attach the mounting block. This step involves securing the mounting block onto the siding in order to provide a stable foundation for your fixture. Follow these steps to attach the mounting block:
- Apply a bead of exterior-grade caulk or adhesive to the backside of the mounting block. This will help create a strong bond between the mounting block and the vinyl siding, as well as provide additional weatherproofing.
- Position the mounting block over the opening in the vinyl siding, lining up the holes in the block with the pilot holes or pre-drilled holes in the siding.
- Insert screws through the mounting block and into the pilot holes or pre-drilled holes. Use a screwdriver or power drill to tighten the screws, but be careful not to overtighten, as it may damage the vinyl siding.
- Continue to install the remaining screws, ensuring that the mounting block is securely fastened to the vinyl siding.
It’s important to note that some mounting blocks may come with built-in flanges or tabs that are designed to fit behind the vinyl siding. If your mounting block has these features, be sure to position them properly before attaching the screws.
By securely attaching the mounting block, you are creating a stable and reliable base for your fixture. This step ensures that the fixture will be securely mounted and remain in place for years to come.
Step 7: Secure the Mounting Block in Place
Once the mounting block is attached to the vinyl siding, it’s important to ensure its stability and longevity by securing it in place. This step involves reinforcing the mounting block to prevent any potential shifting or loosening over time. Follow these steps to secure the mounting block:
- Inspect the mounting block to ensure that it is level and properly aligned with the surrounding area.
- Using a screwdriver or power drill, tighten the screws that attach the mounting block to the vinyl siding. Ensure that the screws are snug, but be cautious not to overtighten and risk damaging the vinyl siding or stripping the screws.
- If desired, apply a small amount of exterior-grade caulk or adhesive around the edges of the mounting block. This will provide an extra layer of protection against water infiltration and reinforce the bond between the mounting block and the siding.
- Check the stability of the mounting block by gently pushing or pulling on it. The block should feel secure and not move or shift. If it feels loose, tighten the screws further or consider adding additional screws for added stability.
Securing the mounting block in place is crucial to prevent any future problems, such as the fixture becoming unstable or the mounting block pulling away from the vinyl siding. Taking the time to reinforce the block will ensure a reliable and durable installation.
Step 8: Repeat the Process for Additional Mounting Blocks
If you have more than one fixture to install, you will need to repeat the previous steps for each additional mounting block. Following a consistent process will ensure that all the mounting blocks are installed correctly and securely. Here’s how to proceed:
- Measure and mark the placement of each additional mounting block on the vinyl siding, following the same guidelines as in Step 2.
- Cut the openings in the vinyl siding for each mounting block, using Step 5 as a guide. Remember to use the appropriate measurements and maintain a small buffer around the marked lines for a proper fit.
- Attach each mounting block to the vinyl siding, following the instructions in Step 6. Apply caulk or adhesive, position the block over the opening, and secure it with screws.
- Ensure that each mounting block is securely fastened and level. Tighten the screws and inspect for any movement or instability.
By repeating the process for each additional mounting block, you can ensure a uniform and professional installation. Take your time and pay attention to detail to ensure that all the fixtures mounted on the mounting blocks are secure and stable.
Read more: How To Mount TV To Vinyl Siding
Step 9: Test the Stability of the Mounting Blocks
After installing all the mounting blocks, it is essential to test their stability to ensure that they can securely support the fixtures you plan to mount. This step will help identify any potential issues or weaknesses before mounting the fixtures. Follow these steps to test the stability of the mounting blocks:
- Gently shake or apply pressure to each mounting block to check for any movement or instability. A properly installed mounting block should be sturdy and not move or shift when tested.
- If you notice any looseness or movement, inspect the screws and tighten them if necessary. Make sure all screws are securely fastened to ensure the stability of the mounting block.
- Verify that the mounting blocks are level and align properly with the fixtures you plan to install. Use a level tool to check the positioning of each block. Adjust if needed.
- Consider applying an additional layer of exterior-grade caulk or adhesive around the edges of the mounting blocks for added security and weatherproofing.
By testing the stability of the mounting blocks, you can address any potential issues and make the necessary adjustments before mounting your fixtures. Ensuring the stability of the mounting blocks is crucial for the safety and longevity of your outdoor fixtures.
Conclusion
Installing mounting blocks on vinyl siding is a relatively straightforward process, but it requires attention to detail and careful execution to ensure a stable and long-lasting installation. By following the step-by-step guide outlined in this article, you can confidently install mounting blocks for various outdoor fixtures, such as light fixtures, electrical outlets, and water faucets.
Throughout the installation process, it is important to gather all the necessary tools and materials, determine the placement of the mounting blocks, prepare the vinyl siding, measure and mark the block placement, cut openings in the siding, attach the mounting blocks securely, and test their stability. These steps will ensure that your mounting blocks are installed correctly and can effectively support the fixtures you plan to mount.
Remember, the stability of the mounting blocks is essential for the safety and functionality of your outdoor fixtures. Take the time to properly install and secure the blocks, checking for any looseness or movement before mounting the fixtures. Additionally, consider applying exterior-grade caulk or adhesive for added durability and weatherproofing.
By installing mounting blocks on your vinyl siding, you not only enhance the aesthetics of your home’s exterior but also create a solid foundation for your outdoor fixtures. Follow the steps outlined in this article, and you’ll be able to complete the installation with confidence and enjoy the benefits of a secure and visually appealing outdoor space.
Now that you've mastered mounting blocks on vinyl siding, why not dive deeper into the aesthetic and functional aspects of vinyl sidings for your home? Our next feature, "8 Amazing Vinyl Siding for 2024," offers a sneak peek at the latest trends and materials that will beautify exteriors while boosting durability. Perfect for those planning a facelift for their homes, this guide provides fresh ideas and essential insights into choosing the right siding for your needs. Don't miss out on transforming your home's appeal with our expert tips and creative solutions.
Frequently Asked Questions about How To Install Mounting Blocks On Vinyl Siding
Was this page helpful?
At Storables.com, we guarantee accurate and reliable information. Our content, validated by Expert Board Contributors, is crafted following stringent Editorial Policies. We're committed to providing you with well-researched, expert-backed insights for all your informational needs.


0 thoughts on “How To Install Mounting Blocks On Vinyl Siding”