Home>Furniture & Design>Interior Design Trends>How To Install Glass Shower Door

Interior Design Trends
How To Install Glass Shower Door
Published: February 3, 2024
Learn how to install a glass shower door and stay updated with the latest interior design trends. Upgrade your bathroom with a modern touch.
(Many of the links in this article redirect to a specific reviewed product. Your purchase of these products through affiliate links helps to generate commission for Storables.com, at no extra cost. Learn more)
Introduction
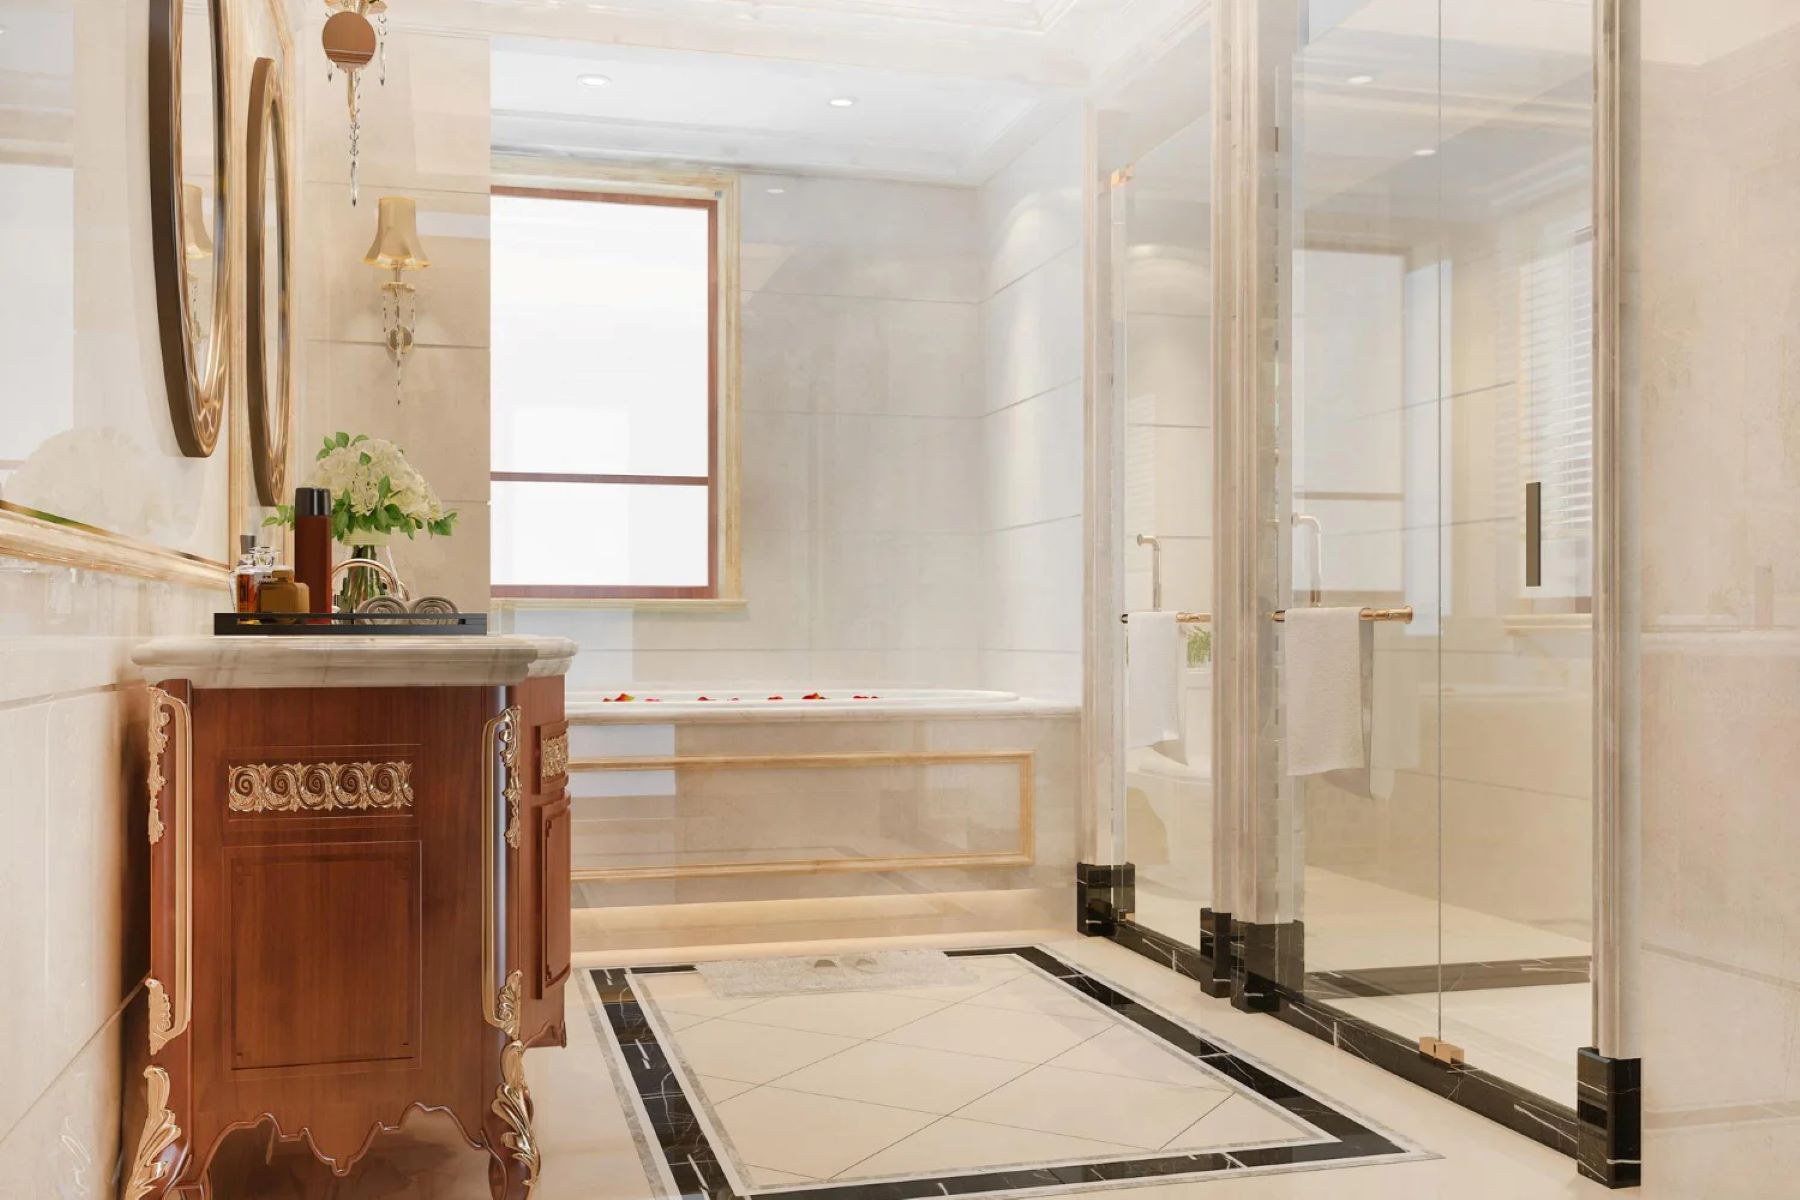
Installing a glass shower door can instantly elevate the aesthetic appeal of your bathroom, creating a sleek and modern look while also enhancing functionality. Whether you're renovating your bathroom or simply looking to upgrade your shower enclosure, a glass door offers a timeless and elegant solution. By following a few simple steps, you can successfully install a glass shower door and transform your bathing space into a luxurious retreat.
A well-installed glass shower door not only adds a touch of sophistication to your bathroom but also allows natural light to flow freely, making the space feel more open and inviting. Additionally, the transparency of glass can visually expand the size of the bathroom, making it appear more spacious and airy. With the right tools, materials, and a clear understanding of the installation process, you can achieve a professional-looking result that enhances the overall ambiance of your bathroom.
In this comprehensive guide, we will walk you through the step-by-step process of installing a glass shower door, covering everything from measuring the shower area to hanging the door and completing the finishing touches. Whether you're a seasoned DIY enthusiast or a first-time homeowner eager to take on a new project, this guide will equip you with the knowledge and confidence to tackle the installation with ease.
So, roll up your sleeves, gather your tools, and let's embark on this exciting journey to transform your bathroom with a stunning glass shower door installation. With careful attention to detail and a methodical approach, you'll soon be enjoying the luxurious and contemporary appeal of your newly installed glass shower door. Let's get started!
Key Takeaways:
- Elevate your bathroom with a glass shower door, creating a luxurious retreat that enhances natural light and visual space. Follow the step-by-step guide for a seamless and elegant installation.
- Transform your bathing sanctuary with a visually striking and functional glass shower door. From precise measurements to meticulous finishing touches, create a space that reflects your unique style and elevates your daily routine.
Read more: How To Install Shower Glass Doors
Step 1: Measure the Shower Area
Before diving into the installation process, it's crucial to start by accurately measuring the shower area. This step sets the foundation for a seamless and precise installation of the glass shower door. Here's a detailed breakdown of how to measure the shower area effectively:
Gather the Necessary Tools
Begin by gathering the essential tools for measuring the shower area. You'll need a measuring tape, a level, and a pencil. These tools will enable you to take precise measurements and ensure that the glass door fits perfectly within the designated space.
Measure the Width and Height
Start by measuring the width of the shower opening at the top, middle, and bottom. It's important to take three measurements to account for any variations in the wall's straightness. Next, measure the height of the opening on both the left and right sides. This comprehensive approach will help identify any irregularities in the dimensions of the shower area.
Check for Plumb and Level
Using a level, verify that the walls of the shower area are plumb and the threshold is level. This step is crucial as it ensures that the glass door will align correctly and function smoothly once installed. If any discrepancies are identified, adjustments may be necessary to ensure a proper fit for the glass door.
Read more: How To Install Glass Shower Panel
Consider Clearances and Obstructions
Take note of any obstructions or fixtures within the shower area, such as faucets, handles, or shelves. Measure the distance from these elements to the nearest edge of the shower opening. Additionally, consider the clearance required for the door to swing open freely without any interference.
Document the Measurements
Record all the measurements accurately on a piece of paper, noting the width, height, and any relevant clearances or obstructions. These measurements will serve as a valuable reference throughout the installation process, guiding you in selecting the appropriate glass door and ensuring a precise fit.
By meticulously measuring the shower area and documenting the dimensions, you are laying the groundwork for a successful glass shower door installation. This careful attention to detail will contribute to a seamless and visually appealing outcome, setting the stage for the subsequent steps in the installation process.
Step 2: Choose the Right Glass Door
Selecting the right glass door for your shower enclosure is a pivotal decision that significantly impacts both the functionality and aesthetics of your bathroom space. With a myriad of options available, ranging from frameless to semi-frameless designs, and various glass thicknesses and finishes, it's essential to consider several key factors to ensure that the chosen door complements your bathroom's style and meets your specific requirements.
Consider the Shower Layout and Space
Begin by assessing the layout and dimensions of your shower space. Take into account the size of the shower opening, the overall design of the bathroom, and any architectural features that may influence the choice of a glass door. For smaller bathrooms, a frameless glass door can create a sense of openness and airiness, while a semi-frameless door may be more suitable for larger shower enclosures, offering a balance between functionality and visual appeal.
Read more: How To Clean Shower Glass Door
Evaluate Glass Thickness and Finish
The thickness of the glass door plays a crucial role in its durability and visual impact. Thicker glass, typically ranging from 3/8 to 1/2 inch, offers enhanced sturdiness and a luxurious, substantial feel. Additionally, consider the finish of the glass, whether it's clear, frosted, or patterned, to align with your desired level of privacy and aesthetic preferences. Clear glass can make a smaller bathroom appear more spacious, while frosted or patterned options provide a degree of privacy without compromising on style.
Explore Door Configuration and Hardware
Determine the most suitable door configuration based on the layout of your shower and your personal preferences. Options include hinged doors, sliding doors, and pivot doors, each offering distinct advantages in terms of accessibility and space utilization. Additionally, carefully select the hardware finishes and handles to complement the overall design scheme of your bathroom, whether it's sleek and modern or classic and traditional.
Seek Professional Guidance if Needed
If you're unsure about the best glass door option for your shower, don't hesitate to seek advice from professionals or visit a showroom to view different door styles and configurations in person. Consulting with experts can provide valuable insights and help you make an informed decision that aligns with your budget and design vision.
By thoughtfully considering these factors and exploring the diverse range of glass door options available, you can confidently select a door that not only fits flawlessly within your shower space but also enhances the overall ambiance of your bathroom. The right glass door will seamlessly integrate with your existing decor, elevating the visual appeal of the entire room while offering practical functionality for your daily bathing rituals.
Step 3: Prepare the Shower Area
Proper preparation of the shower area is essential to ensure a smooth and successful installation of the glass shower door. This step involves creating a stable and suitable environment for the door to be securely mounted, as well as making any necessary adjustments to accommodate the new fixture. Here's a detailed guide on how to prepare the shower area effectively:
Read more: How To Adjust A Glass Shower Door
Clear the Surrounding Space
Begin by clearing the shower area of any obstructions, such as toiletries, bath accessories, and bath mats. Removing these items will provide ample space to maneuver and work around the shower enclosure, allowing for unobstructed access during the installation process.
Clean and Inspect the Walls
Thoroughly clean the walls surrounding the shower area to ensure they are free from dirt, grime, and any residues that could affect the adhesion of the door frame. Inspect the walls for any signs of damage, such as cracks or uneven surfaces, and address any necessary repairs to create a smooth and even mounting surface for the door frame.
Address Waterproofing and Drainage
Check the existing waterproofing and drainage systems within the shower area to ensure they are in optimal condition. Proper waterproofing is crucial to prevent water leakage, while efficient drainage prevents water from pooling inside the shower enclosure. If any issues are identified, such as deteriorated caulking or inadequate slope for drainage, address these concerns before proceeding with the installation.
Adjust the Shower Threshold
If the shower threshold requires adjustment to accommodate the new glass door, carefully measure and mark the areas that need to be modified. Use appropriate tools to trim or adjust the threshold, ensuring that it aligns seamlessly with the bottom of the glass door and facilitates a watertight seal.
Read more: How To Remove Glass Shower Doors
Verify Structural Integrity
Confirm that the walls and surrounding structure of the shower area are structurally sound and capable of supporting the weight of the glass door. Address any concerns related to the stability and integrity of the walls, making any necessary reinforcements or repairs to ensure a secure and durable installation.
Prepare for the Door Frame
Finally, prepare the designated mounting areas for the door frame by ensuring they are clean, level, and free from any obstacles that could hinder the installation process. This preparation sets the stage for the seamless attachment of the door frame, laying the groundwork for the subsequent steps in the installation process.
By meticulously preparing the shower area, you are creating an optimal foundation for the installation of the glass shower door. This attention to detail and thorough preparation will contribute to a successful and visually appealing outcome, setting the stage for the subsequent steps in the installation process.
Step 4: Install the Door Frame
Installing the door frame is a pivotal phase in the process of adding a glass shower door to your bathroom. This step requires precision and attention to detail to ensure that the door frame is securely and accurately mounted, setting the stage for the seamless attachment of the glass door. Here's a comprehensive guide on how to install the door frame effectively:
Gather the Necessary Tools and Materials
Before commencing the installation, gather all the essential tools and materials required for mounting the door frame. These may include a drill, screws, a level, a pencil, a measuring tape, and the door frame kit, which typically includes the frame components and necessary hardware. Having these items readily available will streamline the installation process and ensure that you have everything you need at your fingertips.
Read more: What To Clean Glass Shower Doors With
Position and Secure the Side Jambs
Begin by positioning the side jambs of the door frame in the designated areas along the walls of the shower enclosure. Use a level to ensure that the jambs are perfectly plumb, adjusting as needed to achieve a precise vertical alignment. Once the side jambs are positioned correctly, secure them in place by drilling pilot holes and fastening them to the walls using the provided screws. This step lays the foundation for the stability and structural integrity of the door frame.
Mount the Header and Bottom Track
Next, proceed to mount the header, which spans the top of the shower opening, and the bottom track, which provides support for the glass door. Carefully position the header and bottom track, ensuring that they align seamlessly with the side jambs and are level across the entire span of the shower opening. Once the alignment is verified, secure the header and bottom track in place by fastening them to the walls, following the manufacturer's guidelines for the specific door frame kit being installed.
Verify Alignment and Stability
After all the components of the door frame are securely mounted, thoroughly inspect the alignment and stability of the entire assembly. Use a level to confirm that the frame is plumb and level, making any necessary adjustments to achieve an optimal fit. Additionally, ensure that the frame is structurally sound and capable of supporting the weight of the glass door, addressing any concerns related to stability or alignment.
Seal and Reinforce the Frame
To enhance the durability and waterproofing of the door frame, apply a bead of silicone sealant along the edges where the frame meets the walls and the shower threshold. This step creates a watertight seal, preventing moisture from seeping behind the frame and safeguarding the integrity of the installation. Additionally, consider reinforcing the frame with additional support, if necessary, to further enhance its stability and longevity.
By meticulously following these steps and exercising precision throughout the installation process, you can ensure that the door frame is securely and accurately mounted, laying the groundwork for the subsequent attachment of the glass door. This meticulous approach sets the stage for a seamless and visually appealing glass shower door installation, bringing a touch of elegance and functionality to your bathroom space.
Read more: How To Tighten Glass Shower Door Handle
Step 5: Hang the Glass Door
Hanging the glass door is a critical phase in the installation process, marking the transition from preparing the framework to integrating the defining element of the shower enclosure. This step demands precision and care to ensure that the glass door is securely and seamlessly affixed, culminating in a visually striking and functional addition to your bathroom space. Here's a detailed guide on how to hang the glass door effectively:
Prepare the Glass Door
Before proceeding with the hanging process, carefully inspect the glass door to ensure that it is free from any defects or imperfections. Verify that the edges and surfaces are smooth and devoid of any damage that could compromise the structural integrity of the door. Additionally, confirm that the door's dimensions align with the opening and are compatible with the installed frame, ensuring a precise fit for the hanging process.
Position the Glass Door
With the assistance of a partner or a support mechanism, carefully position the glass door within the installed frame. Exercise caution and precision to align the door accurately with the designated mounting points, ensuring that it is level and plumb within the frame. Take into account any hardware or hinges that need to be integrated with the door, ensuring that they align seamlessly with the corresponding components on the frame.
Secure the Door Hinges
Once the glass door is perfectly positioned within the frame, proceed to secure the hinges to the designated mounting points. Utilize the provided hardware and follow the manufacturer's guidelines to affix the hinges securely, ensuring that they are capable of supporting the weight of the door and facilitating smooth operation. Verify the alignment and stability of the hinges, making any necessary adjustments to achieve an optimal fit.
Read more: How To Install A Dog Door In A Glass Door
Test the Door Operation
After the hinges are securely mounted, carefully test the operation of the glass door to ensure that it opens and closes smoothly within the frame. Verify that the door swings freely without any obstructions or resistance, indicating that it is properly aligned and balanced. Address any issues related to the door's operation, such as misalignment or friction, to ensure a seamless and functional installation.
Apply Finishing Touches
Once the glass door is successfully hung and operational, apply any finishing touches, such as attaching door handles or hardware, as per the specific design of the shower enclosure. Ensure that all components are securely fastened and aligned, contributing to the overall aesthetic appeal and functionality of the glass door. Additionally, inspect the door for any signs of misalignment or instability, making any final adjustments to achieve a flawless fit.
By meticulously following these steps and exercising precision throughout the hanging process, you can ensure that the glass door is seamlessly integrated within the installed frame, culminating in a visually striking and functional addition to your bathroom space. This meticulous approach sets the stage for the successful completion of the glass shower door installation, bringing a touch of elegance and functionality to your bathing sanctuary.
Step 6: Seal and Finish the Installation
With the glass shower door securely hung and the framework in place, the final step involves sealing and finishing the installation to ensure long-lasting durability, optimal functionality, and a polished aesthetic. This critical phase not only enhances the visual appeal of the shower enclosure but also contributes to its structural integrity. Here's a detailed breakdown of the essential tasks involved in sealing and finishing the glass shower door installation:
Apply Waterproof Sealant
Begin by applying a high-quality waterproof sealant along the edges where the glass door meets the frame and the surrounding walls. This sealant serves as a protective barrier, preventing water from seeping behind the door and safeguarding the underlying structure from potential moisture damage. Carefully run a bead of sealant along the entire perimeter of the door, ensuring a continuous and watertight seal.
Read more: How To Adjust Glass Shower Door Hinges
Address Grout and Caulking
Inspect the grout and caulking in the surrounding tile or wall surfaces, addressing any areas that require repair or reapplication. Cracked or deteriorated grout and caulking can compromise the waterproofing of the shower enclosure, leading to potential leaks and water damage. Reapply grout and caulking as needed, ensuring that all joints and seams are properly sealed and free from any vulnerabilities.
Install Door Sweep or Bottom Seal
Integrate a door sweep or bottom seal along the base of the glass door to further enhance the waterproofing and prevent water from escaping onto the bathroom floor. This component acts as a barrier, effectively containing water within the shower enclosure and minimizing the risk of leakage. Select a door sweep or bottom seal that complements the design of the glass door and provides a snug fit against the threshold.
Verify Hardware and Adjustments
Thoroughly inspect the hardware, hinges, and handles of the glass shower door, verifying that they are securely fastened and operational. Make any necessary adjustments to ensure that the door operates smoothly and aligns perfectly within the frame. Tighten any loose hardware and address any minor alignment issues, ensuring that the door functions seamlessly and contributes to the overall functionality of the shower enclosure.
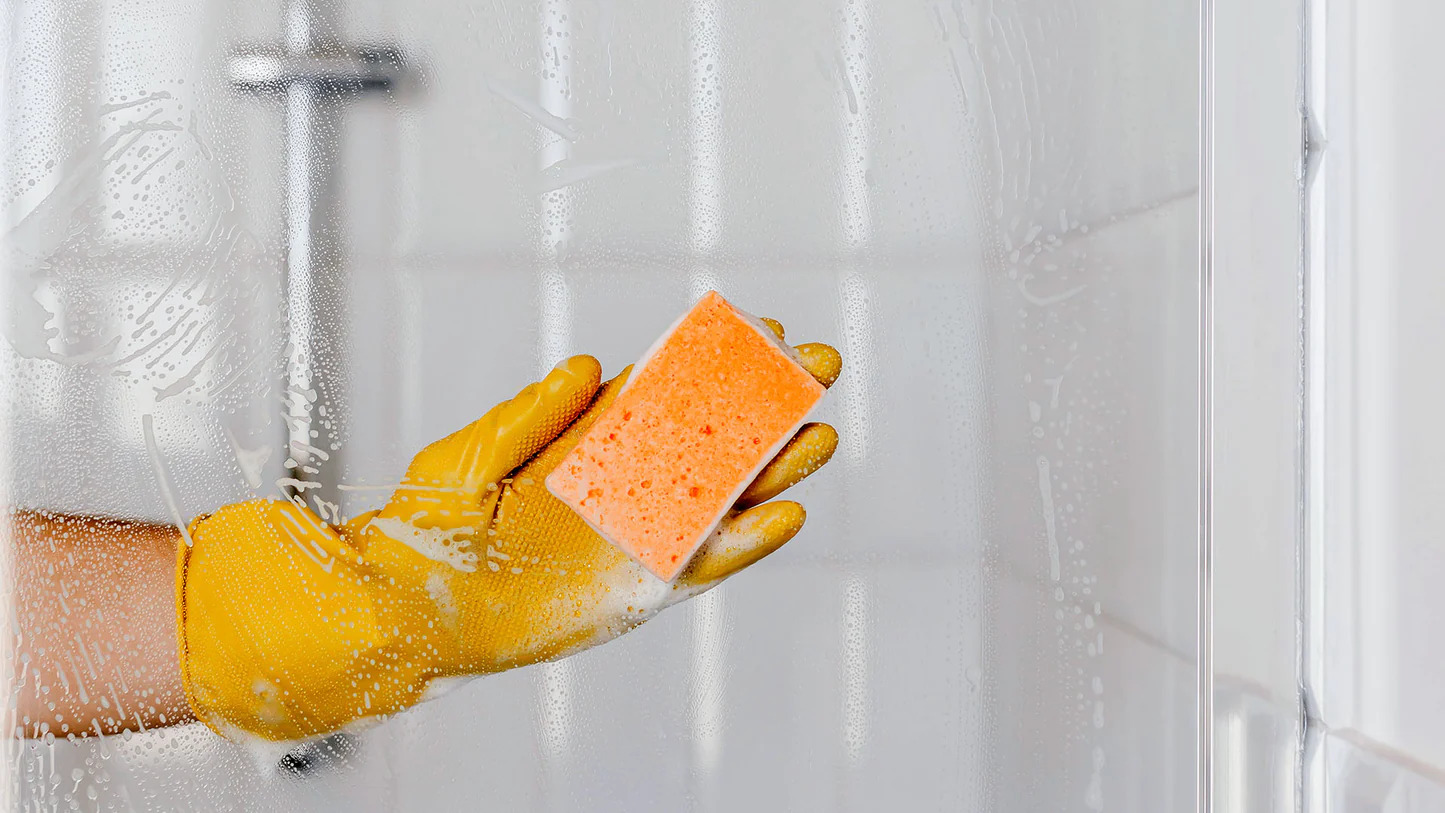
Clean and Polish the Glass
Complete the installation by thoroughly cleaning and polishing the glass door to achieve a pristine and lustrous finish. Use a glass cleaner and a lint-free cloth to remove any smudges, fingerprints, or residues, leaving the glass door sparkling and transparent. This final touch enhances the visual appeal of the door, allowing natural light to illuminate the shower enclosure and creating a sense of openness and elegance.
By meticulously attending to these tasks and ensuring that every aspect of the installation is meticulously sealed and finished, you can elevate the overall quality and longevity of the glass shower door. This comprehensive approach not only enhances the visual appeal and functionality of the shower enclosure but also provides peace of mind, knowing that the installation is built to withstand the rigors of daily use and maintain its allure for years to come.
Read more: How To Install A Sliding Glass Door
Conclusion
In conclusion, the installation of a glass shower door represents a transformative journey that elevates the aesthetic appeal and functionality of your bathroom space. By meticulously following the step-by-step process outlined in this guide, you have embarked on a rewarding endeavor that culminates in the creation of a luxurious and contemporary shower enclosure. From the initial measurements to the final sealing and finishing touches, each phase of the installation contributes to the seamless integration of the glass door, resulting in a visually striking and functional addition to your bathing sanctuary.
The meticulous attention to detail in measuring the shower area sets the stage for a precise and tailored installation, ensuring that the glass door fits flawlessly within the designated space. The careful consideration of glass door options, including thickness, finish, and configuration, empowers you to select a door that harmonizes with your bathroom's style and meets your specific requirements. The thorough preparation of the shower area creates a stable and suitable environment for the door to be securely mounted, laying the foundation for a durable and visually appealing installation.
As the door frame is meticulously installed, the structural integrity and stability of the shower enclosure are reinforced, setting the stage for the seamless attachment of the glass door. With precision and care, the glass door is securely hung within the frame, culminating in a visually striking and functional addition to your bathroom space. The final sealing and finishing touches not only enhance the visual appeal of the shower enclosure but also contribute to its long-lasting durability and structural integrity.
Through this comprehensive guide, you have gained the knowledge and confidence to embark on the installation of a glass shower door, transforming your bathroom into a luxurious retreat. The elegance and functionality of the glass door not only enhance the ambiance of the entire room but also create a sense of openness and sophistication. As natural light flows freely through the transparent glass, the bathroom space feels more inviting and spacious, elevating the overall bathing experience.
In embracing this installation journey, you have not only added a touch of sophistication to your bathroom but also created a space that reflects your unique style and enhances your daily routine. The installation of a glass shower door represents a significant investment in the beauty and functionality of your home, offering a timeless and elegant solution that enriches your everyday life. With the completion of this installation, you can now revel in the luxurious and contemporary appeal of your newly installed glass shower door, savoring the transformation of your bathroom into a captivating and rejuvenating sanctuary.
Frequently Asked Questions about How To Install Glass Shower Door
Was this page helpful?
At Storables.com, we guarantee accurate and reliable information. Our content, validated by Expert Board Contributors, is crafted following stringent Editorial Policies. We're committed to providing you with well-researched, expert-backed insights for all your informational needs.


0 thoughts on “How To Install Glass Shower Door”