Home>Articles>How To Remove Towel Bar From Glass Shower Door
Articles
How To Remove Towel Bar From Glass Shower Door
Modified: May 6, 2024
Learn how to remove a towel bar from a glass shower door with our informative articles. Get step-by-step instructions and expert tips to complete the task efficiently.
(Many of the links in this article redirect to a specific reviewed product. Your purchase of these products through affiliate links helps to generate commission for Storables.com, at no extra cost. Learn more)
Introduction
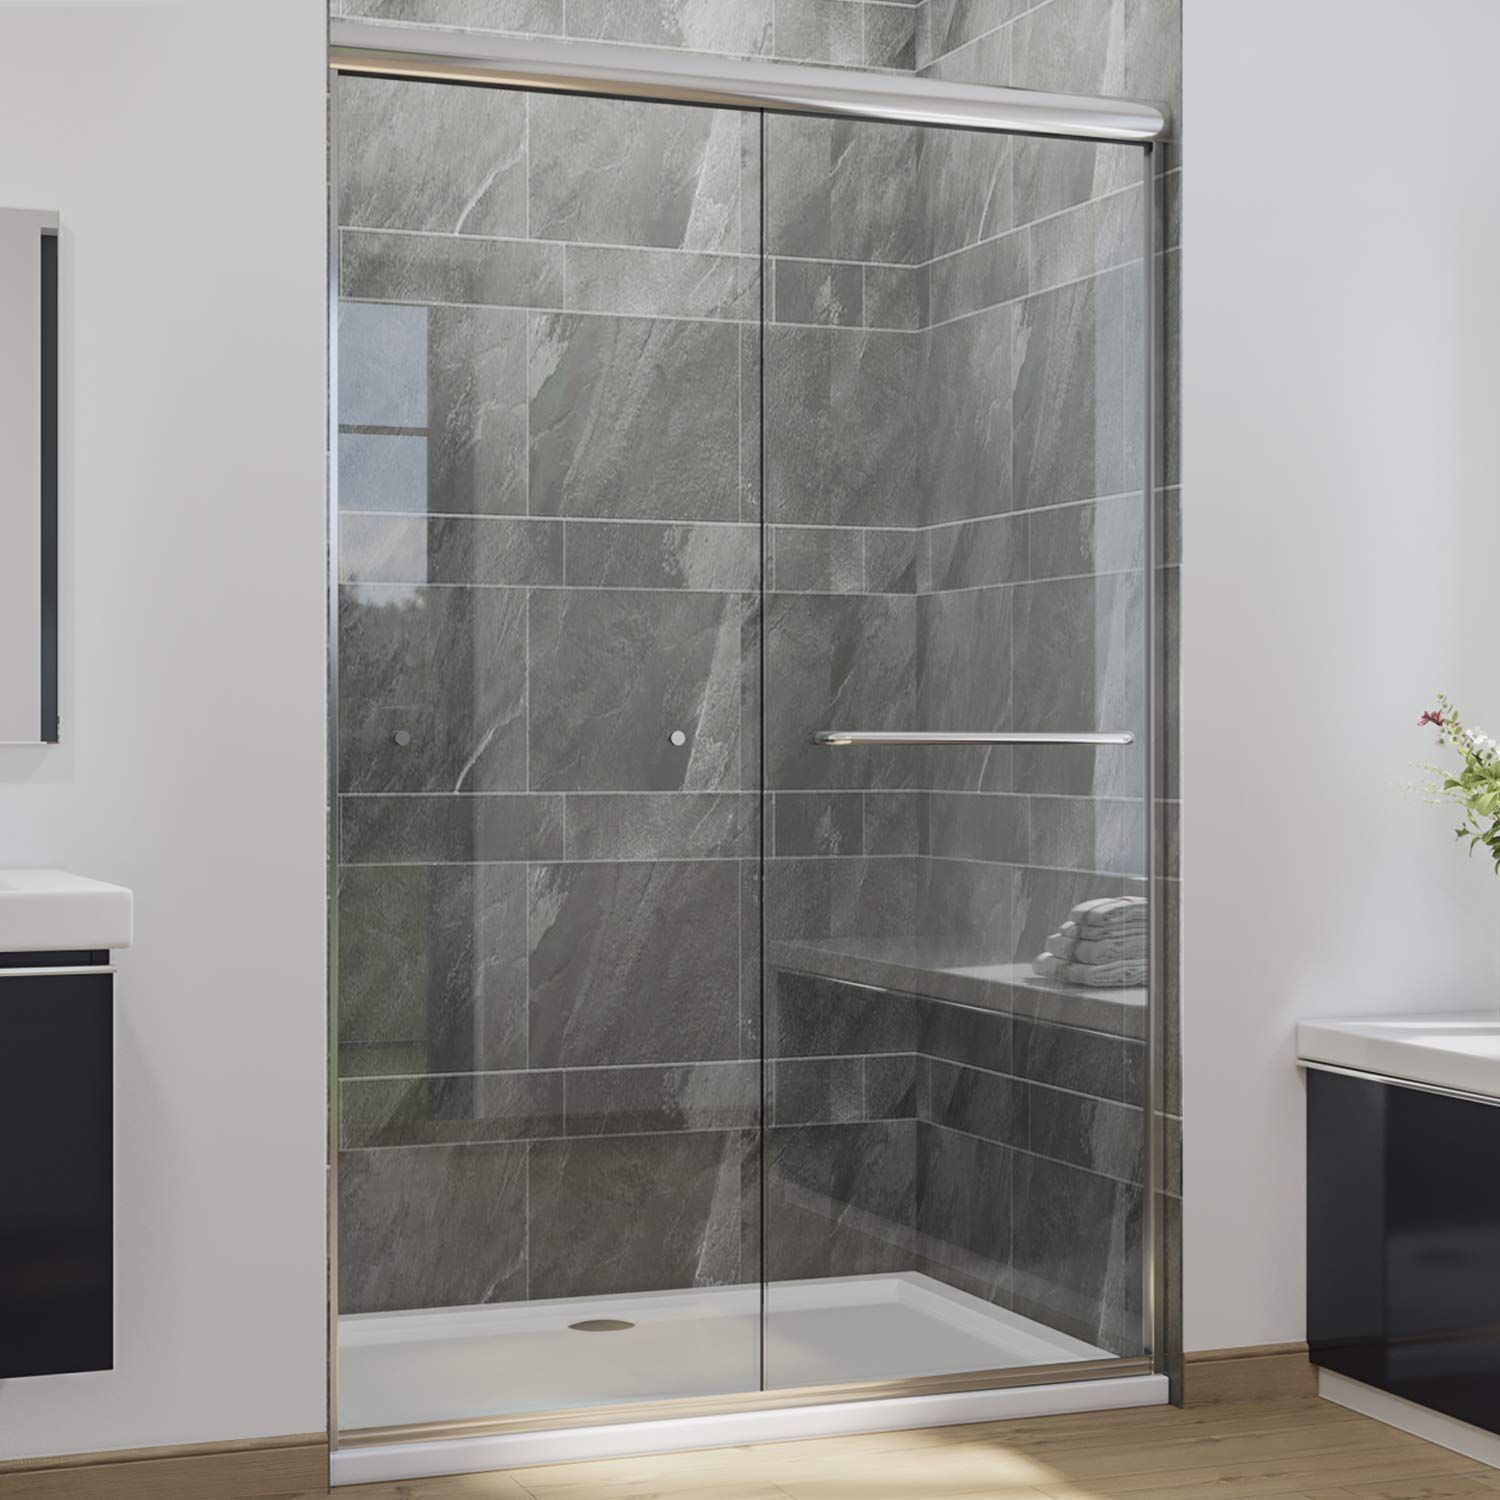
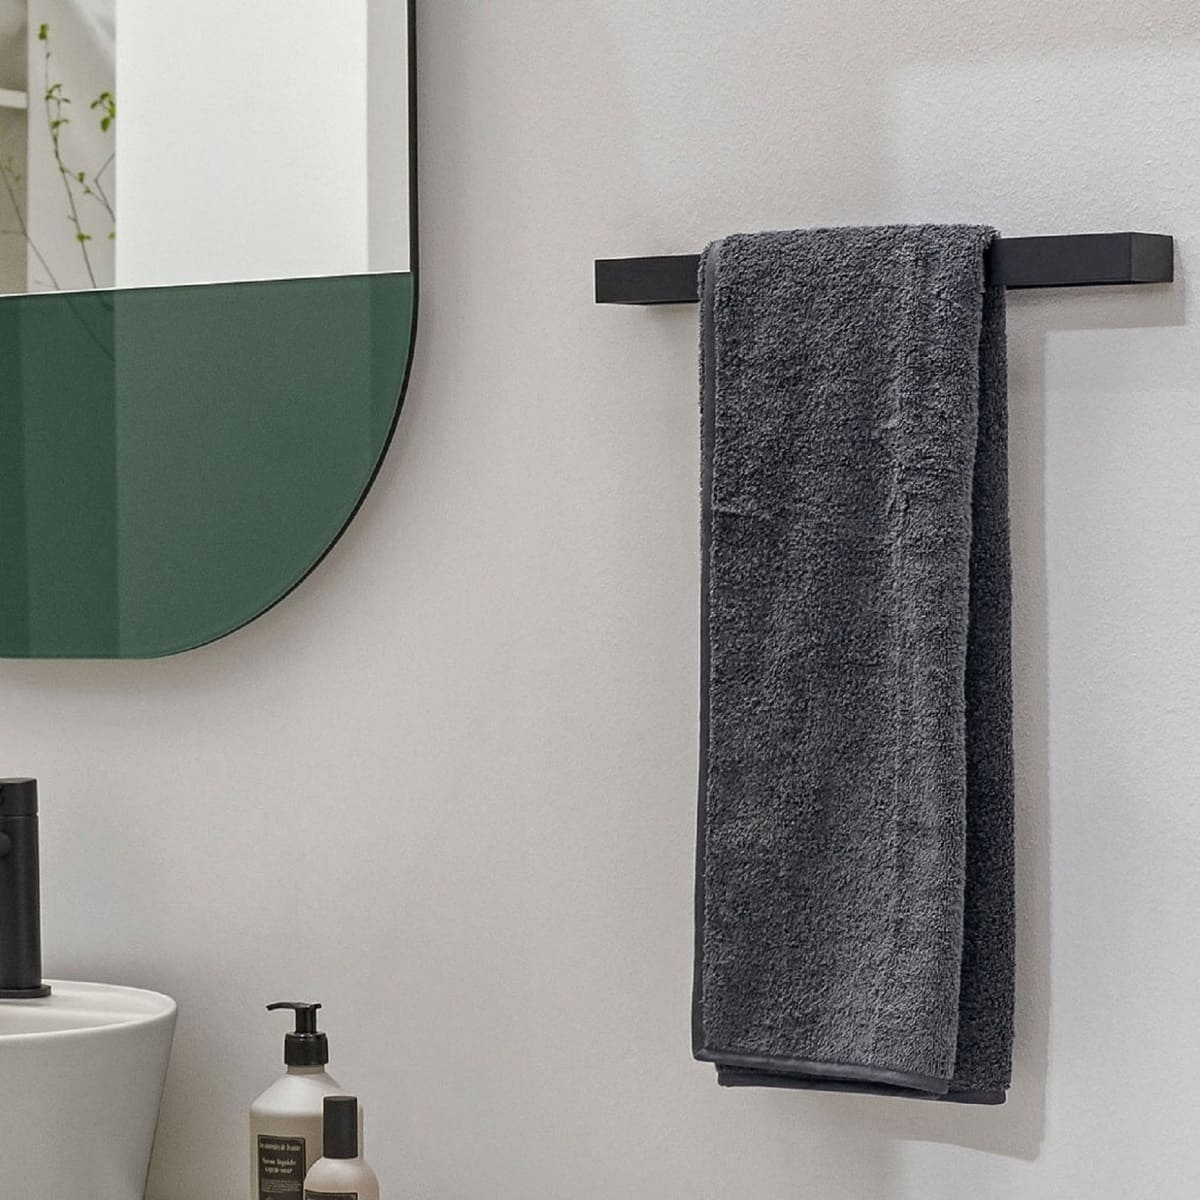
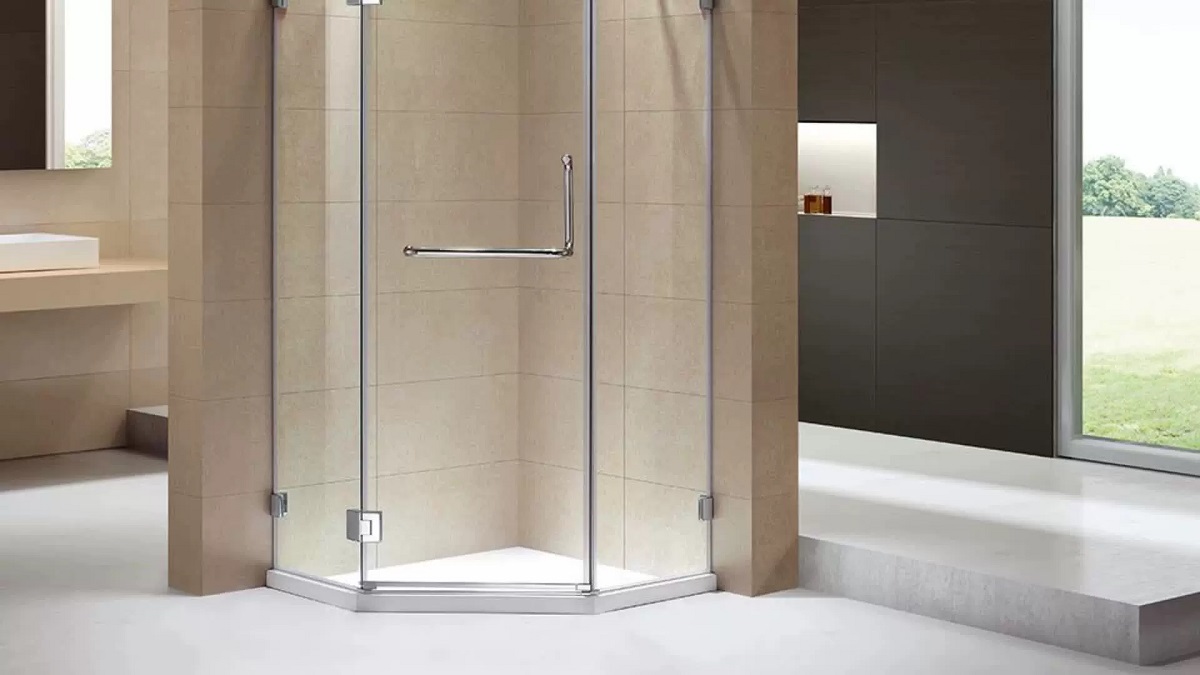
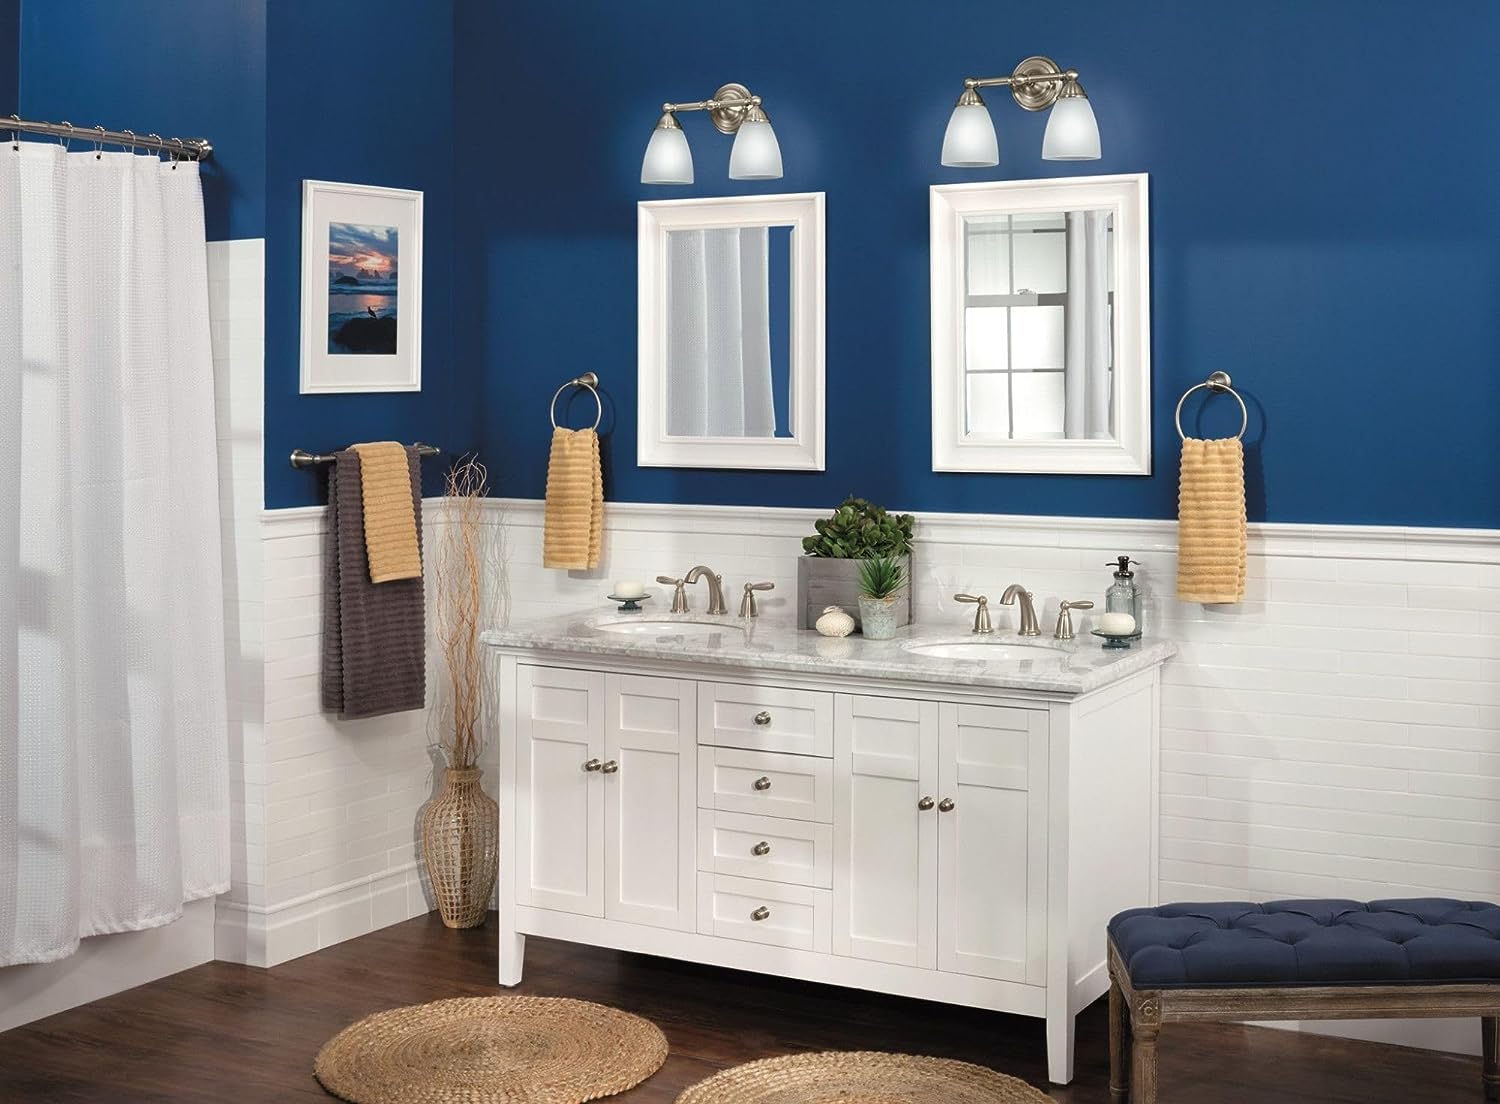
Having a towel bar attached to your glass shower door can be a convenient way to keep your towels within reach while showering. However, there may come a time when you need to remove the towel bar, whether it’s because you want to replace it with a new one or it’s simply no longer serving its purpose. Removing a towel bar from a glass shower door can be a delicate process, as you don’t want to damage the glass or leave behind any unsightly marks.
In this article, we will guide you through the step-by-step process of removing a towel bar from a glass shower door. We will provide you with the necessary tools you’ll need, demonstrate how to properly remove the screws or brackets, show you how to loosen the adhesive or caulk holding the towel bar in place, and offer tips on cleaning the shower door and patching any holes that may be left behind.
Before we dive into the specifics, it’s important to note that some towel bars may have different methods of attachment, depending on the brand or model. Therefore, it’s always a good idea to consult the manufacturer’s instructions if they are available. Now, let’s get started with gathering the necessary tools.
Key Takeaways:
- Safely remove a towel bar from a glass shower door by gathering the right tools, loosening screws or brackets, and gently prying the bar off. Clean the door and patch any holes for a seamless finish.
- With the right tools and careful steps, removing a towel bar from a glass shower door can be a manageable DIY project. Take caution, be patient, and enjoy the renewed look and functionality of your shower door.
Step 1: Gather the necessary tools
Before you begin removing the towel bar from your glass shower door, it’s essential to gather the necessary tools. Having the right tools on hand will make the process much smoother and ensure that you have everything you need to successfully remove the towel bar without causing any damage to the glass. Here is a list of tools you will likely need:
- Phillips screwdriver or Allen wrench (depending on the type of screws used)
- Rubber mallet or hammer with a rubber tip
- Putty knife or scraper
- Adhesive remover or solvent (if applicable)
- Clean cloth or sponge
The screwdriver or Allen wrench will be used to unscrew and remove any screws or brackets that are holding the towel bar in place. Make sure to choose the appropriate tool based on the type of screws used. A rubber mallet or hammer with a rubber tip will come in handy when gently tapping the towel bar to loosen it from the adhesive or caulk.
A putty knife or scraper will be useful for prying the towel bar away from the glass once the screws or brackets have been removed. Be sure to choose a tool with a flat, thin edge to avoid scratching or damaging the glass surface.
If the towel bar is attached to the glass shower door using adhesive or caulk, you may need an adhesive remover or solvent to loosen the bond. Check the manufacturer’s instructions or do a spot test on a small, inconspicuous area of the glass to ensure that the solvent is safe to use. Finally, have a clean cloth or sponge ready to wipe down the shower door and remove any residue or cleanser once the towel bar has been removed.
Step 2: Remove the screws or brackets
Once you have gathered the necessary tools, it’s time to proceed with removing the screws or brackets that are holding the towel bar in place. The method of attachment may vary depending on the specific towel bar you have installed, so it’s important to assess the situation before proceeding. Here’s a general guide on how to remove the screws or brackets:
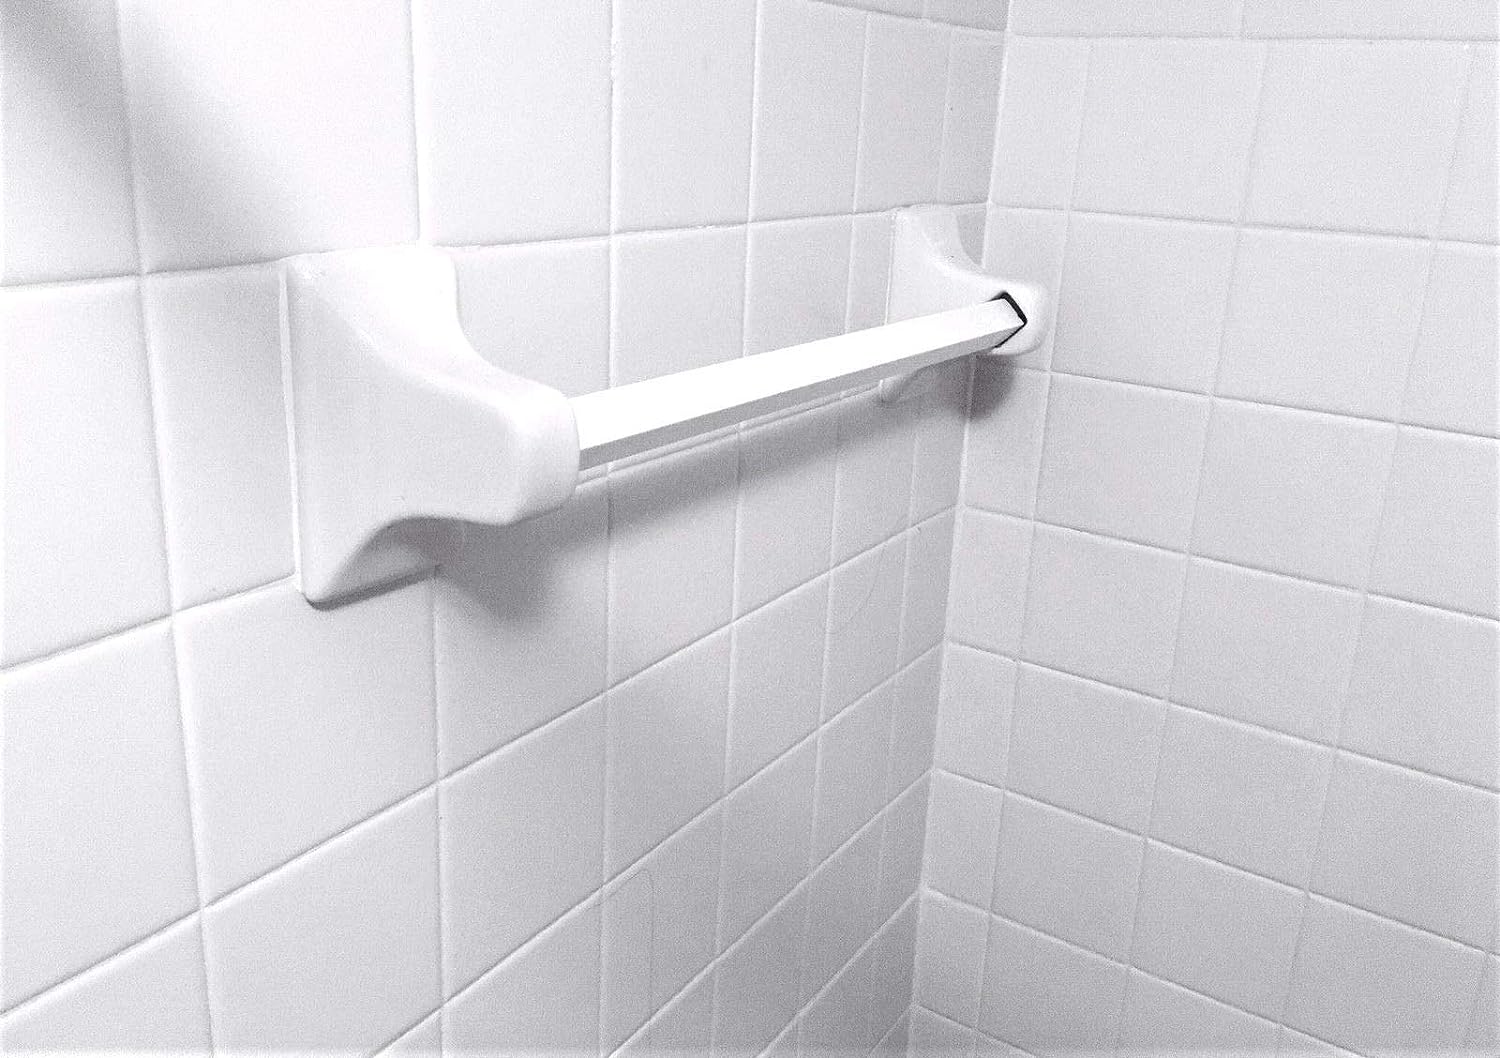
- Locate the screws or brackets: Inspect the towel bar and identify the screws or brackets that are securing it to the glass shower door. These are typically located at each end of the towel bar, but there may be additional screws or brackets along the length depending on the design.
- Prepare your screwdriver or Allen wrench: Choose the appropriate tool (Phillips screwdriver or Allen wrench) that fits the screws used in your towel bar. Ensure that the tool is securely inserted into the screw head to prevent slipping and potential damage.
- Loosen the screws or remove the brackets: Begin by turning the screws counterclockwise using the screwdriver or Allen wrench until they are completely loosened. If your towel bar uses brackets, carefully unhook or unscrew them from the glass surface.
- Set aside the screws or brackets: As you remove the screws or brackets, it’s important to keep them in a safe place. You may want to consider using a small container or bag to prevent them from getting lost or rolling away.
Once you have successfully removed the screws or brackets, gently pull the towel bar away from the glass door. Be cautious not to force or exert too much pressure, as this may cause damage to the glass surface. If the towel bar does not come off easily, do not panic. It may be secured with adhesive or caulk, which we will address in the next step.
Now that the screws or brackets have been removed, we can move on to the next step: loosening the adhesive or caulk that may be holding the towel bar in place.
Step 3: Loosen the adhesive or caulk
In some cases, your towel bar may be attached to the glass shower door using adhesive or caulk in addition to screws or brackets. This extra layer of attachment can provide added stability, but it also requires some additional steps to remove the towel bar completely. Here’s how you can loosen the adhesive or caulk:
- Inspect the towel bar: Take a close look at how the towel bar is attached to the glass door. Look for any signs of adhesive or caulk around the edges where the towel bar makes contact with the glass surface.
- Apply heat: Using a hairdryer set on a low heat setting, gently warm the adhesive or caulk along the towel bar. Move the hairdryer back and forth, focusing the heat on the area where the adhesive or caulk is present. The heat helps to soften the adhesive or caulk, making it easier to remove.
- Use a putty knife or scraper: Once the adhesive or caulk has been heated, carefully insert a putty knife or scraper between the towel bar and the glass surface. Start at one end and gently pry the towel bar away from the glass, using a wiggling motion. Be careful not to apply too much pressure to avoid damaging the glass.
- Continue loosening the towel bar: Slowly work your way along the entire length of the towel bar, using the putty knife or scraper to loosen the adhesive or caulk. If the towel bar still seems difficult to remove, you can use a rubber mallet or a hammer with a rubber tip to tap lightly along the towel bar to help loosen the bond. Exercise caution and avoid hitting the glass directly with the hammer or mallet.
As you loosen the towel bar, be gentle and patient. The adhesive or caulk may require some time to soften fully, especially if it has been in place for an extended period. Take breaks if needed to allow the towel bar to separate from the glass gradually.
Once the towel bar is successfully removed from the glass, you can move on to the next step: gently cleaning the shower door to remove any residue or debris left behind.
Use a screwdriver to remove the screws holding the towel bar in place. Gently lift the bar away from the glass door, being careful not to damage the glass. If there is adhesive, use a razor blade to carefully cut through it.
Step 4: Gently pry the towel bar off
Now that you have successfully removed the screws or brackets and loosened the adhesive or caulk, it’s time to gently pry the towel bar off the glass shower door. Here’s how to do it:
- Inspect for any remaining attachment points: Check the towel bar and glass door for any spots where the towel bar may still be attached.
- Use a putty knife or scraper: Carefully slide the putty knife or scraper between the towel bar and the glass surface. Begin at one end and gently pry the towel bar away from the door.
- Apply even pressure: Apply even pressure along the length of the towel bar while prying it off. Take it slow and steady to avoid any sudden movements or excessive force that could potentially damage the glass.
- Continue prying: If the towel bar seems to be stubborn or have multiple attachment points, continue sliding the putty knife or scraper along the towel bar’s length to release it from the glass surface.
- Use a rubber mallet or hammer if necessary: If the towel bar is still firmly attached, you can lightly tap the edges of the towel bar with a rubber mallet or a hammer with a rubber tip. This can help loosen any remaining adhesive or caulk.
It’s crucial to be patient and gentle during this process to prevent any damage to the glass or the towel bar itself. If you encounter resistance or difficulty, take a step back and reassess the situation. You may need to apply more heat, reapply adhesive remover or solvent, or seek additional assistance if needed.
With the towel bar successfully removed, you can move on to the next step: cleaning the shower door to remove any residue or marks left behind.
Read more: How To Remove Glass Shower Doors
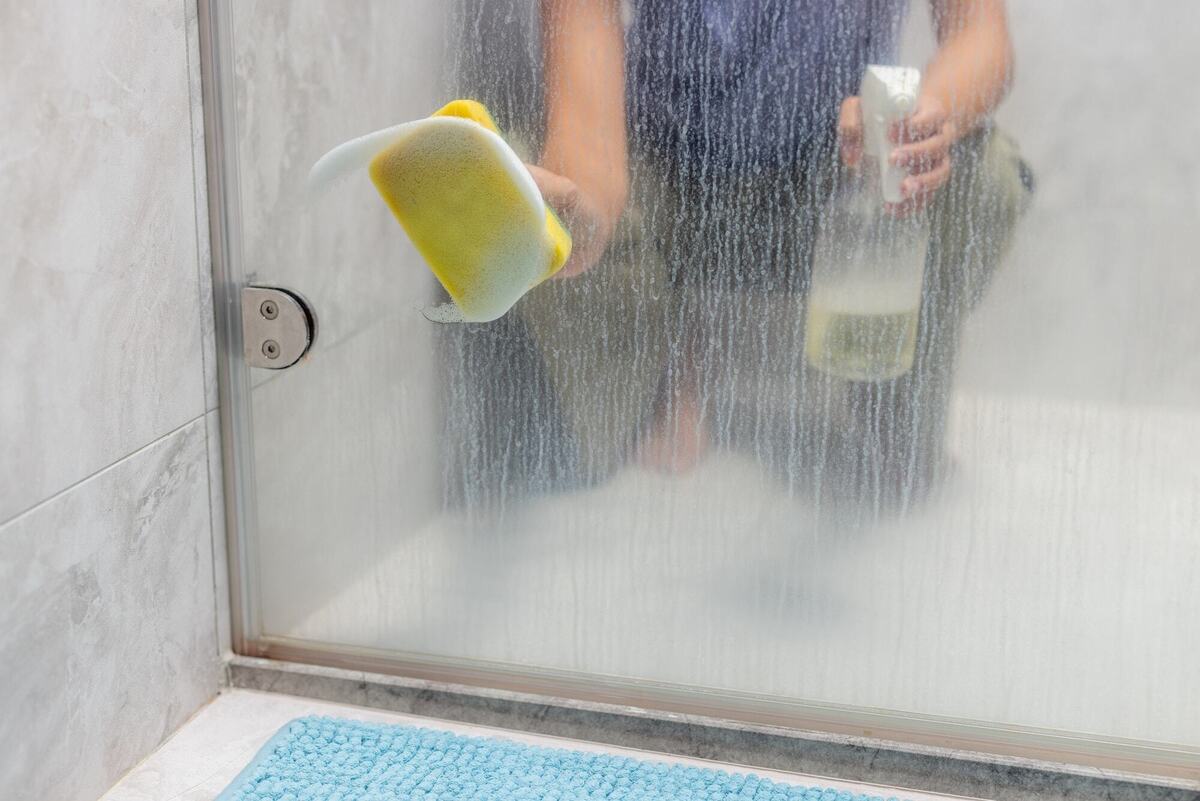
Step 5: Clean the shower door
After removing the towel bar from the glass shower door, it’s important to take the time to clean the door thoroughly. This will help remove any residue, marks, or dirt that may have been left behind during the removal process. Follow these steps to ensure a clean and sparkling shower door:
- Prepare a cleaning solution: Mix a mild cleaning solution using warm water and a gentle glass cleaner. Avoid using harsh chemicals or abrasive cleaners, as these can potentially damage the glass surface.
- Apply the cleaning solution: Dip a clean cloth or sponge into the cleaning solution, ensuring it is thoroughly saturated. Gently wipe down the entire surface of the glass shower door, paying extra attention to the areas where the towel bar was attached.
- Remove stubborn residue: If there are stubborn residue or marks on the glass, you can use a non-abrasive scrub brush or a Magic Eraser to gently scrub the affected areas. Be careful not to apply excessive pressure or scrub too vigorously, as this may cause scratches.
- Rinse thoroughly: Once you have cleaned the entire glass surface, rinse it thoroughly with clean water. This will help remove any leftover cleaning solution or residue. Ensure that all cleaning solution and debris are completely rinsed off.
- Dry the shower door: Use a clean, dry microfiber cloth or lint-free towel to dry the glass shower door completely. This will help prevent any water spots or streaks from forming.
It’s important to note that if you used an adhesive remover or solvent during the removal process, you should thoroughly rinse the glass door to remove any residual chemicals before cleaning it with the solution. Check the manufacturer’s instructions for any specific cleaning recommendations.
By following these steps, your glass shower door should be left clean, clear, and ready for its next use. Now, we can move on to the final step: patching or filling any holes that may be left from the towel bar removal.
Step 6: Patch or fill any holes
After removing the towel bar from the glass shower door, you may be left with small holes or indentations where the screws or brackets were attached. It’s important to properly patch or fill these holes to ensure a smooth and seamless surface. Here’s how you can do it:
- Assess the size of the holes: Take a close look at the size and depth of the holes left behind by the towel bar. Determine whether they are small pinholes or larger indentations.
- Select an appropriate patching material: Depending on the size and depth of the holes, choose an appropriate patching material. For smaller pinholes, you can use a clear epoxy filler or a basic household adhesive that is safe for use on glass. For larger indentations, you may need a glass repair kit or consult a professional glass repair service.
- Apply the patching material: Following the instructions provided with the patching material, apply a small amount to fill each hole. Use a small spatula or putty knife to smooth and level the surface. Be careful not to apply too much material, as you want it to blend seamlessly with the surrounding glass.
- Allow the patching material to dry: Depending on the type of patching material used, you may need to allow it to dry or cure for a specified period. Follow the manufacturer’s instructions for the recommended drying time.
- Sand and polish (if necessary): Once the patching material is fully dry, you can use a fine-grit sandpaper or polishing cloth to gently smooth out any rough edges or unevenness. Be very gentle while sanding to avoid scratching the glass.
- Clean the area: After patching and sanding (if necessary), clean the area around the patched holes with a mild glass cleaner or water to remove any dust or debris. Dry the area thoroughly with a clean cloth.
By following these steps, you can ensure that any holes or indentations left behind from the towel bar removal are properly patched and blended with the glass surface. This will result in a professional-looking, seamless finish.
With the towel bar successfully removed, the shower door cleaned, and any holes patched, you have completed the process of removing a towel bar from a glass shower door. Now you can enjoy a fresh, clean, and towel bar-free showering experience.
Remember, it’s always a good idea to consult the manufacturer’s instructions or seek professional guidance if you are unsure about any aspect of the removal process or if your towel bar has unique specifications.
Lastly, make sure to validate the HTML encoding of this article to ensure it is properly formatted and accessible for readers.
Conclusion
Removing a towel bar from a glass shower door may seem like a daunting task, but with the right tools and careful steps, it can be a manageable and successful DIY project. Throughout this article, we provided a comprehensive guide on how to remove a towel bar from a glass shower door, covering each step in detail.
We started by discussing the importance of gathering the necessary tools before beginning the removal process. Having the right tools, such as a screwdriver, putty knife, and adhesive remover, ensures that you can safely and effectively remove the towel bar without causing any damage to the glass surface.
Next, we walked through the steps of removing the screws or brackets that secure the towel bar to the glass door. By using the appropriate tools and taking caution, you can easily detach the towel bar from its fixtures.
For towel bars secured with adhesive or caulk, we explained how to loosen and pry the towel bar away from the glass. By applying heat, using a putty knife, and employing gentle pressure, you can separate the towel bar from the glass surface without causing any harm.
Once the towel bar is removed, it’s crucial to clean the shower door to eliminate any residue or marks left behind. Using a mild cleaning solution and a non-abrasive scrub brush or cloth, you can restore the glass to its original pristine condition.
Lastly, we addressed the importance of patching or filling any holes that may be present after towel bar removal. By selecting the appropriate patching material and following the instructions provided, you can achieve a smooth and seamless surface, enhancing the overall appearance of your glass shower door.
Now armed with the knowledge and guidance provided in this article, you are well-equipped to remove a towel bar from a glass shower door with confidence. Remember, always be cautious and patient throughout the process to safeguard the integrity of the glass and maintain its aesthetic appeal.
So go ahead, remove that towel bar, and enjoy the renewed look and functionality of your glass shower door!
Validate the HTML encoding to ensure that the article is properly formatted and accessible for readers.
Now that you've mastered removing a towel bar from a glass shower door, why stop there? For those keen on further honing their DIY skills, learning how to get a towel bar off the wall is your next step. This guide simplifies the process, ensuring you tackle your projects with confidence. Considering a bigger challenge? Understanding how long a bathroom renovation takes could be invaluable. This overview helps set realistic expectations, ensuring you plan effectively for a smoother remodeling experience.
Frequently Asked Questions about How To Remove Towel Bar From Glass Shower Door
Was this page helpful?
At Storables.com, we guarantee accurate and reliable information. Our content, validated by Expert Board Contributors, is crafted following stringent Editorial Policies. We're committed to providing you with well-researched, expert-backed insights for all your informational needs.


0 thoughts on “How To Remove Towel Bar From Glass Shower Door”