Home>Furniture & Design>Interior Design Trends>How To Adjust Glass Shower Door Hinges
Interior Design Trends
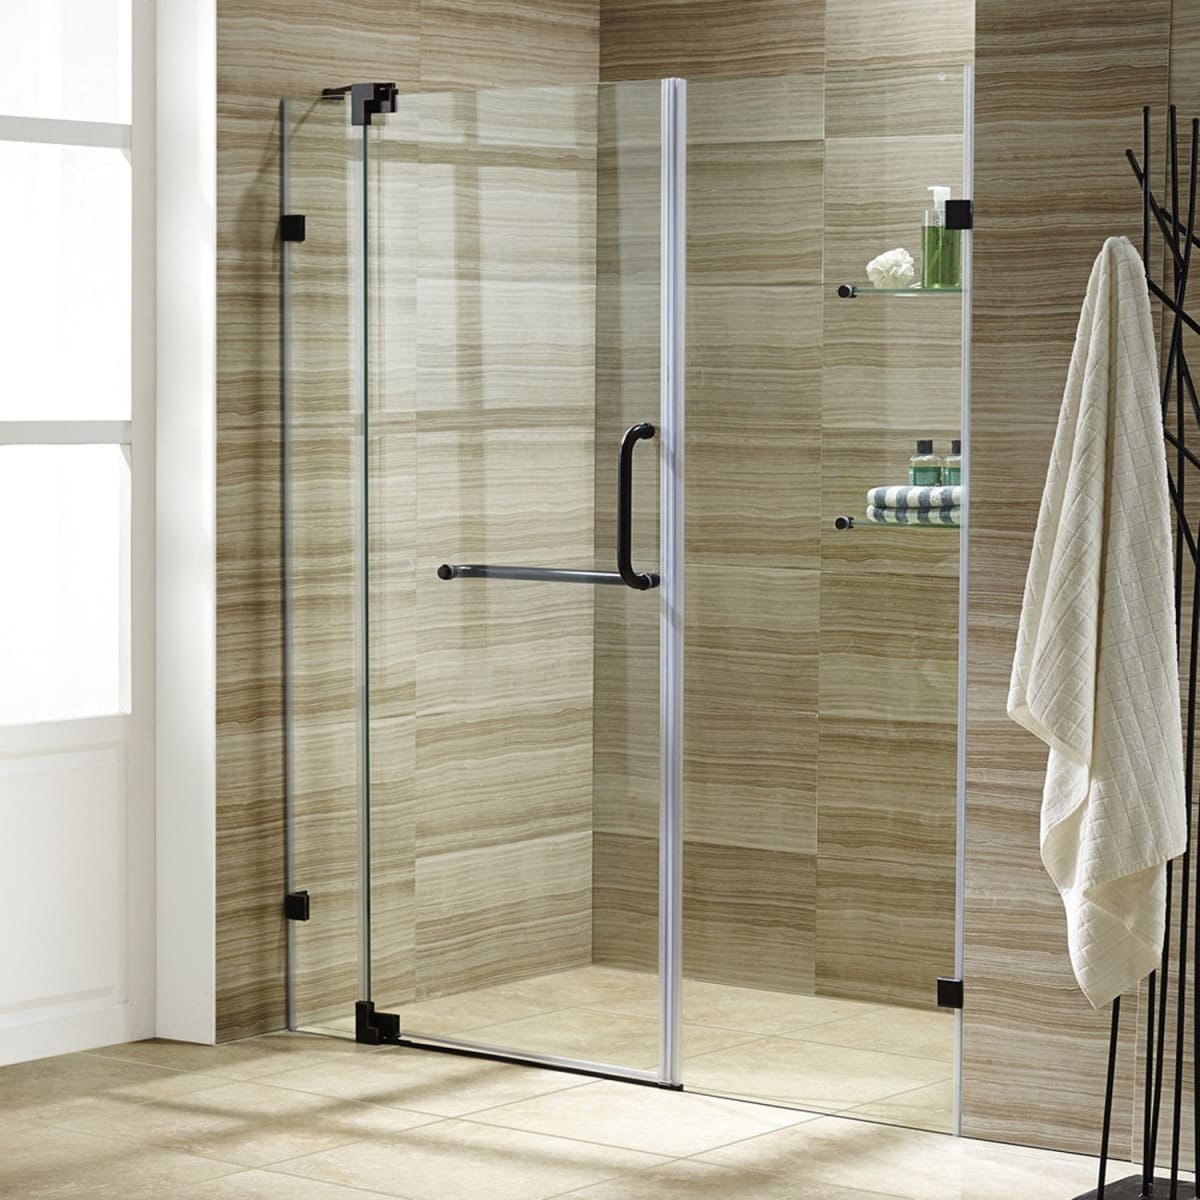
How To Adjust Glass Shower Door Hinges
Modified: August 27, 2024
Learn how to adjust glass shower door hinges to keep up with the latest interior design trends. Get step-by-step instructions for a modern and stylish bathroom upgrade.
(Many of the links in this article redirect to a specific reviewed product. Your purchase of these products through affiliate links helps to generate commission for Storables.com, at no extra cost. Learn more)
Introduction
Adjusting glass shower door hinges is a crucial aspect of maintaining the functionality and aesthetics of your shower enclosure. Over time, hinges may become misaligned, causing the door to sag or not close properly. By understanding the process of adjusting these hinges, you can ensure that your glass shower door operates smoothly and looks visually appealing.
Properly functioning hinges are essential for the safety and longevity of your glass shower door. When the hinges are misaligned, the door may not close securely, leading to water leakage and potential damage to the surrounding areas. Additionally, a misaligned door can create an unsightly gap, compromising the overall appearance of the shower enclosure.
In this guide, we will walk you through the step-by-step process of adjusting glass shower door hinges. Whether you are dealing with a door that doesn't close properly or simply want to ensure that your shower enclosure remains in top condition, understanding how to adjust the hinges is a valuable skill.
By following the instructions provided in this guide, you can take control of the maintenance and functionality of your glass shower door. With the right tools and a clear understanding of the adjustment process, you can restore the proper alignment of the hinges and ensure that your shower enclosure not only looks great but also functions as intended.
Now, let's delve into the tools and materials you will need to successfully adjust the glass shower door hinges.
Key Takeaways:
- Adjusting glass shower door hinges is essential for a secure and visually appealing shower enclosure. With the right tools and careful adjustments, you can ensure smooth door operation and prevent water leakage.
- By following the step-by-step process, you can confidently maintain and align your glass shower door hinges. This proactive approach enhances both the functionality and aesthetics of your bathroom space.
Read more: How To Adjust Sliding Glass Doors
Tools and Materials Needed
Before embarking on the process of adjusting glass shower door hinges, it's essential to gather the necessary tools and materials. Having the right equipment at your disposal will streamline the adjustment process and ensure that you can effectively address any misalignment issues with the hinges. Here's a comprehensive list of the tools and materials you will need:
Tools:
-
Screwdriver Set: A set of screwdrivers, including both flathead and Phillips head varieties, will be essential for loosening and tightening the hinge screws. Ensure that the screwdrivers are appropriately sized to fit the hinge screws snugly, preventing slippage and potential damage to the screw heads.
-
Hex Key (Allen Wrench): Depending on the type of hinges installed on your glass shower door, you may require a hex key to adjust the set screws that control the positioning of the hinges. It's important to determine the correct size of the hex key needed for your specific hinges.
-
Level: A small spirit level will aid in ensuring that the door is properly aligned during the adjustment process. This will help you achieve a precise and balanced positioning of the door, preventing any potential issues with closure or gaps.
-
Protective Gloves: Handling glass components, particularly when adjusting the hinges, requires caution. Wearing protective gloves will safeguard your hands and provide a secure grip when working with the door and hinges.
-
Safety Glasses: As a precautionary measure, it's advisable to wear safety glasses to protect your eyes from any potential debris or glass particles that may be dislodged during the adjustment process.
Materials:
-
Cleaning Solution: Before and after the adjustment process, it's beneficial to have a mild cleaning solution and a soft cloth on hand to clean the glass door and surrounding areas. This will ensure that the door is free from any dirt or residue that could impede the adjustment process.
-
Replacement Hinge Cover Plates (Optional): If the hinge cover plates are damaged or worn, you may consider having replacement plates available. This will allow you to address any aesthetic concerns while adjusting the hinges.
By ensuring that you have these tools and materials readily available, you can proceed with confidence, knowing that you are well-equipped to address any misalignment issues with your glass shower door hinges. With the necessary items at your disposal, you are ready to move on to the next step in the adjustment process.
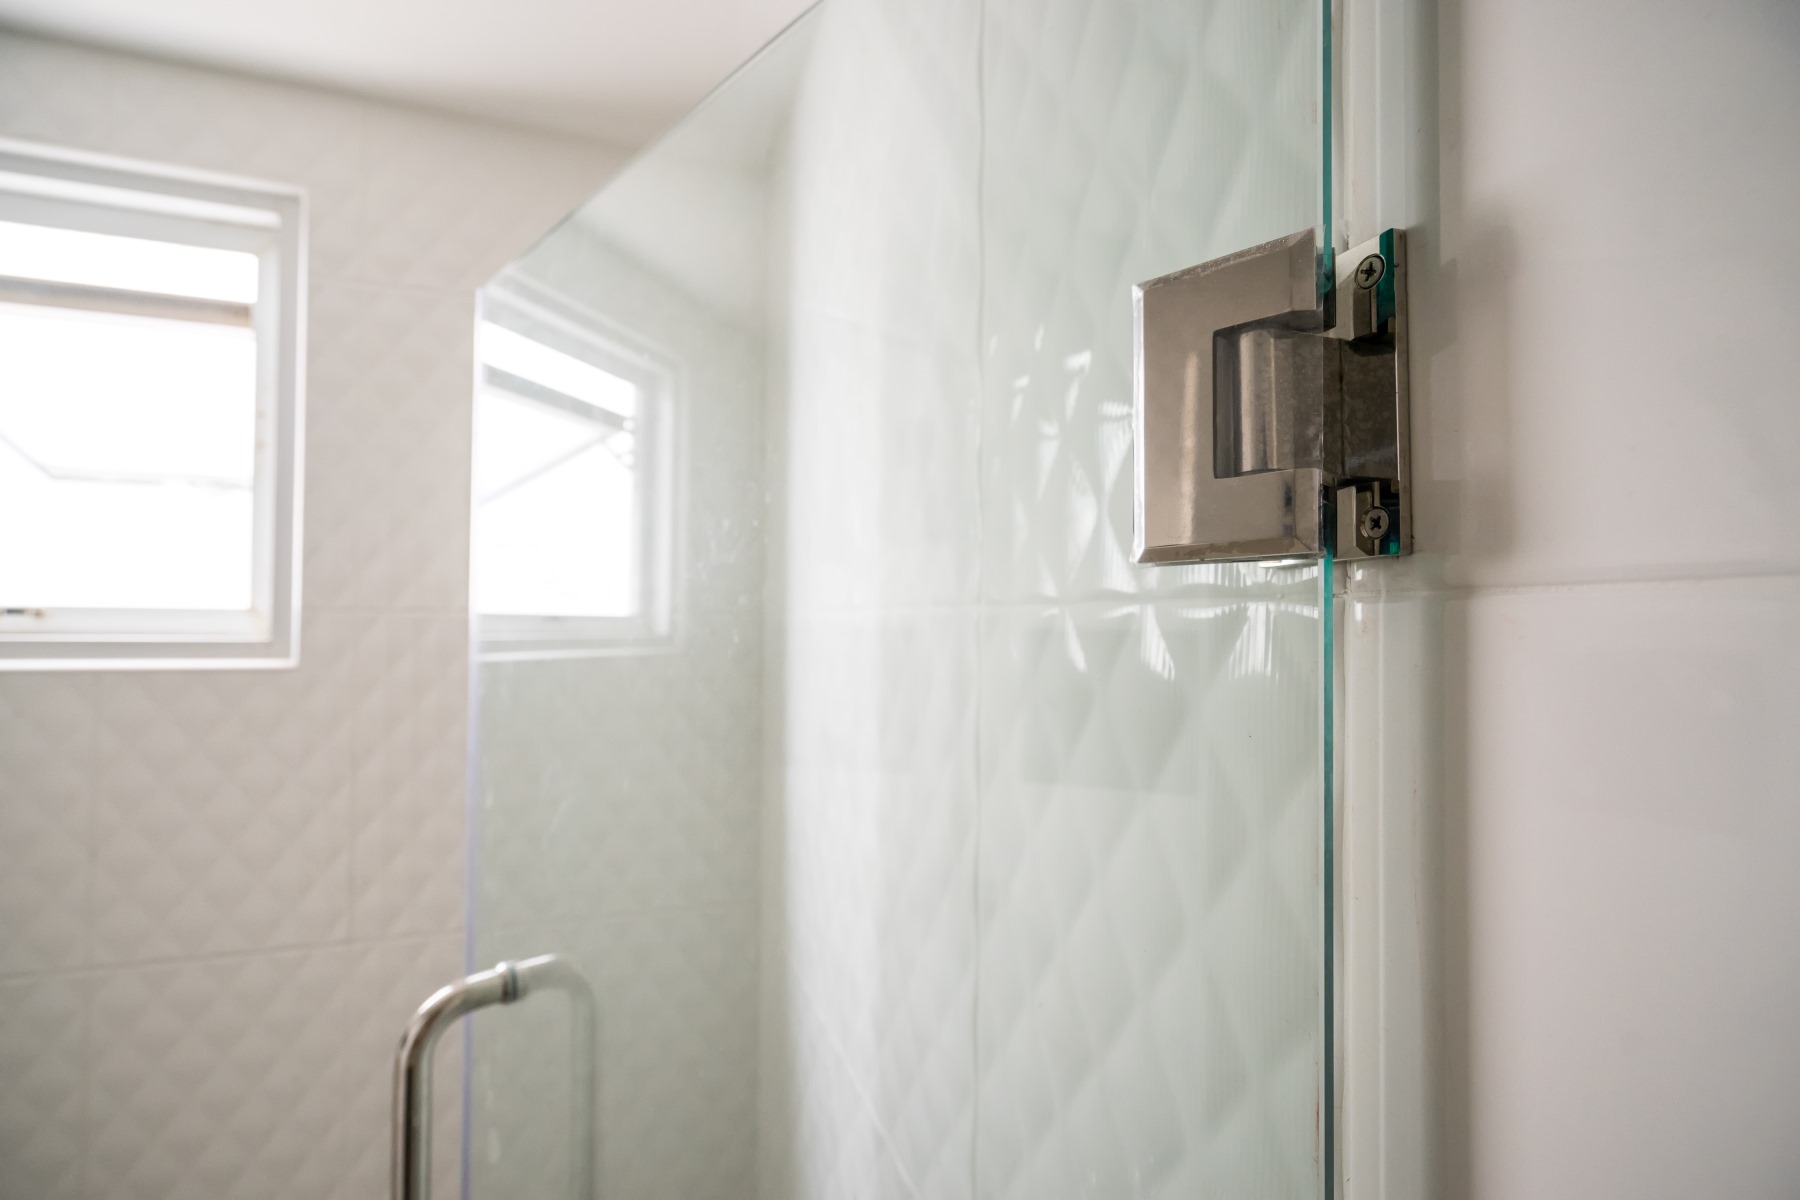
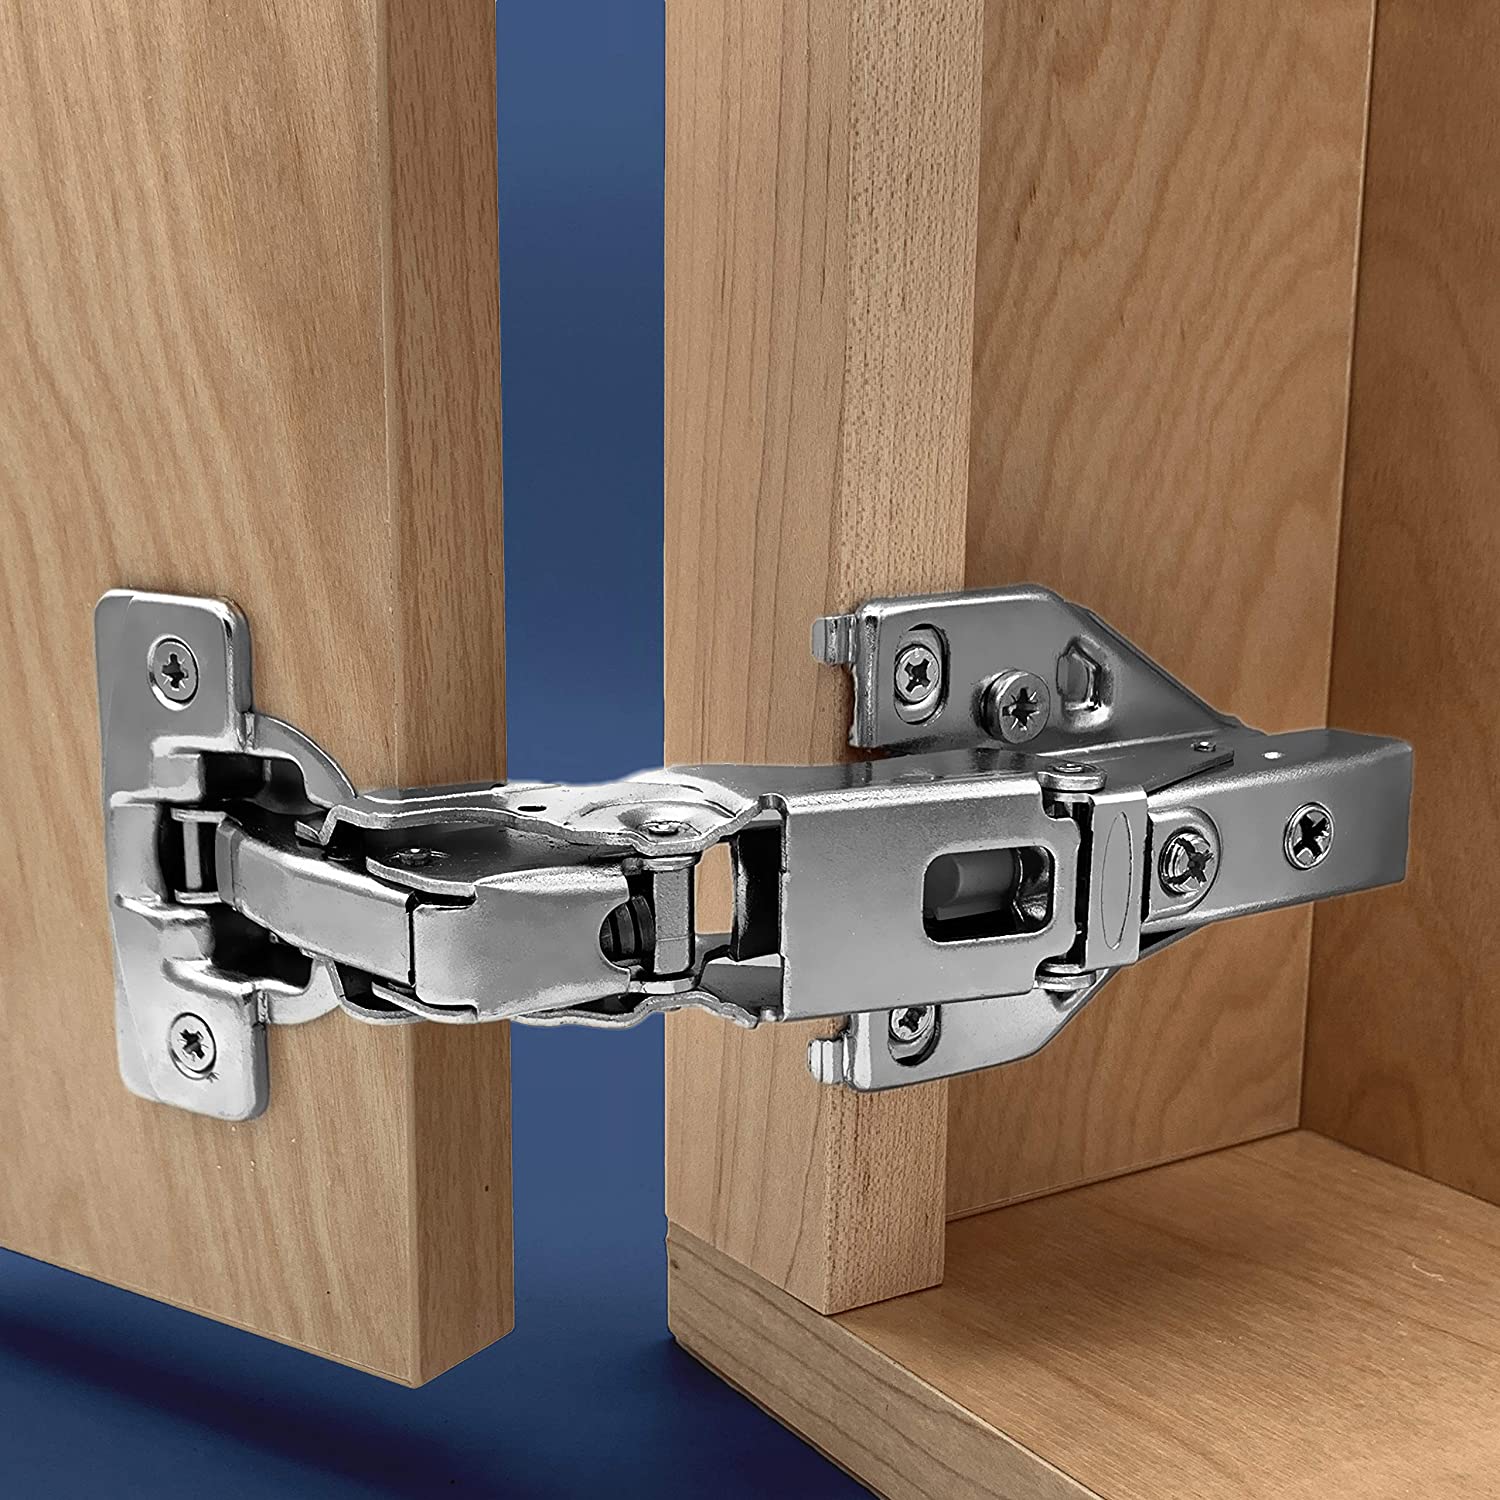
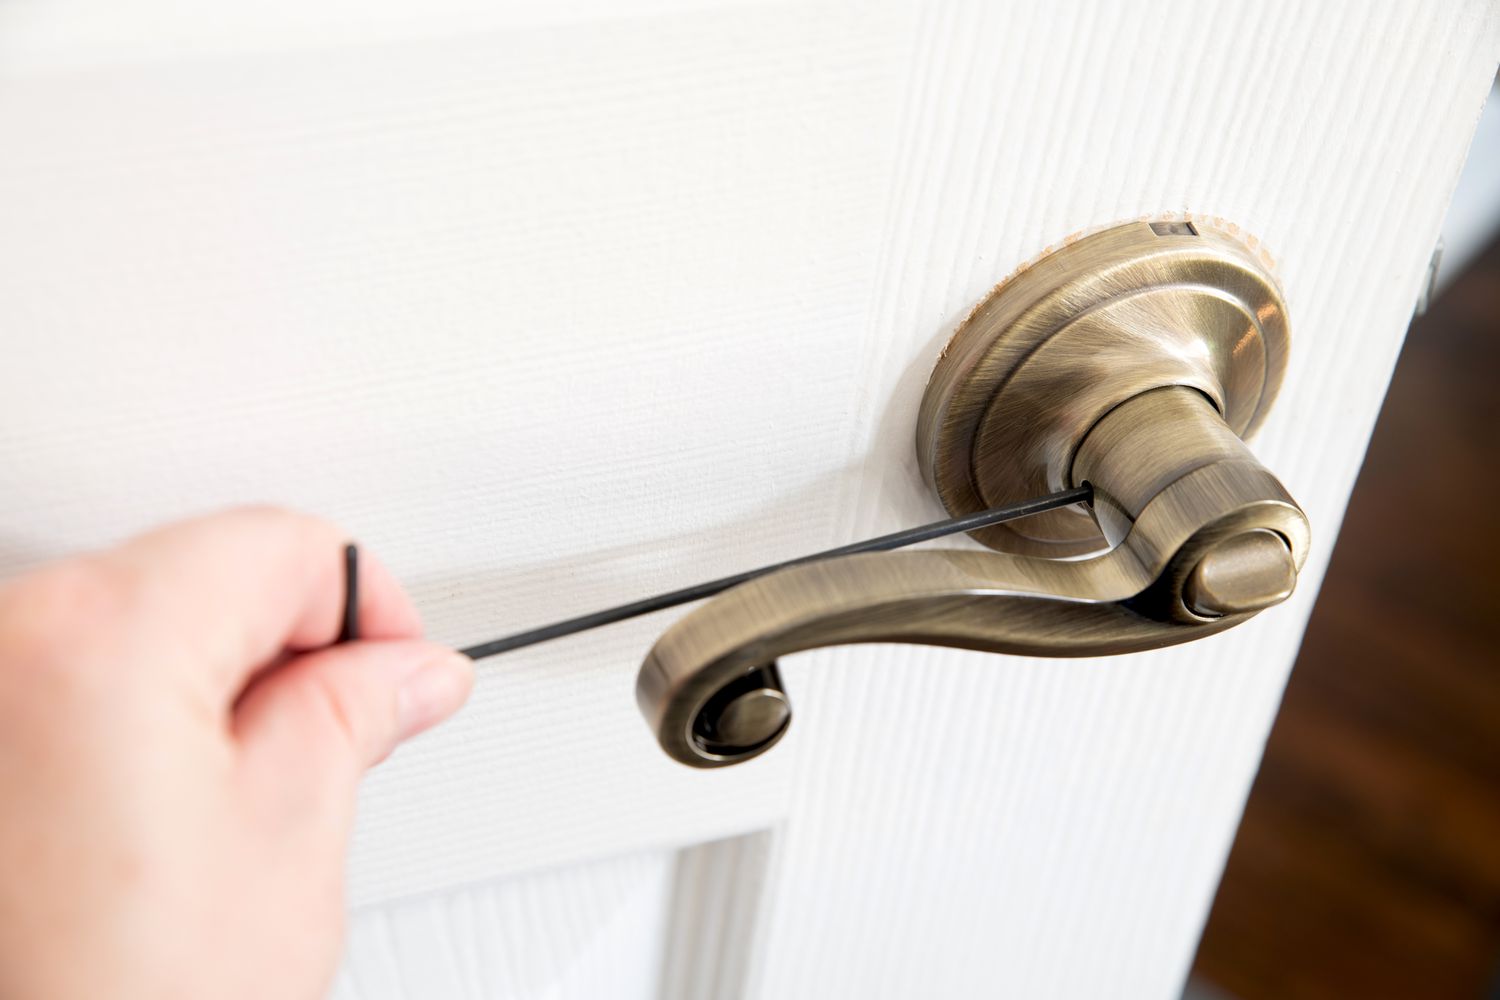
Step 1: Remove the Hinge Cover Plates
The first step in adjusting glass shower door hinges is to remove the hinge cover plates. These cover plates conceal the hinge mechanisms and provide a streamlined appearance to the shower enclosure. To access the hinge screws and make the necessary adjustments, the cover plates must be carefully removed.
Begin by examining the hinge cover plates to identify the type of fastening mechanism used to secure them in place. In most cases, hinge cover plates are attached using screws or clips. Depending on the design of your shower door hinges, you may need a flathead or Phillips head screwdriver to remove the screws. Alternatively, if the cover plates are secured with clips, a gentle prying motion with a flathead screwdriver can release them from the hinges.
It's important to exercise caution when removing the hinge cover plates to avoid damaging the surrounding glass or the plates themselves. Take your time and apply gentle, even pressure to release the cover plates without causing any unnecessary strain on the hinges or the glass door.
Once the cover plates are detached, set them aside in a safe location. Inspect the cover plates for any signs of damage or wear, as this may be an opportune time to consider replacing them if necessary. Additionally, take note of the orientation and alignment of the cover plates, as they will need to be reinstalled in the same position after the hinge adjustment process is complete.
With the hinge cover plates removed, you now have clear access to the hinge screws and the hinge mechanisms. This sets the stage for the subsequent steps in the adjustment process, allowing you to proceed with the necessary hinge realignment to restore the proper functionality and appearance of your glass shower door.
By carefully following the steps to remove the hinge cover plates, you have initiated the process of adjusting the glass shower door hinges. With the cover plates removed, you are now ready to move on to the next step, which involves loosening the hinge screws to facilitate the hinge adjustment process.
Read more: How To Install Shower Glass Doors
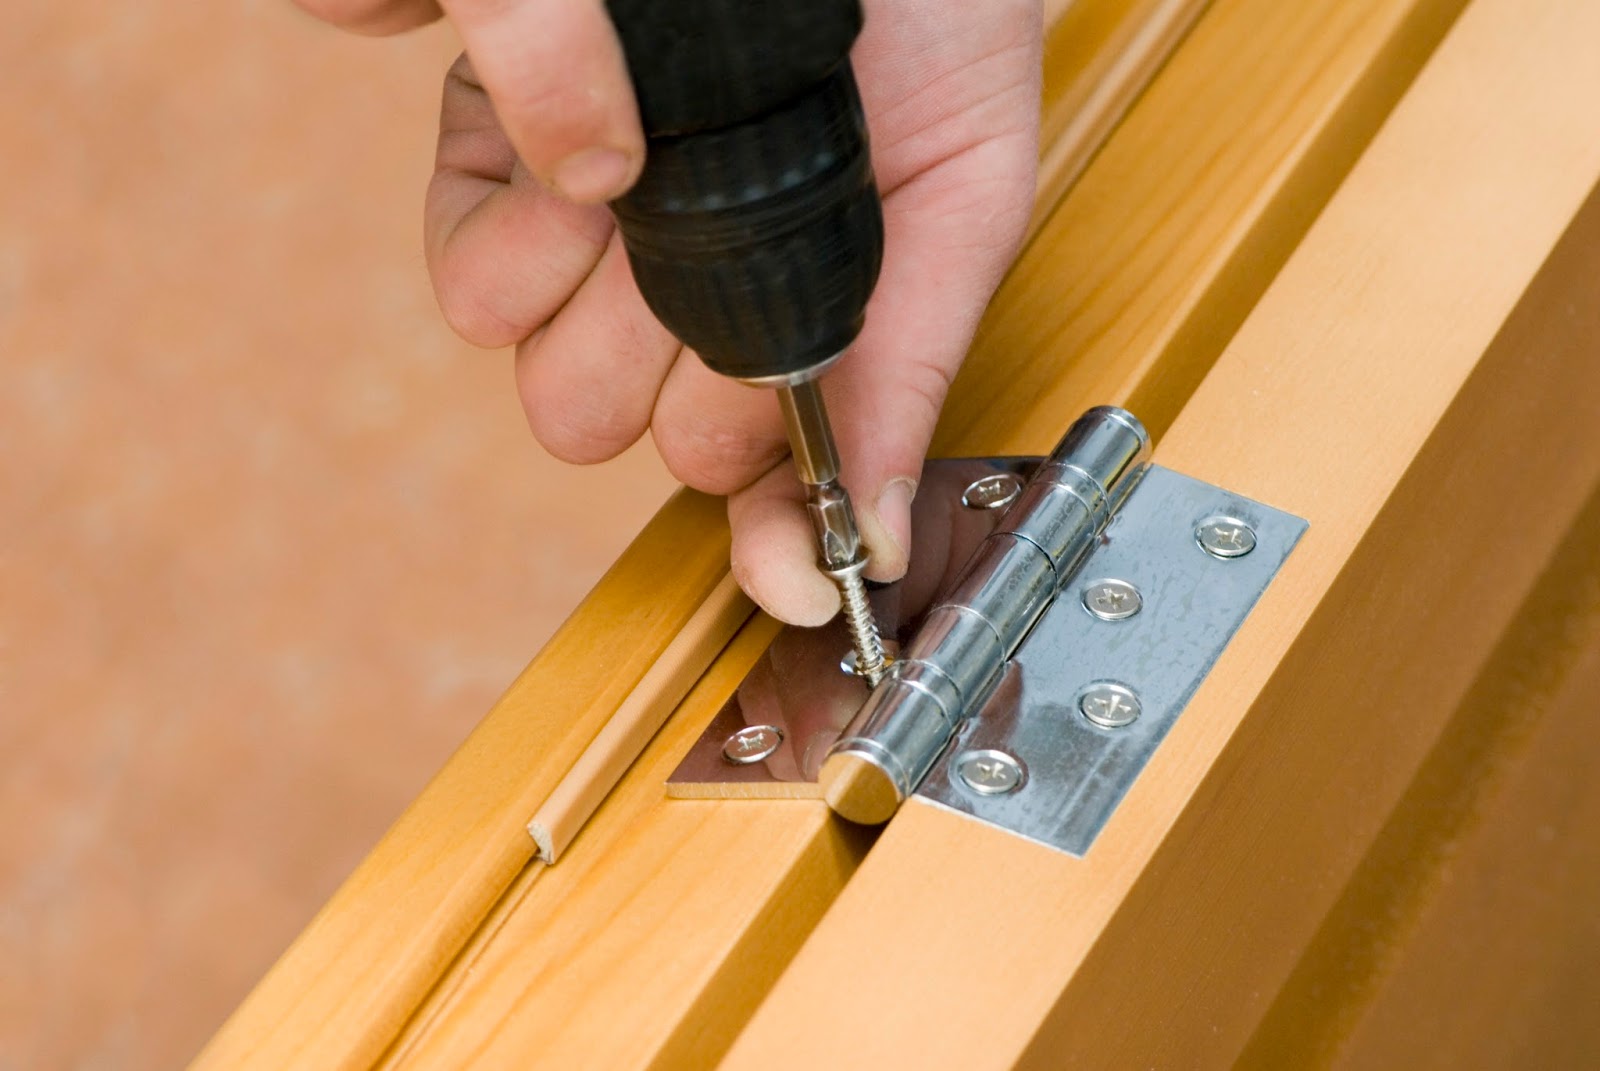
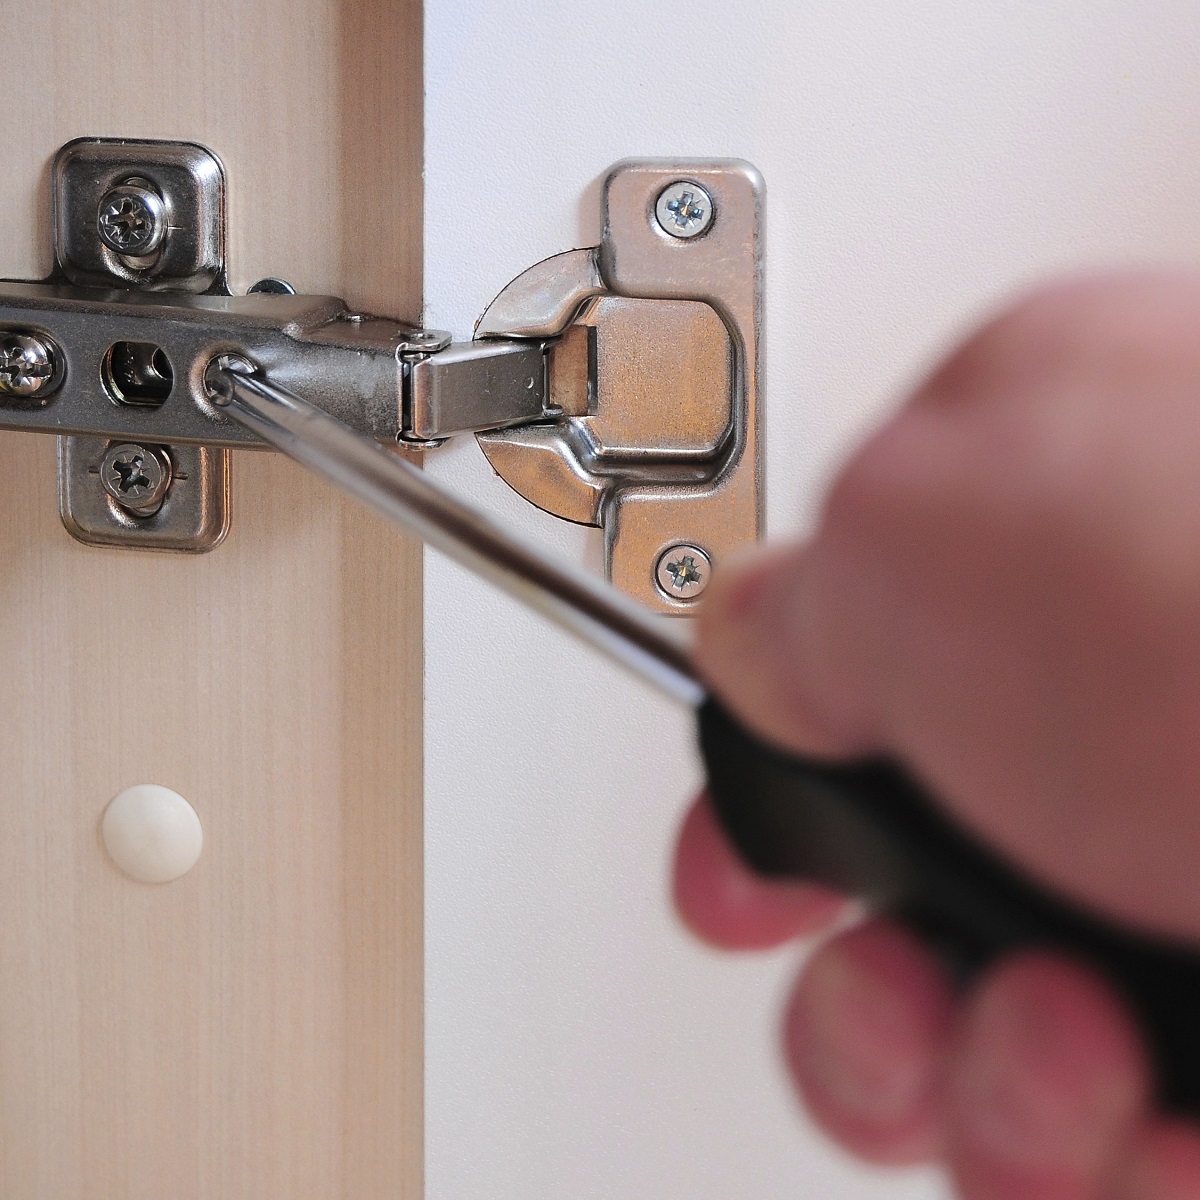
Step 2: Loosen the Hinge Screws
With the hinge cover plates removed, the next crucial step in adjusting glass shower door hinges is to loosen the hinge screws. These screws secure the hinges to the shower enclosure and allow for the necessary adjustments to be made. Loosening the screws will enable you to manipulate the position of the hinges, addressing any misalignment issues and ensuring that the door operates smoothly and securely.
Using the appropriate screwdriver from your set, carefully locate and loosen the hinge screws. It's important to exercise caution and avoid applying excessive force, as overtightened screws may have become firmly embedded in the hinge or the surrounding material. By gently turning the screws counterclockwise, you can gradually release the tension and allow for the necessary movement of the hinges.
As you loosen the hinge screws, pay close attention to any resistance or difficulty encountered. If a screw appears to be particularly stubborn, avoid forcing it and reassess the approach. Applying excessive pressure to a resistant screw may lead to damage, complicating the adjustment process and potentially necessitating repairs.
Once the hinge screws are sufficiently loosened, you will have the flexibility to adjust the position of the hinges. This adjustment is critical for realigning the door and addressing any issues related to closure, gaps, or overall alignment. The ability to manipulate the hinges freely sets the stage for achieving the desired positioning that will restore the functionality and visual appeal of the glass shower door.
Throughout the process of loosening the hinge screws, maintain a steady and deliberate approach. Carefully monitor the movement of the hinges as the screws are loosened, ensuring that you have the necessary freedom to make the required adjustments. By taking your time and exercising patience during this step, you can set the stage for a successful hinge realignment process.
With the hinge screws loosened and the hinges primed for adjustment, you are now prepared to proceed to the next step in the process. This will involve the precise manipulation of the hinge position to address any misalignment issues and optimize the functionality of your glass shower door.
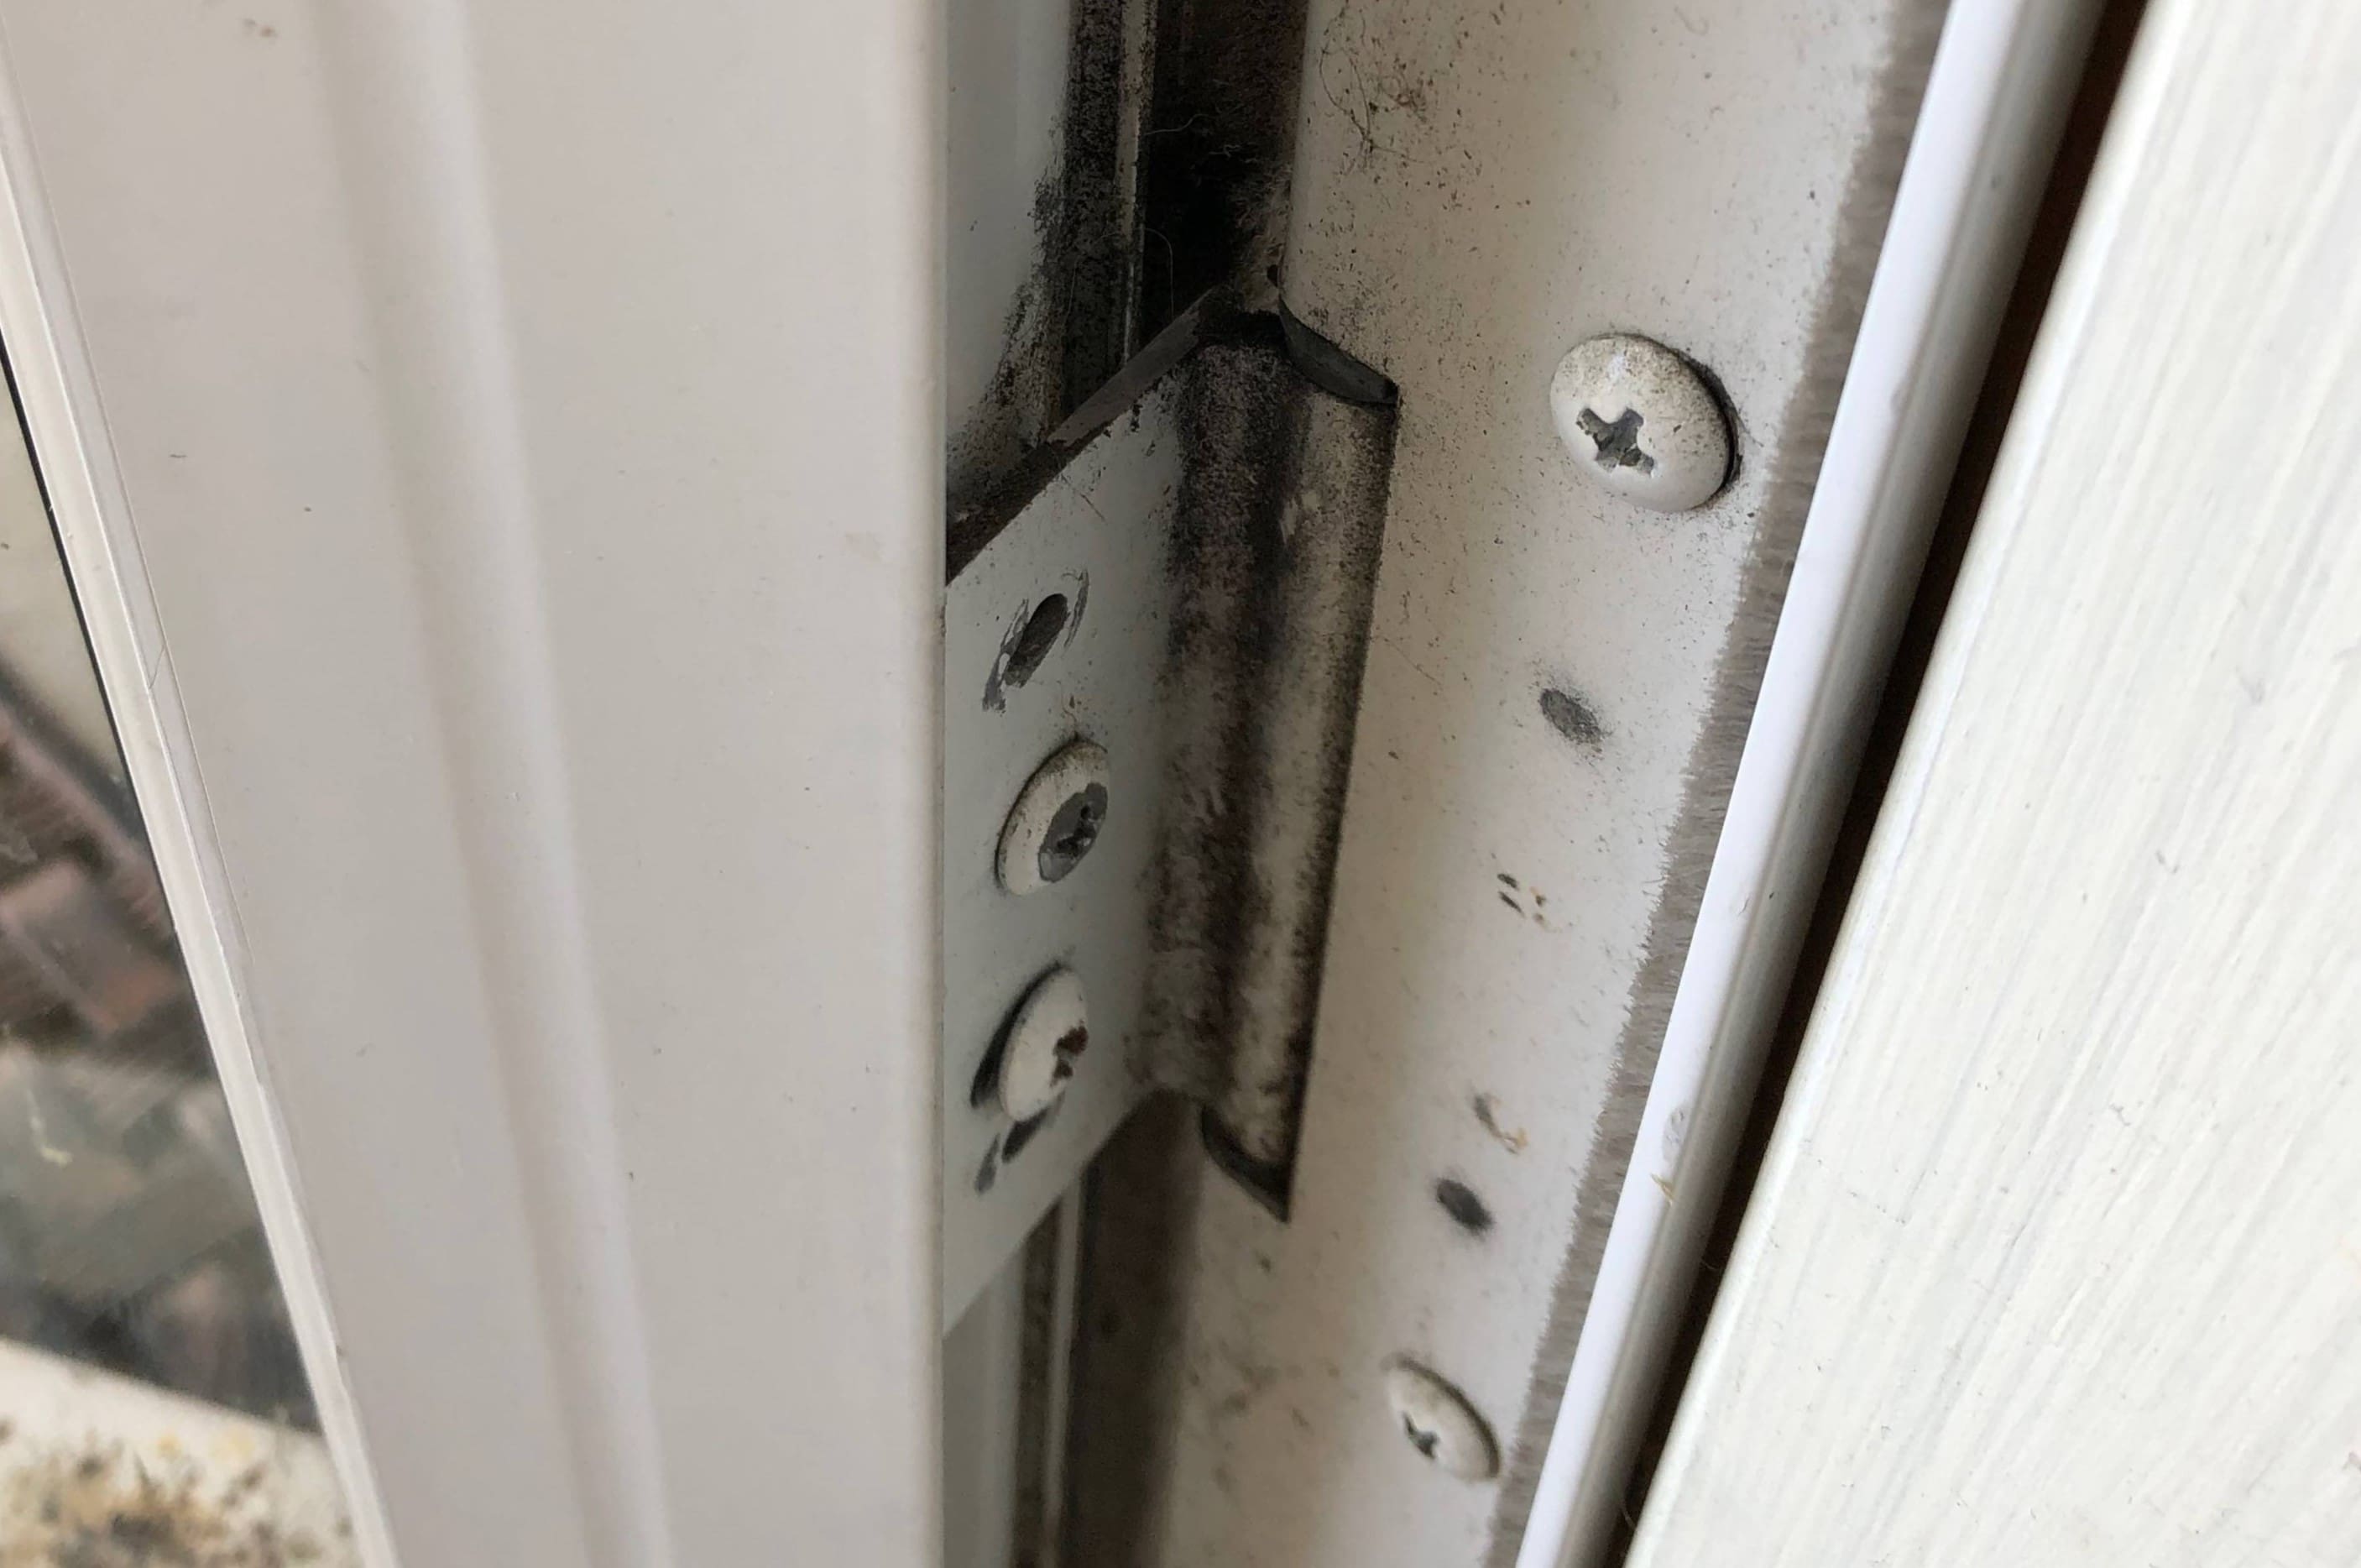
Step 3: Adjust the Hinge Position
With the hinge screws loosened, you are now ready to proceed with the pivotal step of adjusting the hinge position. This step is crucial for addressing any misalignment issues and ensuring that the glass shower door operates seamlessly and maintains a visually appealing appearance.
Begin by carefully assessing the current positioning of the hinges and the alignment of the glass door. Using a level, verify the vertical and horizontal orientation of the door to identify any deviations from the desired alignment. This assessment will guide the adjustments you need to make to achieve the optimal positioning of the hinges.
Depending on the specific misalignment issues observed, you may need to manipulate the hinges to correct the vertical or horizontal positioning of the door. With the necessary adjustments in mind, gently reposition the hinges to align the door accurately. It's essential to proceed methodically, making incremental adjustments and regularly assessing the impact on the door's alignment.
As you adjust the hinge position, pay close attention to the door's movement and alignment. Ensure that the door closes securely and uniformly, without any noticeable gaps or resistance. The goal is to achieve a balanced and precise alignment that enhances the functionality and aesthetic appeal of the glass shower door.
Throughout the adjustment process, periodically check the alignment using the level to confirm that the door is gradually approaching the desired positioning. This iterative approach allows you to fine-tune the hinge position, addressing any minor discrepancies and ensuring that the door operates flawlessly.
It's important to exercise patience and precision during this step, as achieving the optimal hinge position is instrumental in restoring the functionality and visual appeal of the glass shower door. By methodically adjusting the hinge position and continuously evaluating the door's alignment, you can effectively address any misalignment issues and ensure a seamless operation of the shower enclosure.
Once you are satisfied with the adjusted hinge position and the alignment of the glass door, you are ready to proceed to the next step, which involves tightening the hinge screws to secure the new positioning. This final adjustment will solidify the realigned hinge position, ensuring that the door operates smoothly and maintains its optimal alignment.
With the hinge position successfully adjusted, you have taken a significant stride towards restoring the functionality and visual appeal of your glass shower door. The meticulous realignment of the hinges sets the stage for a seamlessly operating shower enclosure, enhancing both the practicality and aesthetics of the space.
To adjust glass shower door hinges, use a screwdriver to loosen the screws on the hinges, then adjust the door to the desired position before tightening the screws back up.
Step 4: Tighten the Hinge Screws
With the hinge position successfully adjusted to restore the proper alignment and functionality of the glass shower door, the next crucial step is to tighten the hinge screws. This final adjustment solidifies the new hinge position, ensuring that the door operates smoothly and maintains its optimal alignment.
Using the appropriate screwdriver from your set, carefully locate the hinge screws and begin tightening them. It's essential to approach this step with precision, gradually securing the screws to firmly lock the hinges in their adjusted position. By turning the screws clockwise, you can incrementally restore the tension and stability necessary to maintain the realigned hinge position.
As you tighten the hinge screws, pay close attention to the resistance encountered. It's important to achieve a secure fit without over-tightening the screws, which could potentially lead to damage or compromise the adjustment made to the hinge position. By exercising a controlled and deliberate approach, you can ensure that the hinges are firmly secured without causing any unnecessary strain.
Throughout the process of tightening the hinge screws, periodically assess the alignment and movement of the door. Confirm that the door closes securely and uniformly, verifying that the realigned hinge position has been effectively secured. This careful evaluation ensures that the door operates seamlessly, reflecting the successful adjustment of the glass shower door hinges.
As the hinge screws are tightened, take note of the incremental progress and the impact on the door's alignment. By maintaining a steady and attentive approach, you can fine-tune the tension of the screws to achieve the optimal balance between secure fixation and the free movement of the hinges.
Once the hinge screws are securely tightened, the adjustment process is effectively concluded, and the glass shower door is ready to resume its seamless operation. The successful realignment of the hinges, coupled with the precise tightening of the screws, ensures that the door maintains its proper alignment and functions as intended.
With the hinge screws firmly secured, the glass shower door is now poised to deliver a visually appealing and functional experience. The meticulous adjustment and tightening of the hinges have restored the door's seamless operation, enhancing both the practicality and aesthetics of the shower enclosure.
By following the step-by-step process of adjusting the glass shower door hinges, you have taken control of the maintenance and functionality of your shower enclosure. With the right tools and a clear understanding of the adjustment process, you have successfully restored the proper alignment of the hinges, ensuring that your glass shower door operates smoothly and looks visually appealing.
Step 5: Replace the Hinge Cover Plates
After successfully adjusting the glass shower door hinges and ensuring the proper alignment and functionality of the door, the final step involves replacing the hinge cover plates. These cover plates not only contribute to the aesthetic appeal of the shower enclosure but also serve the essential function of concealing the hinge mechanisms. By replacing the cover plates, you can complete the adjustment process and restore the polished appearance of the glass shower door.
Begin by retrieving the hinge cover plates that were carefully set aside during the initial step of removing them. Inspect the cover plates for any signs of damage or wear, taking note of their orientation and alignment. If the cover plates exhibit significant wear or damage, this presents an opportunity to consider replacing them with new plates to enhance the overall appearance of the shower enclosure.
Align the cover plates with the respective hinges, ensuring that they are positioned correctly to facilitate a seamless fit. Depending on the type of fastening mechanism used, whether screws or clips, carefully secure the cover plates in place. If screws are utilized, use the appropriate screwdriver to fasten the plates securely, taking care not to overtighten the screws. Alternatively, if clips are employed, gently press the cover plates into position until they are snugly secured.
As you replace the hinge cover plates, pay close attention to the alignment and symmetry of the plates with respect to the hinges. Ensuring that the cover plates are uniformly positioned contributes to the overall visual harmony of the shower enclosure. Additionally, the secure attachment of the cover plates serves to safeguard the hinge mechanisms and maintain the streamlined appearance of the glass shower door.
Once the hinge cover plates are successfully replaced, take a moment to appreciate the revitalized appearance of the shower enclosure. The seamless integration of the cover plates not only conceals the hinge mechanisms but also contributes to the overall aesthetic appeal of the glass shower door. This final touch completes the adjustment process, culminating in a visually appealing and fully functional shower enclosure.
By replacing the hinge cover plates, you have concluded the adjustment process with a meticulous attention to detail. The successful realignment of the hinges, coupled with the precise replacement of the cover plates, ensures that your glass shower door not only operates seamlessly but also exudes a polished and visually appealing presence within the bathroom space.
Read more: How To Remove Glass Shower Doors
Conclusion
In conclusion, the process of adjusting glass shower door hinges is a fundamental aspect of maintaining the functionality and visual appeal of your shower enclosure. By following the comprehensive step-by-step guide outlined in this article, you have gained the knowledge and confidence to take control of the maintenance and alignment of your glass shower door hinges.
The meticulous approach to adjusting the hinges, from removing the cover plates to tightening the screws, has empowered you to address misalignment issues and ensure that the door operates seamlessly. The careful manipulation of the hinge position, coupled with the precise tightening of the screws, has resulted in a visually appealing and fully functional glass shower door.
By understanding the importance of proper hinge alignment, you have safeguarded the safety and longevity of your shower enclosure. Misaligned hinges can lead to issues such as water leakage and compromised aesthetics, which can be effectively mitigated through the adjustment process outlined in this guide.
Furthermore, the successful replacement of the hinge cover plates has not only concealed the hinge mechanisms but also contributed to the overall aesthetic appeal of the glass shower door. This final touch completes the adjustment process, culminating in a visually appealing and fully functional shower enclosure.
With the right tools, materials, and a clear understanding of the adjustment process, you have restored the proper alignment of the hinges, ensuring that your glass shower door operates smoothly and looks visually appealing. By taking a proactive approach to maintaining your shower enclosure, you have enhanced both the practicality and aesthetics of the space, creating a welcoming and visually appealing bathroom environment.
In essence, the ability to adjust glass shower door hinges is a valuable skill that empowers you to uphold the functionality and visual appeal of your shower enclosure. By following the detailed steps outlined in this guide, you have demonstrated a proactive commitment to maintaining the optimal performance and aesthetics of your glass shower door, ensuring a seamless and visually appealing experience for years to come.
Adjusting your glass shower door hinges is just the start; if you're considering a full bathroom overhaul, you might wonder about the time commitment required. Whether you're planning to sell your home or simply want to freshen up your space, understanding the duration of a bathroom renovation can help set realistic expectations. Our detailed guide breaks down the timelines and factors that affect how swiftly you can transform your bathroom. Ready for a change? Check out our insights on renovating your bathroom space efficiently.
Frequently Asked Questions about How To Adjust Glass Shower Door Hinges
Was this page helpful?
At Storables.com, we guarantee accurate and reliable information. Our content, validated by Expert Board Contributors, is crafted following stringent Editorial Policies. We're committed to providing you with well-researched, expert-backed insights for all your informational needs.

0 thoughts on “How To Adjust Glass Shower Door Hinges”