Home>Technology>Home Entertainment Systems>How To Make A Projector With A Glass Cup
Home Entertainment Systems
How To Make A Projector With A Glass Cup
Modified: August 17, 2024
Learn how to create a home entertainment system with a glass cup projector. Discover step-by-step instructions for a DIY projector setup.
(Many of the links in this article redirect to a specific reviewed product. Your purchase of these products through affiliate links helps to generate commission for Storables.com, at no extra cost. Learn more)
Introduction
Welcome to the world of DIY entertainment! Have you ever imagined creating your own projector using a simple glass cup? In this guide, we will embark on an exciting journey to craft a unique and functional projector using everyday materials. Whether you're a tech enthusiast, a hands-on learner, or simply someone looking for a fun and creative project, this step-by-step tutorial is designed to help you unleash your creativity and build a remarkable piece of homemade technology.
By following this guide, you'll not only gain a deeper understanding of the principles behind projection technology but also have the satisfaction of creating a practical and innovative device from scratch. The process is both educational and rewarding, offering a hands-on experience that combines science, engineering, and artistry.
So, roll up your sleeves, gather your materials, and let's dive into the exciting world of DIY projector creation. Get ready to transform a humble glass cup into a remarkable piece of technology that will bring your favorite movies, videos, and presentations to life in a whole new way. Let's begin this adventure and unlock the potential of a simple glass cup to become the lens through which your imagination is projected onto the big screen.
Key Takeaways:
- Turn a glass cup into a DIY projector with a smartphone and cardboard. It’s a fun, hands-on way to learn about optics and create your own movie nights at home!
- By testing and adjusting your DIY projector, you can enhance image quality and immerse yourself in a larger-than-life viewing experience. Embrace creativity and innovation with DIY technology!
Materials Needed
Before we embark on this creative endeavor, let’s gather the materials required to bring our DIY projector to life. Here’s a list of items you’ll need:
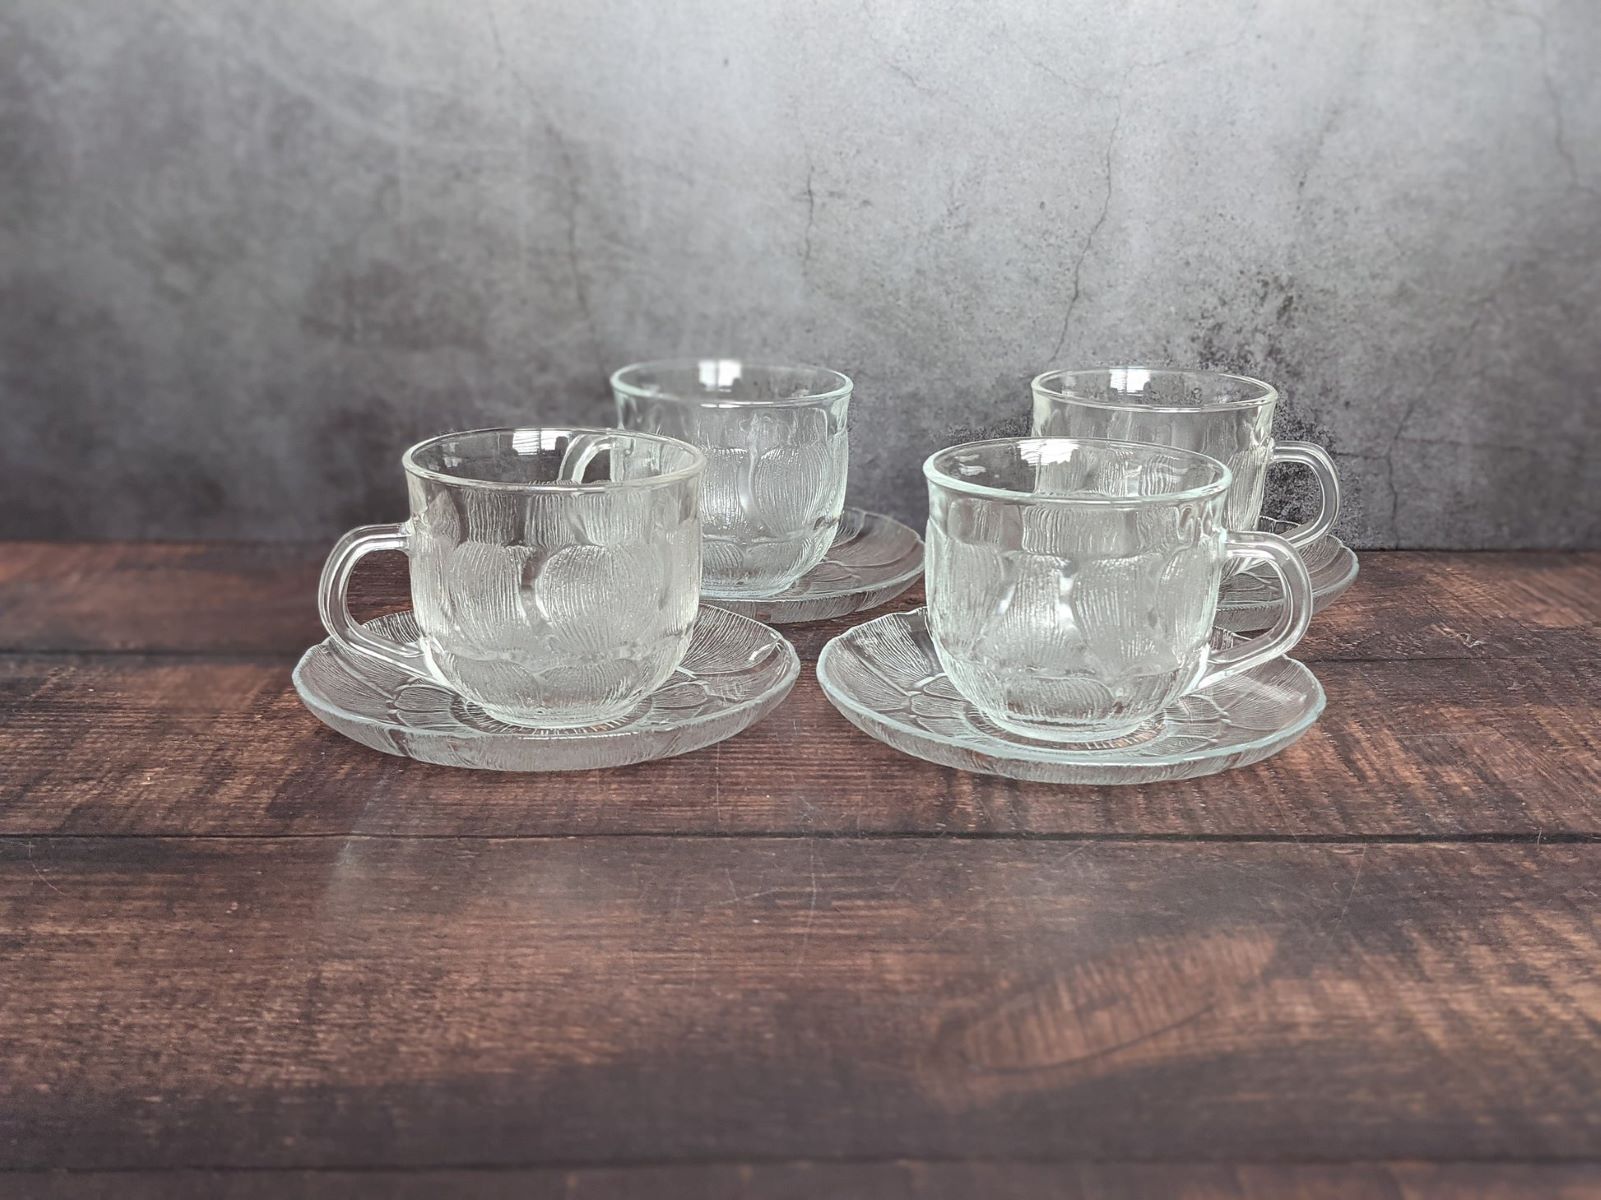
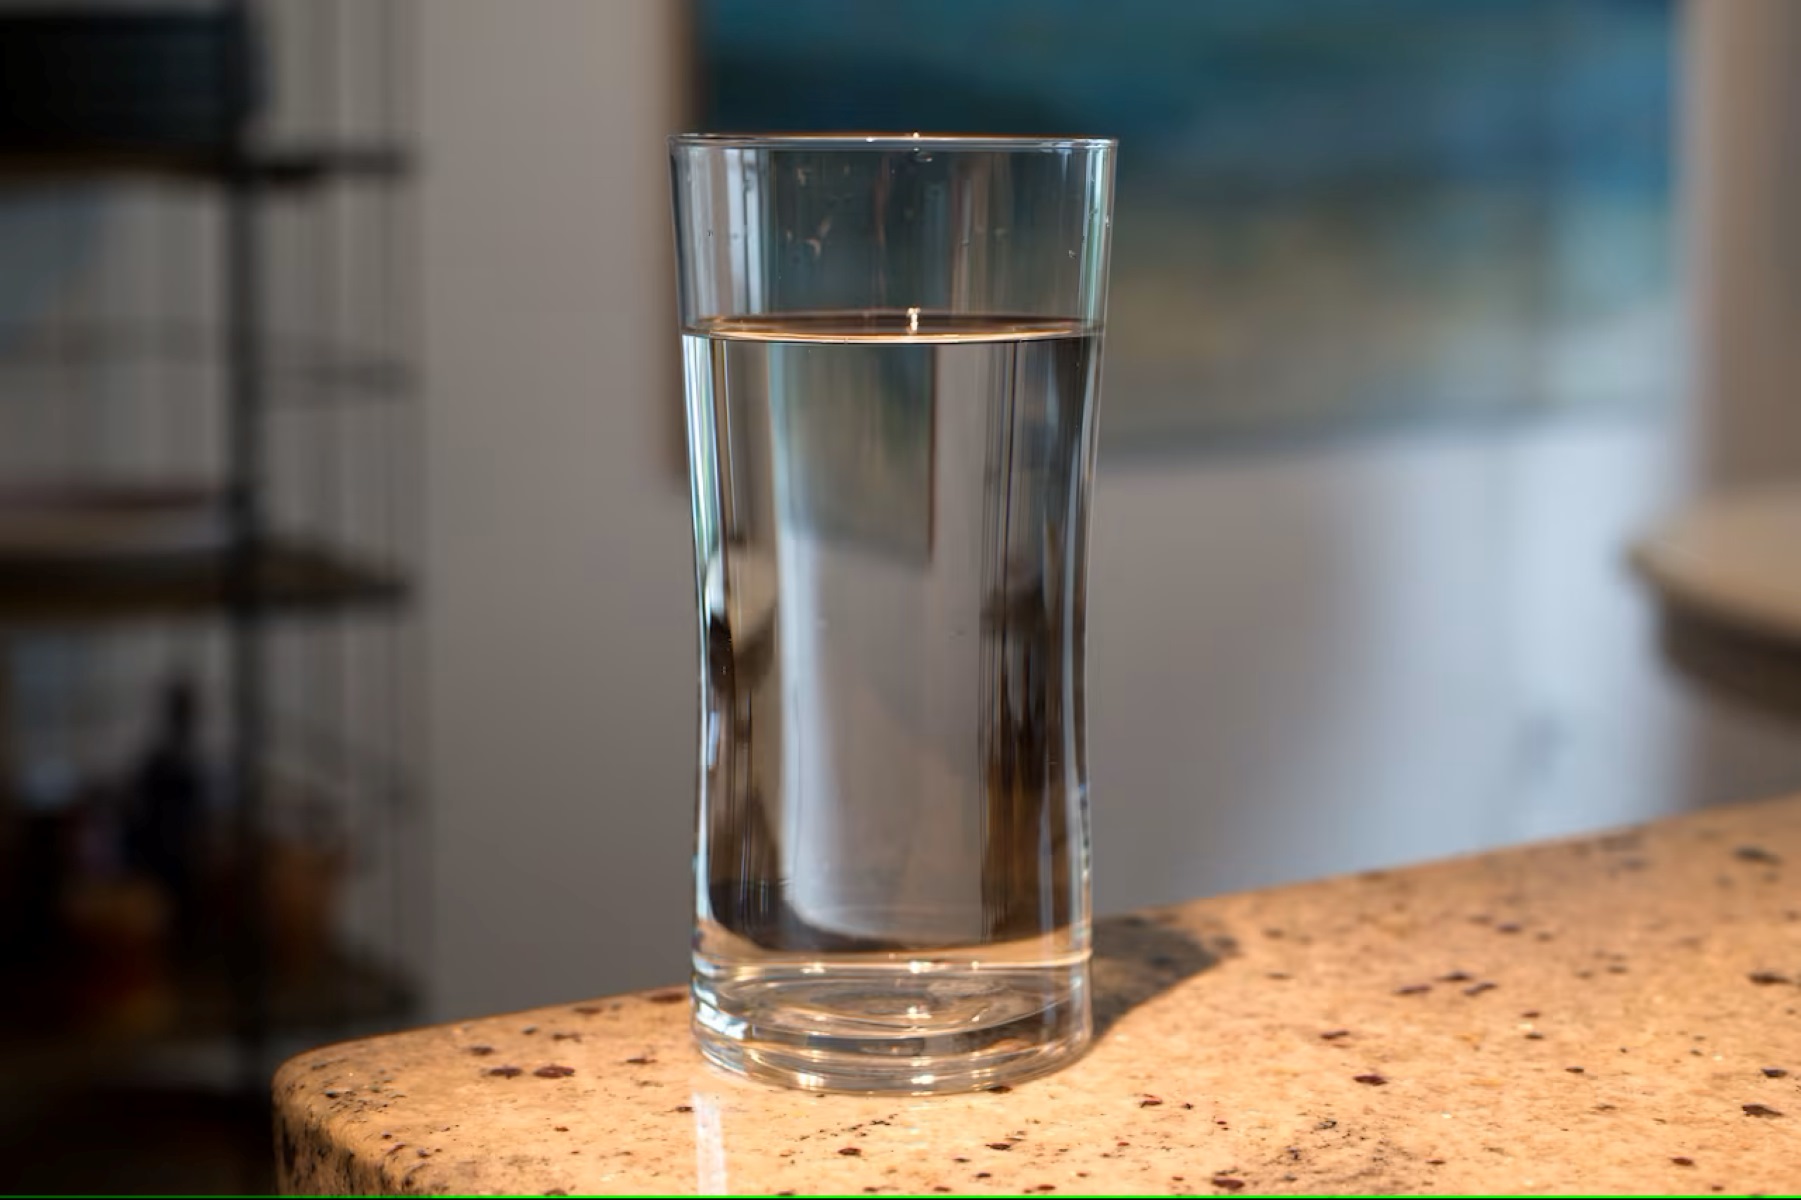
- A glass cup: The key component of our projector, the glass cup will serve as the lens, focusing and projecting the images onto the viewing surface.
- A smartphone or tablet: This will act as the source of the images or videos to be projected. Ensure that it has the capability to display content in full-screen mode.
- A sturdy cardboard box: This will form the main structure of the projector, providing stability and support for the glass cup and the smartphone or tablet.
- A utility knife or scissors: These tools will be used to cut and shape the cardboard to create the necessary openings and compartments within the projector.
- Electrical or duct tape: This will be used to secure the components in place and ensure that the projector is assembled firmly.
- A magnifying glass or a convex lens: If a suitable glass cup is not available, a magnifying glass or a convex lens can be used as an alternative.
- A ruler and a pencil: These basic tools will be essential for measuring and marking the cardboard for precise cutting and assembly.
- A dark, opaque cloth or construction paper: This will be used to block out external light and create a darkened environment within the projector for optimal image projection.
- A small tripod or a stand: This will provide a stable base for the projector, allowing for easy positioning and adjustment during use.
- Optional: Decorative materials such as colored paper, markers, or stickers to personalize the exterior of the projector.
With these materials at hand, we are well-equipped to commence the construction of our DIY glass cup projector. As we progress through the steps, we will unleash the potential of these simple items to create a functional and innovative piece of technology.
Step 1: Preparing the Glass Cup
Before we can begin assembling our projector, it’s essential to prepare the glass cup to serve as the lens for our DIY creation. The glass cup will play a crucial role in focusing and projecting the images from our smartphone or tablet onto a larger surface. Here’s how to prepare the glass cup:
- Cleaning the Glass Cup: Start by thoroughly cleaning the glass cup to ensure that the surface is free from any dust, smudges, or fingerprints. Use a gentle glass cleaner and a lint-free cloth to achieve a pristine, clear surface. This step is crucial for optimal image projection and clarity.
- Positioning the Glass Cup: Place the glass cup upside down on a flat surface. The open end of the cup will serve as the lens, so it should be facing upwards. Ensure that the cup is stable and will not easily tip over during the assembly process.
- Testing the Focusing Capability: Hold the glass cup at a distance from a printed or digital image. Observe how the image appears through the glass cup. Move the cup closer to or farther from the image to test its focusing capability. This will help you understand the optimal distance for projecting clear and sharp images.
- Inspecting for Imperfections: Carefully examine the glass cup for any scratches, cracks, or imperfections that may affect the quality of the projected images. It’s important to use a glass cup with a smooth and unblemished surface to achieve the best results.
By diligently preparing the glass cup, we ensure that it is primed to function as an effective lens for our DIY projector. The cleanliness and quality of the glass cup will significantly impact the clarity and sharpness of the projected images. With the glass cup ready, we are now poised to move on to the next exciting step in our DIY projector creation journey.
Step 2: Creating the Lens
With the glass cup prepared, we can now focus on creating the lens assembly for our DIY projector. The lens is a critical component that will determine the quality and focus of the projected images. Let’s delve into the process of crafting the lens:
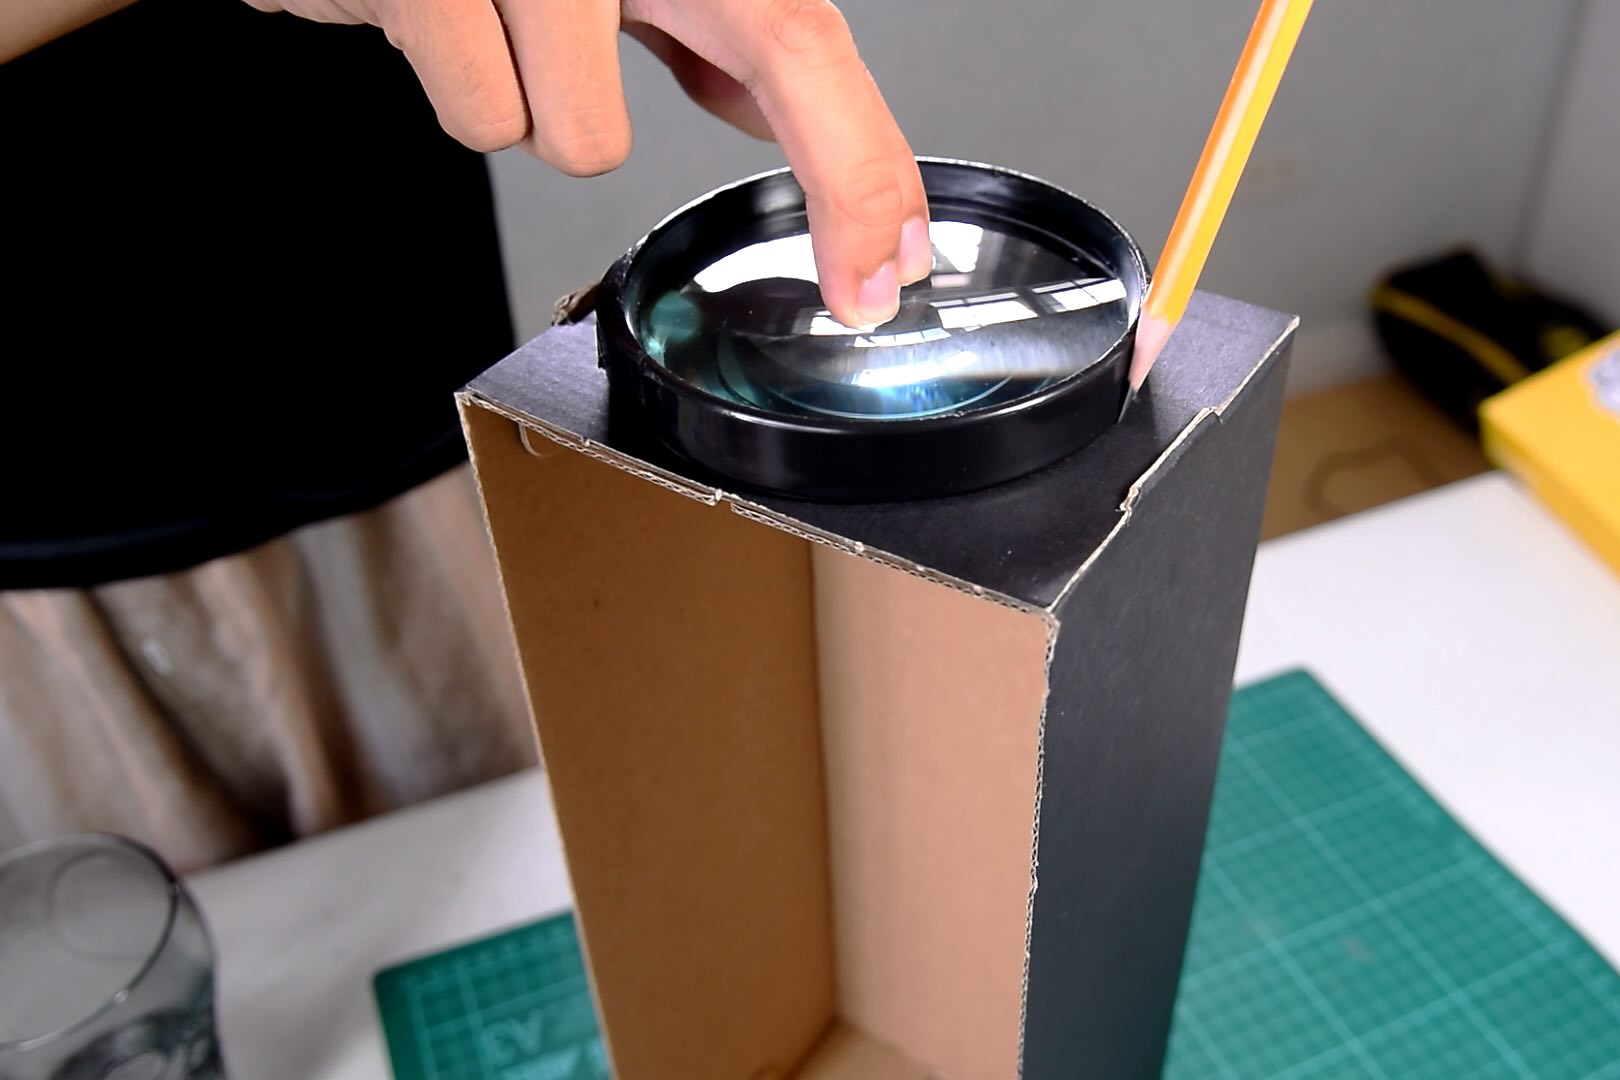
- Tracing the Opening: Place the glass cup on a piece of cardboard and trace its circumference to create a circular opening. This opening will accommodate the glass cup and serve as the lens holder within the projector.
- Cutting the Lens Holder: Use a utility knife or scissors to carefully cut out the circular opening from the cardboard. Take precise measurements to ensure that the opening fits the glass cup snugly without being too tight.
- Securing the Glass Cup: Gently place the glass cup into the circular opening on the cardboard. It should fit securely without wobbling or shaking. Use pieces of electrical or duct tape to affix the glass cup in place, ensuring that it remains centered within the opening.
- Creating the Focusing Mechanism: To enable adjustments for focusing the lens, consider adding a small platform or support beneath the cardboard to raise or lower the glass cup. This will allow for fine-tuning the focus of the projected images as needed.
- Testing the Lens Assembly: With the glass cup firmly secured in the cardboard opening, test the lens assembly by projecting images onto a flat surface using your smartphone or tablet. Adjust the positioning of the glass cup to achieve optimal focus and clarity.
By meticulously crafting the lens assembly, we ensure that the glass cup is securely positioned and capable of focusing the projected images with precision. This step is pivotal in setting the stage for the successful assembly of our DIY glass cup projector. With the lens in place, we are ready to progress to the next phase of our creative endeavor.
Use a smartphone and a glass cup to make a simple projector. Place the phone inside the cup with the screen facing out. Turn on a video and watch it on a larger surface.
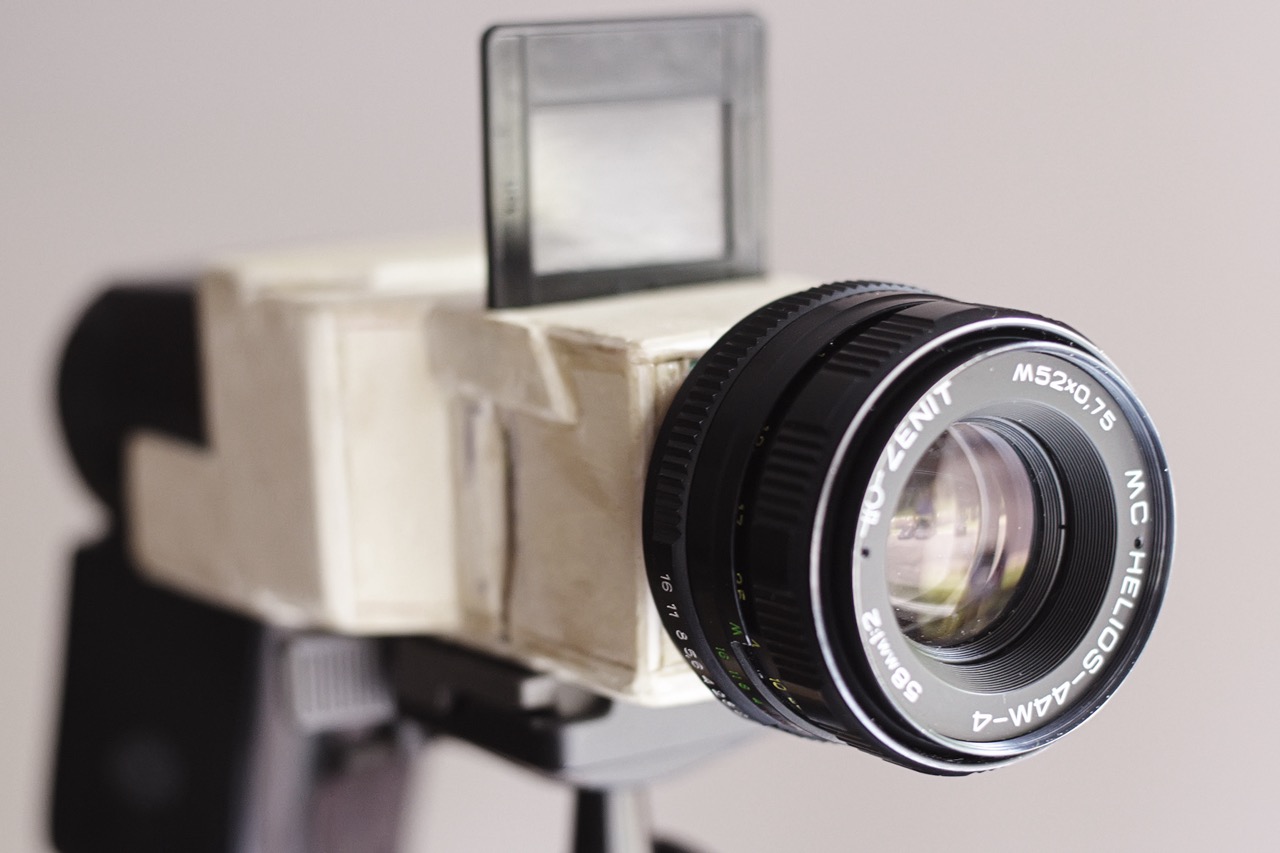
Step 3: Assembling the Projector
Now that we have prepared the glass cup and created the lens assembly, it’s time to bring all the components together and assemble our DIY projector. This step will transform the individual parts into a functional and innovative device capable of projecting images onto a larger surface. Let’s explore the process of assembling the projector:
- Constructing the Main Structure: Begin by assembling the cardboard box to form the main structure of the projector. Cut out openings for the lens assembly and the smartphone or tablet, ensuring a secure fit for both components.
- Positioning the Lens Assembly: Carefully place the lens assembly, comprising the glass cup and the cardboard holder, into the designated opening on the cardboard box. Ensure that it is centered and secure within the structure.
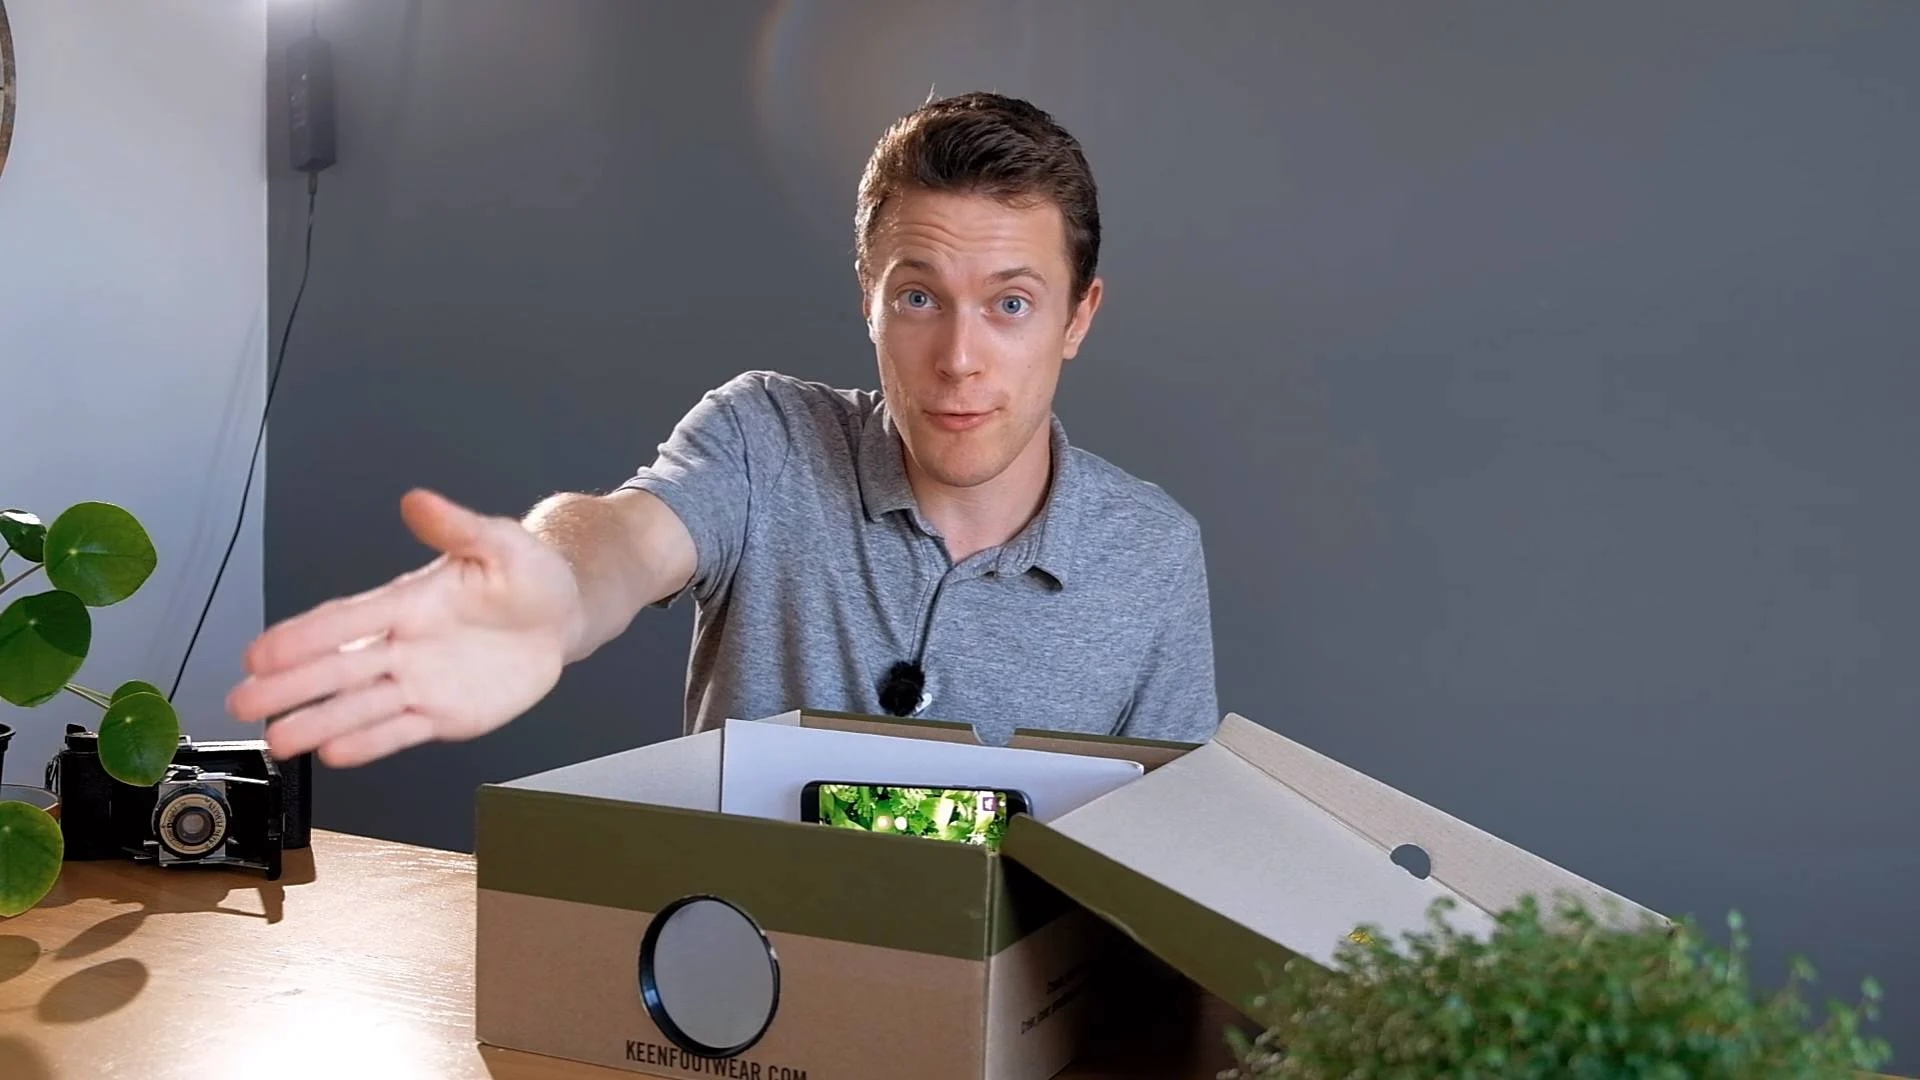
- Inserting the Source Device: Place your smartphone or tablet into the opening opposite the lens assembly, ensuring that the screen is facing towards the lens. Secure the device in place to prevent movement during operation.
- Securing the Components: Use electrical or duct tape to secure the lens assembly and the source device within the cardboard box. The components should be held firmly in place to prevent shifting or misalignment during use.
- Creating a Light-Blocking Chamber: Line the interior of the cardboard box with dark, opaque cloth or construction paper to block out external light and create a darkened chamber for optimal image projection.
- Adding Decorative Touches (Optional): If desired, personalize the exterior of the projector with decorative materials such as colored paper, markers, or stickers. This step adds a creative flair to your DIY creation.
As we carefully assemble the projector, each component comes together to form a cohesive and functional device ready to bring images to life. The combination of the glass cup lens and the source device within the cardboard structure sets the stage for an exciting and innovative projection experience. With the projector assembled, we are now prepared to move on to the final steps of testing and adjusting our DIY creation.
Read more: How To Make Glass Cups With Cricut
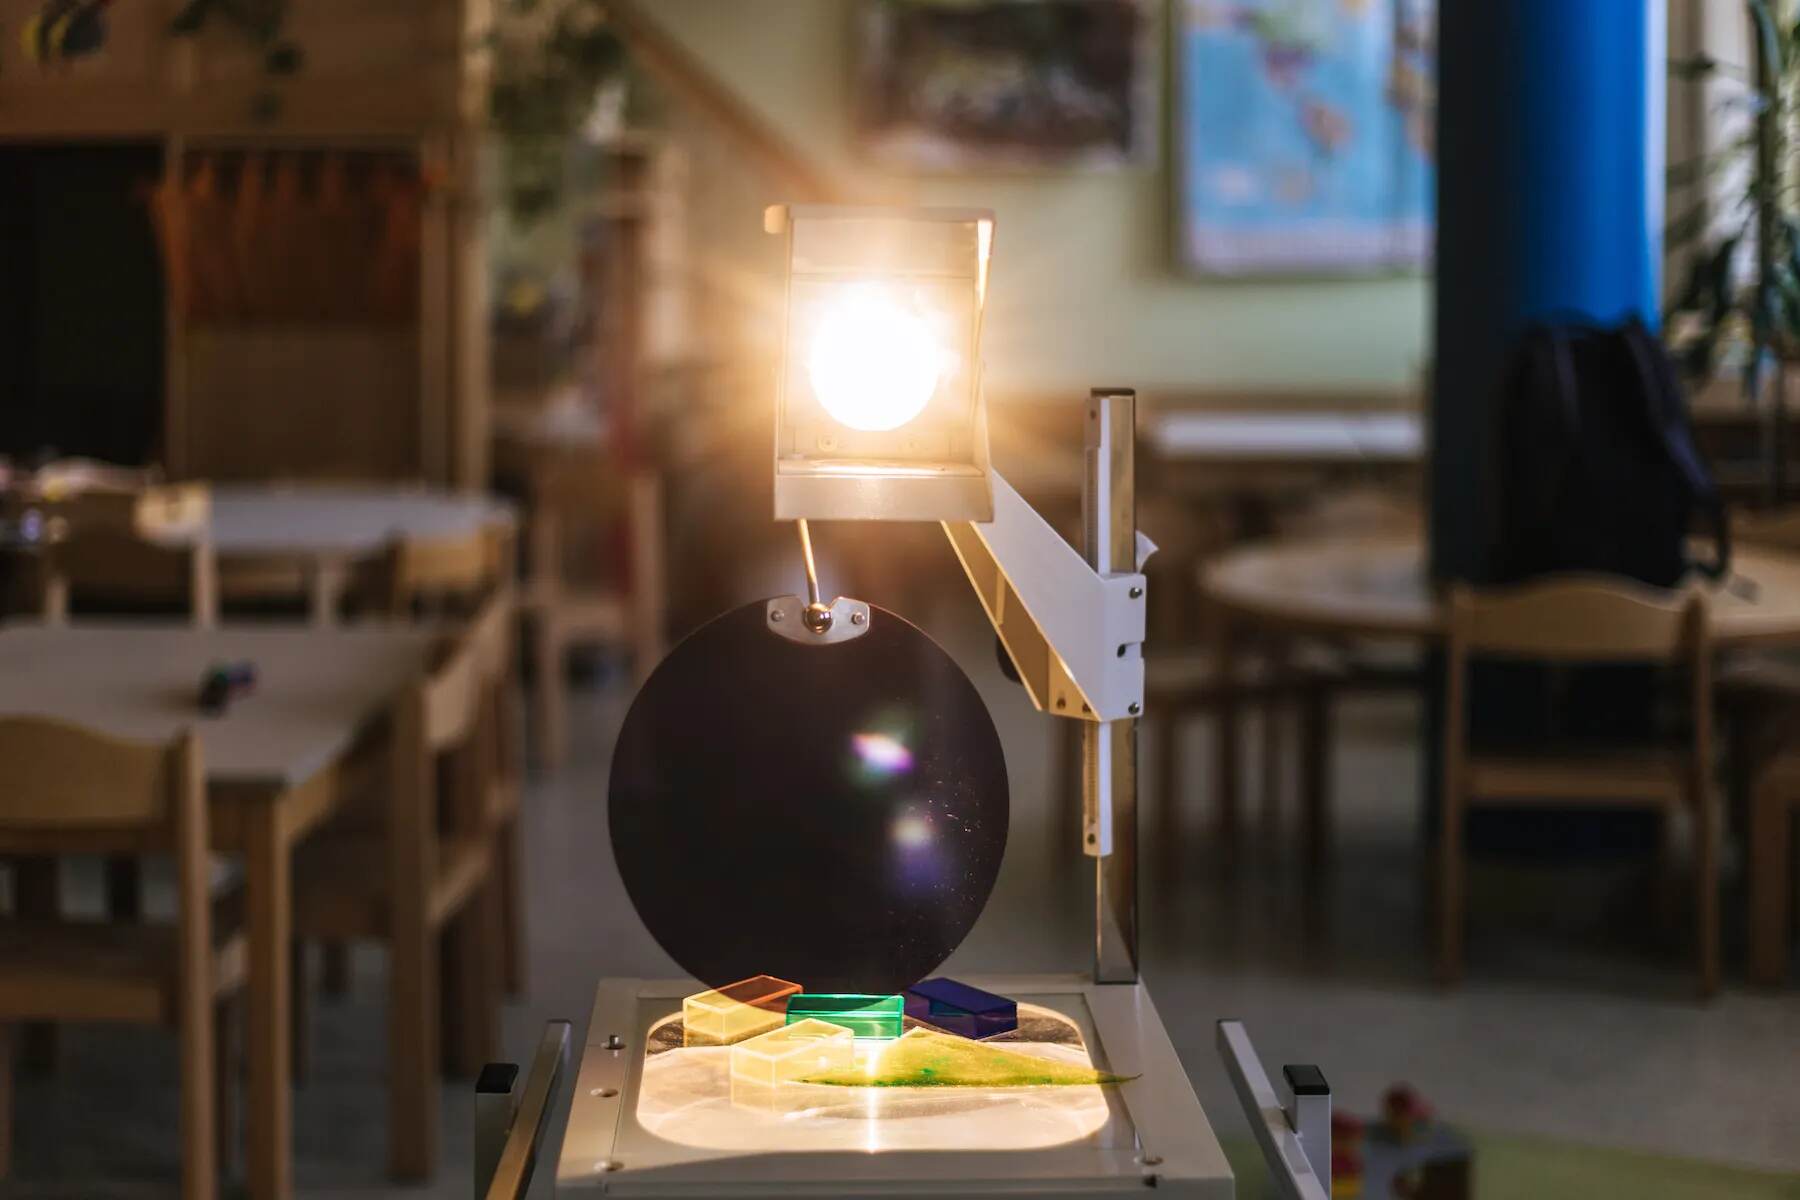
Step 4: Testing and Adjusting
With the DIY projector fully assembled, it’s time to put our creation to the test and make any necessary adjustments to ensure optimal performance. This crucial step allows us to fine-tune the projector and refine its capabilities for projecting clear and sharp images. Let’s delve into the process of testing and adjusting our DIY glass cup projector:
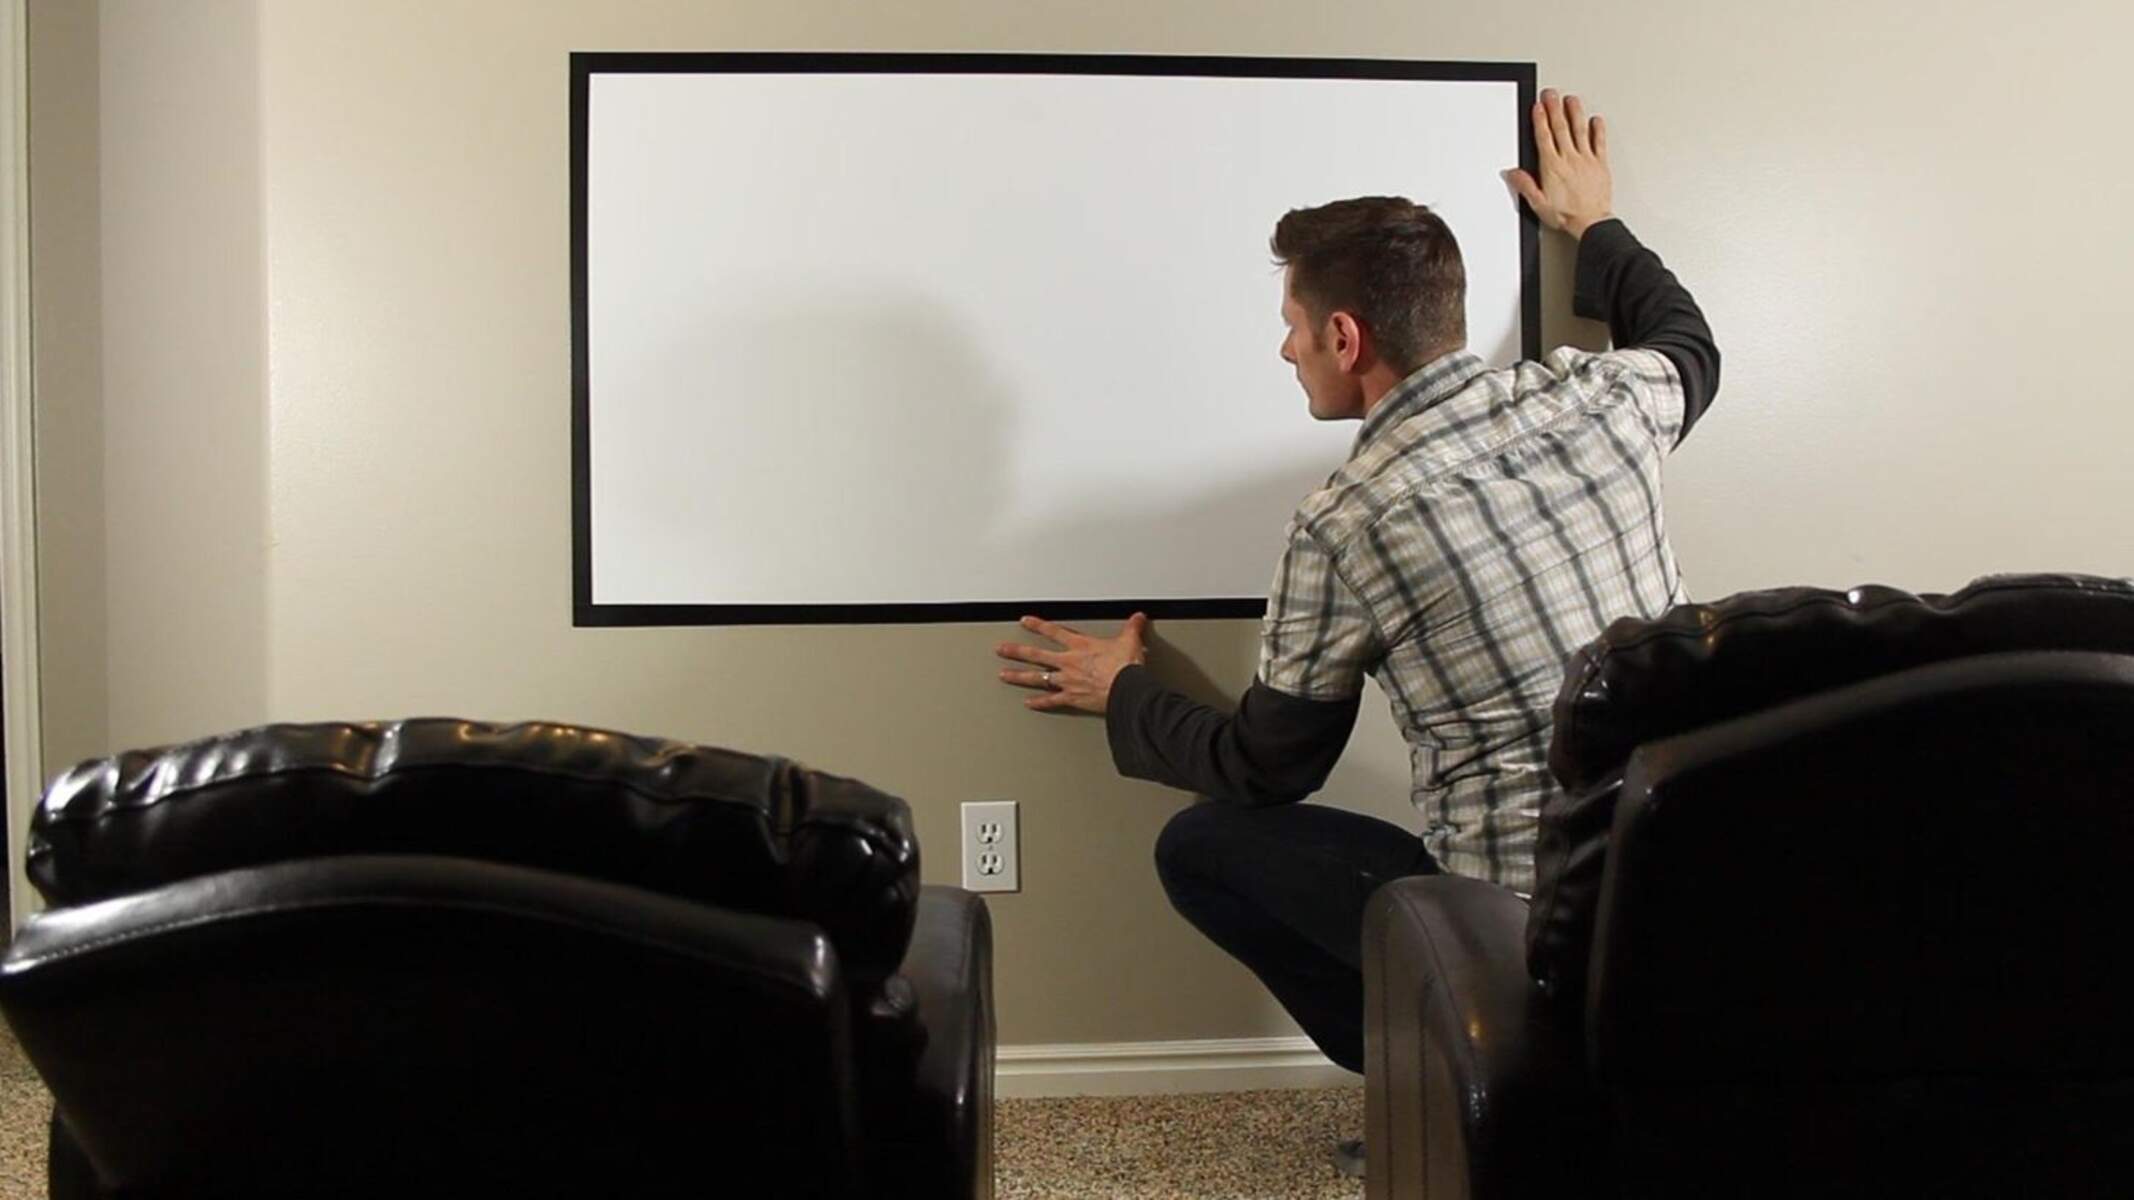
- Choosing a Suitable Projection Surface: Select a flat and smooth surface for projecting the images. A white wall or a projector screen provides an ideal backdrop for displaying the images with clarity and vibrancy.
- Positioning the Projector: Set up the projector on a stable surface, ensuring that it is level and positioned at an appropriate distance from the projection surface. A small tripod or stand can be used to achieve the desired positioning.
- Activating the Source Device: Turn on your smartphone or tablet and select the content you wish to project. Ensure that the device is set to full-screen mode to optimize the projected image size and clarity.
- Adjusting the Focusing Mechanism: Use the focusing mechanism created during the lens assembly step to adjust the distance between the glass cup lens and the source device. Fine-tune the focus until the projected image appears sharp and well-defined.
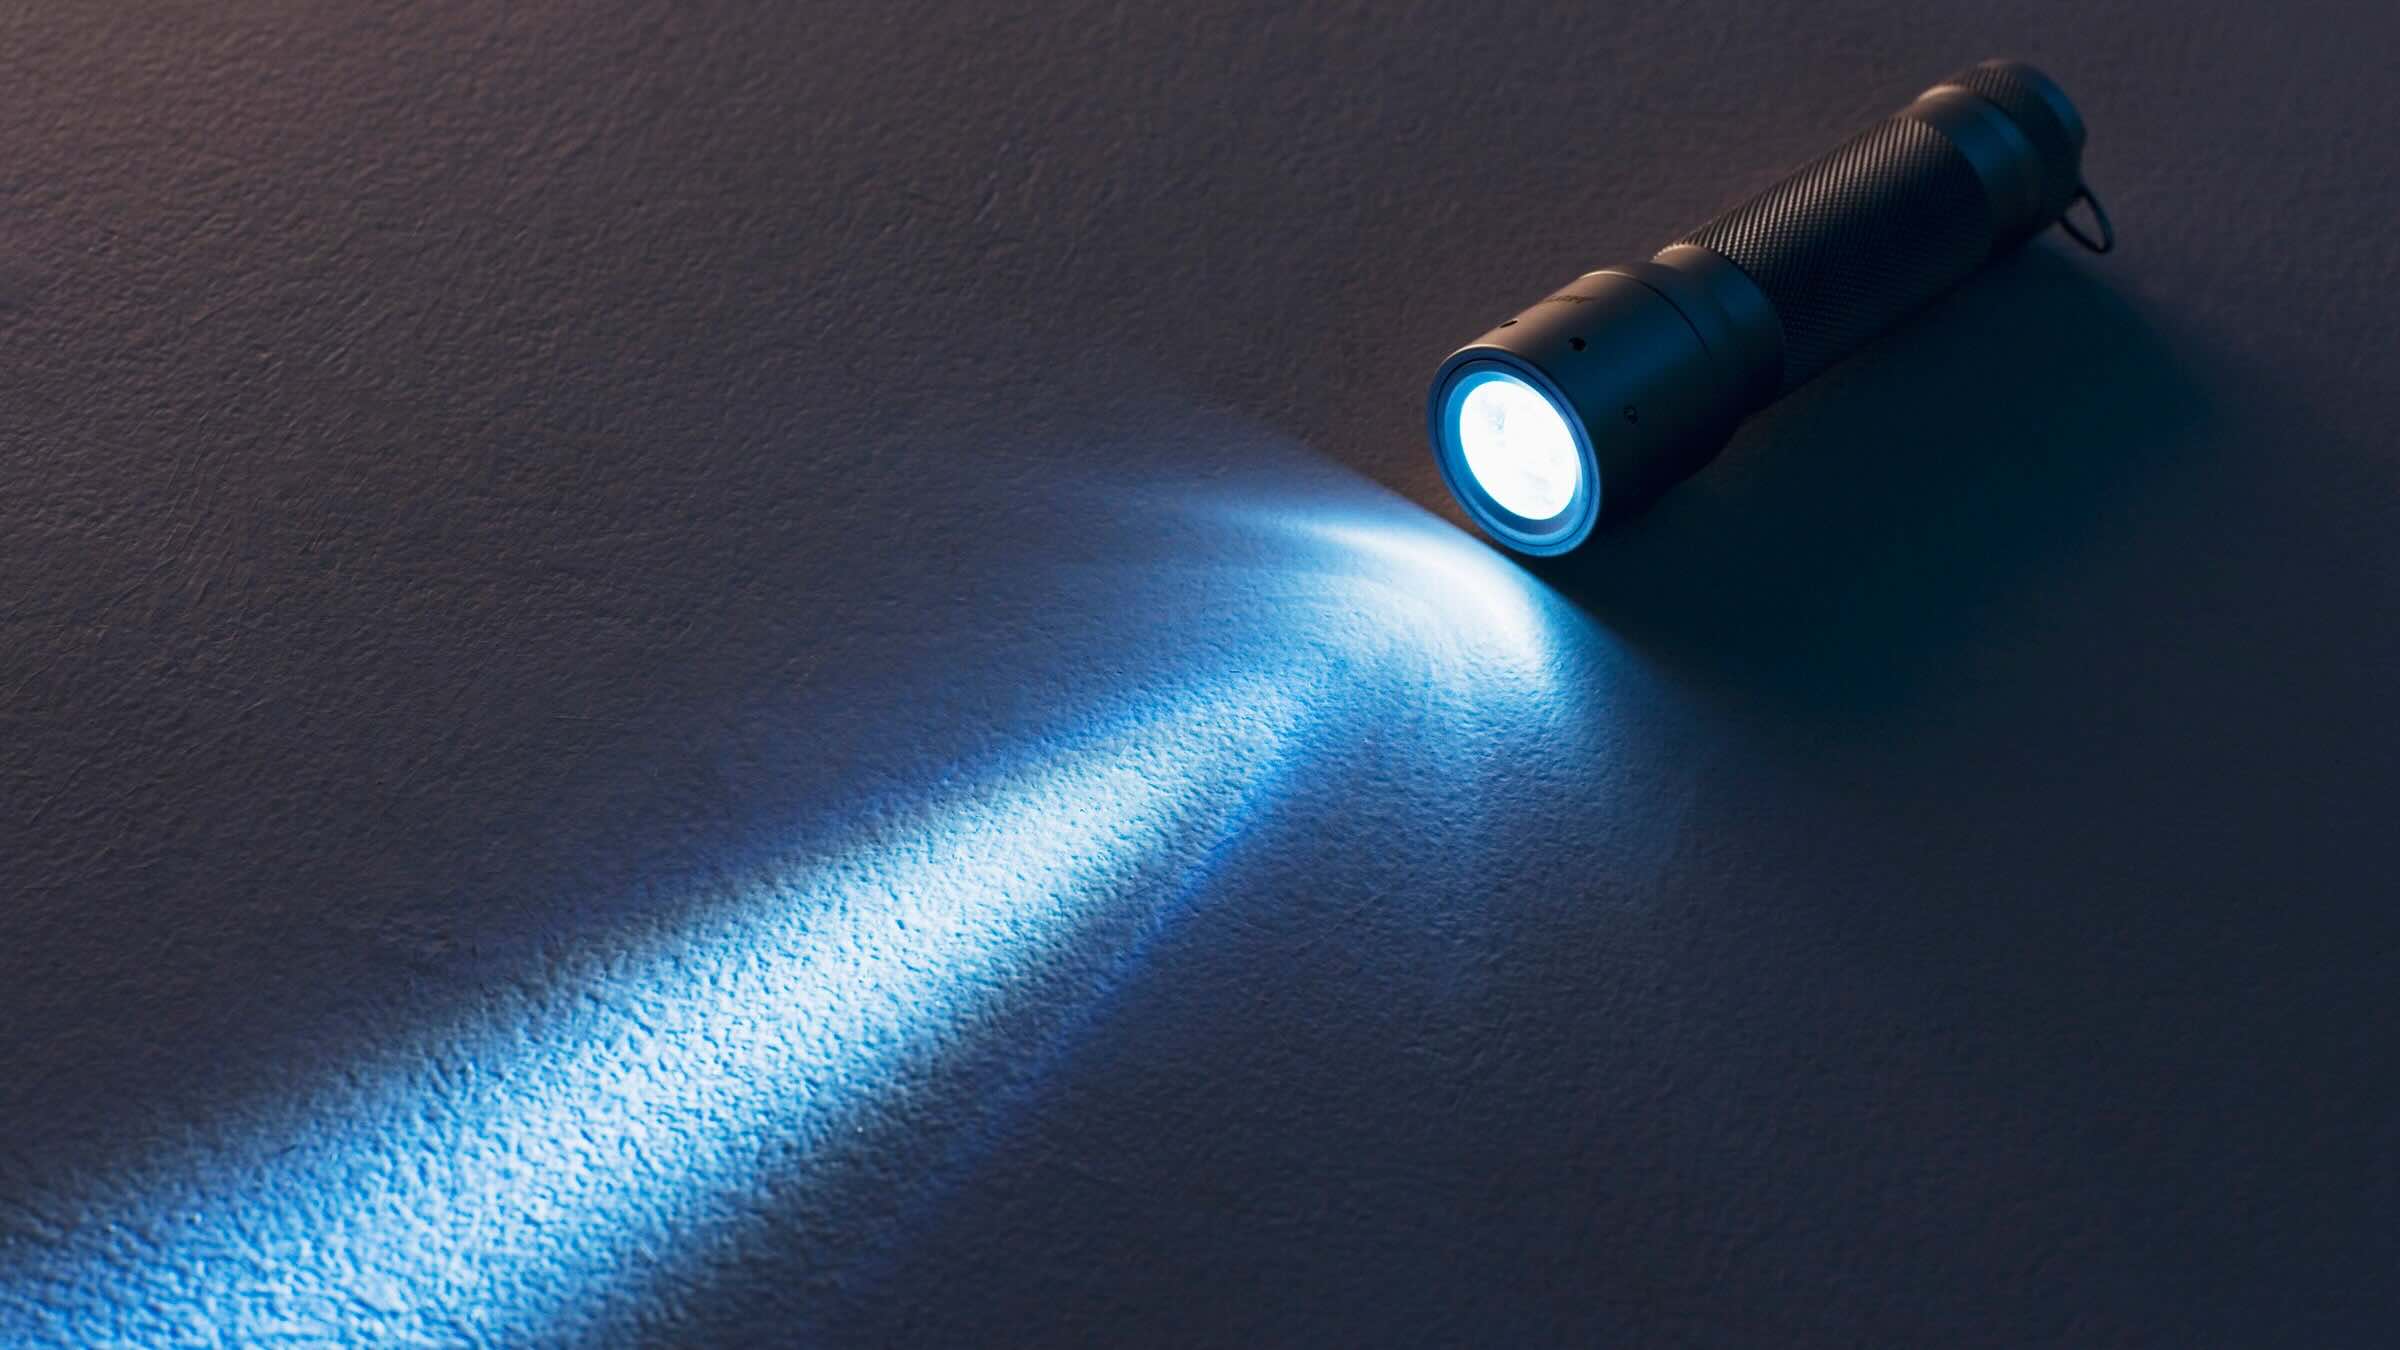
- Testing in Dim Lighting: Dim the ambient lighting in the room to enhance the visibility and contrast of the projected images. A darker environment will allow the projected content to stand out with greater clarity.
- Refining the Image Quality: Experiment with the positioning of the projector and the source device to achieve the optimal image size and focus. Make minor adjustments as needed to enhance the overall image quality.
Through thorough testing and careful adjustments, we can maximize the potential of our DIY glass cup projector, ensuring that it delivers impressive and engaging visual experiences. This hands-on process allows us to harness the full capabilities of our homemade technology and refine its performance for various viewing scenarios. With the projector tested and adjusted, we are now ready to bask in the satisfaction of witnessing our DIY creation in action.
Conclusion
Congratulations on successfully creating your very own DIY glass cup projector! Through a series of creative and hands-on steps, you have transformed simple materials into a remarkable device capable of projecting images with ingenuity and innovation. This journey has not only resulted in the construction of a functional projector but has also provided valuable insights into the principles of optics, projection technology, and do-it-yourself craftsmanship.
As you reflect on this rewarding experience, consider the possibilities that your DIY projector unlocks. Whether it’s enjoying movie nights with friends and family, showcasing captivating visuals for presentations, or simply immersing yourself in a larger-than-life viewing experience, your homemade projector stands as a testament to your creativity and resourcefulness.
Furthermore, the process of creating a DIY glass cup projector has sparked curiosity and exploration, inviting you to delve into the realms of science, engineering, and practical application. By embracing this project, you have expanded your understanding of how everyday materials can be repurposed to serve innovative and practical functions, opening doors to further experimentation and discovery.
As you embark on future DIY endeavors, may the knowledge and skills gained from this experience continue to inspire and empower you to explore the boundless world of hands-on creation. Whether it’s crafting new inventions, experimenting with technology, or engaging in artistic pursuits, your DIY spirit will undoubtedly lead to further moments of inspiration and accomplishment.
With your DIY glass cup projector ready to bring your favorite content to life, you stand as a maker, a creator, and an enthusiast of innovation. Embrace the possibilities that your homemade technology unlocks and revel in the joy of witnessing your imagination projected onto the big screen. Your DIY journey has only just begun, and the future holds endless opportunities for creative exploration and discovery.
Frequently Asked Questions about How To Make A Projector With A Glass Cup
Was this page helpful?
At Storables.com, we guarantee accurate and reliable information. Our content, validated by Expert Board Contributors, is crafted following stringent Editorial Policies. We're committed to providing you with well-researched, expert-backed insights for all your informational needs.


0 thoughts on “How To Make A Projector With A Glass Cup”