Home>Furniture & Design>Interior Design Trends>How To Make Glass Molds
Interior Design Trends
How To Make Glass Molds
Published: February 8, 2024
Learn the latest interior design trends and discover how to make glass molds for a modern and stylish home decor. Explore innovative techniques and ideas for creating unique glass pieces. Elevate your interior design with custom glass molds.
(Many of the links in this article redirect to a specific reviewed product. Your purchase of these products through affiliate links helps to generate commission for Storables.com, at no extra cost. Learn more)
Introduction
Creating glass molds is an essential skill for glass artists and hobbyists alike. Whether you're a seasoned professional or a novice enthusiast, mastering the art of making glass molds opens up a world of creative possibilities. From crafting intricate glass sculptures to designing functional glassware, the ability to produce custom molds empowers artisans to bring their unique visions to life.
Glass molds serve as the foundation for shaping molten glass into a myriad of forms, ranging from delicate ornaments to practical household items. By understanding the process of making glass molds, individuals can unleash their creativity and produce stunning glass pieces that reflect their artistic flair.
In this comprehensive guide, we will delve into the intricate process of creating glass molds, from the essential materials and tools required to the step-by-step techniques for crafting and firing molds. Whether you're eager to embark on a new artistic endeavor or seeking to expand your repertoire of glassworking skills, this guide will equip you with the knowledge and confidence to embark on your mold-making journey.
Join us as we explore the fascinating world of glass mold creation, where imagination meets craftsmanship to produce exquisite works of art. Let's embark on this creative adventure and unlock the potential to transform molten glass into captivating masterpieces.
Key Takeaways:
- Unleash Your Creativity: Learn to make glass molds and bring your artistic visions to life. From intricate sculptures to functional glassware, the possibilities are endless with custom molds.
- Precision and Patience: Creating glass molds requires meticulous attention to detail and a patient approach. From preparing the model to firing the mold, each step demands precision and craftsmanship.
Read more: How To Mold Glass
Materials and Tools Needed
Creating glass molds requires a precise selection of materials and tools to ensure the successful realization of your artistic vision. From the foundational components to the specialized instruments, each item plays a crucial role in the mold-making process. Here's a detailed breakdown of the essential materials and tools needed to embark on your glass mold creation journey:
Materials:
-
Plaster-Silica Mix: This forms the base of the mold and is crucial for capturing the intricate details of the model. Opt for a high-quality plaster-silica mix to ensure optimal mold durability and accuracy.
-
Modeling Clay: Used for sculpting the original model, modeling clay allows for the creation of intricate and precise designs. Choose a clay that is easy to manipulate and retains its shape well.
-
Release Agent: An essential component for preventing the glass from sticking to the mold, a reliable release agent ensures smooth demolding and preserves the integrity of the glass piece.
-
Fiberglass Mat: This reinforcement material adds strength to the mold, enhancing its longevity and resilience during the glass-forming process.
-
Mold Support Frame: A sturdy support frame provides stability and structure during the mold-making process, ensuring that the mold retains its intended shape and form.
Tools:
-
Sculpting Tools: A set of sculpting tools, including various shaping and carving implements, is indispensable for refining the details of the model and achieving the desired texture and form.
-
Mixing Containers and Stirring Tools: To prepare the plaster-silica mix and other mold materials, you'll need mixing containers and reliable stirring tools to achieve the ideal consistency and uniformity.
-
Measuring Instruments: Accurate measurements are crucial in mold-making. Utilize measuring instruments such as rulers and calipers to ensure precision in creating the mold and replicating the model's dimensions.
-
Safety Gear: Prioritize safety by equipping yourself with protective gear, including gloves, goggles, and a respirator, to safeguard against potential hazards associated with handling mold-making materials.
-
Firing Kiln: For firing the mold and achieving the desired strength and durability, a reliable kiln capable of reaching the necessary temperatures is essential for the final curing process.
By assembling these materials and tools, you'll be well-equipped to embark on the intricate and rewarding process of creating glass molds. With a meticulous approach and a keen eye for detail, you can harness the potential of these essential components to bring your artistic visions to life in the form of stunning glass creations.
Preparing the Model
Before delving into the intricate process of creating the glass mold, it is essential to begin with a meticulously prepared model. The model serves as the foundation for the mold, capturing the intricate details and contours that will be replicated in the final glass piece. Whether you're sculpting a unique design or replicating an existing object, the preparation of the model demands precision and attention to detail.
To commence the model preparation, start by selecting a high-quality modeling clay that aligns with the characteristics of your envisioned glass piece. The clay should possess a pliable consistency, allowing you to sculpt and refine the model with ease while retaining the desired shape and texture. As you mold the clay, focus on achieving the precise dimensions and intricate features that will define the visual appeal of the final glass creation.
Utilize an array of sculpting tools to meticulously carve and shape the clay, refining the contours and textures to mirror your artistic vision. Whether it's the delicate curves of a figurine or the intricate patterns of a decorative ornament, the sculpting tools enable you to infuse the model with the desired level of detail and artistry.
As you progress with the model preparation, pay close attention to symmetry and proportion, ensuring that the sculpted form aligns with your envisioned design. Take the time to refine the finer details, smoothing surfaces and perfecting intricate elements to achieve a flawless representation of your artistic concept.
Throughout the model preparation phase, maintain a keen focus on precision and accuracy, as any imperfections or inconsistencies in the model will be reflected in the final glass mold and subsequent glass piece. Embrace a patient and meticulous approach, allowing the model to evolve into a true embodiment of your creative expression.
Upon completing the model, take a moment to review and refine any remaining details, ensuring that every aspect aligns with your artistic vision. The prepared model serves as the blueprint for the glass mold, encapsulating the essence of your creative inspiration and setting the stage for the next phase of the mold-making process.
With the model meticulously prepared, you are poised to embark on the next stage of the glass mold creation journey, where the intricate details and contours of the model will be captured and immortalized in the form of a meticulously crafted glass mold.
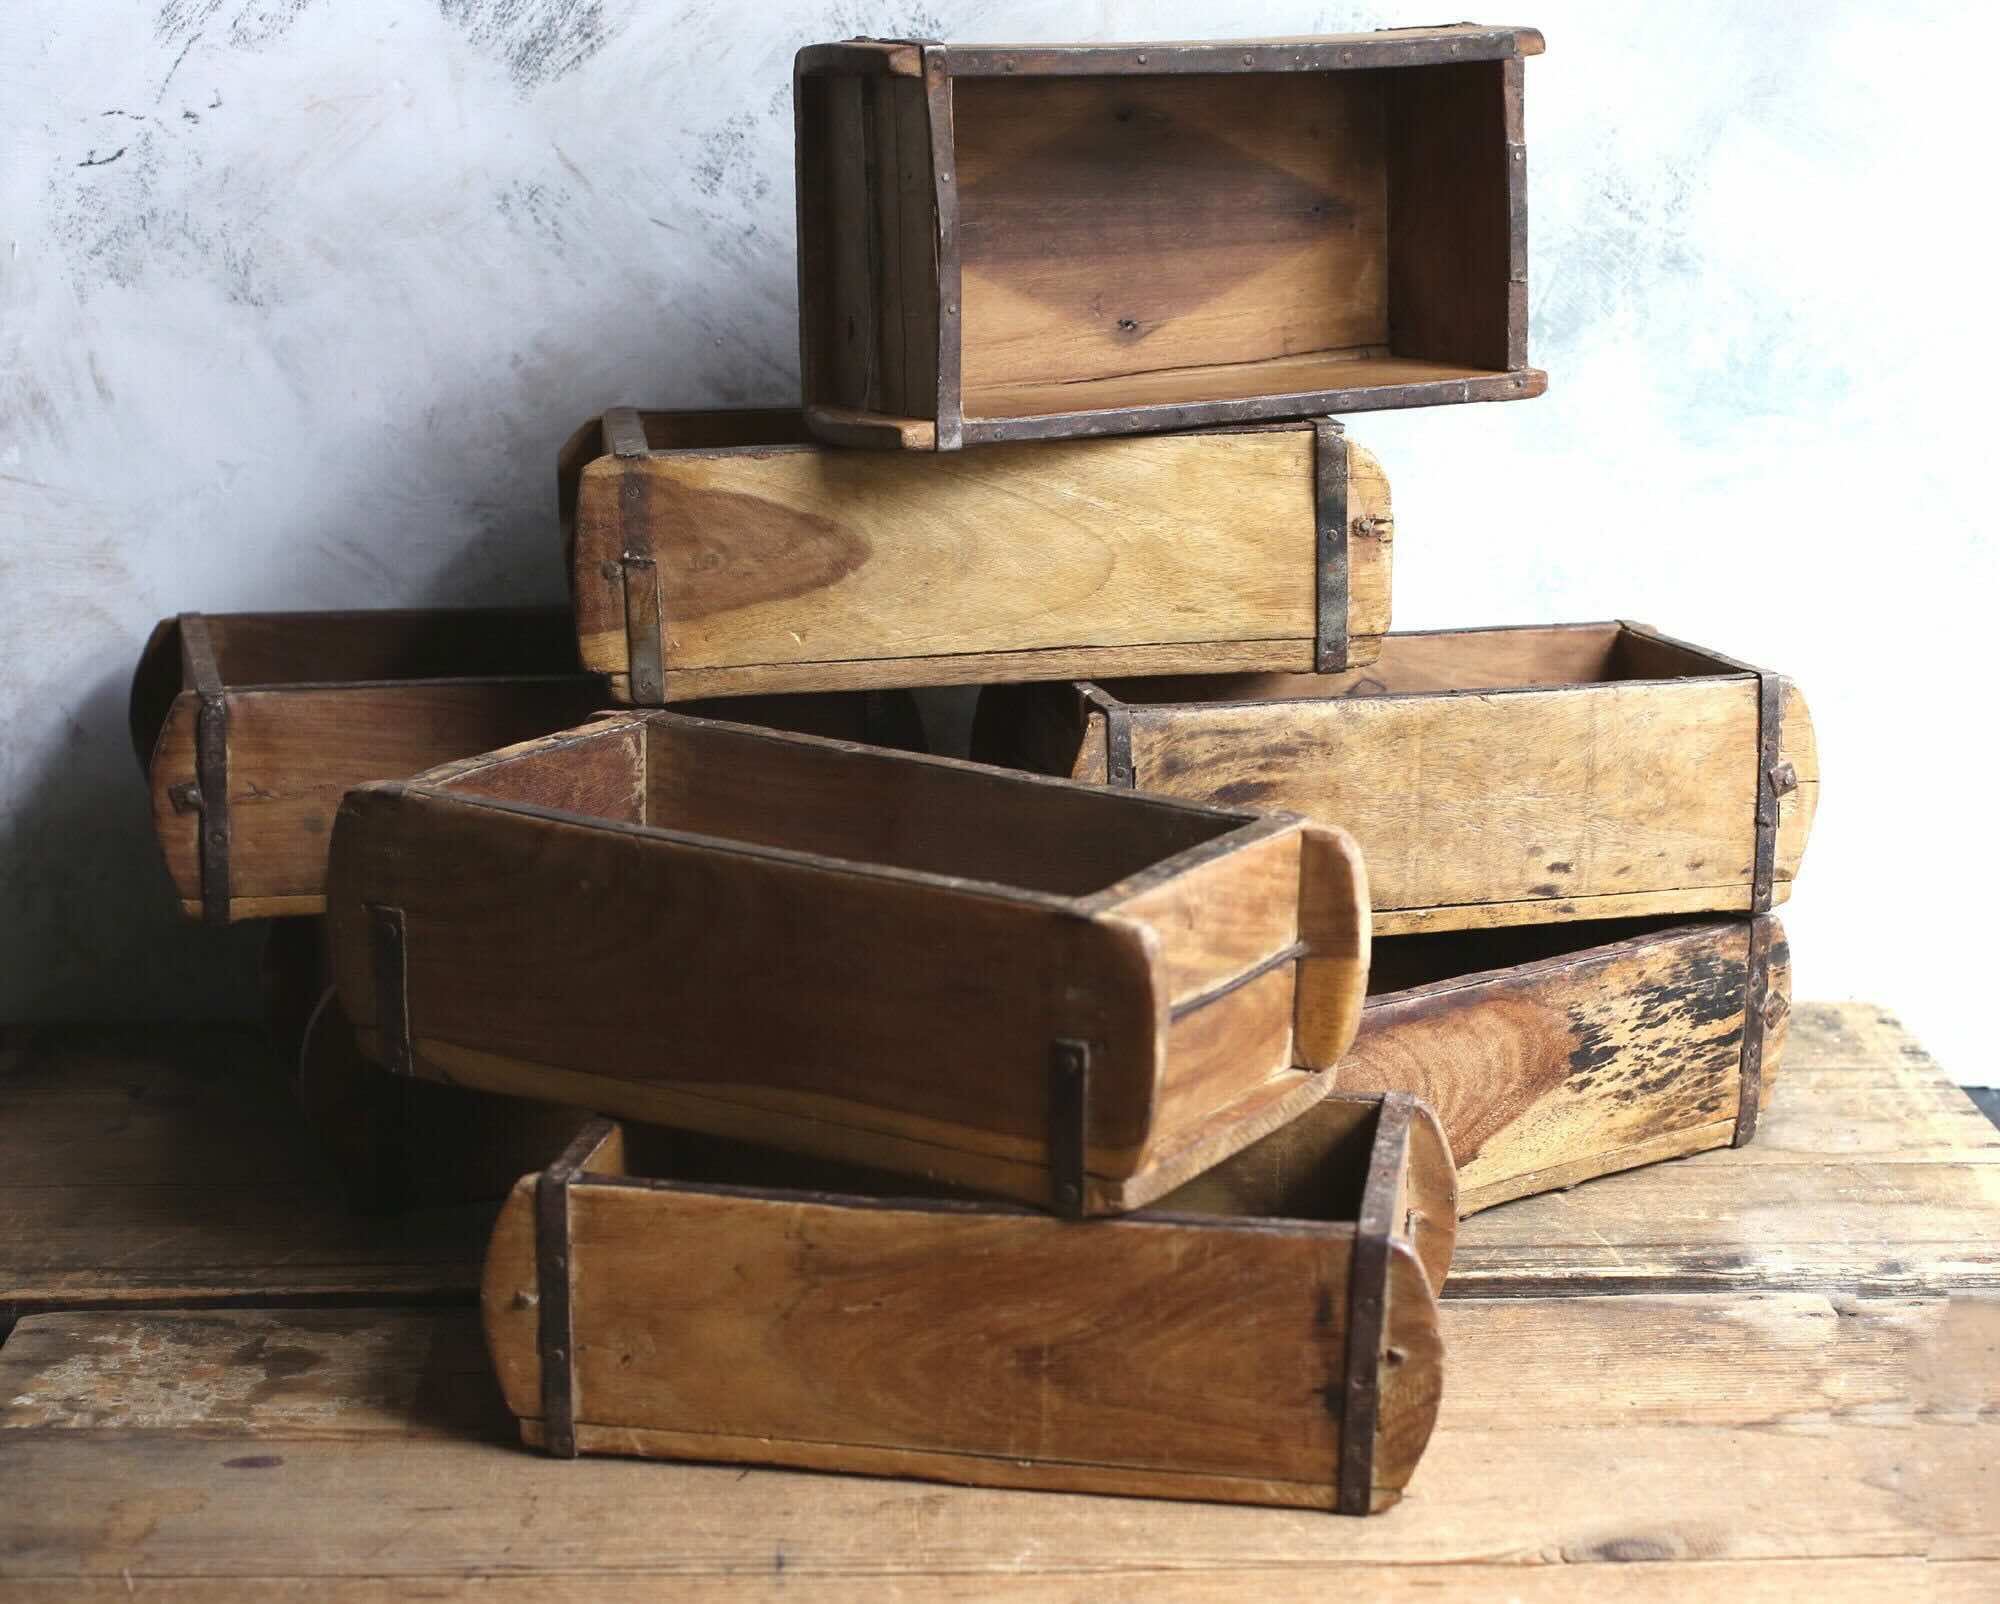
Read more: How To Make Brick Molds
Creating the Mold
With the meticulously prepared model as the guiding template, the process of creating the glass mold unfolds as a meticulous and transformative endeavor. The creation of the mold involves capturing the intricate details and contours of the model, encapsulating its essence in a durable and precise mold structure. This pivotal phase in the mold-making journey demands a harmonious fusion of craftsmanship, precision, and creative vision.
To commence the mold creation process, prepare the plaster-silica mix, ensuring a smooth and uniform consistency that will effectively encapsulate the model. Carefully pour the plaster-silica mix over the model, allowing it to envelop the sculpted form and capture every nuanced feature. Employ a deliberate and methodical approach, ensuring that the mix permeates the intricate contours of the model to preserve its essence within the mold.
As the plaster-silica mix sets and solidifies, the mold begins to take shape, embodying the intricacies of the original model with unwavering precision. Once the mold achieves the desired solidity, carefully demold the plaster-silica structure, unveiling the meticulously crafted impression of the model. Exercise patience and precision during the demolding process to preserve the integrity of the mold and ensure that every detail is faithfully replicated.
Following the demolding, reinforce the mold's structure by applying a layer of fiberglass mat, enhancing its durability and resilience. The fiberglass mat serves as a protective reinforcement, fortifying the mold to withstand the rigors of the glass-forming process and subsequent firings. Through this meticulous reinforcement, the mold evolves into a robust and enduring vessel, ready to facilitate the transformation of molten glass into captivating artistry.
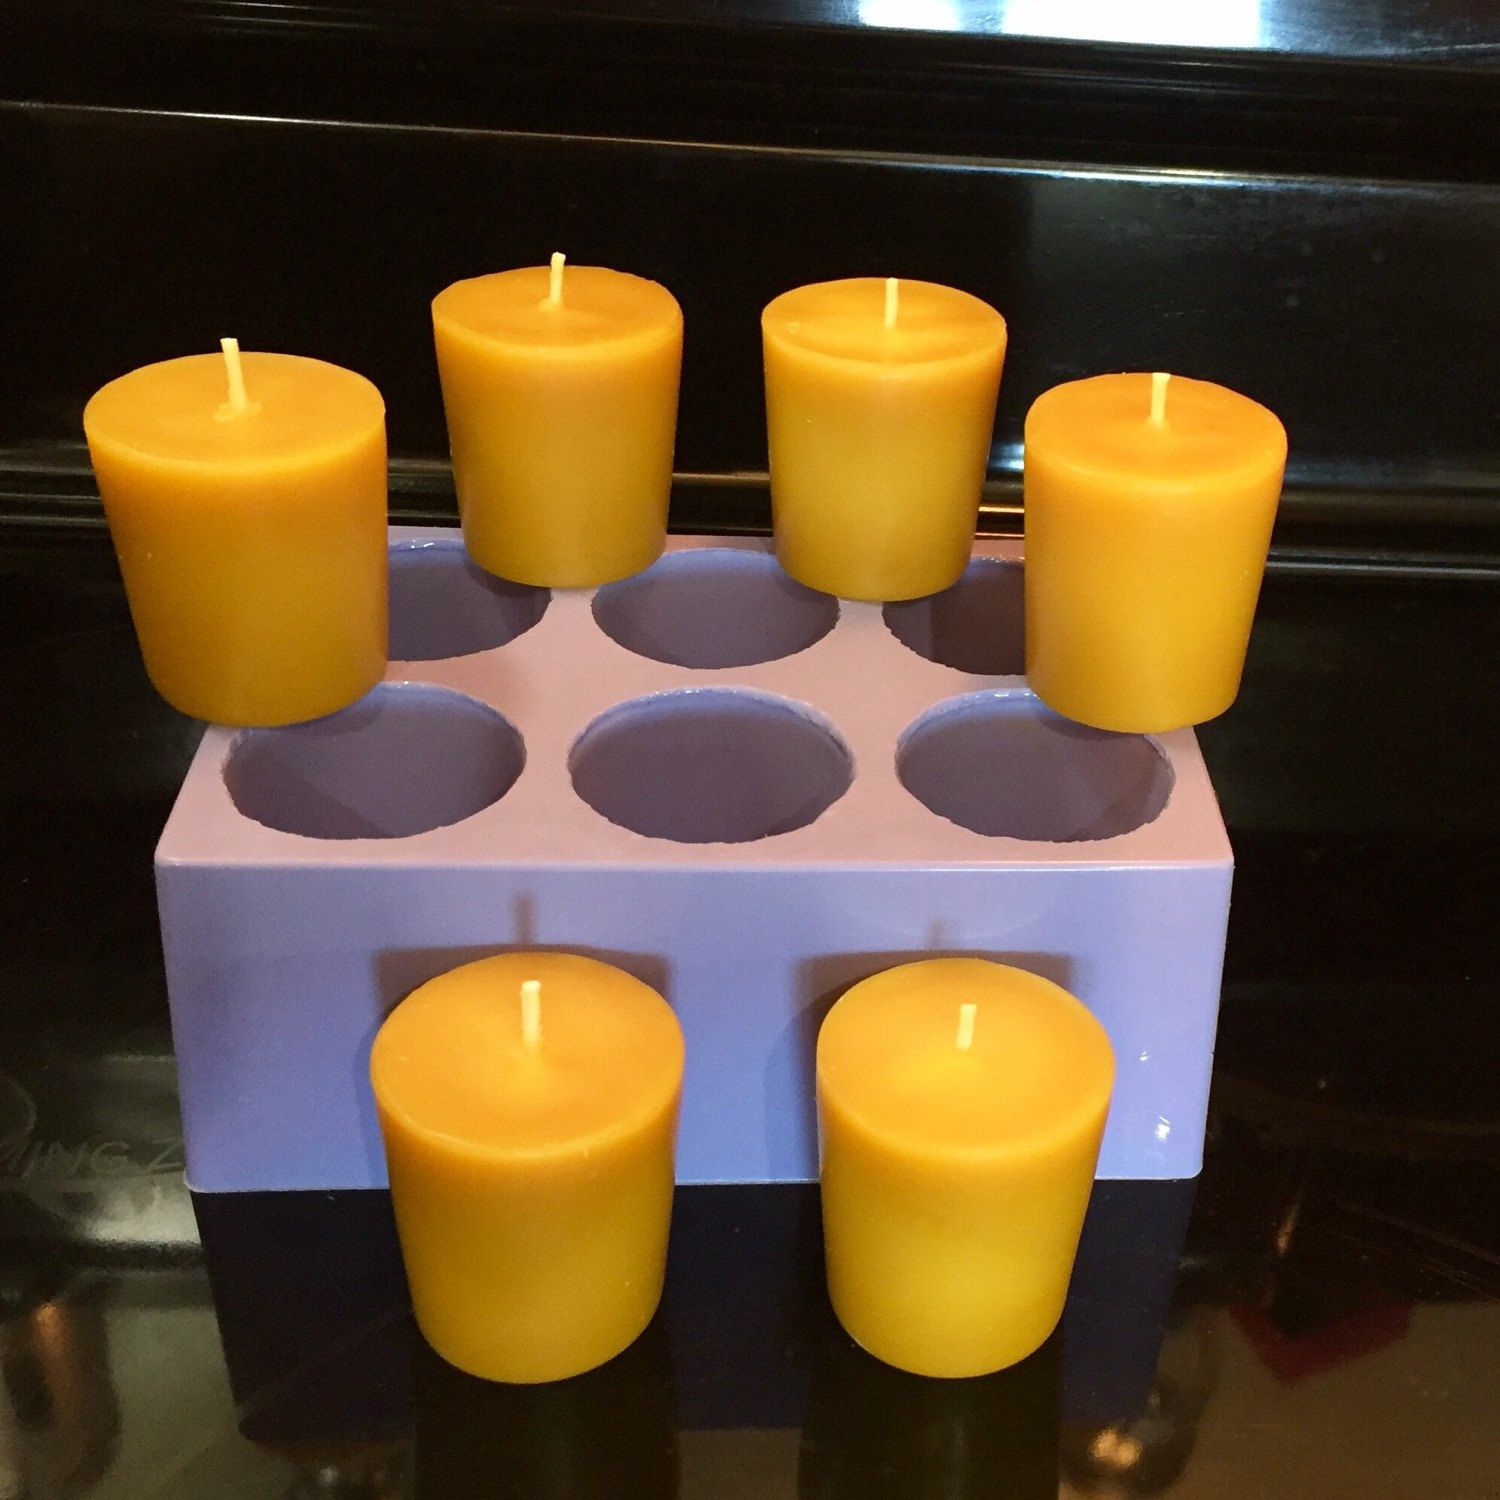
With the mold meticulously crafted and reinforced, apply a reliable release agent to prepare it for the glass-forming process. The release agent serves as a crucial barrier, preventing the molten glass from adhering to the mold and ensuring a seamless demolding experience. By meticulously applying the release agent, you pave the way for a smooth and precise glass-forming process, preserving the integrity of both the mold and the final glass creation.
The creation of the glass mold represents a transformative fusion of artistry and precision, where the essence of the meticulously prepared model is immortalized in a durable and meticulously crafted mold. As the mold stands poised to facilitate the shaping of molten glass, it embodies the culmination of meticulous craftsmanship and creative vision, setting the stage for the realization of captivating glass artistry.
Firing the Mold
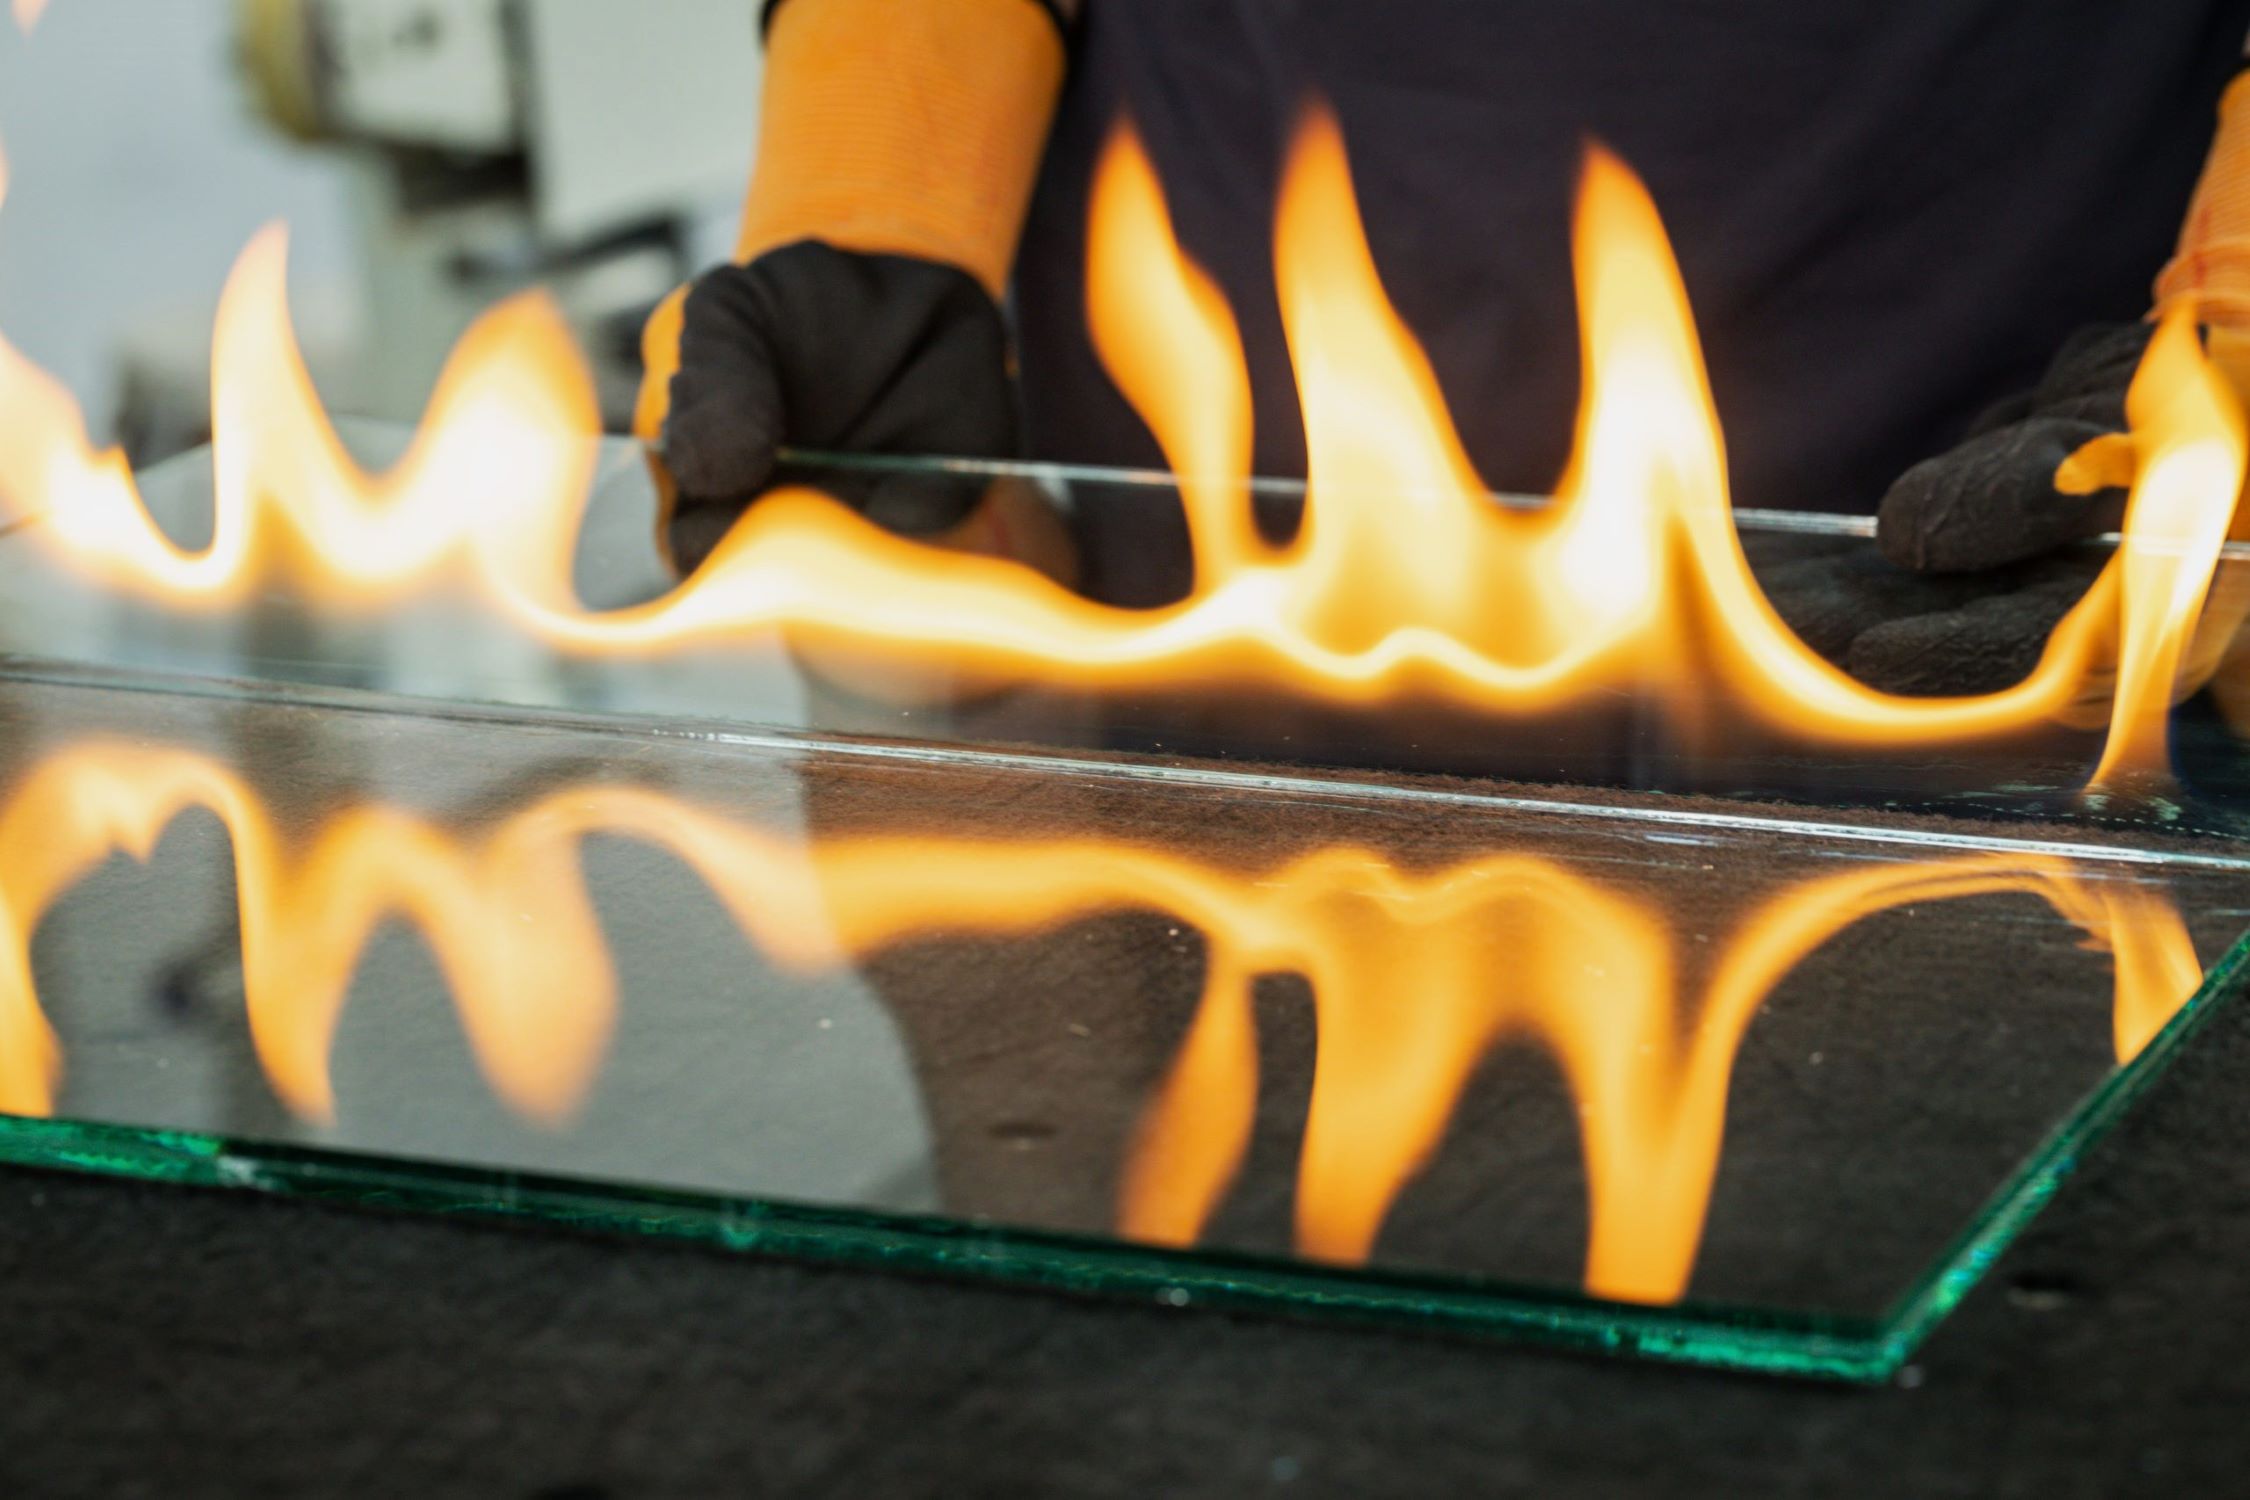
Firing the mold marks a pivotal phase in the glass mold creation journey, where the meticulously crafted structure undergoes a transformative process to achieve the necessary strength and durability for facilitating the glass-forming process. This crucial step involves subjecting the mold to controlled temperatures within a firing kiln, initiating a meticulous curing process that fortifies the mold and prepares it to withstand the intense heat and shaping forces exerted by molten glass.
As the mold is carefully positioned within the firing kiln, the temperature is gradually elevated to initiate the curing process. This gradual temperature increase is essential for allowing the mold to acclimate to the intense heat, minimizing the risk of thermal shock and ensuring a uniform and controlled curing experience. The controlled temperature escalation within the kiln serves as a testament to the meticulous approach required in the firing process, safeguarding the integrity of the mold and laying the foundation for its enduring resilience.
Throughout the firing process, the mold undergoes a profound transformation, as the plaster-silica mix and fiberglass reinforcement materials undergo a meticulous curing and strengthening process. The controlled exposure to elevated temperatures within the kiln serves to solidify the mold, enhancing its structural integrity and fortifying it to withstand the shaping forces exerted during the glass-forming process. This transformative phase imbues the mold with the necessary durability and resilience, ensuring that it stands as a steadfast vessel for shaping molten glass into captivating artistry.
As the firing process nears its culmination, the mold undergoes a meticulous cooling phase, allowing it to gradually acclimate to lower temperatures and solidify its cured structure. This gradual cooling process is essential for mitigating the risk of thermal stress and ensuring that the mold emerges from the firing kiln in an optimal state, ready to fulfill its pivotal role in the glass-forming process.
With the firing process completed, the mold stands as a testament to the transformative power of controlled heat and meticulous craftsmanship. Fortified by the curing experience within the firing kiln, the mold embodies the culmination of precision and resilience, poised to facilitate the shaping of molten glass into captivating works of art.
When making glass molds, ensure that the mold material can withstand the high temperatures of molten glass. Use materials like ceramic or refractory plaster for best results.
Using the Mold
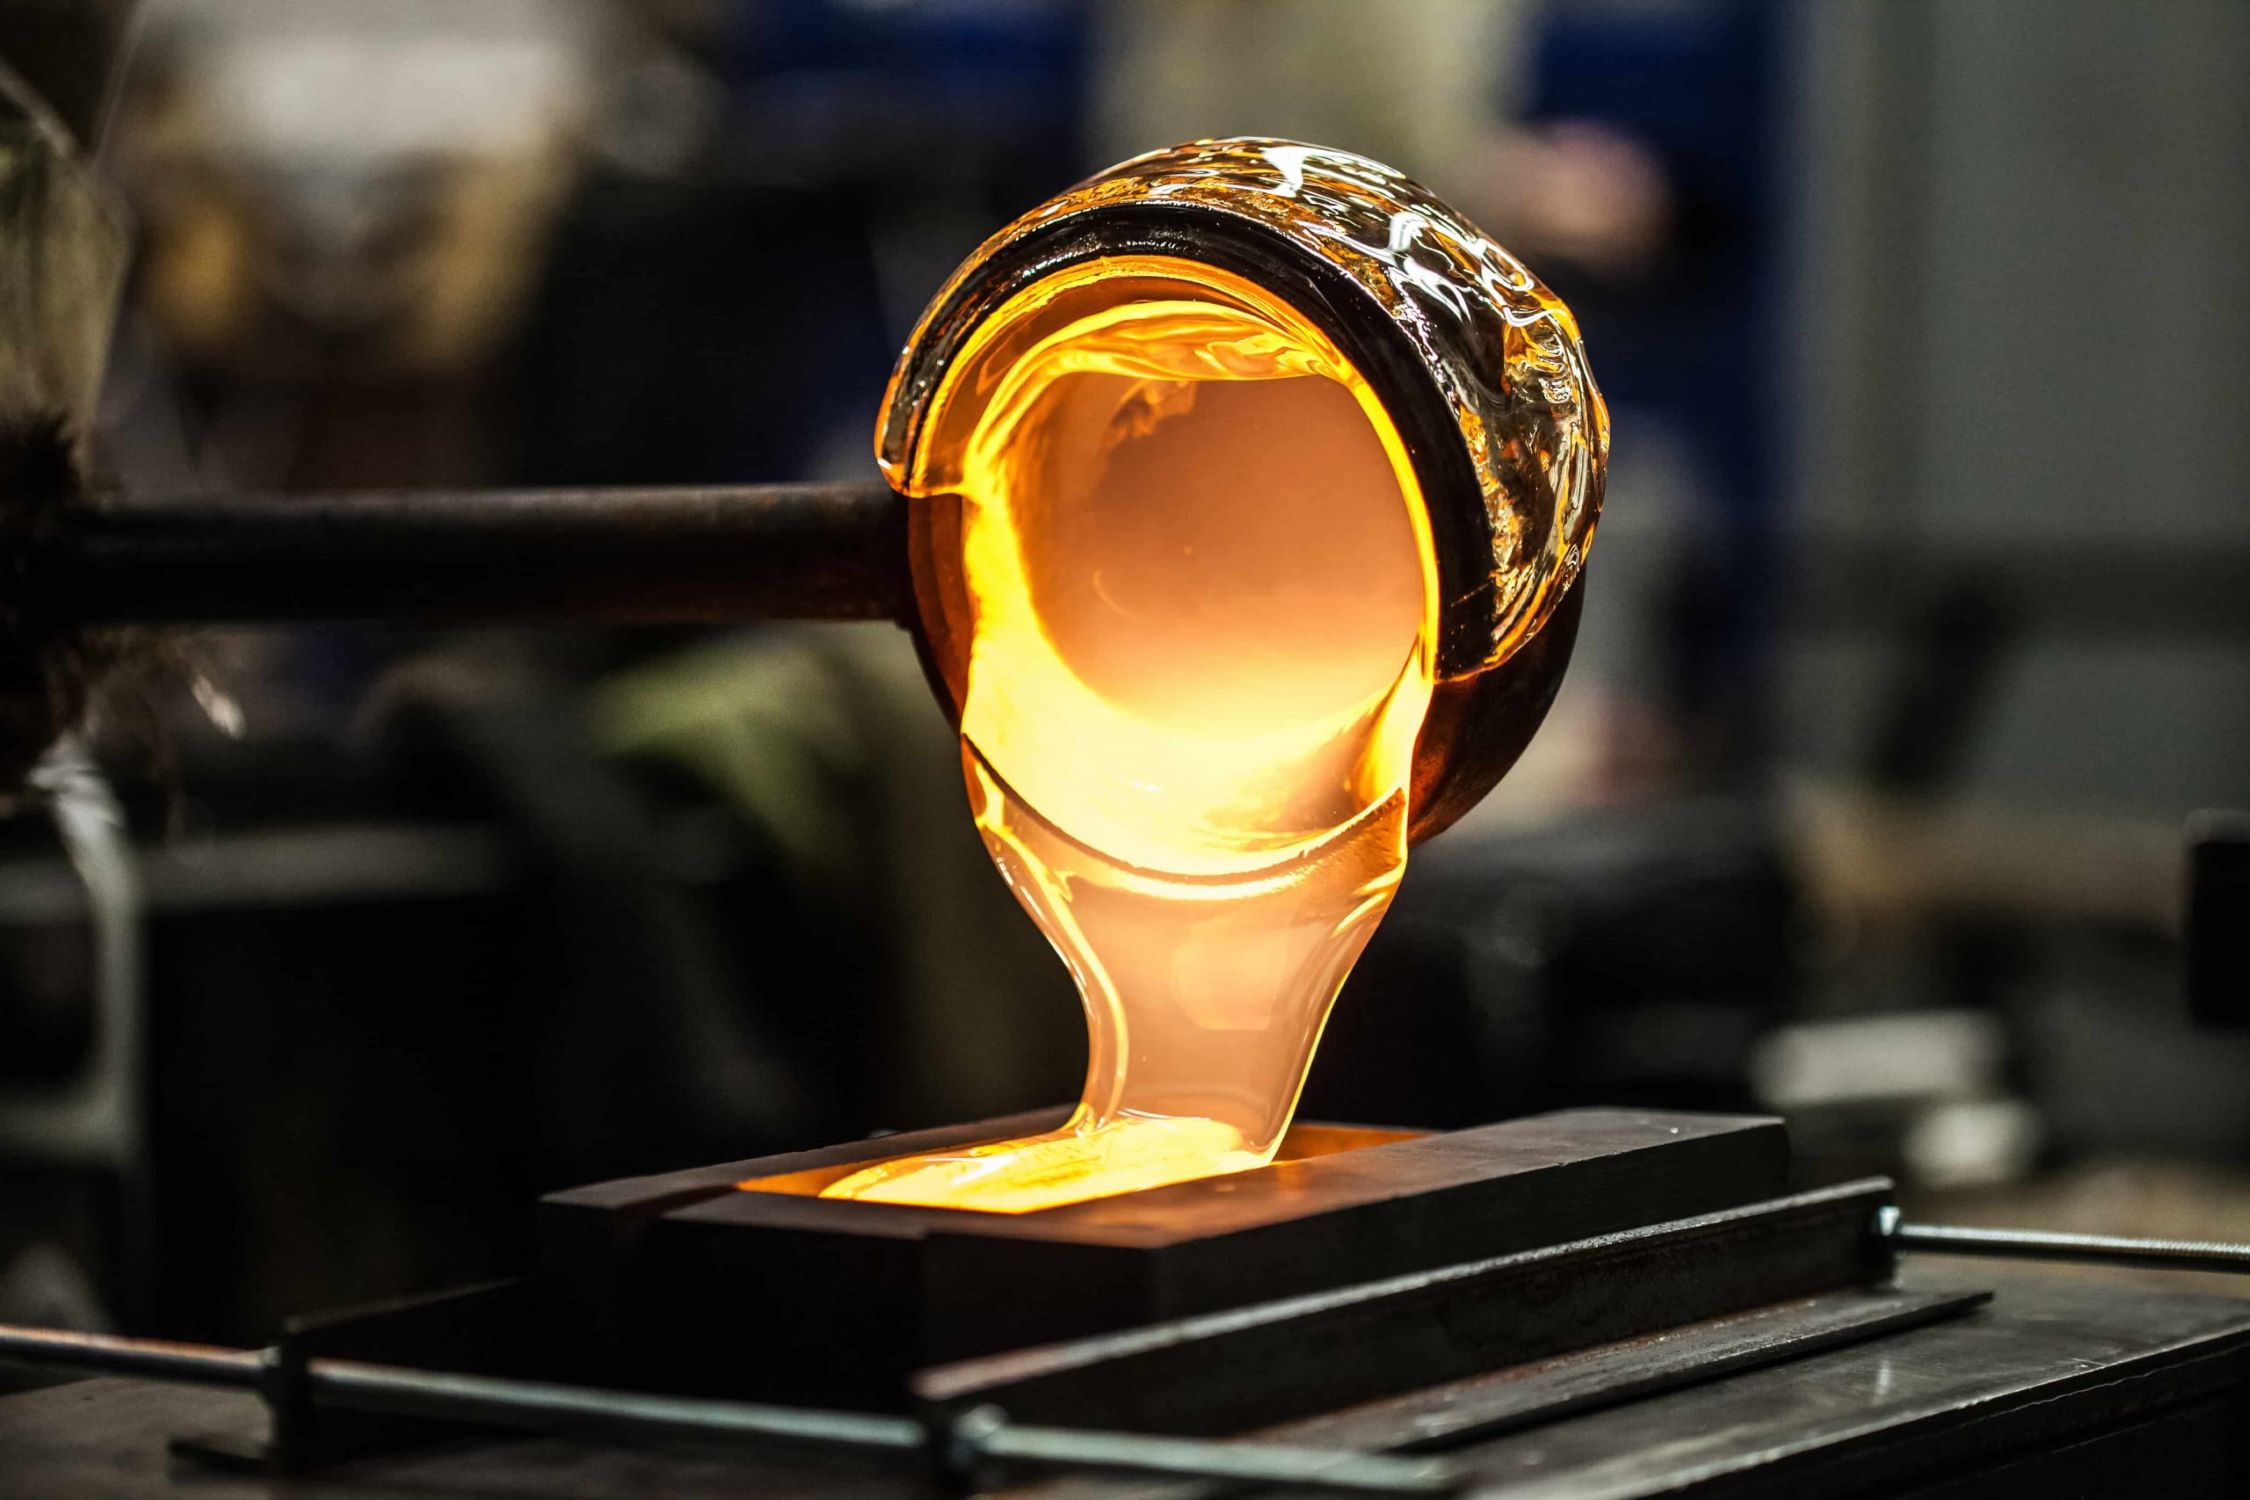
Utilizing the meticulously crafted glass mold marks the culmination of the intricate mold-making journey, where the fusion of artistry and precision converges to facilitate the transformation of molten glass into captivating works of art. The process of using the mold unfolds as a harmonious dance between creative vision and technical expertise, harnessing the mold's enduring resilience to shape molten glass into a myriad of forms.
To commence the utilization of the mold, prepare the molten glass, ensuring that it reaches the optimal temperature for shaping and forming. With a keen focus on precision and control, carefully introduce the molten glass into the mold, allowing it to flow and conform to the intricacies of the mold's contours. Embrace a deliberate and methodical approach, ensuring that the molten glass encapsulates the essence of the mold, capturing its intricate details and textures with unwavering fidelity.
As the molten glass assumes the form of the mold, exercise precision and finesse in shaping and sculpting the glass to achieve the desired design. Whether crafting delicate ornaments, functional glassware, or intricate sculptures, the mold serves as the guiding template, empowering artisans to breathe life into their creative visions. Employ a meticulous approach, refining the glass's contours and textures to mirror the nuances of the original model, ensuring that every detail is faithfully replicated in the final glass creation.
Following the shaping process, allow the glass to gradually cool and solidify within the mold, preserving the intricacies of the design and ensuring its enduring integrity. Exercise patience and precision as the glass takes on its final form, embracing the transformative journey from molten fluidity to captivating solidity. With the mold as the steadfast vessel for shaping and defining the glass, artisans can unleash their creativity and produce stunning glass pieces that embody the essence of their artistic inspiration.
As the demolding process unfolds, the culmination of the mold's enduring craftsmanship and the artisan's creative vision is unveiled, presenting a meticulously crafted glass creation that reflects the fusion of artistry and technical mastery. With the mold's role fulfilled, the glass creation stands as a testament to the transformative potential of the mold-making process, encapsulating the essence of creative expression in the form of captivating glass artistry.
Conclusion
In conclusion, the art of creating glass molds represents a captivating fusion of artistry, precision, and technical expertise. From the meticulous preparation of the model to the transformative process of firing the mold, each stage of the mold-making journey embodies the dedication and creativity of artisans seeking to bring their unique visions to life in the form of captivating glass artistry.
The journey begins with the meticulous preparation of the model, where artisans sculpt and refine the clay to capture the intricate details and contours that will define the essence of the final glass creation. This phase demands patience, precision, and a keen eye for detail, as the model serves as the foundational blueprint for the ensuing mold-making process.
As the model takes shape, the creation of the glass mold unfolds as a transformative endeavor, where the plaster-silica mix and fiberglass reinforcement materials converge to immortalize the essence of the model in a durable and meticulously crafted structure. The meticulous demolding and reinforcement of the mold set the stage for its pivotal role in shaping molten glass into captivating works of art.
The firing of the mold represents a transformative phase, where controlled temperatures within the firing kiln fortify the mold, imbuing it with the necessary strength and resilience to withstand the shaping forces exerted by molten glass. This meticulous curing process serves as a testament to the enduring craftsmanship and precision that underpin the creation of glass molds, ensuring that the mold stands as a steadfast vessel for realizing artistic visions.
Utilizing the meticulously crafted mold, artisans breathe life into their creative visions, shaping molten glass into a myriad of forms that reflect their artistic flair. The mold serves as the guiding template, empowering artisans to unleash their creativity and produce stunning glass pieces that encapsulate the essence of their artistic inspiration.
As the demolding process unveils the culmination of the mold's enduring craftsmanship and the artisan's creative vision, the transformative potential of the mold-making process is realized in the form of captivating glass artistry. Each meticulously crafted glass creation stands as a testament to the fusion of artistry and technical mastery, embodying the essence of creative expression in the captivating medium of glass.
In essence, the art of creating glass molds transcends the mere act of mold-making, evolving into a transformative journey where imagination meets craftsmanship to produce exquisite works of art. It is a testament to the enduring allure of glass artistry and the boundless potential for creative expression through the meticulous craft of mold-making.
Frequently Asked Questions about How To Make Glass Molds
Was this page helpful?
At Storables.com, we guarantee accurate and reliable information. Our content, validated by Expert Board Contributors, is crafted following stringent Editorial Policies. We're committed to providing you with well-researched, expert-backed insights for all your informational needs.


0 thoughts on “How To Make Glass Molds”