Home>Furniture & Design>Interior Design Trends>How To Replace The Molding Around Glass On A Door
Interior Design Trends
How To Replace The Molding Around Glass On A Door
Modified: February 18, 2024
Learn how to enhance your interior design with our guide on replacing the molding around glass on a door. Stay updated on the latest interior design trends.
(Many of the links in this article redirect to a specific reviewed product. Your purchase of these products through affiliate links helps to generate commission for Storables.com, at no extra cost. Learn more)
Introduction
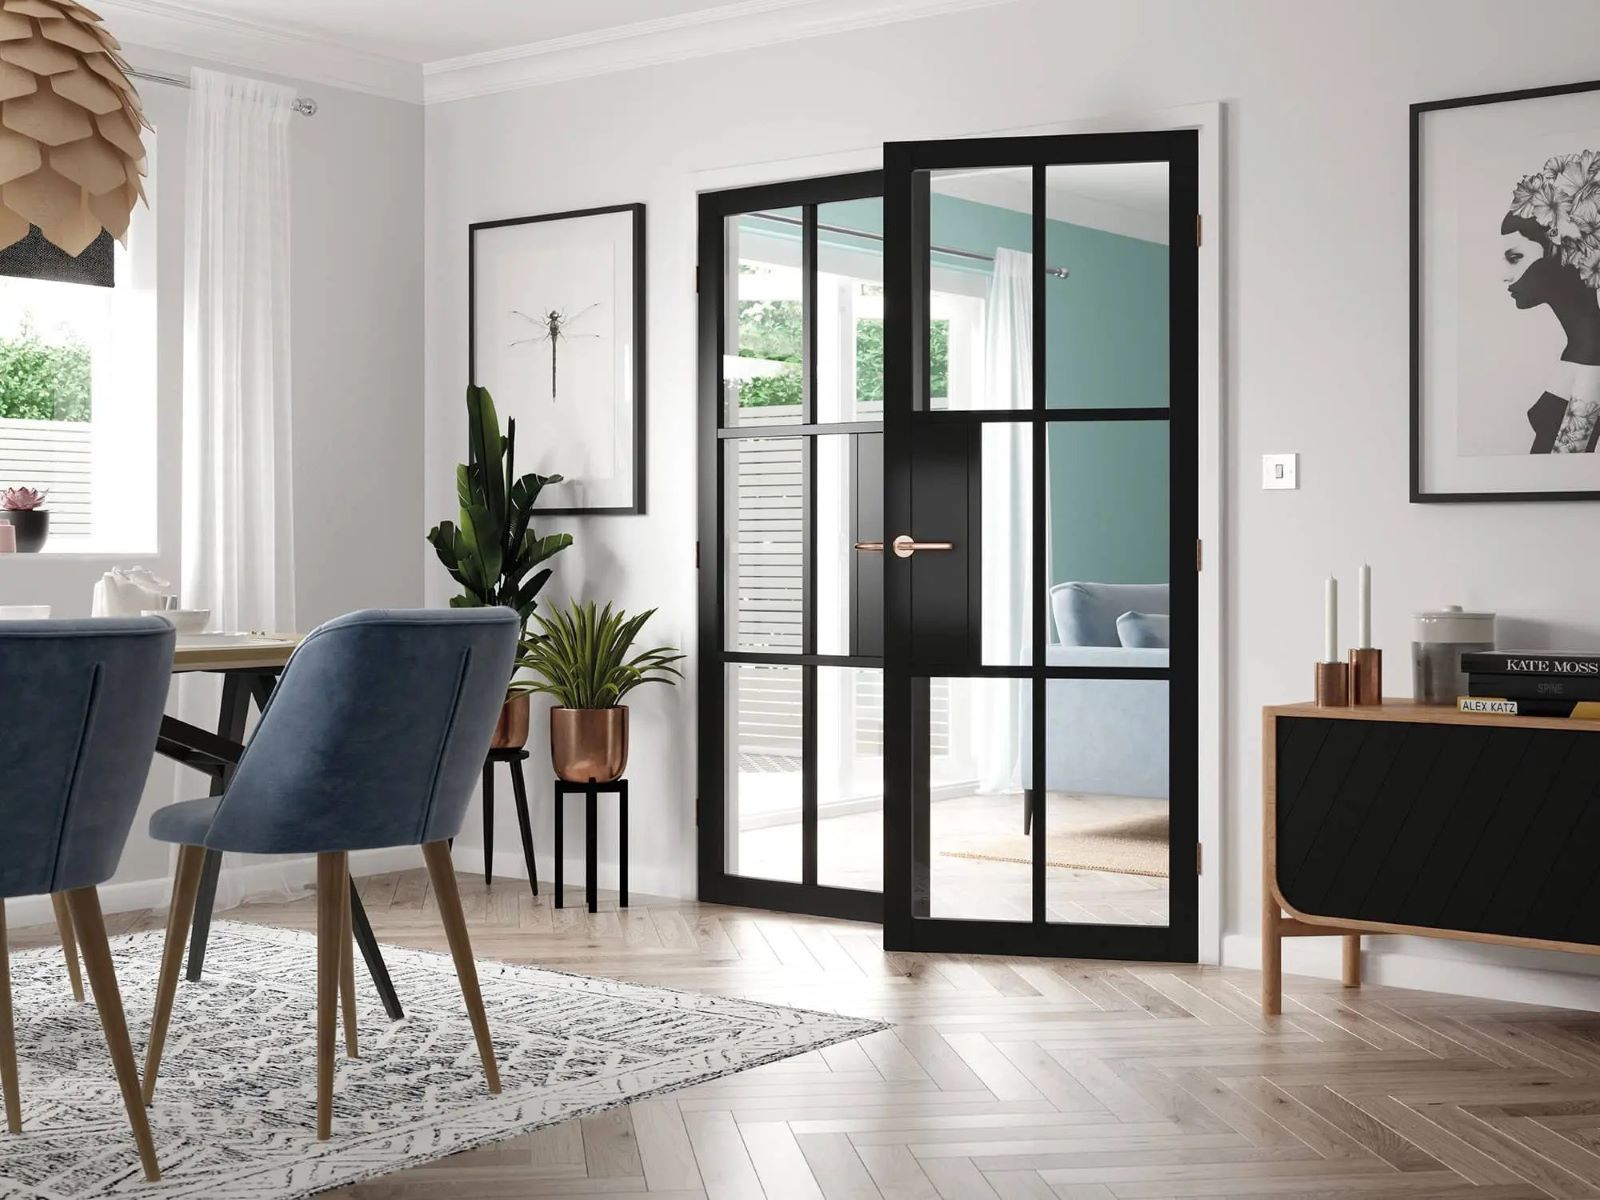
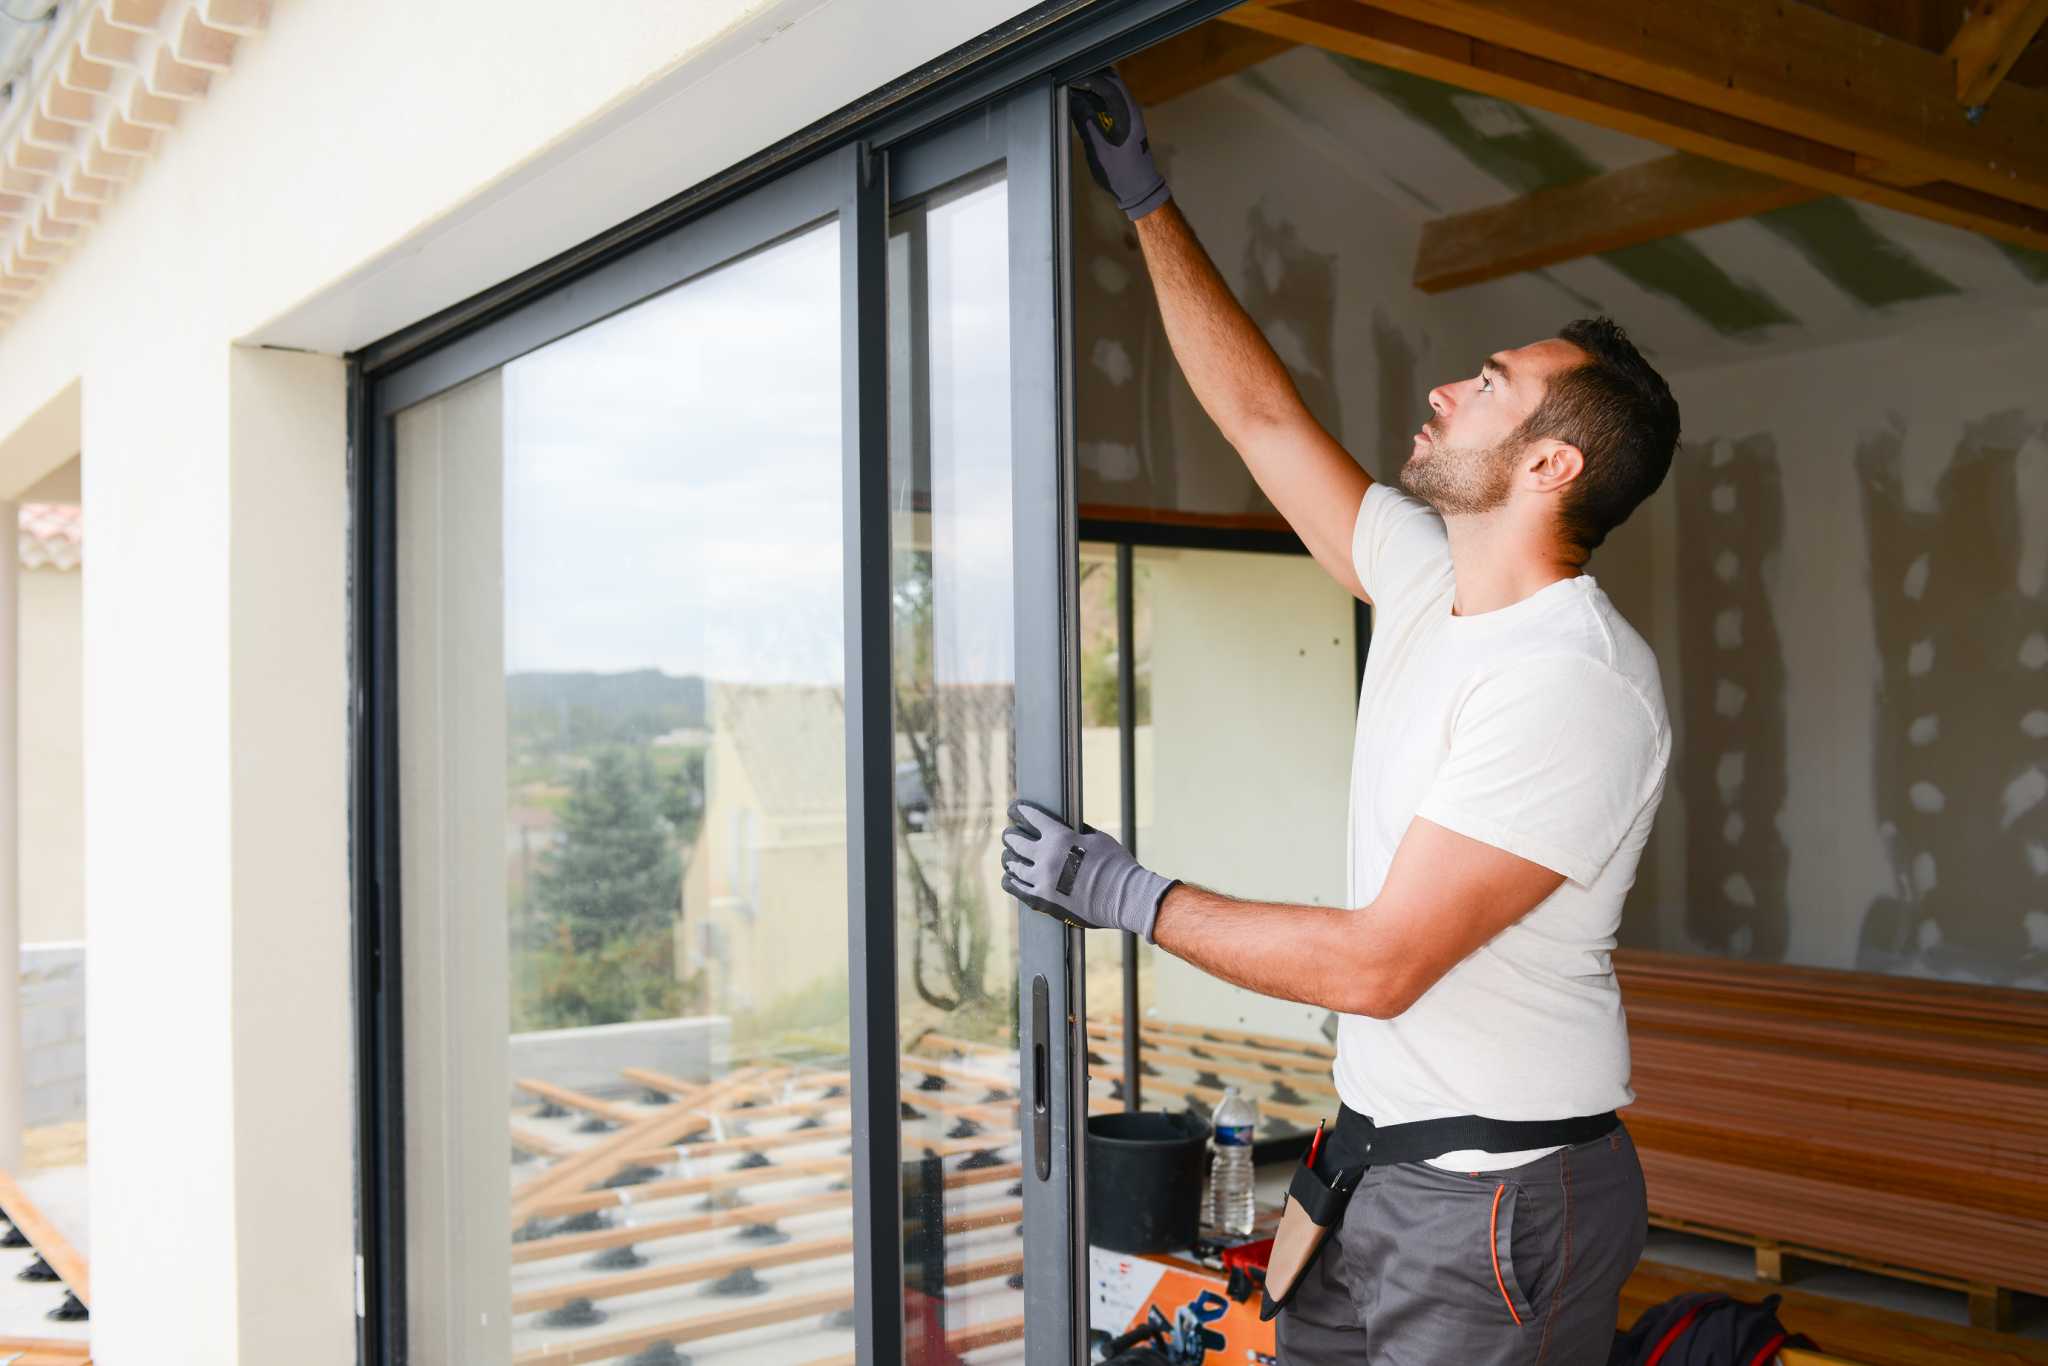
Replacing the molding around glass on a door is a rewarding and practical home improvement project that can enhance the aesthetics and functionality of your living space. Whether you are seeking to update the appearance of your interior doors or address issues such as damaged or worn-out molding, this step-by-step guide will equip you with the knowledge and confidence to tackle the task effectively.
By following these instructions, you can revitalize the look of your doors, increase energy efficiency, and ensure proper insulation around the glass panels. This project not only adds a touch of elegance to your home but also contributes to its overall comfort and sustainability.
Let's dive into the process of replacing the molding around glass on a door, from gathering the necessary tools and materials to finishing and painting the molding. With a bit of patience and attention to detail, you can achieve professional-looking results and take pride in your handiwork.
Key Takeaways:
- Revitalize your doors with new molding to enhance aesthetics, energy efficiency, and insulation. Follow the step-by-step guide for a rewarding and professional-looking home improvement project.
- Replace old molding with precision-cut new pieces, secure them in place, and add a fresh coat of paint for a polished and cohesive look. Elevate your door’s appearance and gain valuable home improvement skills.
Read more: How To Replace Glass In A Door
Step 1: Gather the necessary tools and materials
Before embarking on the project to replace the molding around the glass on a door, it's essential to gather the required tools and materials. Having the right items at hand will streamline the process and ensure a smooth and efficient workflow. Here's a comprehensive list of what you'll need:
Tools:
- Utility Knife: A sharp utility knife will be indispensable for precise cutting and trimming of the molding.
- Pry Bar: This tool will aid in gently removing the old molding without causing damage to the surrounding areas.
- Hammer: A hammer will come in handy for tapping and adjusting the new molding into place.
- Measuring Tape: Accurate measurements are crucial for cutting the new molding to the correct dimensions, making a measuring tape an essential tool.
- Miter Saw: If the molding requires angled cuts, a miter saw will enable you to achieve clean and precise angles for a professional finish.
- Caulk Gun: To seal the new molding effectively, a caulking gun is necessary for applying a bead of caulk around the glass panels.
- Sandpaper: Smooth out any rough edges or imperfections on the new molding using fine-grit sandpaper for a polished look.
- Safety Glasses and Gloves: Prioritize safety by wearing protective glasses and gloves throughout the project to shield your eyes and hands from debris and sharp edges.
Materials:
- Replacement Molding: Select molding that complements the style of your door and the overall aesthetic of your home. Consider materials such as wood or composite, ensuring it is suitable for exterior or interior use as per your door's location.
- Caulk: Choose a high-quality caulk that is suitable for both indoor and outdoor applications, providing durability and weather resistance.
- Paint and Primer: If you plan to paint the new molding, ensure you have the appropriate paint and primer to match your door's color scheme and finish.
- Wood Glue: If you opt for wooden molding, wood glue will be necessary for securing joints and ensuring a strong bond between the pieces.
- Finishing Nails: Depending on the type of molding, you may need finishing nails to secure it in place, so ensure you have an adequate supply on hand.
- Painter's Tape: To protect the door and glass panels from accidental paint splatter, painter's tape will be essential for precise and clean results.
By gathering these tools and materials, you'll be well-prepared to proceed with the subsequent steps of removing the old molding, measuring and cutting the new molding, and ultimately installing and finishing the project with finesse.
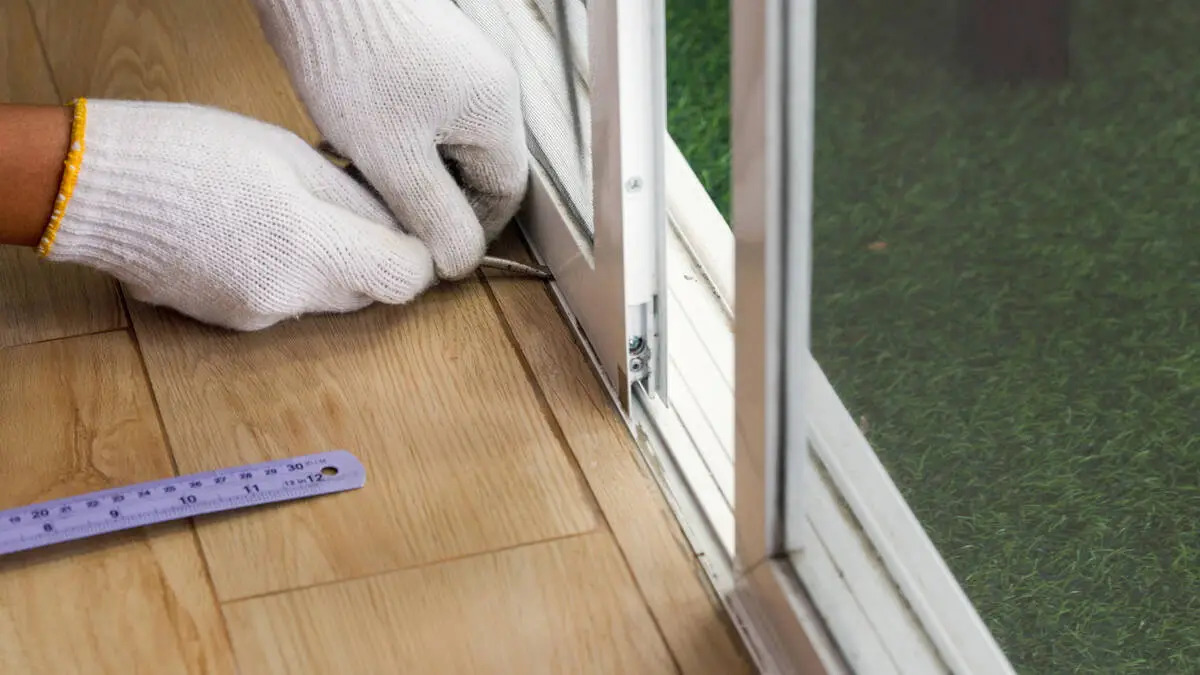
Step 2: Remove the old molding
Removing the old molding around the glass on a door is a crucial initial step in the process of refreshing the door's appearance and functionality. This task requires patience and precision to avoid damaging the door or glass panels. Here's a detailed guide on how to effectively remove the old molding:
Read more: How To Replace Oven Door Glass
Preparation:
Before starting, ensure that you have the necessary tools at hand, including a utility knife, pry bar, and safety glasses. Additionally, it's advisable to cover the surrounding area with a drop cloth to catch any debris or dust that may result from the removal process.
Method:
-
Score the Caulk: Use a utility knife to carefully score along the edges where the old molding meets the door and glass. This will help loosen the caulk and make it easier to remove the molding without causing damage.
-
Gently Pry the Molding: With the aid of a pry bar, gently begin to pry the old molding away from the door. Start at one end and work your way along the edges, applying even pressure to avoid splintering or breaking the molding.
-
Mindful Disengagement: As the molding begins to loosen, proceed with caution to disengage it from the door and glass. Take care not to force the molding, especially if it feels firmly attached in certain areas.
-
Inspect for Nails or Screws: In some cases, the old molding may be secured with nails or screws. If this is the case, carefully locate and remove these fasteners using a hammer or screwdriver, ensuring that the molding can be fully detached.
-
Clean the Surface: Once the old molding has been removed, take the time to clean the door and glass surfaces. Remove any residual caulk or adhesive using a putty knife or a suitable solvent, ensuring that the surfaces are smooth and free from debris.
By following these steps and exercising patience, you can effectively remove the old molding without causing damage to the door or glass panels. This sets the stage for the subsequent tasks of measuring and cutting the new molding, ensuring a seamless transition to the installation phase of the project.
Step 3: Measure and cut the new molding
Accurate measurements and precise cuts are essential for ensuring that the new molding fits seamlessly around the glass on the door. This step requires careful attention to detail and the use of proper tools to achieve a professional finish. Here's a comprehensive guide on how to measure and cut the new molding effectively:
Read more: How To Replace Oven Door Glass
Preparation:
Before proceeding with measuring and cutting the new molding, gather the necessary tools, including a measuring tape, pencil, miter saw, safety glasses, and the replacement molding itself. Ensure that the work area is clean and well-lit to facilitate accurate measurements and cuts.
Read more: How To Replace Glass In Storm Door
Measuring:
- Measure the Lengths: Begin by measuring the dimensions of the areas where the new molding will be installed. Take precise measurements of the horizontal and vertical sections around the glass panels, accounting for any angles or corners that may require mitered cuts.
- Transfer Measurements: Once the measurements are taken, transfer them onto the replacement molding using a pencil. Mark the cutting lines clearly to avoid confusion during the cutting process.
Cutting:
- Set Up the Miter Saw: If the molding requires angled cuts, set up the miter saw according to the specific angles needed for the corners and joints. Ensure that the saw is securely positioned and that safety precautions, such as wearing protective glasses, are in place.
- Cut with Precision: Carefully align the marked cutting lines with the saw blade and proceed to make the cuts. Exercise caution and maintain a steady hand to achieve clean and accurate cuts, especially for mitered corners.
- Test Fit and Adjust: After cutting the molding pieces, perform test fits around the glass panels to ensure that they align perfectly and meet at the corners with tight, seamless joints. Make any necessary adjustments by recutting the pieces if discrepancies are identified.
Finishing Touches:
- Smooth Edges: Use fine-grit sandpaper to smooth out any rough edges or imperfections resulting from the cutting process. This will ensure a polished and professional look for the new molding.
- Label and Organize: As you cut the molding pieces, label them according to their placement and orientation to avoid confusion during the installation phase. Organizing the pieces will streamline the installation process and minimize errors.
By meticulously measuring and cutting the new molding, you can ensure a precise fit and a visually appealing result. This meticulous approach sets the stage for the subsequent installation of the new molding, bringing you closer to completing the project with finesse and attention to detail.
Step 4: Install the new molding
With the old molding removed and the new pieces precisely measured and cut, it's time to proceed with the installation of the new molding around the glass on the door. This phase of the project requires attention to detail and a methodical approach to ensure that the molding fits snugly and enhances the overall appearance of the door. Here's a comprehensive guide on how to install the new molding effectively:
Read more: How To Replace Glass In French Door
Pre-Installation Preparation:
Before commencing the installation, gather the necessary tools and materials, including wood glue, finishing nails, a caulking gun, caulk, a hammer, and the pre-cut molding pieces. Ensure that the work area is clean and free from debris to facilitate a smooth installation process.
Application of Wood Glue:
If you are working with wooden molding, apply a thin, even layer of wood glue to the back of each piece. This will help secure the molding in place and create a strong bond between the molding and the door, ensuring long-lasting stability.
Positioning and Alignment:
Carefully position the first piece of molding around the glass panel, ensuring that it aligns precisely with the edges of the door and the adjacent pieces. Use a level to verify that the molding is straight and plumb, making any necessary adjustments before proceeding.
Securing with Finishing Nails:
Once the positioning is confirmed, secure the molding in place by driving finishing nails through the molding and into the door frame. Place the nails at regular intervals along the length of the molding, ensuring a secure and stable attachment without causing damage to the molding.
Caulking Application:
Using a caulking gun, apply a bead of caulk along the edges where the molding meets the glass and the door. This will create a weatherproof seal, preventing drafts and moisture from penetrating around the glass panels, and providing a clean, finished look to the installation.
Repeat for Additional Pieces:
If the molding consists of multiple pieces, repeat the positioning, securing, and caulking process for each additional piece. Ensure that the pieces fit tightly together, creating seamless joints and a uniform appearance around the glass panels.
Finishing Touches:
After all the molding pieces are installed, inspect the entire perimeter of the glass panels to ensure that the molding is securely in place and that the caulk has been applied evenly. Wipe away any excess caulk using a damp cloth for a clean and professional finish.
By following these steps and taking a meticulous approach to the installation process, you can achieve a seamless and visually appealing result. The installation of the new molding not only enhances the aesthetics of the door but also contributes to its insulation and durability, making it a worthwhile and rewarding home improvement project.
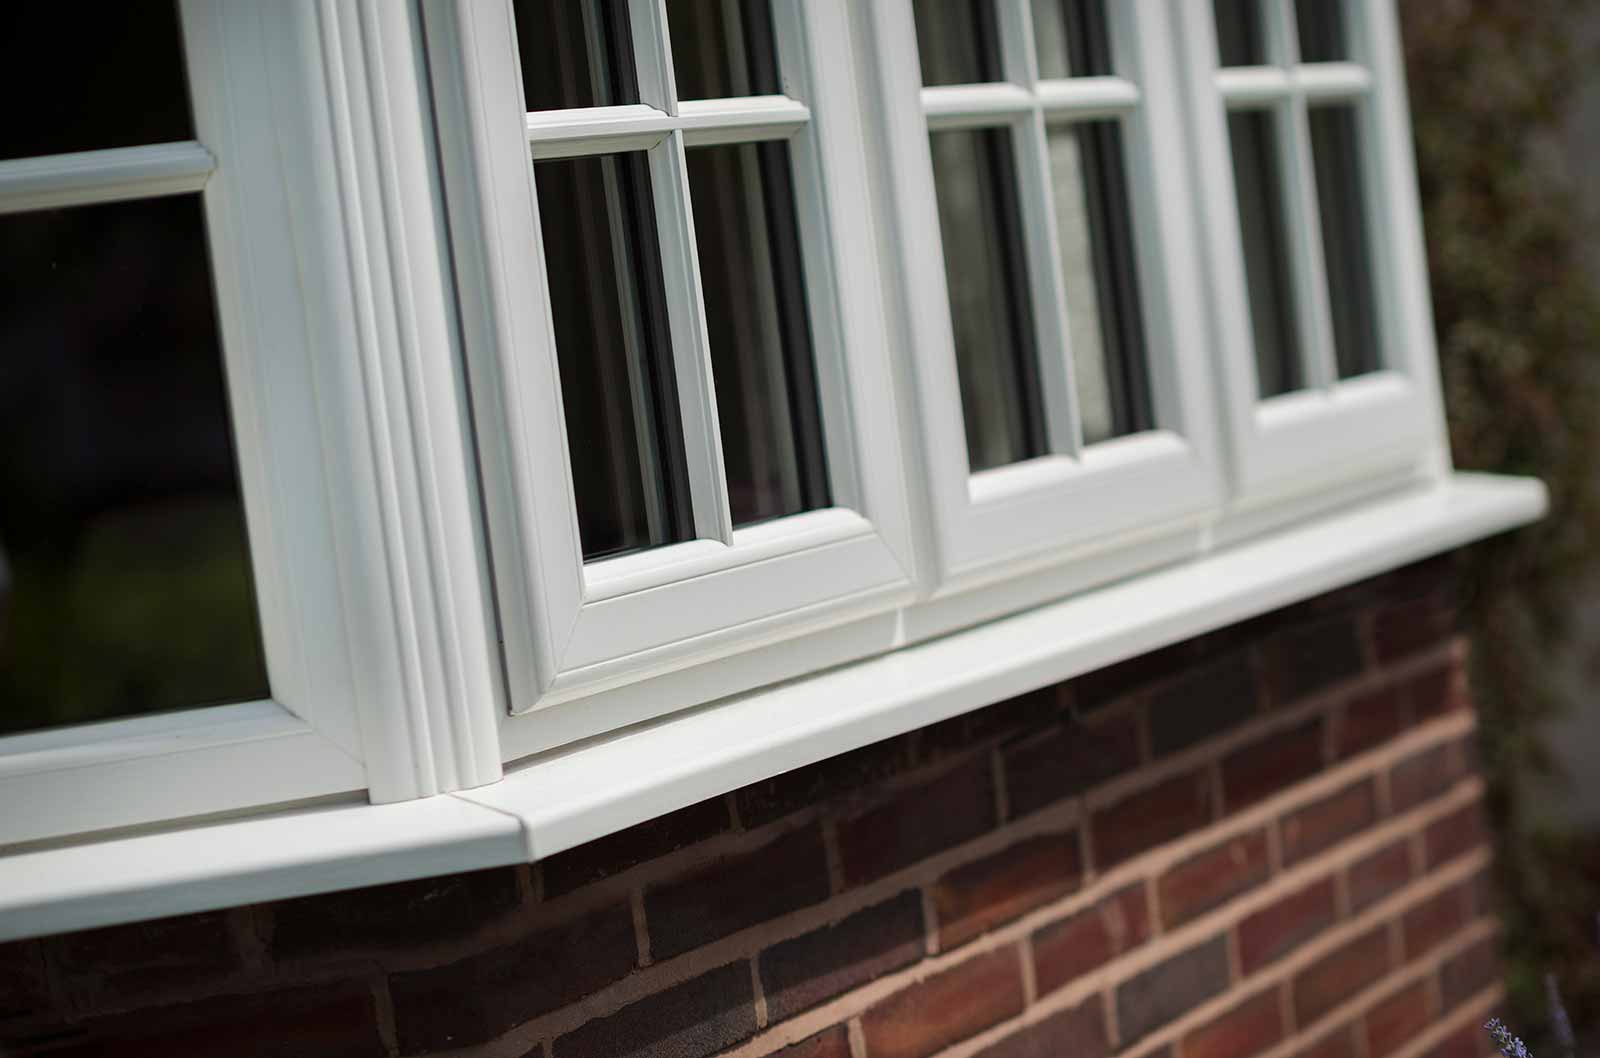
Step 5: Finish and paint the molding
After successfully installing the new molding around the glass on the door, the final step involves finishing and painting the molding to achieve a polished and cohesive look. This phase of the project adds the finishing touches, enhancing the overall appearance of the door and ensuring that the new molding seamlessly integrates with the existing decor. Here's a detailed guide on how to finish and paint the molding effectively:
Read more: How To Replace Oven Door Glass
Preparation:
Before proceeding with the finishing and painting process, gather the necessary materials, including paint, primer, paintbrushes, painter's tape, sandpaper, and a drop cloth to protect the surrounding area. Ensure that the work surface is clean and well-ventilated for optimal painting conditions.
Sanding and Priming:
Begin by lightly sanding the surface of the new molding to smooth out any imperfections and create a suitable texture for paint adhesion. Wipe away any dust or debris resulting from sanding, and apply a coat of primer to the molding. The primer will enhance paint adhesion and create a uniform base for the paint application.
Paint Application:
Select a high-quality paint that complements the color scheme of the door and the surrounding space. Using a paintbrush or roller, apply an even coat of paint to the primed molding, ensuring complete coverage and smooth application. If necessary, apply a second coat after allowing the first coat to dry according to the paint manufacturer's instructions.
Precision and Detailing:
Exercise precision when painting the molding, paying close attention to edges and corners to achieve a clean and professional finish. Use painter's tape to protect the glass panels and door surfaces from accidental paint splatter, ensuring that the paint application is confined to the molding only.
Drying and Inspection:
Allow the painted molding to dry completely according to the paint manufacturer's recommended drying time. Once dry, inspect the painted surface for any imperfections or uneven areas. Touch up any inconsistencies with additional paint as needed, ensuring a flawless and uniform appearance.
Clean-Up:
After completing the painting process, carefully remove the painter's tape and clean any paintbrushes or tools used during the project. Dispose of any used materials responsibly and return the work area to its original condition, free from any paint drips or spills.
By meticulously finishing and painting the molding, you can elevate the visual appeal of the door and achieve a cohesive and harmonious look. The freshly painted molding adds a touch of refinement to the overall aesthetic of the door, creating a lasting impression and contributing to the overall ambiance of the space.
Conclusion
In conclusion, the process of replacing the molding around the glass on a door is a gratifying endeavor that not only enhances the visual appeal of the door but also contributes to its functionality and energy efficiency. By following the step-by-step guide outlined in this article, you can embark on this home improvement project with confidence, knowing that each phase has been meticulously addressed to ensure a successful outcome.
From gathering the necessary tools and materials to meticulously measuring, cutting, and installing the new molding, every step plays a crucial role in achieving a seamless and professional result. The careful removal of the old molding sets the stage for the precise installation of the new pieces, ensuring a snug fit and a visually appealing transition around the glass panels.
The finishing touches, including the application of caulk and the meticulous painting of the molding, add a layer of refinement to the project, elevating the overall appearance of the door and creating a cohesive look that complements the surrounding space. The attention to detail in each phase of the process underscores the commitment to achieving a high-quality outcome that enhances the aesthetics and functionality of the door.
Furthermore, the completion of this project brings a sense of accomplishment and pride in transforming the look and feel of a key element in your living space. The newly replaced molding not only adds a touch of elegance to the door but also contributes to its insulation and durability, making it a valuable investment in the long-term maintenance of your home.
By taking on this project, you have not only enhanced the visual appeal of your living space but also gained valuable experience in home improvement, empowering you to tackle future projects with confidence and skill. Whether it's refreshing other doors in your home or exploring additional renovation endeavors, the knowledge and expertise gained from this project will serve as a solid foundation for future endeavors.
In essence, the process of replacing the molding around the glass on a door is a testament to the transformative power of home improvement projects. It embodies the fusion of creativity, precision, and practicality, resulting in a tangible enhancement to the aesthetics and functionality of your living space. As you admire the newly adorned door, take pride in the craftsmanship and attention to detail that have culminated in a visually stunning and enduring upgrade to your home.
Frequently Asked Questions about How To Replace The Molding Around Glass On A Door
Was this page helpful?
At Storables.com, we guarantee accurate and reliable information. Our content, validated by Expert Board Contributors, is crafted following stringent Editorial Policies. We're committed to providing you with well-researched, expert-backed insights for all your informational needs.


0 thoughts on “How To Replace The Molding Around Glass On A Door”