Articles
How To Make Picture Frames Out Of Molding
Modified: March 1, 2024
Learn how to make beautiful picture frames using molding in this informative articles. From selecting the right molding to assembly and finishing, we've got you covered!
(Many of the links in this article redirect to a specific reviewed product. Your purchase of these products through affiliate links helps to generate commission for Storables.com, at no extra cost. Learn more)
Introduction
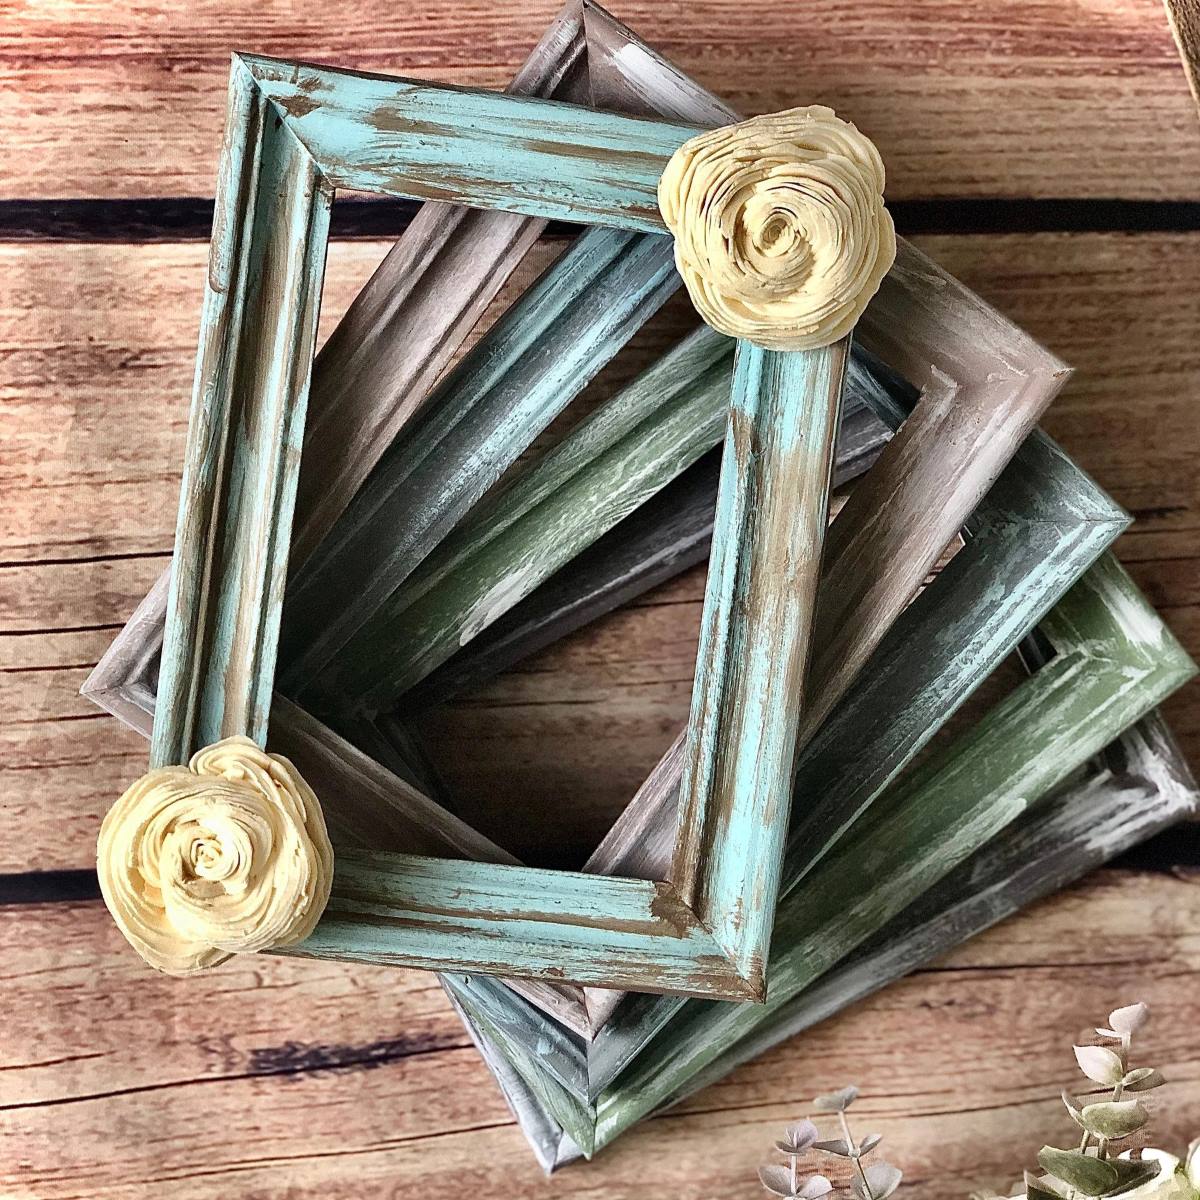
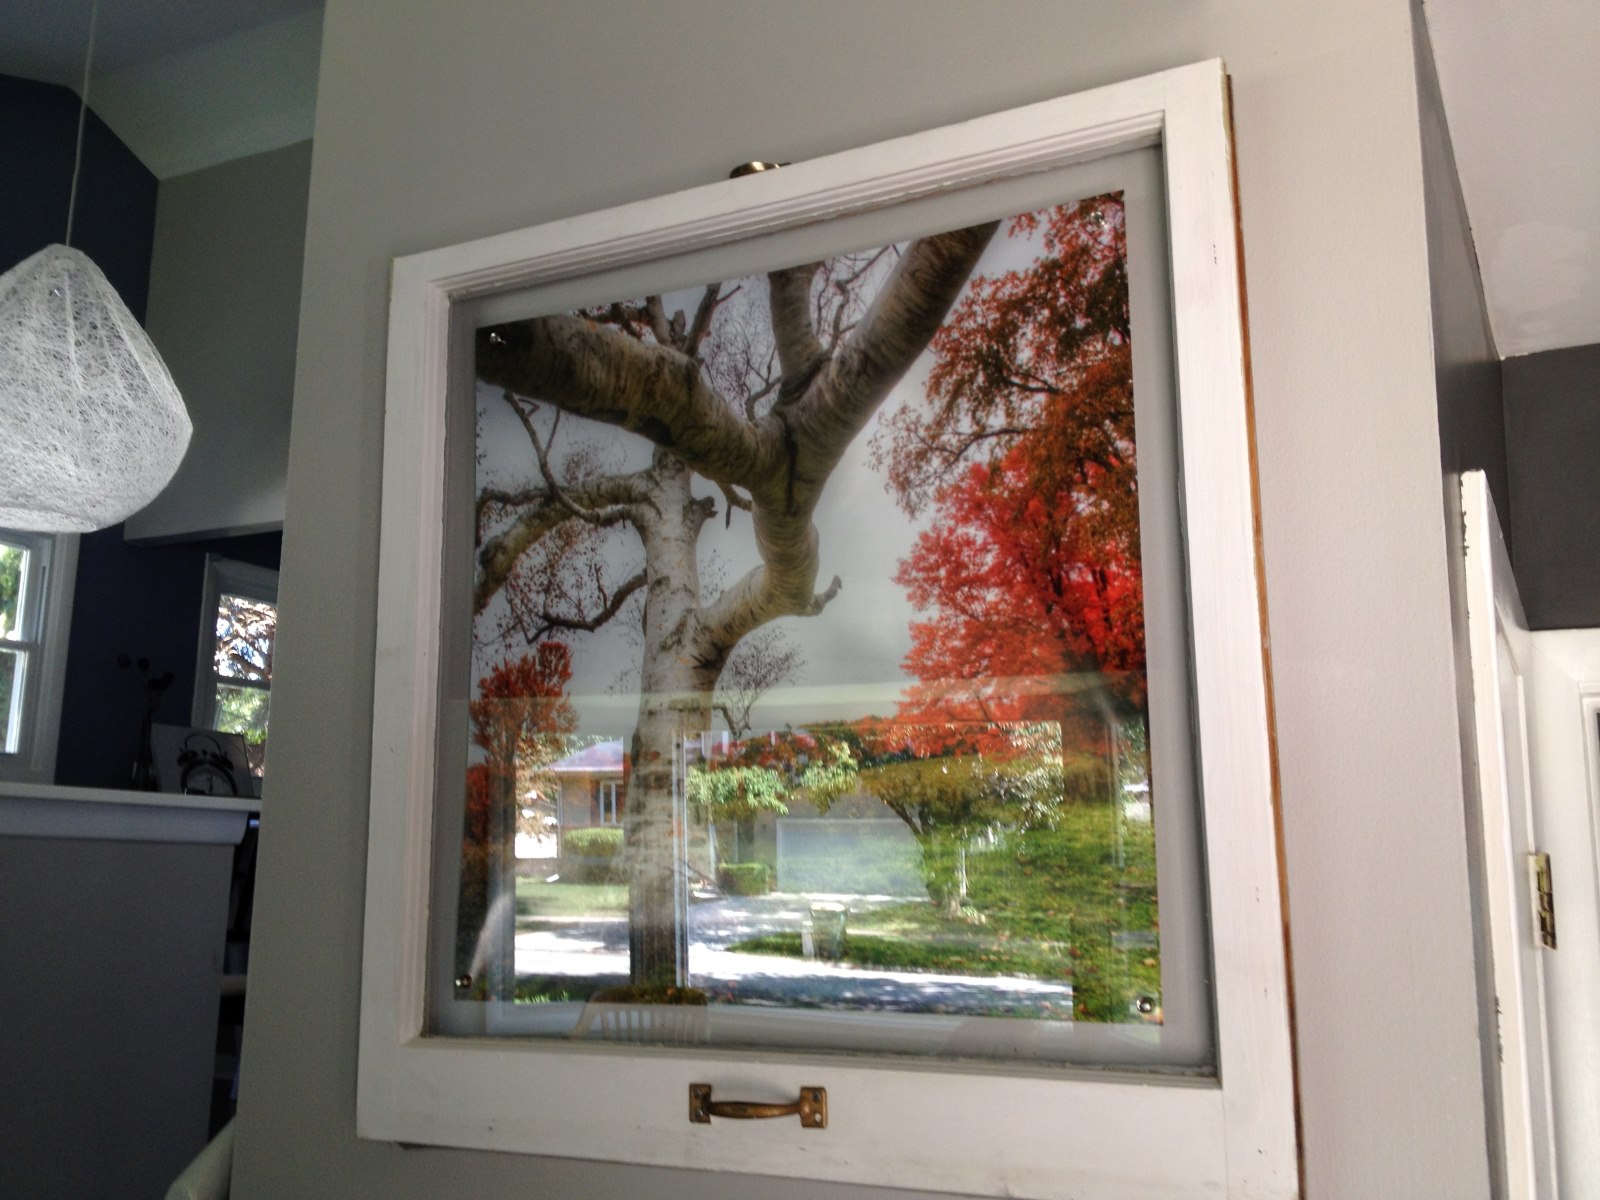
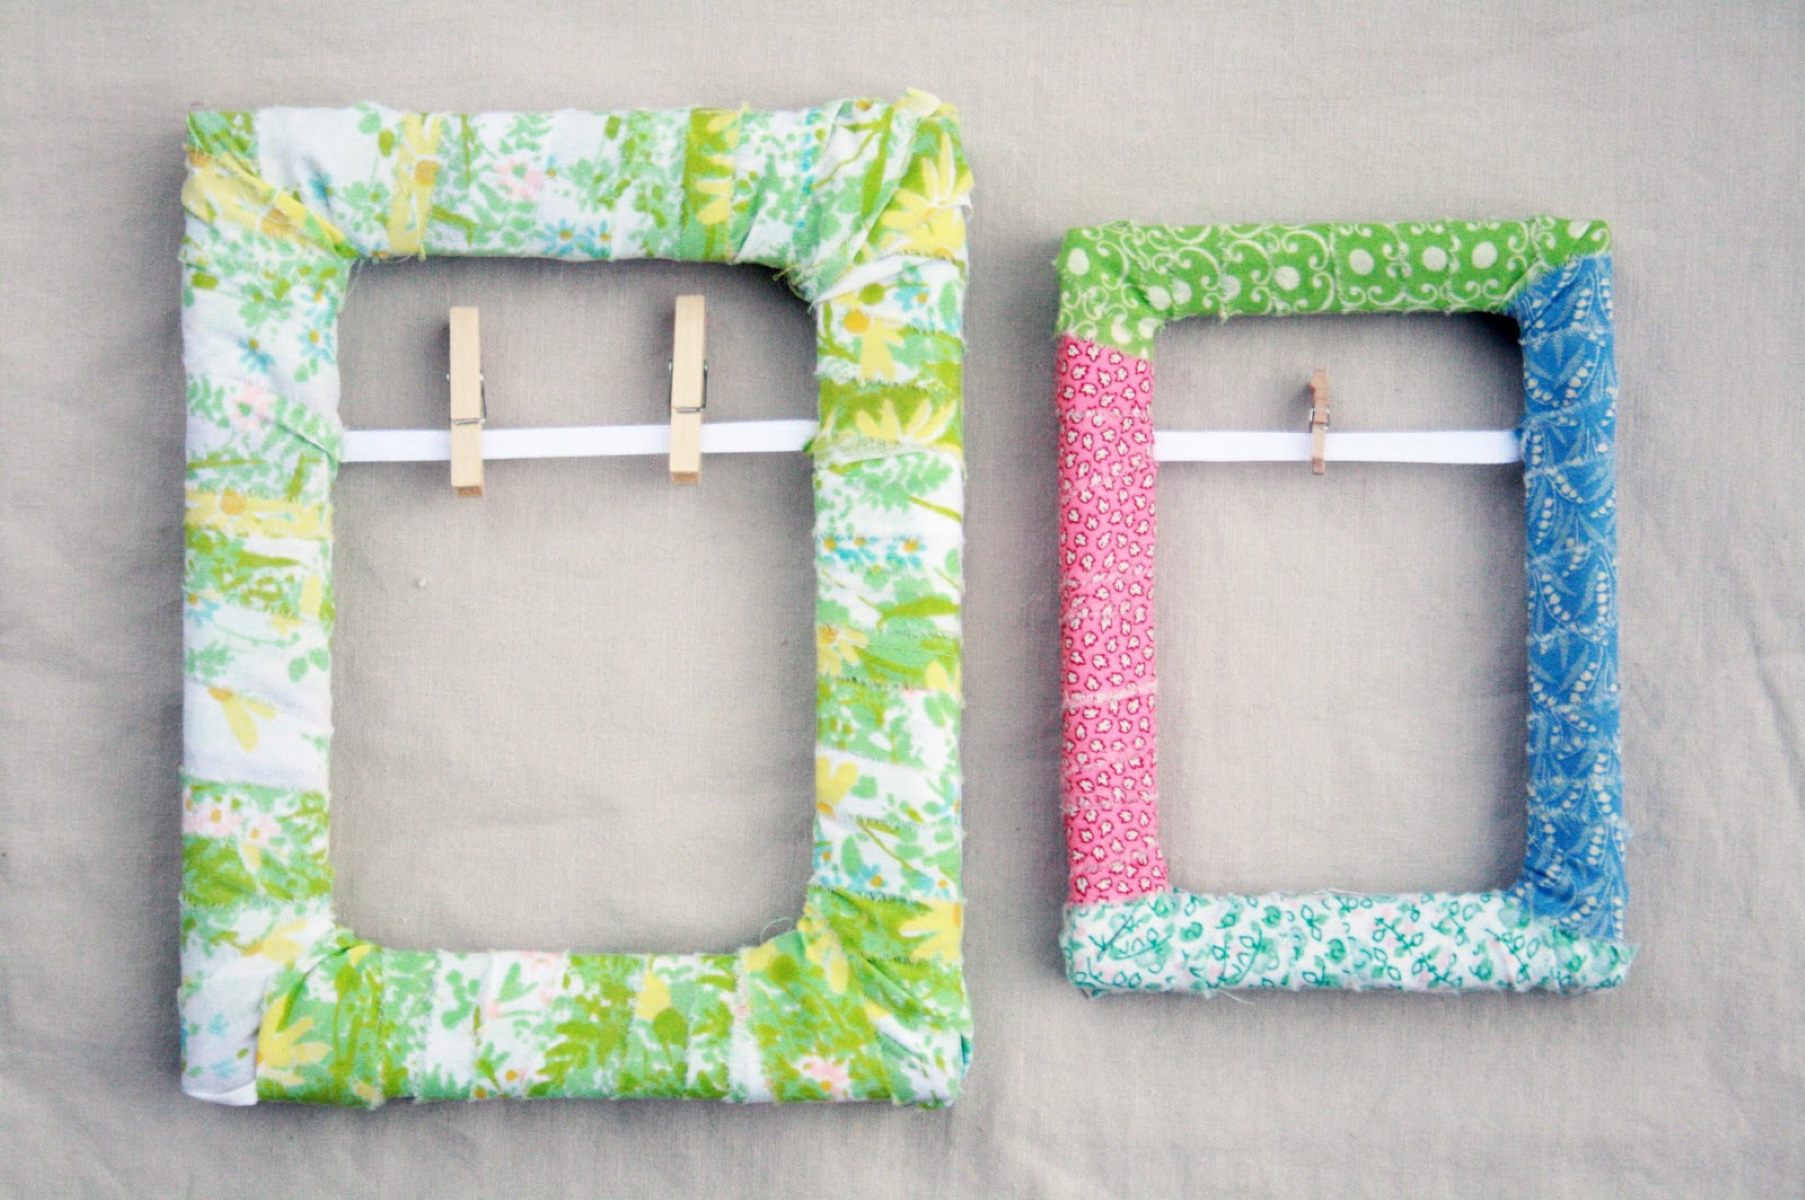
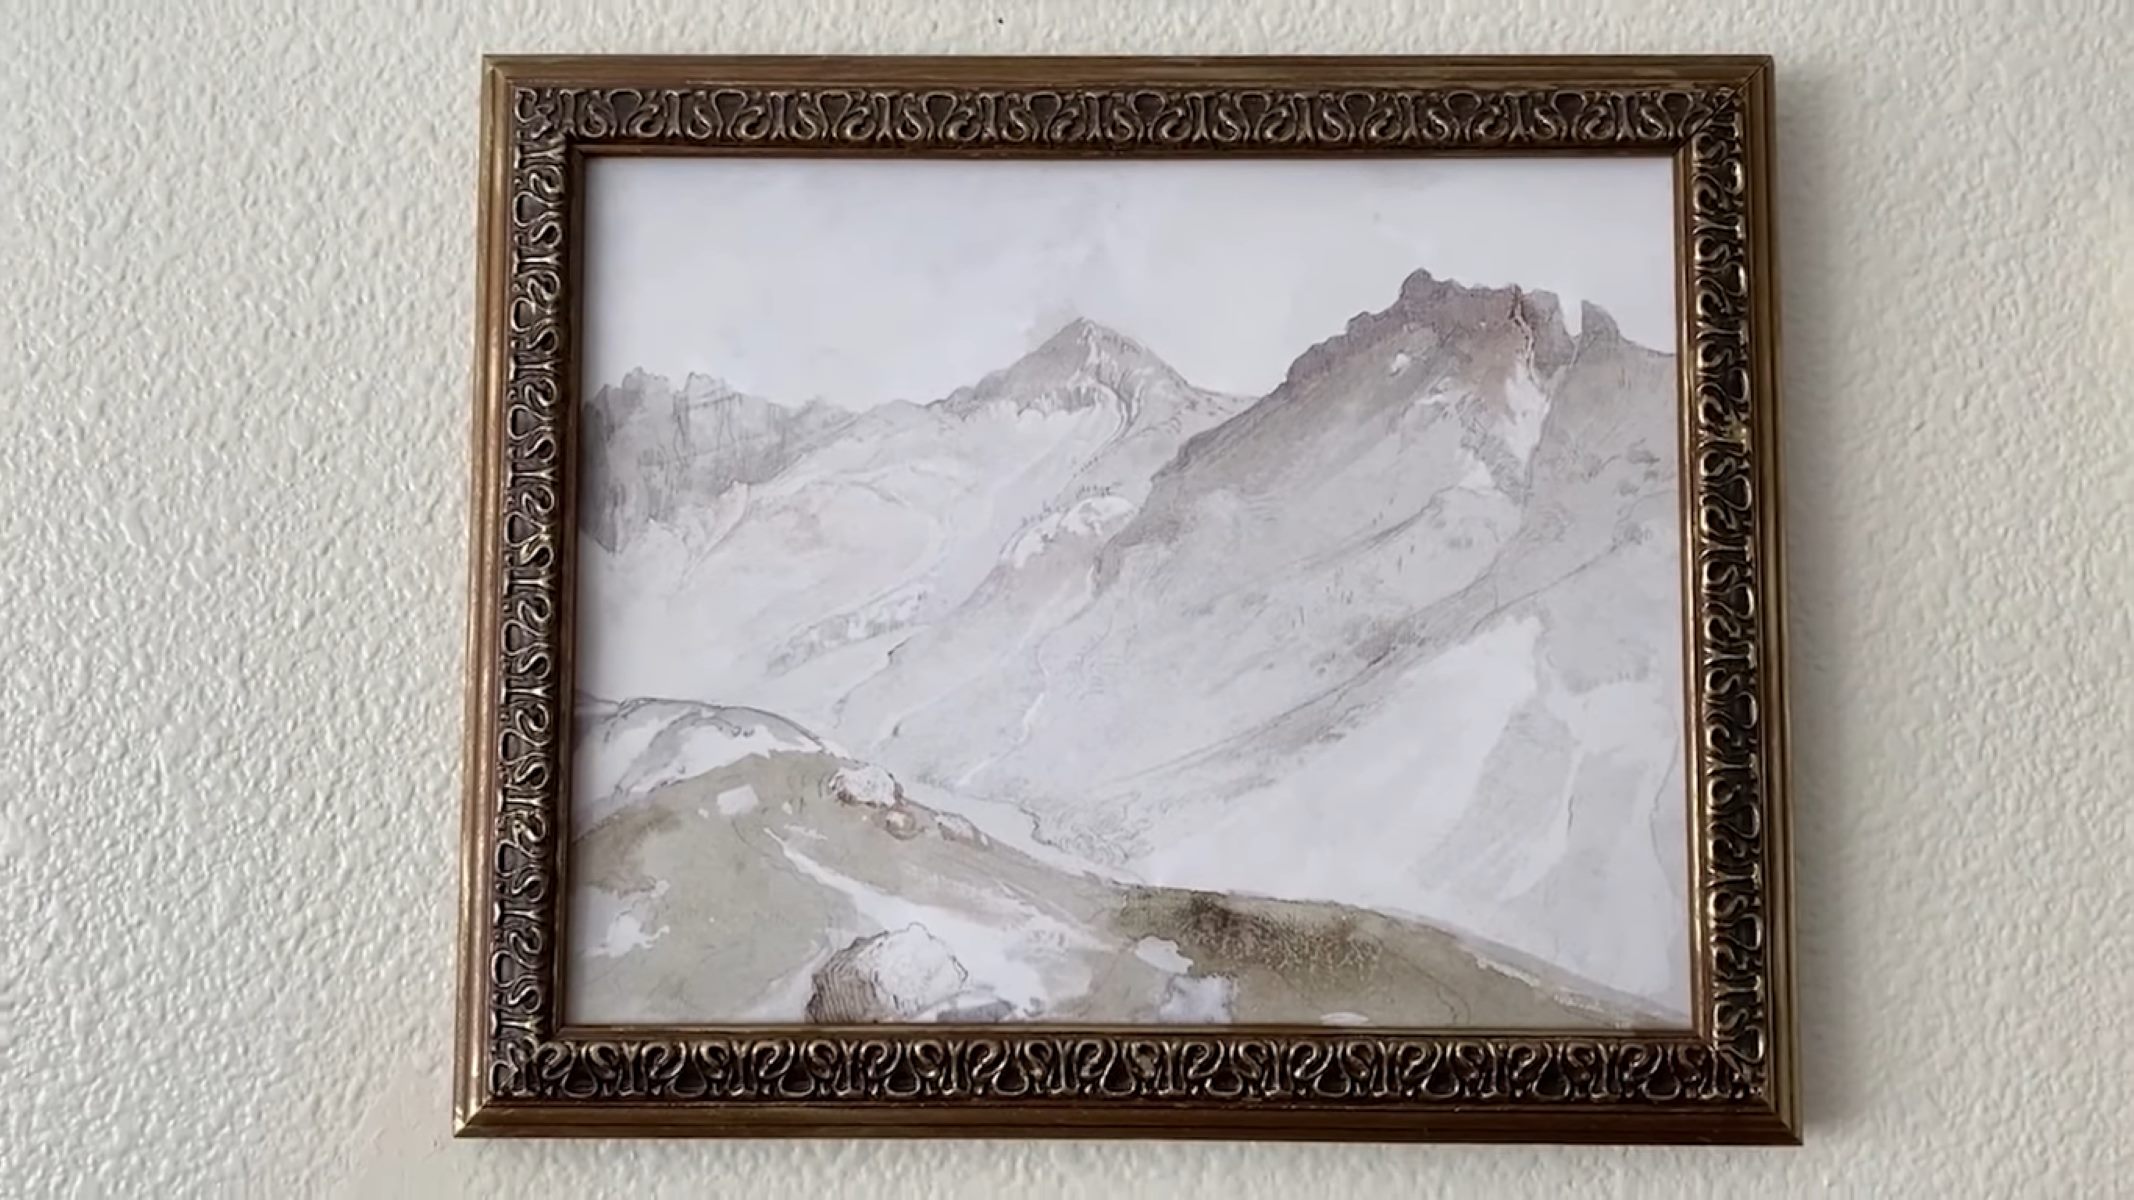
Picture frames are not just a practical way to display your favorite photographs or artwork; they can also be a beautiful and decorative addition to your home decor. While there are countless ready-made frames available in stores, there’s something special about creating your own picture frames using molding.
In this article, we will guide you through the process of making picture frames out of molding. Whether you’re a DIY enthusiast or just looking for a creative project, this step-by-step guide will help you create custom picture frames that perfectly suit your style and the size of your artwork.
Before we dive into the process, let’s take a look at the materials you will need for this project.
Key Takeaways:
- Create custom picture frames that perfectly suit your style and artwork by following this step-by-step guide to making picture frames out of molding. Showcase your creativity and personalize your home decor with unique, handmade frames.
- From measuring and cutting molding to securing, sanding, and painting, this article provides a comprehensive tutorial on crafting picture frames. Embrace your DIY spirit, experiment with different styles, and proudly display your favorite artwork in custom-made frames.
Materials Needed
Before you get started on making picture frames out of molding, it’s important to gather all the necessary materials. Here’s a list of items you will need:
- Molding: Choose a molding style and material that suits your taste and complements your artwork. You can find a wide variety of moldings at your local home improvement store.
- Saw: A miter saw is ideal for making precise cuts at the correct angles. However, you can also use a miter box and a hand saw if you don’t have access to a power saw.
- Measuring Tape: A measuring tape is essential for accurately measuring the dimensions of your artwork and determining the lengths of the molding pieces.
- Miter Box or Miter Saw: A miter box is a tool that helps you make angled cuts. If you have a miter saw, it makes the process quicker and more precise.
- Wood Glue: Wood glue will be used to join the corners of the frame together. Make sure to choose a strong adhesive that dries clear.
- Clamps: Clamps are helpful for securing the corners of the frame while the glue dries. They ensure a tight and sturdy bond.
- Sandpaper: Sandpaper will be used to smooth the edges of the molding and prepare it for painting or staining.
- Paint or Stain: Choose a paint color or wood stain that matches your desired aesthetic. You can also opt for a clear varnish for a natural wood look.
- Paintbrush: A paintbrush is needed to apply the paint or stain onto the molding.
- Picture Hanging Hardware: Depending on the weight of your artwork, you will need appropriate picture hanging hardware such as D-ring hooks or sawtooth hangers.
By gathering these materials before you begin, you’ll be well-prepared to tackle the project smoothly and efficiently. Now that you have everything you need, let’s move on to the step-by-step process of making picture frames out of molding.
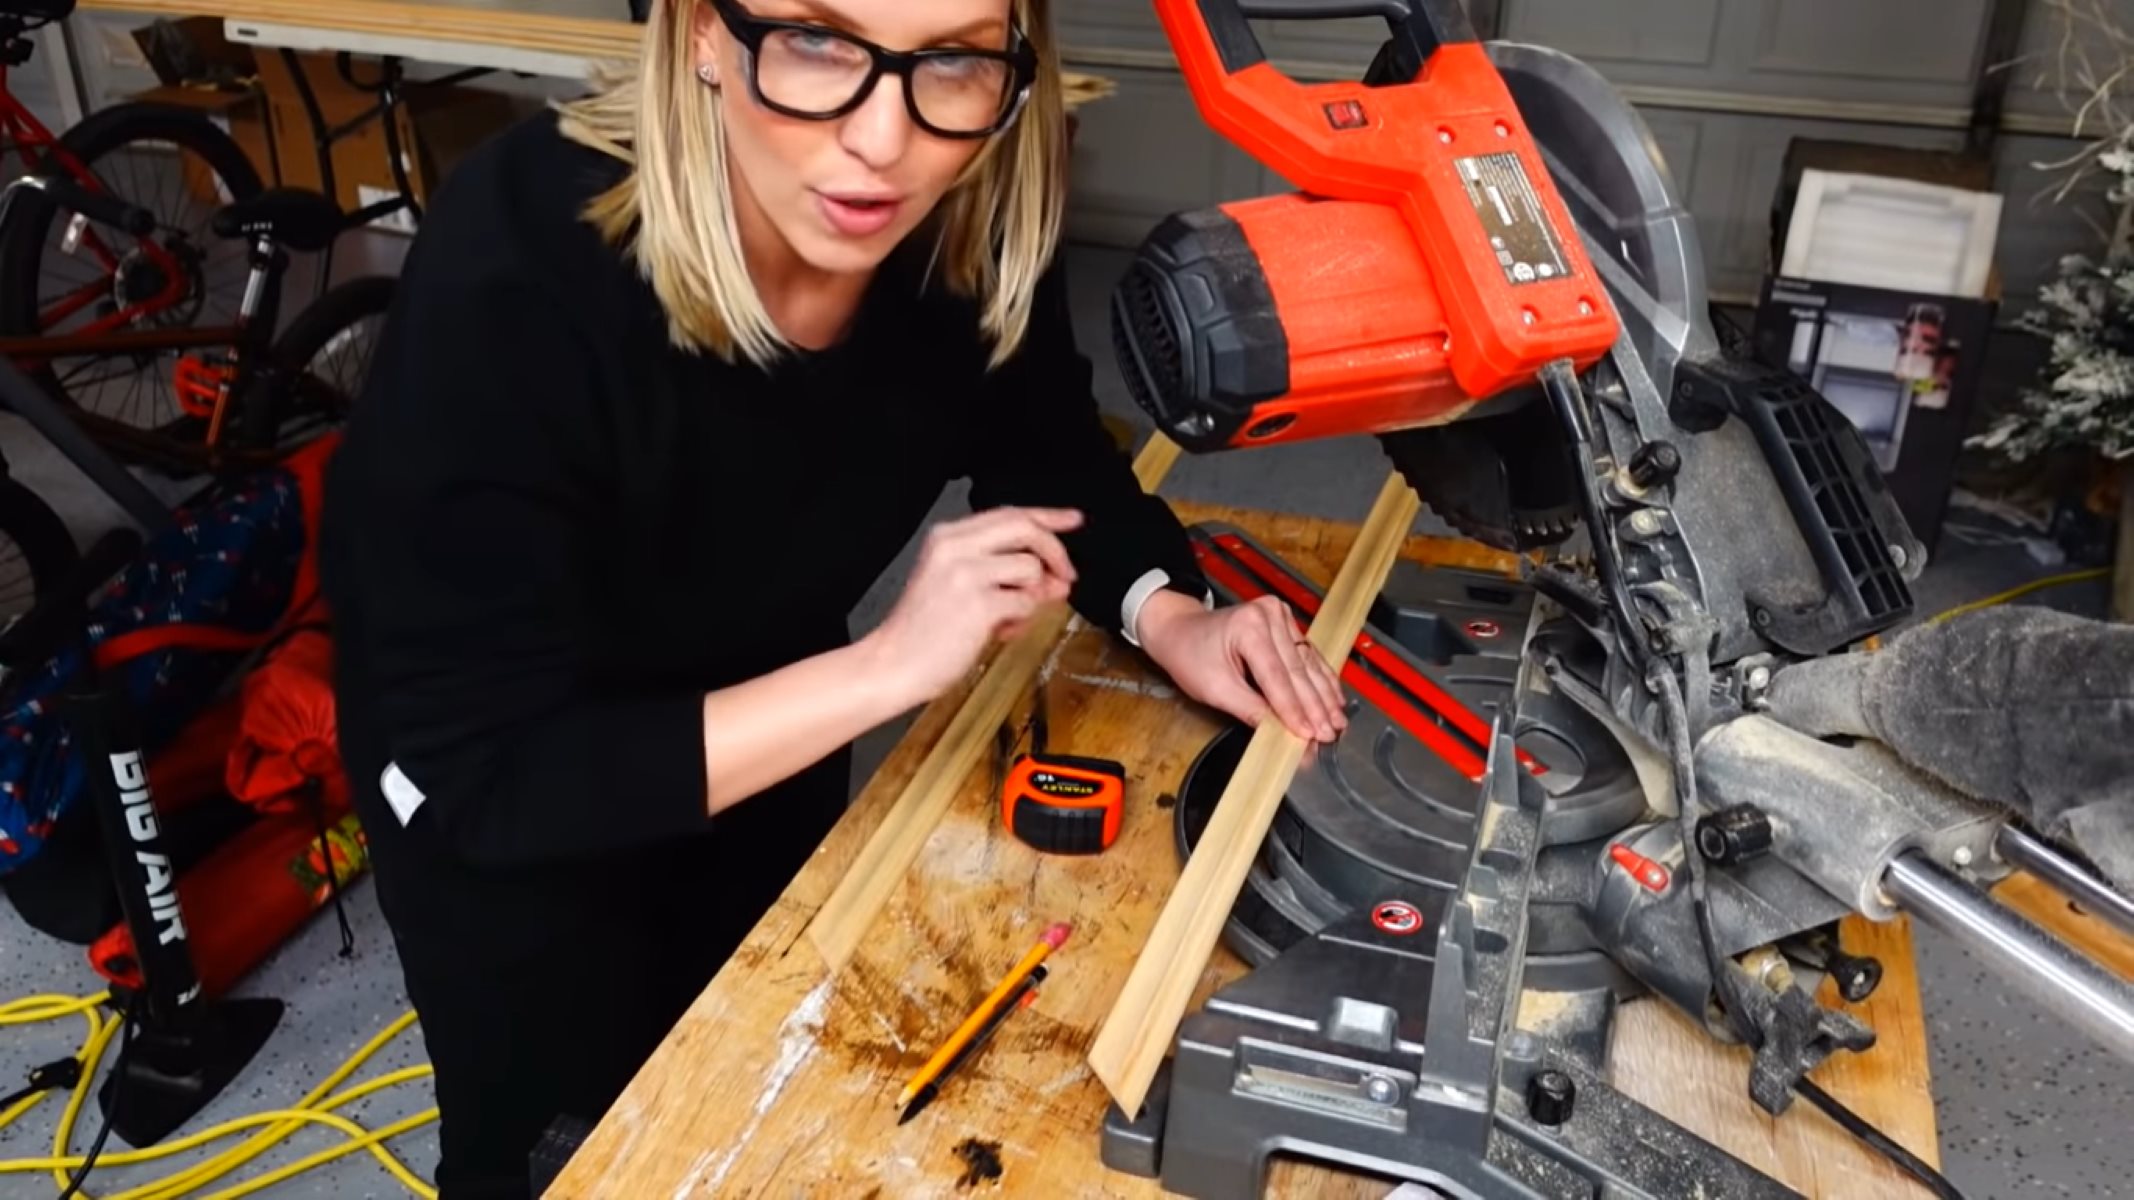
Step 1: Measure and Cut the Molding
The first step in making picture frames out of molding is to accurately measure and cut the molding pieces to the desired dimensions. Follow these steps:
- Measure your artwork: Start by measuring the width and height of your artwork. This will be the dimensions you’ll use to cut the molding pieces.
- Calculate the molding dimensions: To determine the lengths of the molding pieces, add twice the frame width to each side of the artwork dimensions. For example, if your artwork is 8×10 inches and you want a 1-inch wide frame, the molding dimensions will be 10×12 inches.
- Mark the molding: Use a pencil and a measuring tape to mark the dimensions on the molding. Make sure to mark on the backside to avoid visible pencil lines on the front.
- Secure the molding: Secure the molding in a miter box or miter saw, making sure the marked lines align with the cutting guide.
- Cut the molding: Using a miter box and a hand saw or a miter saw, carefully cut the molding at a 45-degree angle. Repeat this step for all four pieces of molding.
- Double-check the lengths: After cutting, check the lengths of the molding pieces against the artwork dimensions to ensure accuracy. Make any necessary adjustments if needed.
Remember, precision is crucial when measuring and cutting the molding. Take your time and double-check the dimensions to ensure a seamless fit for your artwork. Once you’ve successfully cut the molding, it’s time to move on to the next step: mitering the corners.
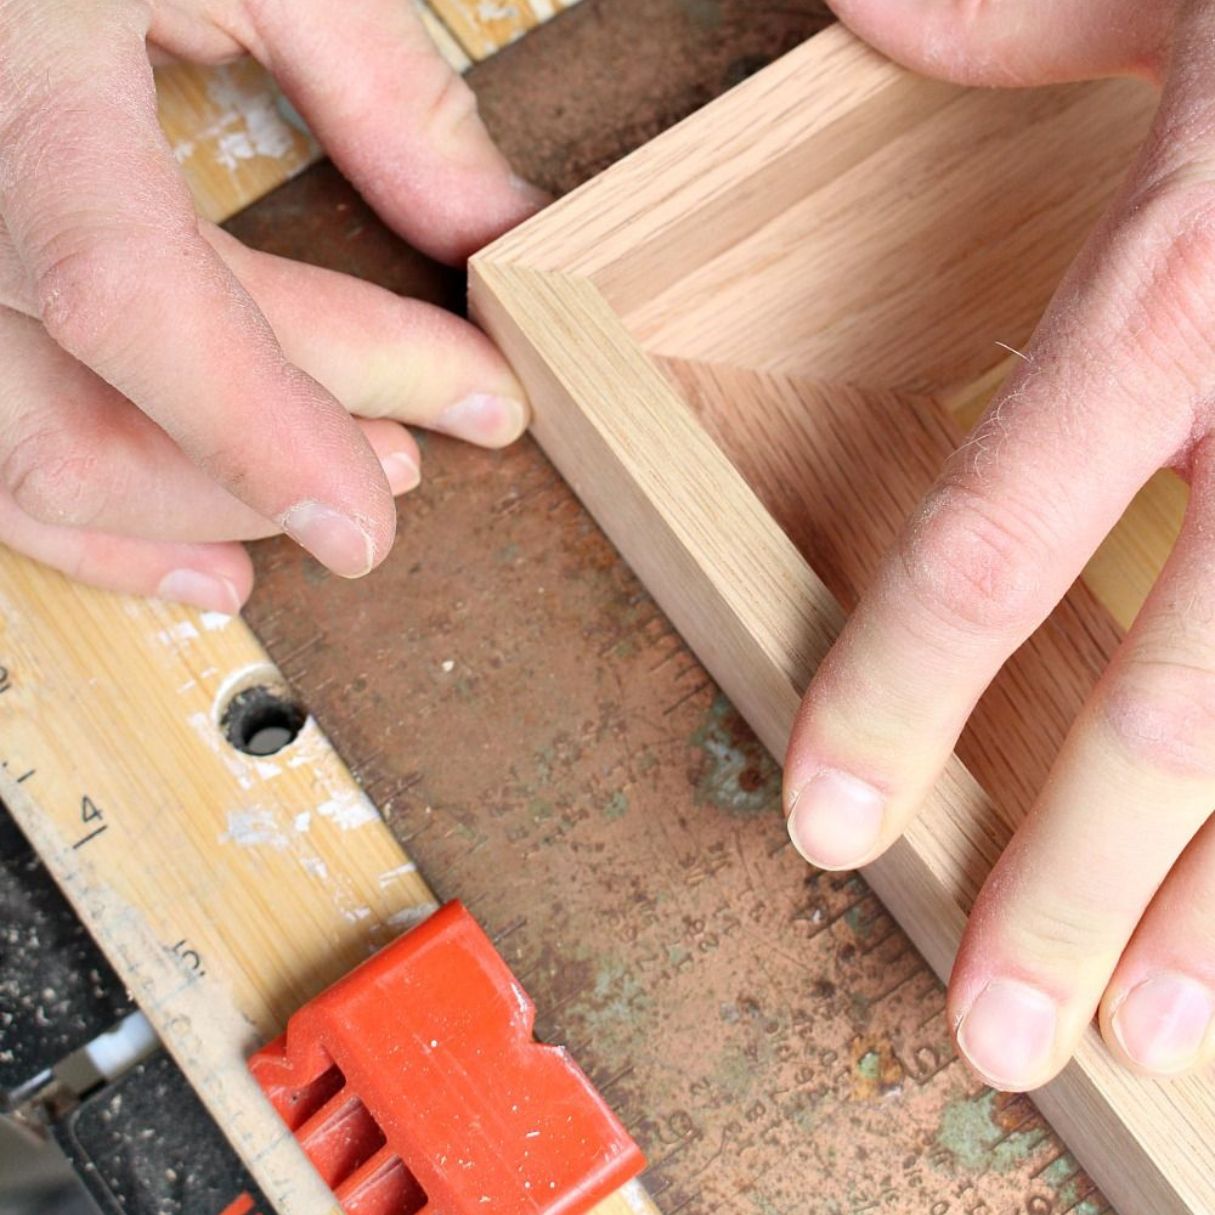
Step 2: Miter the Corners
Now that you have cut the molding pieces to the correct dimensions, the next step is to miter the corners. Mitering the corners will allow the molding to join seamlessly at a 45-degree angle. Follow these steps:
- Arrange the molding pieces: Lay out the four molding pieces on a flat surface, positioning them to form a rectangle with the mitered ends meeting at the corners.
- Check the alignment: Ensure that the corners meet tightly, leaving no gaps or uneven edges. Adjust the angles if needed.
- Apply wood glue: Apply a small amount of wood glue to the mitered ends of the molding pieces.
- Join the corners: Carefully join the corners of the molding pieces, pressing them firmly together. Wipe off any excess glue with a damp cloth.
- Secure with clamps: To ensure a tight bond, use clamps to hold the corners in place while the glue dries. Place the clamps diagonally across the corners.
- Allow drying time: Follow the instructions on the wood glue for drying time, which is typically around 30 minutes to an hour.
- Double-check the corners: After the glue has dried, inspect the corners to make sure they are securely joined. If necessary, reinforce the corners with additional wood glue.
Mitering the corners may require precision and patience, especially for beginners. Take your time in aligning the corners and use clamps for added stability. Once the corners are securely joined, you can move on to the next step: securing the molding.
When cutting molding for picture frames, be sure to measure and cut at a 45-degree angle to create clean and seamless corners. Use a miter saw for precise cuts.
Step 3: Secure the Molding
Once you have mitered the corners of the molding, the next step is to secure the molding pieces together to create a sturdy frame. Follow these steps:
- Apply wood glue: Apply a thin and even layer of wood glue along the inside edges of the joined corners.
- Press the molding together: Bring the molding pieces together, aligning them carefully. Ensure that the corners are tightly joined.
- Secure with clamps: Use clamps to hold the molding pieces together while the glue dries. Place the clamps along the length of the molding, evenly spaced.
- Wipe off excess glue: Immediately wipe off any excess glue that squeezes out from the corners and joints using a damp cloth.
- Allow drying time: Follow the instructions on the wood glue for drying time. Typically, it takes around 24 hours for the glue to fully cure.
- Check for stability: After the glue has dried, remove the clamps and inspect the frame for stability. If any corners feel loose, apply additional wood glue and re-clamp.
It’s important to ensure that the molding pieces are securely joined for a strong and durable frame. Take your time in applying the wood glue and use clamps to hold the pieces together during the drying process. Once the frame is fully secure, you can proceed to the next step: sanding and painting the frame.
Read more: How To Make Picture Frames
Step 4: Sand and Paint the Frame
After securing the molding, it’s time to sand and paint the frame. This step will give your picture frame a smooth finish and allow you to customize its appearance. Follow these steps:
- Sand the frame: Use sandpaper or a sanding block to gently sand the entire surface of the frame. This will remove any rough edges or imperfections and create a smooth surface for painting or staining. Pay extra attention to the corners to ensure they are well-sanded.
- Remove dust: After sanding, use a damp cloth or a tack cloth to remove any dust or debris from the frame. This will ensure a clean painting surface.
- Paint or stain the frame: Choose a paint color or wood stain that matches your desired aesthetic. Apply the paint or stain evenly using a paintbrush, following the grain of the wood. Allow the first coat to dry completely before applying additional coats, if desired. If you prefer a natural wood look, you can skip the painting step and apply a clear varnish or wood sealer to protect the frame.
- Allow drying time: Follow the instructions on the paint or stain for drying time. This typically ranges from a few hours to overnight, depending on the product.
- Optional: Add decorative touches – If you want to add extra flair to your picture frame, consider adding decorative elements such as stencils, decals, or embellishments. Get creative and personalize your frame!
Sanding and painting the frame will not only enhance its appearance but also protect the wood from moisture and wear. Take your time in sanding the frame to achieve a smooth surface, and apply the paint or stain evenly for a professional finish. Once the frame is dry and the paint is set, you can move on to the final step: attaching the picture hanging hardware.
Step 5: Attach the Picture Hanging Hardware
Now that your picture frame is sanded and painted, it’s time to attach the picture hanging hardware. This step will allow you to securely hang your frame on the wall and display your artwork. Follow these steps:
- Choose the appropriate hardware: Consider the weight of your artwork and choose the appropriate picture hanging hardware. Options include D-ring hooks, sawtooth hangers, wire, or keyhole hangers.
- Measure and mark: Measure the back of your frame to determine the placement of the hardware. Mark the desired location using a pencil.
- Attach the hardware: Depending on the type of hardware you’re using, follow the manufacturer’s instructions for attaching it to the frame. For D-ring hooks or sawtooth hangers, use small screws or nails. If using wire, twist it securely between two screws or eye hooks.
- Test the stability: Verify that the picture hanging hardware is securely attached by gently tugging on it. Ensure that it can support the weight of your artwork.
By properly attaching picture hanging hardware, you can confidently hang your frame on the wall without worrying about it falling or becoming crooked. Follow the manufacturer’s guidelines and ensure the hardware is securely attached to the frame to provide optimal support.
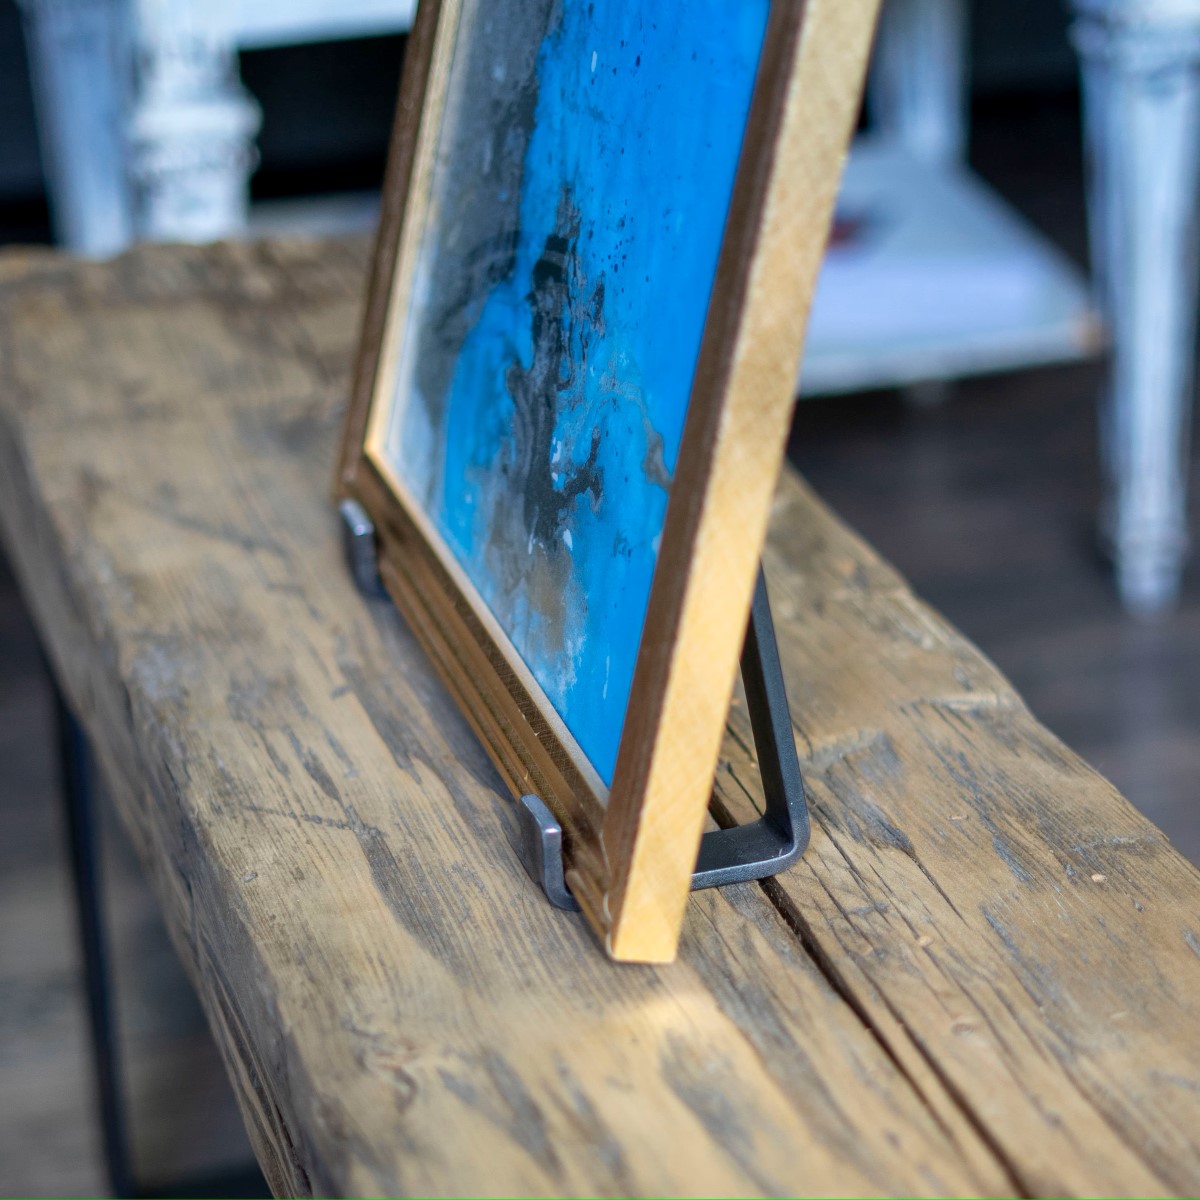
With the picture hanging hardware in place, your custom-made picture frame is now ready to showcase your favorite artwork or photographs. Install it securely on the wall using appropriate wall anchors and screws, and step back to admire your work!
Conclusion
Congratulations! You have successfully learned how to make picture frames out of molding. By following the step-by-step guide in this article, you have created a custom frame that perfectly suits your artwork and reflects your personal style.
Making picture frames out of molding allows you to add a personal touch to your home decor and showcase your favorite photographs or artwork in a unique way. From choosing the molding and measuring the dimensions to mitering the corners, securing the molding, sanding and painting, and attaching the picture hanging hardware, each step has contributed to the creation of a beautiful and functional picture frame.
Remember, precision is key throughout the process. Take your time to measure accurately, miter the corners carefully, and secure the molding tightly. Sanding and painting the frame will give it a polished look, and attaching the picture hanging hardware ensures it can be proudly displayed on your wall.
So go ahead and showcase your creativity by making more picture frames out of molding. Experiment with different molding styles, finishes, and sizes to create a gallery wall or give unique gifts to your loved ones. Let your imagination run wild!
Now that you have the knowledge and skills to create your own picture frames, it’s time to get started. Gather your materials, pick out some beautiful molding, and let your creativity soar. Happy framing!
Frequently Asked Questions about How To Make Picture Frames Out Of Molding
Was this page helpful?
At Storables.com, we guarantee accurate and reliable information. Our content, validated by Expert Board Contributors, is crafted following stringent Editorial Policies. We're committed to providing you with well-researched, expert-backed insights for all your informational needs.


0 thoughts on “How To Make Picture Frames Out Of Molding”