Home>Furniture & Design>Interior Design Trends>How To Remove A Glass Screen Protector
Interior Design Trends
How To Remove A Glass Screen Protector
Published: February 4, 2024
Learn how to safely remove a glass screen protector with our step-by-step guide. Stay updated on the latest interior design trends and tips.
(Many of the links in this article redirect to a specific reviewed product. Your purchase of these products through affiliate links helps to generate commission for Storables.com, at no extra cost. Learn more)
Introduction
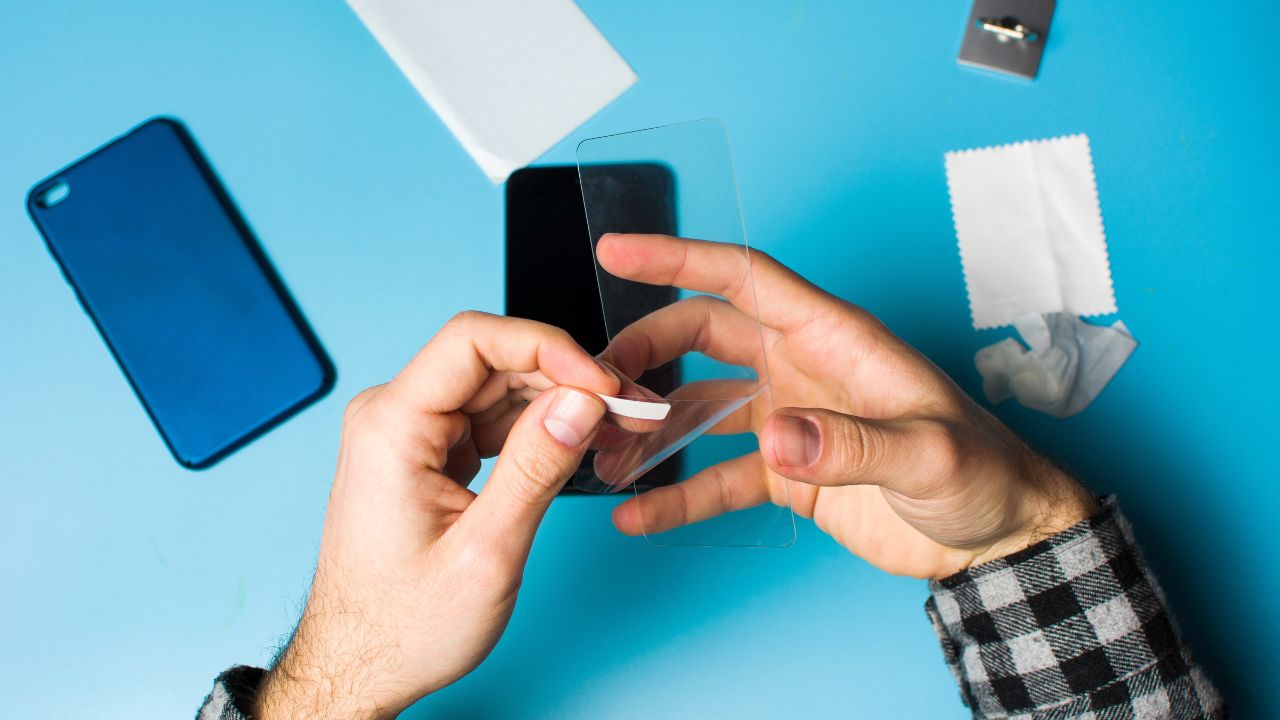
Removing a glass screen protector from your device can be a daunting task, especially if you're concerned about damaging the screen underneath. Whether you're looking to replace the old protector with a new one or simply want to enjoy the natural feel of your device's screen, it's essential to approach the removal process with care and precision.
In this comprehensive guide, we will walk you through the step-by-step process of safely removing a glass screen protector from your device. By following these instructions and using the right tools, you can effectively remove the screen protector without leaving any residue or causing damage to your device's screen.
From gathering the necessary tools to cleaning the screen after removal, each step is designed to help you navigate the process with confidence and ease. By the end of this guide, you'll have the knowledge and skills to remove a glass screen protector like a seasoned professional, ensuring that your device remains in pristine condition throughout the process.
So, if you're ready to bid farewell to your old screen protector and unveil the true beauty of your device's screen, let's dive into the step-by-step process of removing a glass screen protector. With the right approach and a steady hand, you'll soon be enjoying the clarity and smoothness of your device's screen without any hindrance.
Key Takeaways:
- Removing a glass screen protector requires the right tools and careful preparation. By using adhesive tape, a credit card, and rubbing alcohol, you can safely lift the protector without damaging your device’s screen.
- After removing the protector, cleaning the screen with rubbing alcohol and a microfiber cloth is crucial. This ensures a pristine and clear screen, ready to be enjoyed without any residue or imperfections.
Read more: How To Remove A Patio Screen Door
Step 1: Gather the necessary tools
Before embarking on the process of removing a glass screen protector, it's crucial to gather the essential tools that will facilitate a smooth and successful removal. Having the right tools at your disposal will not only make the process more manageable but also minimize the risk of damaging your device's screen. Here's a comprehensive list of the necessary tools you'll need:
-
Microfiber Cloth: This soft and lint-free cloth is ideal for cleaning the screen before and after the removal process. It helps ensure that the screen is free from dust, fingerprints, and other particles that may interfere with the removal.
-
Adhesive Tape: High-quality adhesive tape, such as duct tape or packing tape, can be used to create a tab for lifting the screen protector. The tape's adhesive properties make it an effective tool for gently lifting the protector without causing any damage.
-
Credit Card or Plastic Scraper: A credit card or plastic scraper is essential for lifting the screen protector from the device's screen. The thin and flexible nature of these tools allows for precise and controlled maneuvering during the removal process.
-
Rubbing Alcohol: This is used to clean the screen and remove any adhesive residue left behind after the protector is lifted. It's important to use a high-quality rubbing alcohol to ensure effective removal of any remaining adhesive.
-
Hairdryer (Optional): In some cases, a hairdryer can be used to gently heat the screen protector, making it easier to lift off the screen. However, this step is optional and should be approached with caution to avoid overheating the device.
-
Protective Gloves (Optional): While not mandatory, wearing protective gloves can provide an added layer of safety during the removal process, especially if you're concerned about accidentally scratching the screen or coming into contact with any residual adhesive.
By ensuring that you have these tools readily available, you'll be well-prepared to tackle the task of removing the glass screen protector from your device. With the right tools in hand, you can proceed to the next steps with confidence, knowing that you have everything you need to complete the removal process effectively and safely.
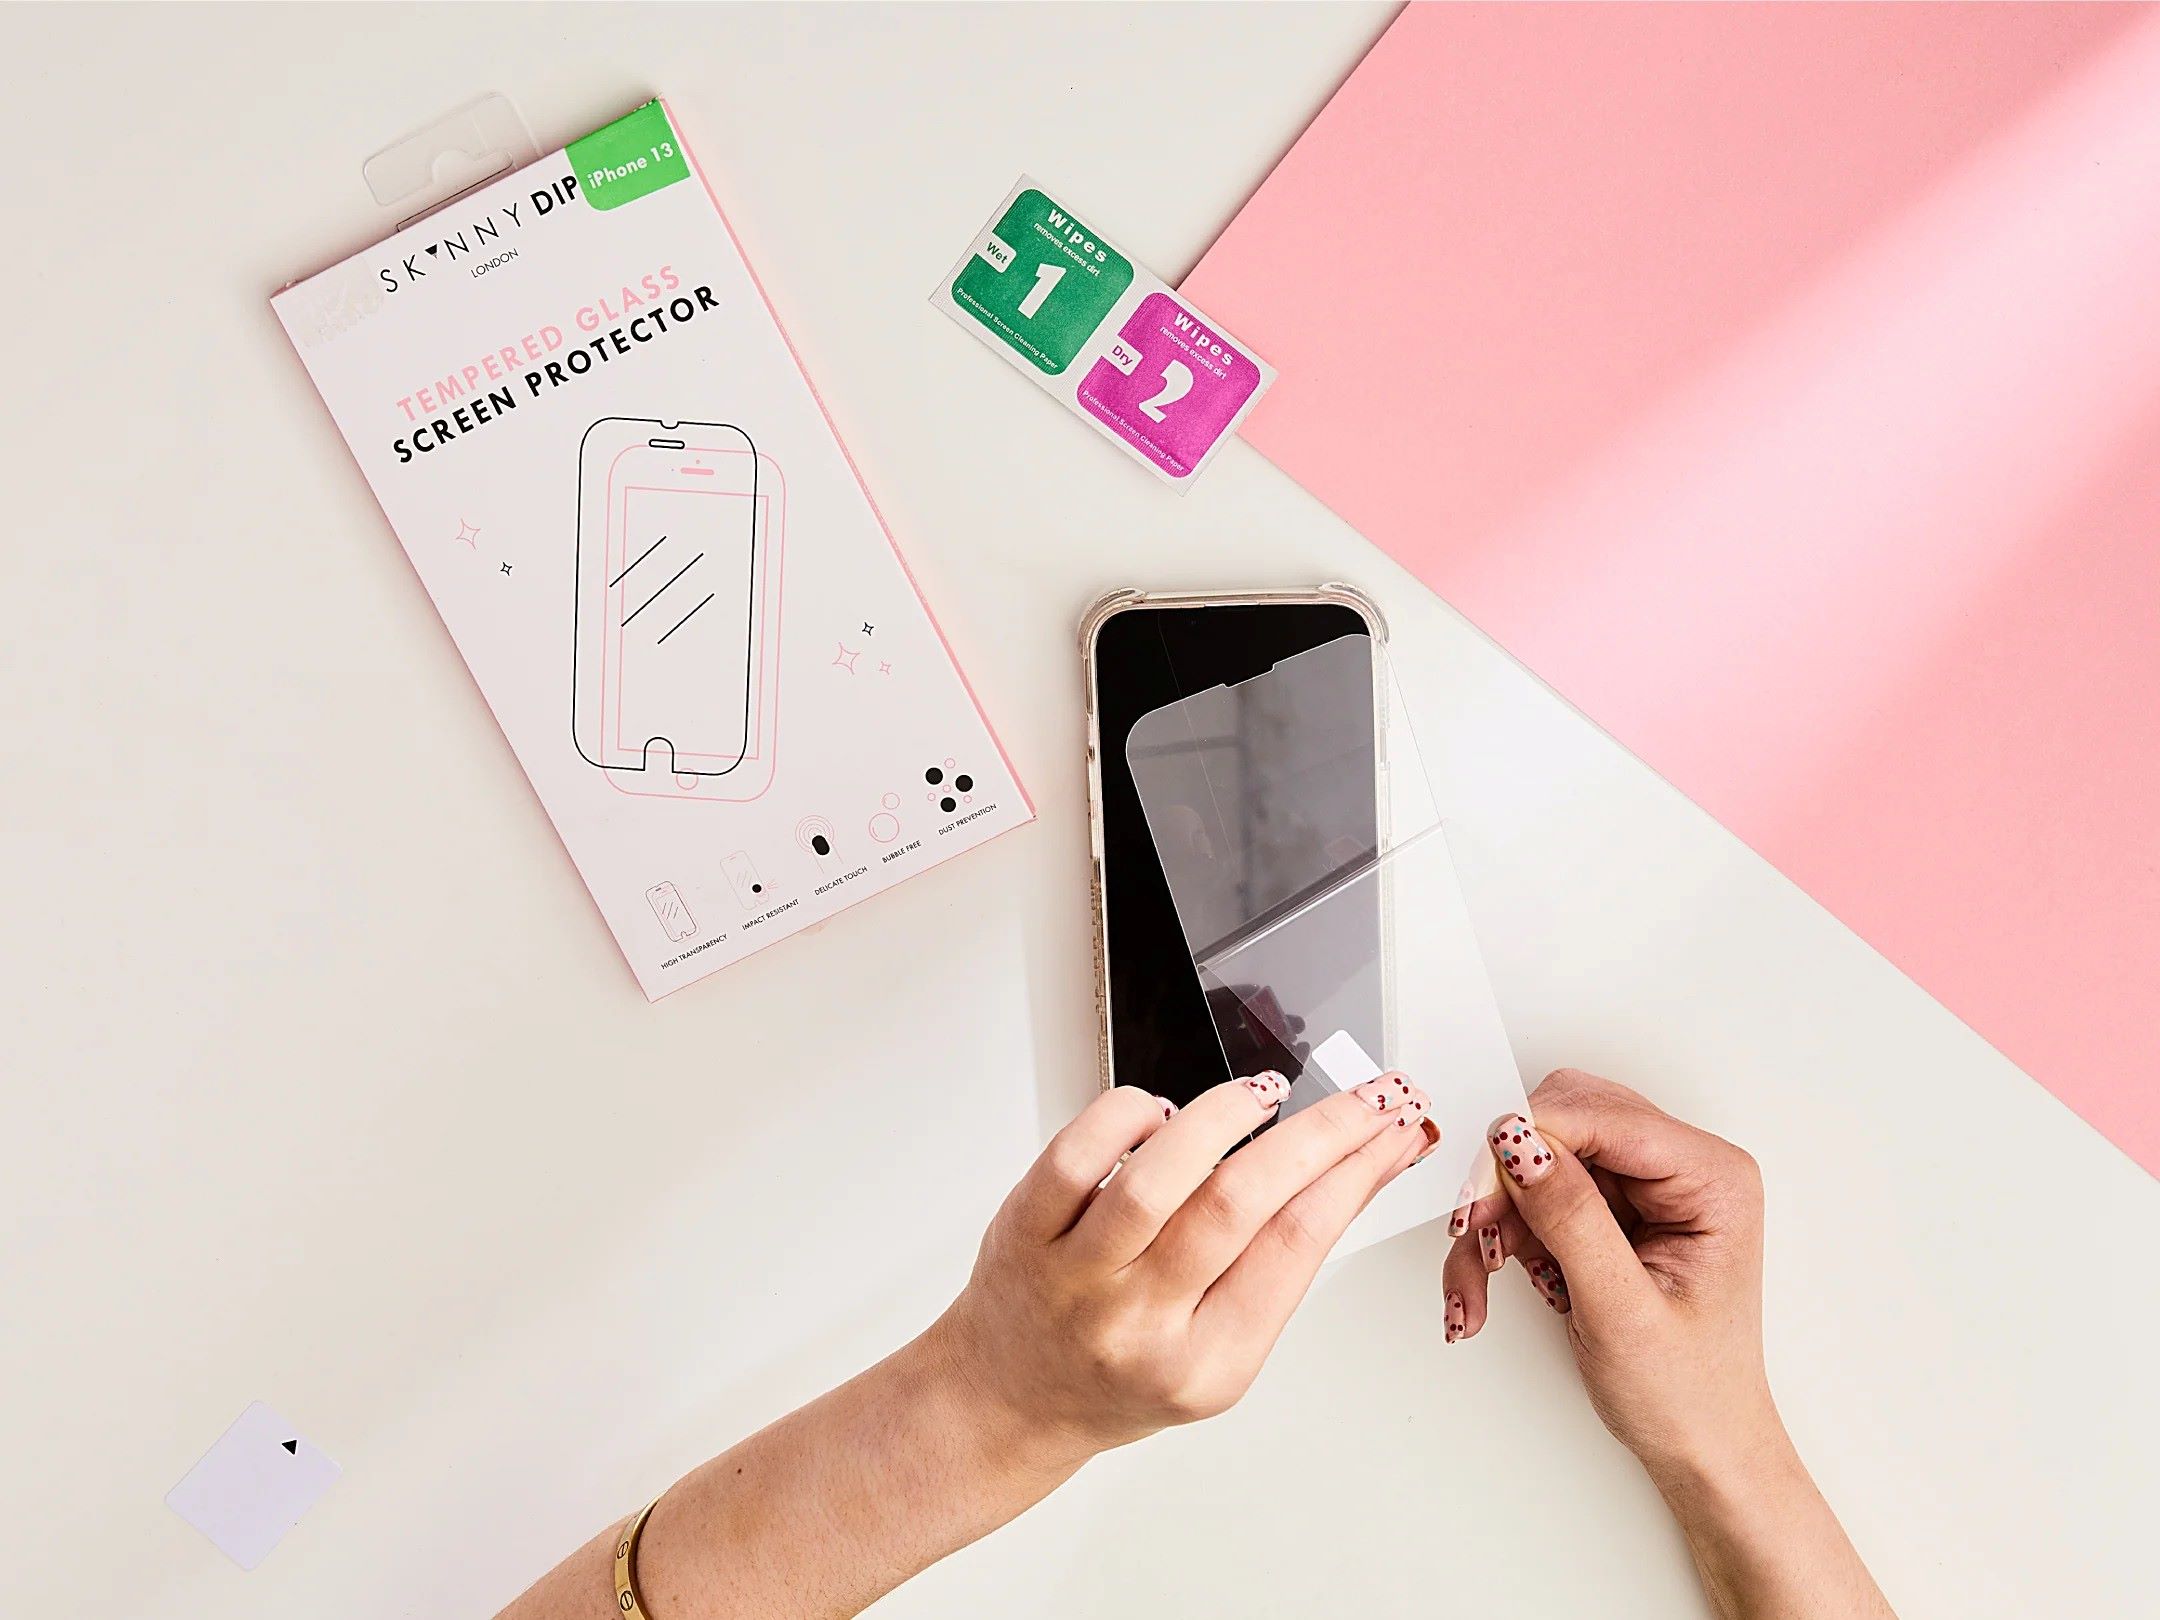
Step 2: Prepare the screen protector for removal
Before diving into the physical removal of the glass screen protector, it's crucial to prepare the protector and the device's screen for the upcoming process. This step sets the stage for a smooth and successful removal, minimizing the risk of damage to the screen and ensuring that the protector can be lifted without leaving any residue behind. Here's a detailed breakdown of how to prepare the screen protector for removal:
Clean the Screen
Start by thoroughly cleaning the device's screen using a microfiber cloth and a small amount of rubbing alcohol. This step is essential for removing any dirt, dust, or fingerprints that may have accumulated on the screen and around the edges of the screen protector. By ensuring that the screen is clean and free from debris, you'll create an optimal surface for the subsequent removal process.
Assess the Condition
Carefully inspect the screen protector to assess its condition and identify any areas of concern. Look for signs of damage, such as cracks or chips, as these may impact the removal process. Additionally, check for any areas where the protector may have lifted or developed air bubbles, as these areas will require special attention during the removal.
Read more: How To Put A Screen In A Glass Pipe
Create a Tab with Adhesive Tape
Using a piece of adhesive tape, such as duct tape or packing tape, create a small tab that can be used to lift the screen protector from the device. Gently press the tape onto one corner or edge of the screen protector, leaving a portion of the tape extending beyond the edge. This tab will provide a secure grip for lifting the protector without the need for excessive force.
Warm the Screen Protector (Optional)
In some cases, gently warming the screen protector with a hairdryer can make it easier to lift off the screen. Hold the hairdryer a few inches away from the protector and move it back and forth to evenly distribute the heat. Be cautious not to overheat the device, and always test the temperature of the protector with your hand before proceeding.
By meticulously preparing the screen protector and the device's screen for removal, you'll set the stage for a successful and damage-free process. This proactive approach ensures that the subsequent steps of lifting and cleaning the screen proceed smoothly, ultimately leading to a pristine and unblemished device screen once the protector is removed.
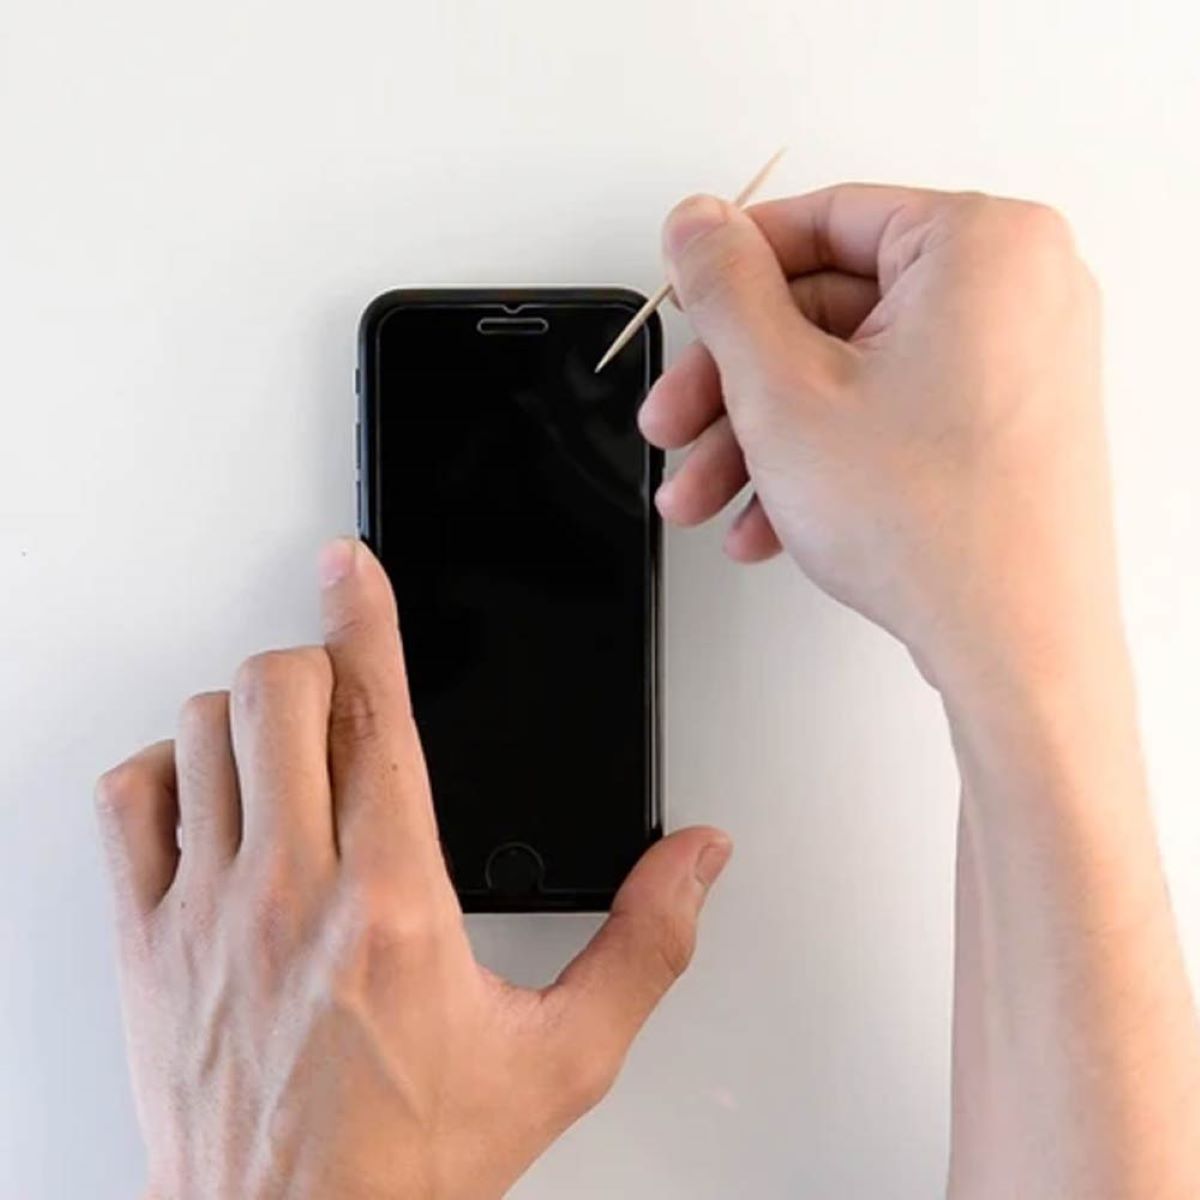
Step 3: Use a credit card or plastic scraper to lift the screen protector
With the screen and protector adequately prepared, it's time to delicately lift the glass screen protector from the device's screen. This step requires precision and a gentle touch to ensure that the protector is removed without causing any damage to the underlying screen. Here's a detailed breakdown of how to use a credit card or plastic scraper to lift the screen protector effectively:
-
Positioning the Tool: Begin by positioning the edge of a credit card or plastic scraper under the tab created with the adhesive tape. The thin and flexible nature of these tools makes them ideal for sliding between the screen protector and the device's screen without exerting excessive pressure.
-
Applying Gentle Pressure: With the tool positioned under the tab, apply gentle and even pressure to lift the screen protector from the device. It's crucial to maintain a steady and controlled motion, gradually separating the protector from the screen without rushing the process. Avoid using excessive force, as this can increase the risk of damaging the screen or causing the protector to shatter.
-
Navigating Around Edges and Corners: As the protector begins to lift, pay close attention to the edges and corners, where the adhesive may be more firmly attached. Use the flexibility of the credit card or plastic scraper to carefully navigate around these areas, ensuring that the protector is lifted evenly without leaving any residue behind.
-
Utilizing Additional Tabs (If Necessary): In cases where the screen protector is particularly large or adhered firmly to the screen, it may be beneficial to create additional tabs with adhesive tape along the edges. These tabs can provide additional points of leverage for lifting the protector, making the process more manageable and reducing the risk of accidental damage.
-
Maintaining Patience and Precision: Throughout the lifting process, it's essential to maintain patience and precision, avoiding any sudden or jerky movements that could compromise the integrity of the screen protector or the device's screen. By proceeding with a steady and deliberate approach, you can effectively lift the protector without encountering any unexpected challenges.
By following these detailed steps and exercising caution and precision, you can successfully lift the glass screen protector from your device's screen, setting the stage for the final step of cleaning the screen after removal. With the protector safely removed, you'll be one step closer to enjoying the natural clarity and smoothness of your device's screen, free from the constraints of the old protector.
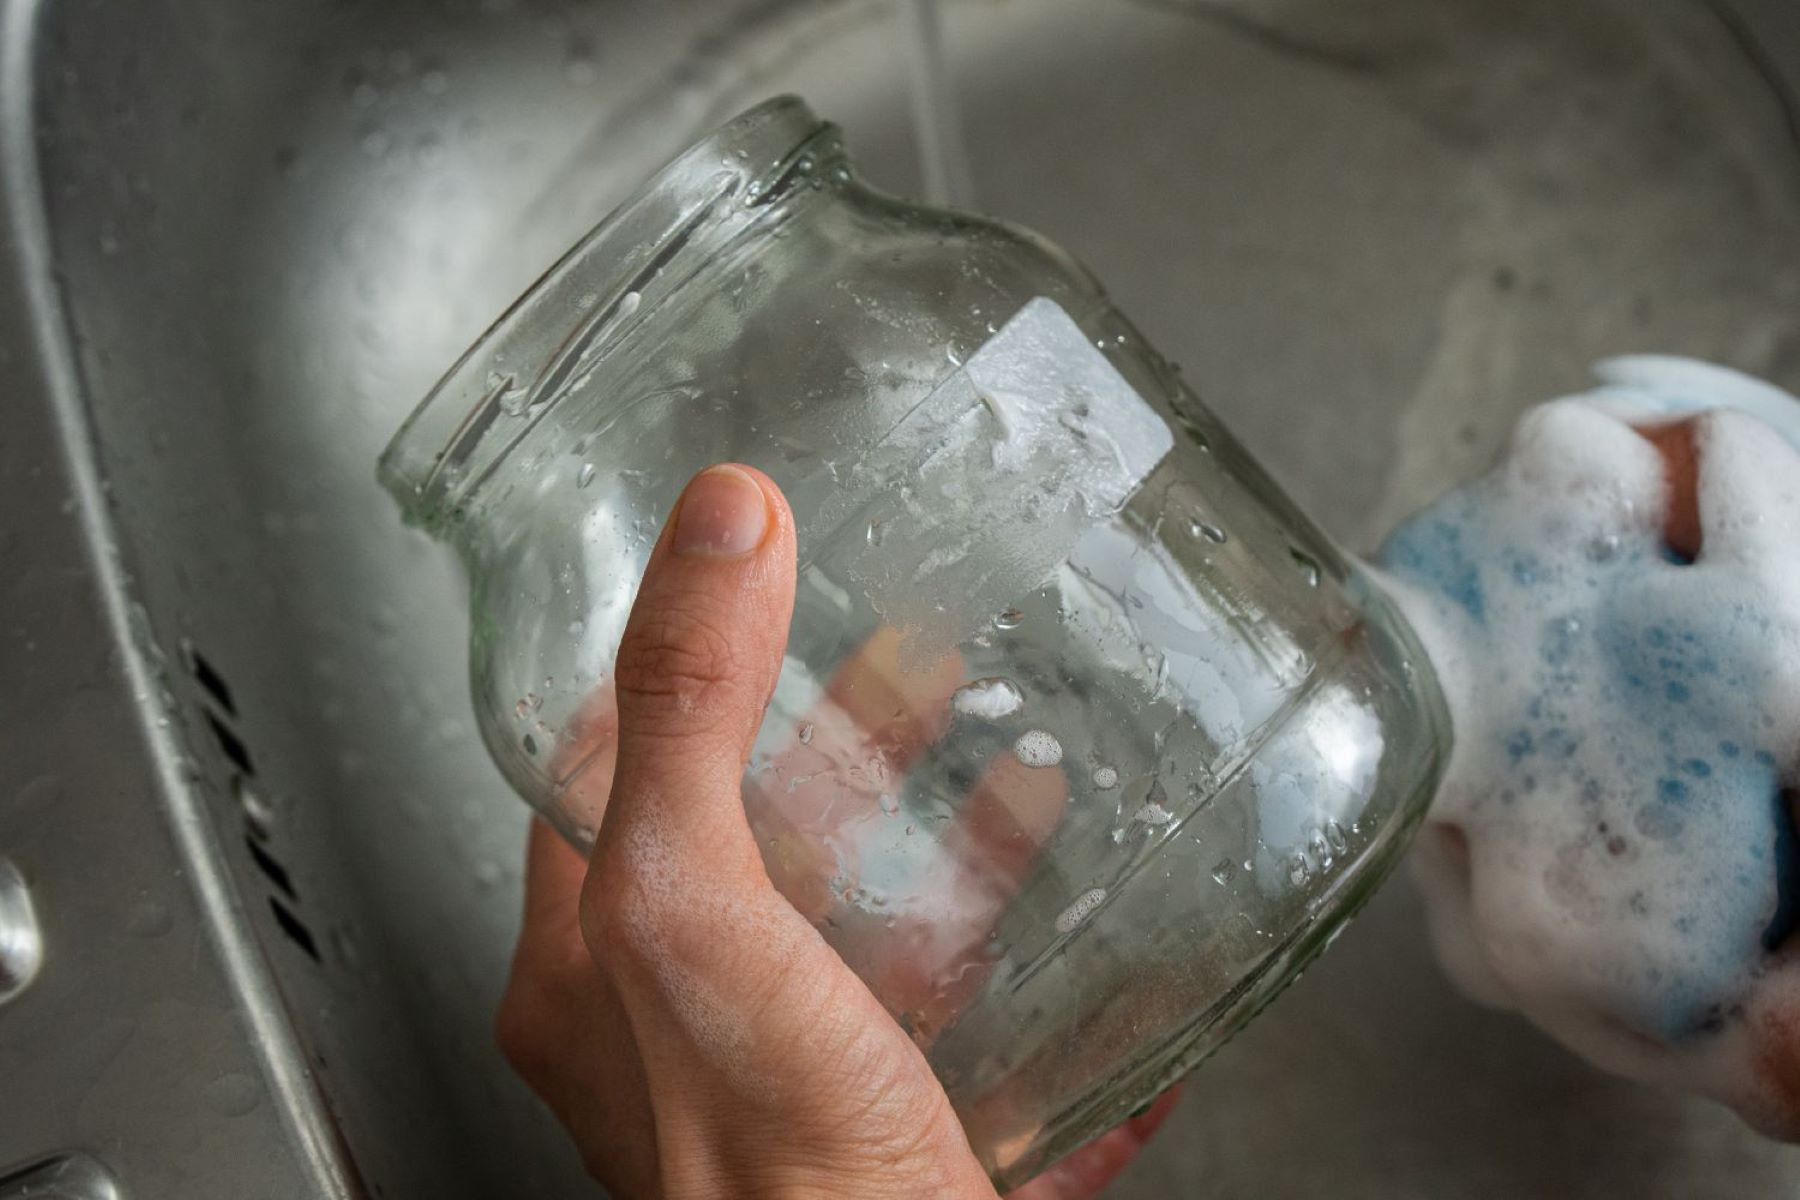
Step 4: Clean the screen after removal
With the glass screen protector successfully lifted from the device's screen, the final step involves thoroughly cleaning the screen to ensure that it is free from any adhesive residue or particles that may have accumulated during the removal process. This critical step is essential for restoring the screen to its pristine condition, ready to be enjoyed without the hindrance of the old protector. Here's a detailed breakdown of how to effectively clean the screen after the removal of the glass protector:
Read more: How To Remove Window Screen Plunger Pins
Remove Residual Adhesive
Begin by inspecting the screen for any residual adhesive left behind by the screen protector. If you notice any adhesive remnants, use a small amount of rubbing alcohol applied to a microfiber cloth to gently dab and lift the adhesive from the screen. Take care to avoid excessive rubbing, as this can spread the adhesive and potentially damage the screen.
Thoroughly Clean the Screen
Once any residual adhesive has been addressed, use a fresh microfiber cloth and a small amount of rubbing alcohol to thoroughly clean the entire surface of the screen. In a gentle circular motion, carefully wipe the screen to remove any remaining particles, fingerprints, or streaks. This meticulous cleaning process ensures that the screen is free from any debris that may have accumulated during the removal of the protector.
Inspect for Imperfections
After cleaning the screen, take a moment to inspect the surface for any imperfections or areas that may require additional attention. Look for smudges, streaks, or stubborn particles that may still be present on the screen. If necessary, use a clean section of the microfiber cloth and a minimal amount of rubbing alcohol to target and remove any remaining imperfections.
Allow the Screen to Dry
Once the screen has been thoroughly cleaned and inspected, allow it to air dry for a few minutes to ensure that any residual moisture from the rubbing alcohol evaporates completely. This step is crucial for preventing streaks or smudges from forming as the screen dries, ultimately leaving the surface in a pristine and crystal-clear state.
By meticulously cleaning the screen after the removal of the glass protector, you'll ensure that the device's screen is free from any residue or imperfections, ready to be admired and utilized without any remnants of the old protector. With the screen now clean and unobstructed, you can fully appreciate the natural clarity and responsiveness of your device's screen, marking the successful completion of the glass screen protector removal process.
Read more: How To Remove Wrinkles From Projector Screen
Conclusion
In conclusion, the process of removing a glass screen protector from your device is a meticulous yet rewarding endeavor that requires careful preparation, precision, and attention to detail. By following the step-by-step guide outlined in this comprehensive article, you've gained valuable insights into the essential tools, preparation techniques, and removal methods necessary to successfully remove a glass screen protector without compromising the integrity of your device's screen.
Throughout the removal process, the emphasis on gathering the necessary tools, preparing the screen protector for removal, using a credit card or plastic scraper to lift the protector, and cleaning the screen after removal has been instrumental in ensuring a smooth and damage-free experience. Each step has been designed to empower you with the knowledge and skills needed to navigate the removal process with confidence and precision, ultimately leading to a pristine and unobstructed device screen.
By meticulously preparing the screen and protector, creating a secure tab for lifting, and exercising patience and precision during the lifting process, you've successfully removed the old screen protector, paving the way for a fresh start and a renewed appreciation for the natural clarity and smoothness of your device's screen.
As you reflect on the completion of the removal process, it's important to acknowledge the sense of accomplishment that comes with successfully navigating a task that may initially seem daunting. The careful attention to detail, the use of the right tools, and the methodical approach to each step have collectively contributed to a successful outcome, leaving your device's screen free from the constraints of the old protector.
With the screen now clean, unobstructed, and ready to be admired, you can fully appreciate the natural beauty and responsiveness of your device's screen, unencumbered by the remnants of the old protector. Whether you're looking to replace the protector with a new one or simply enjoy the device in its natural state, the successful removal process has set the stage for a seamless transition and a renewed sense of satisfaction.
In the end, the removal of a glass screen protector is not just a practical task; it's a testament to your ability to navigate challenges with precision and care, ultimately preserving the integrity and aesthetics of your device. As you move forward with a pristine and unobstructed screen, take pride in the knowledge and skills you've acquired, knowing that you can confidently tackle similar tasks with the same level of expertise and finesse.
Frequently Asked Questions about How To Remove A Glass Screen Protector
Was this page helpful?
At Storables.com, we guarantee accurate and reliable information. Our content, validated by Expert Board Contributors, is crafted following stringent Editorial Policies. We're committed to providing you with well-researched, expert-backed insights for all your informational needs.


0 thoughts on “How To Remove A Glass Screen Protector”