Home>Furniture & Design>Interior Design Trends>How To Replace Glass In Andersen Double-Hung Window
Interior Design Trends
How To Replace Glass In Andersen Double-Hung Window
Modified: August 27, 2024
Learn how to replace the glass in your Andersen double-hung window with our expert interior design trends guide. Upgrade your home with ease!
(Many of the links in this article redirect to a specific reviewed product. Your purchase of these products through affiliate links helps to generate commission for Storables.com, at no extra cost. Learn more)
Introduction
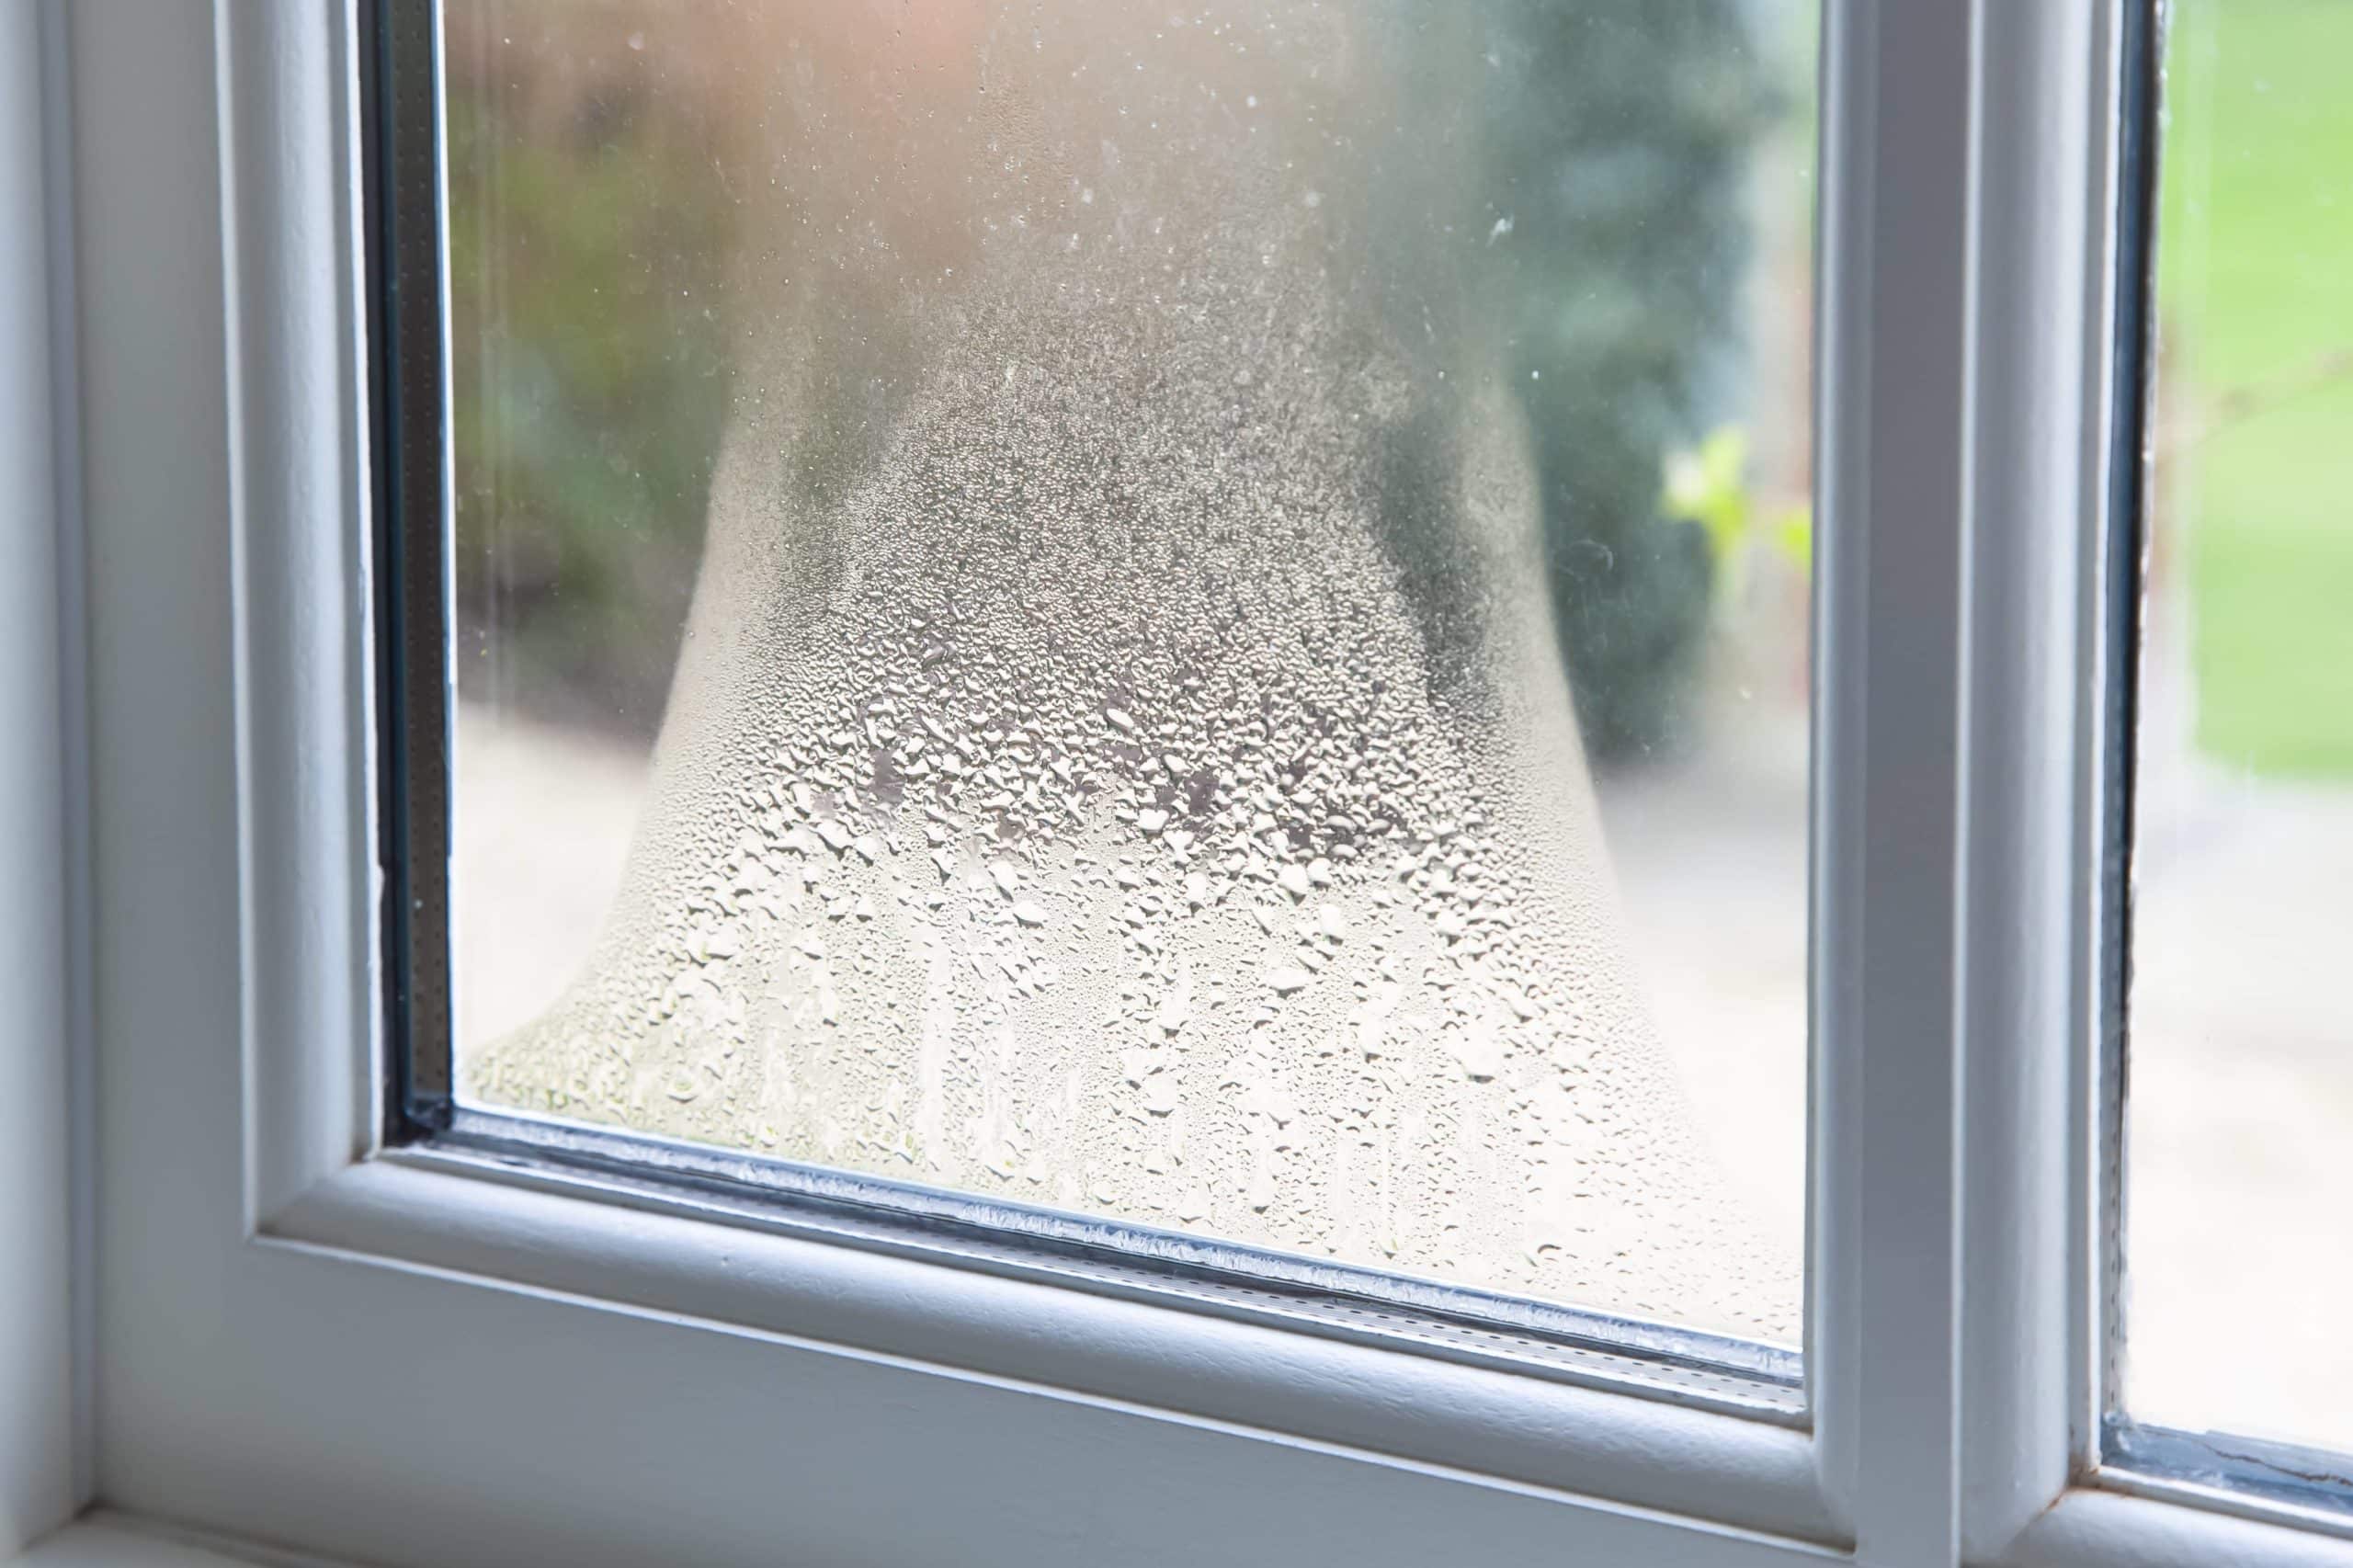
Replacing the glass in an Andersen double-hung window is a practical and cost-effective solution to address issues such as cracks, fogging, or damage to the existing glass. By taking on this task, homeowners can restore the functionality and aesthetic appeal of their windows without the need for a complete window replacement. This comprehensive guide will walk you through the step-by-step process of replacing the glass in an Andersen double-hung window, providing you with the knowledge and confidence to tackle this project with ease.
Whether you are a seasoned DIY enthusiast or a homeowner looking to take on a new challenge, replacing the glass in your Andersen double-hung window is a manageable task that can yield significant benefits. Not only does it allow you to address specific issues with the existing glass, but it also presents an opportunity to enhance the overall performance and appearance of your windows.
By following the detailed instructions and utilizing the recommended tools and materials, you can effectively restore the clarity, insulation, and functionality of your windows. This guide aims to empower you with the necessary information to complete the glass replacement process efficiently and effectively, ultimately contributing to the improved comfort and visual appeal of your home.
With a clear understanding of the steps involved and the right approach, you can embark on this project with confidence, knowing that you are equipped with the knowledge and resources to achieve a successful outcome. So, roll up your sleeves, gather your tools, and let's dive into the process of replacing the glass in your Andersen double-hung window.
Key Takeaways:
- Replacing the glass in an Andersen double-hung window is a manageable DIY project that can enhance your home’s comfort and visual appeal while addressing specific glass issues like cracks and fogging.
- By following the step-by-step process and using the recommended tools, homeowners can confidently restore the clarity, insulation, and functionality of their windows, ultimately creating a more comfortable and inviting living space.
Tools and Materials Needed
Before embarking on the glass replacement process for your Andersen double-hung window, it's essential to gather the necessary tools and materials to ensure a smooth and efficient workflow. Here's a comprehensive list of items you'll need to have on hand:
Tools:
- Safety Glasses and Gloves: Prioritize safety by wearing protective glasses and gloves throughout the glass replacement process to shield your eyes and hands from potential hazards.
- Putty Knife: A putty knife will be essential for carefully removing old glazing putty and securing the new glass in place.
- Glazier's Points: These small, triangular metal clips are used to secure the glass in the window frame and prevent it from shifting.
- Heat Gun or Hair Dryer: To soften and loosen the old glazing putty, a heat gun or hair dryer can be used to facilitate its removal.
- Glass Cutter: If you need to custom-cut the replacement glass to fit your window dimensions, a glass cutter will be indispensable for achieving precise cuts.
- Caulk Gun: A caulk gun will be required for applying a fresh bead of glazing compound to seal the new glass in place.
- Screwdriver: Depending on the specific window model, you may need a screwdriver to remove any screws securing the sash or frame.
- Cleaning Supplies: Prepare a solution of mild detergent and water, along with a soft cloth or sponge, for cleaning the window frame and ensuring a clean surface for the new glass installation.
Materials:
- Replacement Glass: Measure the dimensions of your window to determine the size of the replacement glass needed. Ensure that the new glass matches the specifications of your Andersen double-hung window.
- Glazing Compound or Putty: Acquire high-quality glazing compound or putty to secure the replacement glass in the window frame and create a weatherproof seal.
- Painter's Tape: Use painter's tape to protect the surrounding window frame and prevent any damage during the glass replacement process.
- Denatured Alcohol: This will be useful for cleaning the window frame and removing any residual adhesive or debris.
- Lint-Free Cloths: Have lint-free cloths or paper towels on hand for wiping down the window frame and ensuring a clean, dry surface for the new glass installation.
- Safety Equipment: In addition to safety glasses and gloves, consider having a dust mask on hand to protect against airborne particles during the glass removal process.
By ensuring that you have all the necessary tools and materials at your disposal, you can approach the glass replacement process with confidence and efficiency, setting the stage for a successful outcome. With these items in hand, you'll be well-prepared to proceed to the next steps of removing the sash and old glass from your Andersen double-hung window.
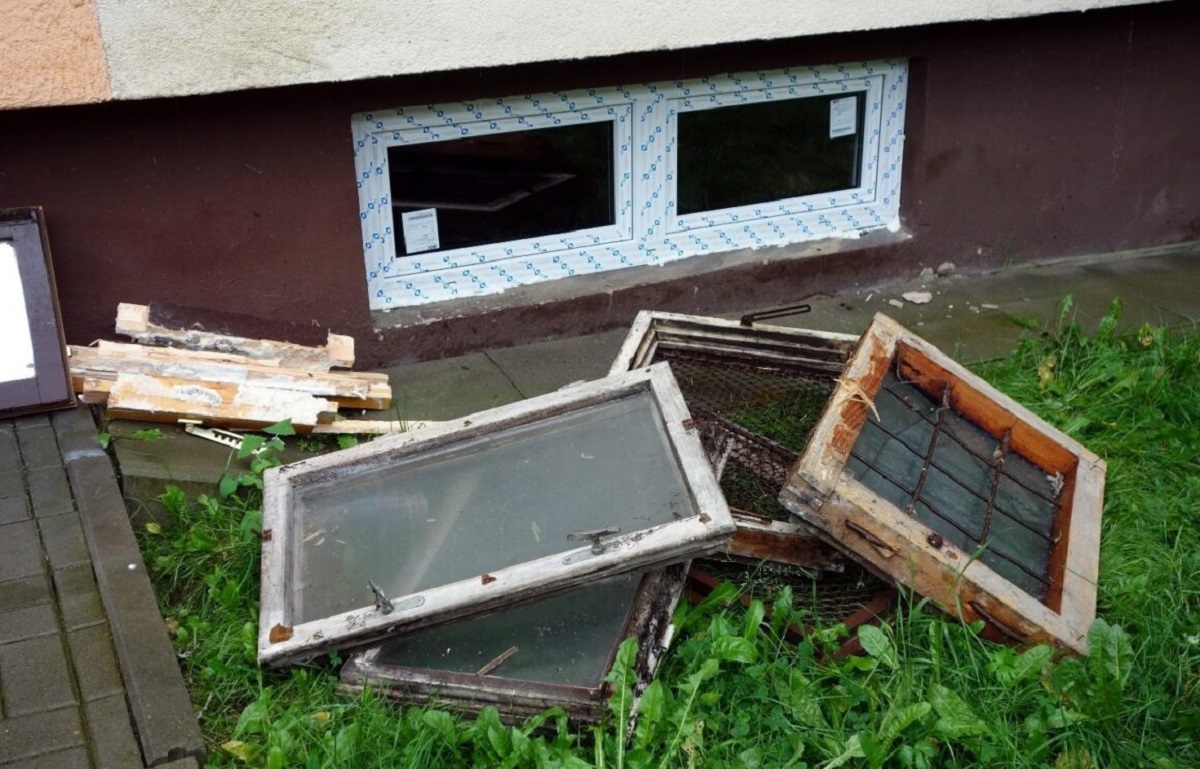
Removing the Sash
The first step in replacing the glass in your Andersen double-hung window involves removing the sash. This process allows for easier access to the old glass and facilitates a seamless transition to the glass removal and replacement stages. Follow these detailed steps to effectively remove the sash from your window:
-
Open the Window: Begin by fully opening the window to its maximum height. This will provide ample space to maneuver and remove the sash without any obstructions.
-
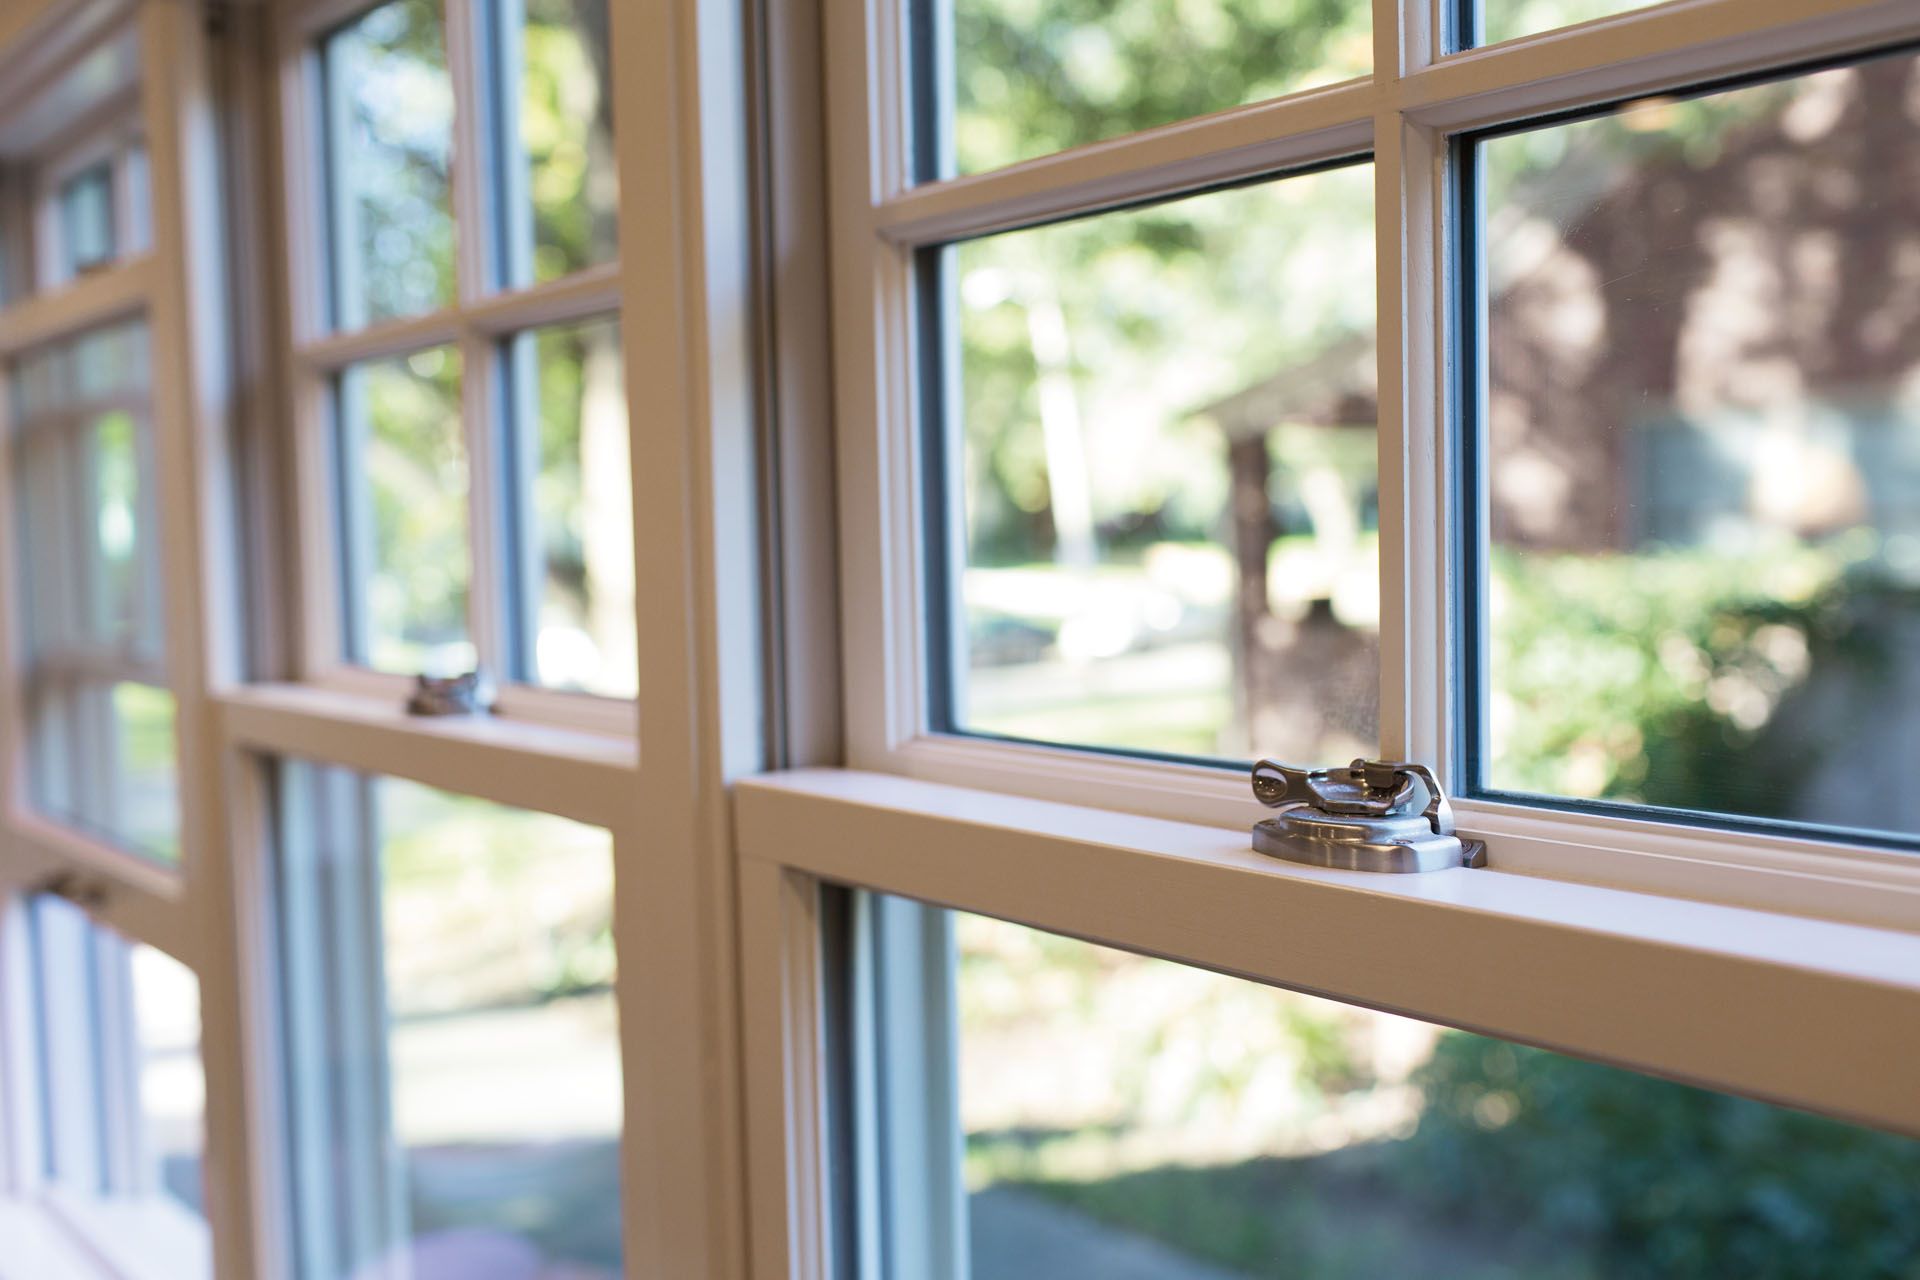
Locate the Sash Locks or Latches: Identify and disengage any sash locks or latches that may be securing the sash in place. Depending on the window model, these locks or latches may be located on the top or bottom rail of the sash.
-
Release the Tilt Latches (if applicable): If your Andersen double-hung window features tilt-in sashes for easy cleaning, locate and release the tilt latches on both sides of the sash. This will allow the sash to tilt inward for removal.
-
Support the Sash: With the window fully open, provide support to the sash as you prepare to remove it. This can be done by firmly grasping the sides of the sash to prevent it from falling or shifting during removal.
-
Lift and Angle the Sash: Carefully lift the sash upward while angling it slightly inward. Be mindful of the sash's weight and ensure a firm grip to prevent any accidental drops or damage.
-
Clear the Sash from the Frame: Once the sash is angled inward, carefully guide it out of the window frame. Take note of any guide pins or tracks that may be present and ensure a smooth, controlled removal.
-
Set Aside the Sash: Place the removed sash in a safe and designated area, ensuring that it is positioned horizontally to prevent any warping or damage.
By following these steps, you can successfully remove the sash from your Andersen double-hung window, setting the stage for the subsequent removal of the old glass and the installation of the new glass. With the sash safely removed, you are now ready to proceed to the next phase of the glass replacement process, where you will effectively remove the old glass and prepare for the installation of the replacement glass.
Read more: How To Replace Double Pane Glass
Removing the Old Glass
With the sash successfully removed, the next crucial step in the glass replacement process for your Andersen double-hung window is the removal of the old glass. This phase requires precision and care to ensure the safe extraction of the existing glass and prepare the window frame for the installation of the replacement glass. Follow these detailed steps to effectively remove the old glass from your window:
-
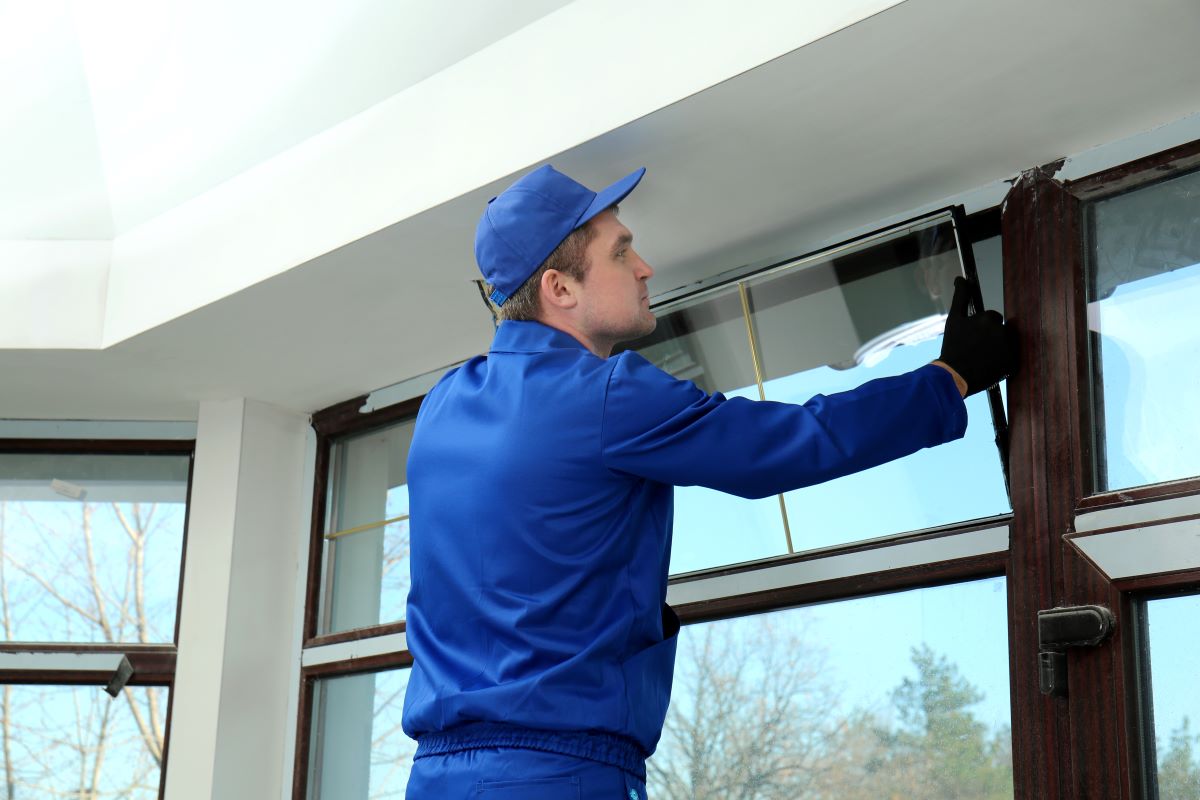
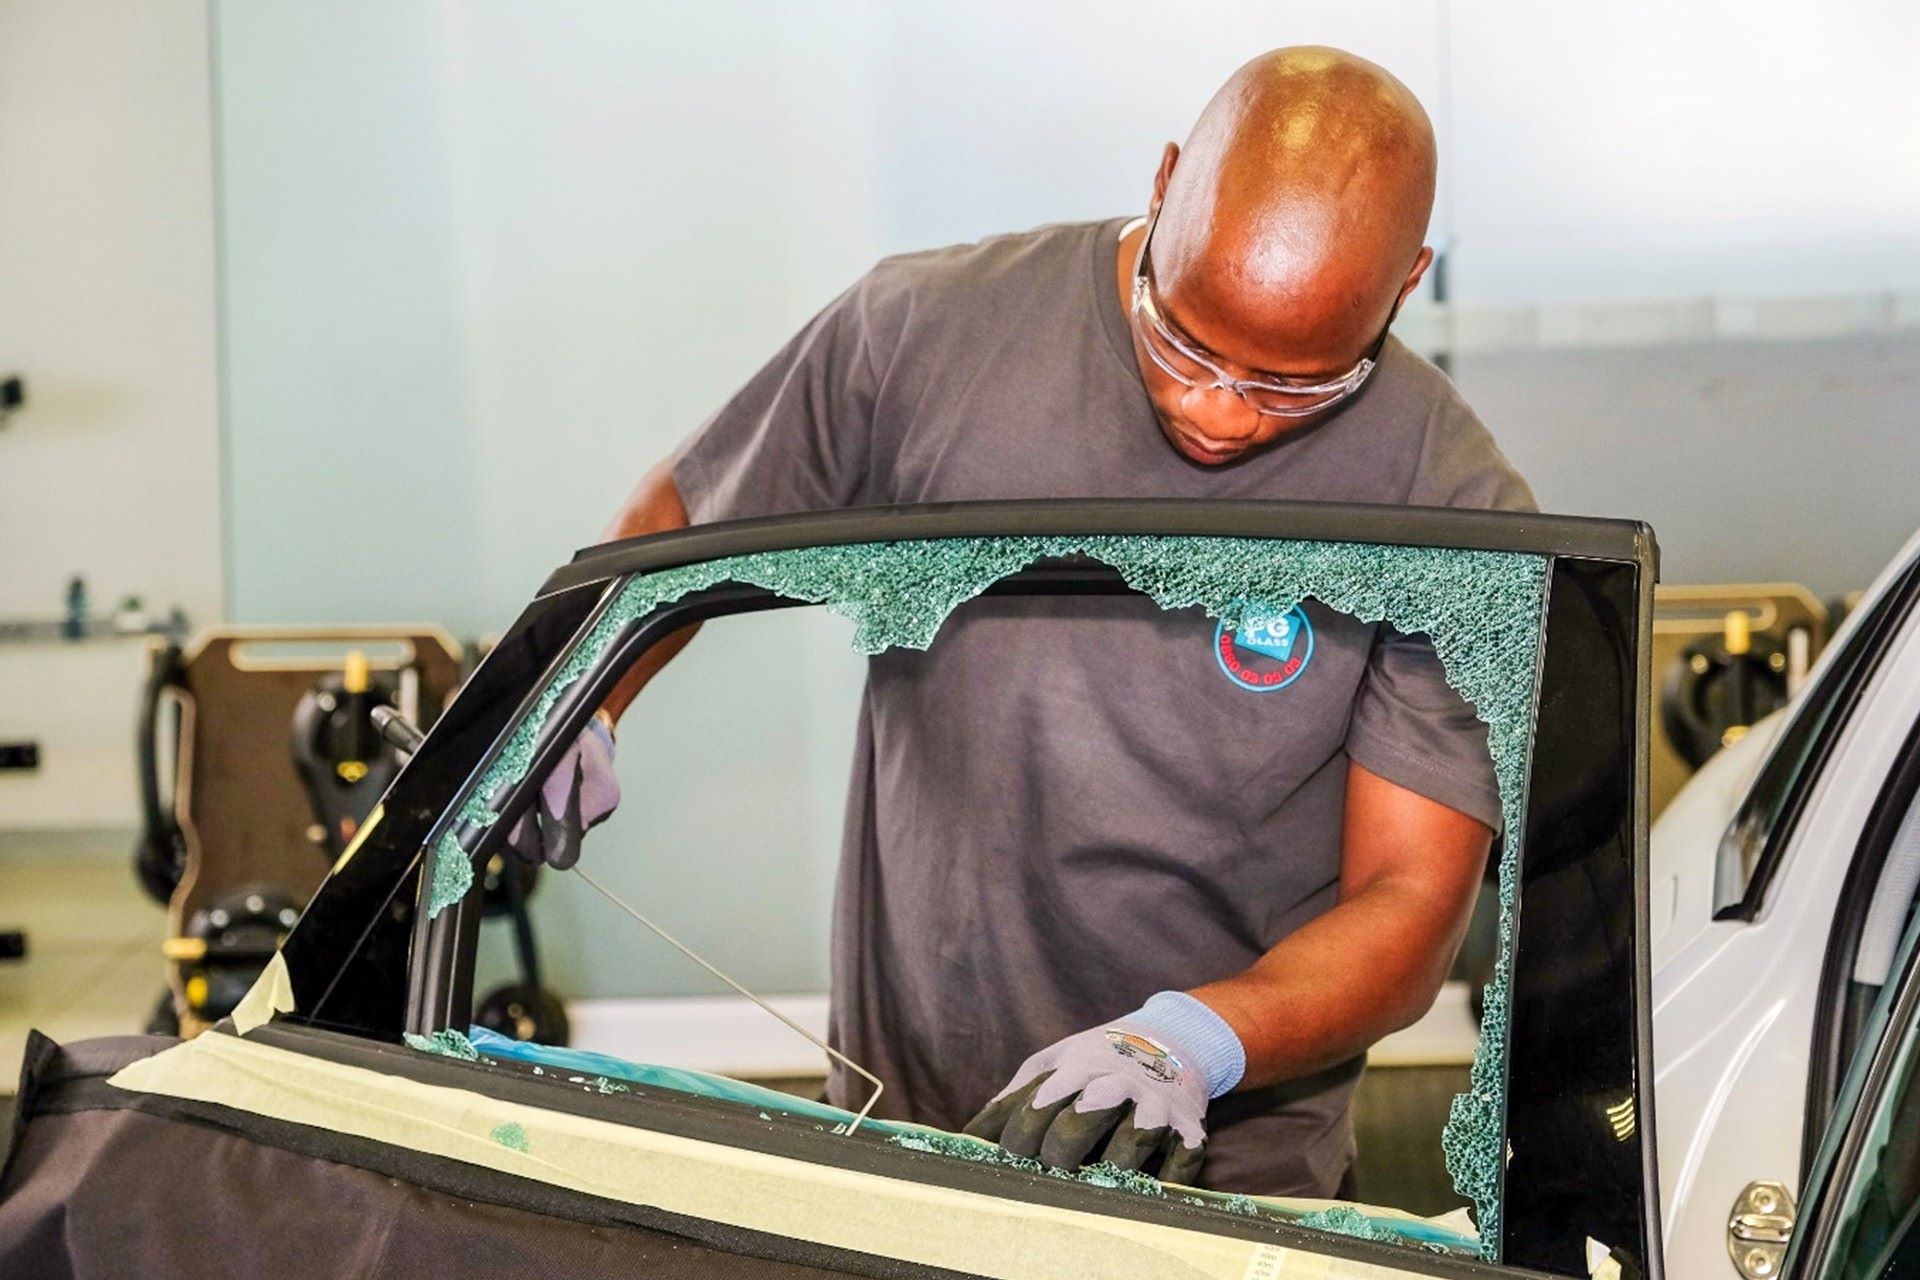
Protective Measures: Prioritize safety by wearing protective gloves and safety glasses before handling the old glass. This will safeguard your hands and eyes from potential injuries during the removal process.
-
Inspect the Glazing Putty: Examine the perimeter of the window frame to identify the presence of glazing putty securing the old glass. In some cases, the putty may have deteriorated or become brittle, making it easier to remove. However, if the putty is still intact, it will need to be carefully loosened and removed.
-
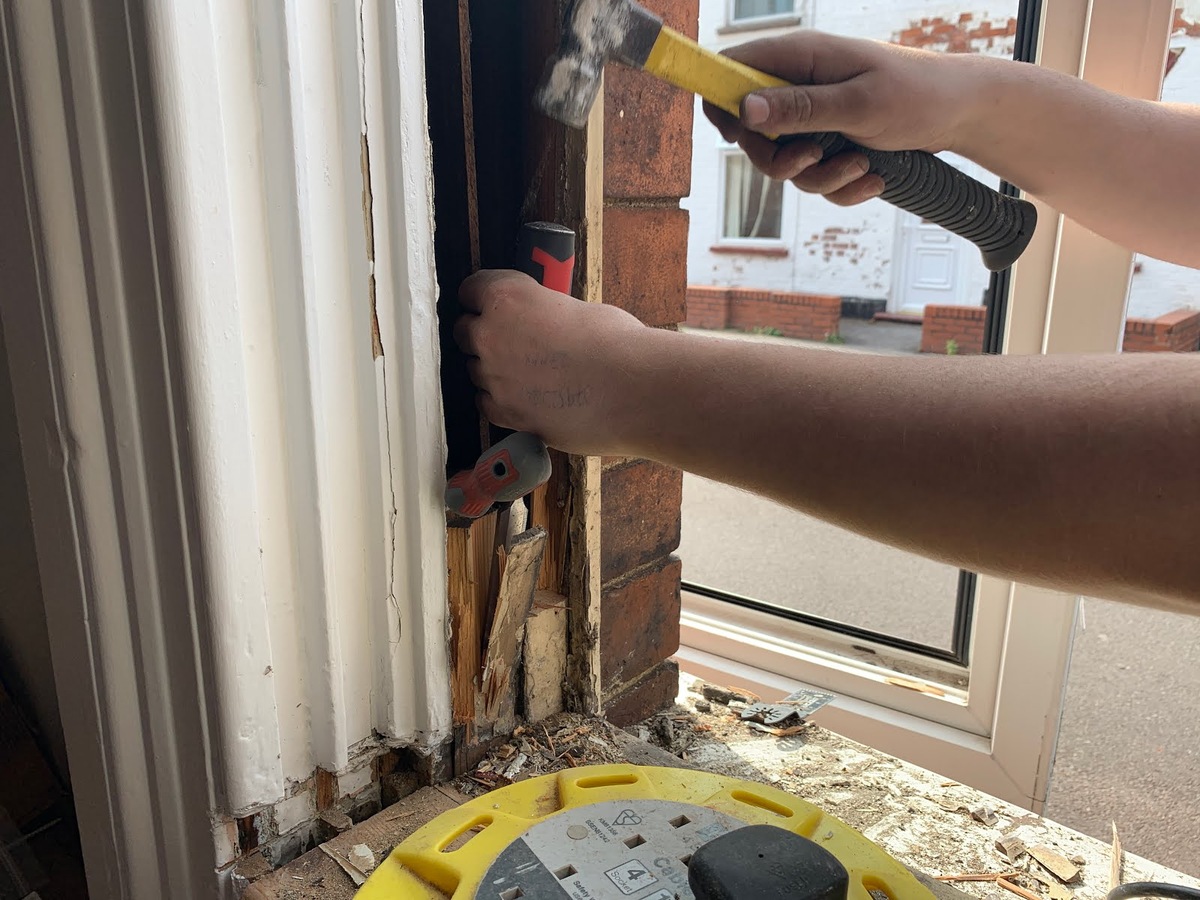
Loosen the Glazing Putty: Use a heat gun or hair dryer to gently apply heat to the glazing putty surrounding the old glass. The heat will soften the putty, making it more pliable and easier to remove. Take care not to overheat the putty or the surrounding window frame.
-
Careful Removal of Glazing Putty: Once the glazing putty has been sufficiently softened, carefully insert a putty knife between the putty and the window frame. Slowly and methodically work your way around the perimeter of the glass, gently prying and loosening the putty to release the old glass.
-
Lift and Remove the Old Glass: With the glazing putty loosened and removed, carefully lift the old glass from the window frame. Exercise caution to prevent any accidental breakage or injuries during the extraction process.
-
Clean the Window Frame: After removing the old glass, thoroughly clean the window frame to eliminate any residual putty, debris, or adhesive. Use a solution of mild detergent and water, along with a soft cloth or sponge, to ensure that the frame is clean and free from any obstructions.
-
Inspect the Frame and Sash: While the old glass is removed, take the opportunity to inspect the window frame and sash for any signs of damage or wear. Address any issues such as rot, decay, or damage to the frame before proceeding with the installation of the replacement glass.
By meticulously following these steps, you can effectively remove the old glass from your Andersen double-hung window, paving the way for the seamless installation of the replacement glass. With the old glass safely extracted and the window frame meticulously cleaned, you are now prepared to proceed to the next phase of the glass replacement process, where you will install the new glass and reassemble the sash to complete the restoration of your window.
Installing the New Glass
With the old glass successfully removed and the window frame meticulously cleaned, it's time to proceed with the installation of the new glass in your Andersen double-hung window. This phase of the glass replacement process requires precision and attention to detail to ensure a secure and weatherproof fit for the replacement glass. Follow these detailed steps to effectively install the new glass and set the stage for the reassembly of the sash:
-
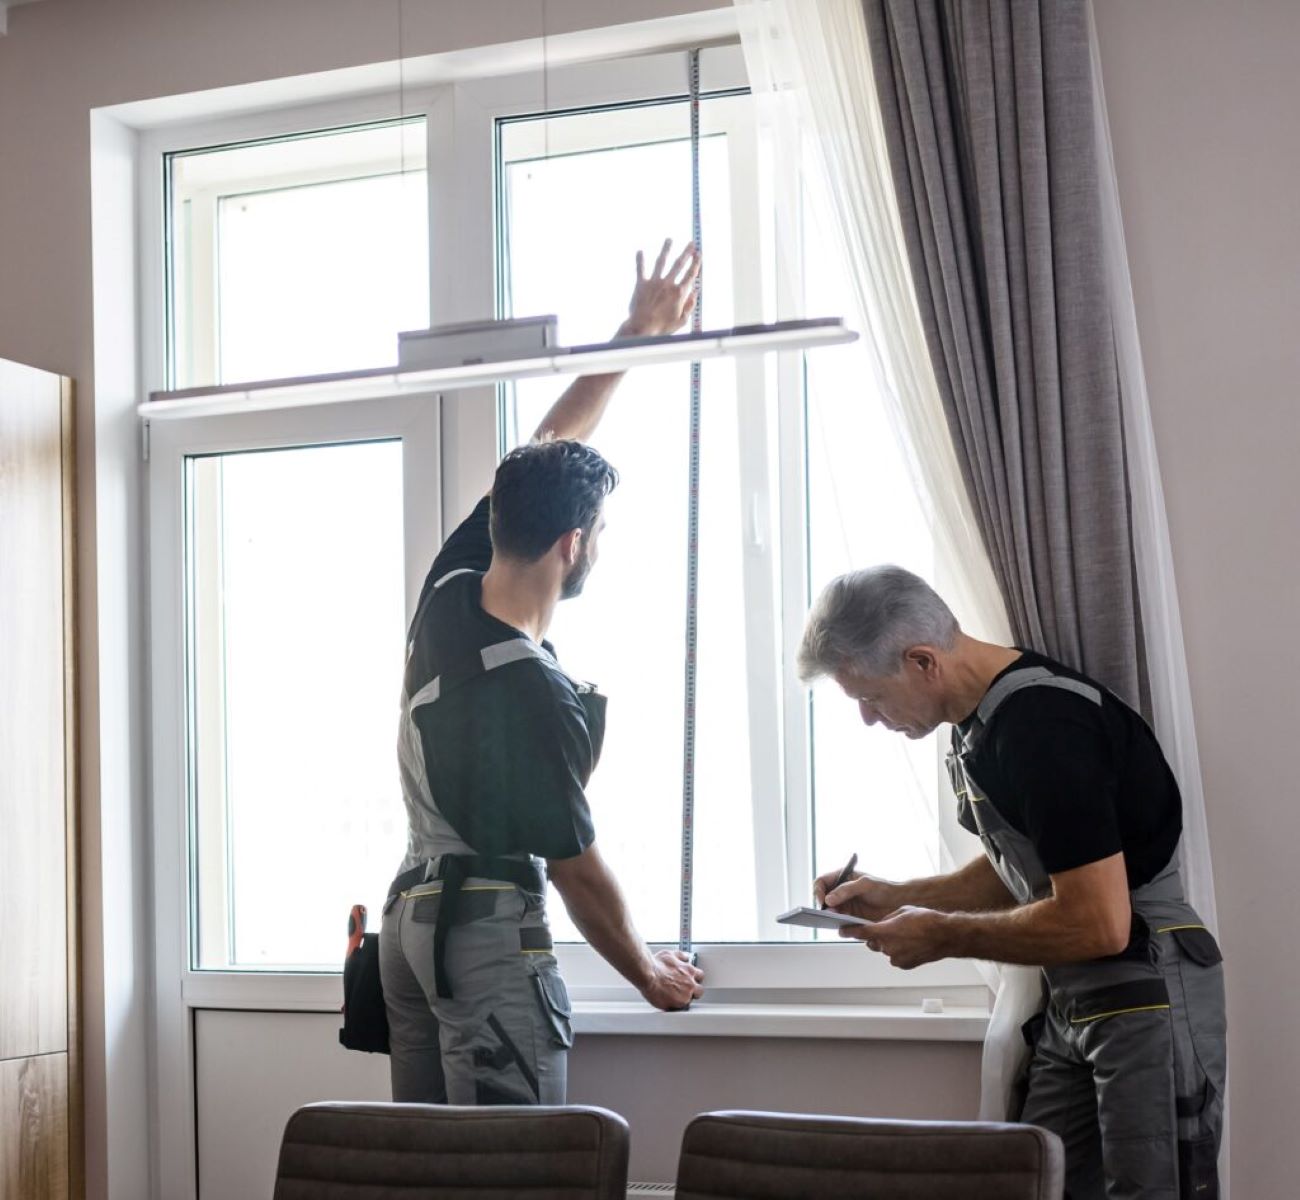
Measure and Prepare the Replacement Glass: Begin by carefully measuring the dimensions of the window opening to ensure an accurate fit for the replacement glass. If the replacement glass needs to be custom-cut to match the specific dimensions of your window, utilize a glass cutter to achieve precise cuts. Ensure that the replacement glass aligns perfectly with the window frame for a seamless installation.
-
Apply Glazing Compound or Putty: Prior to placing the replacement glass in the window frame, apply a thin bead of high-quality glazing compound or putty along the perimeter of the frame. This will create a secure seal and provide stability for the replacement glass. Ensure that the putty is evenly distributed and covers the entire contact area between the frame and the glass.
-
Carefully Position the Replacement Glass: With the glazing compound or putty in place, gently position the replacement glass into the window frame, ensuring a snug and secure fit. Take care to align the glass properly and apply gentle pressure to seat it firmly within the frame. Verify that the glass sits evenly and securely in the designated space.
-
Secure the Glass with Glazier's Points: To further secure the replacement glass in place, carefully insert glazier's points along the edges of the frame, spacing them evenly to provide consistent support. These small metal clips will help anchor the glass and prevent any shifting or movement once the sash is reassembled.
-
Apply Additional Glazing Compound or Putty: Once the replacement glass is secured with glazier's points, apply an additional layer of glazing compound or putty over the points and along the edges of the glass. This secondary application will reinforce the seal and provide added protection against moisture and air infiltration.
-
Clean Excess Glazing Compound or Putty: After the replacement glass is securely in place, carefully remove any excess glazing compound or putty using a putty knife or a similar tool. Ensure that the edges are clean and smooth, creating a neat and professional finish for the installed glass.
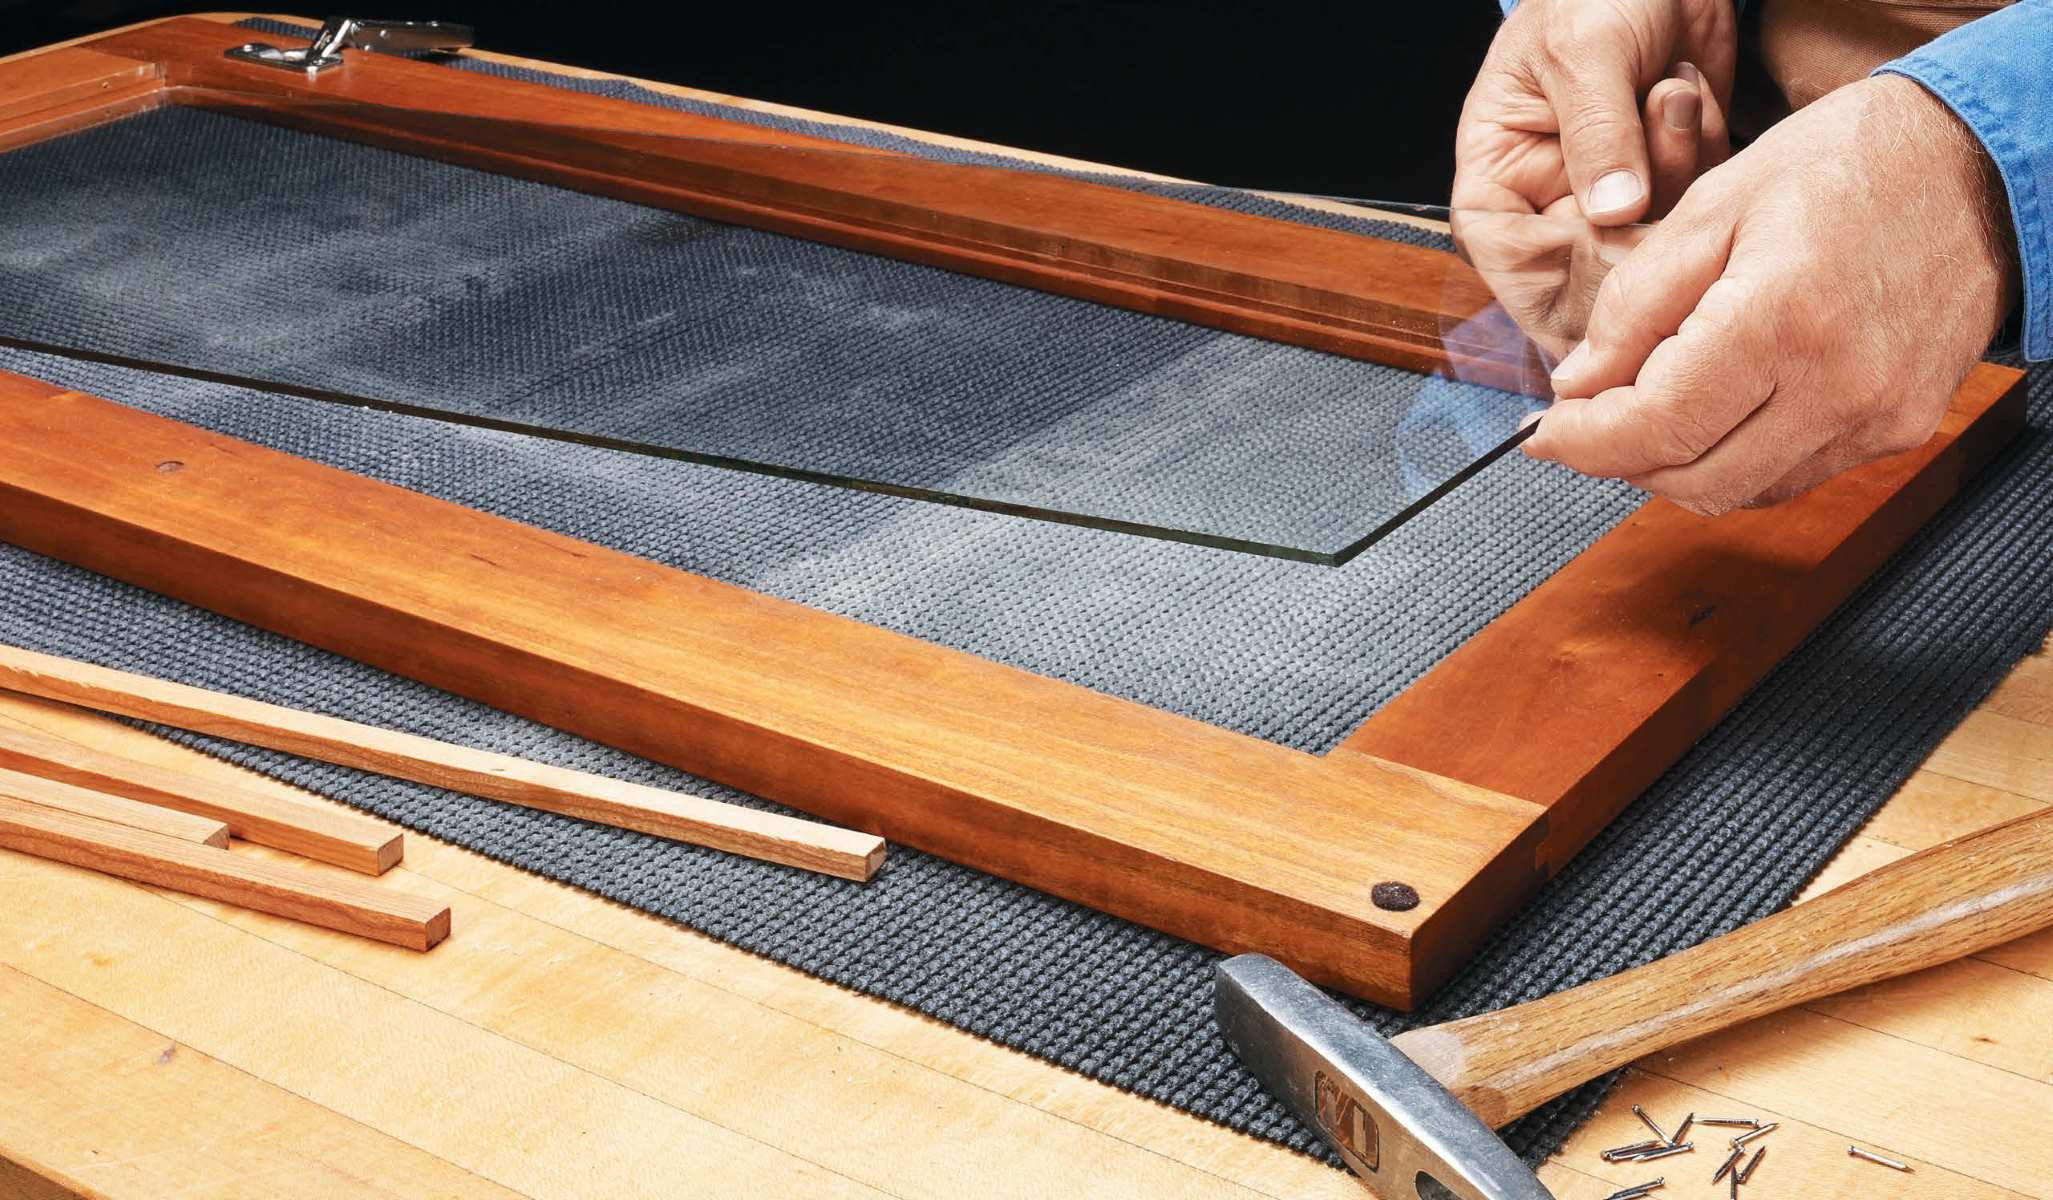
By meticulously following these steps, you can effectively install the new glass in your Andersen double-hung window, setting the stage for the reassembly of the sash and the completion of the glass replacement process. With the replacement glass securely in place and the window frame sealed, you are now ready to proceed to the final phase of reassembling the sash and restoring your window to its optimal condition.
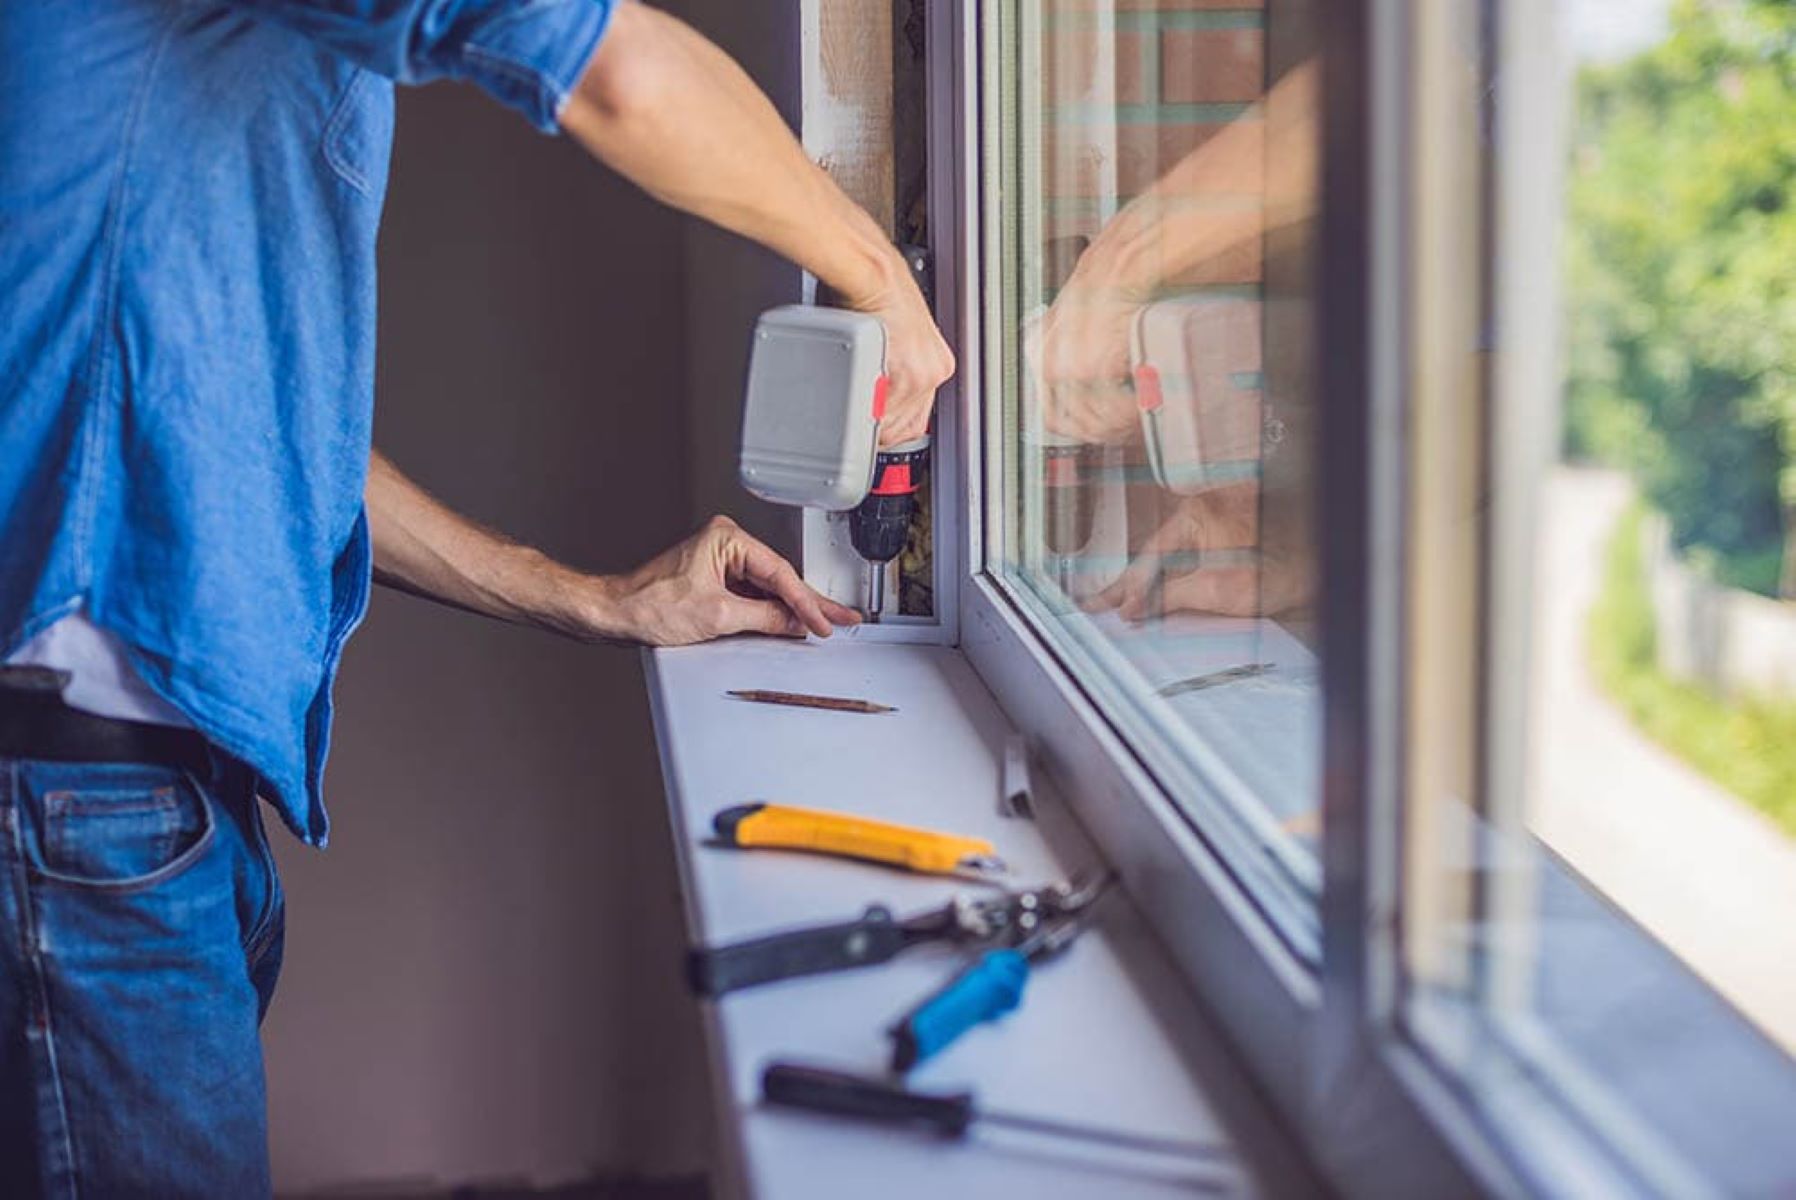
When replacing the glass in an Andersen double-hung window, make sure to wear gloves and eye protection. Use a putty knife to remove the old glazing and carefully insert the new glass, securing it with glazing points before applying new glazing compound.
Reassembling the Sash
With the new glass securely installed in the window frame, the final phase of the glass replacement process for your Andersen double-hung window involves reassembling the sash. This critical step requires attention to detail and precision to ensure that the sash is properly aligned, balanced, and securely fitted back into the window frame. Follow these detailed steps to effectively reassemble the sash and complete the restoration of your window:
-
Inspect the Sash Components: Before reassembling the sash, carefully inspect the components for any signs of wear, damage, or debris. Ensure that the sash tracks, guide pins, and tilt latches (if applicable) are clean, free from obstructions, and in good working condition.
-
Position the Sash: Align the sash with the window frame, ensuring that it is positioned correctly and ready for reinsertion. Take note of any guide pins or tracks that facilitate the smooth movement and alignment of the sash within the frame.
-
Guide the Sash into Place: With the sash properly aligned, carefully guide it back into the window frame, ensuring that it sits securely and evenly. Take care to engage any guide pins or tracks to facilitate a smooth and controlled reassembly.
-
Engage the Tilt Latches (if applicable): If your Andersen double-hung window features tilt-in sashes, engage the tilt latches on both sides of the sash to secure it in the upright position. This step is essential for ensuring the stability and security of the reassembled sash.
-
Test the Sash Operation: Once the sash is reassembled, test its operation by smoothly raising and lowering it within the window frame. Verify that the sash moves freely, locks securely, and maintains proper alignment without any binding or resistance.
-
Check for Proper Sealing: Inspect the perimeter of the sash to ensure that it forms a tight seal with the window frame. This step is crucial for optimizing the energy efficiency and weatherproofing of the reassembled window.
-
Final Adjustments (if necessary): If any adjustments are needed to ensure the proper alignment and operation of the sash, make minor tweaks as required. This may involve fine-tuning the positioning of the sash or addressing any minor issues that affect its functionality.
By meticulously following these steps, you can effectively reassemble the sash of your Andersen double-hung window, completing the glass replacement process with precision and attention to detail. With the sash securely reinstalled and the window fully restored, you can admire the enhanced clarity, insulation, and functionality of your newly replaced glass, contributing to the overall comfort and visual appeal of your home.
Conclusion
In conclusion, the process of replacing the glass in an Andersen double-hung window is a manageable and rewarding endeavor that empowers homeowners to address issues with existing glass while enhancing the overall performance and aesthetics of their windows. By following the comprehensive steps outlined in this guide and utilizing the recommended tools and materials, individuals can confidently undertake this project and achieve a successful outcome.
The journey begins with the careful removal of the sash, allowing for unobstructed access to the old glass and setting the stage for its safe extraction. The meticulous removal of the old glass, coupled with thorough cleaning and inspection of the window frame, prepares the space for the installation of the replacement glass. With precision and attention to detail, the new glass is securely fitted into the frame, creating a weatherproof seal and restoring clarity and insulation to the window.
The final phase of reassembling the sash ensures that the window is fully restored to its optimal condition, with the sash securely positioned and aligned for smooth operation. Throughout the entire process, safety measures are prioritized, and the use of protective equipment, such as safety glasses and gloves, is emphasized to safeguard against potential hazards.
By successfully completing the glass replacement process, homeowners can enjoy a range of benefits, including improved energy efficiency, enhanced visual appeal, and the satisfaction of revitalizing a key element of their home. The restored windows contribute to a more comfortable and inviting living space while potentially increasing the overall value of the property.
Furthermore, the knowledge and skills gained from undertaking this project can empower homeowners to take on future DIY endeavors with confidence, fostering a sense of accomplishment and self-sufficiency. The ability to address specific issues and make meaningful improvements to the home adds to the overall pride of ownership and enhances the homeowner's connection to their living environment.
In essence, the process of replacing the glass in an Andersen double-hung window transcends the practical aspects of home maintenance, offering a fulfilling opportunity for homeowners to engage with their living spaces and create positive transformations. With the guidance provided in this comprehensive guide, individuals are equipped to embark on this journey with confidence, ultimately reaping the rewards of enhanced comfort, functionality, and visual appeal within their homes.
Frequently Asked Questions about How To Replace Glass In Andersen Double-Hung Window
Was this page helpful?
At Storables.com, we guarantee accurate and reliable information. Our content, validated by Expert Board Contributors, is crafted following stringent Editorial Policies. We're committed to providing you with well-researched, expert-backed insights for all your informational needs.


0 thoughts on “How To Replace Glass In Andersen Double-Hung Window”