Articles
How To Replace A Skylight Window
Modified: February 23, 2024
Learn the step-by-step process of replacing a skylight window with our informative articles. Improve the safety and functionality of your home with our expert tips and advice.
(Many of the links in this article redirect to a specific reviewed product. Your purchase of these products through affiliate links helps to generate commission for Storables.com, at no extra cost. Learn more)
Introduction
Welcome to our comprehensive guide on how to replace a skylight window. Skylight windows are a wonderful addition to any home, allowing natural light to flood in and creating a bright and airy atmosphere. However, over time, skylight windows may become damaged, worn, or outdated, necessitating a replacement. With the right tools and knowledge, you can easily undertake this project yourself and give your home a fresh, new look.
In this article, we will take you through the step-by-step process of replacing a skylight window. We will walk you through gathering the necessary tools and materials, removing the old skylight window, preparing the opening for the new window, installing the new window, securing it in place, insulating and sealing it, and finally, testing its functionality.
Whether you are an experienced DIY enthusiast or a novice looking to tackle your first major home improvement project, this article will provide you with all the information you need to successfully replace a skylight window. So, let’s get started!
Key Takeaways:
- Replacing a skylight window involves gathering the right tools, removing the old window, preparing the opening, installing the new window, and ensuring proper insulation and sealing. Following these steps will result in a brighter and more energy-efficient living space.
- Testing the functionality of the new skylight window is crucial for ensuring smooth operation, secure locking, and resistance to leaks. Regular maintenance and inspections will help maintain the window’s longevity and performance, allowing you to enjoy the beauty of natural light in your home.
Read more: How To Clean A Skylight Window
Step 1: Gather the necessary tools and materials
Before you begin the process of replacing a skylight window, it’s important to make sure you have all the tools and materials needed for a successful installation. Here’s a list of what you will need:
- Safety goggles and gloves
- Ladder or scaffolding
- Measuring tape
- Utility knife
- Screwdriver or power drill
- Hammer
- Pry bar
- Putty knife
- Caulking gun
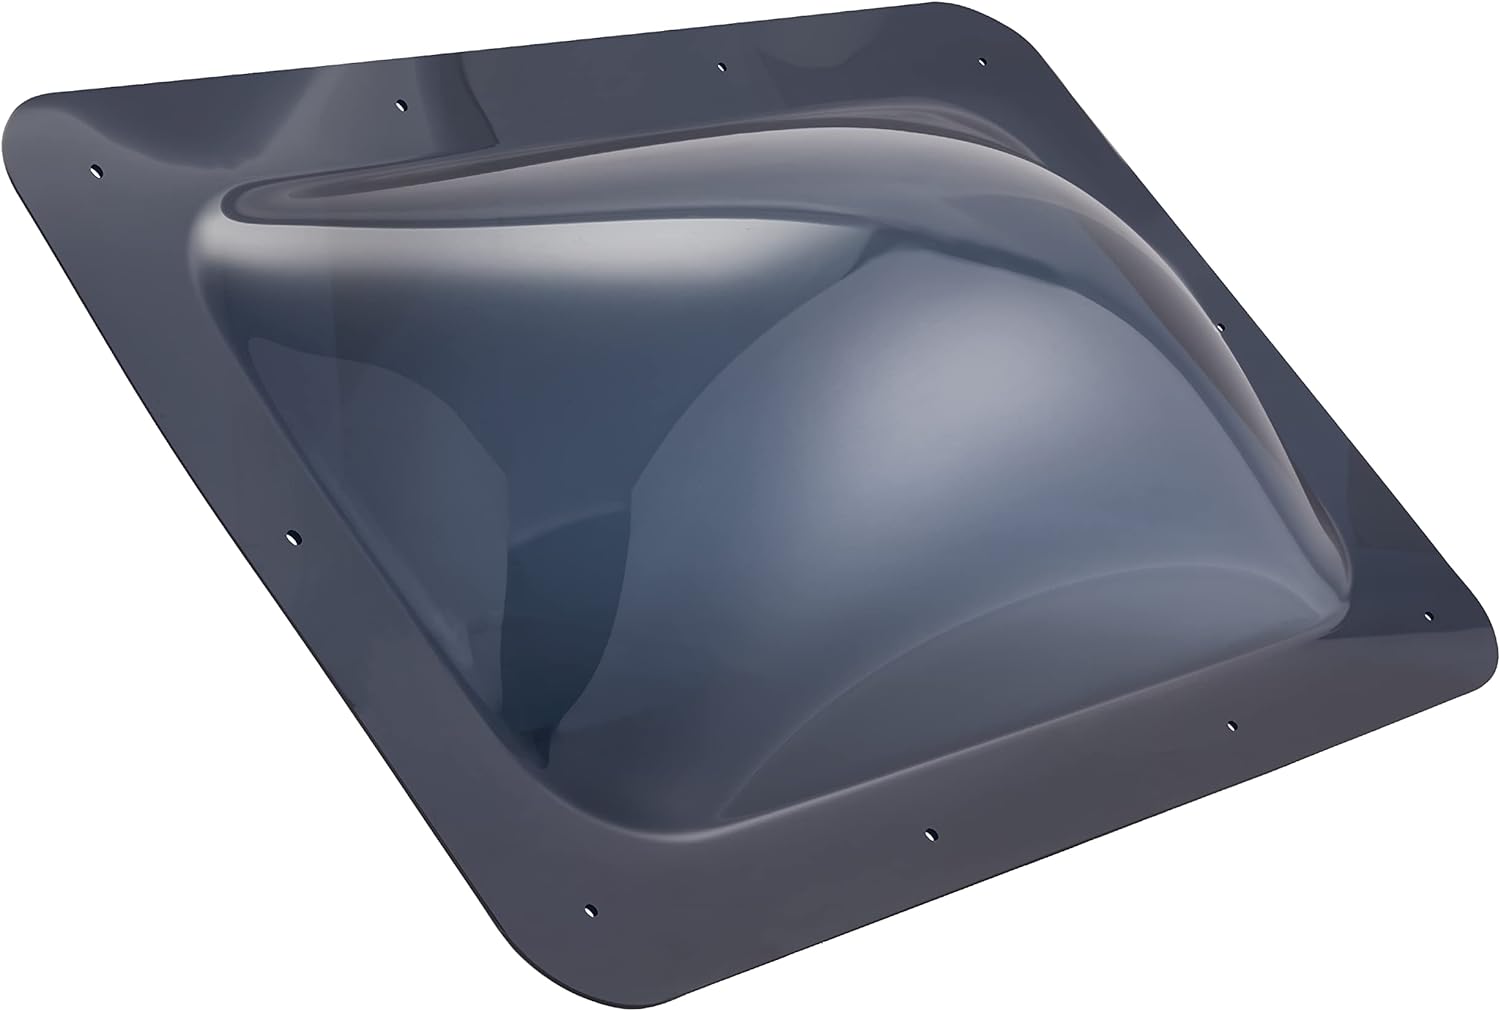
- Replacement skylight window
- Flashing kit
- Weatherproofing sealant
Once you have gathered all the necessary tools and materials, you’ll be ready to proceed with the next steps of replacing your skylight window. It’s essential to have everything on hand to ensure a smooth and efficient installation process.
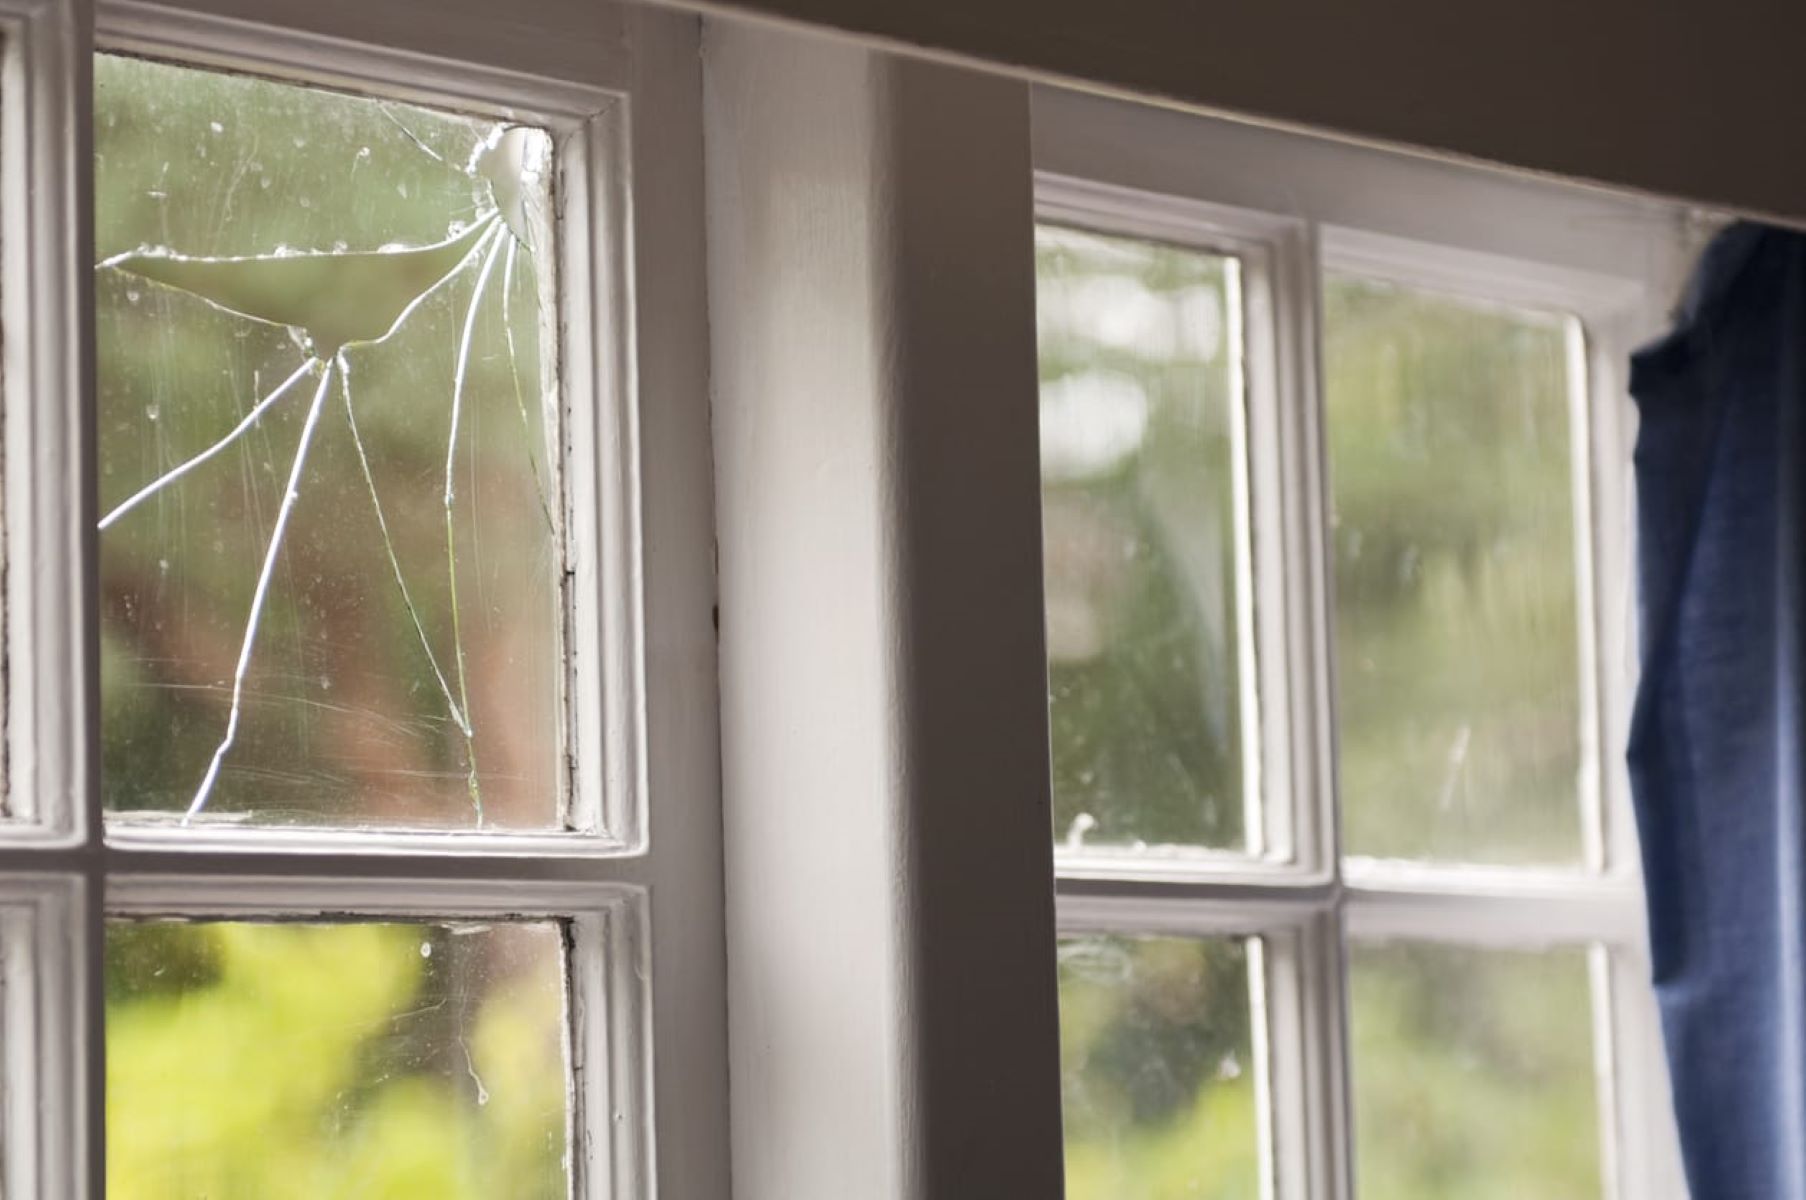
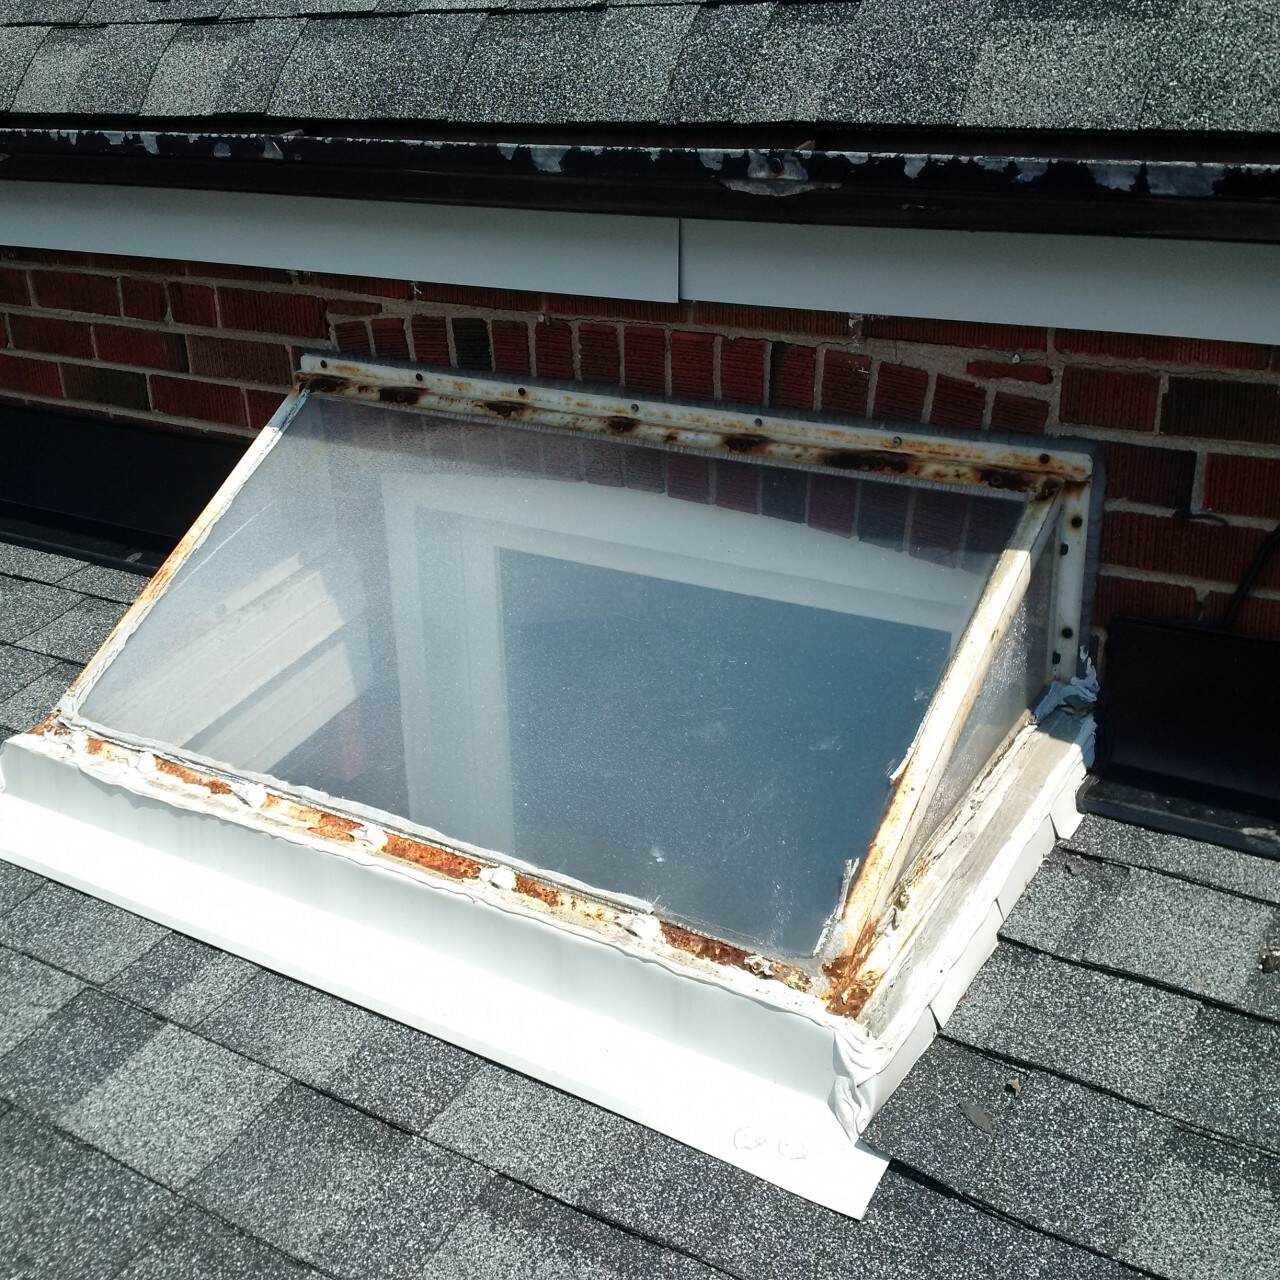
Step 2: Remove the old skylight window
Now that you have all the tools and materials ready, it’s time to remove the old skylight window. Follow these steps:
- Start by putting on your safety goggles and gloves to protect yourself from any potential hazards.
- Position a ladder or scaffolding securely to access the skylight window. Make sure it is stable and on level ground.
- Use a measuring tape to measure the dimensions of the existing skylight window frame. This will help you determine the size of the replacement window you need.
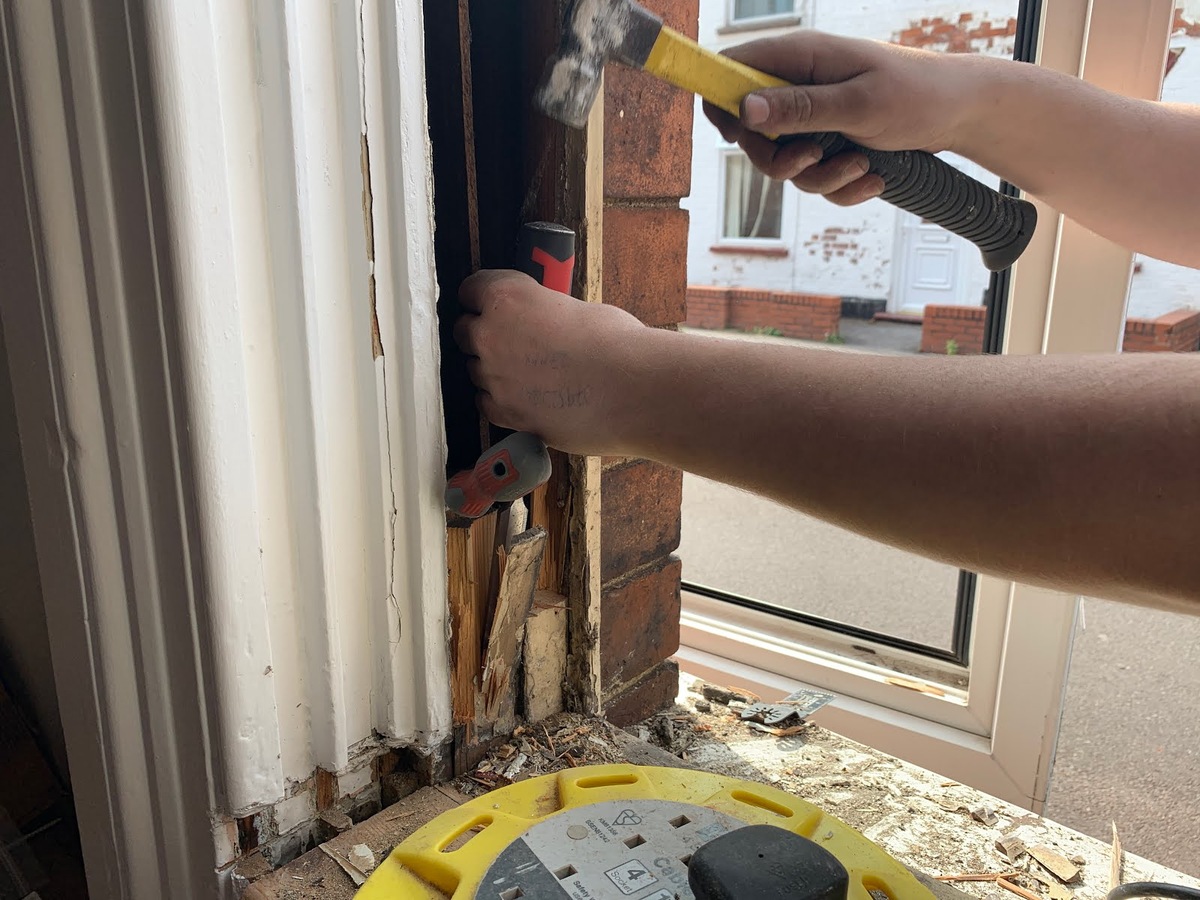
- Examine the frame to locate any screws, nails, or adhesive that may be securing the skylight window. Use a screwdriver, power drill, or pry bar to remove any fasteners.
- Gently pry off the trim or casing around the skylight window using a pry bar. Take your time and be careful not to damage the surrounding area.
- Once the trim is removed, carefully detach the skylight window from the frame. Depending on the type of window, you may need to unscrew it or push it out from the inside.
- As you remove the old window, be cautious of any broken glass or sharp edges. Dispose of it safely to avoid injury.
- Inspect the opening to ensure there is no damage to the frame or surrounding area. If there are any issues, address them before proceeding to the next steps.
With the old skylight window removed, you are now ready to move on to the next step: preparing the opening for the new skylight window.
Step 3: Prepare the opening for the new skylight window
After removing the old skylight window, it’s time to prepare the opening for the new window. Follow these steps:
- Start by thoroughly cleaning the opening and removing any debris or loose materials. Use a vacuum or a brush to ensure a clean and smooth surface.
- Inspect the condition of the frame and repair any damage or rot. Replace any compromised sections to ensure a sturdy and secure installation.
- Measure the dimensions of the opening to determine the size of the replacement skylight window. Take measurements at different points to ensure accuracy.
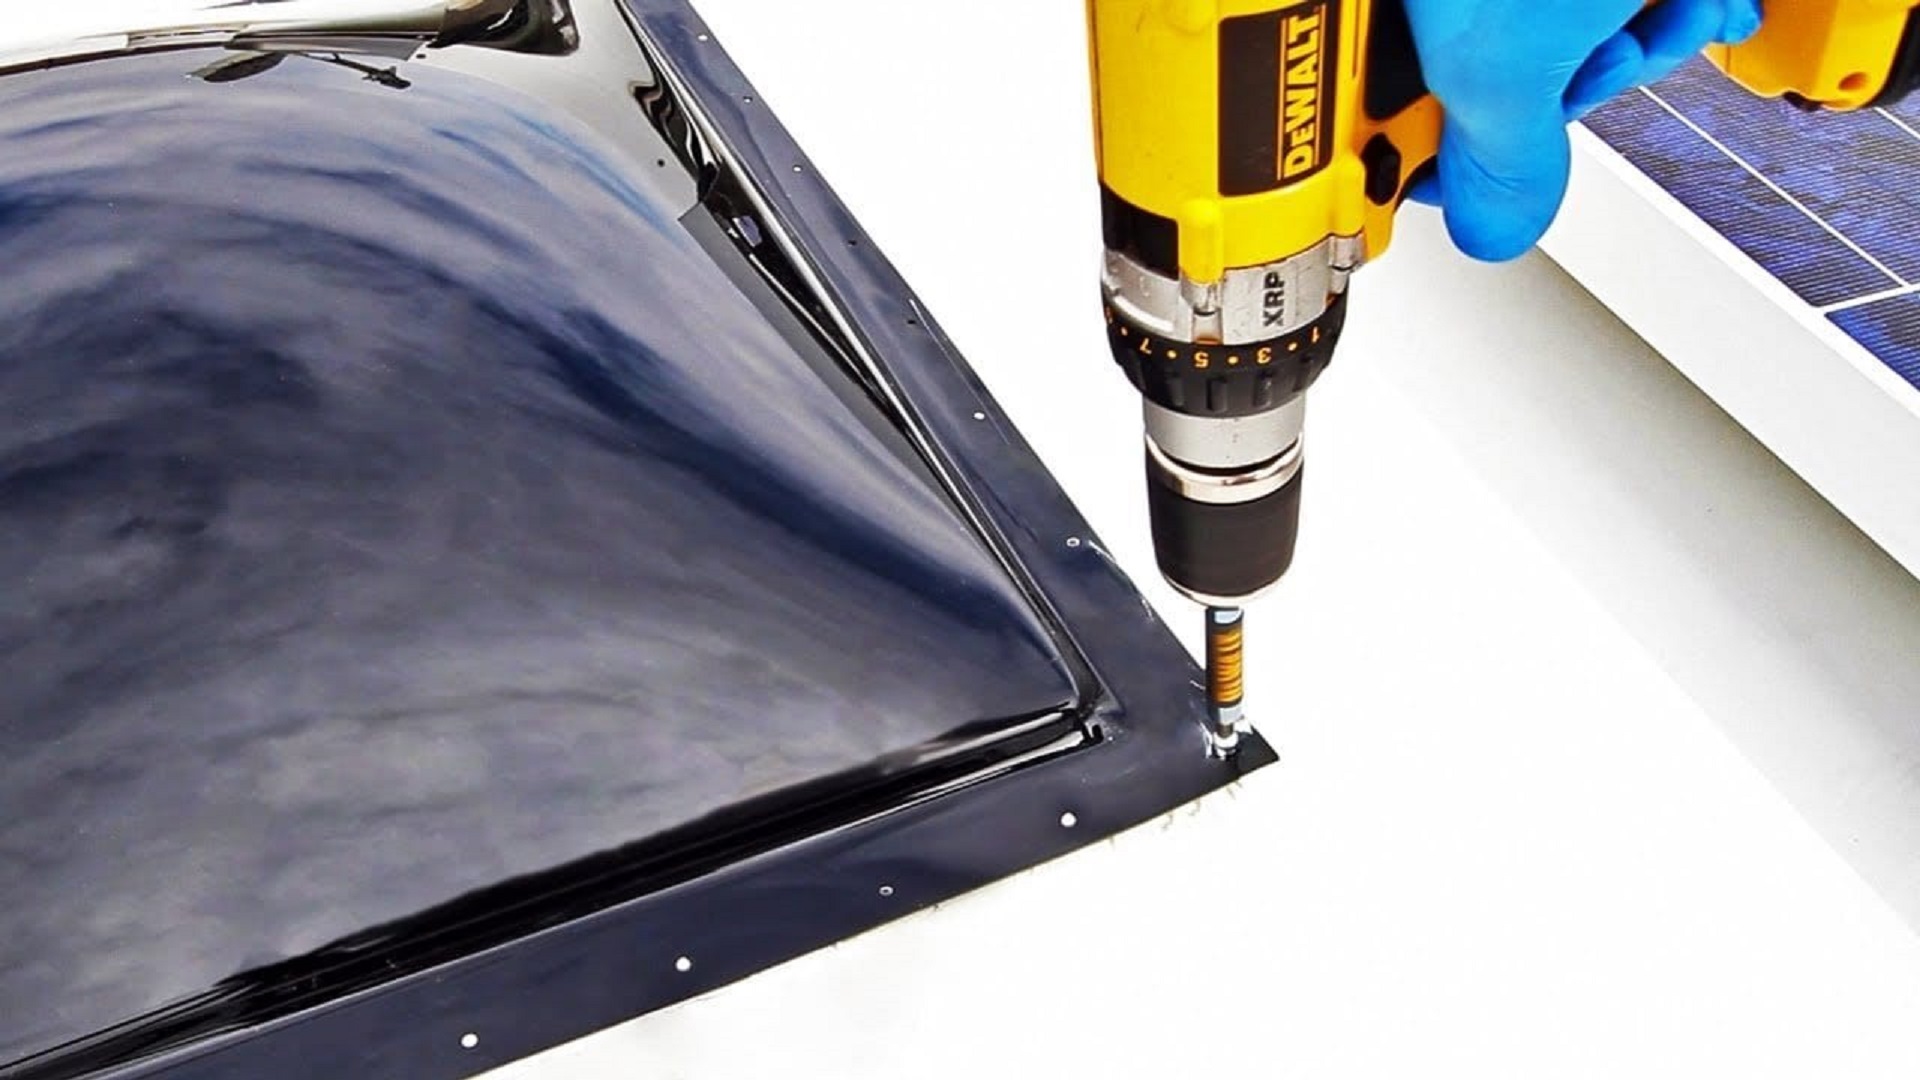
- Apply a layer of weatherproofing sealant around the perimeter of the opening. This will help to create a watertight seal and prevent any leaks.
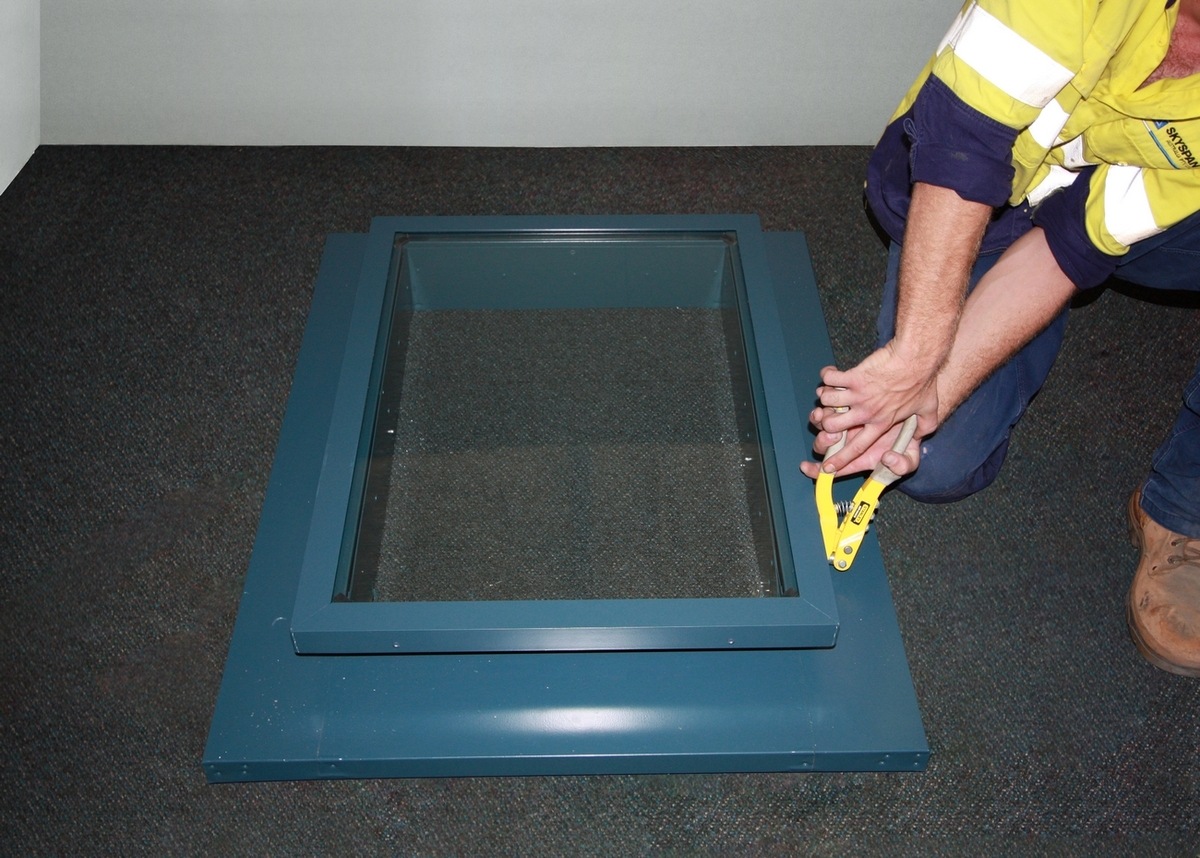
- Install the flashing kit according to the manufacturer’s instructions. The flashing serves as an additional barrier against water penetration and helps to direct moisture away from the window.
- Carefully place the new skylight window into the opening, ensuring that it fits snugly and is level. Use shims if necessary to achieve a proper fit.
- Secure the skylight window in place by driving screws through the pre-drilled holes in the frame. Be careful not to over-tighten the screws, as this could damage the window.
- Double-check the alignment and levelness of the window before moving on to the next steps. Make any necessary adjustments to ensure a proper fit.
By following these steps, you will have successfully prepared the opening for the new skylight window. The next step involves installing the window and securing it in place. Stay tuned for step 4!
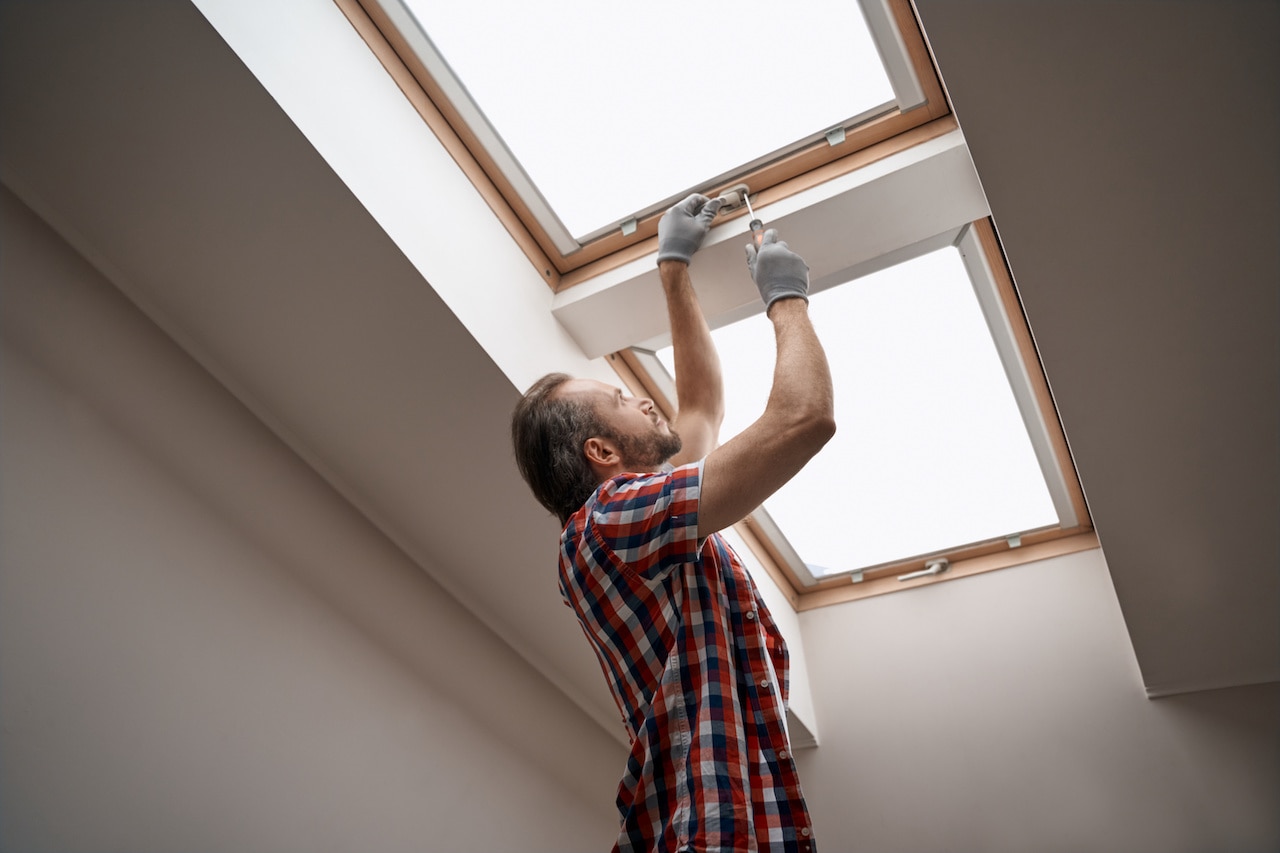
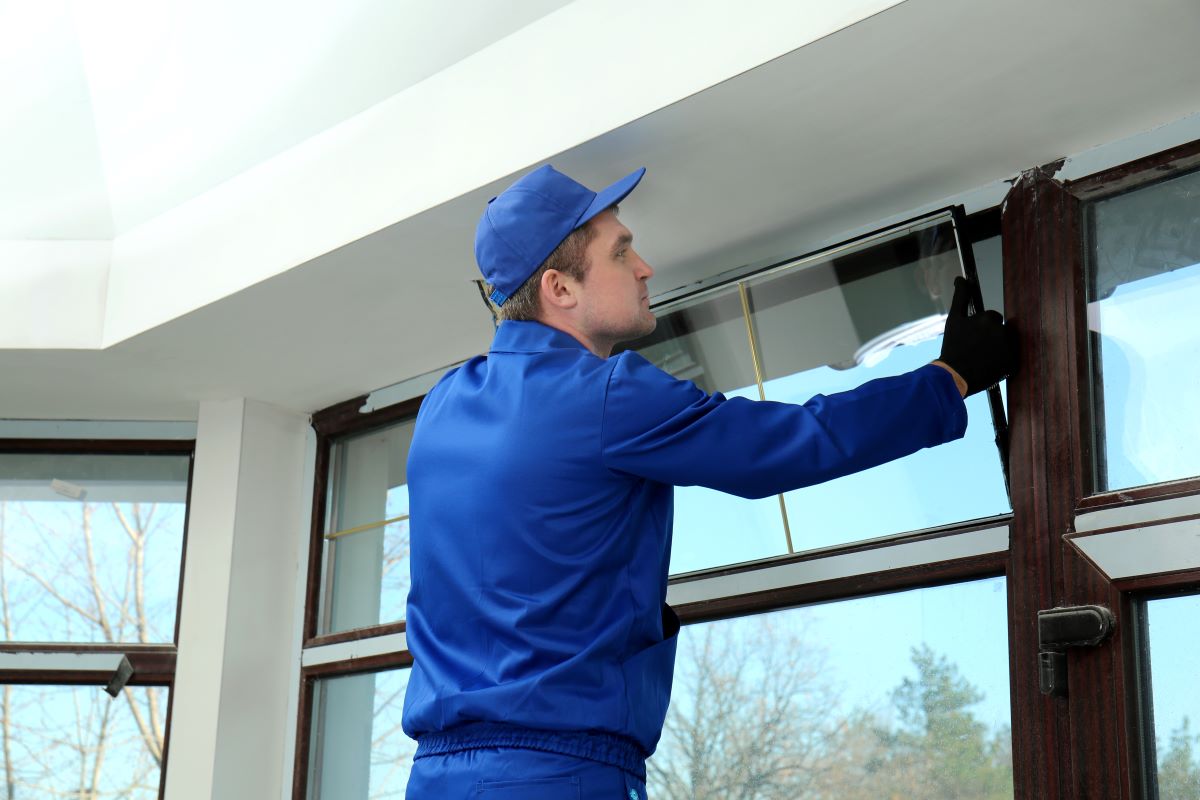
Step 4: Install the new skylight window
Now that you have prepared the opening for the new skylight window, it’s time to proceed with the installation. Follow these steps:
- Start by applying a thin line of weatherproof sealant around the perimeter of the window frame. This will provide an additional layer of protection against water infiltration.
- Carefully lift the new skylight window and position it into the opening. Be sure to align it properly and ensure that it fits securely.
- Check the window’s levelness and adjust it if necessary by adding or removing shims.
- Once the window is properly aligned, begin driving screws into the pre-drilled holes in the frame to secure it in place. Use a screwdriver or power drill, being careful not to overtighten the screws.
- Continue driving screws until all of the holes are filled. This will ensure a secure and stable installation.
- Check the operation of the window by opening and closing it to ensure it moves smoothly and closes tightly.
- If there are any gaps between the window frame and the opening, use shims or additional weatherproof sealant to fill them and create a tight seal.
It’s important to take your time and follow the manufacturer’s instructions when installing the skylight window. This will help ensure a proper and secure installation that will withstand the elements. With the window installed, you’re now ready to move on to the next step: securing the skylight window in place.
When replacing a skylight window, make sure to measure the opening accurately to ensure the new window fits properly. Double-check the measurements before purchasing the replacement window.
Read more: How To Replace RV Skylight
Step 5: Secure the skylight window in place
Now that the new skylight window is installed, it’s time to secure it in place to ensure it remains stable and weather-resistant. Follow these steps:
- Inspect the perimeter of the window to ensure there are no gaps between the frame and the opening. Use weatherproof sealant or insulation foam to fill any gaps, creating a tight seal.
- Secure the window to the frame by installing additional screws or fasteners as recommended by the manufacturer. This will help reinforce the window and prevent any movement or shifting.
- If there are any trim pieces included with the window, such as interior and exterior trim, follow the manufacturer’s instructions to install them. This will provide a finished look to the window and help enhance its overall appearance.
- Inspect the window from both the interior and exterior to ensure it is properly aligned and looks symmetrical. Make any necessary adjustments to achieve the desired aesthetic appeal.
- Check the window’s operation by opening and closing it several times. Ensure that it moves smoothly, locks securely, and provides a tight seal to prevent air and water leaks.
- Test the window’s resistance to water by spraying it with a hose or pouring water onto the exterior surface. Observe if any water enters the interior and address any leaks as necessary.
By following these steps, you will successfully secure the skylight window in place and ensure its stability and durability. The next step involves insulating and sealing the skylight window, which is crucial for energy efficiency and weather resistance.
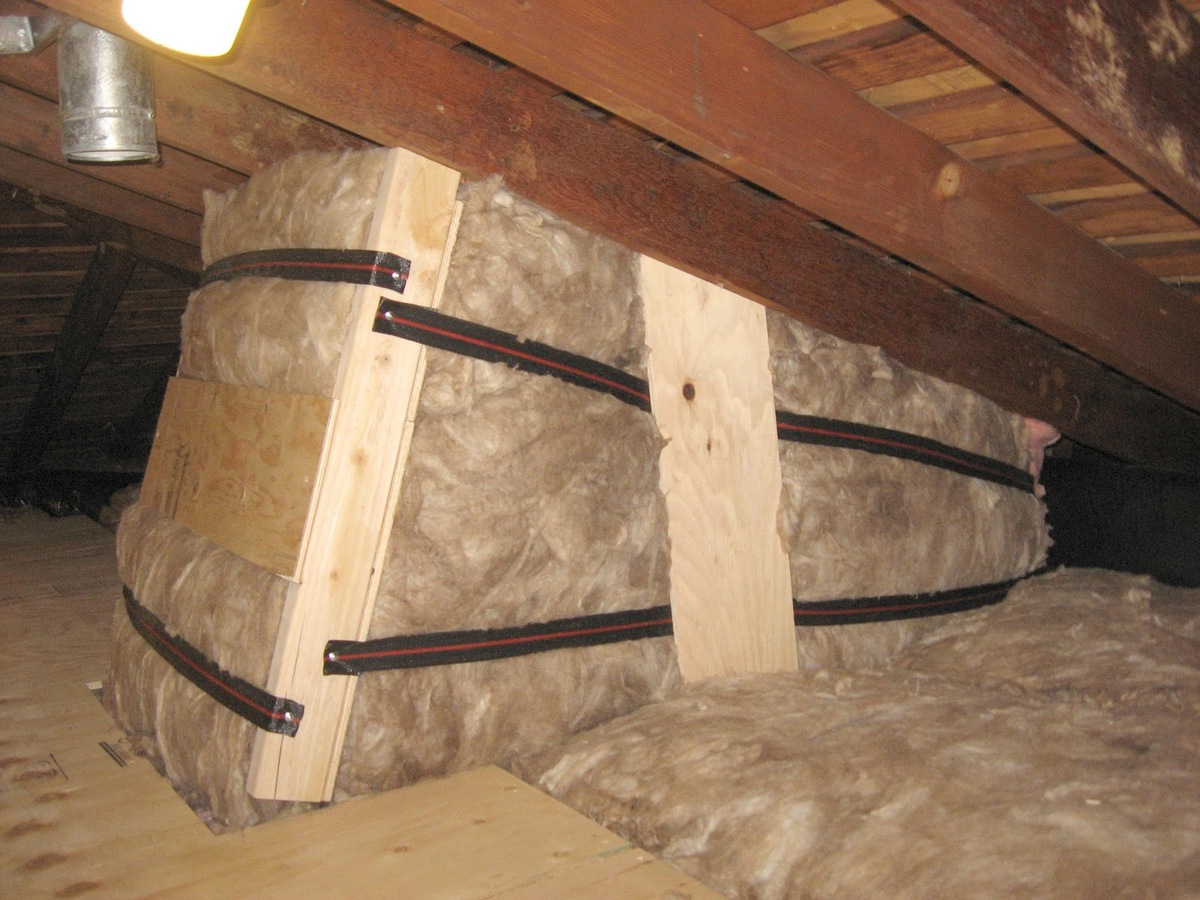
Step 6: Insulate and seal the skylight window
Insulating and sealing the skylight window is an essential step to ensure energy efficiency and weather resistance. Follow these steps:
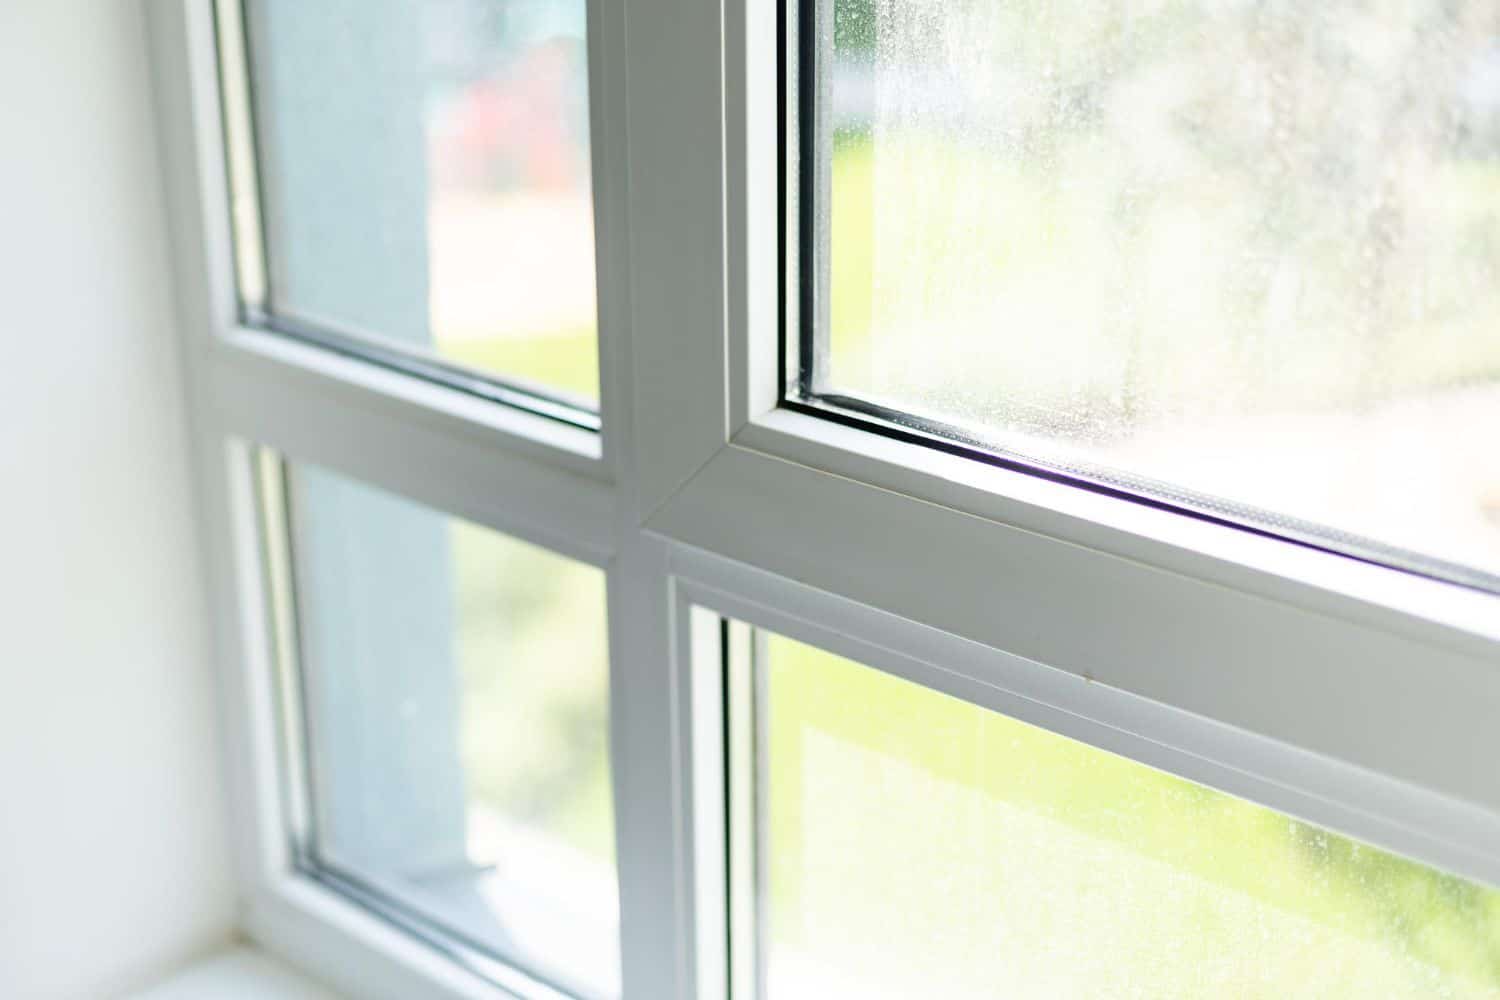
- Inspect the area around the skylight window for any gaps or openings. Use weatherproof sealant or insulation foam to seal these gaps, both on the interior and exterior sides. This will prevent air leakage and improve insulation.
- Apply weather-stripping tape to the edges of the skylight window frame. This will provide an additional barrier against drafts and help maintain a tight seal.
- Check the window’s flashing kit and ensure it is properly installed and sealed. The flashing helps protect against water infiltration, so it’s crucial to make sure it is secure and watertight.
- Inspect the interior trim and apply a bead of caulking along the edges where it meets the wall or ceiling. This will create a seamless and watertight seal.
- On the exterior, apply a line of exterior-grade caulking along the perimeter of the window where it meets the roof or siding. This will further enhance the window’s weather resistance.
- Check for any gaps or cracks in the window frame or glass. If necessary, apply a small amount of caulking to seal these areas.
- Allow the caulking and sealant to dry according to the manufacturer’s instructions before testing the window for air and water tightness.
By properly insulating and sealing the skylight window, you will improve its energy efficiency, minimize air leakage, and protect against water damage. This step is crucial for maintaining a comfortable and well-protected living space.
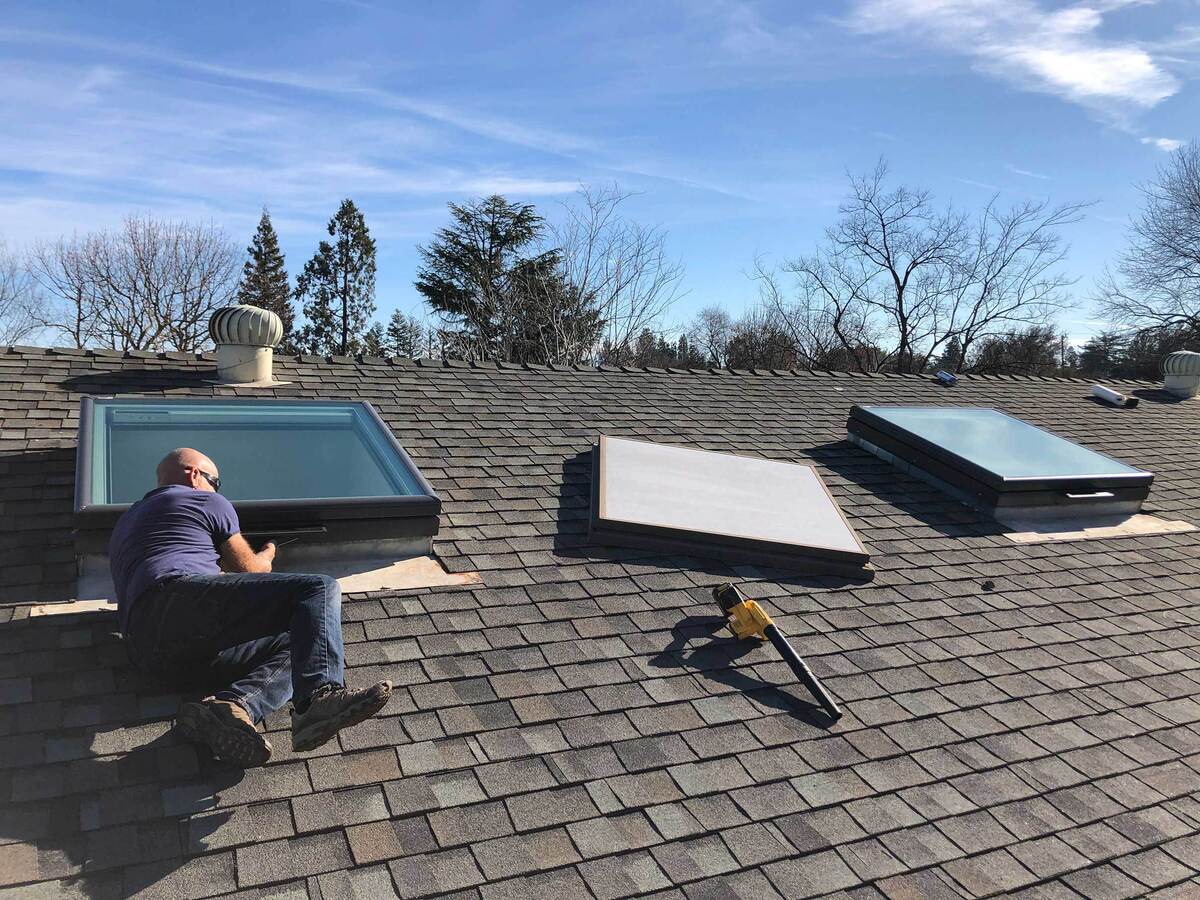
Step 7: Test the functionality of the new skylight window
After completing the installation and sealing process, it’s important to test the functionality of the new skylight window to ensure everything is working properly. Follow these steps:
- Open and close the skylight window several times to check for smooth operation. Ensure that it moves freely without any sticking or resistance.
- Test the locking mechanism of the window to ensure it securely closes and locks in place. This will help prevent any drafts or unauthorized access.
- Observe the window during both sunny and rainy weather conditions to ensure there are no leaks or water infiltration.
- If there are any issues with functionality or leakage, address them promptly. Check the seals, caulking, and flashing for any signs of damage or wear, and make any necessary repairs or adjustments.
- Consider adding window treatments or coverings, such as blinds or shades, to control the amount of sunlight and privacy as desired.
- Regularly inspect and maintain the skylight window to ensure it stays in good condition. Clean the glass and frames regularly, and inspect the seals for any signs of deterioration or damage.
By thoroughly testing the functionality of the new skylight window and addressing any issues, you can ensure its long-term performance and enjoyment. Regular maintenance will help extend its lifespan and maintain its efficiency.
Congratulations! You have successfully replaced a skylight window. Enjoy the beauty of natural light and the fresh ambiance it brings to your space.
Conclusion
Replacing a skylight window can breathe new life into your home, allowing natural light to brighten up your space and creating a more welcoming atmosphere. By following the steps outlined in this guide, you can successfully replace your skylight window and enjoy the benefits it brings. Here’s a recap of the important steps:
- Gather the necessary tools and materials.
- Remove the old skylight window.
- Prepare the opening for the new skylight window.
- Install the new skylight window.
- Secure the skylight window in place.
- Insulate and seal the skylight window.
- Test the functionality of the new skylight window.
Remember to prioritize safety throughout the process by wearing protective gear and following proper ladder and tool handling techniques.
By taking the time to properly install and seal the skylight window, you can enjoy a more energy-efficient and comfortable living space. Regular maintenance and inspections will help ensure the window’s longevity and performance.
Whether you are a seasoned DIY enthusiast or a novice looking to take on your first major home improvement project, this guide provides you with the knowledge and steps necessary to successfully replace a skylight window.
So, go ahead and let natural light flow into your home with a brand new skylight window. Embrace the warmth and beauty it brings, and enjoy the transformed environment it creates within your living spaces.
Frequently Asked Questions about How To Replace A Skylight Window
Was this page helpful?
At Storables.com, we guarantee accurate and reliable information. Our content, validated by Expert Board Contributors, is crafted following stringent Editorial Policies. We're committed to providing you with well-researched, expert-backed insights for all your informational needs.


0 thoughts on “How To Replace A Skylight Window”