Home>Furniture & Design>Interior Design Trends>How To Replace Window Glass In Aluminum Frame
Interior Design Trends
How To Replace Window Glass In Aluminum Frame
Modified: August 27, 2024
Learn how to replace window glass in an aluminum frame and stay updated with the latest interior design trends. Enhance your home with our expert tips!
(Many of the links in this article redirect to a specific reviewed product. Your purchase of these products through affiliate links helps to generate commission for Storables.com, at no extra cost. Learn more)
Introduction
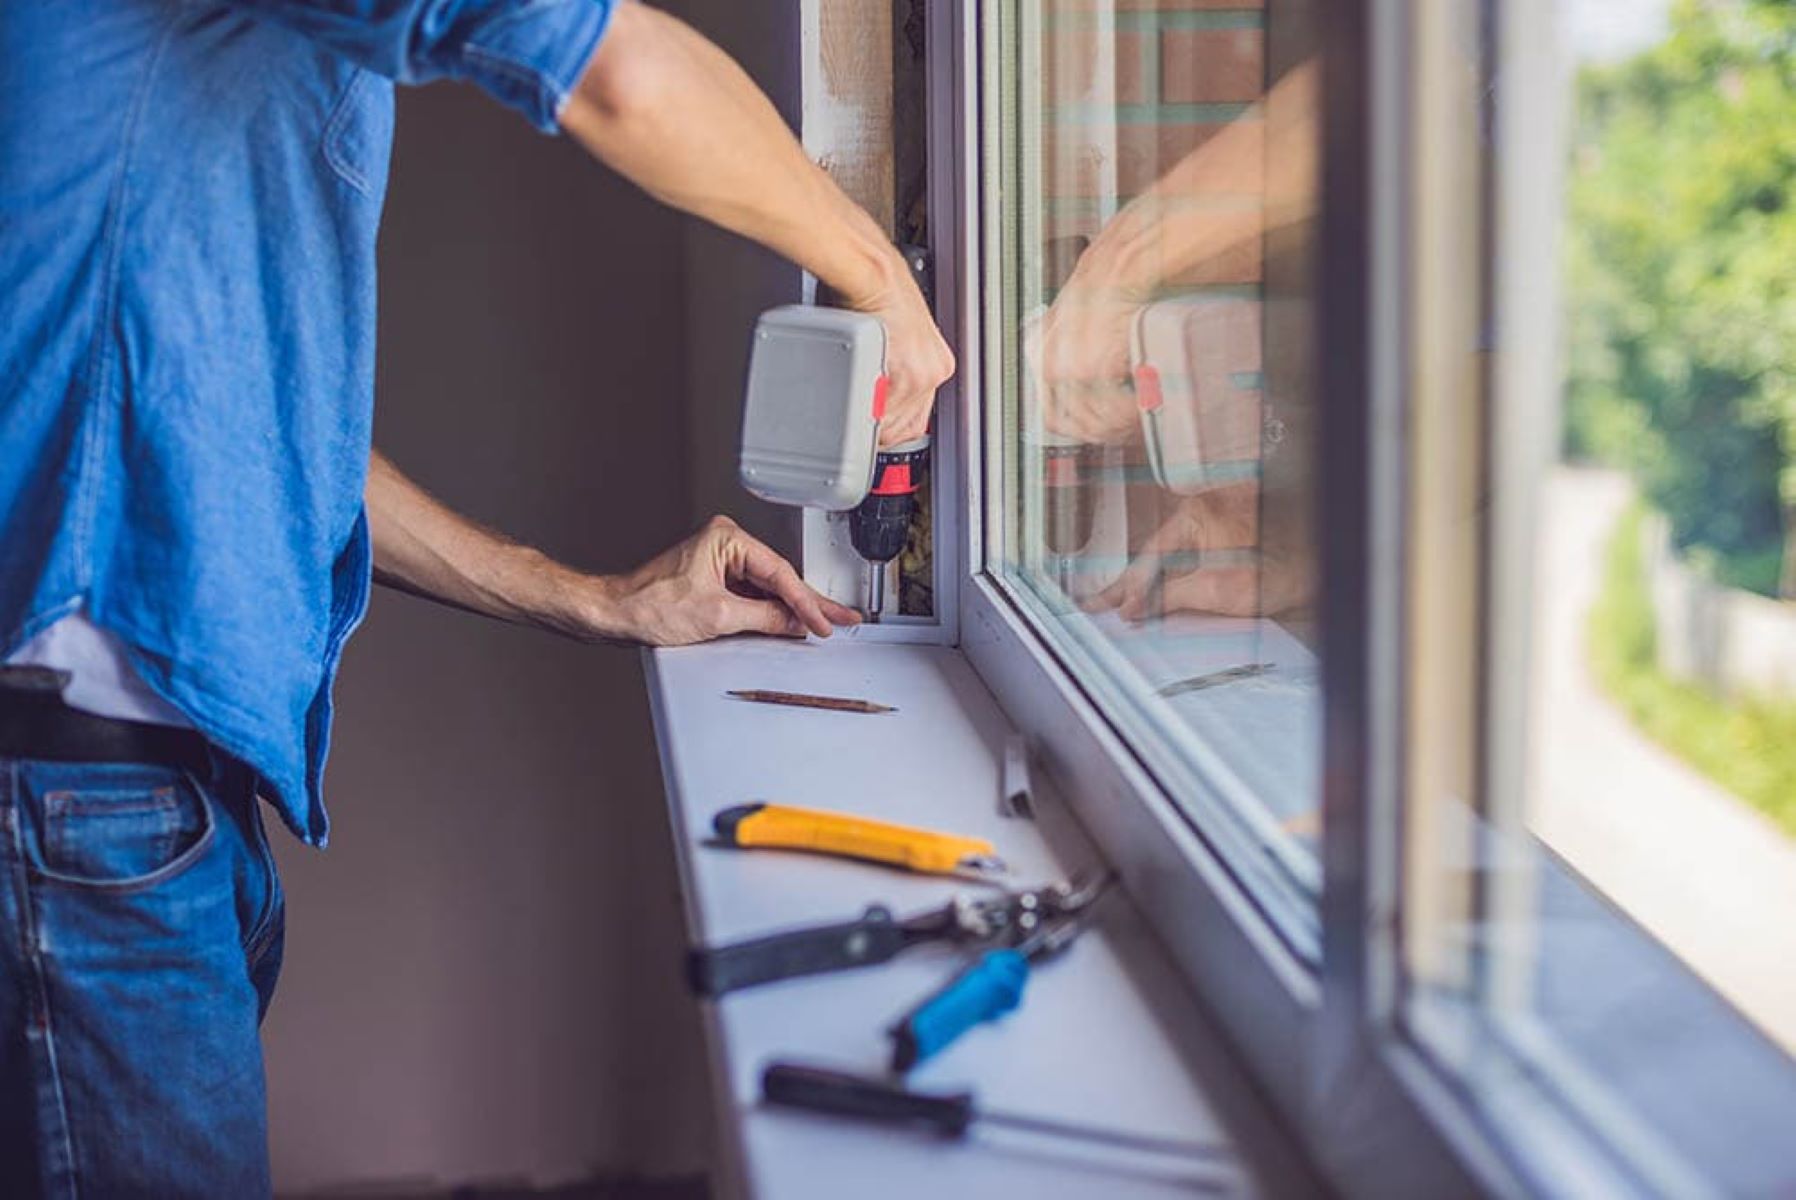
Replacing window glass in an aluminum frame is a task that may seem daunting at first, but with the right tools and a methodical approach, it can be accomplished with relative ease. Whether you're dealing with a cracked, fogged, or outdated window pane, knowing how to replace the glass can save you time and money compared to hiring a professional. By following the step-by-step guide outlined in this article, you'll gain the confidence to tackle this project and restore the functionality and aesthetic appeal of your windows.
Understanding the process of replacing window glass in an aluminum frame is essential for homeowners and DIY enthusiasts. It allows you to address issues such as drafts, condensation, or damage to the glass, which can compromise the energy efficiency and visual appeal of your home. Additionally, being able to perform this task independently empowers you to maintain and improve your living space without relying on external assistance.
In the following sections, we will walk through the necessary tools and materials, the systematic removal of the old glass, the importance of cleaning the frame, the precise installation of the new glass, and the final steps to secure and reinstall the window frame. Each step is accompanied by clear instructions and insights to ensure that you can successfully complete the process.
Whether you're a seasoned DIY enthusiast or someone who is new to home improvement projects, this guide will equip you with the knowledge and skills needed to replace window glass in an aluminum frame. By the end of this article, you'll be ready to embark on this project with confidence, knowing that you have the necessary information to achieve a professional and long-lasting result. Let's dive into the first step: gathering the necessary tools and materials.
Key Takeaways:
- Replacing window glass in an aluminum frame is a manageable DIY project that saves time and money. With the right tools and step-by-step guidance, homeowners can restore their windows’ functionality and appearance with confidence.
- By following the detailed process outlined in the article, homeowners can independently address issues such as drafts, condensation, or damaged glass, contributing to the comfort and energy efficiency of their homes. This empowers individuals to maintain and improve their living spaces with pride.
Read more: How To Replace Window Glass In Vinyl Frame
Step 1: Gather Necessary Tools and Materials
Before embarking on the task of replacing window glass in an aluminum frame, it's essential to gather all the required tools and materials. Having the right equipment at your disposal will streamline the process and ensure that you can work efficiently and safely. Here's a comprehensive list of the items you'll need:
Tools:
- Safety Equipment: Prioritize safety by wearing protective gear, including gloves and safety goggles, to shield yourself from glass shards and debris.
- Putty Knife: This tool will be used to remove old putty and glazing from the frame.
- Glazier Points: These small metal pieces are essential for securing the glass in place within the frame.
- Glass Cutter: If you need to customize the glass to fit the frame, a glass cutter will be indispensable.
- Caulk Gun: To apply a fresh bead of caulk around the new glass, a caulk gun is necessary.
- Screwdriver: Depending on the type of window frame, you may need a screwdriver to remove screws and detach the frame.
- Cleaning Supplies: Prepare a bucket of soapy water, a sponge, and a clean cloth for cleaning the frame and new glass.
- Measuring Tape: Accurate measurements are crucial for ensuring that the new glass fits perfectly within the frame.
Materials:
- Replacement Glass: Measure the dimensions of the window frame to determine the size of the replacement glass needed.
- Glazing Compound or Caulk: This will be used to secure the new glass in place and create a weatherproof seal.
- Painter's Tape: Use painter's tape to protect the frame and prevent any accidental damage during the replacement process.
- New Putty: If the existing putty is worn or damaged, having a fresh supply on hand is essential for a secure fit.
- Primer and Paint: If you plan to repaint the frame after replacing the glass, ensure that you have the necessary primer and paint ready.
By assembling these tools and materials before you begin, you'll be well-prepared to tackle each subsequent step with confidence. With the right equipment at your disposal, you can proceed to the next phase of the window glass replacement process, knowing that you have everything you need to achieve a successful outcome.
Step 2: Remove the Old Glass
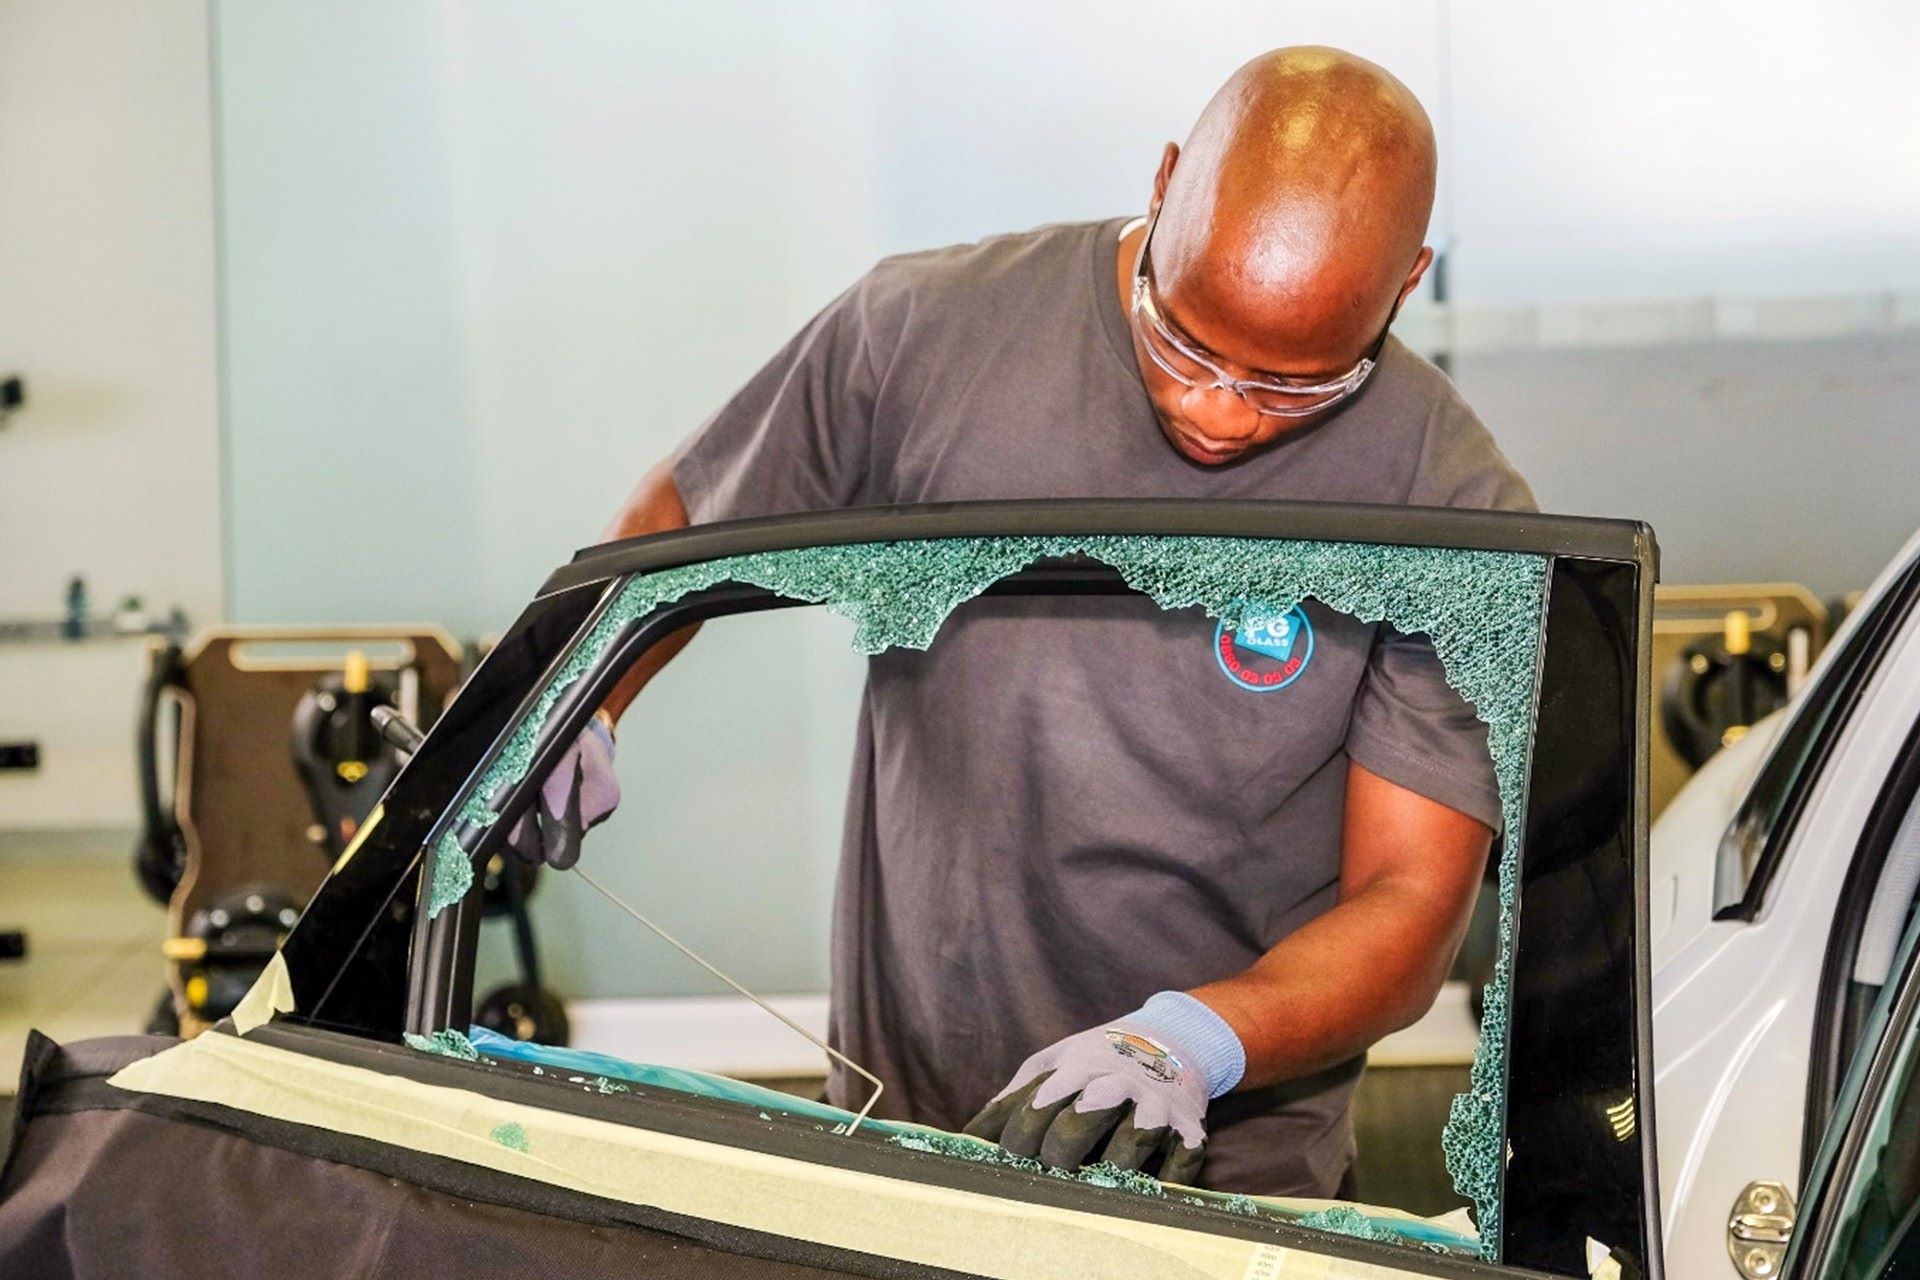
Removing the old glass from an aluminum window frame is a critical step in the process of replacing window glass. It requires precision and caution to avoid damage to the frame and ensure a smooth transition to the new glass. Here's a detailed guide on how to effectively remove the old glass:
-
Prepare the Work Area: Begin by laying a drop cloth or old sheets beneath the window to catch any debris or glass shards that may fall during the removal process. This precautionary measure helps maintain a clean and safe work environment.
-
Protective Gear: Prioritize safety by wearing heavy-duty gloves and safety goggles to shield yourself from potential injuries caused by glass fragments. Safety should always be the top priority when working with glass.
-
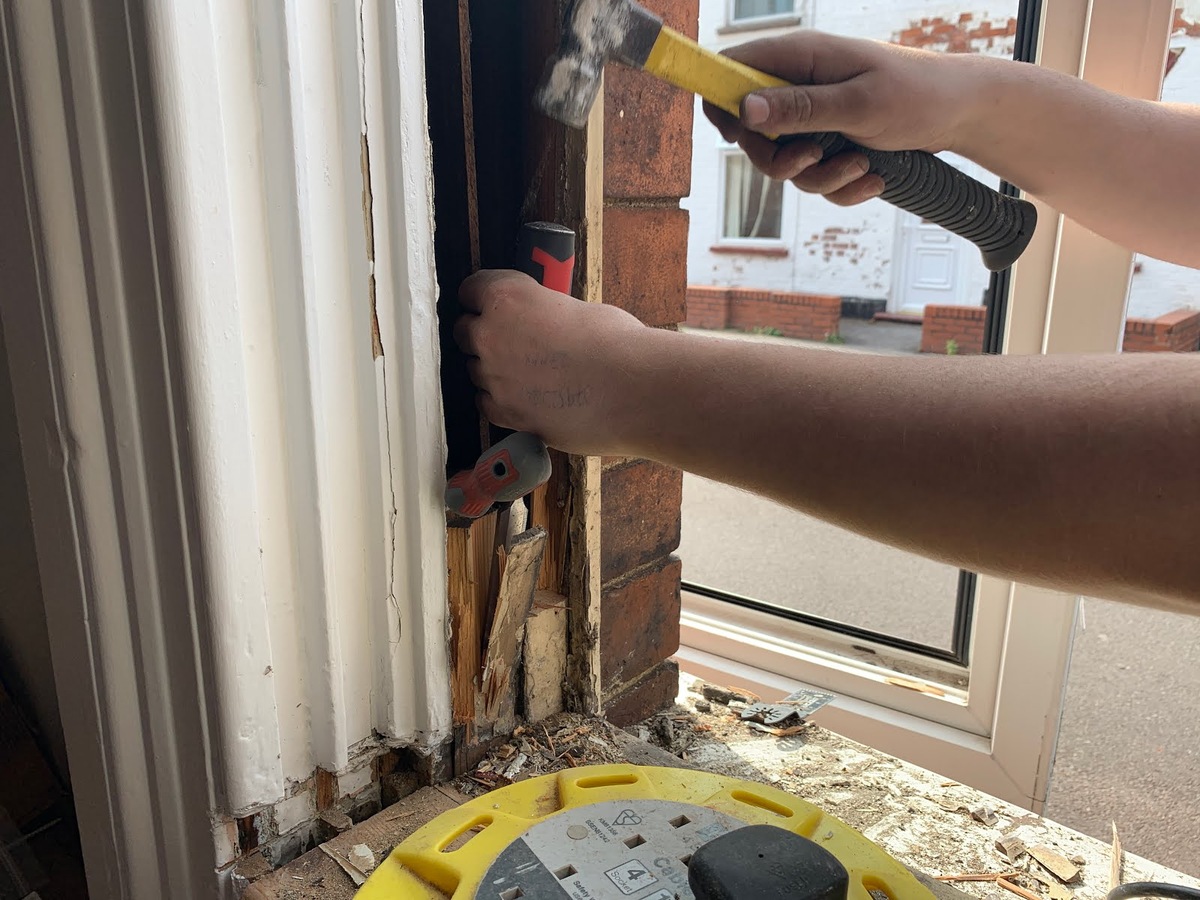
Remove the Glazing: Using a putty knife, carefully pry away the old glazing compound or putty that holds the glass in place. Work methodically to avoid damaging the frame. Take your time and ensure that the old glazing is completely removed.
-
Extract the Glass: Once the glazing is removed, gently push the old glass from the frame. If the glass is broken, exercise extreme caution to avoid injury. Use a vacuum or a damp cloth to clean up any remaining debris in the frame.
-
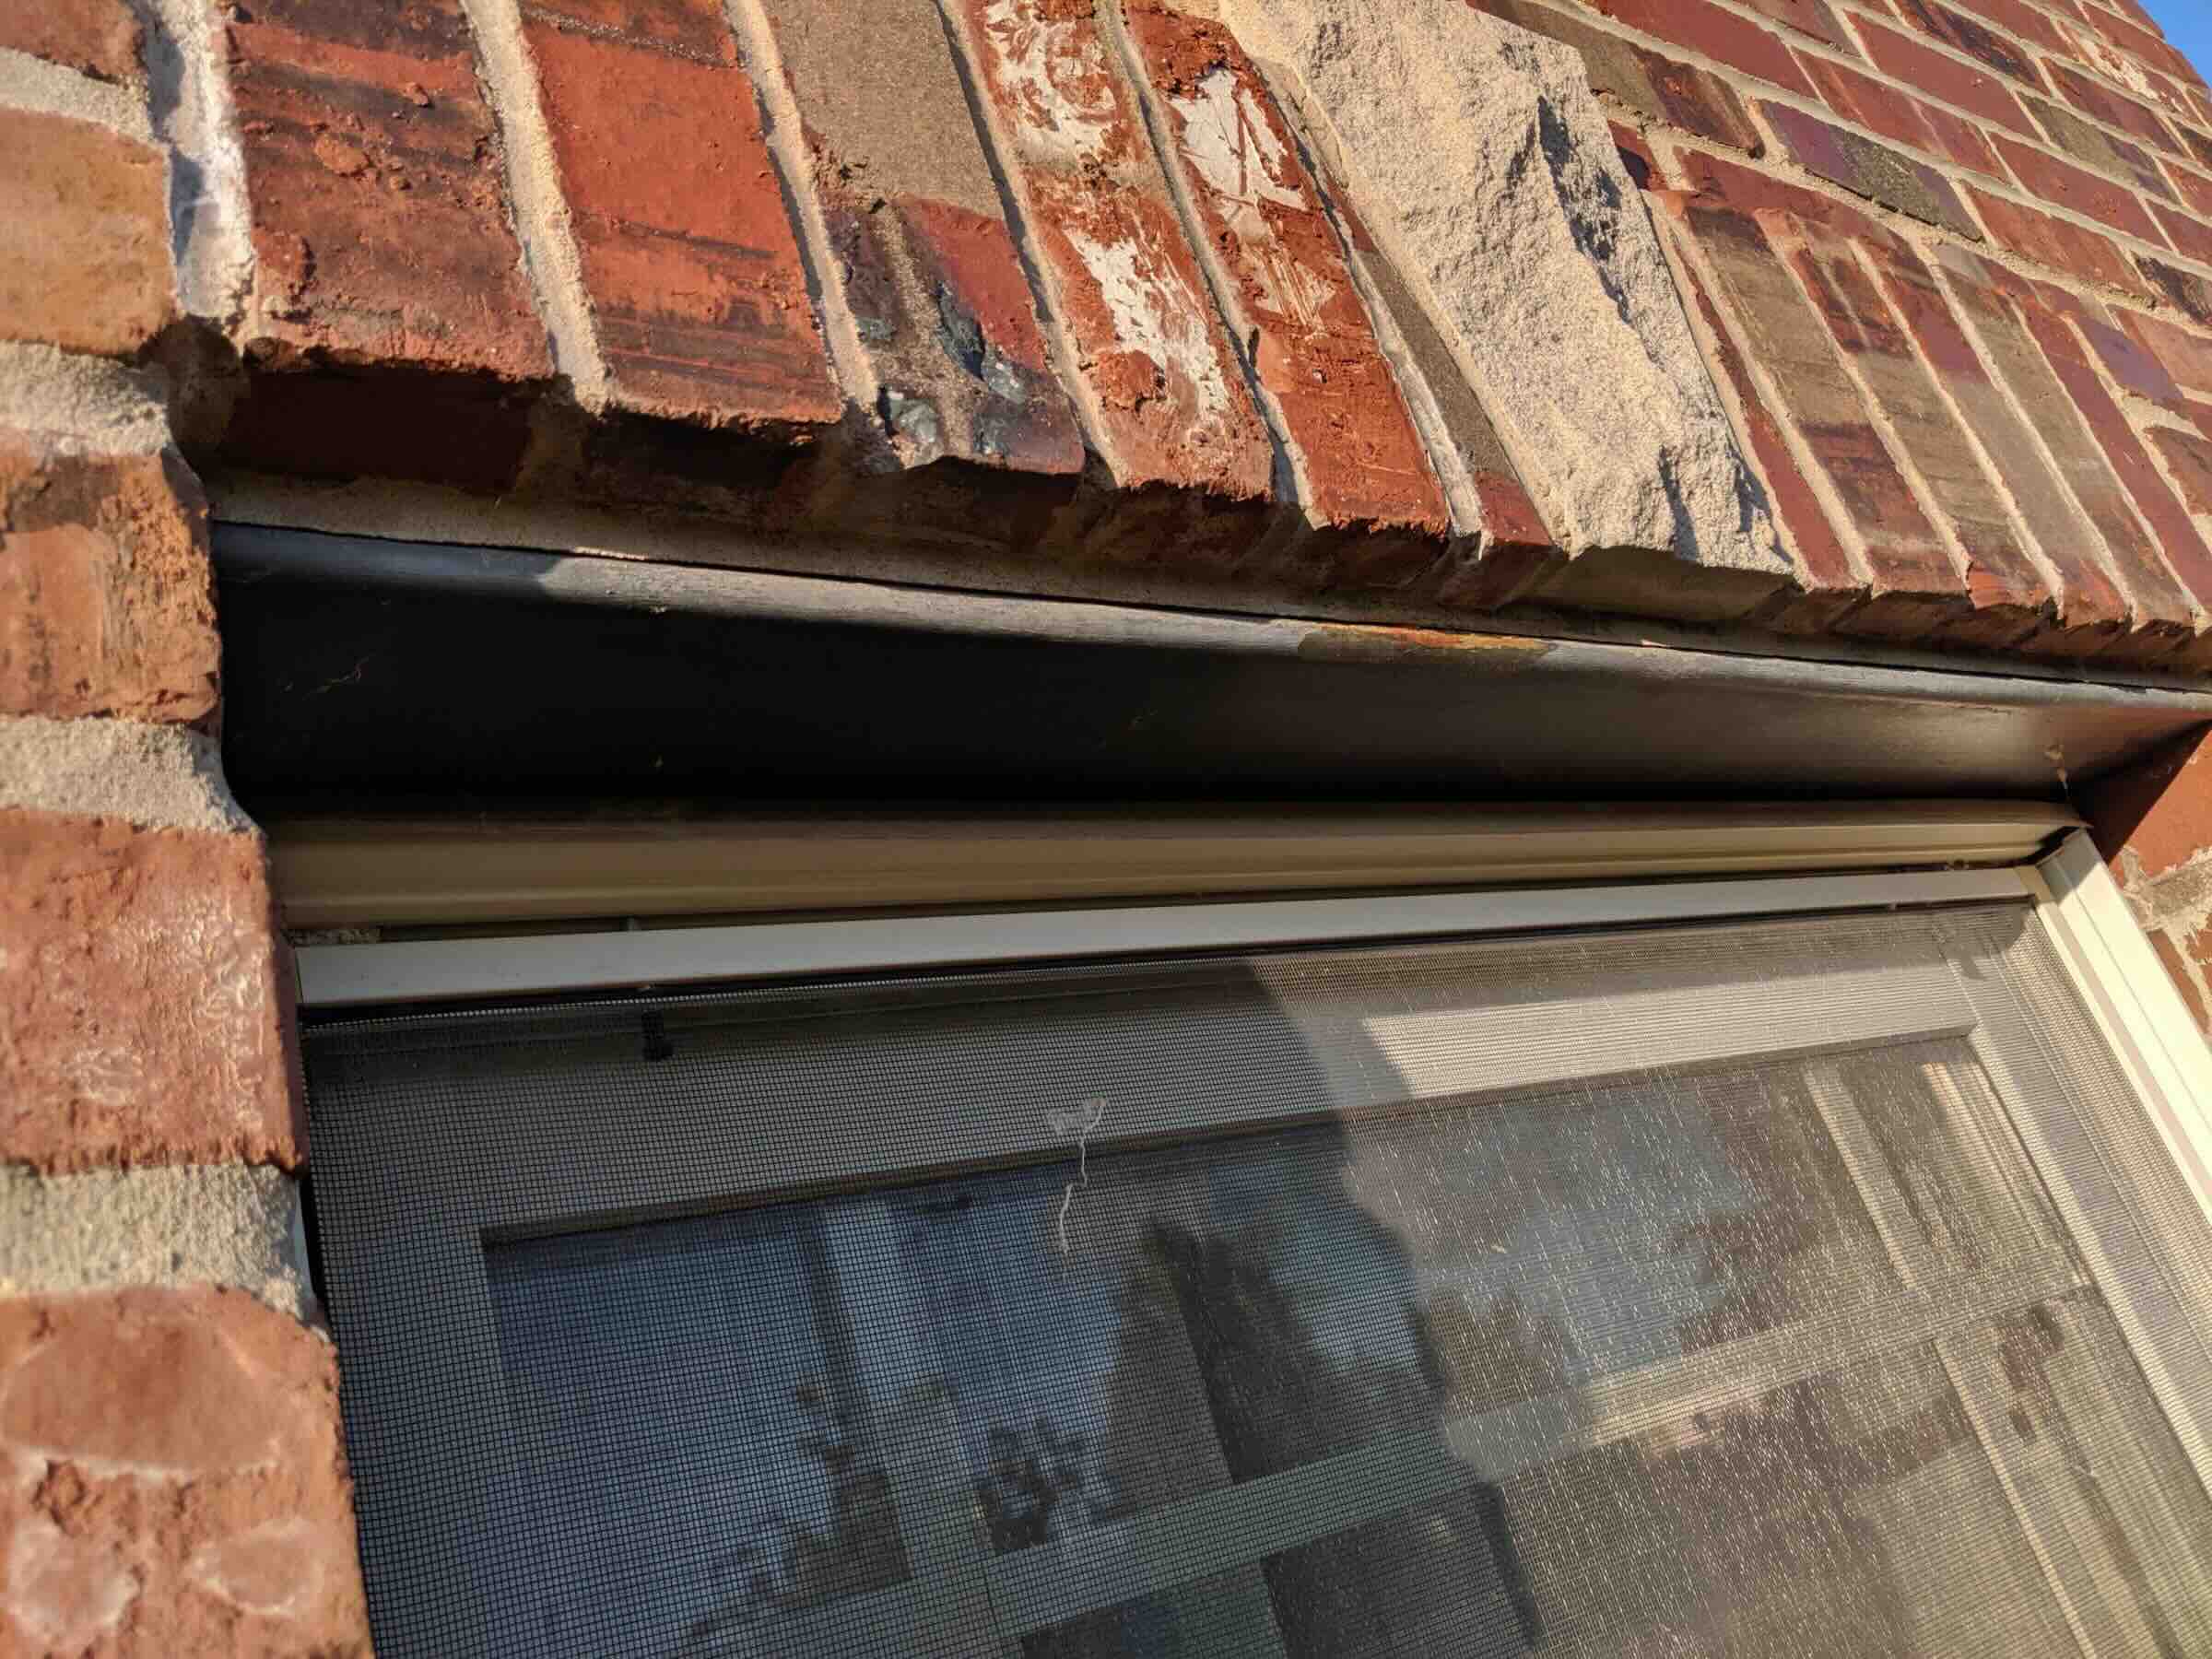
Inspect the Frame: With the old glass removed, take the opportunity to inspect the frame for any signs of damage or wear. Address any issues such as rot, rust, or deterioration before proceeding with the installation of the new glass.
By following these steps, you can effectively remove the old glass from the aluminum frame without causing damage to the surrounding structure. This meticulous approach sets the stage for a seamless transition to the next phase of the window glass replacement process. With the old glass successfully removed, you're now ready to proceed to the next crucial step: cleaning the frame in preparation for the installation of the new glass.
Read more: How To Seal Glass In Window Frame
Step 3: Clean the Frame
Cleaning the frame is a crucial step in the process of replacing window glass in an aluminum frame. It sets the foundation for a secure and pristine installation of the new glass, ensuring optimal functionality and visual appeal. Here's a detailed guide on how to effectively clean the frame:
-
Remove Residue: Begin by using a putty knife or a similar tool to scrape away any residual glazing compound, putty, or debris from the frame. Pay close attention to the corners and edges, ensuring that all remnants of the old materials are thoroughly removed. This step is essential for creating a clean and level surface for the new glass.
-
Soapy Water Solution: Prepare a bucket of warm water mixed with mild dish soap. Dip a sponge or soft cloth into the soapy water and gently scrub the entire frame, including the inner and outer surfaces. This process helps eliminate dirt, grime, and any remaining traces of the old glazing compound. Thoroughly rinse the frame with clean water to remove the soapy residue.
-
Inspect for Damage: While cleaning the frame, take the opportunity to inspect it for any signs of damage, corrosion, or wear. Look for areas that may require repair or reinforcement before installing the new glass. Addressing these issues at this stage ensures that the frame is in optimal condition for the upcoming installation.
-
Dry Thoroughly: After cleaning and inspecting the frame, use a clean, dry cloth to thoroughly dry the entire surface. Pay attention to the corners and crevices, ensuring that no moisture is left behind. A dry frame is essential for promoting proper adhesion when installing the new glass and applying the necessary sealants.
-
Apply Primer (If Necessary): If the frame requires repainting or if there are areas where the original finish has worn away, consider applying a suitable primer to promote adhesion and protect the aluminum surface. Allow the primer to dry completely before proceeding to the next step.
By meticulously cleaning the frame and addressing any underlying issues, you set the stage for a successful and durable installation of the new glass. This preparatory step ensures that the frame is free from debris, well-maintained, and ready to receive the new glass in the subsequent phase of the window glass replacement process.
Step 4: Install the New Glass
With the frame meticulously cleaned and prepared, the next critical step in the process of replacing window glass in an aluminum frame is the precise installation of the new glass. This phase requires attention to detail and a methodical approach to ensure a secure fit and optimal functionality. Here's a comprehensive guide on how to effectively install the new glass:
-
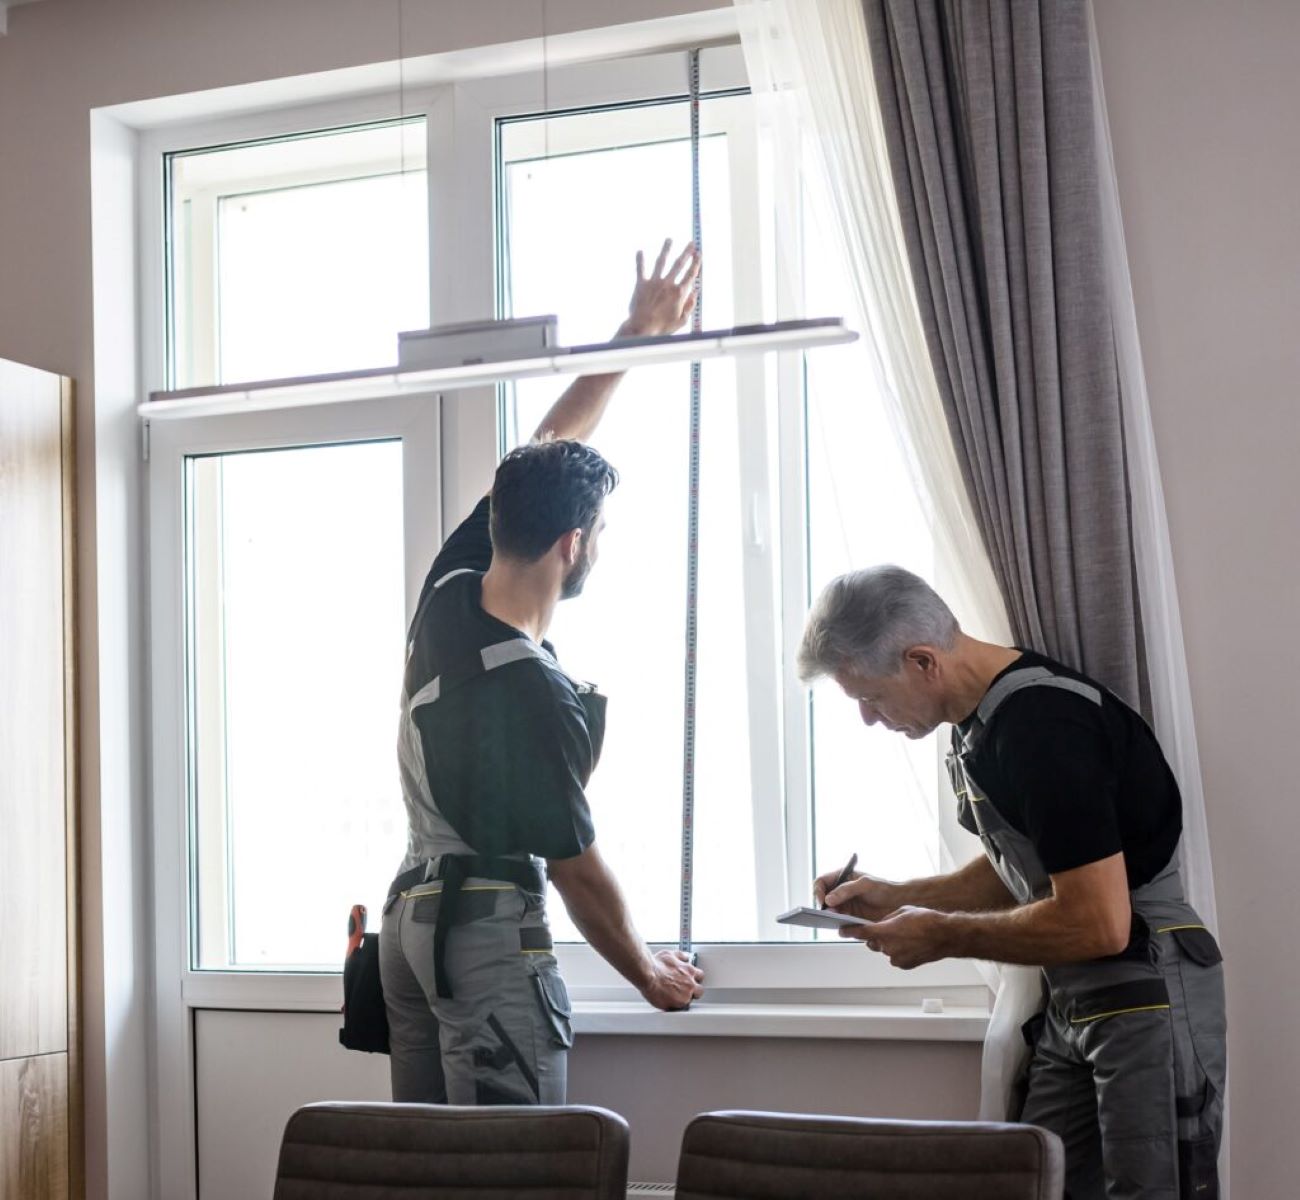
Measure and Prepare: Begin by carefully measuring the dimensions of the window frame to ensure that the replacement glass fits accurately. Double-check the measurements to avoid any discrepancies. If the new glass needs to be customized to fit the frame, use a glass cutter to achieve the precise dimensions.
-
Apply Glazing Compound or Caulk: Prior to placing the new glass in the frame, apply a thin, even layer of glazing compound or caulk along the inner edges where the glass will be positioned. This step is crucial for creating a secure seal and preventing air or moisture infiltration.
-
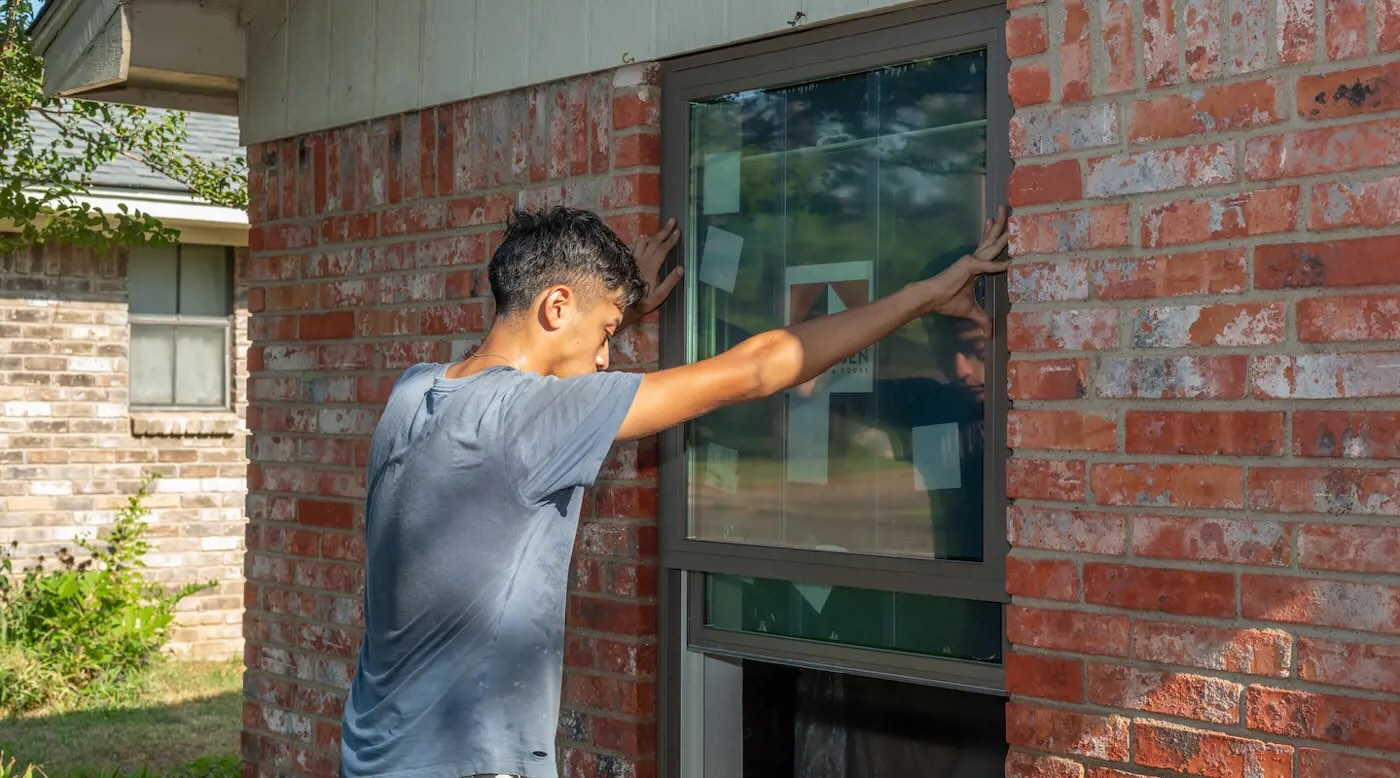
Position the Glass: Gently place the new glass into the frame, ensuring that it fits snugly against the glazing compound or caulk. Exercise caution to avoid applying excessive pressure that may damage the glass or the frame. Verify that the glass sits evenly within the frame without any gaps or misalignment.
-
Secure with Glazier Points: Once the glass is in position, use glazier points to secure it within the frame. These small metal pieces are inserted along the edges of the glass to hold it firmly in place. Space the glazier points evenly to provide consistent support and stability.
-
Apply Additional Sealant (If Needed): Depending on the specific requirements of the frame and the type of glass used, consider applying an additional bead of glazing compound or caulk around the outer edges of the glass. This supplementary sealant reinforces the weatherproofing and enhances the overall integrity of the installation.
-
Clean Excess Sealant: Carefully remove any excess glazing compound or caulk using a putty knife or a suitable tool. Ensure that the edges are clean and smooth, promoting a neat and professional finish.
By following these detailed steps, you can effectively install the new glass in the aluminum frame, ensuring a secure, weatherproof, and visually appealing outcome. This meticulous approach sets the stage for the final phase of the window glass replacement process: securing the glass in place and reinstalling the window frame.
When replacing window glass in an aluminum frame, be sure to measure the dimensions accurately before ordering the new glass. Use caution when removing the old glass to avoid injury, and wear gloves to protect your hands from sharp edges.
Step 5: Secure the Glass in Place
Securing the newly installed glass within the aluminum frame is a critical step that ensures stability, longevity, and optimal performance. By effectively securing the glass, you create a weatherproof seal and mitigate the risk of displacement or damage. Here's a detailed guide on how to securely position the glass within the frame:
-
Evaluate Stability: Before proceeding with securing the glass, carefully assess its positioning within the frame. Verify that it sits evenly and securely, with no visible gaps or misalignment. This visual inspection is crucial for identifying any potential issues that may compromise the integrity of the installation.
-
Reinforce with Glazing Compound or Caulk: To fortify the seal and enhance the stability of the glass, apply a final layer of glazing compound or caulk along the outer edges where the glass meets the frame. This additional sealant acts as a protective barrier against moisture infiltration and reinforces the bond between the glass and the frame.
-
Check Glazier Points: Ensure that the glazier points used to secure the glass are firmly in place and provide consistent support along the edges. Gently press on the points to confirm their stability. Properly positioned and secured glazier points are essential for maintaining the glass in its designated position.
-
Inspect for Excess Sealant: After applying the final layer of glazing compound or caulk, carefully inspect the edges for any excess sealant. Use a putty knife or a suitable tool to remove any surplus material, ensuring that the edges are clean and free from obstructions. This meticulous cleanup contributes to a polished and professional finish.
-
Allow for Proper Curing: Depending on the type of sealant used, allow sufficient time for it to cure and form a durable bond. Follow the manufacturer's recommendations regarding the curing time to ensure that the sealant achieves its optimal strength and resilience.
By following these steps, you can effectively secure the glass within the aluminum frame, ensuring a robust and enduring installation. This meticulous approach sets the stage for the final phase of the window glass replacement process: reinstalling the window frame to complete the restoration of your window's functionality and aesthetic appeal.
Step 6: Reinstall the Window Frame
Reinstalling the window frame is the final crucial step in the process of replacing window glass in an aluminum frame. This phase involves carefully positioning the frame, ensuring a proper fit, and securing it in place to complete the restoration of your window's functionality and aesthetic appeal. Here's a detailed guide on how to effectively reinstall the window frame:
-
Position the Frame: Lift the window frame and carefully maneuver it into the designated opening. Ensure that it aligns precisely with the surrounding structure and sits flush against the exterior and interior walls. Take your time to achieve an accurate fit, making any necessary adjustments to ensure a seamless integration.
-
Secure with Screws or Fasteners: Depending on the specific design of the window frame, use the appropriate screws or fasteners to secure it in place. Align the pre-drilled holes in the frame with the corresponding anchor points in the surrounding structure. Gradually tighten the screws or fasteners, ensuring that the frame remains level and stable throughout the securing process.
-
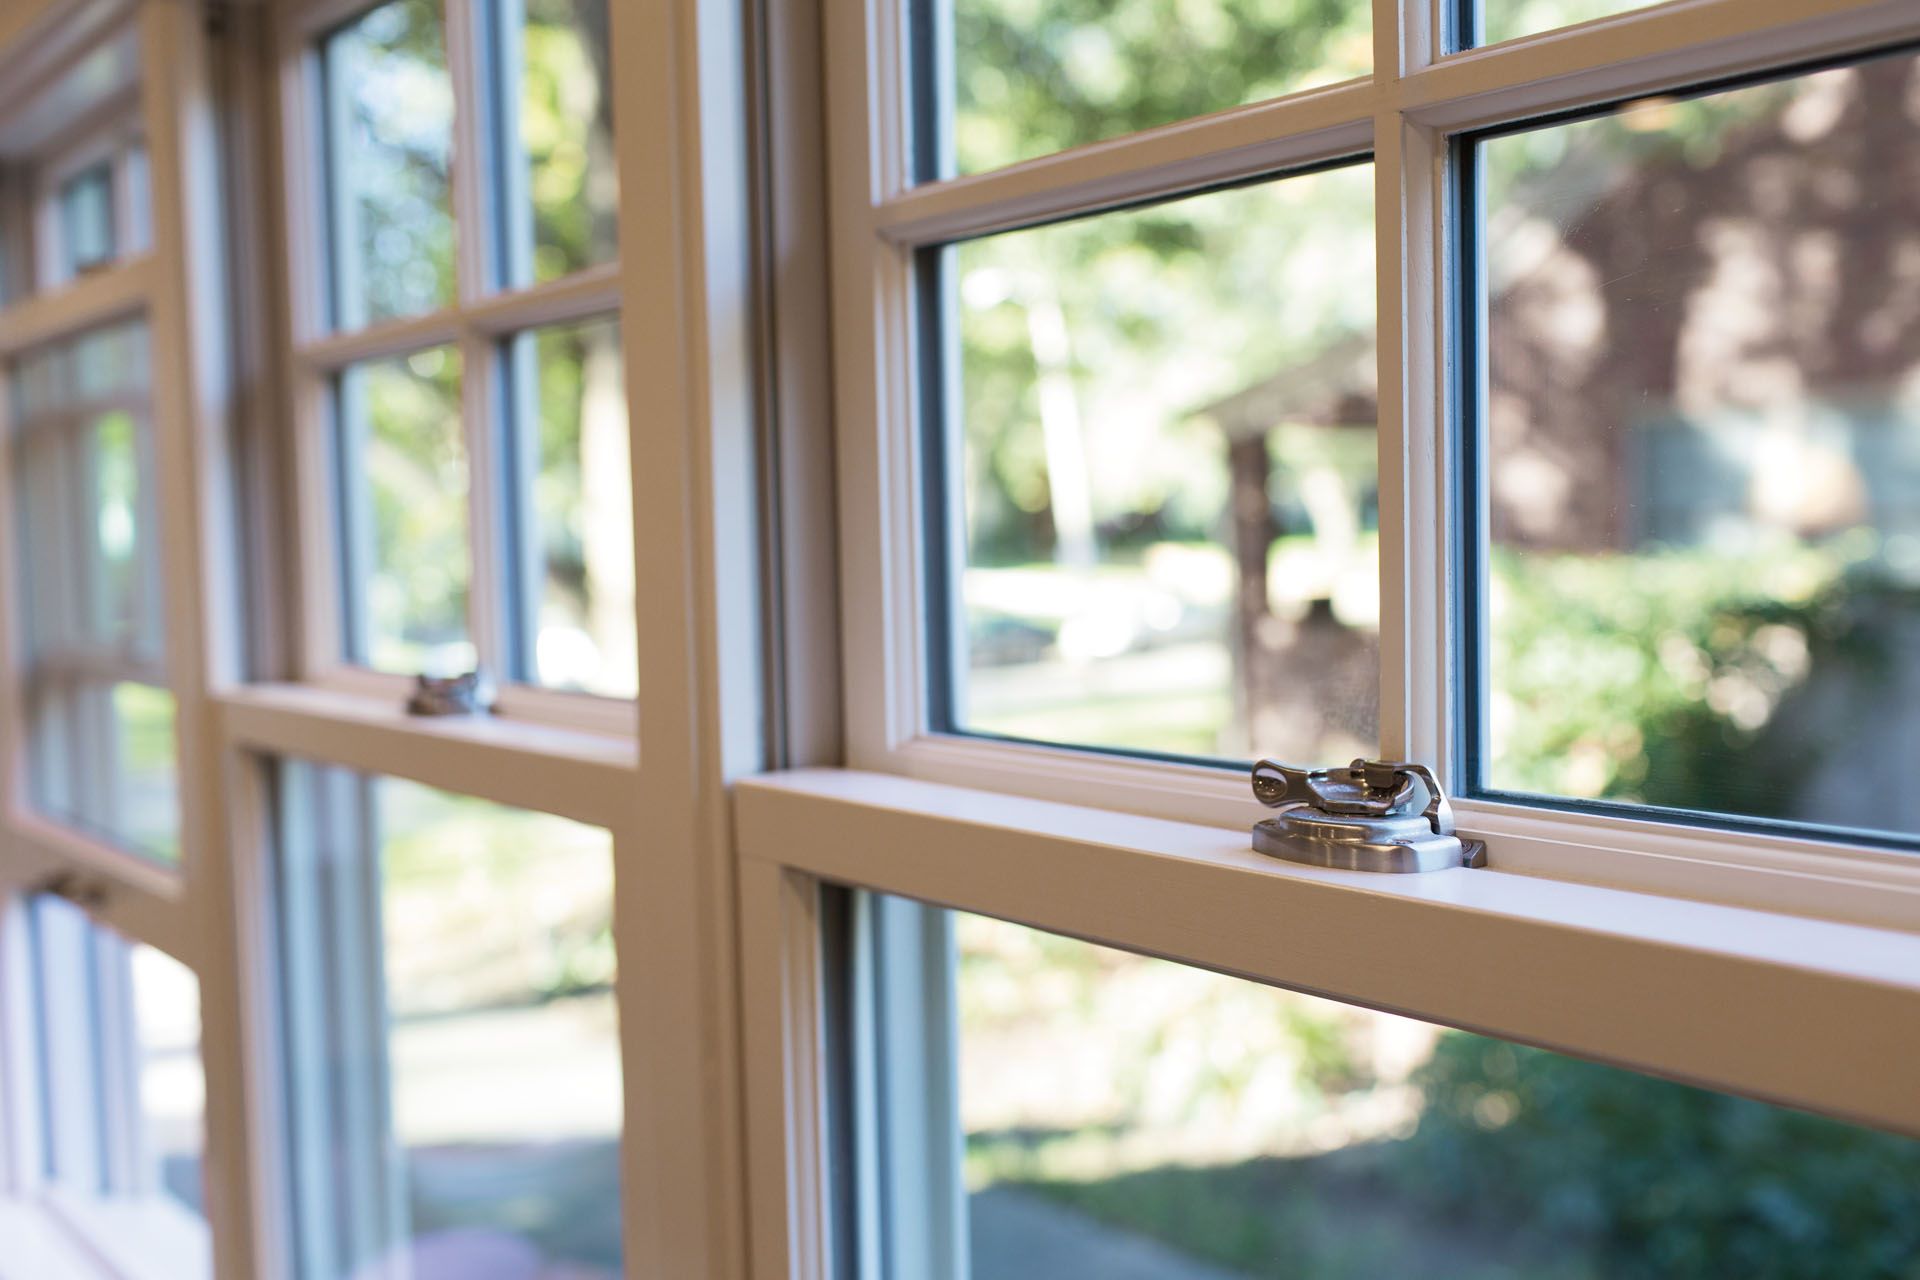
Check for Smooth Operation: Once the frame is securely in place, test the operational functionality of the window. Open and close it several times to verify that it moves smoothly along its tracks or hinges. Pay attention to any signs of resistance or misalignment, addressing any issues promptly to ensure optimal performance.
-
Apply Finishing Touches: If the frame requires repainting or refinishing, this is the ideal time to apply the necessary coatings. Ensure that the paint or finish complements the overall aesthetic of the window and blends seamlessly with the surrounding architecture. Allow the paint or finish to dry completely before considering the restoration process complete.
-
Inspect for Quality and Integrity: Conduct a comprehensive visual inspection of the newly installed glass, the frame, and the surrounding area. Look for any signs of gaps, misalignment, or damage. Address any discrepancies to ensure that the window is restored to its optimal condition, both in terms of functionality and visual appeal.
By following these detailed steps, you can effectively reinstall the window frame, completing the comprehensive process of replacing window glass in an aluminum frame. This meticulous approach ensures that your window is restored to its original state, with a new glass pane securely in place and the frame seamlessly integrated into its surroundings.
Read more: How To Replace Window Glass Quickly
Conclusion
In conclusion, the process of replacing window glass in an aluminum frame encompasses a series of meticulous steps that culminate in the restoration of a window's functionality and aesthetic appeal. By following the comprehensive guide outlined in this article, homeowners and DIY enthusiasts can confidently undertake this project, knowing that they have the necessary knowledge and skills to achieve a professional and enduring result.
The journey begins with gathering the essential tools and materials, setting the stage for a well-prepared and efficient approach to the task at hand. The subsequent steps, including the careful removal of the old glass, thorough cleaning of the frame, precise installation of the new glass, and secure positioning of the glass within the frame, are all vital components of the window glass replacement process.
Each phase demands attention to detail, a focus on safety, and a commitment to achieving a seamless and durable outcome. From assessing the stability of the newly installed glass to ensuring the proper curing of sealants, every step contributes to the overall success of the project.
The final act of reinstalling the window frame completes the restoration, marking the culmination of a thorough and methodical process. By securing the frame in place, testing its operational functionality, and attending to any necessary finishing touches, homeowners can take pride in the revitalization of their windows.
Ultimately, the ability to replace window glass in an aluminum frame empowers individuals to maintain and improve their living spaces independently. It offers a sense of accomplishment and the satisfaction of preserving the integrity of one's home. Moreover, by understanding and executing this process, homeowners can address issues such as drafts, condensation, or damaged glass, contributing to the overall comfort and energy efficiency of their dwellings.
In embracing the knowledge and skills presented in this guide, individuals can approach the task of replacing window glass with confidence, knowing that they are equipped to achieve a professional and long-lasting result. Whether it's a single window or a series of windows requiring attention, the ability to undertake this project independently is a valuable asset for homeowners seeking to enhance the quality and functionality of their living spaces.
Frequently Asked Questions about How To Replace Window Glass In Aluminum Frame
Was this page helpful?
At Storables.com, we guarantee accurate and reliable information. Our content, validated by Expert Board Contributors, is crafted following stringent Editorial Policies. We're committed to providing you with well-researched, expert-backed insights for all your informational needs.


0 thoughts on “How To Replace Window Glass In Aluminum Frame”