
Articles
How To Tighten Loose Faucet Handle
Modified: October 26, 2024
Learn effective methods to tighten a loose faucet handle with these informative articles. Get step-by-step instructions and expert tips to fix the issue.
(Many of the links in this article redirect to a specific reviewed product. Your purchase of these products through affiliate links helps to generate commission for Storables.com, at no extra cost. Learn more)
Introduction
Are you tired of dealing with a loose faucet handle that wobbles every time you turn the water on or off? A loose faucet handle not only undermines the functionality of your faucet but also detracts from the overall aesthetic appeal of your bathroom or kitchen. Fortunately, tightening a loose faucet handle is a relatively simple DIY task that you can easily accomplish with a few basic tools and materials.
In this article, we will guide you through the step-by-step process of tightening a loose faucet handle. Whether you have a traditional two-handle faucet or a modern single-handle faucet, our instructions will help you restore stability to your faucet and regain your peace of mind.
But before we jump into the details, let’s take a quick look at the tools and materials you’ll need to complete this project:
Key Takeaways:
- Easily restore stability to your loose faucet handle with simple DIY steps and basic tools, saving time and money while eliminating wobbling and frustration.
- Regular maintenance and care, such as cleaning the threads, can prevent future issues with your faucet handle, ensuring a stable and functional fixture for years to come.
Tools and Materials Needed
Before you begin tightening your loose faucet handle, gather the following tools and materials:
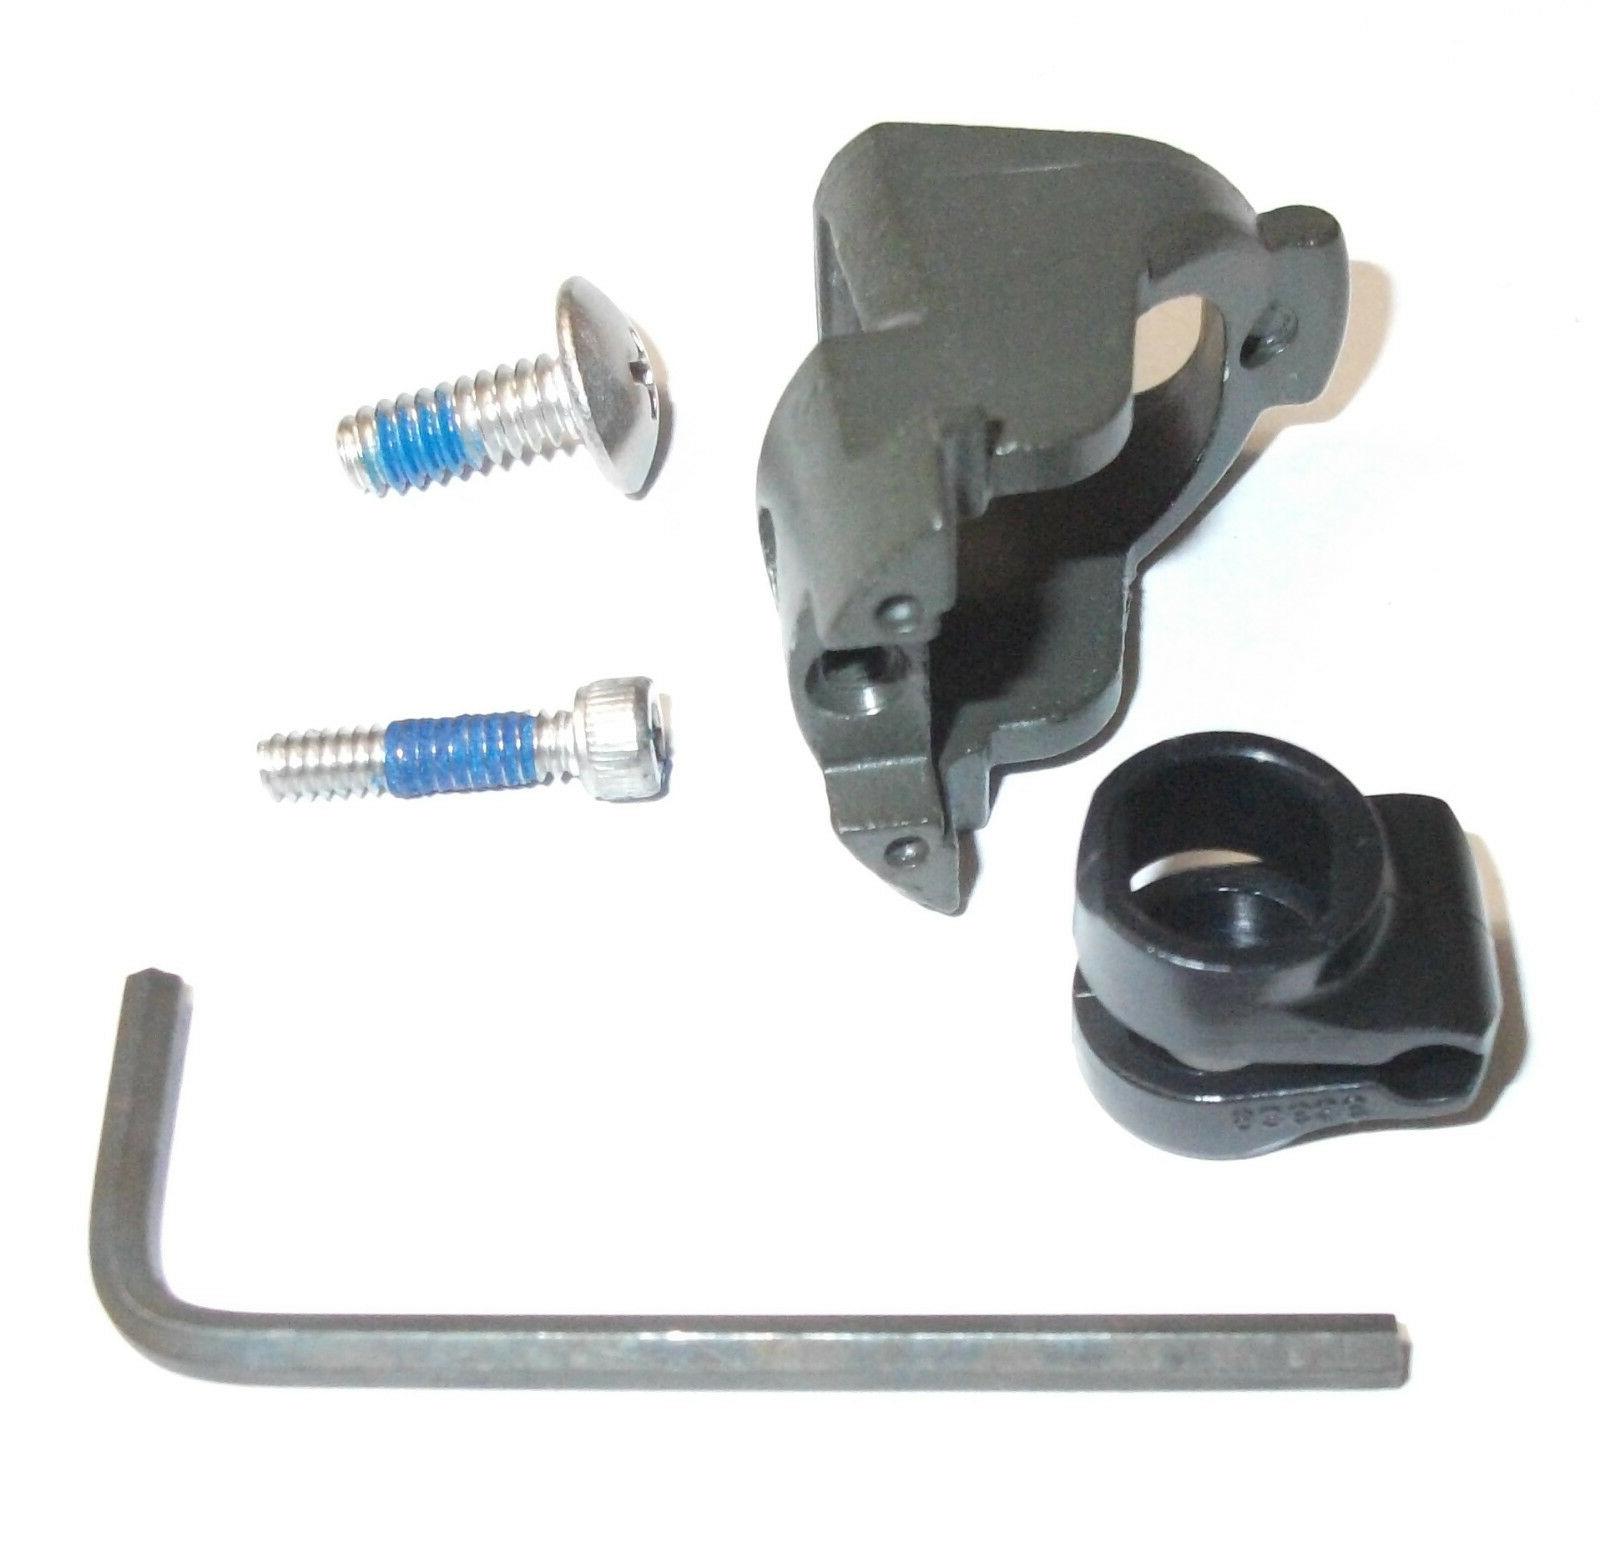
- Adjustable wrench or pliers
- Screwdriver (flathead or Phillips depending on the type of handle screw)
- Allen wrench (for certain types of handles)
- Replacement handle screw (if necessary)
- Plumber’s tape (optional)
- Clean cloth or sponge
- Bucket or container
Having these tools and materials on hand will ensure that you have everything you need to successfully complete the tightening process.
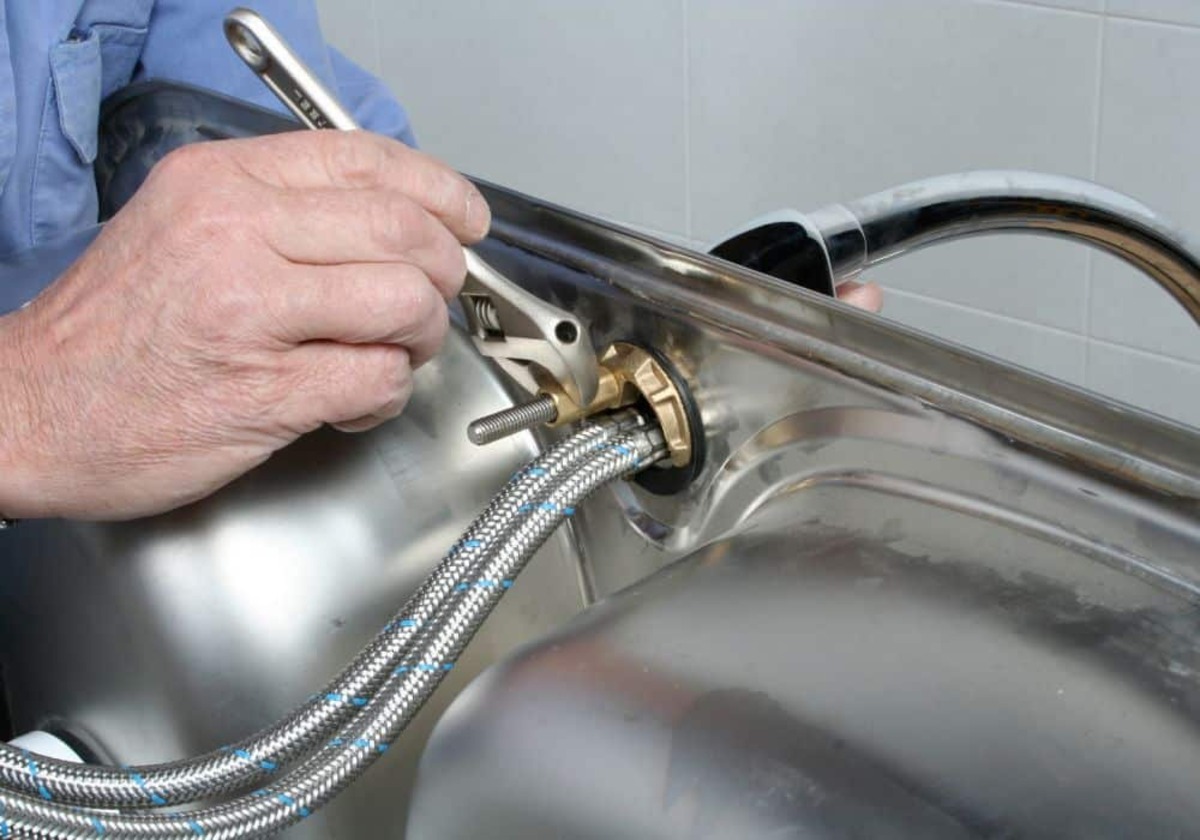
Step 1: Shut off the Water Supply
Before you start working on the loose faucet handle, it’s important to shut off the water supply to prevent any water leakage or accidents. Look under your sink or in the basement for the shut-off valves that control the water supply to the faucet.
If you have a single-handle faucet, there may be a dedicated shut-off valve located directly below the sink. Turn the valve clockwise to shut off the water supply.
For two-handle faucets, you may have individual shut-off valves for hot and cold water. Make sure to turn off both valves by turning them clockwise.
If your sink does not have individual shut-off valves, you will need to turn off the main water supply to your home. Locate the main shut-off valve, typically located near the water meter or where the main water line enters your home. Turn the valve clockwise to shut off the water supply.
Once you have successfully shut off the water supply, turn on the faucet to release any remaining water pressure and ensure that the water is completely shut off.
Remember, safety should always be a top priority, so take the necessary precautions to prevent any accidents or water damage.
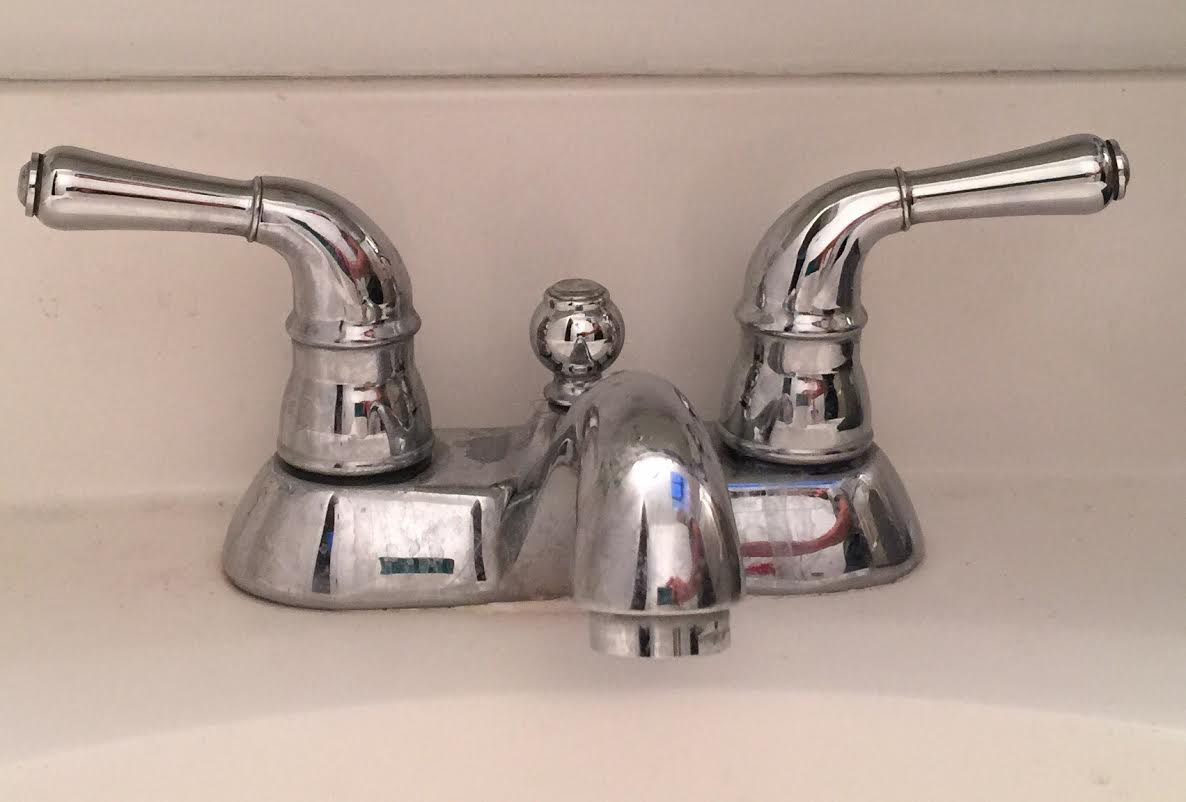
Step 2: Remove the Faucet Handle
With the water supply shut off, it’s time to remove the loose faucet handle. The process may vary slightly depending on the type of faucet handle you have, but the general steps are as follows:
- Identify any decorative caps or covers on the handle. These caps are usually located at the base of the handle or on top of it. Gently pry them off using a flathead screwdriver or your fingers.
- Once the caps are removed, you will likely find a screw that secures the handle to the stem. Use an appropriate screwdriver (either flathead or Phillips, depending on the screw type) to unscrew and remove it.
- Some faucet handles may require an Allen wrench to loosen a set screw. Insert the Allen wrench into the set screw and turn it counterclockwise to loosen and remove the screw.
- Once the screw or set screw is removed, carefully lift the handle off the stem. Note any additional components, such as washers or O-rings, that may be present.
It’s worth mentioning that some faucet handles may have a cover plate or housing that surrounds the handle. If this is the case, look for any screws holding the cover plate in place and remove them before attempting to remove the handle.
If you encounter any difficulties in removing the handle, refer to the manufacturer’s instructions or consult a professional plumber for guidance.
Now that you have successfully removed the loose faucet handle, it’s time to move on to the next step.
Step 3: Inspect and Clean the Threads
With the faucet handle removed, it’s time to inspect and clean the threads on the handle and stem. Over time, debris, mineral buildup, and corrosion can accumulate on the threads, causing the handle to become loose. Cleaning these threads will help improve the tightening mechanism.
Here’s how you can inspect and clean the threads:
- Examine the threads on both the handle and the stem for any signs of dirt, debris, or corrosion. Use a clean cloth or sponge to wipe away any visible residue.
- For stubborn dirt or mineral buildup, you can use a toothbrush or a small brush to gently scrub the threads. Be careful not to scratch or damage the metal surfaces.
- If there is heavy corrosion present, you may need to use a mild cleaning solution. Mix equal parts vinegar and water or use a commercially available cleaning agent suitable for faucets. Dampen a cloth with the solution and gently scrub the threads.
- Rinse the handle and stem with clean water to remove any cleaning solution or residue. Dry them thoroughly with a clean cloth.
- Inspect the threads again to ensure they are clean and free from any debris or buildup. If necessary, repeat the cleaning process until the threads are completely clean.
By cleaning the threads, you are removing any obstacles that may have been preventing the handle from tightening properly. This will help ensure a secure and stable faucet handle.
Now that the threads are clean, it’s time to move on to the next step and address any issues with the handle screw.
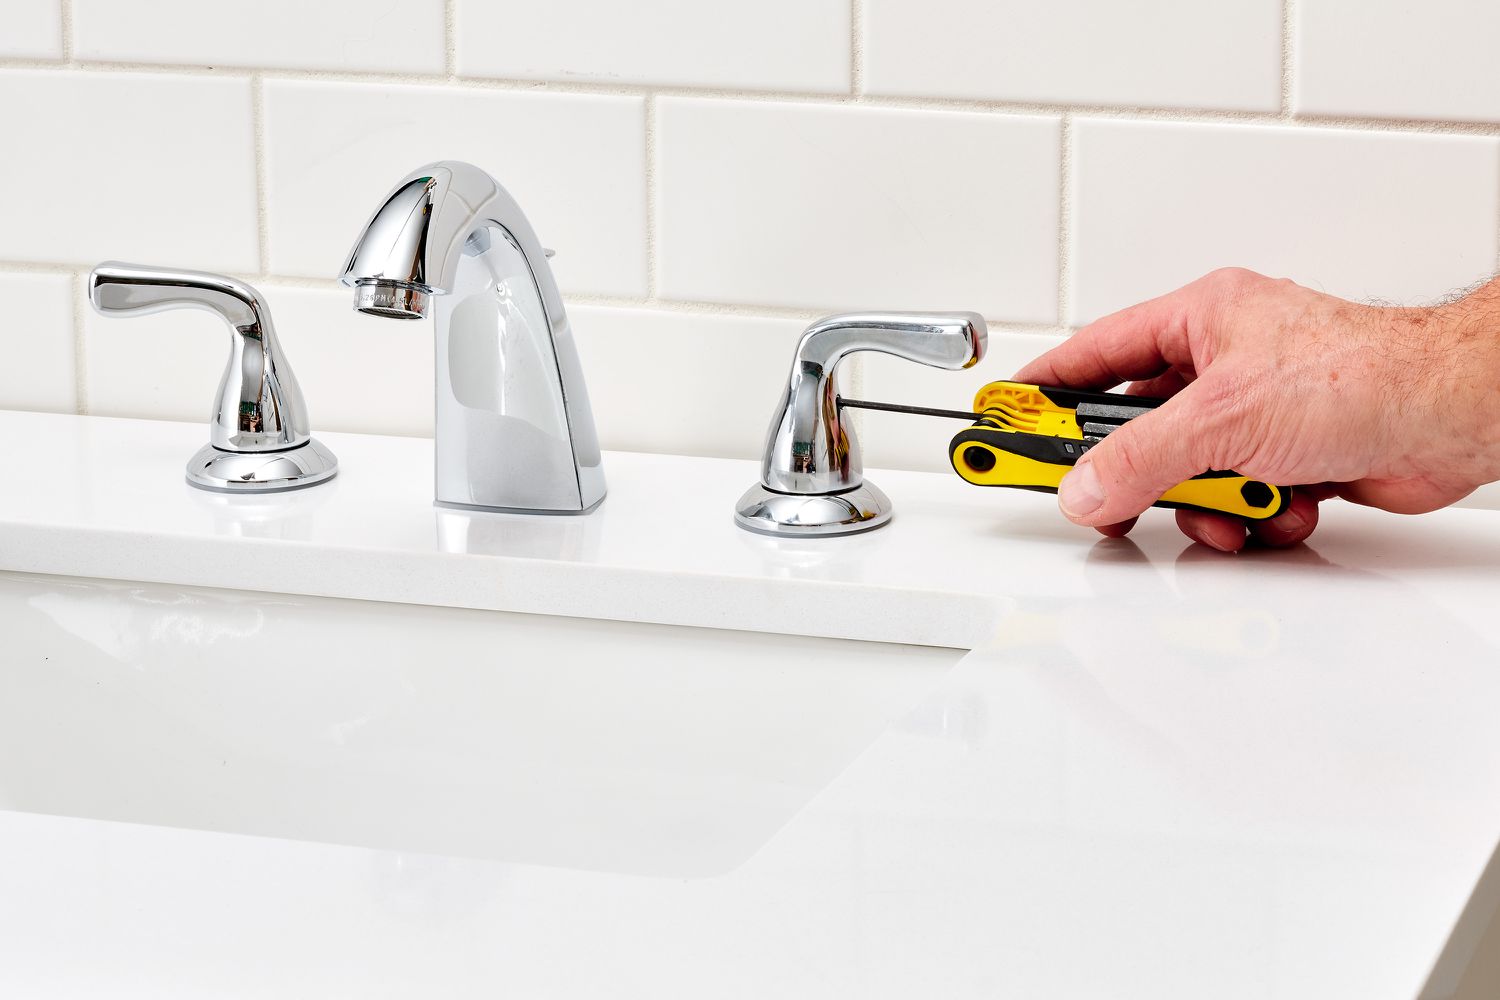
Use a screwdriver to tighten the screw located under the decorative cap or cover on the faucet handle. Turn the screw clockwise to tighten the handle and eliminate any wobbling or looseness.
Read more: How To Tighten Sink Faucet Handle
Step 4: Replace or Tighten the Handle Screw
Now that you have inspected and cleaned the threads, it’s time to address the handle screw. The tightness of this screw directly affects the stability of the faucet handle.
Here are the steps to replace or tighten the handle screw:
- If the handle screw looks worn, damaged, or stripped, it is advisable to replace it with a new one. Take note of the size and type of screw needed, as well as any specific instructions from the manufacturer.
- If you are reusing the existing handle screw, apply a small amount of plumber’s tape to the threads. This will help provide extra grip and prevent the screw from loosening over time.
- Insert the screw into the hole on the stem or handle. Start by turning it clockwise (right) to tighten.
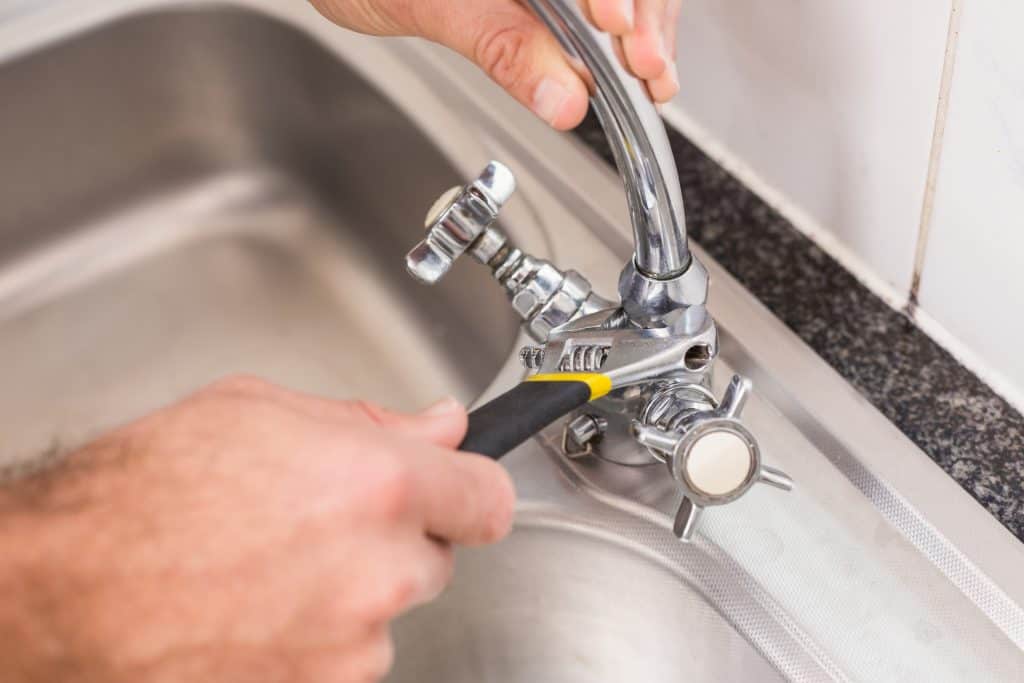
- Use an adjustable wrench, pliers, or the appropriate screwdriver or Allen wrench to securely tighten the handle screw. Be careful not to overtighten, as this can cause damage to the handle or stem.
- If the handle feels secure and there is no wobbling or looseness, you have successfully tightened the handle screw. If the handle is still loose, continue to the next step
- If the handle is still loose after tightening the screw, you may need to use a washer or spacer to provide additional support. Consult the faucet’s manufacturer or a plumbing professional to determine the appropriate size and type of washer or spacer for your specific faucet model.
By replacing or tightening the handle screw, you are ensuring that the handle is securely attached to the stem, eliminating any wobbling or movement.
Now that you have addressed the handle screw, it’s time to reattach the faucet handle in the next step.
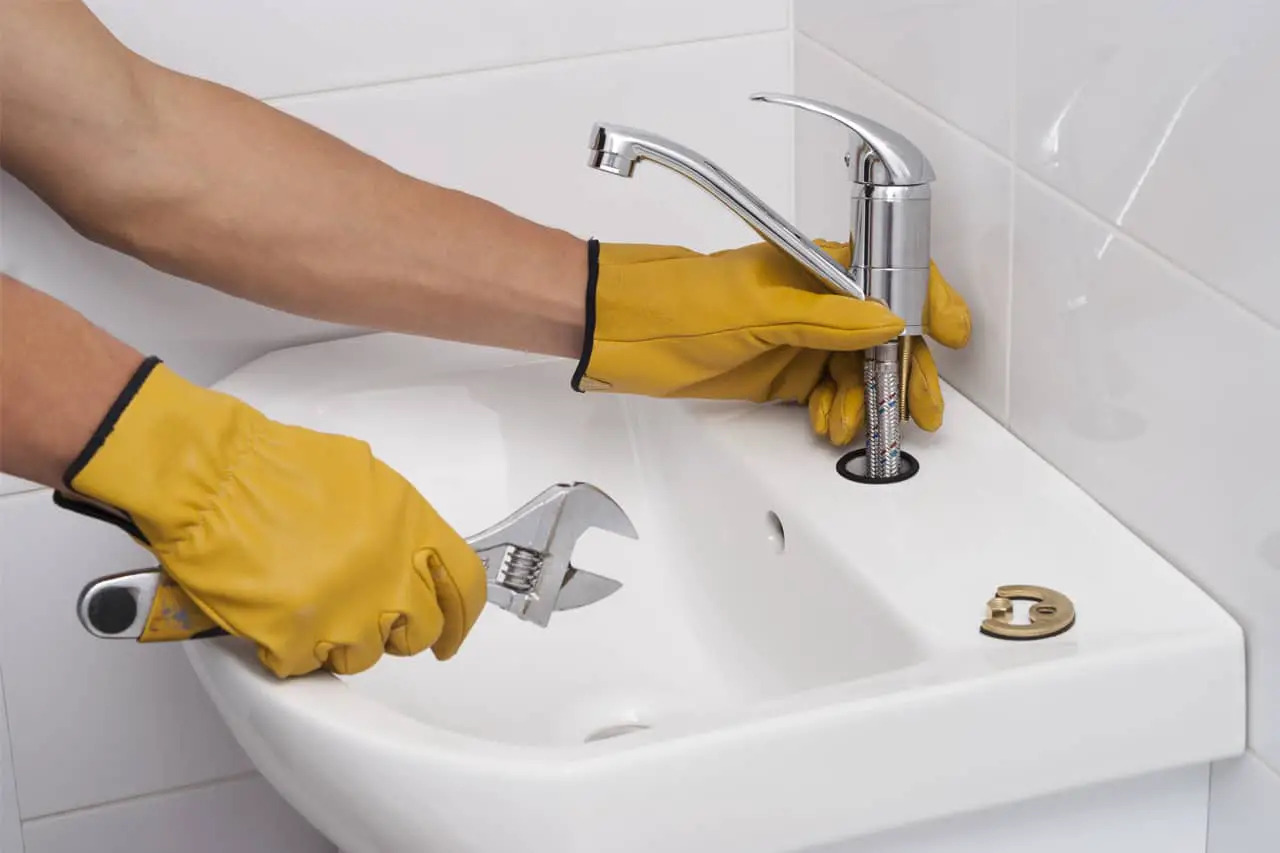
Step 5: Reattach the Faucet Handle
With the handle screw tightened or replaced, it’s time to reattach the faucet handle to the stem. Follow these steps to properly reattach the handle:
- Align the handle with the hole on the stem and carefully slide it back into place. Ensure that it fits snugly and rests flush against the base.
- If there were any additional components, such as washers or O-rings, make sure to reinsert them in the correct order and position. Consult the manufacturer’s instructions if you are unsure of the proper placement.
- For handles with a set screw, reinsert the set screw into the designated hole and tighten it with the appropriate Allen wrench. Turn it clockwise to secure the handle in place.
- For handles with a screw, reinsert the screw into the hole on the stem and tighten it with a screwdriver or the appropriate tool. Turn it clockwise to ensure a tight fit.
- Check the handle for stability and ensure that it doesn’t wobble or move when you try to turn it. If there is any looseness, double-check the tightness of the handle screw and adjust it as needed.
Once you have reattached the faucet handle and confirmed that it is secure, you can move on to the final step.
It’s important to note that each faucet may have its own unique reattachment process. If you encounter any difficulties or are unsure of the correct procedure, refer to the manufacturer’s instructions or seek assistance from a professional plumber.
Step 6: Turn on the Water Supply
Now that you have successfully reattached the faucet handle and confirmed its stability, it’s time to turn on the water supply and test your work. Follow these steps to turn on the water supply:
- Locate the shut-off valves that you previously turned off to shut off the water supply. If you have individual shut-off valves, turn them counterclockwise to open the valves. For the main water supply, turn the valve counterclockwise to restore water flow to your home.
- Slowly turn on the faucet to allow water to flow through the pipes and fill the faucet. Check for any leaks or dripping around the handle or base of the faucet.
- If you notice any leaks, turn off the water supply immediately and inspect the handle and connections for any problems. Tighten any loose connections or consider replacing any faulty components.
- Once you have confirmed that there are no leaks and the faucet is functioning properly, you can enjoy your tightened and stable faucet handle.
Congratulations! You have successfully tightened your loose faucet handle and restored its functionality and stability. No more wobbling or frustration when using your faucet!
Remember, regular maintenance and care will help keep your faucet in good condition. If you encounter any further issues or persistent leaks, it may be best to consult a professional plumber for assistance.
Thank you for following this step-by-step guide. We hope it has been helpful in resolving your loose faucet handle issue. Happy plumbing!
Conclusion
Tightening a loose faucet handle is a relatively simple DIY task that can save you both time and money. By following the steps outlined in this guide, you can easily restore stability to your faucet and eliminate any wobbling or looseness.
Remember to gather the necessary tools and materials before starting the process. Shut off the water supply to prevent any water leakage, and carefully remove the faucet handle to access the stem and threads. Inspect and clean the threads, replacing the handle screw if necessary. Reattach the handle, ensuring it is secure and stable. Finally, turn on the water supply and test your work for any leaks.
Regular maintenance and care, such as cleaning the threads periodically, can help prevent future issues with your faucet handle. If you encounter persistent leaks or difficulties in tightening the handle, it may be best to consult a professional plumber for assistance.
We hope this step-by-step guide has been helpful in resolving your loose faucet handle problem. Remember, safety should always be a priority, so take the necessary precautions throughout the process. With a little effort and the right tools, you can enjoy a stable and functional faucet for years to come.
Thank you for reading, and happy plumbing!
Now that you've mastered tightening a loose faucet handle, why not tackle more home maintenance tasks? Our comprehensive guide on home repair offers practical advice and detailed walkthroughs for various fix-it projects around your house. Whether you're dealing with a squeaky door or a leaky window, these insights will surely make DIY repairs feel like a breeze. Don't miss out on becoming your own handyman!
Frequently Asked Questions about How To Tighten Loose Faucet Handle
Was this page helpful?
At Storables.com, we guarantee accurate and reliable information. Our content, validated by Expert Board Contributors, is crafted following stringent Editorial Policies. We're committed to providing you with well-researched, expert-backed insights for all your informational needs.


0 thoughts on “How To Tighten Loose Faucet Handle”