
Articles
How To Tighten Bathroom Faucet Handle
Modified: October 28, 2024
Learn how to tighten your bathroom faucet handle with these informative articles. Discover step-by-step instructions and helpful tips to fix your loose faucet handle.
(Many of the links in this article redirect to a specific reviewed product. Your purchase of these products through affiliate links helps to generate commission for Storables.com, at no extra cost. Learn more)
Introduction
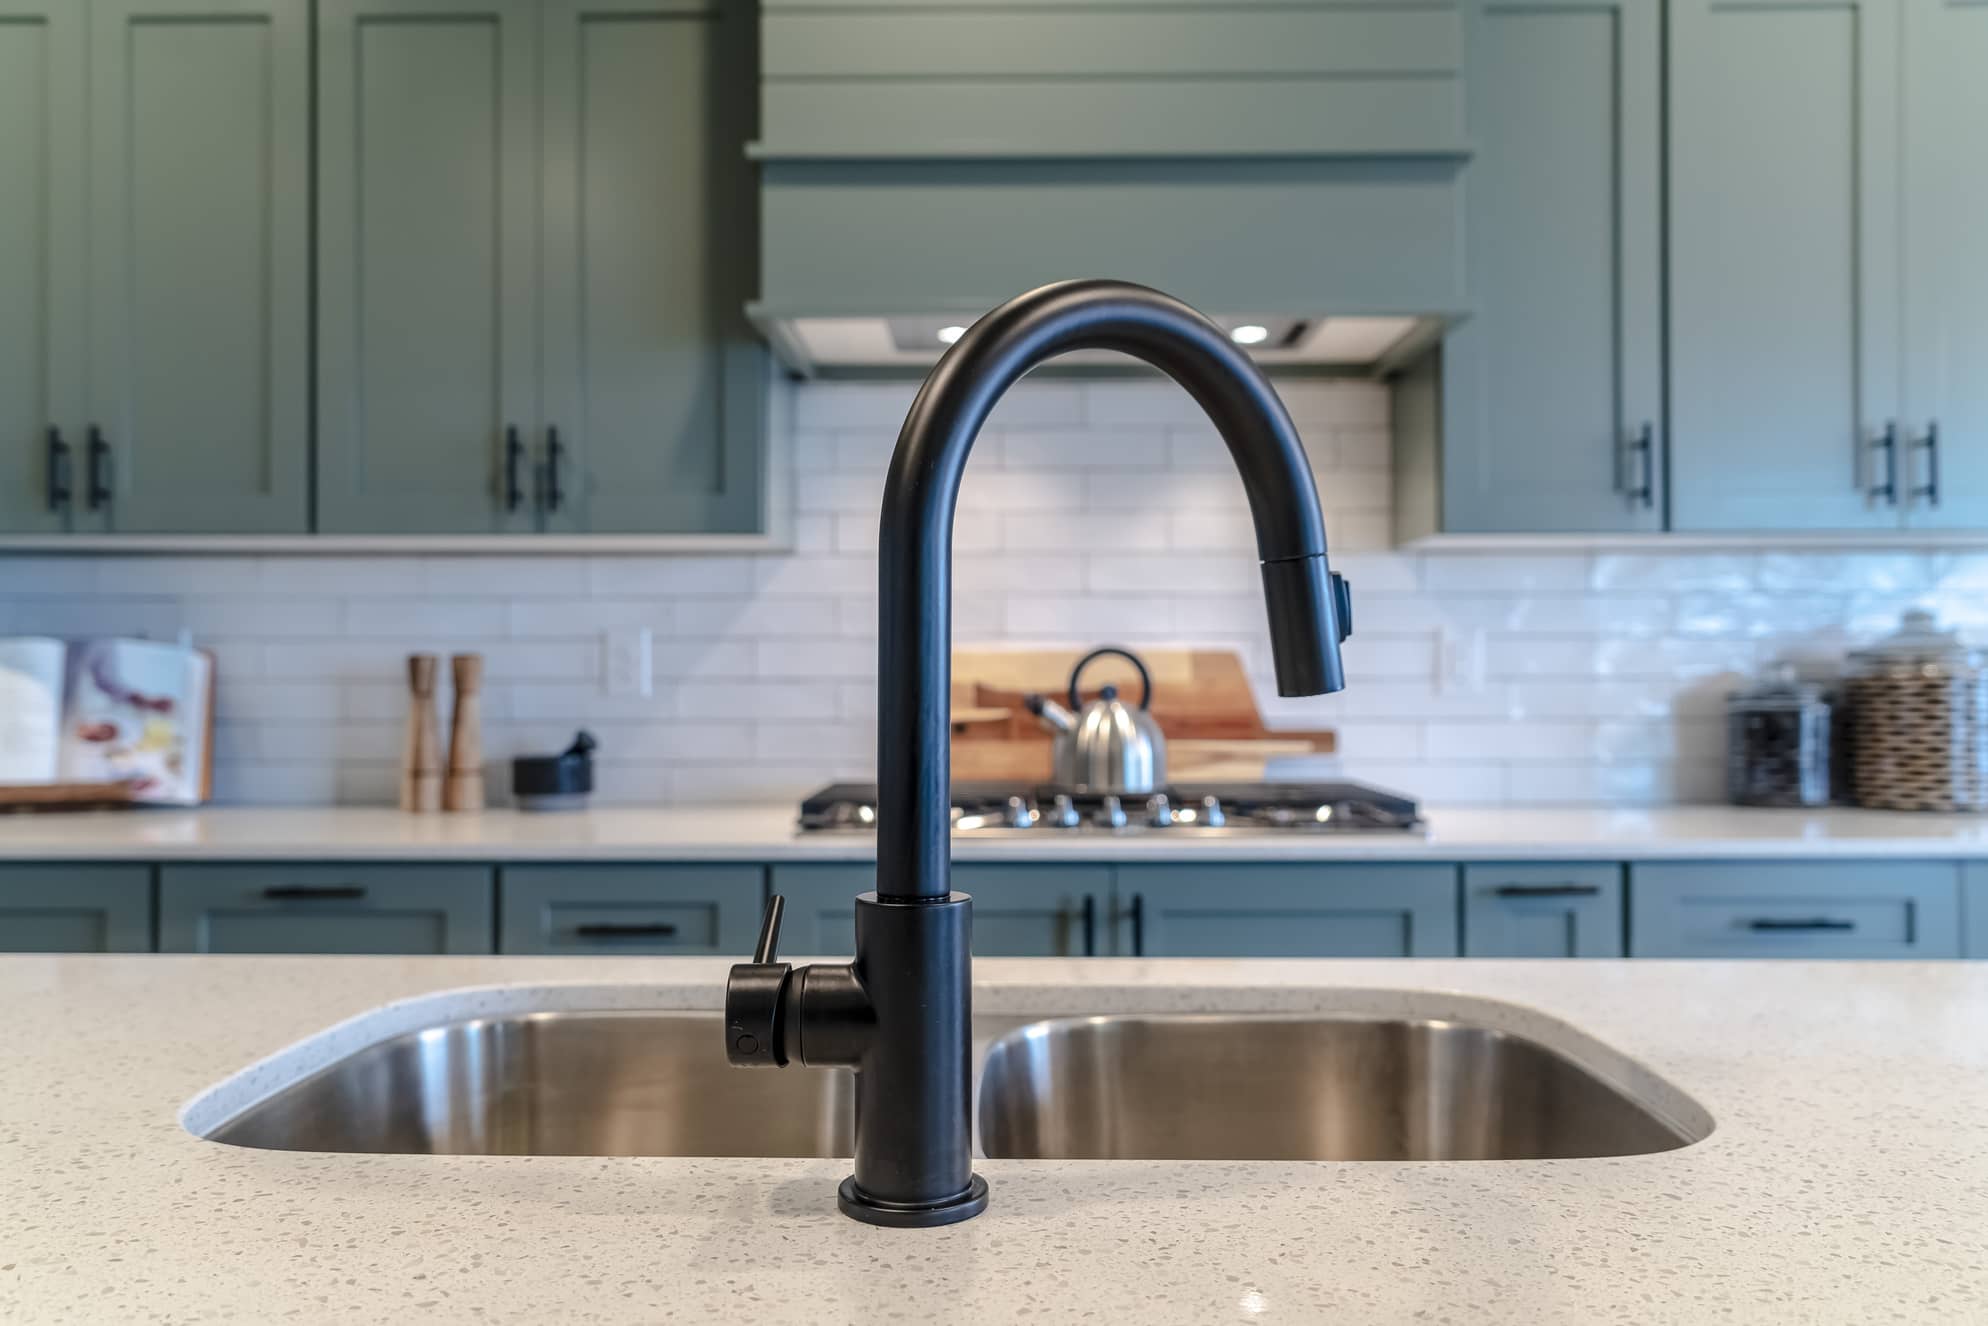
Having a loose bathroom faucet handle can be quite frustrating. Not only does it compromise the functionality of the faucet, but it can also be a source of annoyance every time you use it. Fortunately, tightening a bathroom faucet handle is a fairly simple task that you can easily do yourself with a few basic tools.
In this article, we will guide you through the step-by-step process of tightening a bathroom faucet handle. We will provide you with a list of tools and materials you’ll need, as well as detailed instructions to ensure that you can perform the task effectively and efficiently.
Before we begin, it’s important to note that every faucet is unique, and the specific steps may vary depending on the make and model of your faucet. However, the general principles described in this article should apply to most bathroom faucets. It’s always a good idea to consult the manufacturer’s instructions or seek professional help if you encounter any difficulties or uncertainties.
Now, let’s gather the necessary tools and materials and get started on tightening your bathroom faucet handle.
Key Takeaways:
- Easily tighten your bathroom faucet handle with basic tools like an adjustable wrench and screwdriver. Remember to shut off the water supply, remove the handle, tighten the screw, reassemble, and test for functionality.
- Regular maintenance and periodic checks can prevent future issues with your faucet handle. Enjoy a leak-free and secure handle, enhancing your bathroom experience.
Read more: How To Tighten Loose Faucet Handle
Tools and Materials Needed
Before you can tighten your bathroom faucet handle, you’ll need a few tools and materials. Here’s a list of what you’ll need:
- Adjustable wrench
- Screwdriver (Phillips or flathead, depending on the screw in your faucet handle)
- Plumber’s tape
These tools are commonly found in most households, but if you don’t have them on hand, you can easily find them at your local hardware store or online.
It’s important to choose the right size of adjustable wrench that fits the nuts and bolts on your faucet handle. This will ensure that you have proper leverage and can tighten the handle effectively without causing any damage.
Plumber’s tape, also known as Teflon tape, is a thin, white tape that is used to create a watertight seal. It helps prevent leaks by filling in small gaps, especially when reconnecting the various parts of the faucet handle.
Once you have gathered all the tools and materials, you’re ready to move on to the next step – shutting off the water supply.
Step 1: Shut off the Water Supply
Before you start working on your bathroom faucet handle, it’s crucial to shut off the water supply to prevent any accidental leaks or water damage. Here’s how you can do it:
- Locate the shut-off valves: Look for shut-off valves under the sink, typically located on the water supply lines leading to the faucet. These valves can be handle-operated or wheel-operated.
- Turn off the water supply: Rotate the handle of the shut-off valve clockwise until it is fully closed. This will stop the flow of water to the faucet.
- Test the water supply: Turn on the faucet to verify that the water supply is indeed shut off. If no water comes out, it means you have successfully closed the shut-off valve.
It’s important to note that shutting off the water supply will ensure your safety and prevent any water damage, especially if there are any existing leaks or loose connections in the faucet handle.
Now that you have successfully shut off the water supply, you can proceed to the next step – removing the handle.
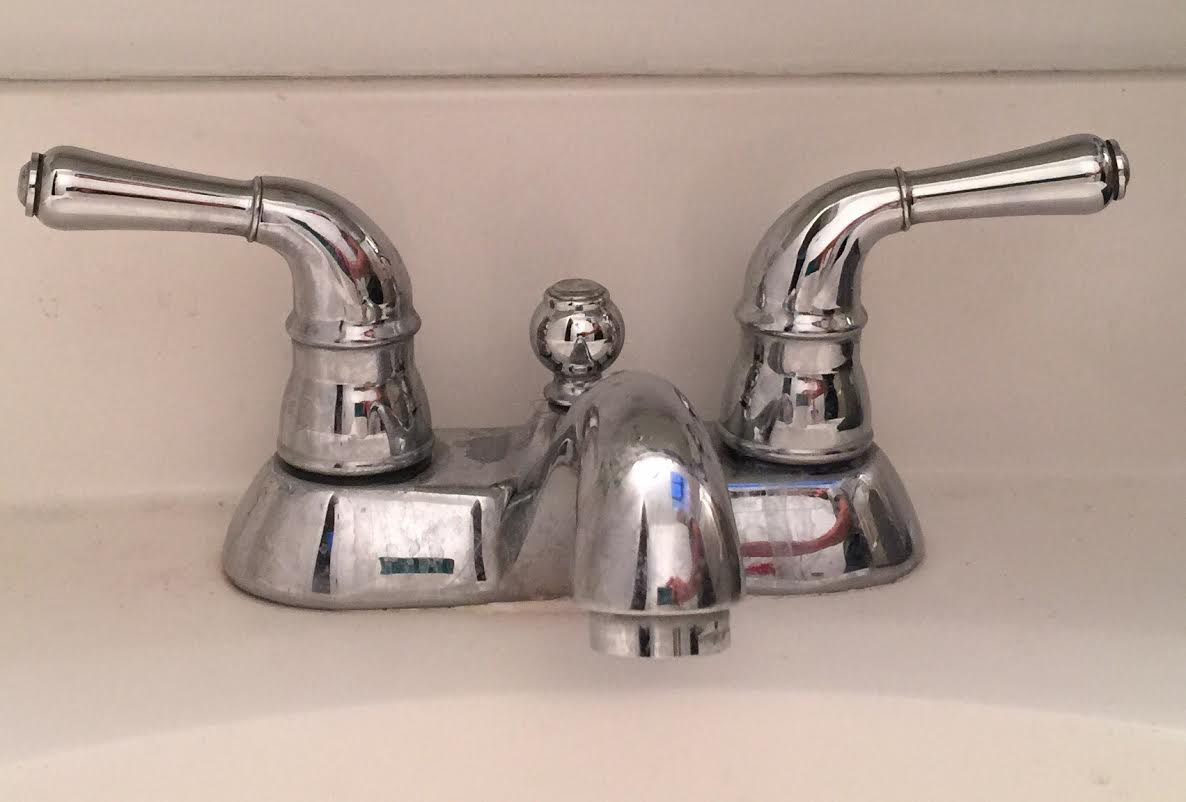
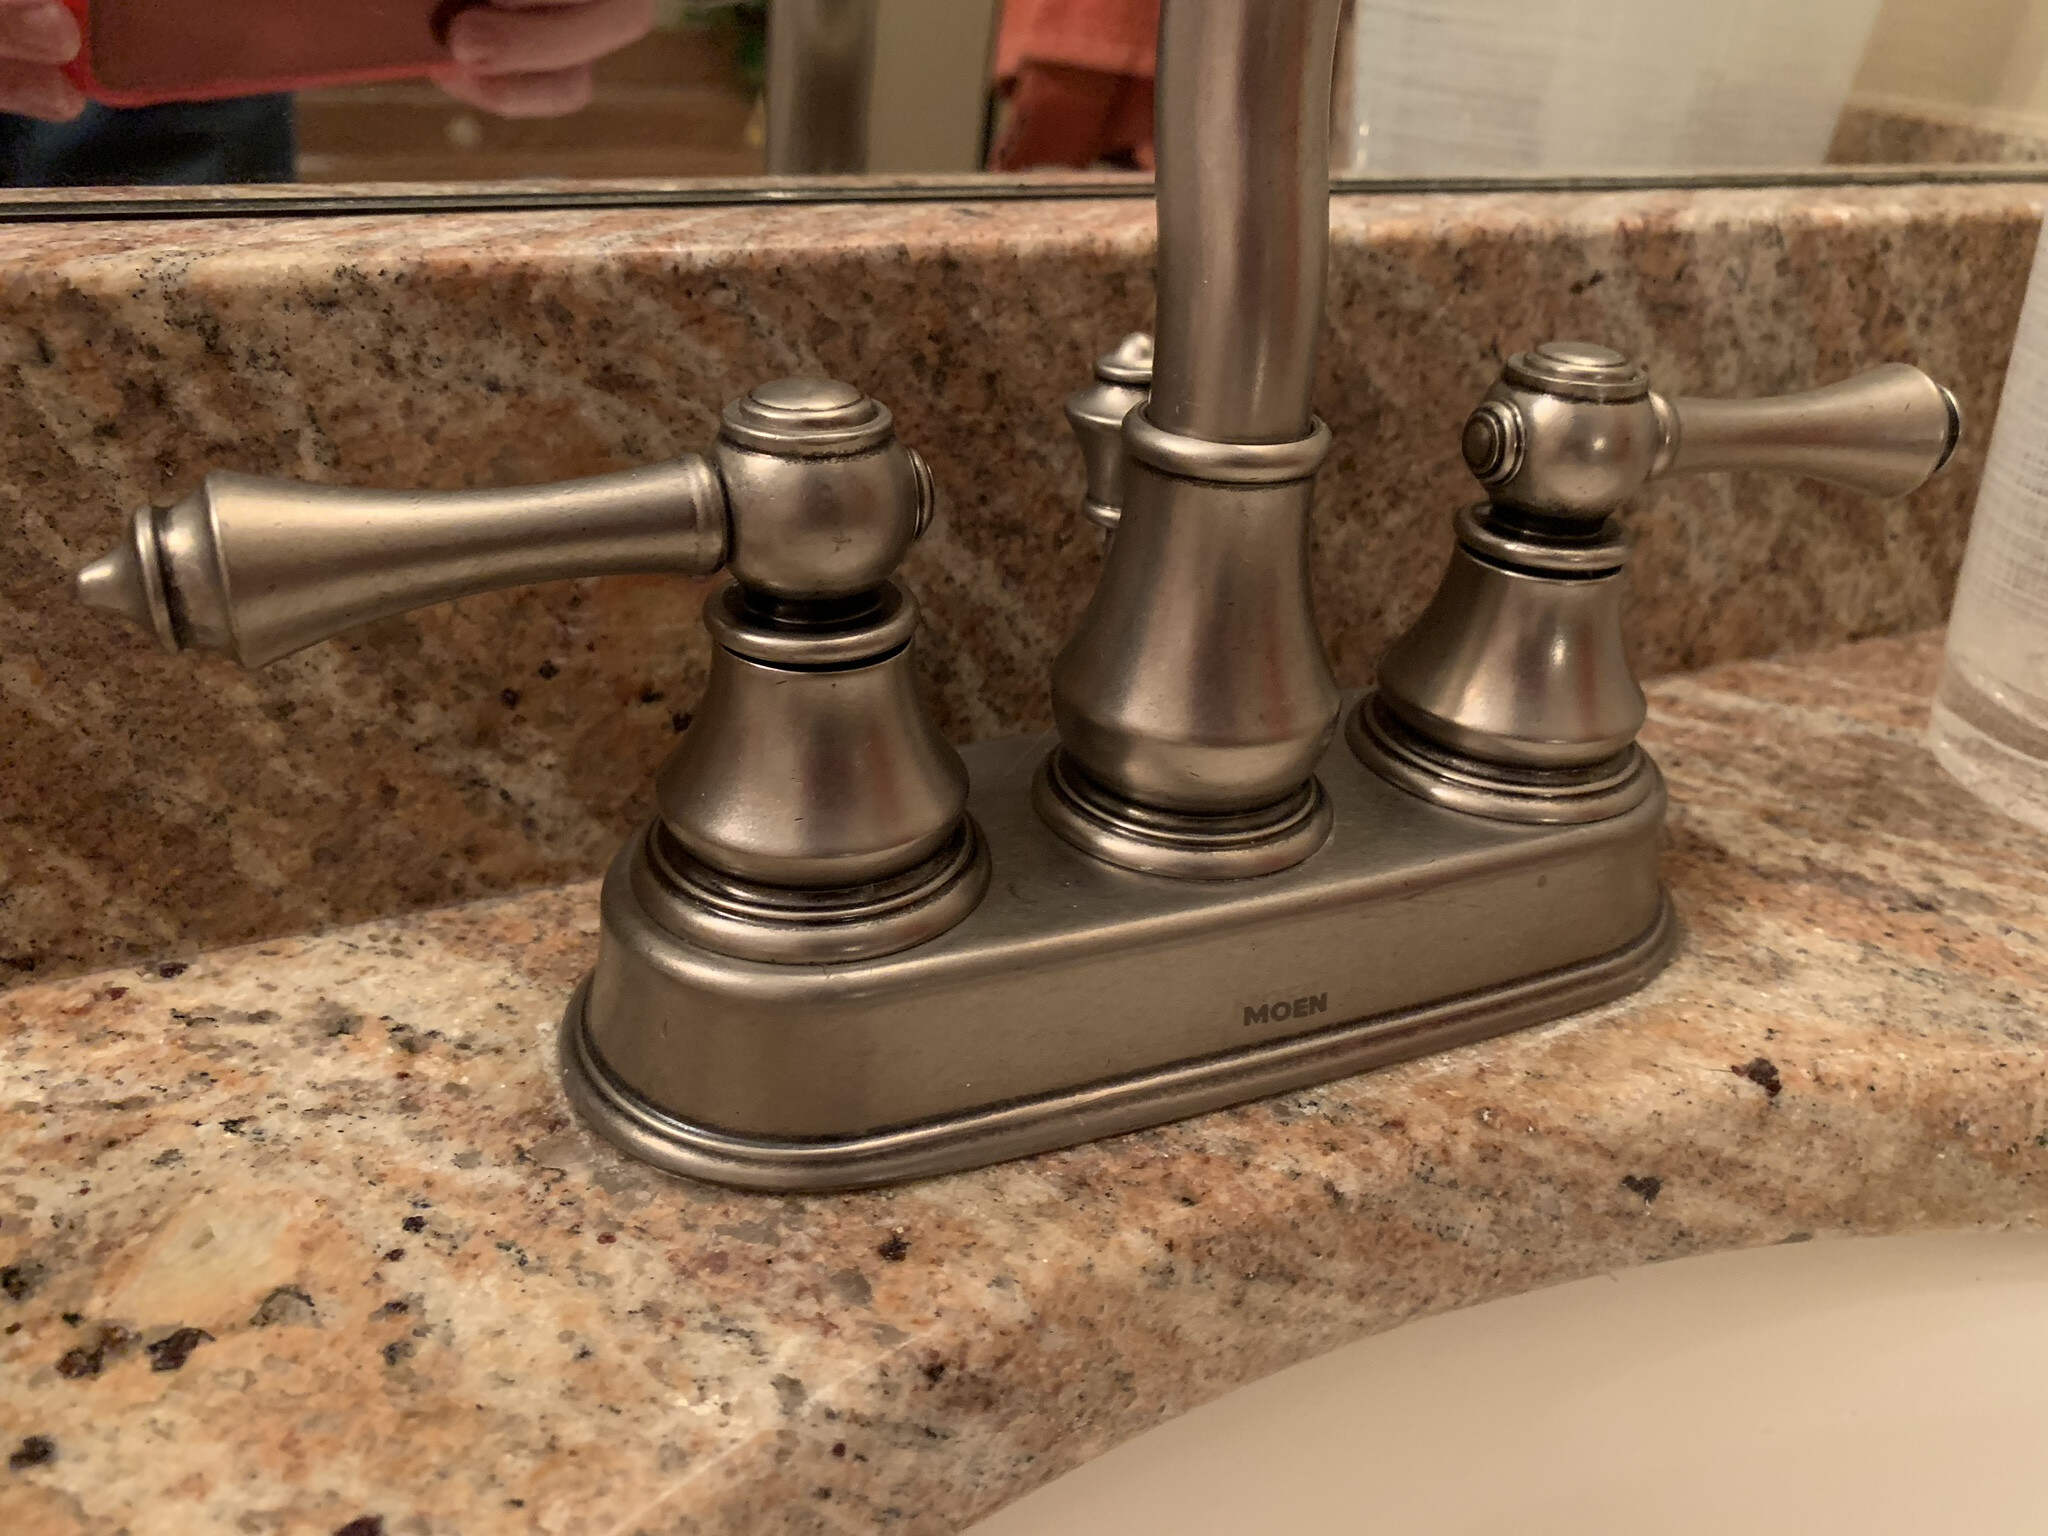
Step 2: Remove the Handle
Now that you have shut off the water supply, it’s time to remove the handle of your bathroom faucet. Follow these steps:
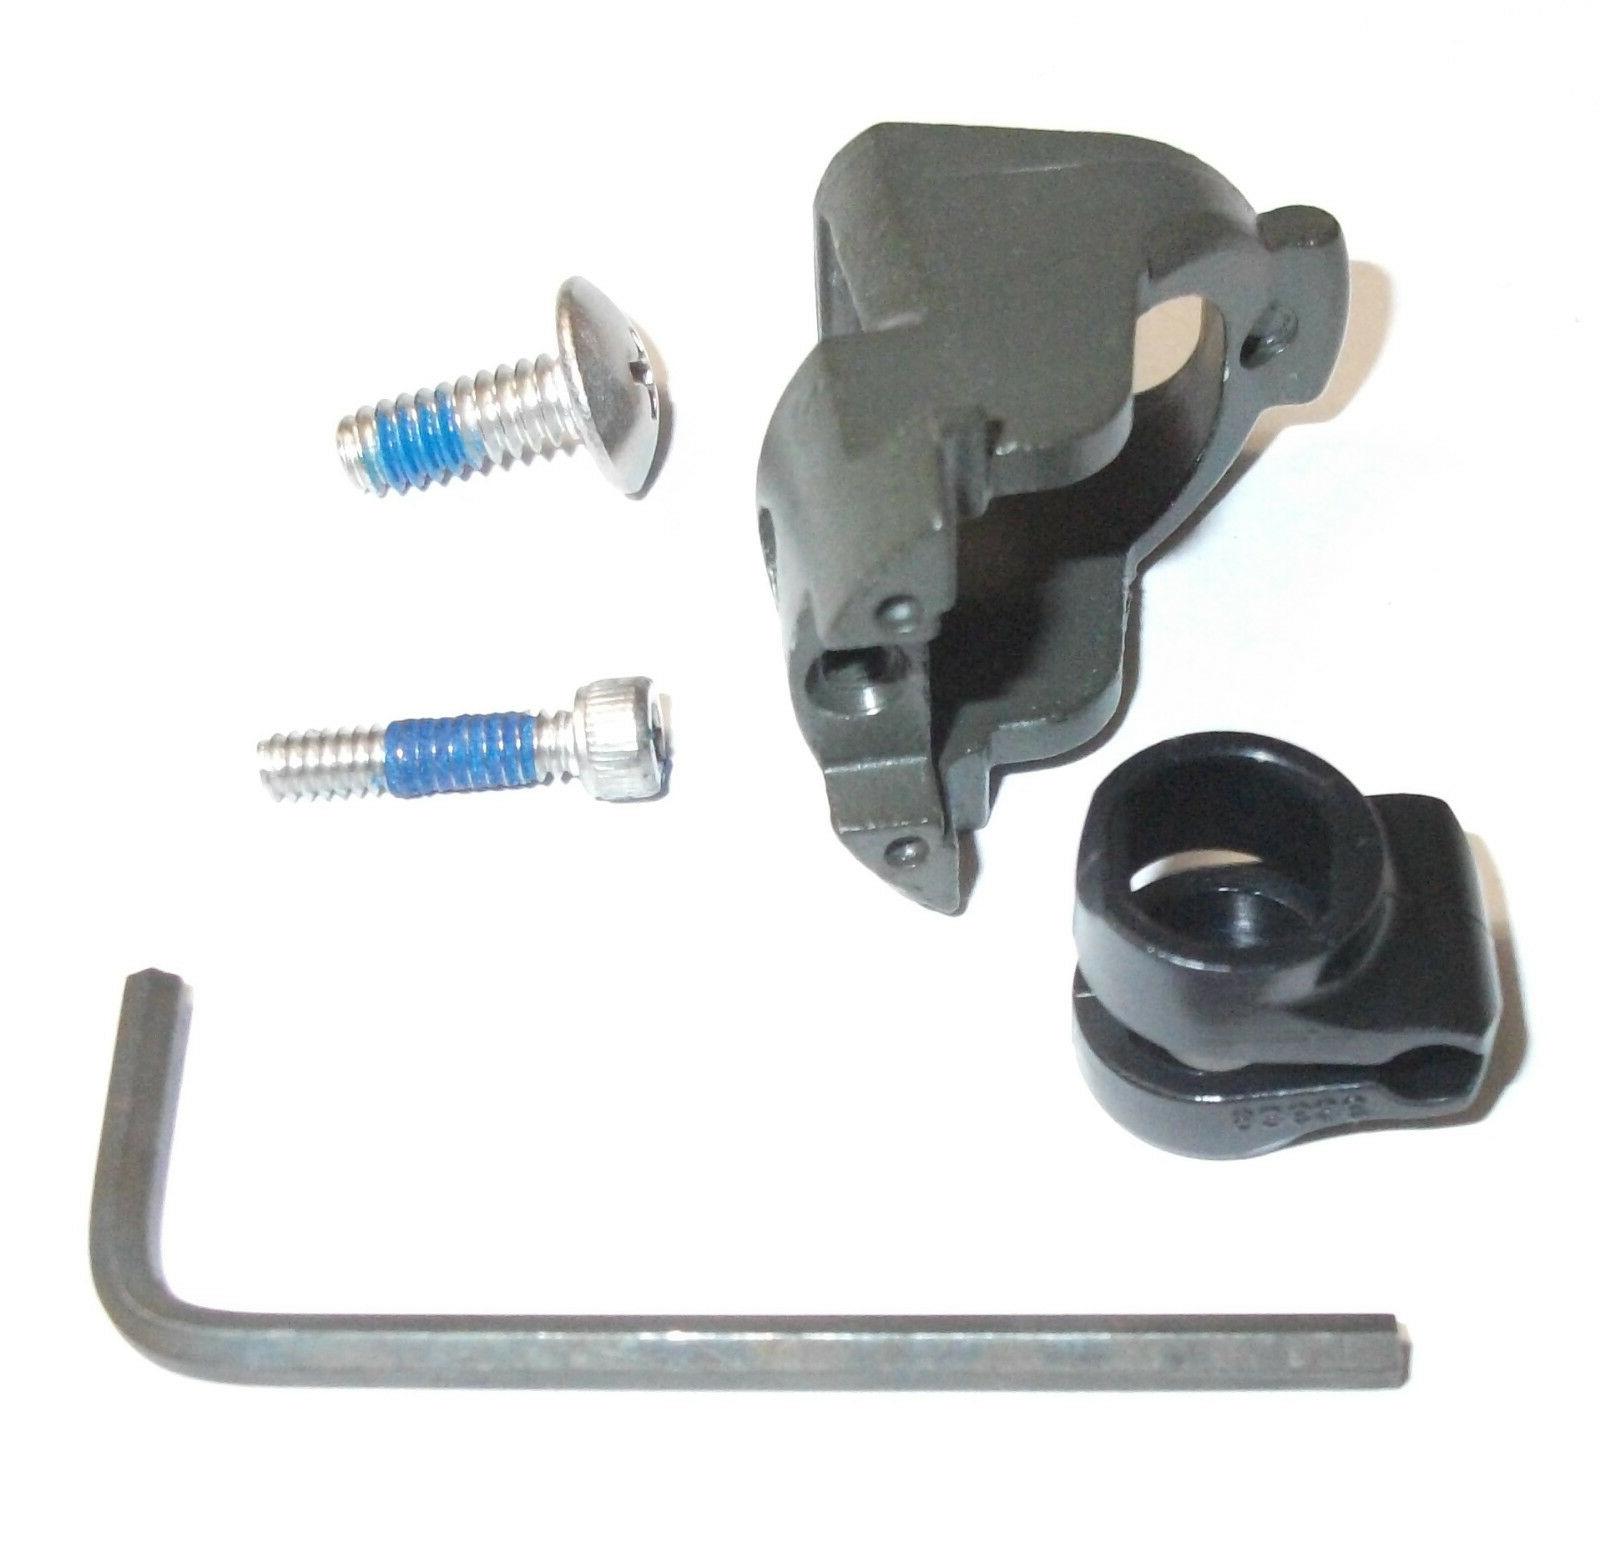
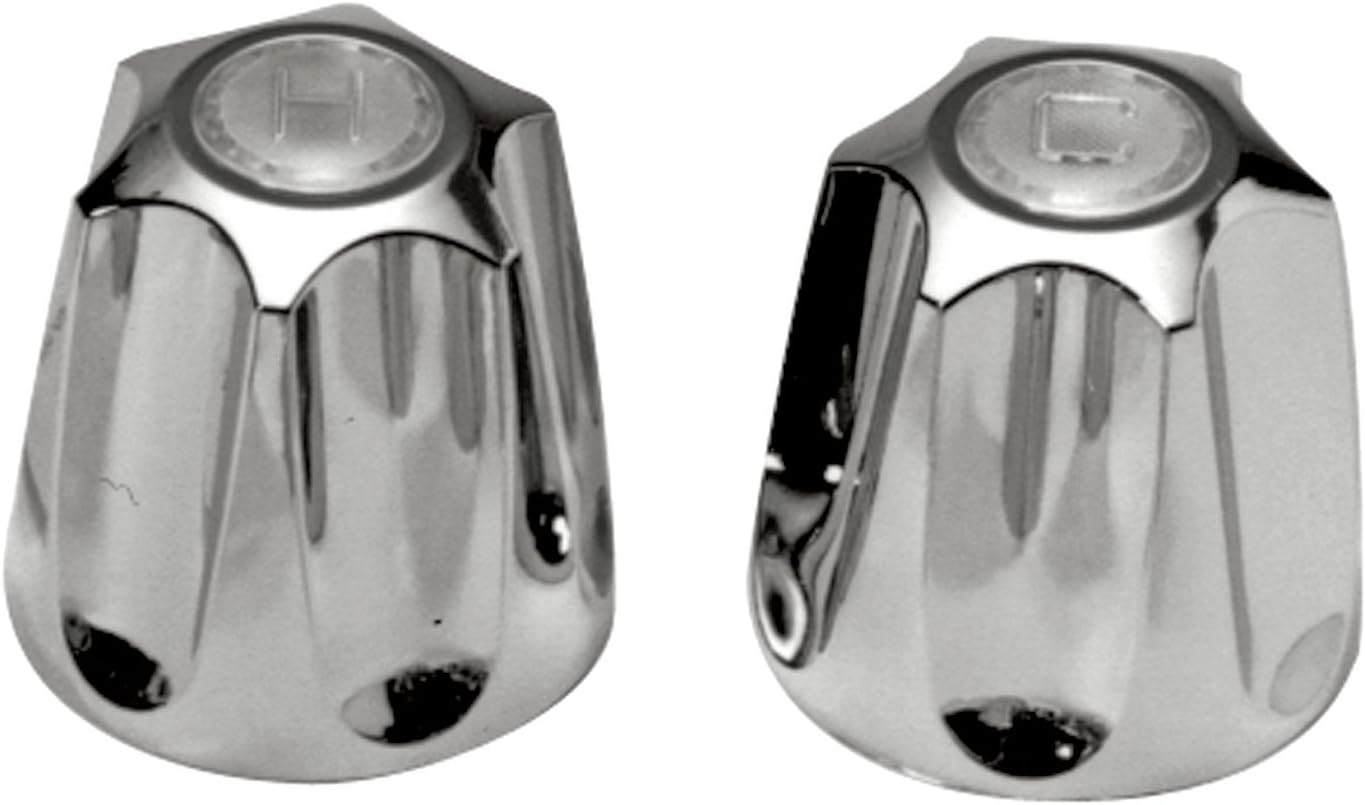
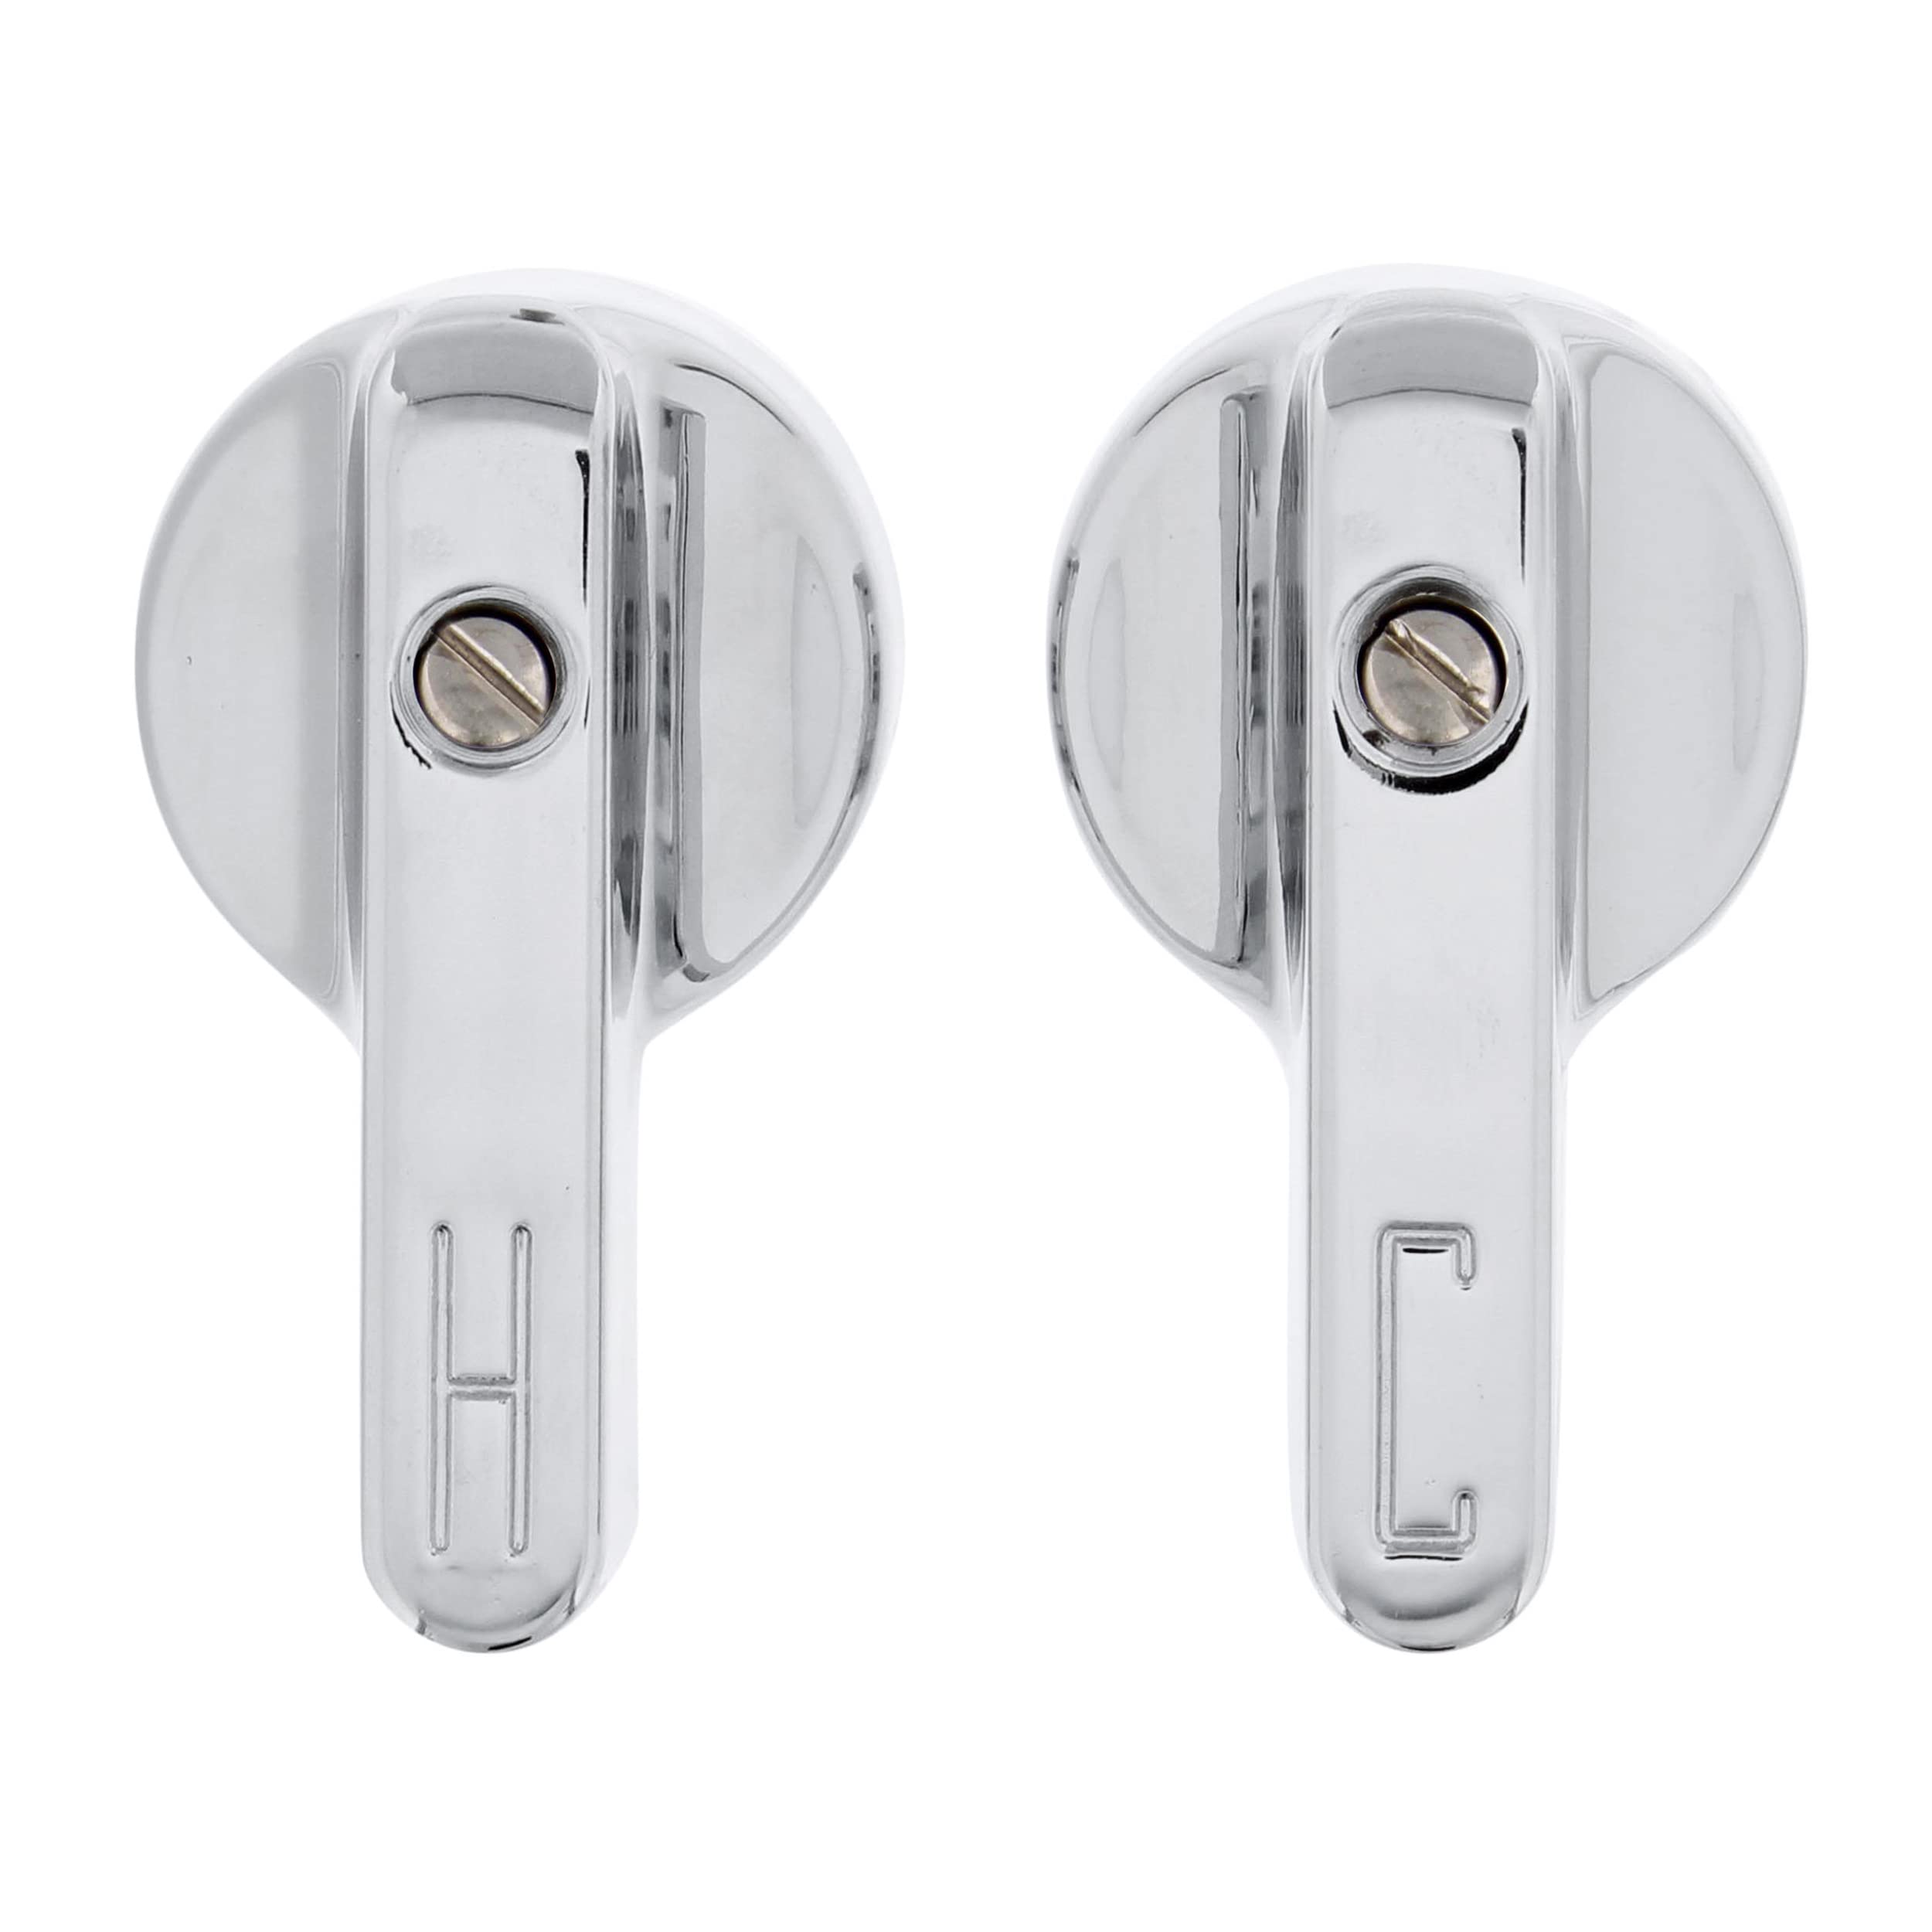
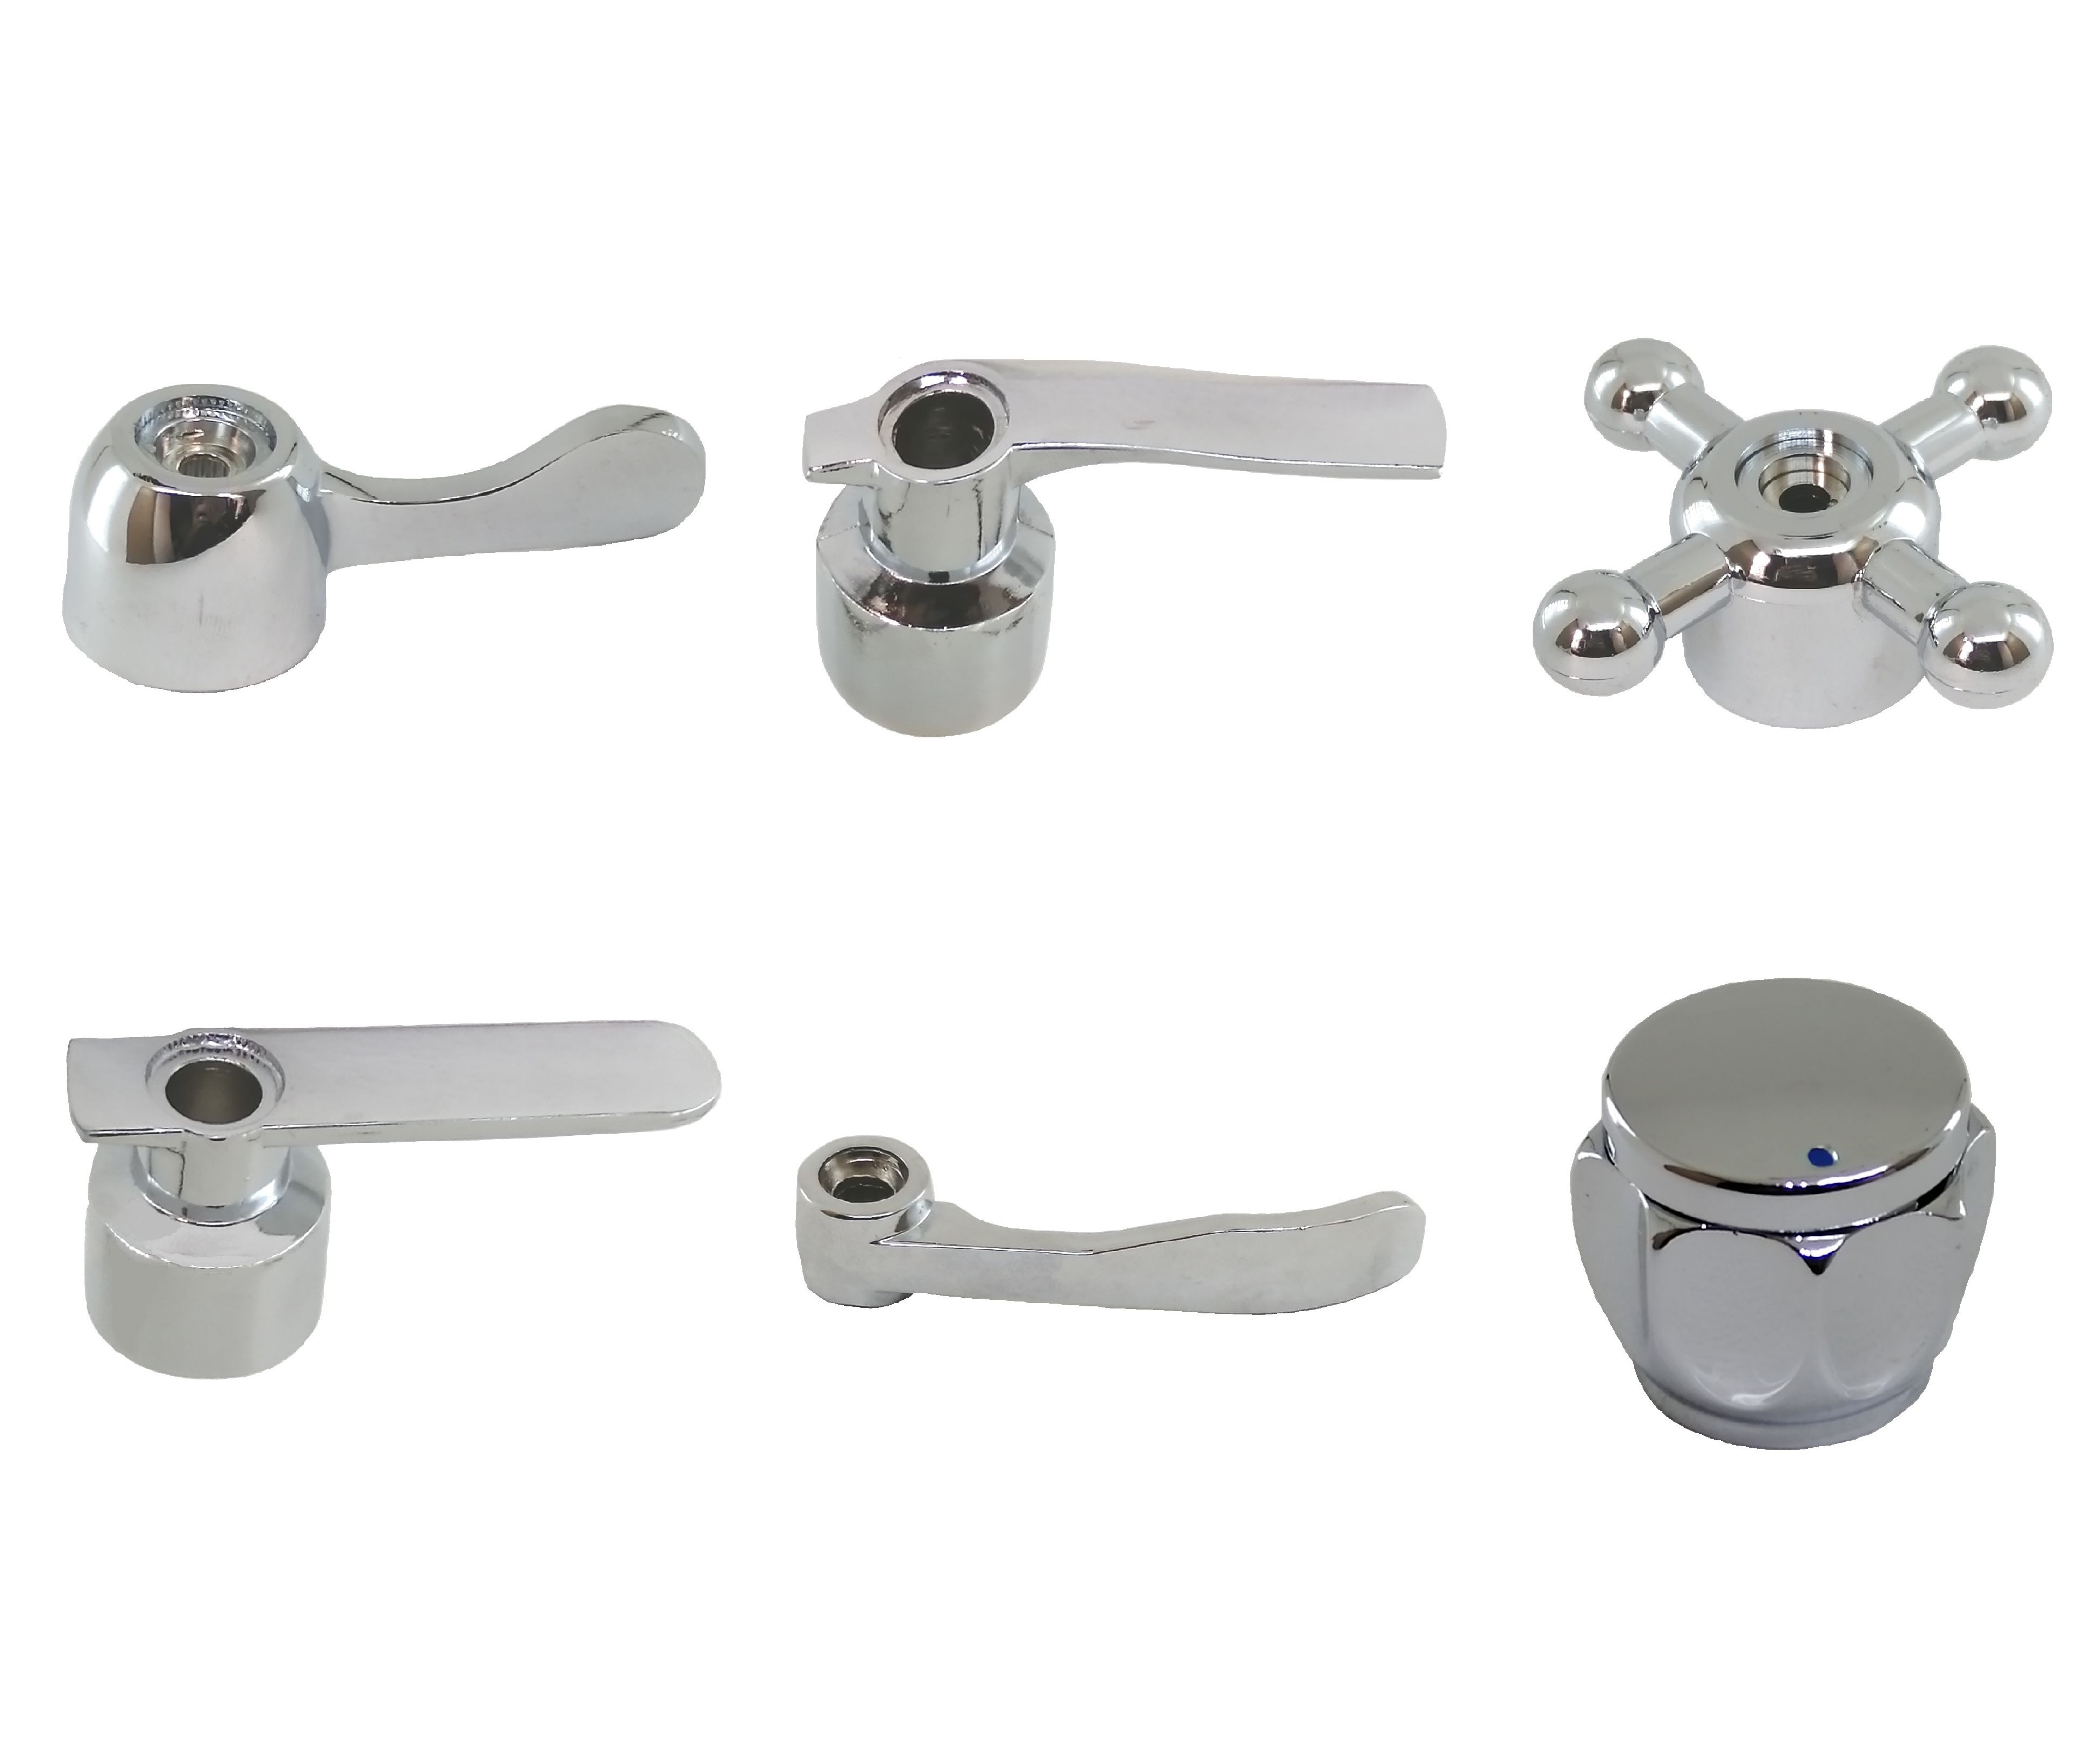
- Locate the handle screw: Look for a small screw on the underside of the handle. The screw may be visible or hidden under a decorative cap that needs to be unscrewed or pried off.
- Loosen the handle screw: Use a screwdriver (either Phillips or flathead, depending on the type of screw) to loosen and remove the handle screw. Turn it counterclockwise until it is loose enough to remove.
- Remove the handle: Gently lift the handle off the faucet stem. If it doesn’t come off easily, wiggle it back and forth while pulling upward to loosen it.
Keep in mind that some faucet handles may have additional components, such as a decorative cover or a retaining nut, that need to be removed before you can access the handle screw. Consult the manufacturer’s instructions or look for any visible clues to determine if there are any additional steps required for your specific faucet model.
Once you have successfully removed the handle, you can proceed to the next step – tightening the handle screw.
If your bathroom faucet handle is loose, try tightening the set screw located under the handle with an Allen wrench. This should help secure the handle in place.
Step 3: Tighten the Handle Screw
After successfully removing the handle, it’s time to tighten the handle screw to eliminate any looseness. Follow these steps:
- Inspect the handle screw: Check the condition of the handle screw for any signs of damage or wear. If the screw is damaged, it may need to be replaced.
- Tighten the handle screw: Use a screwdriver to tighten the handle screw. Turn it clockwise until it is firmly secured. Be careful not to overtighten, as this can cause damage to the handle or other components.
- Check the handle movement: Test the handle to ensure that it no longer wiggles or moves excessively. If there is still some movement, continue tightening the screw until the handle is securely in place.
By tightening the handle screw, you are applying pressure to keep the handle from becoming loose. This step helps ensure that the handle operates smoothly and stays in place during regular use.
Once you are satisfied with the tightness of the handle screw, you can move on to the next step – reassembling the handle.
Read more: How To Tighten Moen Bathroom Faucet Handle
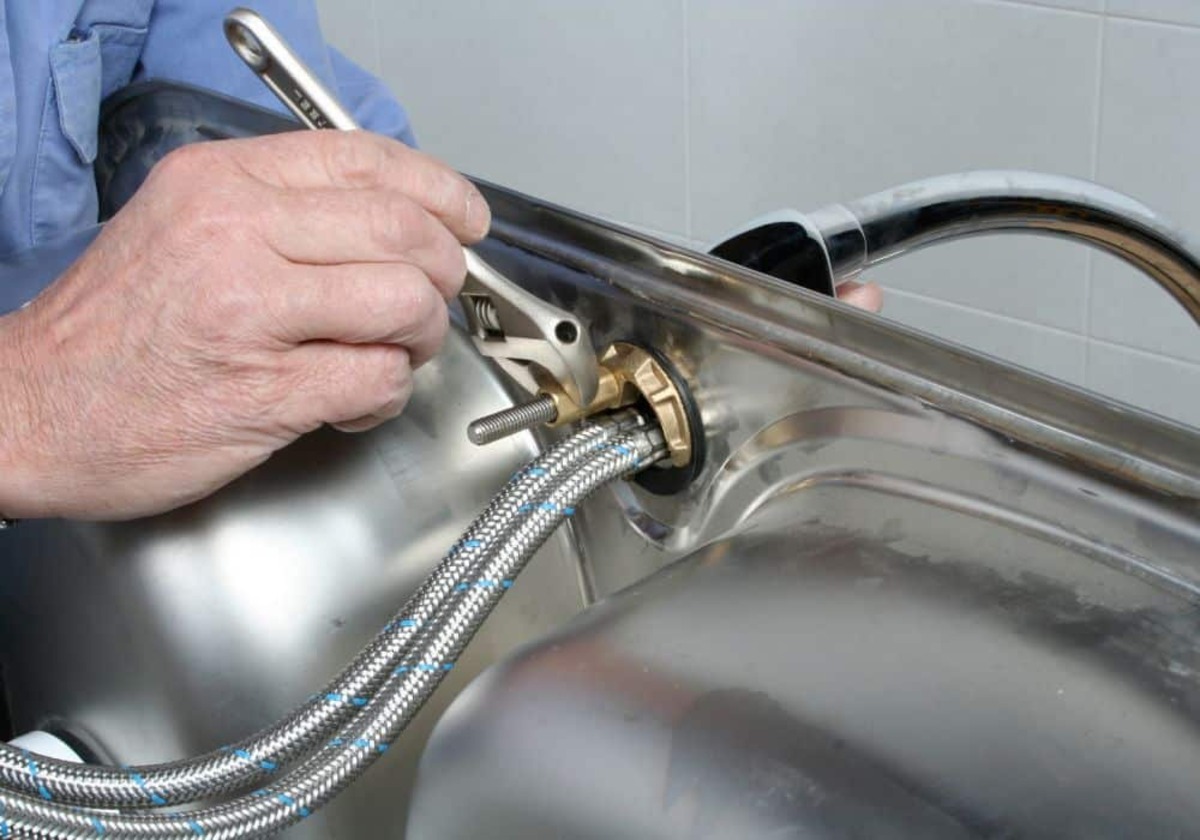
Step 4: Reassemble the Handle
Now that you’ve tightened the handle screw, it’s time to reassemble the handle of your bathroom faucet. Follow these steps:
- Apply plumber’s tape (optional): If your faucet handle had any exposed threads, wrap a few layers of plumber’s tape clockwise around the threads. This will help create a tight and leak-free seal when reassembling the handle.
- Align the handle: Position the handle over the faucet stem, ensuring that it aligns properly and fits snugly.
- Secure the handle: Gently press the handle down onto the faucet stem until it is fully seated. Make sure it is aligned correctly and sits flush against the base.
- Secure the handle screw: Insert the handle screw into the hole and use a screwdriver to tighten it clockwise. Ensure that the screw is tightened securely but avoid overtightening.
- Verify the handle movement: Give the handle a gentle turn to ensure it moves smoothly without any excessive play or resistance.
During the reassembly process, it’s important to take care not to over-tighten or force any components. Be gentle and ensure that all parts are properly aligned to avoid damaging the handle or other parts of the faucet.
With the handle reassembled and securely in place, you’re ready for the final step – testing the faucet handle.
Step 5: Test the Faucet Handle
After reassembling the handle, it’s important to test the faucet handle to ensure that it functions properly. Follow these steps:
- Turn on the water supply: Slowly open the shut-off valve to restore the water supply to the faucet.
- Operate the handle: Gently turn the faucet handle on and off to test its functionality. Pay attention to any signs of looseness, stiffness, or unusual noises.
- Check for leaks: While operating the handle, inspect the area around the faucet for any signs of leaks. Common areas to check include the base of the handle, the spout, and the connections under the sink.
- Make necessary adjustments: If you notice any issues such as persistent looseness or leaks, you may need to go back and repeat the previous steps. Double-check the tightness of the handle screw and ensure all connections are properly sealed.
By testing the faucet handle, you can ensure that it is secure, operates smoothly, and does not leak. It’s important to address any issues promptly to prevent further damage or water waste.
Congratulations! You have successfully tightened your bathroom faucet handle. With a secure and functional handle, you can now enjoy hassle-free use of your faucet for years to come.
If you encounter any difficulties or if the issue persists after attempting the steps outlined in this article, it may be necessary to consult a professional plumber for further assistance.
Remember, regular maintenance and periodic checks can help prevent problems with your faucet handle and ensure it remains in optimal working condition.
Conclusion
Having a loose bathroom faucet handle can be a frustrating experience, but it’s a problem that can be easily fixed with a few basic tools and some simple steps. By following the instructions outlined in this article, you can effectively tighten your bathroom faucet handle and restore its functionality.
We started by shutting off the water supply to ensure your safety and prevent any water damage. Then, we walked you through the process of removing the handle, tightening the handle screw, reassembling the handle, and finally, testing the faucet handle for proper operation.
Remember, every faucet may have its own unique design, so it’s important to consult the manufacturer’s instructions or seek professional help if you encounter any difficulties or uncertainties during the process.
By taking the time to tighten your bathroom faucet handle, you not only improve its functionality but also enhance the overall appearance and user experience of your bathroom. You can now enjoy a leak-free and secure faucet handle that makes your daily tasks more convenient and enjoyable.
Regular maintenance and periodic checks are key to preventing future issues with your faucet handle. Keep an eye on the handle’s tightness and promptly address any signs of looseness or leaks to prevent further damage or water wastage.
With the knowledge and confidence gained from this article, you can tackle the task of tightening your bathroom faucet handle with ease. So go ahead and take control of your faucet, ensuring it provides you with years of reliable service.
Now that you've mastered tightening your bathroom faucet handle, why not dive deeper into maintenance with our detailed guide on faucet repair? If you're ready to tackle more DIY projects, our article on the best Delta faucet repair kits for 2024 is perfect for you. Whether you're dealing with drips or just want to keep your faucet in top shape, this guide offers valuable insights and practical solutions. Don't miss out on these expert tips; get started on your next home improvement project today!
Frequently Asked Questions about How To Tighten Bathroom Faucet Handle
Was this page helpful?
At Storables.com, we guarantee accurate and reliable information. Our content, validated by Expert Board Contributors, is crafted following stringent Editorial Policies. We're committed to providing you with well-researched, expert-backed insights for all your informational needs.


0 thoughts on “How To Tighten Bathroom Faucet Handle”