Articles
How To Fix Sink Handle
Modified: December 7, 2023
Learn how to easily fix a sink handle with this informative article. Get step-by-step instructions and expert tips. Don't let a broken sink handle inconvenience you any longer!
(Many of the links in this article redirect to a specific reviewed product. Your purchase of these products through affiliate links helps to generate commission for Storables.com, at no extra cost. Learn more)
Introduction
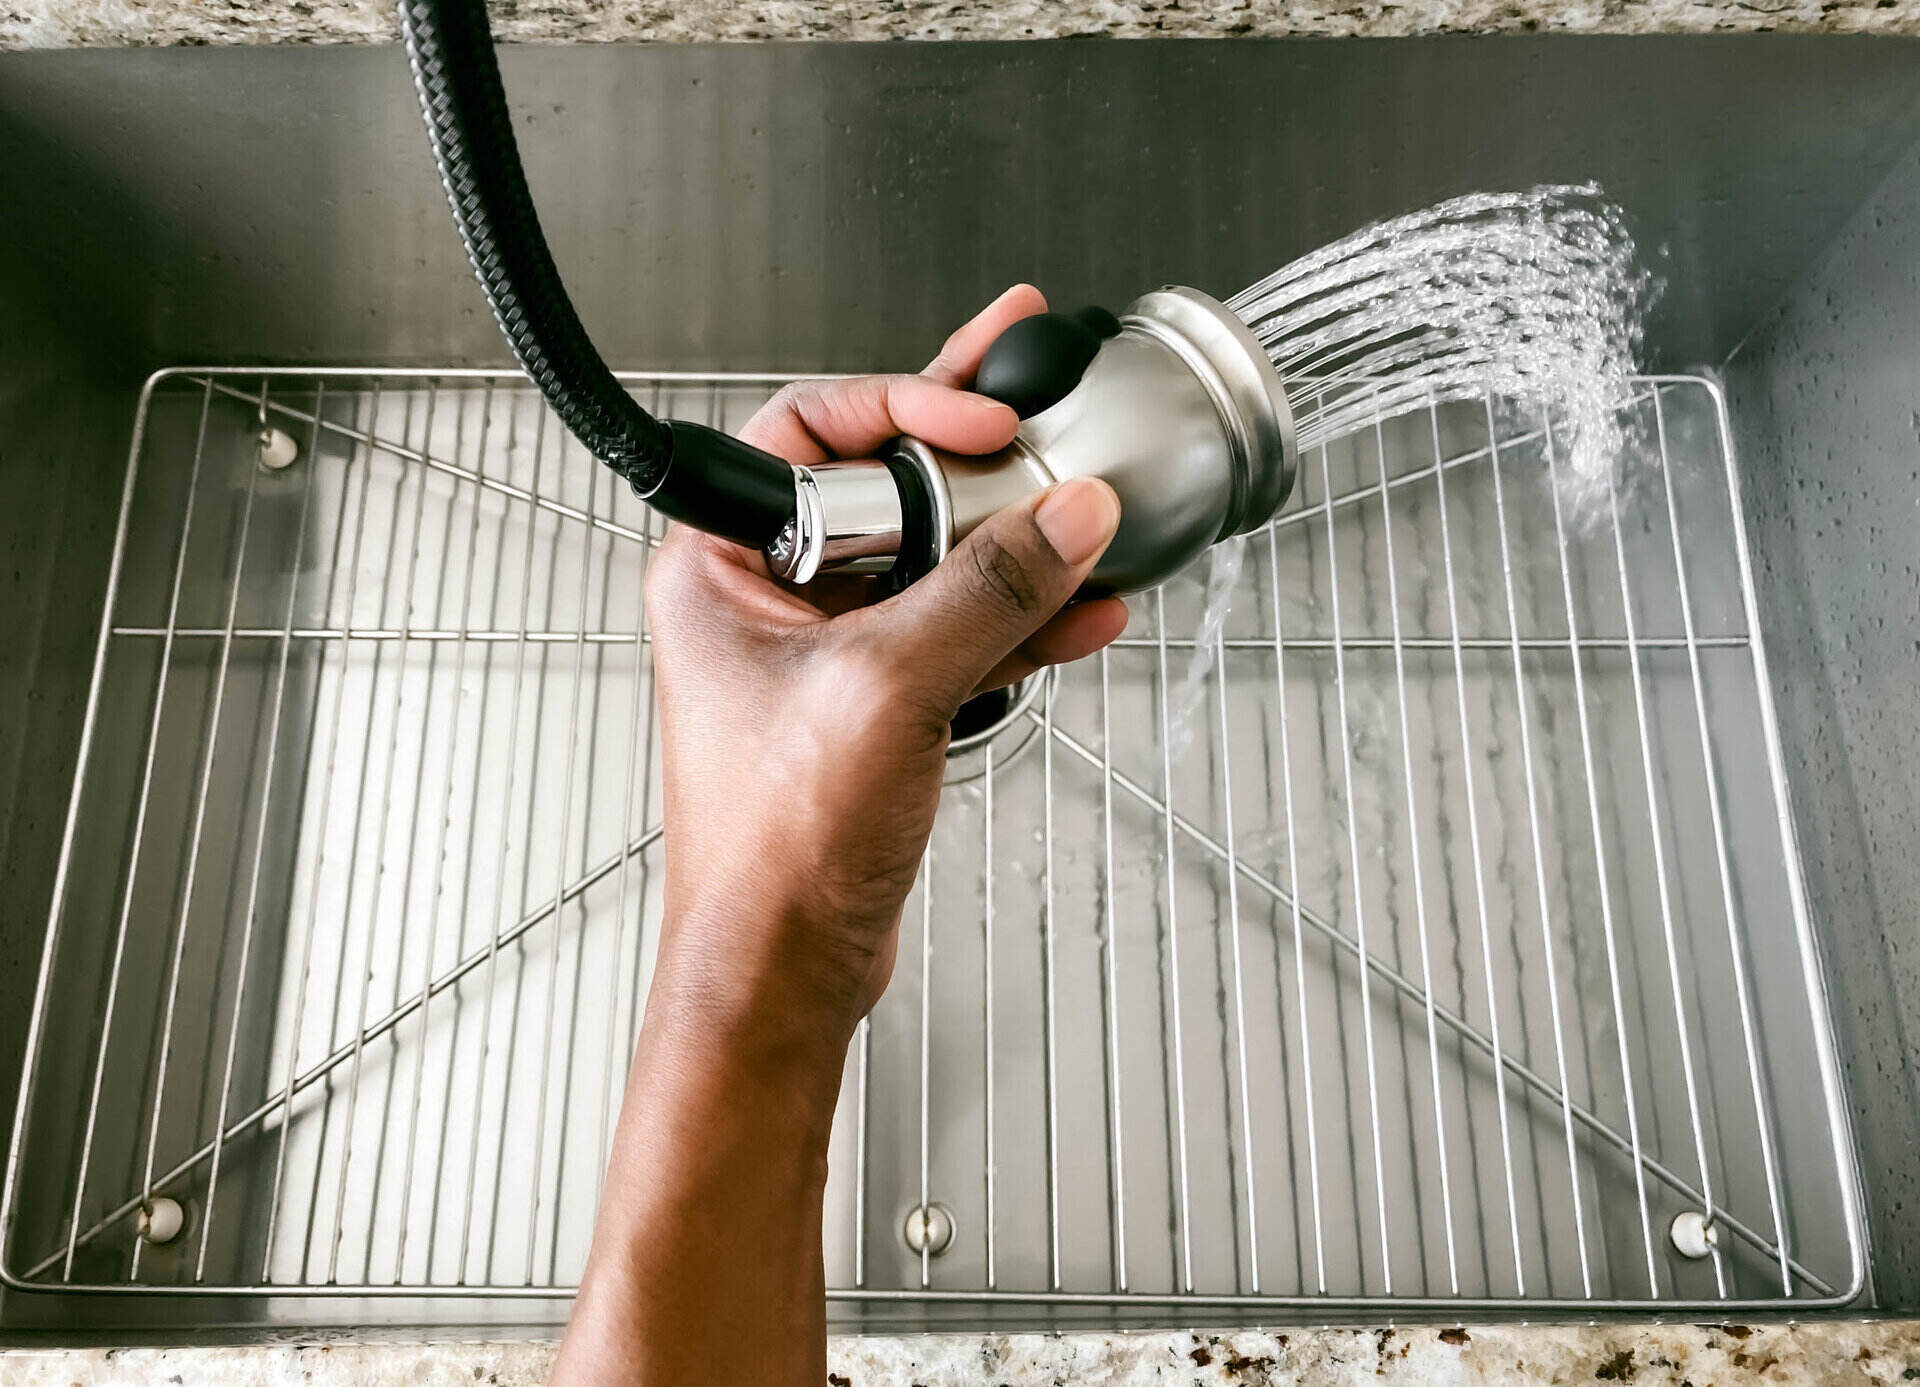
Having a sink handle that is broken or malfunctioning can be a frustrating experience. It not only makes it difficult to control the water flow but also hampers the overall functionality of your sink. But fear not, because with a few simple steps, you can fix your sink handle and restore it to its proper working condition.
In this article, we will guide you through the process of fixing a sink handle. We will cover the necessary tools and materials you need, as well as the step-by-step instructions to successfully repair the handle. Whether you are a seasoned DIY enthusiast or a beginner, this guide will provide you with the knowledge and confidence to tackle the task at hand.
Before we begin, it’s important to note that the specific steps and methods may vary depending on the type of sink handle you have. However, the basic principles and techniques outlined in this article are applicable to most common sink handles. It is always advisable to consult the manufacturer’s instructions or seek professional help if you encounter any difficulties.
Now, let’s gather our tools and materials, and dive into the process of fixing your sink handle!
Key Takeaways:
- Fixing a sink handle requires assessing the problem, turning off the water supply, inspecting and replacing broken components, and reattaching the handle. Following these steps can restore functionality and save money on professional repairs.
- Regular maintenance and prompt repairs can prolong the lifespan of a sink handle. By following the DIY guide and taking necessary precautions, anyone can successfully fix a broken or malfunctioning sink handle.
Read more: How To Remove Sink Faucet Handle
Tools and Materials Needed
Before you begin repairing your sink handle, it’s important to gather the necessary tools and materials. Having everything prepared beforehand will make the process much smoother. Here is a list of the tools and materials you will need:
- Adjustable wrench
- Screwdriver
- Replacement handle components (if necessary)
- Plumber’s tape
- Pliers
- Cleaning cloth
- Bucket or container
The adjustable wrench is essential for loosening and tightening nuts and bolts. It allows you to easily remove and replace components of the sink handle. The screwdriver is needed to remove screws or fasteners that hold the handle in place.
If your sink handle has broken components, you will need to acquire replacement parts. This may include a new handle, spindle, cartridge, or any other components specific to your sink handle. It’s important to ensure that the replacement parts are compatible with your existing handle.
Plumber’s tape is a handy material that helps create a watertight seal. You may need to apply plumber’s tape to ensure a secure connection when reassembling the handle. Pliers can be useful for gripping and turning tight nuts and bolts, especially if they are difficult to reach with an adjustable wrench.
A cleaning cloth is necessary to wipe away any dirt, grime, or residue that may be present on the handle components or within the sink. It’s essential to have a clean working environment to prevent any potential damage or contamination.
Lastly, having a bucket or container nearby is advisable to catch any water that may drip or spurt out during the repair process. This will help prevent any mess or damage to your flooring or countertops.
Now that you have all the necessary tools and materials ready, you can proceed to the next steps of assessing and fixing your sink handle.
Step 1: Assess the Problem
Before diving into the repair process, it’s important to assess the problem with your sink handle. Understanding the underlying issue will help you identify the right solution and ensure a successful repair. Here are a few common problems you may encounter:
- The handle is loose or wobbly
- The handle is difficult to turn
- The handle is completely broken or detached
- There is a leak around the handle
If your handle is loose or wobbly, it may indicate that the nut or bolt securing it is loose. In this case, you may just need to tighten the nut or bolt to fix the problem. However, if the handle is difficult to turn, it could be due to a worn-out cartridge or spindle. A completely broken or detached handle will require replacement, and a leak around the handle may be caused by a faulty O-ring or washer.
Take a close look at your sink handle and try to identify any visible signs of damage or wear. Wiggle the handle to check for looseness and try turning it to gauge its smoothness. Additionally, inspect the area around the handle for any signs of water leaks or dripping.
By assessing the problem, you can determine the appropriate course of action and gather any necessary replacement parts. It’s always helpful to consult the manufacturer’s instructions or seek professional advice if you are uncertain about the issue or the required repairs.
Once you have identified the problem, you can proceed to the next step of turning off the water supply before working on the handle.
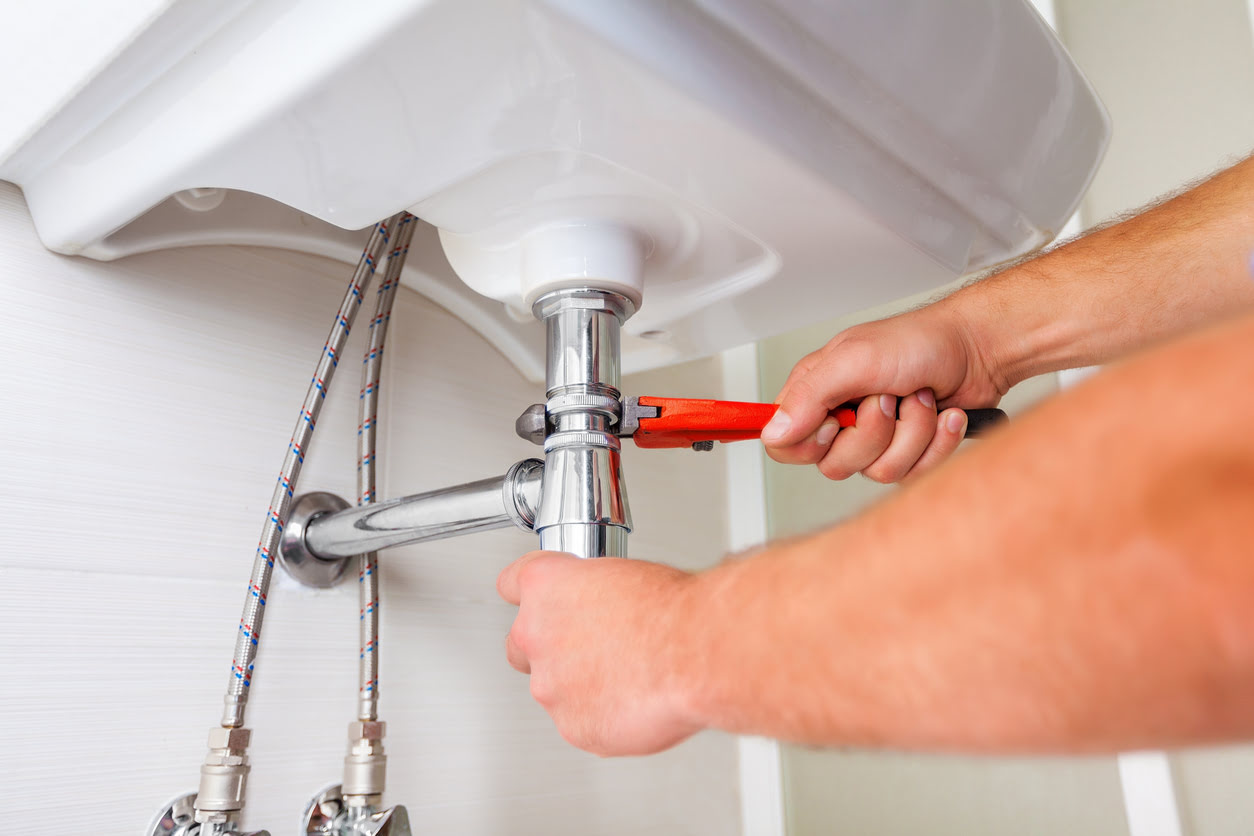
Step 2: Turn Off Water Supply
Before you begin repairing the sink handle, it’s crucial to turn off the water supply. This step will prevent any unwanted water flow or potential accidents during the repair process. Here’s how you can turn off the water supply:
- Locate the shut-off valves: The shut-off valves are usually located beneath the sink, near the plumbing pipes or the back wall. There are typically two valves, one for hot water and one for cold water. Turn off both valves to ensure complete water shut-off.
- Close the valves: To close the shut-off valves, turn them clockwise until they are fully closed. You may need to use a wrench or pliers to provide additional leverage, especially if the valves are stiff or rusty.
- Drain the remaining water: Once the valves are closed, turn on the sink faucet to drain any remaining water in the pipes. This will help minimize the risk of water leakage or splashing during the repair process. You can place a bucket or container under the sink to catch the water and prevent any mess.
It’s important to note that in some cases, you may need to turn off the main water supply to your entire house to ensure complete water shut-off. This is typically the case if you are unable to locate or close the shut-off valves beneath the sink. In such instances, consult your home’s plumbing system or seek professional assistance for turning off the main water supply.
Once you have successfully turned off the water supply, you can proceed to the next step of removing the handle from the sink.
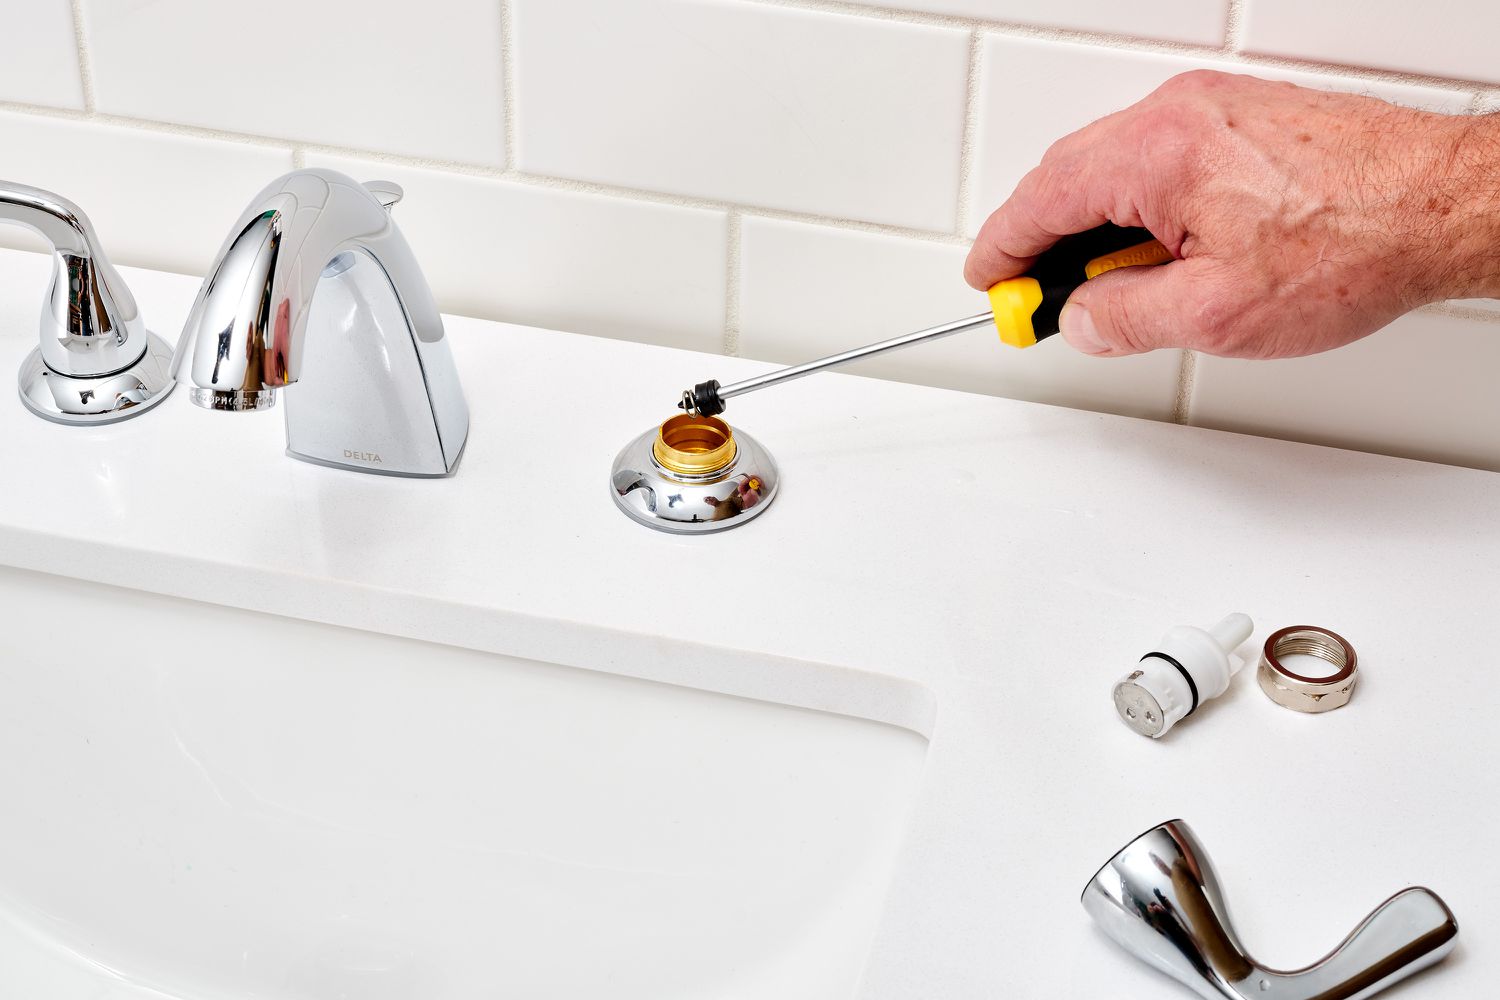
Step 3: Remove the Handle
Now that the water supply is turned off, it’s time to remove the malfunctioning handle from your sink. Follow these steps to safely remove the handle:
- Inspect the handle: Take a close look at the handle to identify any screws or caps that may be holding it in place. Some handles have visible screws, while others may have decorative caps or covers that need to be removed first.
- Remove the screws or caps: If your handle has visible screws, use a screwdriver to carefully unscrew them and set them aside. If the screws are rusted or stubborn, you can use lubricating oil or penetrating spray to loosen them. For handles with caps, gently pry off the caps using a flathead screwdriver or your fingers.
- Detach the handle: Once the screws or caps are removed, you can now detach the handle from the sink. Grip the handle firmly and wiggle it gently from side to side while pulling it outward. If the handle is stuck or difficult to remove, you may need to use pliers to provide additional leverage.
During this step, be cautious and gentle to avoid causing any damage to the handle or the sink. If you encounter any difficulties, refer to the manufacturer’s instructions or seek assistance from a professional to ensure the handle is safely removed.
Once the handle is successfully removed, you can proceed to the next step of inspecting the handle components to identify the cause of the problem.
If your sink handle is loose, try tightening the set screw located under the handle with an Allen wrench. If the handle is leaking, replace the O-ring or cartridge inside the handle.
Read more: How To Tighten Sink Faucet Handle
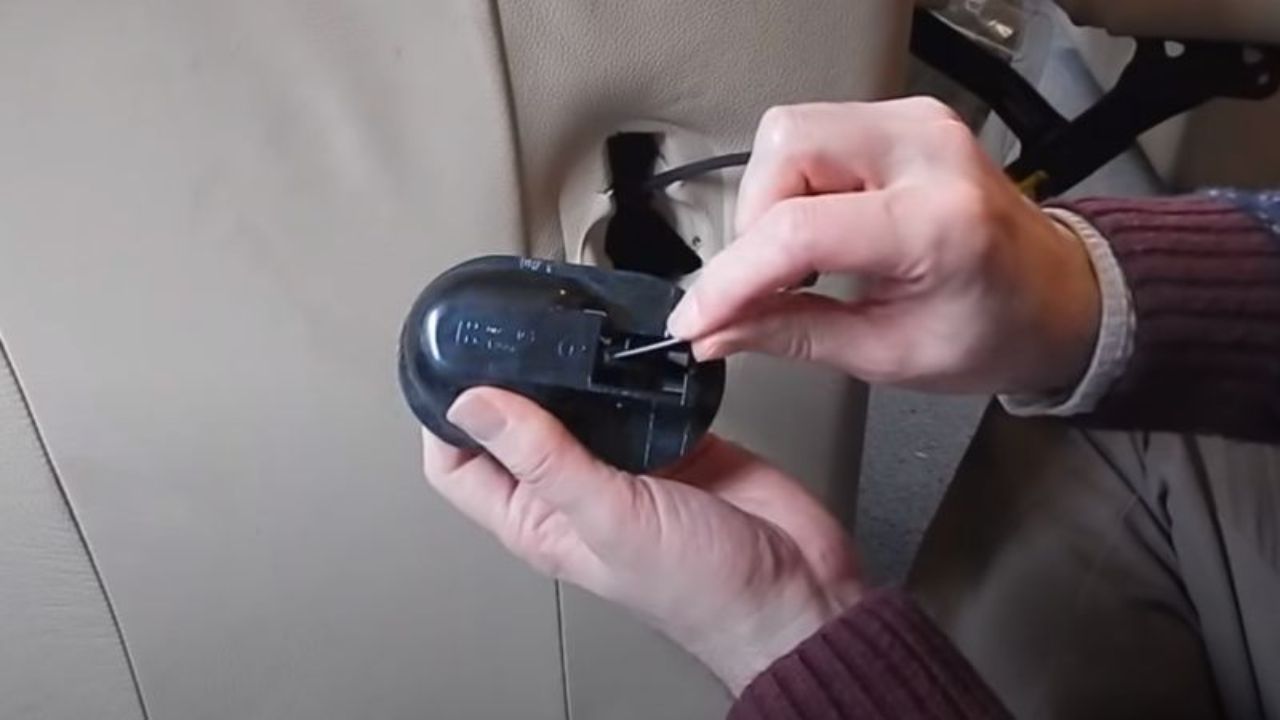
Step 4: Inspect the Handle Components
With the handle removed, it’s time to inspect the components to identify the cause of the problem. By closely examining the handle components, you can determine if any parts are broken, worn out, or in need of replacement. Follow these steps to inspect the handle components:
- Examine the handle: Take a close look at the handle itself. Check for any visible cracks, chips, or other signs of damage. Inspect the surface for corrosion or discoloration, as this may indicate wear and tear.
- Inspect the spindle: Locate the spindle, which is the long rod that connects the handle to the water valve. Check if the spindle is bent or damaged. Rotate it with your fingers to assess its smoothness and ensure it moves freely.
- Check the cartridge or valve: Depending on the type of sink handle you have, there may be a cartridge or valve assembly inside. Carefully remove the cartridge or valve and inspect it for any signs of wear, cracks, or leaks. Look for any buildup of mineral deposits or debris that may be affecting its functionality.
- Examine the O-rings and washers: O-rings and washers are small rubber or plastic seals that help prevent leaks. Check these components for any signs of damage or deterioration. Replace them if they appear worn out or cracked.
During the inspection, it’s essential to be thorough and observant. Take note of any components that need to be replaced or repaired. If you are unsure about the condition of any part or need assistance, consult the manufacturer’s instructions or consider seeking advice from a professional plumber.
Once you have assessed the handle components, you can move on to the next step of replacing any broken or faulty parts to restore the functionality of your sink handle.
Step 5: Replace Broken Components
After inspecting the handle components and identifying any broken or faulty parts, it’s time to replace them. Replacing these components will help restore the proper functionality of your sink handle. Follow these steps to replace broken components:
- Acquire the replacement parts: Based on your inspection, determine which components need to be replaced. Look for the appropriate replacement parts, such as a new handle, spindle, cartridge, O-rings, or washers. Ensure that the replacement parts are compatible with your specific sink handle model.
- Follow the manufacturer’s instructions: Refer to the manufacturer’s instructions that accompany the replacement parts. These instructions will provide you with specific guidance on how to install the new components. It’s important to follow these instructions precisely to ensure proper installation.
- Attach the new components: Begin by attaching the new handle to the spindle or valve assembly, following the instructions provided. If you have replaced the cartridge or valve, carefully insert it into its designated place, securing it firmly.
- Apply plumber’s tape (if necessary): Depending on the instructions or the type of components you are replacing, you may need to apply plumber’s tape to ensure a secure and watertight connection. Wrap the plumber’s tape around any threaded connectors or joints before attaching the components.
- Tighten the nuts and bolts: Once the new components are in place, use your adjustable wrench or pliers to tighten any nuts or bolts that secure the handle or other parts. Be careful not to overtighten, as this may cause damage or restrict the handle’s movement.
Remember to take your time and be patient during this step. Ensure that all components are securely attached and properly aligned. If you encounter any difficulties or have questions, don’t hesitate to seek professional assistance or consult the manufacturer’s customer support.
Once you have successfully replaced the broken components, you can move on to reattaching the handle to the sink in the next step.
Step 6: Reattach the Handle
With the broken components replaced, it’s time to reattach the handle to the sink. Follow these steps to ensure a proper reattachment:
- Align the handle: Position the handle over the spindle or valve assembly, ensuring that it aligns properly with the underlying components.
- Insert the screws or caps: If your handle uses screws, insert them through the designated holes and tighten them using a screwdriver. If your handle requires caps, carefully place them over the screws and press them into position until they are secure.
- Tighten the handle: Use your adjustable wrench or pliers to tighten any nuts or bolts that secure the handle to the sink. Apply gentle pressure, making sure not to overtighten and risk damaging the handle or the sink.
While reattaching the handle, it’s important to ensure that the handle moves smoothly and without any obstructions. Test the handle’s movement by turning it on and off a few times, checking for any resistance or stiffness. If you notice any issues, double-check the alignment of the handle and the components beneath it.
Once you have securely reattached the handle, you can move on to the final step of testing the functionality of your sink handle.
Step 7: Test for Proper Functioning
After successfully reattaching the handle, it’s crucial to test its functionality to ensure that the repair was successful. Follow these steps to test the proper functioning of your sink handle:
- Turn on the water supply: Slowly turn on the shut-off valves or the main water supply to restore water flow to the sink. Monitor the area around the handle for any signs of leaks or dripping.
- Check for smooth operation: Turn the handle on and off, testing its movement and responsiveness. The handle should rotate smoothly and without any resistance. Pay attention to any unusual sounds or vibrations.
- Test hot and cold water settings: Adjust the handle to both the hot and cold water sides, ensuring that the water flows appropriately and that the temperature changes correspond to the selected setting.
- Inspect for leaks: Carefully examine the area around the handle and the base of the sink for any signs of water leaks. If you notice any leaks, tighten the nuts or bolts that secure the handle and components.
During the testing phase, it’s important to be thorough and observant. Take your time to ensure that the handle operates smoothly and that there are no leaks. If you notice any issues or detect persistent leaks, you may need to revisit the previous steps to double-check the installation or consider seeking the assistance of a professional plumber.
Congratulations! You have successfully repaired your sink handle. Completing this repair not only restores the functionality of your sink but also saves you money by avoiding the need for a professional plumber.
Remember to keep an eye on your sink handle periodically to check for any signs of wear or damage. Routine maintenance and prompt repairs can prolong the lifespan of your sink handle and prevent further problems down the line.
By following these steps and taking the necessary precautions, you can successfully fix a sink handle and enjoy a fully functional sink in your home. Happy repairing!
Read more: How To Fix A Toilet Handle
Conclusion
Fixing a sink handle may seem like a daunting task, but with the right tools, materials, and knowledge, it can be a manageable DIY project. Throughout this guide, we have walked you through the steps to fix your sink handle and restore its functionality. By following these steps and taking the necessary precautions, you can successfully repair a broken or malfunctioning sink handle.
From assessing the problem to turning off the water supply, removing the handle, inspecting the components, replacing broken parts, reattaching the handle, and testing for proper functioning, each step is crucial in the repair process. By carefully following these steps, you can ensure a successful repair and avoid any further complications.
Remember to always consult the manufacturer’s instructions specific to your sink handle and seek professional help if needed. Safety should be your top priority, so take appropriate precautions, such as turning off the water supply and using the right tools for the job.
Fixing your sink handle not only saves you money but also gives you the satisfaction of completing a DIY project. Plus, it helps to maintain the functionality and efficiency of your sink, making your daily tasks more convenient and enjoyable.
Don’t forget to regularly inspect your sink handle and perform routine maintenance to prevent any future issues. Stay proactive in identifying and addressing any potential problems early on to avoid more significant repairs or replacements later.
We hope that this comprehensive guide has provided you with the necessary knowledge and confidence to tackle a sink handle repair. Remember, with a little patience and the right techniques, you can successfully fix your sink handle and enjoy the convenience of a fully functional sink in your home.
Happy repairing!
Frequently Asked Questions about How To Fix Sink Handle
Was this page helpful?
At Storables.com, we guarantee accurate and reliable information. Our content, validated by Expert Board Contributors, is crafted following stringent Editorial Policies. We're committed to providing you with well-researched, expert-backed insights for all your informational needs.


0 thoughts on “How To Fix Sink Handle”