Home>Technology>Home Entertainment Systems>How To Mount A Projector To The Wall
Home Entertainment Systems
How To Mount A Projector To The Wall
Modified: February 26, 2024
Learn how to mount a projector to the wall for your home entertainment system. Follow our step-by-step guide for a hassle-free setup. Achieve the perfect viewing experience with ease!
(Many of the links in this article redirect to a specific reviewed product. Your purchase of these products through affiliate links helps to generate commission for Storables.com, at no extra cost. Learn more)
Introduction
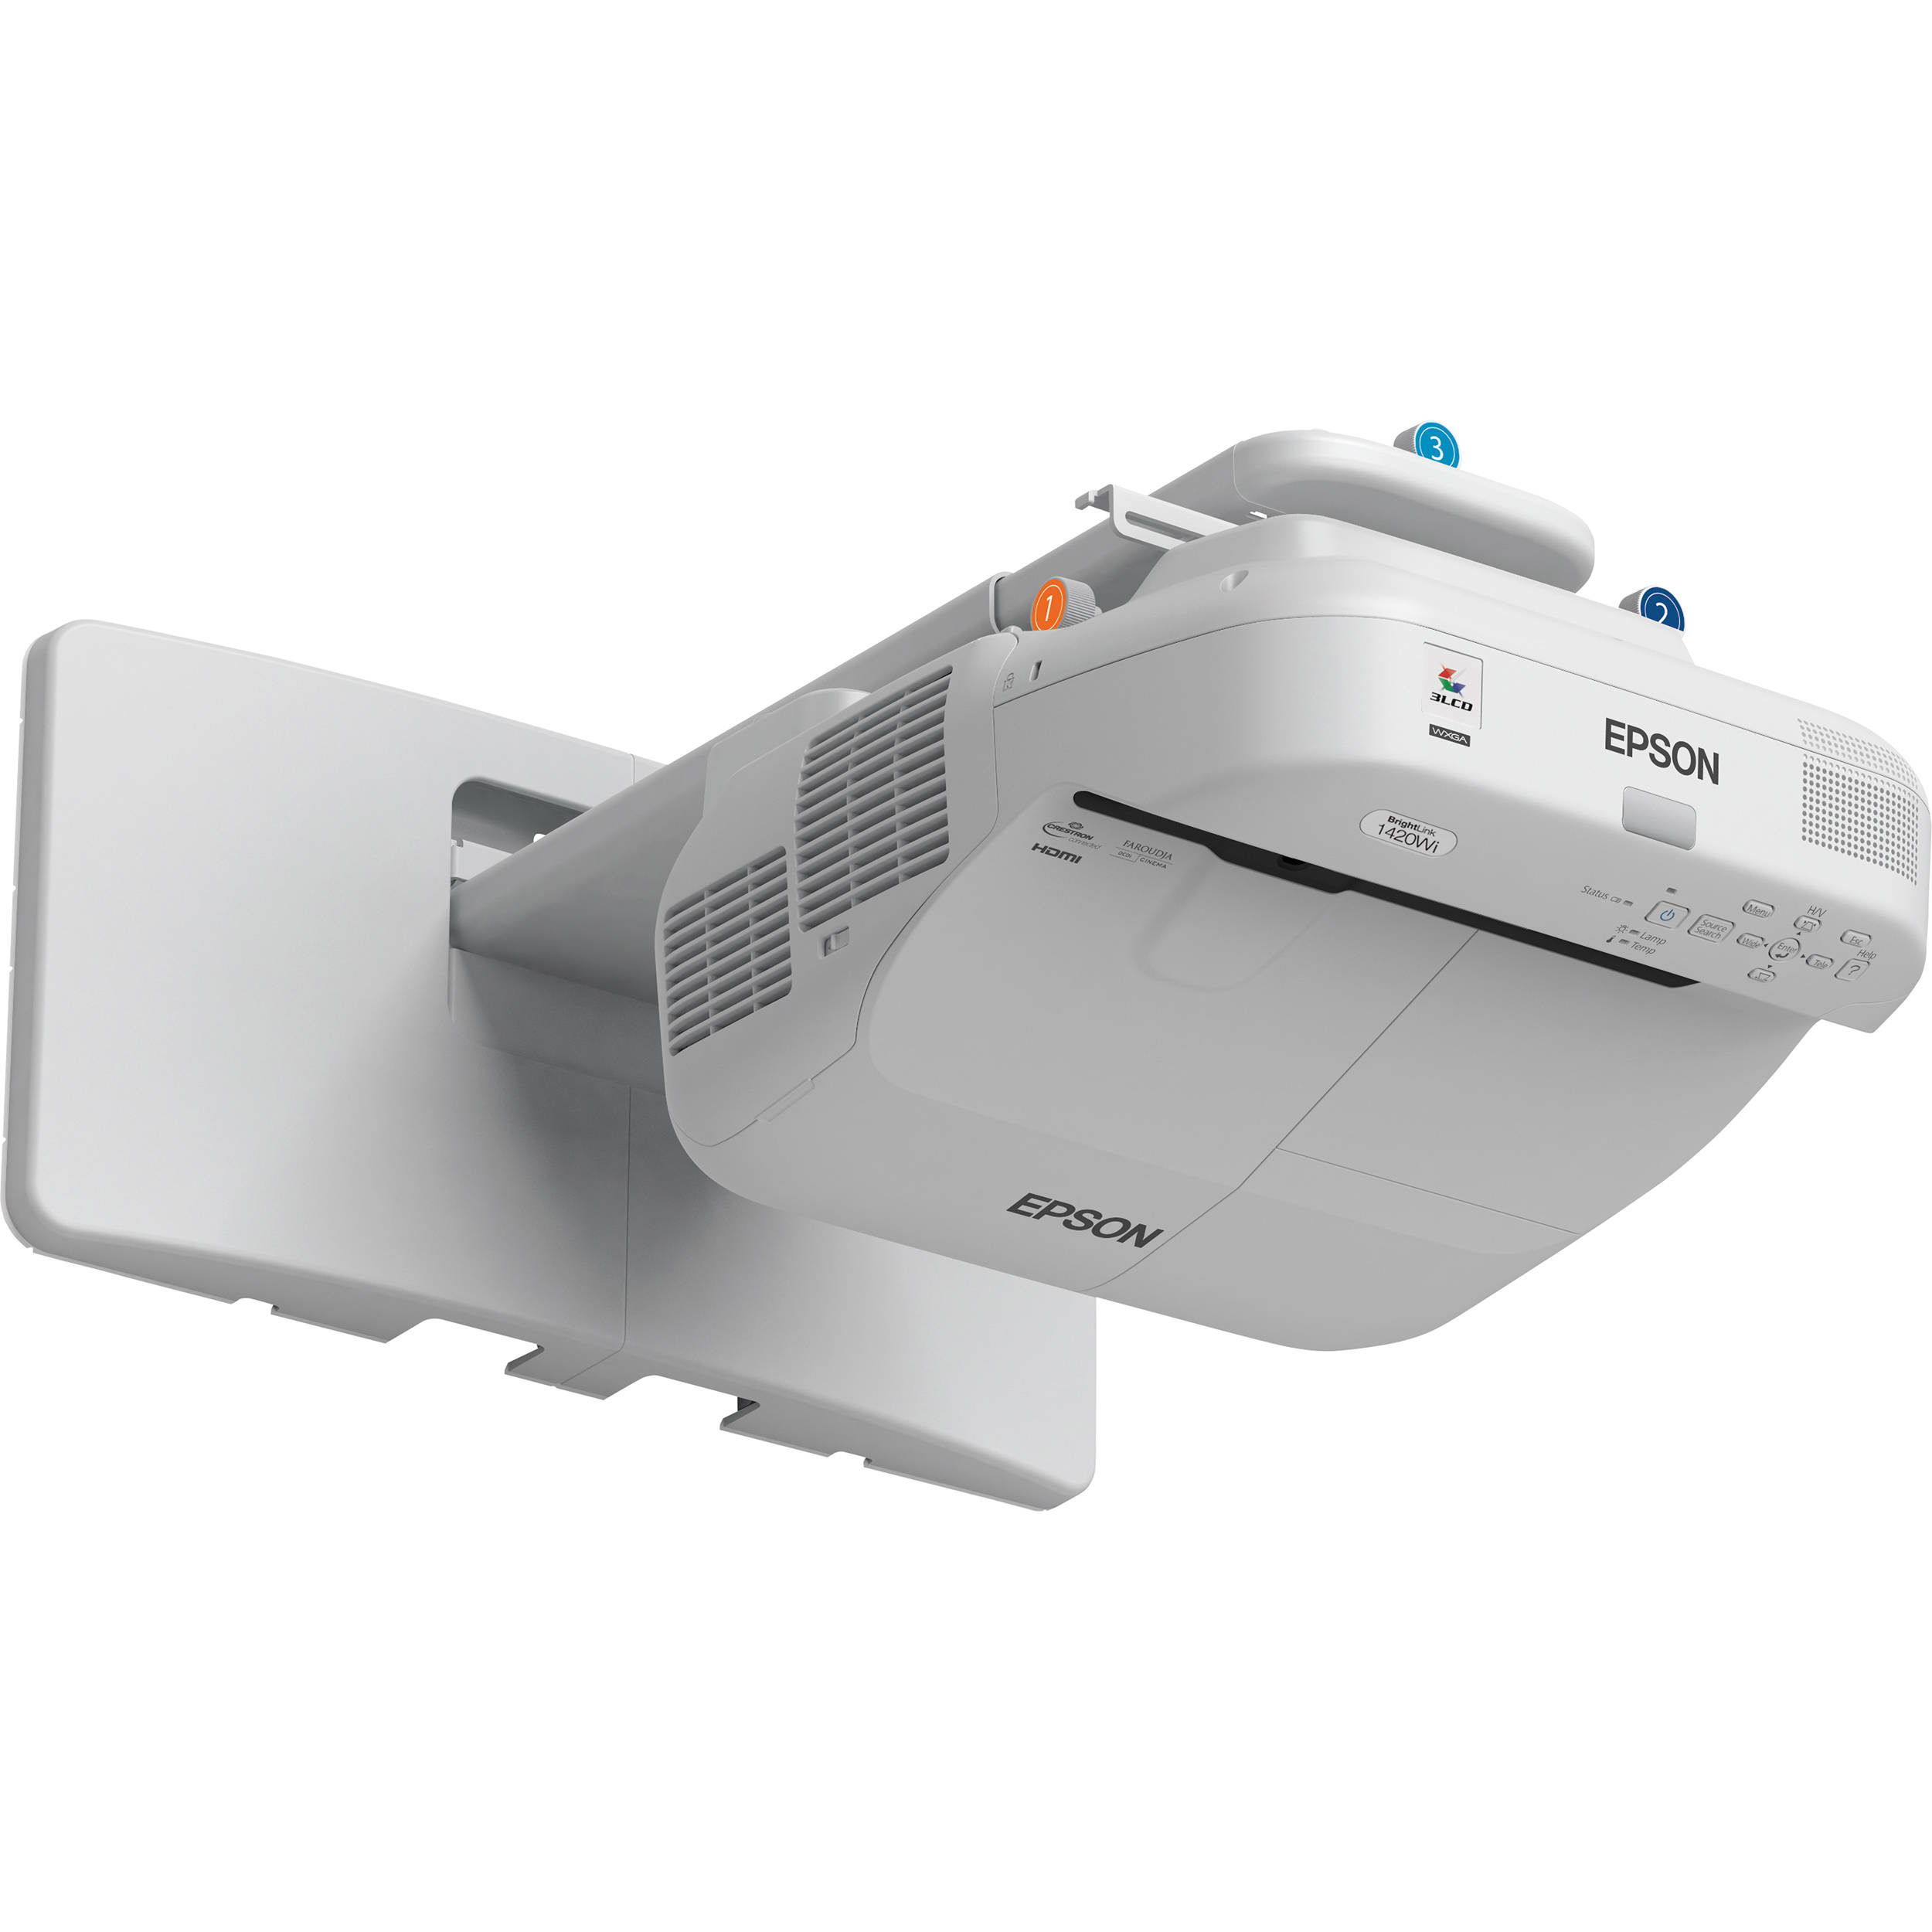
So, you've decided to take your home entertainment system to the next level by installing a projector. Congratulations! A projector can transform your living space into a cinema-like experience, perfect for movie nights, gaming sessions, or even immersive sports viewing. However, before you can start enjoying the big-screen experience, you'll need to mount the projector securely to the wall. This may seem like a daunting task, but with the right tools, a bit of know-how, and a dash of patience, you can bring your vision to life.
In this guide, we'll walk you through the process of mounting a projector to the wall, from choosing the ideal location to adjusting the projector angle for optimal viewing. By the end of this tutorial, you'll be well-equipped to create your own home theater setup, complete with a professionally mounted projector. So, roll up your sleeves, gather your tools, and let's dive into the exciting world of projector installation!
Key Takeaways:
- Transform your living space into a cinema-like experience with a professionally mounted projector. Choose the right location, securely attach the bracket, and adjust the angle for optimal viewing.
- Ensure a captivating and immersive viewing experience by testing and fine-tuning your projector setup. Connect media sources, calibrate image and audio settings, and enjoy the cinematic experience.
Read more: How To Mount A Projector On The Ceiling
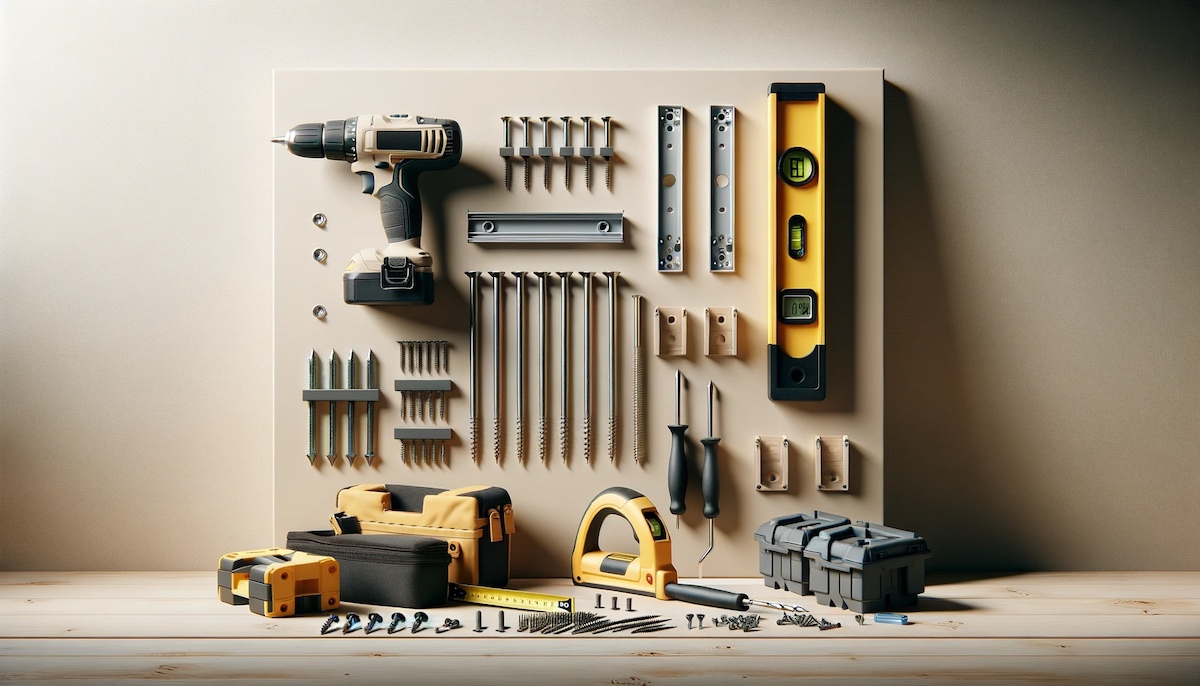
Tools and Materials Needed
Before you embark on the journey of mounting your projector to the wall, it’s essential to ensure that you have all the necessary tools and materials at your disposal. Here’s a comprehensive list to help you prepare for the installation process:
- Stud Finder: This tool is crucial for locating the wooden studs within the wall, providing a secure anchor for the projector mount.
- Level: A level will help ensure that the projector mount and, ultimately, the projector itself are perfectly aligned and straight.
- Power Drill: You’ll need a drill to create holes for the mounting screws and possibly to secure the mount to the wall.
- Screwdriver: Depending on the type of screws included with your mount, a screwdriver may be necessary for fastening the mount to the wall.
- Tape Measure: Accurate measurements are key to positioning the projector mount correctly, so a tape measure is indispensable.
- Pencil: Marking the precise spots for drilling and mounting is best done with a pencil, as it can be easily erased or adjusted as needed.
- Projector Mounting Kit: This kit typically includes the mounting bracket, screws, and other hardware required to attach the projector to the wall.
- Projector: Of course, you’ll need the projector itself, along with any cables or adapters necessary for connecting it to your media sources.
- Cable Management Tools: To keep your setup tidy, consider cable clips, ties, or conduits to manage the projector’s power and signal cables.
By ensuring that you have these tools and materials on hand, you’ll be well-prepared to tackle the installation process with confidence and precision.
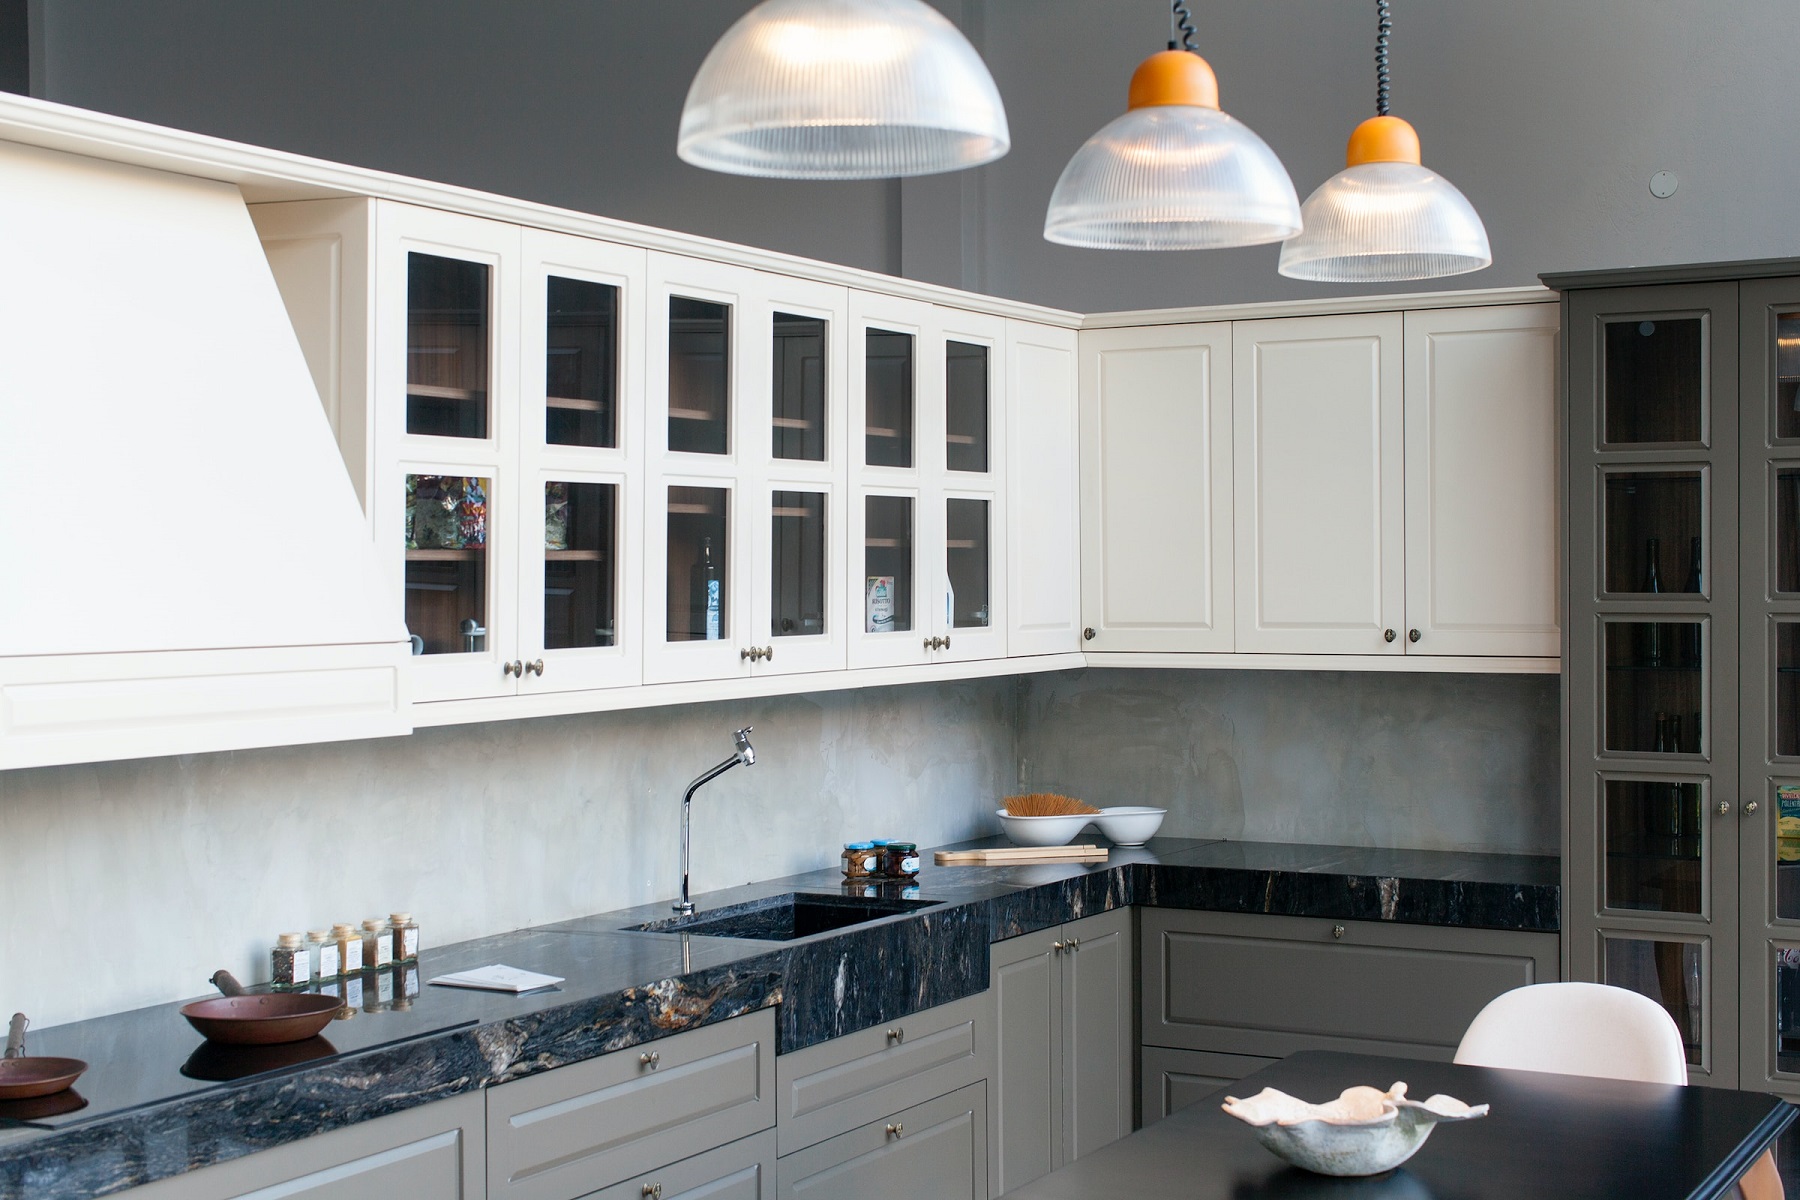
Choosing the Right Location
Before you start mounting your projector, it’s crucial to select the optimal location for both the projector and the screen. Consider the following factors when choosing the placement:
- Projection Distance: Determine the ideal distance between the projector and the screen to achieve the desired image size. This will depend on the projector’s throw ratio and the available space in the room.
- Room Lighting: Take into account the ambient light in the room. If the space is bright, you may need to opt for a projector with higher brightness or consider light control solutions such as blackout curtains or blinds.
- Screen Position: Identify the most suitable wall or screen location for projection, ensuring that it provides a clear and unobstructed view from the seating area.
- Wall Structure: Check for the presence of wooden studs or solid wall anchors, as these will serve as the secure mounting points for the projector bracket.
- Ceiling Mounting: If wall mounting isn’t feasible or doesn’t align with your preferences, consider a ceiling mount for the projector. Ensure that the ceiling structure can support the weight of the projector and mount.
Once you’ve considered these factors and identified the optimal location for your projector, you can proceed to the next steps of mounting the projector bracket and attaching the projector securely.
Remember, the right location can significantly enhance your viewing experience, so take the time to evaluate and choose wisely. With the location finalized, you’re ready to move on to the next stage of the installation process.
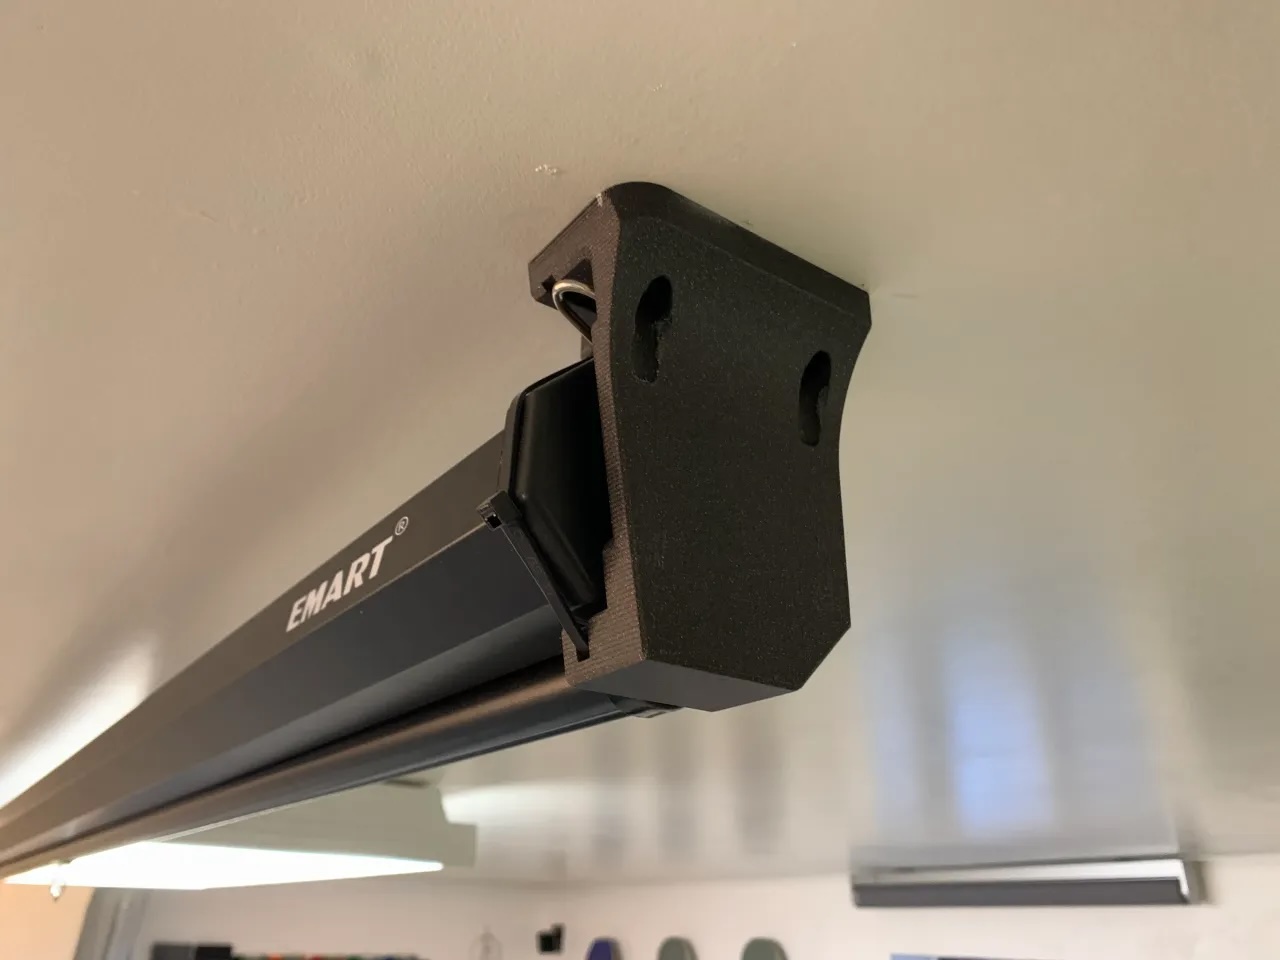
Mounting the Projector Bracket
With the location chosen and the necessary tools at the ready, it’s time to begin mounting the projector bracket. Follow these steps to securely attach the bracket to the wall:
- Locate Wooden Studs: Use a stud finder to identify the wooden studs within the wall. These studs will provide the essential support needed to hold the projector and bracket in place.
- Mark Mounting Points: Once the studs are located, mark the precise points on the wall where the bracket will be mounted. Use a pencil and a level to ensure accuracy and straight alignment.
- Pre-Drill Holes: With the mounting points marked, use a power drill to create pilot holes at the designated spots. Be sure to use a drill bit that matches the size of the mounting screws provided with the bracket.
- Attach the Bracket: Securely fasten the bracket to the wall using the appropriate screws and a screwdriver or drill. Ensure that the bracket is level and firmly anchored to the wooden studs for maximum stability.
- Verify Stability: Once the bracket is mounted, double-check its stability by gently applying pressure and ensuring that it is securely affixed to the wall.
By following these steps, you’ll have successfully installed the projector bracket, laying the foundation for securely attaching the projector for an exceptional viewing experience. With the bracket in place, you’re now ready to move on to the next phase of attaching the projector to the bracket.
When mounting a projector to the wall, make sure to use a sturdy mount that can support the weight of the projector. Also, consider the distance and angle from the screen for the best viewing experience.
Attaching the Projector to the Bracket
Now that the projector bracket is securely mounted to the wall, it’s time to attach the projector to the bracket. Follow these steps to ensure a safe and stable connection:
- Prepare the Projector: Place the projector on a stable surface and ensure that it is powered off and disconnected from any power sources or cables.
- Locate Mounting Holes: Identify the mounting holes on the bottom of the projector that align with the arms or plate on the projector bracket.
- Align the Projector: Carefully lift the projector and align the mounting holes with the corresponding arms or plate on the bracket. Take your time to ensure a precise fit.
- Secure the Projector: With the projector aligned and positioned correctly, use the provided screws and a screwdriver to fasten the projector to the bracket securely. Be sure to tighten the screws evenly to maintain a balanced connection.
- Verify Stability: Once the projector is attached, gently test its stability by applying light pressure and ensuring that it remains firmly affixed to the bracket.
By following these steps, you’ll have successfully attached the projector to the bracket, setting the stage for the final adjustments and testing. With the projector securely in place, you’re now ready to proceed to the next phase of adjusting the projector angle for optimal viewing.
Read more: How To Mount A Projector Without Drilling
Adjusting the Projector Angle
With the projector securely mounted and attached to the bracket, it’s essential to adjust the projector’s angle for optimal viewing. Follow these steps to ensure that the projected image is aligned and positioned correctly:
- Power On the Projector: Connect the projector to a power source and turn it on. This will allow you to visualize the projected image as you make adjustments.
- Adjust the Vertical and Horizontal Keystoning: Most projectors are equipped with keystone correction features to adjust the projected image’s vertical and horizontal alignment. Use the projector’s remote or menu options to fine-tune the keystone settings until the image appears straight and proportionate.
- Modify the Projector Angle: If the projected image requires further adjustment, you can physically modify the projector’s angle by loosening the bracket’s tilt mechanism and repositioning the projector as needed. Ensure that the adjustments result in a well-centered and evenly proportioned image on the screen.
- Utilize Lens Shift (if available): Some projectors offer lens shift functionality, allowing you to adjust the projected image’s position without physically moving the projector. If your projector includes this feature, take advantage of it to fine-tune the image’s placement.
- Test Image Quality: Once you’ve made the necessary adjustments, evaluate the projected image’s quality and alignment by displaying various content, such as movies or presentations. Ensure that the image is sharp, clear, and correctly positioned on the screen.
By carefully adjusting the projector angle and image settings, you’ll achieve an optimal viewing experience with a well-aligned and visually pleasing projected image. With the projector angle adjusted to perfection, you’re now ready to move on to the final phase of testing the setup.
Testing the Setup
With the projector securely mounted, aligned, and adjusted, it’s time to put the setup to the test. Follow these steps to ensure that everything is functioning as intended and to fine-tune any remaining details:
- Power On the Projector: Turn on the projector and allow it to warm up. Take note of the startup time and ensure that the projected image appears as expected.
- Source Connectivity: Connect your desired media sources, such as a Blu-ray player, gaming console, or streaming device, to the projector. Verify that the connections are secure and that the content is being displayed correctly.
- Image Calibration: If necessary, access the projector’s image settings to calibrate the color, brightness, and contrast for optimal viewing. Adjust the settings based on the ambient lighting conditions in the room.
- Audio Configuration: If audio is part of your home entertainment setup, ensure that the sound system is connected to the media sources and synchronized with the projected content. Test the audio quality and adjust the settings as needed.
- Screen Alignment: Verify that the projected image is aligned and centered on the screen, with no distortion or uneven borders. Make any final adjustments to the projector angle or placement if necessary.
- Functional Testing: Test the functionality of the projector, including features such as zoom, focus, and any additional settings specific to your model. Ensure that the remote control operates the projector effectively.
- Content Testing: Play various types of content, such as movies, games, or presentations, to assess the projector’s performance across different media formats. Pay attention to image clarity, motion handling, and color accuracy.
By thoroughly testing the setup and fine-tuning the details, you’ll ensure that your projector installation delivers a captivating and immersive viewing experience. Once you’re satisfied with the setup’s performance, sit back, relax, and enjoy the cinematic experience brought to life by your professionally mounted projector.
Frequently Asked Questions about How To Mount A Projector To The Wall
Was this page helpful?
At Storables.com, we guarantee accurate and reliable information. Our content, validated by Expert Board Contributors, is crafted following stringent Editorial Policies. We're committed to providing you with well-researched, expert-backed insights for all your informational needs.

0 thoughts on “How To Mount A Projector To The Wall”