Home>Furniture>Office Furniture>How To Mount Bookshelves On Wall
Office Furniture
How To Mount Bookshelves On Wall
Modified: December 7, 2023
Learn how to easily mount bookshelves on your office wall with our helpful step-by-step guide. Discover the best techniques for securely installing office furniture.
(Many of the links in this article redirect to a specific reviewed product. Your purchase of these products through affiliate links helps to generate commission for Storables.com, at no extra cost. Learn more)
Introduction
When it comes to organizing your office space and maximizing storage, bookshelves are an essential piece of furniture. However, if you’re short on floor space or simply want to add a decorative touch to your walls, mounting bookshelves can be a great solution. Not only does it free up valuable floor space, but it also adds a stylish and modern look to your office.
In this article, we will guide you through the process of mounting bookshelves on the wall. Whether you’re a DIY enthusiast or a beginner, you’ll find our step-by-step instructions easy to follow, ensuring a successful installation.
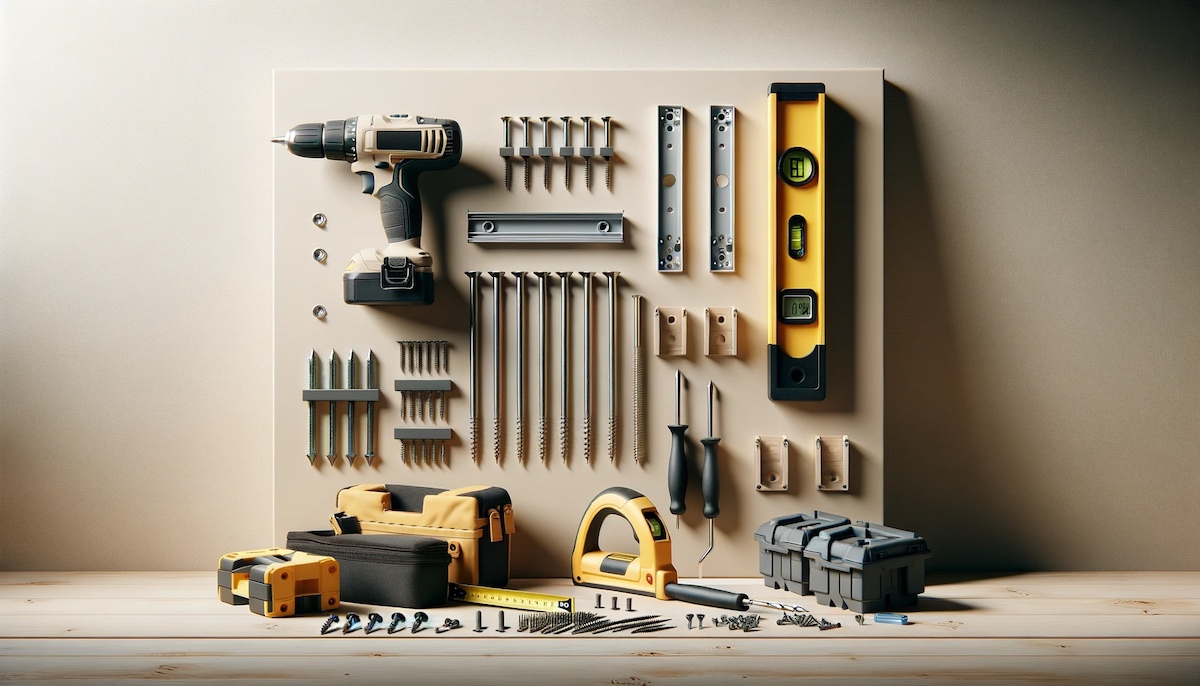
Before we begin, let’s take a look at the tools and materials you’ll need:
- Drill
- Screwdriver
- Level
- Tape measure
- Pencil
- Wall anchors (if necessary)
- Bookshelf brackets
- Screws
- Bookshelf
Key Takeaways:
- Maximize office space and add style by mounting bookshelves on the wall. Follow our step-by-step guide for a successful and organized installation.
- Ensure stability and aesthetics by selecting the right location, preparing the wall, and securing bookshelves with precision. Enjoy a clutter-free and stylish office space.
Read more: How To Build A Wall Of Bookshelves
Tools and Materials Needed
Before you embark on mounting bookshelves on your wall, it’s important to have the necessary tools and materials on hand. Here’s a list of what you’ll need:
- Drill: A power drill will be needed to create holes for the brackets and screws.
- Screwdriver: Choose a screwdriver that matches the type of screws you’ll be using.
- Level: To ensure your bookshelves are perfectly horizontal, a level will come in handy.
- Tape measure: Accurate measurements are crucial for a successful installation. Have a tape measure at the ready.
- Pencil: Marking your measurements and drilling points with a pencil will ensure precision.
- Wall anchors (if necessary): Depending on the type of wall you have, you may need wall anchors to provide additional support for the bookshelves.
- Bookshelf brackets: These brackets serve as the support system for your bookshelves. Choose durable and sturdy brackets that can hold the weight of your books and other items.
- Screws: Select screws that are appropriate for your wall type and the bookshelf brackets you’ve chosen.
- Bookshelf: Finally, you’ll need the bookshelf itself. Choose one that fits your design aesthetic and meets your storage needs.
By ensuring you have these tools and materials ready, you’ll be well-prepared to begin the process of mounting your bookshelves on the wall. Now that you have everything you need, let’s move on to the first step: selecting the right location.
Step 1: Selecting the Right Location
The first step in mounting bookshelves on the wall is selecting the right location. Choosing the optimal spot will ensure that your bookshelves not only look visually appealing but also serve their purpose efficiently. Here are a few factors to consider when selecting the location:
- Wall space: Assess the available wall space in your office. Look for an area that is wide enough and has enough height to accommodate the size of the bookshelves you want to mount. Consider the proximity to other furniture and office equipment to ensure a balanced and functional layout.
- Accessibility: Think about how easily accessible the bookshelves need to be. If you frequently use certain books or reference materials, it may be best to mount the shelves within arm’s reach. Alternatively, if the items on the shelves are for display purposes only, you may choose a higher location.
- Weight-bearing capacity: Take into consideration the weight-bearing capacity of the chosen wall. Ensure that the selected location can support the weight of the bookshelves and the items you plan to store on them. This is particularly important if you have heavy books or decorative items.
- Aesthetics: Consider the overall aesthetics of your office and choose a location that complements the existing decor. The bookshelves should blend harmoniously with the surrounding wall color, furniture, and other decorative elements.
- Lighting: Evaluate the natural and artificial lighting in the chosen location. Bookshelves placed near windows or under bright lights can enhance the display of your books and objects on the shelves.
Once you have taken these factors into account, mark the chosen location on the wall using a pencil. Stand back and visually assess the placement to ensure it aligns with your vision and meets your practical needs. With the location selected, you’re ready to move on to the next step: preparing the wall.
Step 2: Preparing the Wall
Before you can mount bookshelves on the wall, it’s essential to properly prepare the wall surface. This ensures a secure and stable installation. Follow these steps to prepare the wall:
- Clean the wall: Start by removing any dust, dirt, or debris from the wall surface. Use a damp cloth or sponge to wipe away any grime. A clean surface will help the brackets adhere properly.
- Fill in any holes: If there are any existing holes or imperfections on the wall, fill them in with spackling compound or wall putty. Once the compound is dry, sand it down until smooth. This will provide a clean and even surface for the brackets.
- Locate wall studs: To ensure a secure installation, it’s recommended to anchor the bookshelf brackets into wall studs. Use a stud finder to locate the studs and mark their positions with a pencil. If your chosen location does not align with a stud, you’ll need to use wall anchors for added support.
- Measure and mark: Based on the measurement of your bookshelf and the desired height for installation, use a tape measure and level to mark the positions of the brackets on the wall. Double-check the measurements and adjust if necessary.
- Double-check positioning: Before drilling any holes, use the level to ensure that the marked positions are perfectly horizontal. This step is crucial to ensure that your bookshelves hang straight on the wall. Make any adjustments as needed.
With the wall properly prepared, you’re now ready to move on to the next step: measuring and marking.
Step 3: Measuring and Marking
Once you’ve prepared the wall, it’s time to measure and mark the exact positions for the brackets. Accurate measurements and precise marking are pivotal to ensure a level and secure installation. Follow these steps:
- Measurements: Measure the width of your bookshelf and divide it by the number of brackets you plan to use. This will determine the spacing between the brackets. Additionally, measure the height from the top of the bookshelf to where you want it to be installed on the wall.
- Marking the top bracket: Using a tape measure and level, measure and mark the position of the top bracket on the wall. Remember to account for the height of the bracket itself. Use a pencil to make a small mark on the wall indicating the center point of the bracket.
- Spacing between brackets: Based on the width of your bookshelf and the desired spacing, measure and mark the positions for the remaining brackets. Use the level to ensure that the marks are perfectly horizontal.
- Double-check measurements and alignment: Before proceeding, double-check all of your measurements and the alignment of the marks. Ensure that they are accurate and level. Make any necessary adjustments to ensure a precise installation.
Once you have accurately measured and marked the positions for the brackets, you’re ready to move on to the next step: installing the brackets. Taking the time to complete this step with precision will result in a neat and organized display of your bookshelves.
When mounting bookshelves on the wall, be sure to use the appropriate hardware for the weight of the shelves and the items you plan to store on them. It’s important to find the studs in the wall and use screws or anchors that are designed to support the weight. Always follow the manufacturer’s instructions for installation.
Read also: 14 Incredible Wall Bookshelf for 2025
Step 4: Installing the Brackets
Now that you have measured and marked the positions for the brackets, it’s time to install them onto the wall. These brackets will serve as the support system for your bookshelves. Follow these steps to install the brackets:
- Drilling pilot holes: Using a drill and the appropriate drill bit, create pilot holes on the marked positions for the brackets. This will make it easier to insert the screws and prevent any splitting or cracking of the wall. Make sure to drill straight and at the correct depth.
- Attaching the brackets: Place the bracket over the pilot hole and align it with the markings on the wall. Use a screwdriver or a drill to insert the screws provided with the bracket into the pilot holes. Tighten them securely, but be cautious not to overtighten and damage the bracket or wall.
- Check for stability: Once the first bracket is installed, double-check its stability and levelness. Use the level to ensure that the bracket is perfectly horizontal. If adjustments need to be made, loosen the screws and reposition the bracket accordingly. Repeat this step for each bracket.
Take your time during this step to ensure that the brackets are securely attached and properly aligned. Proper installation of the brackets will provide a strong foundation for your bookshelves, ensuring they stay in place even when loaded with books and other items. Once the brackets are installed, you’re ready to move on to the next step: mounting the bookshelves.
Step 5: Mounting the Bookshelves
With the brackets securely installed, it’s time to mount the bookshelves onto the wall. This step will involve carefully positioning the bookshelf onto the brackets and ensuring a secure fit. Follow these steps to mount the bookshelves:
- Prepare the bookshelf: Before lifting the bookshelf onto the brackets, remove any adjustable shelves or drawers that may hinder the installation process.
- Lift the bookshelf: With the help of another person, lift the bookshelf and position it above the installed brackets. Carefully line up the brackets with the corresponding holes or slots on the back of the bookshelf. Ensure that the brackets fit securely into the slots or holes.
- Lower the bookshelf: Slowly lower the bookshelf onto the brackets, making sure that it sits evenly and securely. Take your time to ensure a precise fit.
- Check for stability: Once the bookshelf is mounted on the brackets, check for stability and levelness. Gently test the bookshelf by applying slight pressure from various angles to ensure it is securely attached to the brackets. Use a level to confirm that the bookshelf is perfectly horizontal.
It’s important to note that the weight distribution on the bookshelf should be even. Avoid placing all the weight on one side, as it can affect the stability of the shelves and increase the risk of accidents. If needed, make any necessary adjustments to ensure a balanced and secure mount.
With the bookshelves successfully mounted onto the brackets, you’re now ready to move on to the next step: securing the bookshelves.
Step 6: Securing the Bookshelves
Once the bookshelves are mounted on the brackets, it’s important to take the necessary steps to secure them in place. This will help prevent any accidental movements or instability. Follow these steps to secure the bookshelves:
- Locate anchor points: If your selected wall location does not align with wall studs, it’s crucial to use wall anchors for additional support. Determine the appropriate anchor points for each bracket and mark them on the wall.
- Drilling pilot holes for wall anchors: Using a drill and the appropriate drill bit, carefully create pilot holes for the wall anchors at the marked locations. Follow the instructions provided with the wall anchors to ensure you drill the appropriate size and depth.
- Inserting wall anchors: Insert the wall anchors into the pilot holes and gently tap them into the wall until they are flush with the surface.
- Reattaching the brackets: Reattach the brackets to the wall by inserting the screws through the brackets and into the wall anchors. Ensure that the brackets fit securely into the wall anchors and tighten the screws until the brackets are stable.
- Test stability: Once the brackets are reattached, test the stability of the bookshelves by gently rocking them back and forth. If there is any wobbling or movement, double-check the installation to ensure all screws and anchors are securely in place.
By securing the bookshelves with wall anchors, you’ll add an extra layer of stability and ensure their long-term durability. This step is especially important if you plan to load the bookshelves with heavy items or if there is a risk of accidental bumping or shaking in the workspace.
With the bookshelves securely attached and stabilized, you’re now ready to move on to the final step: adding the finishing touches and making any necessary adjustments.
Step 7: Final Touches and Adjustments
Now that your bookshelves are securely mounted and the brackets are properly installed, it’s time to add the final touches and make any necessary adjustments. This step will ensure that your bookshelves not only function properly but also enhance the overall aesthetic of your office. Follow these steps to complete the installation:
- Level the bookshelves: Use a level to double-check that the bookshelves are perfectly horizontal. If any adjustments are needed, gently lift the bookshelves and reposition them as required.
- Secure loose items: Take a moment to secure any loose items on the bookshelves. This includes tightening screws, adjusting shelf positions, and ensuring that items are properly organized and arranged.
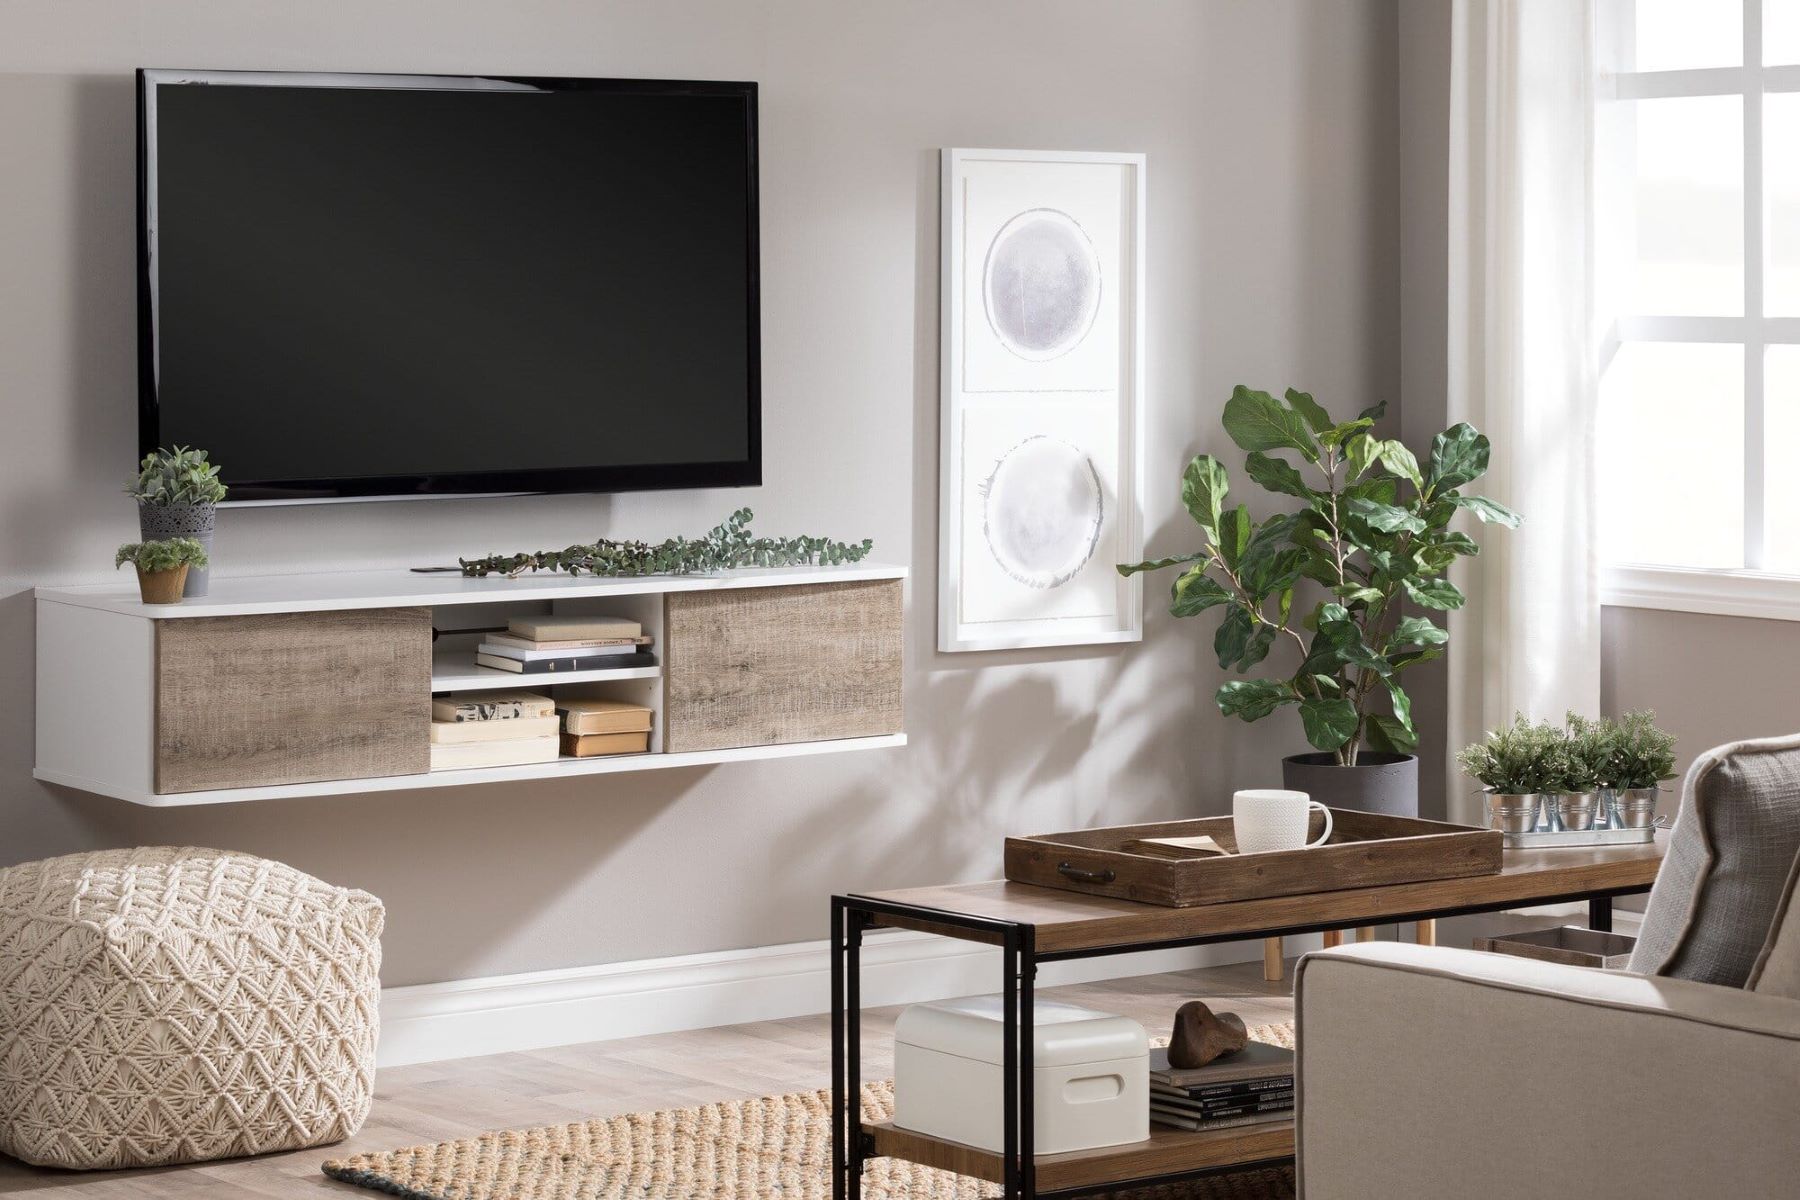
- Add decorative elements: If desired, add decorative elements such as potted plants, framed photos, or small ornaments to personalize your bookshelves and make them visually appealing. This will enhance the overall aesthetic of your office space.
- Organize your books and items: Arrange your books and other items on the shelves in a way that suits your organizational needs. Consider grouping books of similar genres or subject matter together and utilizing storage bins or baskets for smaller items.
- Test functionality: Take some time to test the functionality of the bookshelves. Open and close drawers, adjust shelves, and ensure that everything is easily accessible and functioning as intended.
Remember to periodically check the stability and security of your bookshelves, especially if you make changes to the arrangement or add/remove items. This will help maintain a safe and organized workspace.
Congratulations! You have successfully mounted bookshelves on your wall. Not only have you maximized your storage space, but you’ve also added a stylish and functional element to your office. Enjoy the benefits of having your favorite books and essentials within easy reach.
With these final touches and adjustments complete, you can now step back and admire your beautifully mounted bookshelves. Enjoy the organized and aesthetically pleasing space they create in your office.
Remember, if you ever need to make changes or relocate the bookshelves, simply follow these steps in reverse order to uninstall them safely. Happy organizing!
Read more: How To Mount A Cabinet To The Wall
Conclusion
Mounting bookshelves on your office walls is a practical and stylish solution for maximizing storage and creating an organized workspace. With the right tools, careful measuring, and secure installation, you can successfully mount bookshelves that not only free up floor space but also add an appealing aesthetic to your office.
Throughout this step-by-step guide, we’ve covered everything you need to know about mounting bookshelves on the wall. From selecting the right location to securing the bookshelves in place, each step has been carefully outlined to ensure a successful installation.
Remember to choose a wall location that provides sufficient space, accessibility, and complements your office’s overall aesthetic. Ensure that the wall is properly prepared by cleaning it and filling any existing holes or imperfections. Measure and mark the positions of the brackets accurately, taking into consideration weight distribution and levelness.
Next, install the brackets securely, aligning them with the marked positions. Lift the bookshelf onto the brackets, ensuring a proper fit and stability. Secure the bookshelves by using wall anchors if needed, and perform final adjustments to ensure levelness and stability.
With the bookshelves securely mounted, add the final touches by organizing your books and items and incorporating decorative elements. Test the functionality of the bookshelves and make any necessary adjustments for a well-organized and aesthetically pleasing office space.
By following these steps, you can successfully mount bookshelves on your office walls and enjoy the benefits of a clutter-free workspace. Whether you’re looking to store books, display decorative items, or keep essential supplies within reach, mounted bookshelves provide a practical and visually appealing solution.
Now it’s time to put your newfound knowledge into action. Gather your tools, select the perfect location, and start the process of mounting your bookshelves on the wall. Enjoy the organized and stylish office space you’ve created!
Frequently Asked Questions about How To Mount Bookshelves On Wall
Was this page helpful?
At Storables.com, we guarantee accurate and reliable information. Our content, validated by Expert Board Contributors, is crafted following stringent Editorial Policies. We're committed to providing you with well-researched, expert-backed insights for all your informational needs.


0 thoughts on “How To Mount Bookshelves On Wall”