Home>Furniture & Design>Living Room Furniture>How To Reupholster A Lazyboy Recliner
Living Room Furniture
How To Reupholster A Lazyboy Recliner
Modified: February 18, 2024
Learn how to reupholster a Lazyboy recliner and give your living room furniture a fresh new look. Discover tips and techniques for furniture and design enthusiasts.
(Many of the links in this article redirect to a specific reviewed product. Your purchase of these products through affiliate links helps to generate commission for Storables.com, at no extra cost. Learn more)
Introduction
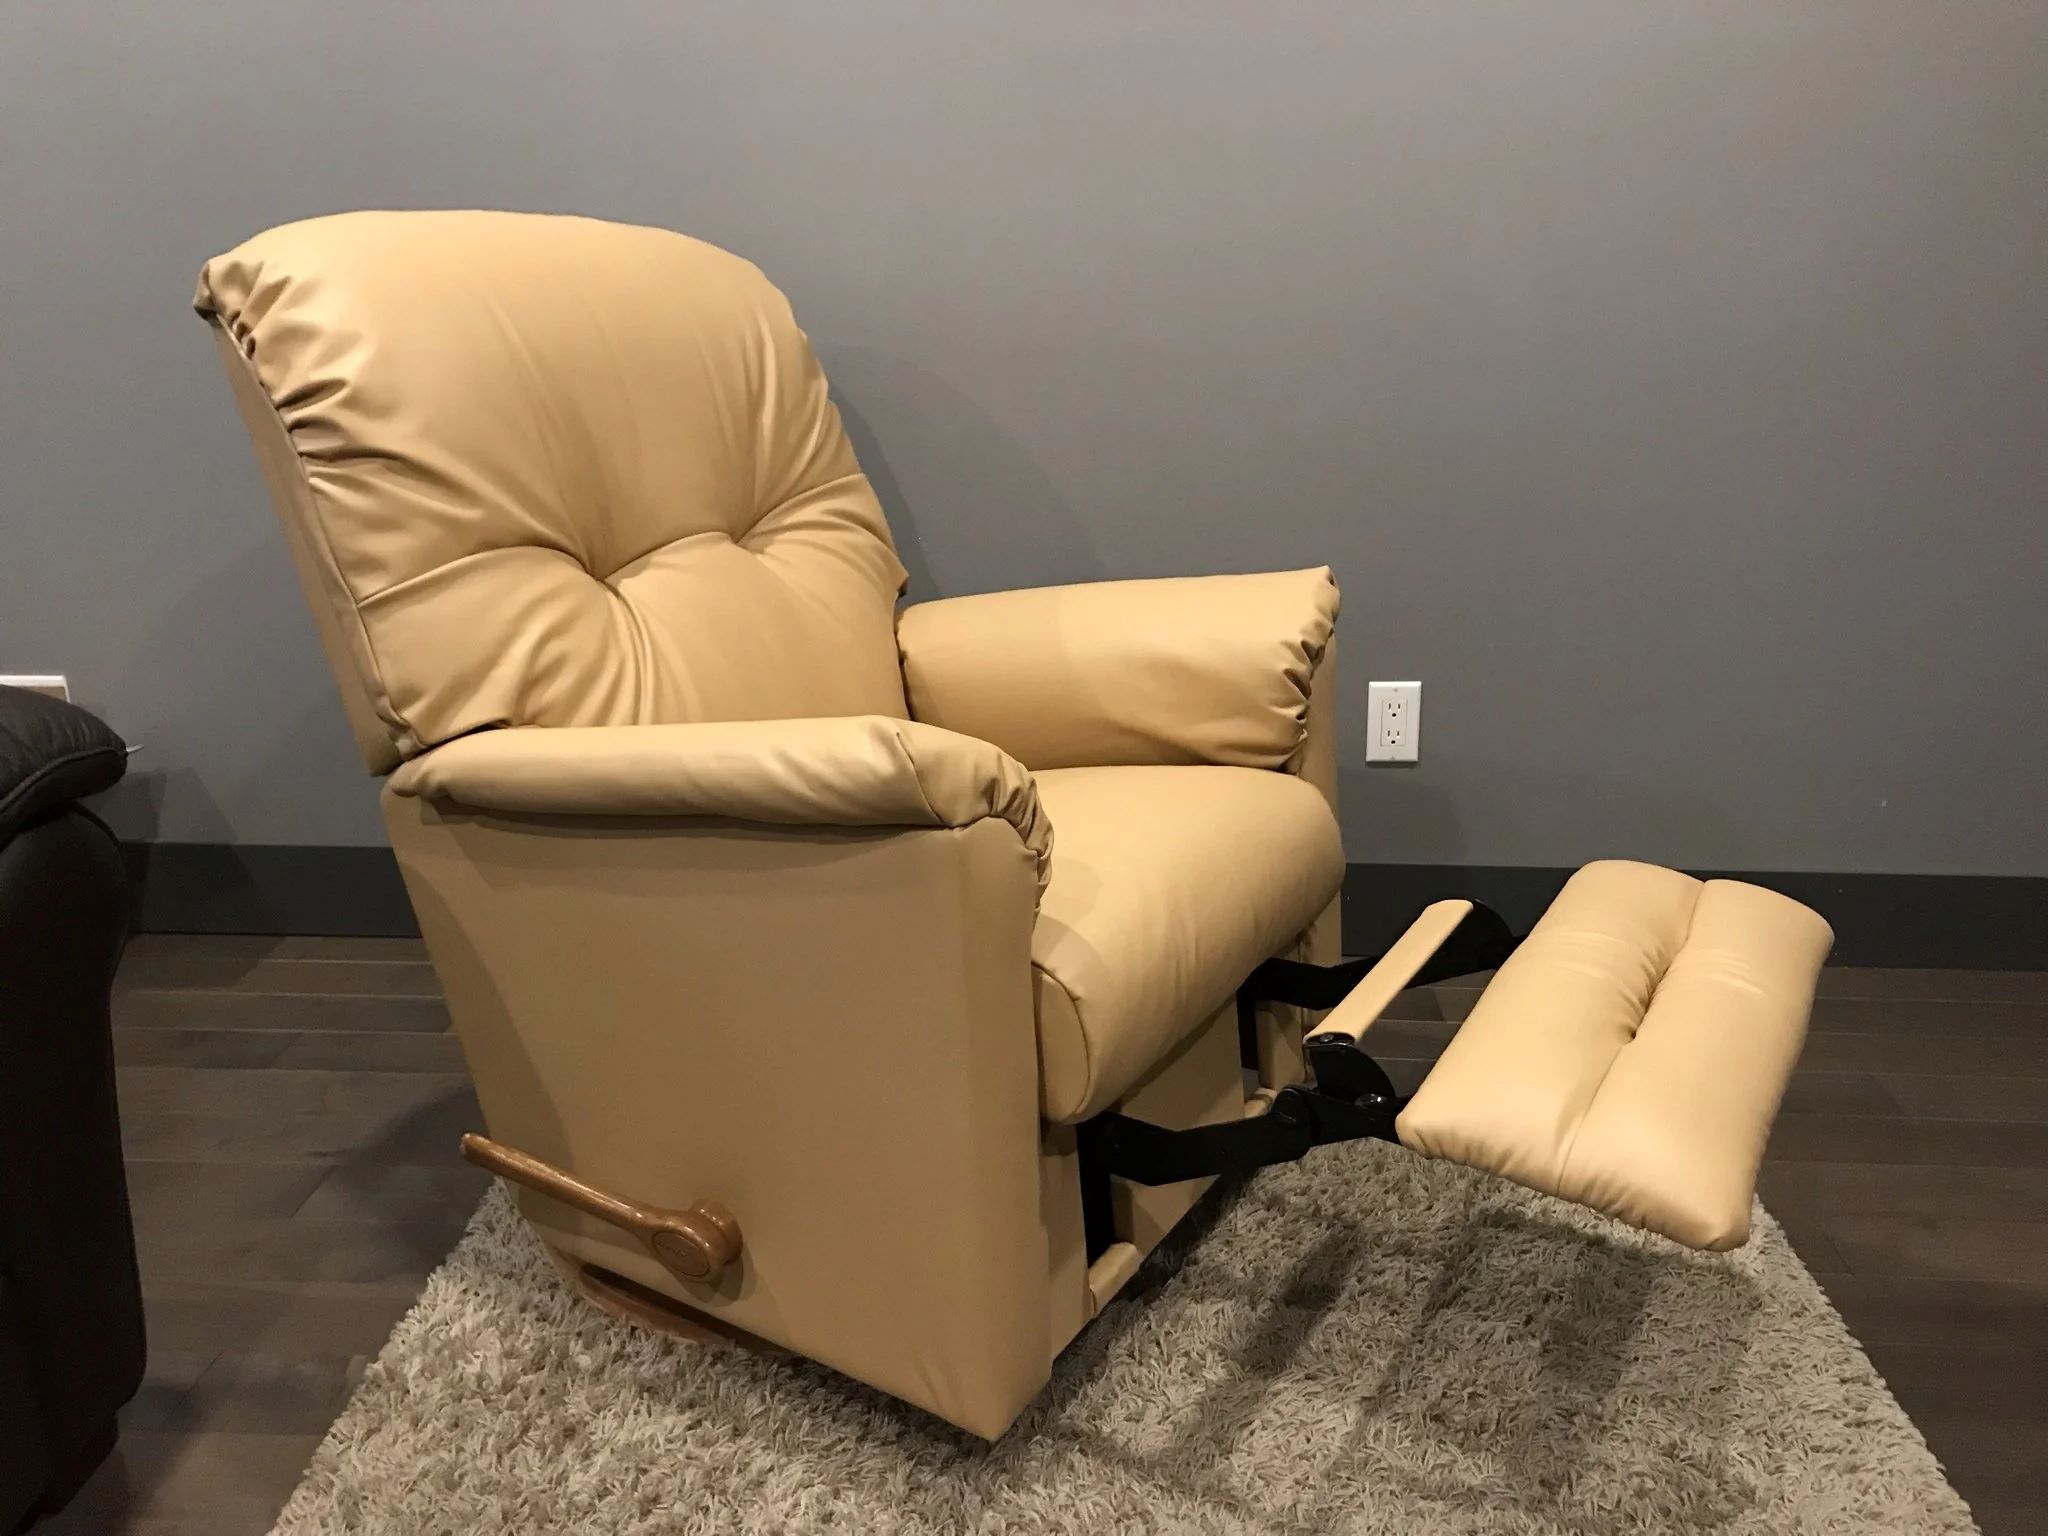
Recliners are often the most coveted piece of furniture in any living room, offering unparalleled comfort and relaxation. However, over time, the upholstery of a beloved Lazyboy recliner may start showing signs of wear and tear, prompting the need for a revamp. While the thought of reupholstering a recliner may seem daunting, it can breathe new life into a cherished piece of furniture, allowing you to customize it to suit your evolving style and preferences. Whether you aim to restore its former glory or embark on a creative makeover, learning how to reupholster a Lazyboy recliner can be a rewarding and cost-effective endeavor.
In this comprehensive guide, we will walk you through the step-by-step process of reupholstering a Lazyboy recliner, from assessing the condition of the existing upholstery to gathering the necessary materials and tools. We will delve into the intricacies of removing the old upholstery, replacing the padding, sewing and attaching new fabric, and finally, reassembling the recliner. By the end of this journey, you will have the knowledge and confidence to breathe new life into your beloved Lazyboy recliner, transforming it into a stunning centerpiece that reflects your personal style and comfort preferences.
Key Takeaways:
- Transform your worn Lazyboy recliner into a personalized masterpiece by reupholstering it with care and attention to detail, infusing renewed comfort and visual allure into your living space.
- Embrace the rewarding journey of reupholstering your Lazyboy recliner, from assessing its condition to meticulously sewing and attaching new fabric, and take pride in the craftsmanship and dedication that have shaped this transformative restoration.
Read more: How To Reupholster A Recliner
Assessing the Recliner
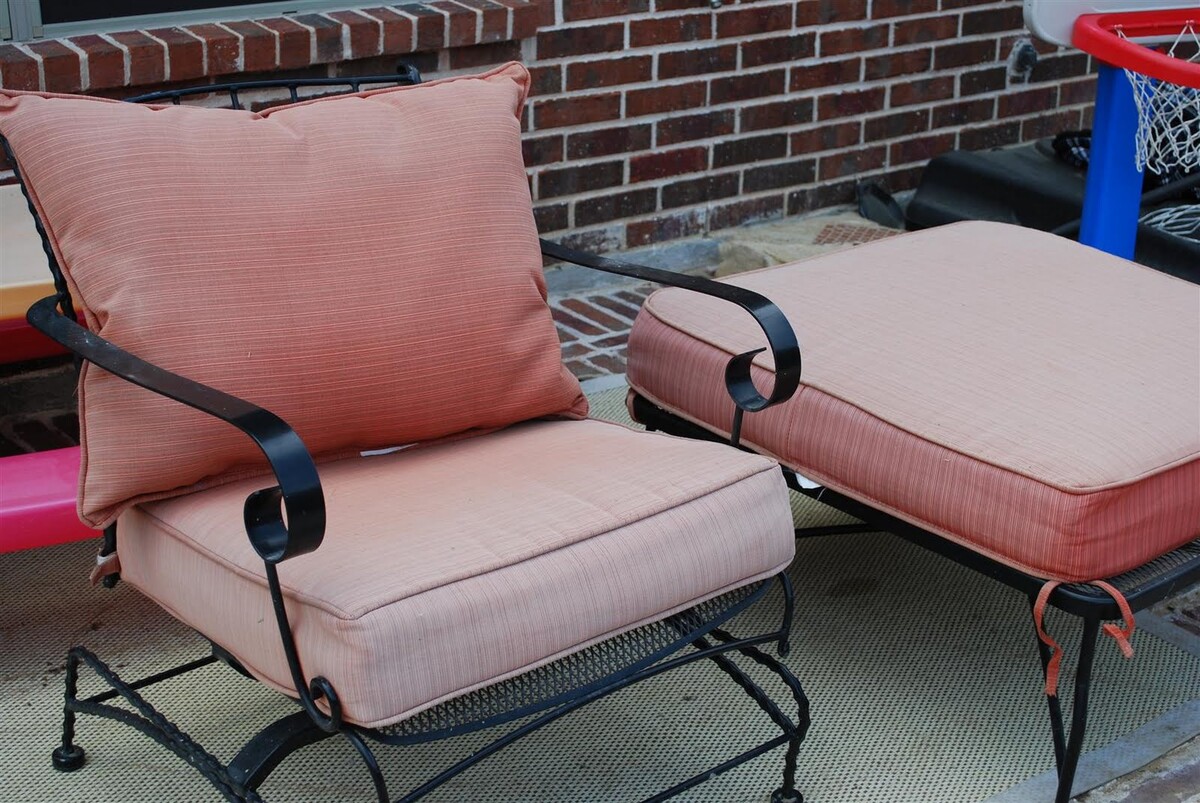
Before embarking on the reupholstering journey, it’s essential to thoroughly assess the condition of your Lazyboy recliner. This initial step will provide valuable insights into the extent of the restoration required and help you determine the best approach for the project.
Begin by carefully examining the existing upholstery, paying close attention to any visible damage, such as tears, fraying, or stains. Take note of the overall structural integrity of the recliner, including the condition of the frame, springs, and padding. Assess whether the reclining mechanism and any other functional components are in good working order. By conducting a comprehensive evaluation, you’ll be able to identify the specific areas that need attention and plan your reupholstering strategy accordingly.
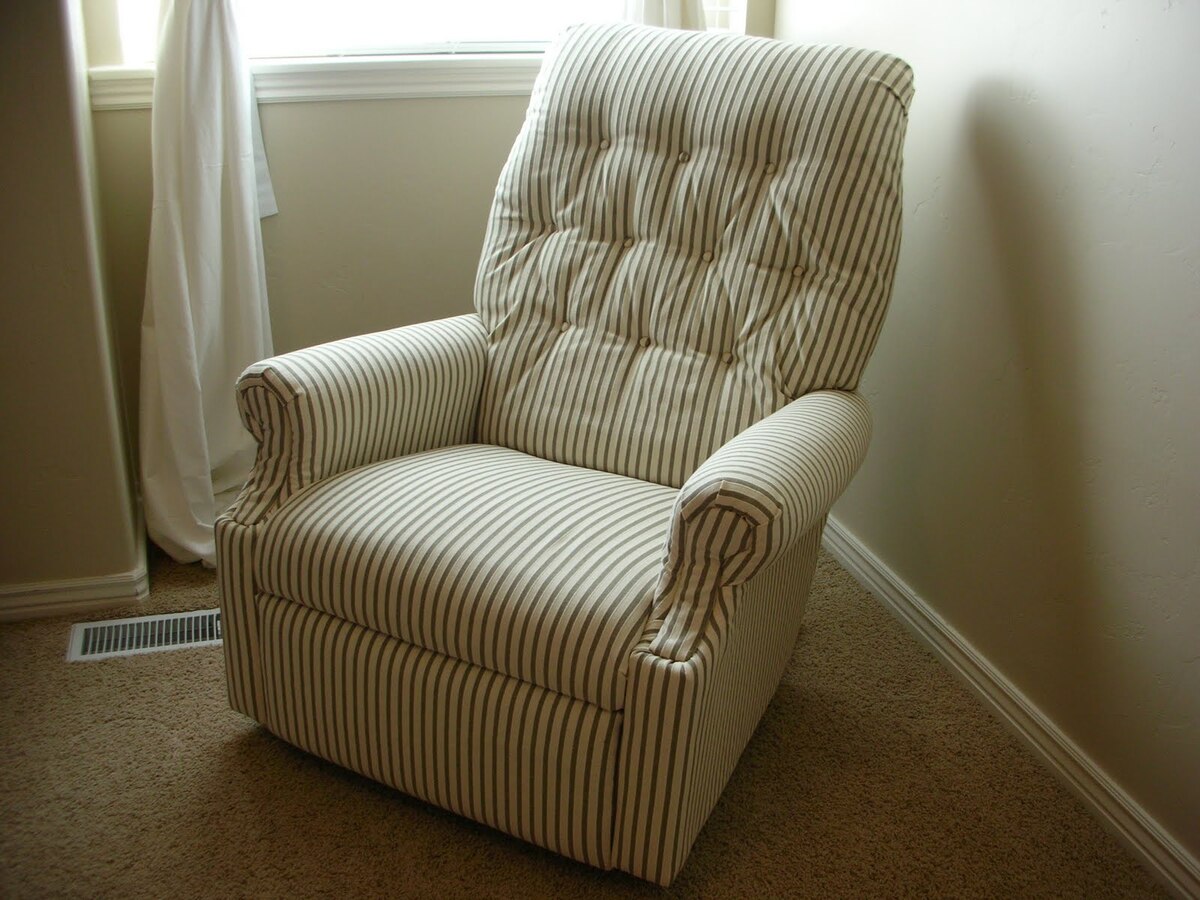
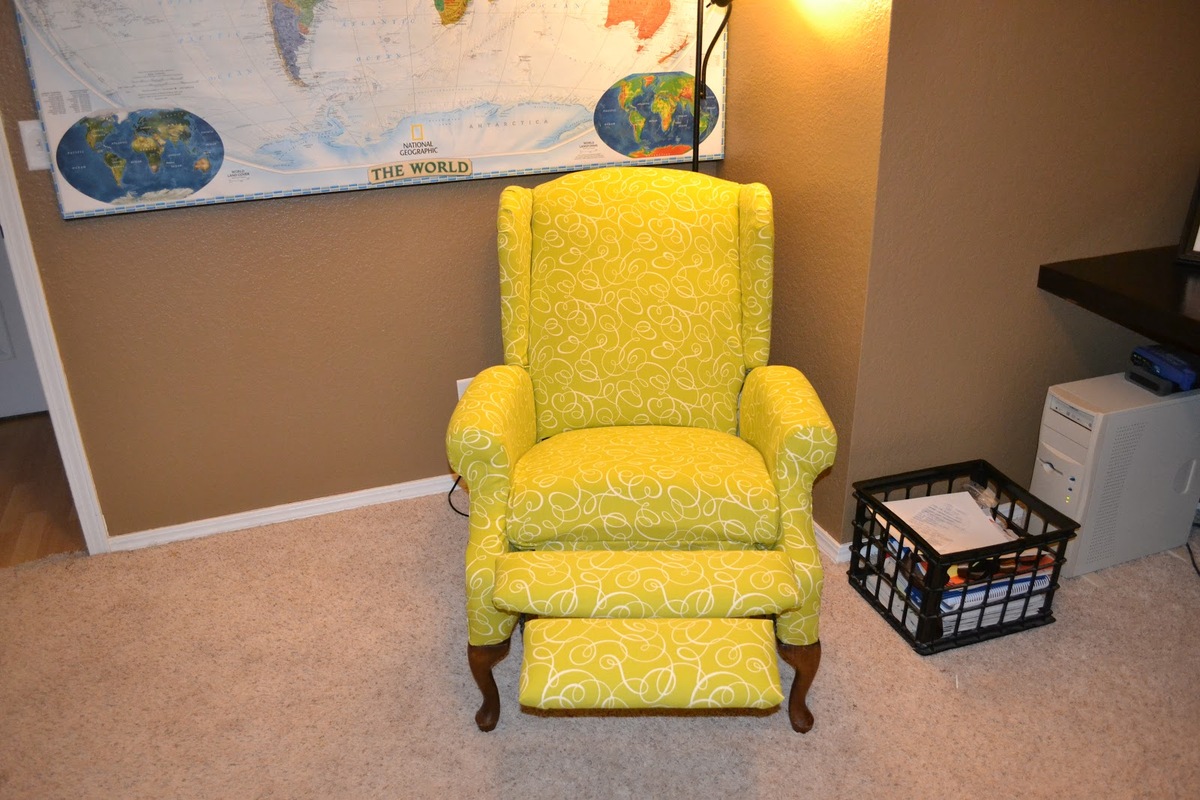
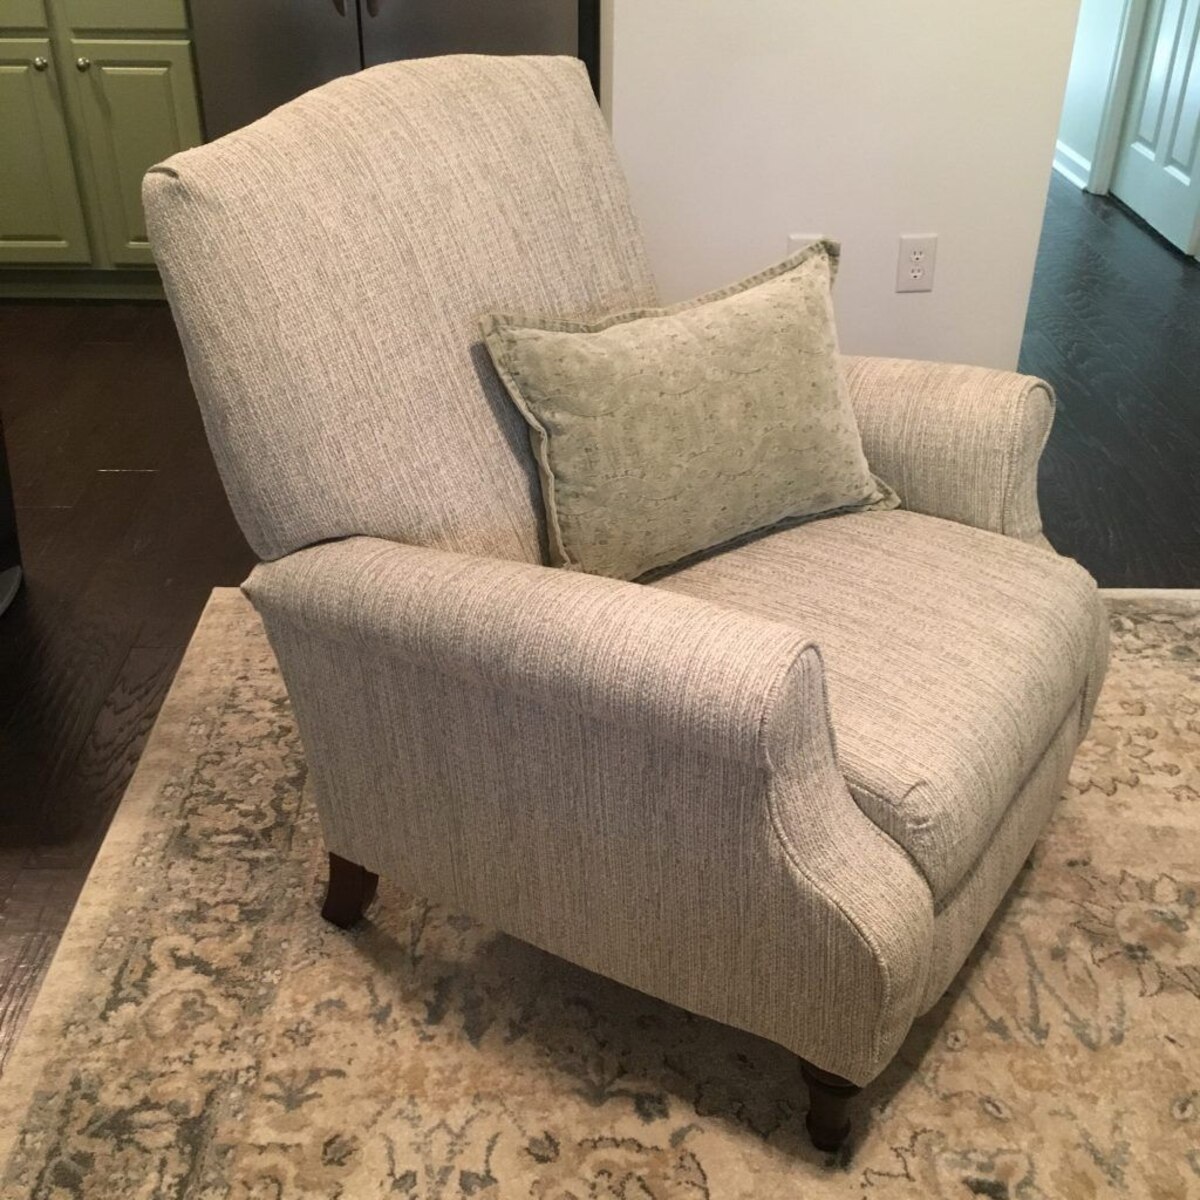
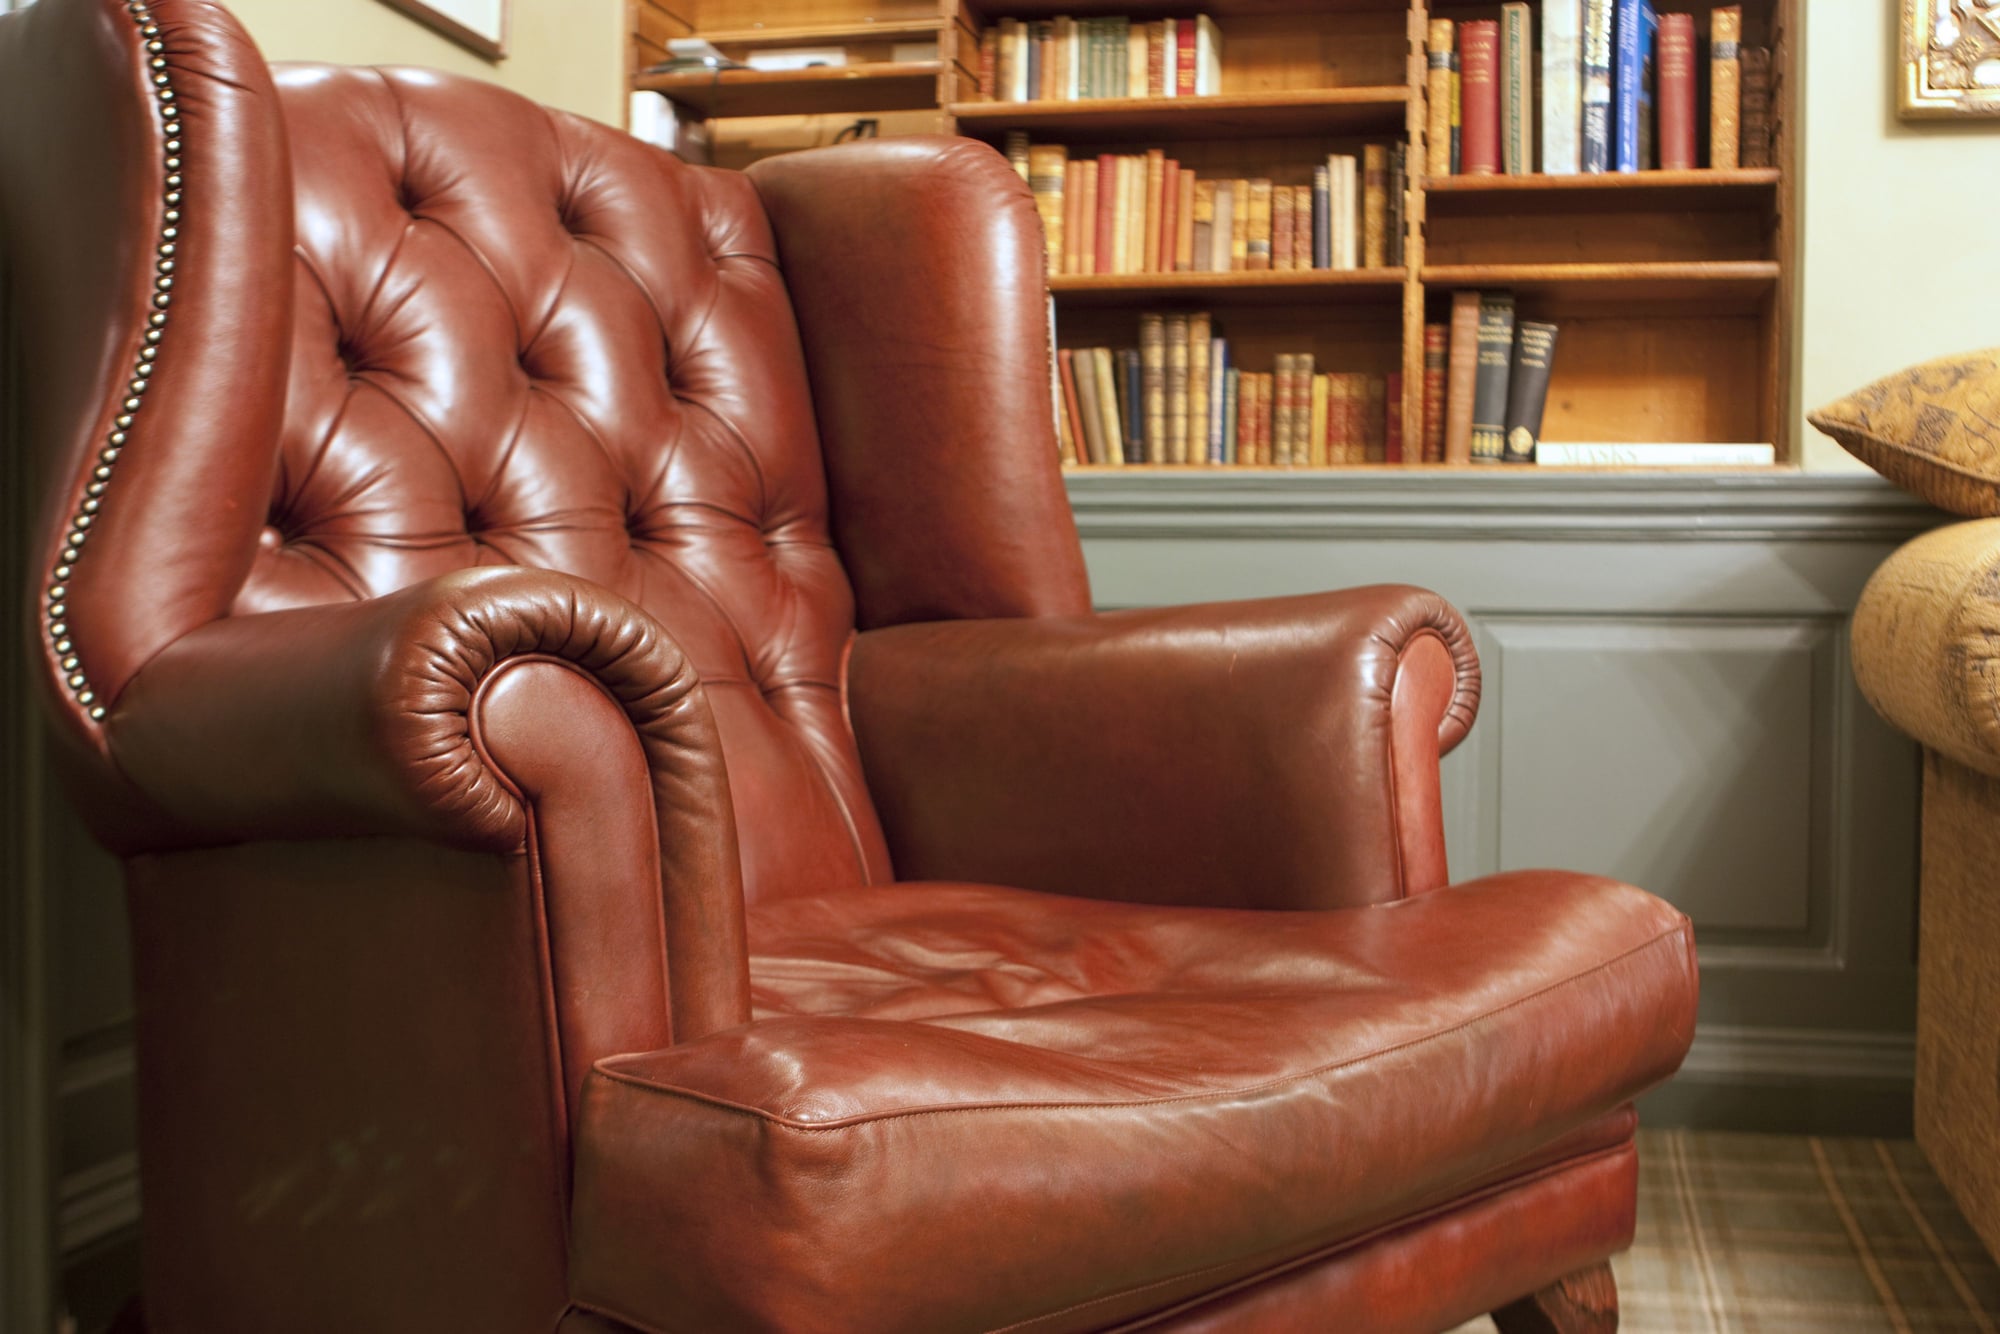
Furthermore, consider the aesthetic aspects of the recliner. Reflect on whether the current fabric aligns with your style preferences and the overall décor of your living space. This assessment presents an opportunity to envision the desired look and feel of the reupholstered recliner, allowing you to explore various fabric options and design possibilities.
Additionally, take measurements of the recliner to determine the amount of fabric and padding required for the reupholstering process. Accurate measurements are crucial for ensuring a precise and professional-looking result. Keep in mind that the fabric’s pattern and texture should complement the recliner’s design and enhance its visual appeal.
By thoroughly assessing the recliner, you’ll gain a comprehensive understanding of the restoration scope, enabling you to make informed decisions regarding the materials, techniques, and overall approach to reupholstering your Lazyboy recliner. This thoughtful evaluation sets the stage for a successful and rewarding reupholstering journey, ensuring that the end result aligns with your vision and exceeds your expectations.
Gathering Materials and Tools
Once you’ve assessed the condition of your Lazyboy recliner and envisioned the desired outcome, it’s time to gather the essential materials and tools necessary for the reupholstering process. Ensuring that you have the right supplies at your disposal is crucial for a smooth and efficient restoration journey.
First and foremost, you’ll need to select the fabric for your recliner’s new upholstery. Consider factors such as durability, color, pattern, and texture to choose a fabric that not only complements your living room’s aesthetic but also withstands the rigors of daily use. Additionally, acquire the necessary padding material, such as foam or batting, to provide comfort and support beneath the new upholstery.
Next, gather basic tools such as a staple gun, heavy-duty staples, fabric scissors, a seam ripper, and upholstery needles. These tools will be instrumental in removing the old upholstery, securing the new fabric, and achieving clean, professional-looking seams. Additionally, consider investing in a sturdy sewing machine if your reupholstering project involves sewing new covers or making intricate fabric adjustments.
Depending on the condition of the recliner’s padding, you may need to replenish or replace it. This may involve acquiring additional foam or batting to restore the recliner’s plushness and ensure optimal comfort. Furthermore, if any structural repairs are necessary, such as addressing sagging springs or reinforcing the frame, gather the appropriate materials for these tasks, which may include webbing, spring clips, or wood glue.
It’s also advisable to have a well-ventilated workspace equipped with a clean, flat surface for laying out the fabric and working on the recliner. Adequate lighting and ventilation are essential for precision and comfort during the reupholstering process.
By meticulously gathering the required materials and tools, you’ll set the stage for a successful and gratifying reupholstering experience. This thoughtful preparation ensures that you have everything you need to embark on the journey of transforming your Lazyboy recliner into a stunning, personalized masterpiece that seamlessly integrates with your living room’s ambiance.
Removing the Old Upholstery
The process of reupholstering a Lazyboy recliner commences with the meticulous removal of the old upholstery. This step is essential for preparing the foundation upon which the new fabric and padding will be applied, ensuring a flawless and long-lasting result.
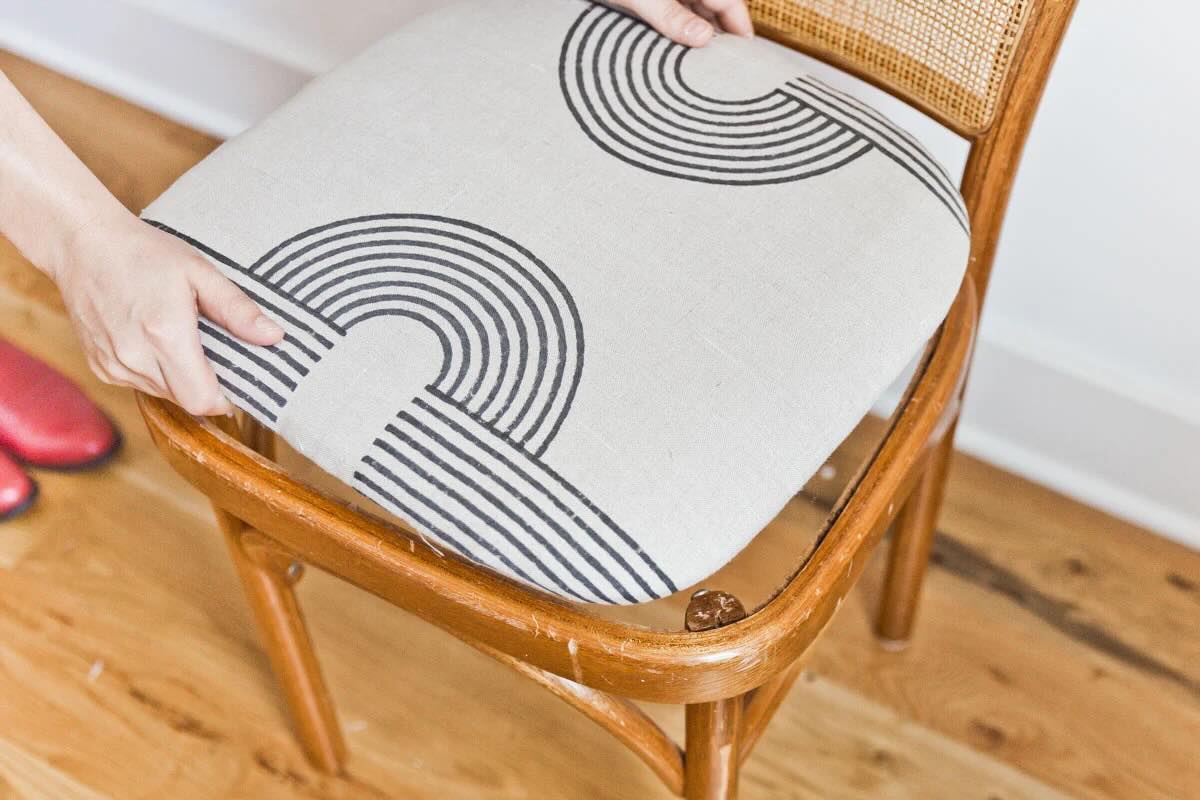
Begin by carefully inspecting the recliner to identify the attachment points of the existing fabric. Using a seam ripper or a similar tool, delicately detach the fabric from these points, taking care not to damage the underlying padding or frame. As you gradually separate the fabric from the recliner, keep track of the order in which the pieces are removed, making note of any fasteners or securing mechanisms that may be concealed within the upholstery.
Once the fabric is detached, assess the condition of the underlying padding and address any areas that may require replenishment or repair. This may involve replacing worn or flattened foam with fresh padding to restore the recliner’s comfort and support. Additionally, inspect the frame and any structural components for signs of wear or damage, addressing any issues that may compromise the recliner’s stability or functionality.
As you remove the old upholstery, take the opportunity to thoroughly clean and inspect the recliner’s frame and components, ensuring that it is free from debris and any hidden damage that may have been concealed by the previous upholstery. This step sets the stage for a fresh start, allowing you to work on a clean and well-prepared surface as you proceed with the reupholstering process.
Throughout the removal of the old upholstery, exercise patience and precision to avoid causing inadvertent damage to the recliner’s structure. Take note of how the original fabric was attached and the sequence in which it was assembled, as this knowledge will be invaluable when securing the new upholstery. By methodically removing the old fabric and attending to the recliner’s underlying components, you pave the way for a seamless and professional reupholstering experience, ensuring that the end result exceeds expectations and breathes new life into your beloved Lazyboy recliner.
When reupholstering a Lazyboy recliner, make sure to carefully remove the old fabric and take note of how it was attached. This will make it easier to reupholster and ensure a professional finish.
Replacing the Padding
After removing the old upholstery from your Lazyboy recliner, the next crucial step in the reupholstering process involves replacing or replenishing the padding to ensure optimal comfort and support. This step is instrumental in revitalizing the recliner and enhancing its overall functionality and appeal.
Begin by assessing the condition of the existing padding, including the foam, batting, and any other supportive materials. If the padding shows signs of wear, flattening, or deterioration, it’s essential to replenish it with fresh, high-quality padding to restore the recliner’s plushness and resilience. Measure and cut the new padding to fit the contours of the recliner’s frame, ensuring a precise and snug fit that lays the foundation for a comfortable and inviting seating experience.
When replacing the padding, pay close attention to areas that experience the most wear, such as the seat and armrests, ensuring that these regions receive ample support and cushioning. Additionally, consider the density and thickness of the padding, tailoring it to your personal comfort preferences and the specific requirements of the recliner’s design.
As you install the new padding, take the opportunity to address any structural issues or deficiencies that may have been revealed during the assessment process. This may involve reinforcing the frame, repairing sagging springs, or addressing any other underlying concerns that could compromise the recliner’s stability and longevity.
Furthermore, ensure that the new padding is securely affixed to the recliner’s frame, providing a stable and uniform foundation for the subsequent application of the new upholstery. By meticulously attending to the padding replacement process, you lay the groundwork for a rejuvenated and exceptionally comfortable recliner that embodies both durability and luxury.
Ultimately, the meticulous replacement of the recliner’s padding is pivotal in elevating its overall comfort and functionality, setting the stage for the transformative application of the new upholstery. By investing care and attention into this essential step, you ensure that your reupholstered Lazyboy recliner not only exudes visual allure but also delivers an unparalleled seating experience that enriches your daily relaxation and leisure moments.
Read more: How To Reupholster A Leather Recliner
Sewing and Attaching New Fabric
As you embark on the exhilarating journey of reupholstering your beloved Lazyboy recliner, the process of sewing and attaching the new fabric marks a pivotal stage in the transformation of this cherished piece of furniture. This step allows you to infuse your personal style and creativity into the recliner, culminating in a stunning and customized masterpiece that harmonizes with your living room’s ambiance.
Begin by laying out the new fabric in a clean and well-lit workspace, ensuring that it is free from wrinkles and creases. If your reupholstering project involves sewing new covers or making intricate adjustments to the fabric, carefully measure and cut the material with precision, accounting for seam allowances and any pattern alignment requirements. This meticulous preparation sets the stage for a seamless and professional-looking result.
If sewing is involved in the reupholstering process, use a sturdy sewing machine equipped with a heavy-duty needle suitable for upholstery fabric. Select a thread color that complements the fabric and aligns with your aesthetic vision for the recliner. Ensure that the stitches are even and secure, providing structural integrity and visual appeal to the reupholstered components.
As you sew the fabric to create new covers or address specific sections of the recliner, pay close attention to pattern alignment and seam consistency, ensuring a cohesive and visually pleasing result that reflects your attention to detail and craftsmanship. If intricate adjustments or fabric manipulation are required to accommodate the recliner’s contours and design elements, approach these tasks with patience and precision, striving for a flawless and tailored fit.
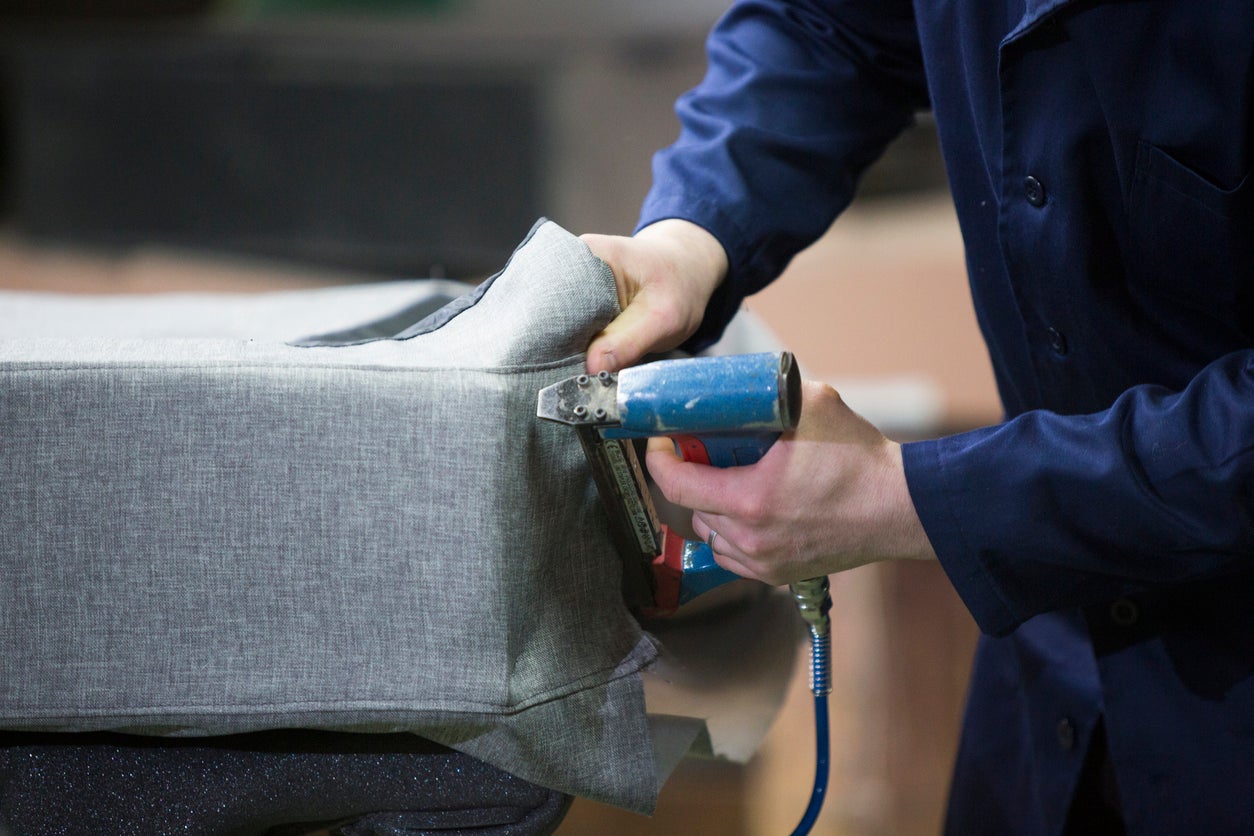
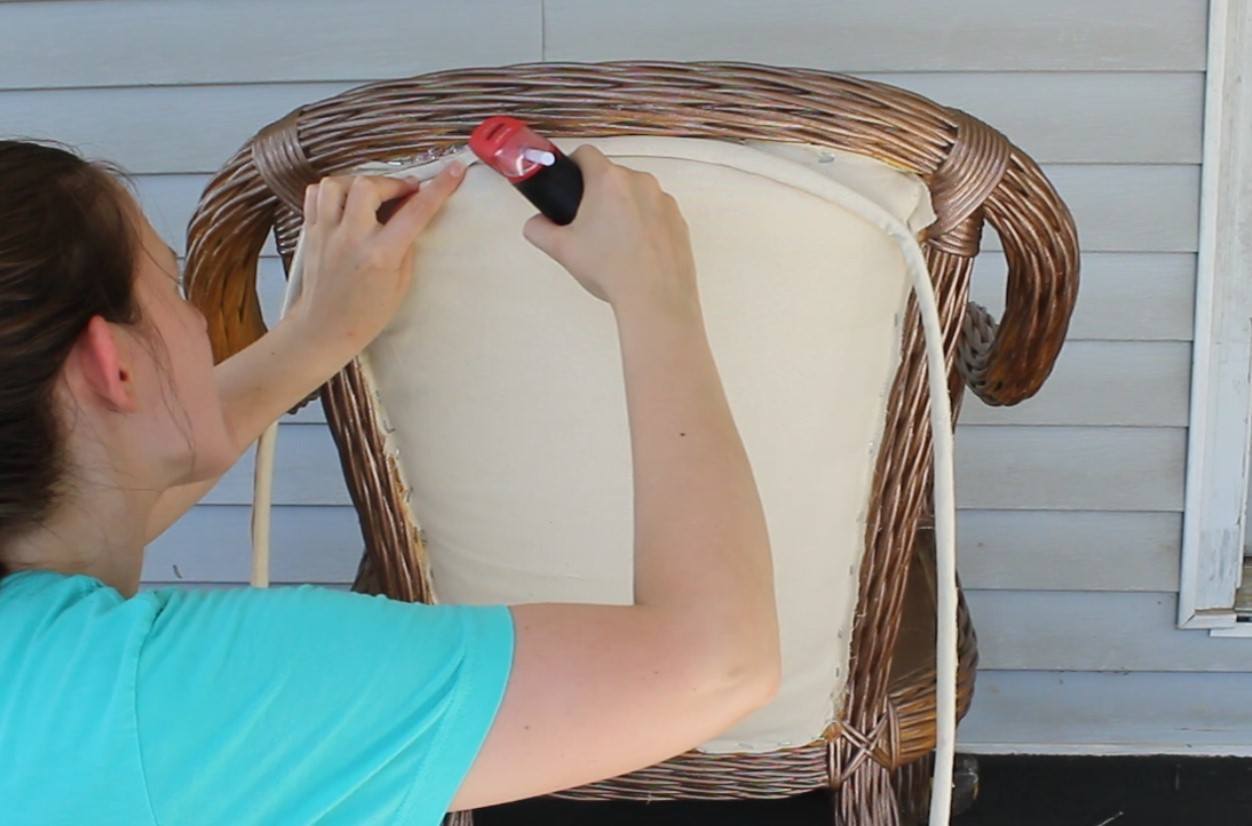
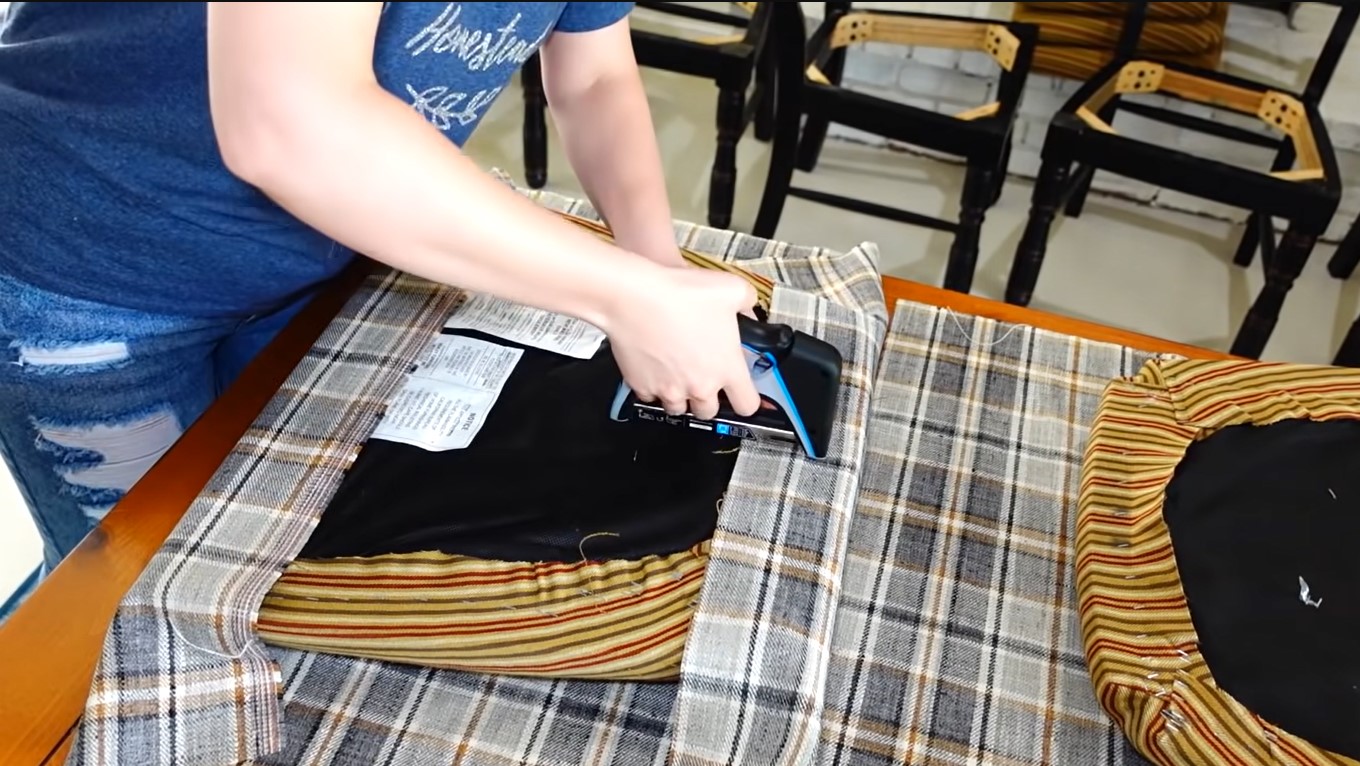
Once the sewing process is complete, it’s time to attach the new fabric to the recliner’s frame, using a staple gun and heavy-duty staples to secure the material in place. Exercise care and precision as you affix the fabric, ensuring that it is taut and free from wrinkles or unevenness. Pay particular attention to corners and curves, meticulously folding and securing the fabric to achieve clean and professional-looking seams.
By meticulously sewing and attaching the new fabric, you infuse your personalized touch into the reupholstering process, transforming your Lazyboy recliner into a stunning and bespoke centerpiece that reflects your style preferences and attention to detail. This transformative stage elevates the recliner from a beloved piece of furniture to a personalized work of art, enriching your living room’s ambiance and providing a source of pride and comfort for years to come.
Reassembling the Recliner
As the exhilarating journey of reupholstering your Lazyboy recliner nears its culmination, the final and pivotal step involves reassembling the various components to restore the recliner to its former glory, or perhaps even elevate it to new heights of comfort and visual allure. This transformative process brings together the meticulous restoration work, craftsmanship, and creative vision, culminating in a revitalized and personalized masterpiece that seamlessly integrates with your living room’s ambiance.
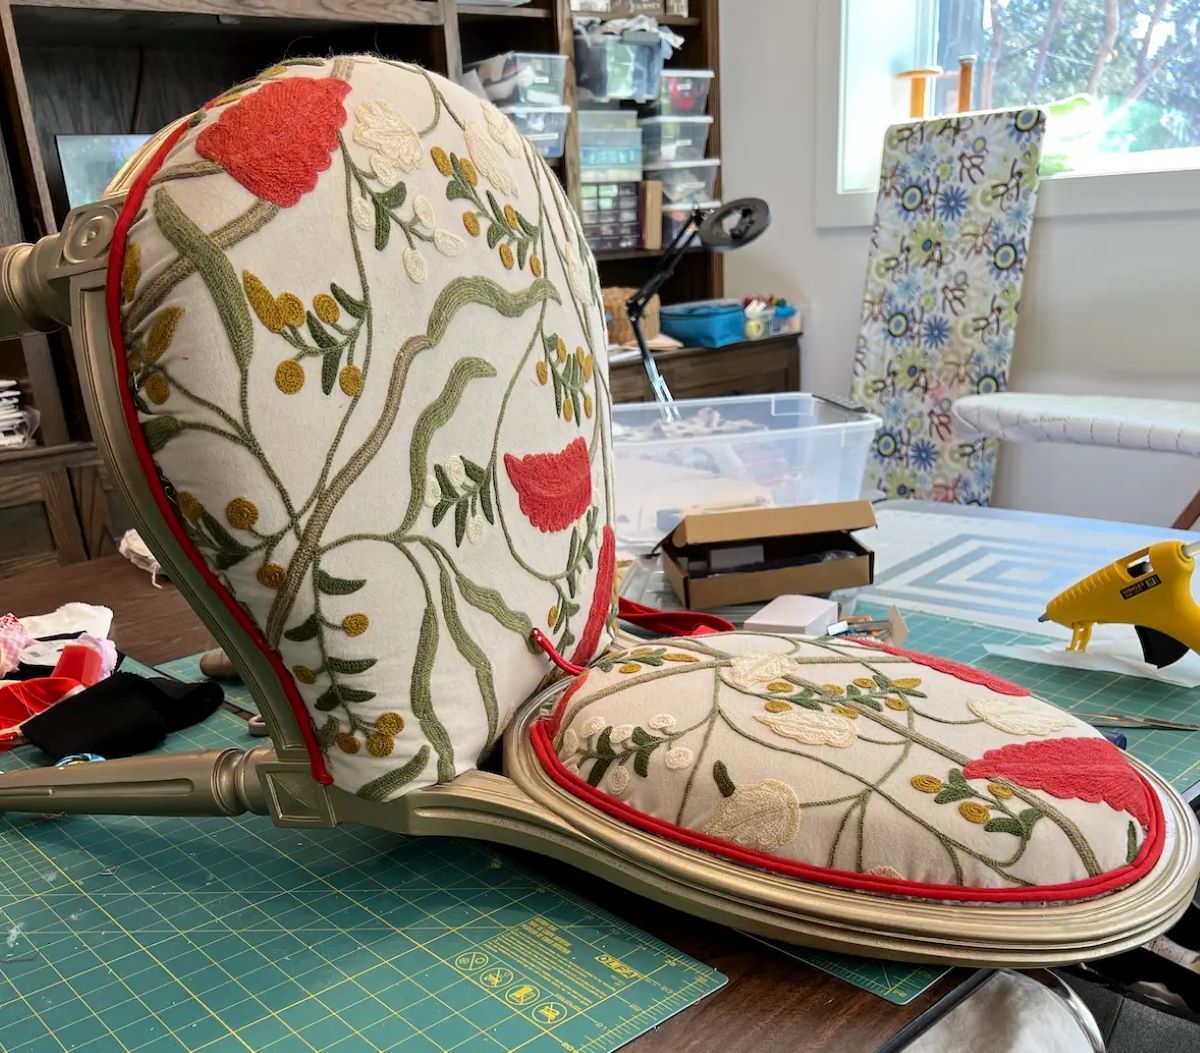
Begin by systematically reattaching the newly upholstered components to the recliner’s frame, ensuring that each piece aligns with the original configuration and attachment points. Exercise care and precision as you secure the fabric, padding, and any additional elements, such as armrest covers or decorative trims, ensuring a snug and uniform fit that reflects the culmination of your dedicated reupholstering efforts.
As you reassemble the recliner, pay close attention to the details, ensuring that seams are aligned, corners are neatly folded, and fabric tension is consistent throughout the reupholstered components. Take the opportunity to make any final adjustments or refinements, ensuring that the recliner exudes a flawless and professional finish that exceeds your expectations.
If the reupholstering process involved the removal of functional components, such as the reclining mechanism or any other integrated features, meticulously reinstall these elements, ensuring that they operate smoothly and seamlessly. Test the functionality of the recliner, ensuring that it reclines, extends, and returns to the upright position with ease, reflecting the successful integration of both aesthetic and functional restoration efforts.
Throughout the reassembly process, reflect on the transformative journey that has revitalized your Lazyboy recliner, infusing it with renewed comfort, visual allure, and personalized charm. Embrace the sense of accomplishment as you witness the recliner’s metamorphosis from a cherished but worn piece of furniture to a stunning and bespoke centerpiece that enriches your living space.
Ultimately, reassembling the recliner represents the culmination of your reupholstering endeavors, breathing new life into a beloved piece of furniture and infusing it with your personal style and attention to detail. As you behold the completed recliner, take pride in the craftsmanship and dedication that have shaped this transformative restoration, knowing that it will continue to provide comfort, beauty, and joy for years to come.
Conclusion
The journey of reupholstering a Lazyboy recliner is a testament to the transformative power of craftsmanship, creativity, and personalization. As you reach the conclusion of this rewarding endeavor, you stand on the threshold of enjoying a revitalized and personalized masterpiece that embodies both comfort and visual allure, seamlessly integrating with your living room’s ambiance.
Throughout this comprehensive guide, you’ve embarked on a step-by-step exploration of the reupholstering process, from assessing the recliner’s condition to meticulously sewing and attaching the new fabric. Each stage of this journey has been infused with care, attention to detail, and a personalized touch, culminating in a reassembled recliner that reflects your style preferences and craftsmanship.
By meticulously assessing the recliner, gathering the essential materials and tools, removing the old upholstery, replacing the padding, and meticulously sewing and attaching the new fabric, you’ve breathed new life into a cherished piece of furniture, infusing it with renewed comfort and visual allure.
As you behold the completed recliner, take pride in the craftsmanship and dedication that have shaped this transformative restoration, knowing that it will continue to provide comfort, beauty, and joy for years to come. The reupholstered Lazyboy recliner now stands as a testament to your creativity, vision, and dedication, serving as a stunning and bespoke centerpiece that enriches your living space.
Embrace the sense of accomplishment that accompanies this journey, knowing that the revitalized recliner is a reflection of your dedication to preserving and enhancing the comfort and beauty of your living space. Whether you’ve restored its original allure or embarked on a creative makeover, the reupholstered Lazyboy recliner now embodies your unique style and attention to detail, enriching your daily relaxation and leisure moments.
As you settle into the inviting comfort of your reupholstered recliner, bask in the satisfaction of a successful restoration journey, knowing that your dedication and craftsmanship have transformed a beloved piece of furniture into a personalized work of art that will continue to inspire comfort and joy for years to come.
Frequently Asked Questions about How To Reupholster A Lazyboy Recliner
Was this page helpful?
At Storables.com, we guarantee accurate and reliable information. Our content, validated by Expert Board Contributors, is crafted following stringent Editorial Policies. We're committed to providing you with well-researched, expert-backed insights for all your informational needs.
0 thoughts on “How To Reupholster A Lazyboy Recliner”