Home>Furniture & Design>Living Room Furniture>How To Whitewash A Dining Table


Living Room Furniture
How To Whitewash A Dining Table
Published: January 4, 2024
Learn how to whitewash a dining table to give your living room furniture a fresh and stylish look. Follow our step-by-step guide for a beautiful furniture and design transformation.
(Many of the links in this article redirect to a specific reviewed product. Your purchase of these products through affiliate links helps to generate commission for Storables.com, at no extra cost. Learn more)
Introduction
So, you've decided to give your dining table a fresh, new look. Whitewashing is an excellent way to breathe new life into your furniture, adding a touch of rustic charm and elegance to your dining room. Whether your table is made of wood, veneer, or even laminate, whitewashing can transform its appearance, creating a beautiful, weathered effect that complements various interior design styles.
Whitewashing a dining table is a creative and budget-friendly project that allows you to unleash your inner DIY enthusiast. By following a few simple steps, you can achieve stunning results and revitalize your dining space without breaking the bank. This article will guide you through the process, from preparing the table for whitewashing to applying the final sealant.
So, roll up your sleeves, gather your materials, and get ready to embark on a rewarding journey of furniture transformation. With a bit of patience and a sprinkle of creativity, you'll soon be enjoying the charming allure of a whitewashed dining table in your home.
Key Takeaways:
- Transform your dining table with a charming whitewash, adding rustic elegance to your home. Follow the step-by-step guide for stunning results and a budget-friendly DIY project.
- Infuse your dining space with timeless charm by whitewashing your table. Embrace creativity, attention to detail, and protective sealant for a captivating and enduring centerpiece.
Step 1: Prepare the Dining Table
Before diving into the whitewashing process, it’s crucial to prepare the dining table to ensure optimal results. Start by clearing the table of any items, such as dinnerware, centerpieces, or tablecloths. This will provide a clean and unobstructed surface for the whitewashing procedure.
Next, thoroughly clean the table to remove any dust, dirt, or grime. Use a gentle wood cleaner or a mixture of mild soap and water to wipe down the surface, ensuring that it is free from any residues that could interfere with the whitewashing process. Once the table is clean, allow it to dry completely before proceeding to the next step.
Inspect the table for any existing finish, such as varnish or polyurethane. If the table has a glossy or sealed surface, it’s essential to remove the finish to allow the whitewash to adhere properly. You can use a chemical stripper or sandpaper to eliminate the existing finish, ensuring that the table’s surface is smooth and ready for the whitewashing treatment.
Additionally, if there are any imperfections, scratches, or dents on the table’s surface, consider addressing them at this stage. Lightly sanding any rough areas or blemishes will help create a uniform and flawless base for the whitewash, ultimately enhancing the overall aesthetic appeal of the finished product.
By diligently preparing the dining table, you are setting the stage for a successful whitewashing endeavor. Taking the time to clean, inspect, and smooth the table’s surface will contribute to a professional-looking outcome, ensuring that the whitewash adheres evenly and beautifully to your beloved dining table.
Step 2: Sand the Surface
Once the dining table is thoroughly prepared, the next crucial step in the whitewashing process is to sand the surface. Sanding serves multiple purposes, including creating a smooth and uniform texture, removing any remaining finish, and promoting better adherence of the whitewash.
Begin by selecting the appropriate sandpaper grit for the job. For initial sanding to remove the existing finish and smooth out imperfections, a medium-grit sandpaper, such as 120-grit, is recommended. If the table’s surface is in relatively good condition and only requires light sanding, you may opt for a finer grit, such as 220-grit, to achieve a polished and even texture.
Gently sand the entire surface of the dining table, following the natural grain of the wood. This step is crucial for promoting adhesion and ensuring that the whitewash will penetrate the wood effectively. Pay particular attention to any rough spots, scratches, or areas with residual finish, as these may hinder the whitewashing process if left unaddressed.
After sanding, use a clean, dry cloth or a tack cloth to remove any dust or debris from the table’s surface. It’s essential to eliminate all sanding residue to achieve a pristine foundation for the whitewashing stage. Thoroughly inspect the table to ensure that it is smooth, free of imperfections, and ready for the next phase of the whitewashing process.
By meticulously sanding the dining table, you are not only preparing the surface for the whitewash but also enhancing the overall quality and appearance of the finished product. This step sets the stage for a flawless and professional-looking whitewashed dining table that will be a stunning centerpiece in your home.
Step 3: Apply the Whitewash
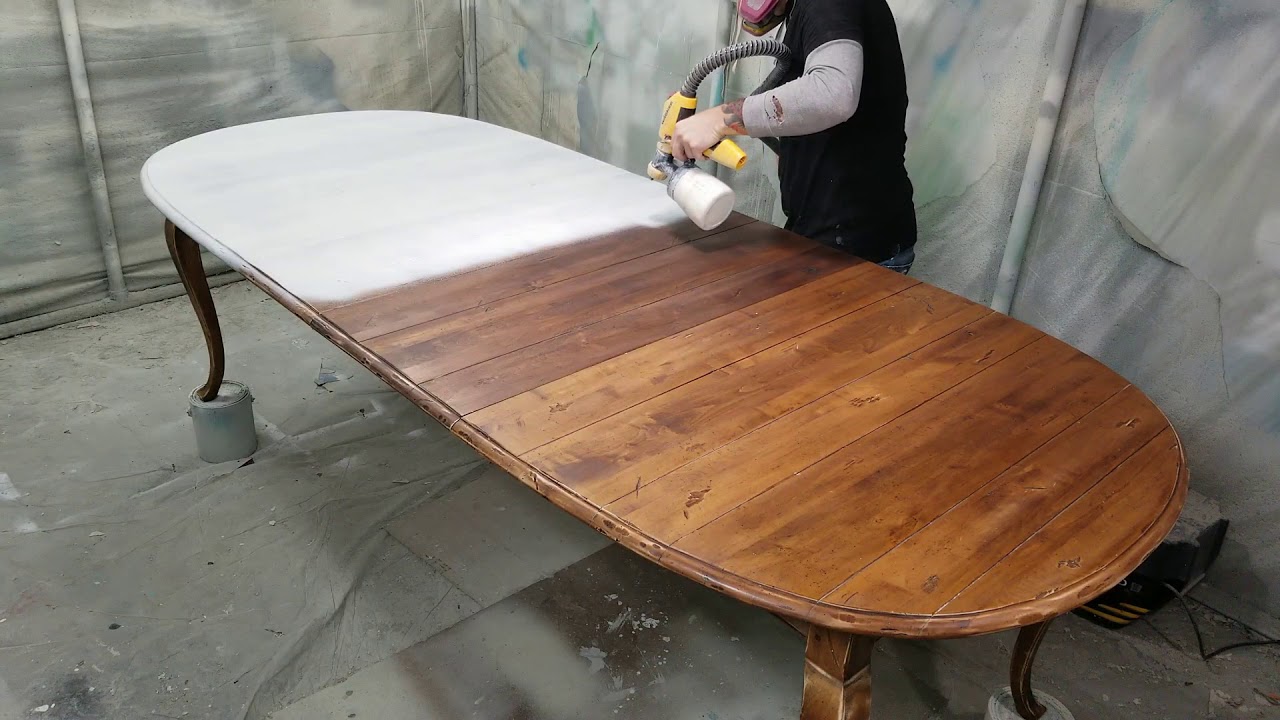
With the dining table meticulously prepared and the surface sanded to perfection, it’s time to embark on the transformative process of applying the whitewash. The whitewashing technique involves applying a semi-transparent coating that subtly alters the appearance of the wood, creating a charming, weathered effect that exudes rustic elegance.
Before applying the whitewash, it’s essential to select the appropriate product for the task. Whitewash can be achieved using various methods, such as diluting white paint with water or using specialized whitewashing products available in hardware or paint stores. Choose a whitewash solution that aligns with your desired aesthetic and the type of wood or surface you are working with.
To apply the whitewash, use a brush, rag, or sponge, depending on the level of control and coverage you prefer. Begin by working in small sections, applying the whitewash evenly along the grain of the wood. As you work, blend the whitewash into the wood, ensuring that it permeates the surface and achieves the desired level of opacity.
Keep in mind that the beauty of whitewashing lies in its versatility. You can adjust the intensity of the whitewash by applying additional coats or diluting the solution further, allowing you to customize the appearance of the dining table to suit your preferences. Whether you opt for a subtle, translucent effect or a more pronounced whitewashed finish, the application process offers room for creative expression.
As you apply the whitewash, step back periodically to assess the overall effect and make adjustments as needed. Pay attention to the coverage, ensuring that the whitewash enhances the natural beauty of the wood while achieving the desired weathered appearance. Take your time during this stage, as the application process plays a pivotal role in determining the final look of the whitewashed dining table.
By skillfully applying the whitewash, you are infusing your dining table with character and charm, elevating its visual appeal and imparting a touch of timeless elegance to your living space. This step marks a significant milestone in the whitewashing journey, bringing you closer to the realization of a stunning, revitalized dining table.
Before whitewashing your dining table, make sure to sand it down to remove any existing finish. This will help the whitewash adhere better and give a smoother finish.
Step 4: Wipe Off the Excess
After applying the whitewash to your dining table, the next crucial step involves removing any excess or unevenly distributed whitewash to achieve the desired aesthetic. Wiping off the excess whitewash allows you to refine the appearance of the wood, ensuring that the weathered effect is consistent and visually appealing.
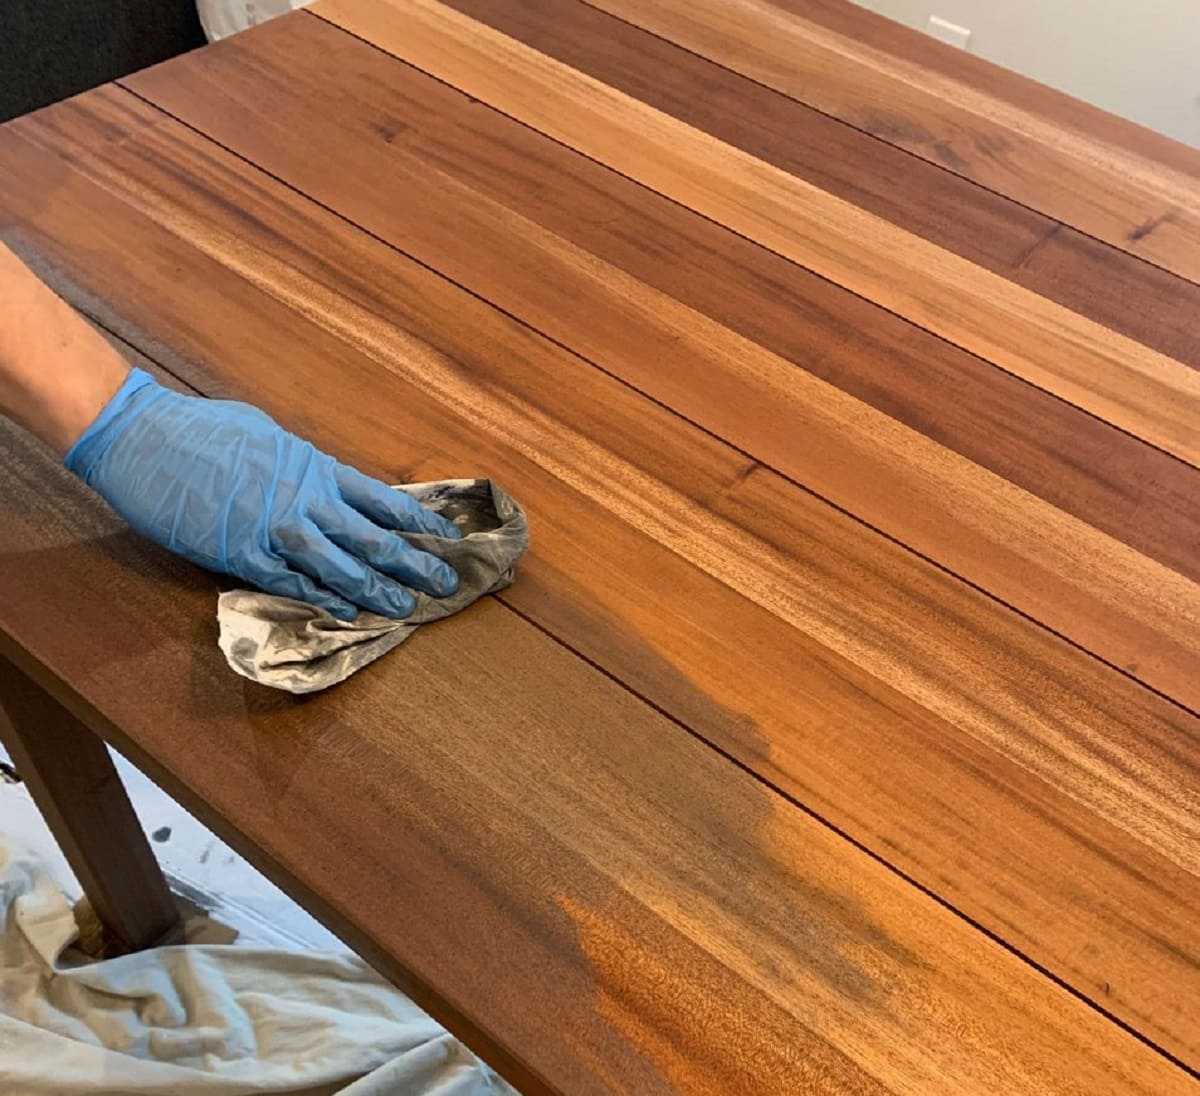
Using a clean, dry cloth or rag, gently wipe the surface of the dining table to remove any excess whitewash. It’s important to work methodically, paying attention to detail as you carefully blend and distribute the whitewash to achieve a balanced and harmonious look. This process allows you to control the intensity and distribution of the whitewash, ensuring that it enhances the natural beauty of the wood.
As you wipe off the excess whitewash, periodically step back and assess the overall appearance of the table. This will enable you to identify any areas that may require further adjustment or blending. By taking a deliberate and attentive approach, you can ensure that the whitewash complements the wood’s grain and texture, resulting in a captivating and cohesive finish.
Depending on your desired level of weathering and transparency, you may choose to leave a subtle amount of whitewash residue in certain areas to accentuate the wood’s character. This artistic decision allows you to personalize the appearance of the dining table, infusing it with a unique and enchanting allure that reflects your individual style.
By meticulously wiping off the excess whitewash, you are refining the visual impact of the dining table, creating a cohesive and captivating weathered effect that enhances the overall ambiance of your dining space. This step brings you closer to the realization of a beautifully whitewashed dining table that exudes timeless charm and elegance.
Read more: How To Whitewash A Coffee Table
Step 5: Apply a Sealant
As the whitewashing process nears completion, it’s essential to apply a sealant to protect the newly transformed surface of your dining table. The sealant serves as a safeguard, preserving the whitewashed finish and enhancing the durability of the wood, ensuring that your revitalized table remains stunning and resilient for years to come.
When selecting a sealant, consider the specific type of wood or surface of your dining table. Polyurethane sealants are popular choices for their robust protective properties, while wax-based sealants offer a more natural and matte finish. Choose a sealant that aligns with your desired level of sheen and the practical requirements of your dining table.
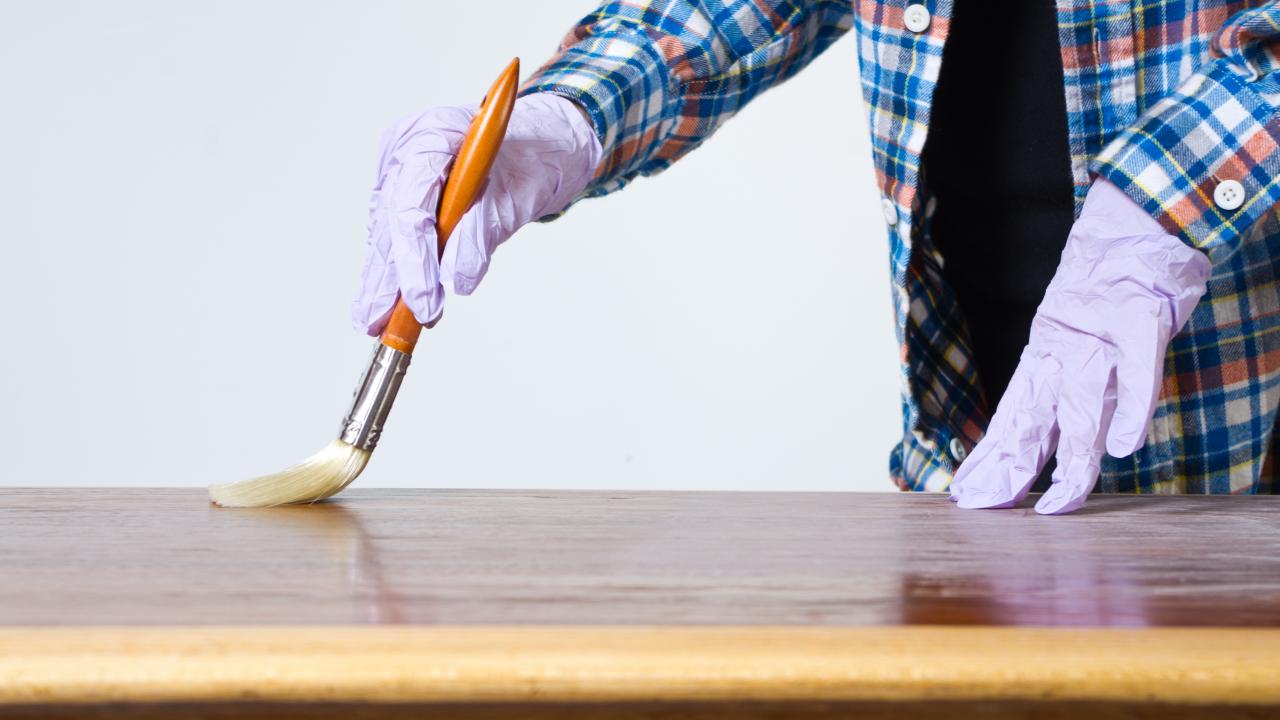
Prior to applying the sealant, ensure that the whitewash has dried completely. This will prevent any smudging or disruption of the whitewashed finish, allowing the sealant to be applied smoothly and evenly. It’s advisable to work in a well-ventilated area and wear appropriate protective gear, such as gloves and a mask, when handling sealant products.
Using a clean brush or applicator, carefully apply the sealant to the dining table, working in the direction of the wood grain to achieve a uniform and professional finish. Take care to avoid over-application, as excessive sealant can lead to an uneven or overly glossy appearance. Multiple thin coats of sealant are often preferable to ensure thorough coverage and a seamless finish.
Allow the sealant to dry according to the manufacturer’s instructions, ensuring that the dining table is protected from dust, debris, and potential disturbances during the drying process. Once the sealant has cured, gently inspect the table’s surface to ensure that the whitewashed finish is impeccably preserved and that the sealant has imparted the desired level of protection and luster.
By applying a sealant to your whitewashed dining table, you are safeguarding the beauty and integrity of the revitalized surface, ensuring that it remains a captivating and enduring centerpiece in your home. This final step completes the whitewashing journey, culminating in a stunning and resilient dining table that exudes timeless charm and elegance.
Conclusion
Congratulations! You have successfully embarked on a transformative journey to whitewash your dining table, infusing it with a captivating and timeless allure that enhances the ambiance of your living space. By following the step-by-step process outlined in this guide, you have revitalized your dining table with a charming weathered effect, adding a touch of rustic elegance to your home.
Whitewashing a dining table is a rewarding and creative endeavor that allows you to unleash your DIY skills while achieving stunning results. Through meticulous preparation, sanding, and the artful application of whitewash, you have breathed new life into your furniture, elevating its visual appeal and creating a captivating focal point in your dining room.
As you admire the beautifully whitewashed surface of your dining table, take pride in the craftsmanship and attention to detail that have culminated in this stunning transformation. The subtle nuances and weathered charm of the whitewash reflect your individual style and creativity, infusing your living space with a touch of personalized elegance.
Furthermore, by applying a protective sealant, you have ensured that your whitewashed dining table remains resilient and enchanting for years to come. The sealant serves as a safeguard, preserving the beauty of the whitewashed finish and enhancing the durability of the wood, allowing you to enjoy the timeless allure of your revitalized dining table for countless gatherings and cherished moments.
Embrace the newfound charm and character of your whitewashed dining table as it takes its place as a centerpiece in your home, inviting warmth and elegance into your dining space. Whether your interior design style leans towards rustic, farmhouse, or contemporary, the whitewashed dining table serves as a versatile and captivating addition that complements various decor themes.
Thank you for embarking on this enriching journey of furniture transformation. As you gather around your whitewashed dining table for shared meals and cherished conversations, may it continue to inspire and captivate, serving as a testament to your creativity and dedication to infusing your living space with beauty and charm.
Frequently Asked Questions about How To Whitewash A Dining Table
Was this page helpful?
At Storables.com, we guarantee accurate and reliable information. Our content, validated by Expert Board Contributors, is crafted following stringent Editorial Policies. We're committed to providing you with well-researched, expert-backed insights for all your informational needs.




0 thoughts on “How To Whitewash A Dining Table”