Home>Furniture & Design>Outdoor Furniture>How To Drain An Outdoor Faucet

Outdoor Furniture
How To Drain An Outdoor Faucet
Modified: August 27, 2024
Learn how to properly drain your outdoor faucet to prevent freezing and damage. Follow these simple steps to protect your outdoor furniture and design.
(Many of the links in this article redirect to a specific reviewed product. Your purchase of these products through affiliate links helps to generate commission for Storables.com, at no extra cost. Learn more)
Introduction
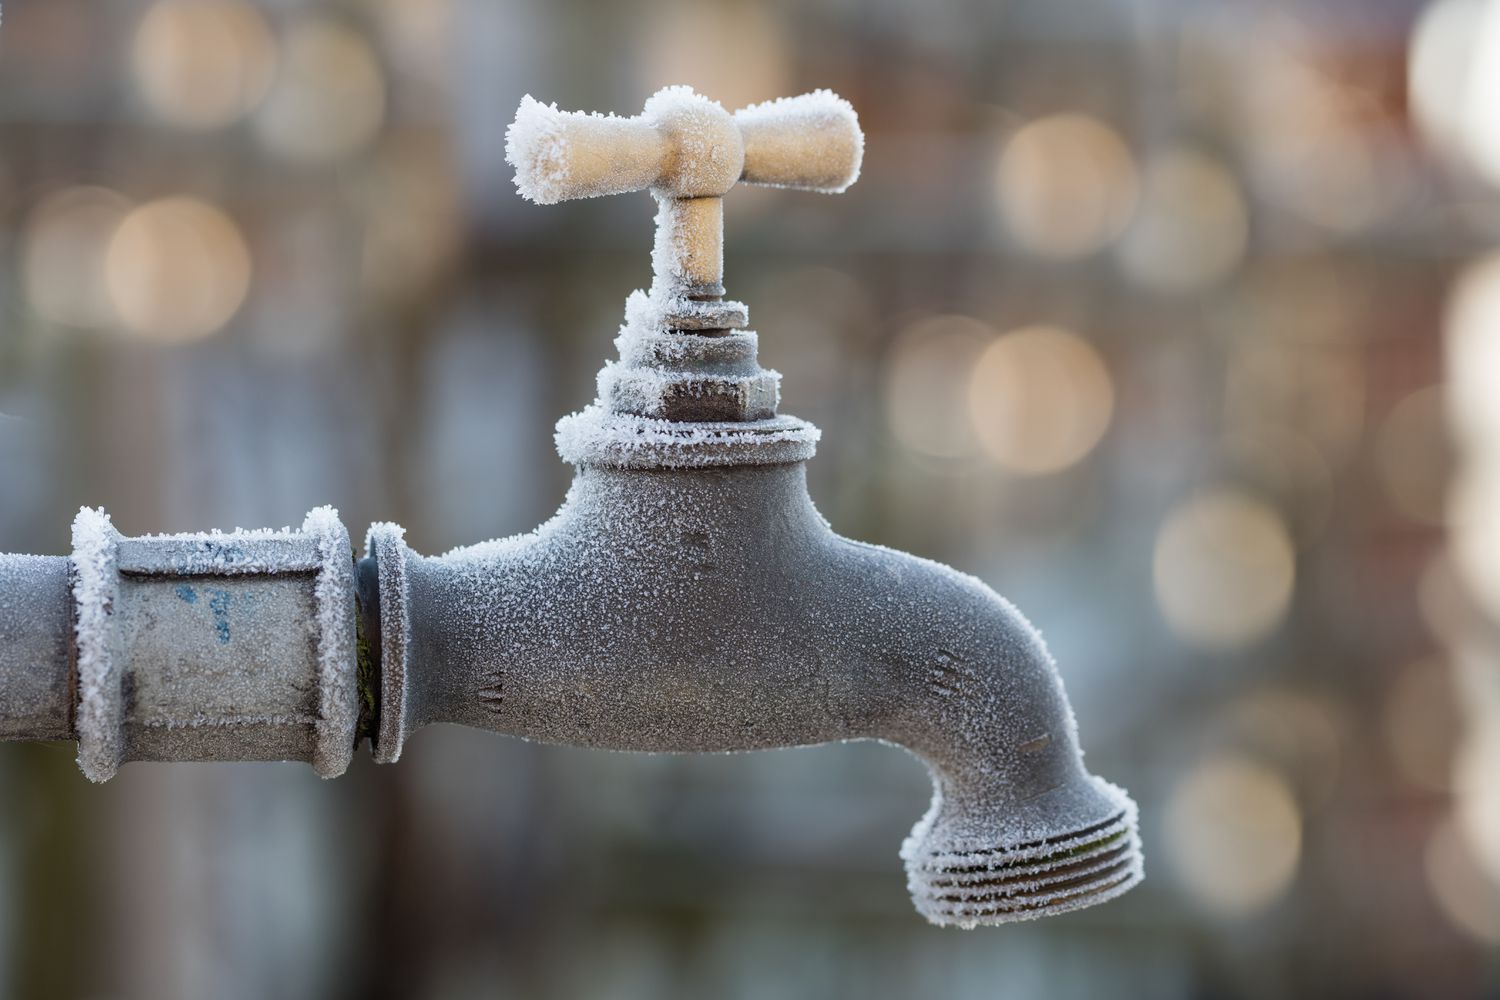
When the chilly winds of winter start to blow, it's essential to prepare your outdoor faucet for the freezing temperatures ahead. Failing to do so can result in costly damage and repairs once the thaw arrives. Fortunately, draining an outdoor faucet is a simple task that can be completed in just a few steps. By taking the time to properly prepare your outdoor faucet for the winter, you can ensure that it remains in optimal condition for the coming spring and summer seasons.
In this comprehensive guide, we will walk you through the process of draining an outdoor faucet, providing you with the knowledge and confidence to tackle this essential maintenance task. Whether you're a seasoned homeowner or a new property owner, understanding how to properly drain an outdoor faucet is a valuable skill that will help protect your plumbing and prevent potential headaches down the road. So, gather your tools and let's get started on safeguarding your outdoor faucet from the winter chill.
Key Takeaways:
- Don’t forget to shut off the water supply and drain your outdoor faucet before winter to prevent costly damage and repairs. It’s a simple but crucial task for protecting your plumbing.
- By following the steps in this guide, you can easily prepare your outdoor faucet for winter, ensuring its longevity and functionality for the warmer seasons ahead.
Read more: How Much To Slope For Plumbing Drains
Tools and Materials Needed
Before you begin the process of draining your outdoor faucet, it’s important to gather the necessary tools and materials. Having everything on hand will streamline the task and make the process more efficient. Here’s what you’ll need:
- Adjustable wrench
- Bucket
- Garden hose (optional)
These simple items are essential for completing the task effectively. Once you have everything ready, you’ll be well-prepared to move on to the next steps of draining your outdoor faucet.
Step 1: Shut Off the Water Supply
Before you begin draining your outdoor faucet, it’s crucial to shut off the water supply to prevent any water flow during the process. Locate the indoor shut-off valve connected to the outdoor faucet. This valve is typically found near the water meter or in the basement or crawl space.
Once you’ve located the shut-off valve, turn it clockwise to close it completely. This action will stop the flow of water to the outdoor faucet, ensuring that you can proceed with the draining process without any water supply interference.
Shutting off the water supply is a critical first step in preparing the outdoor faucet for the winter months. By taking this precaution, you can avoid potential water leaks or bursts caused by freezing temperatures. With the water supply securely turned off, you’re ready to move on to the next step in the draining process.
Step 2: Locate the Drain Valve
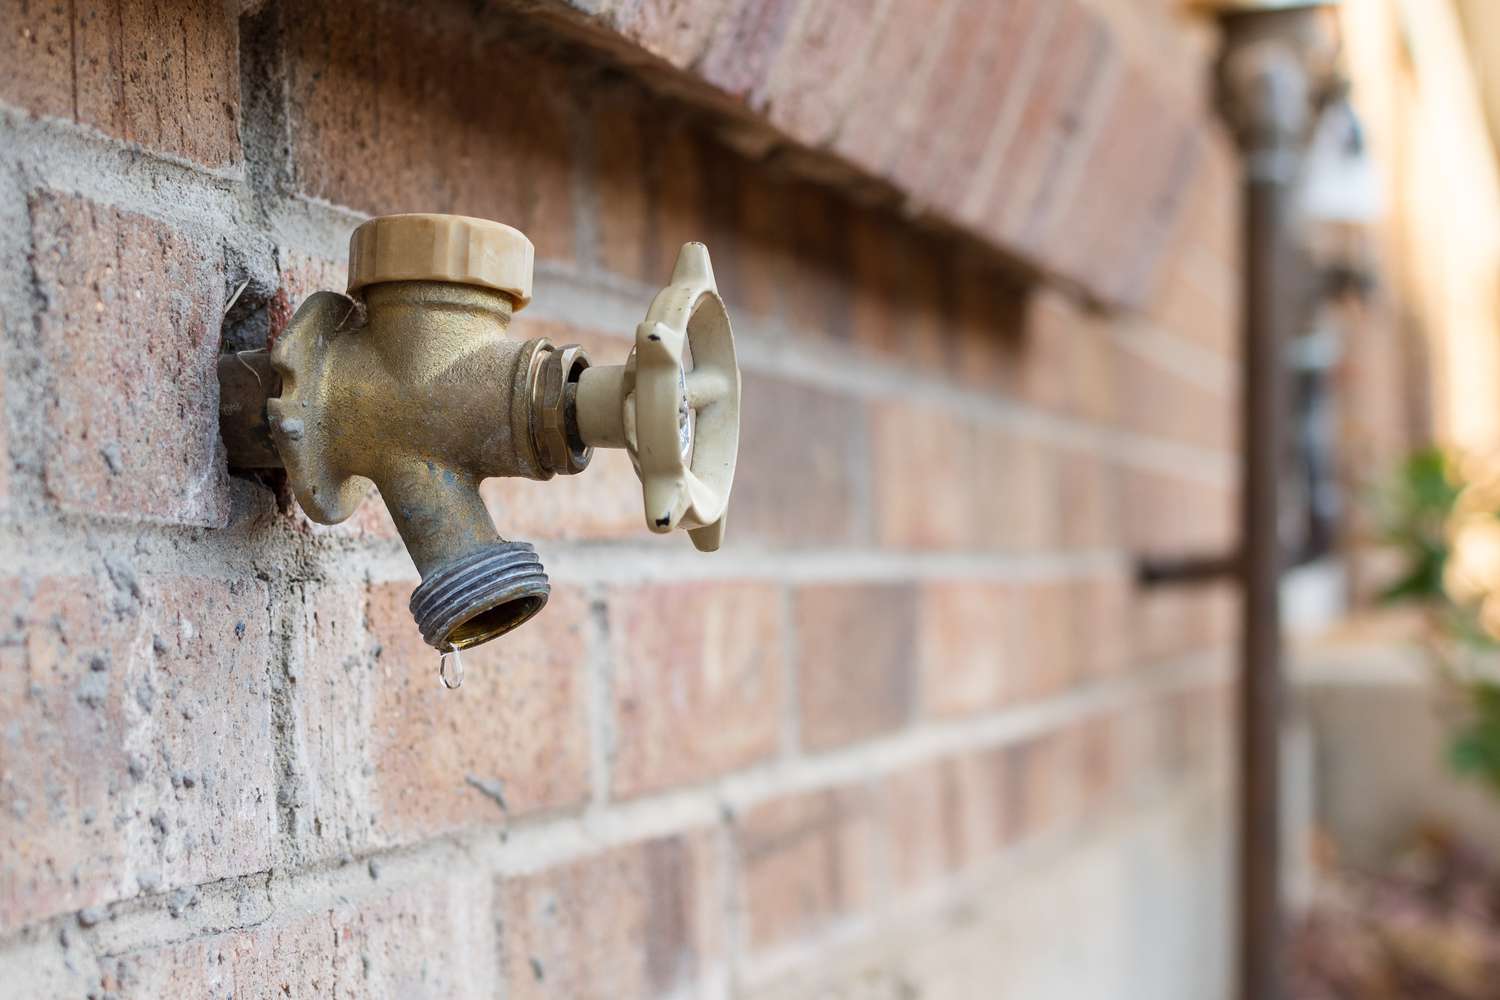
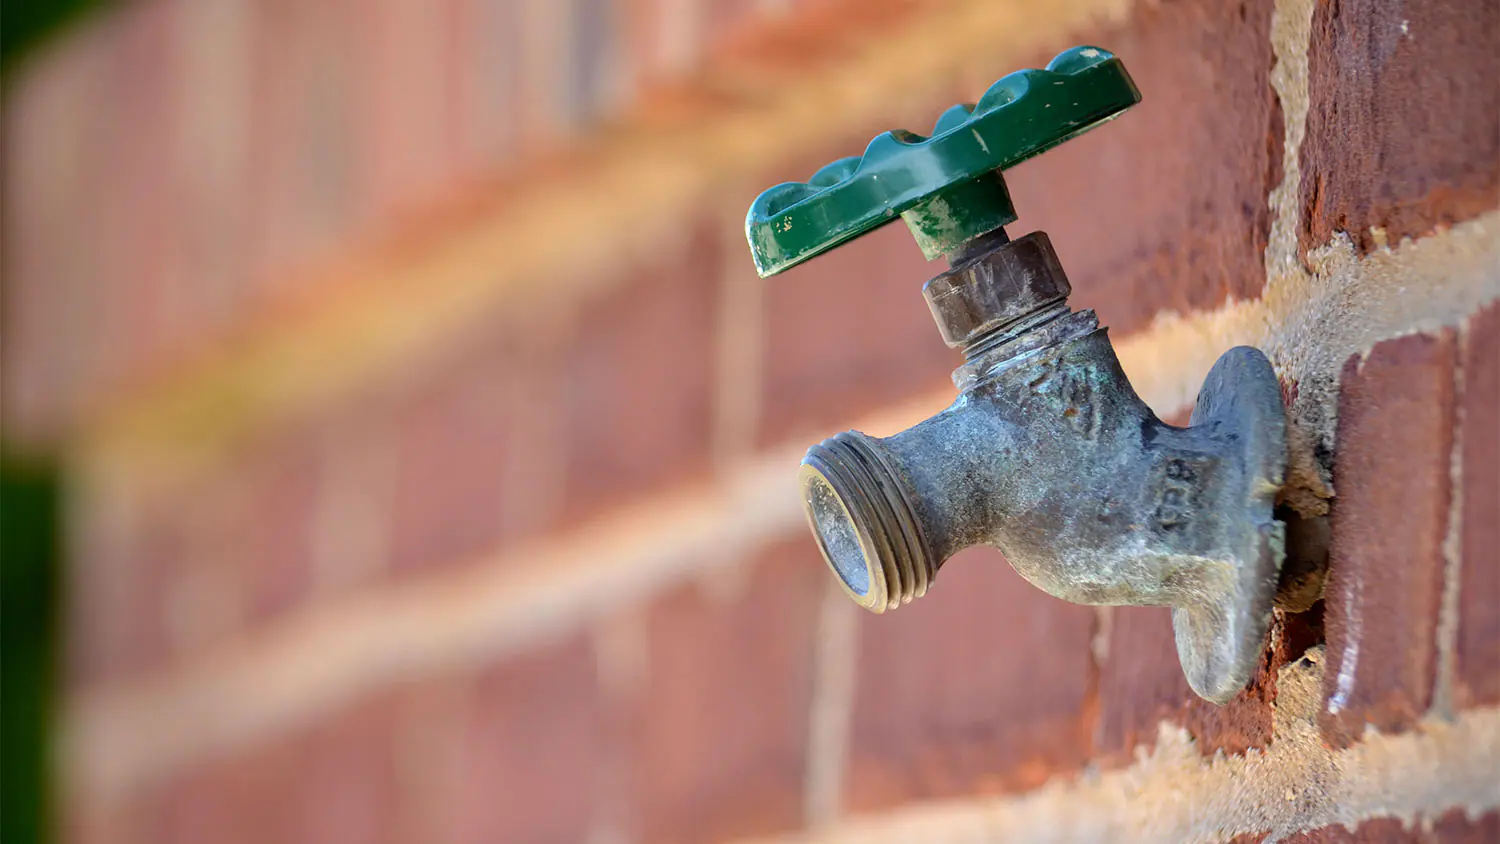
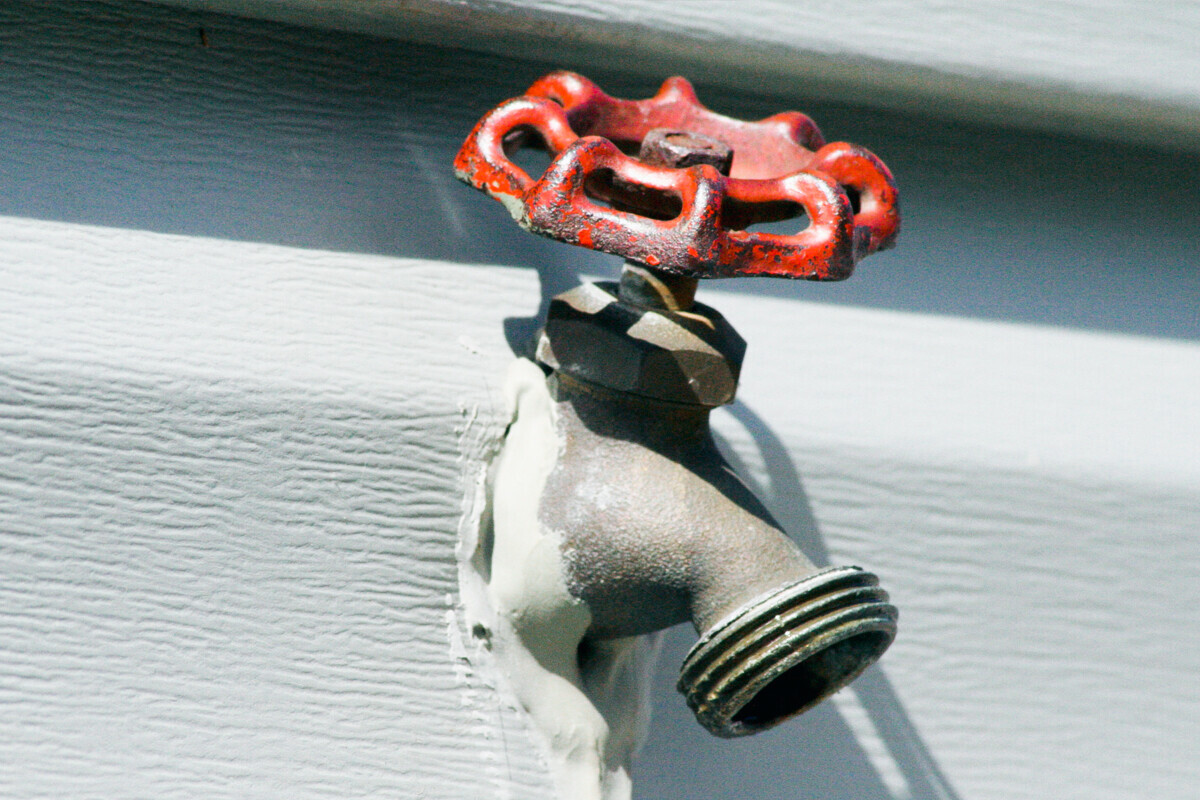
Once the water supply is turned off, the next step is to locate the drain valve on the outdoor faucet. The drain valve is a small cap or knob typically located on the side or underside of the outdoor faucet. It allows the water to be released from the pipe, preventing any remaining water from freezing and causing damage during the winter months.
Depending on the type of outdoor faucet you have, the drain valve may be a small brass cap or a knob that can be turned to open the valve. Some modern outdoor faucets are designed with built-in drain valves for easy access and use. If you’re unsure about the location of the drain valve on your outdoor faucet, refer to the manufacturer’s instructions or seek guidance from a professional plumber.
Familiarizing yourself with the location and operation of the drain valve is essential for effectively draining the outdoor faucet. Once you’ve located the drain valve, you’re prepared to move on to the next step in the process of winterizing your outdoor faucet.
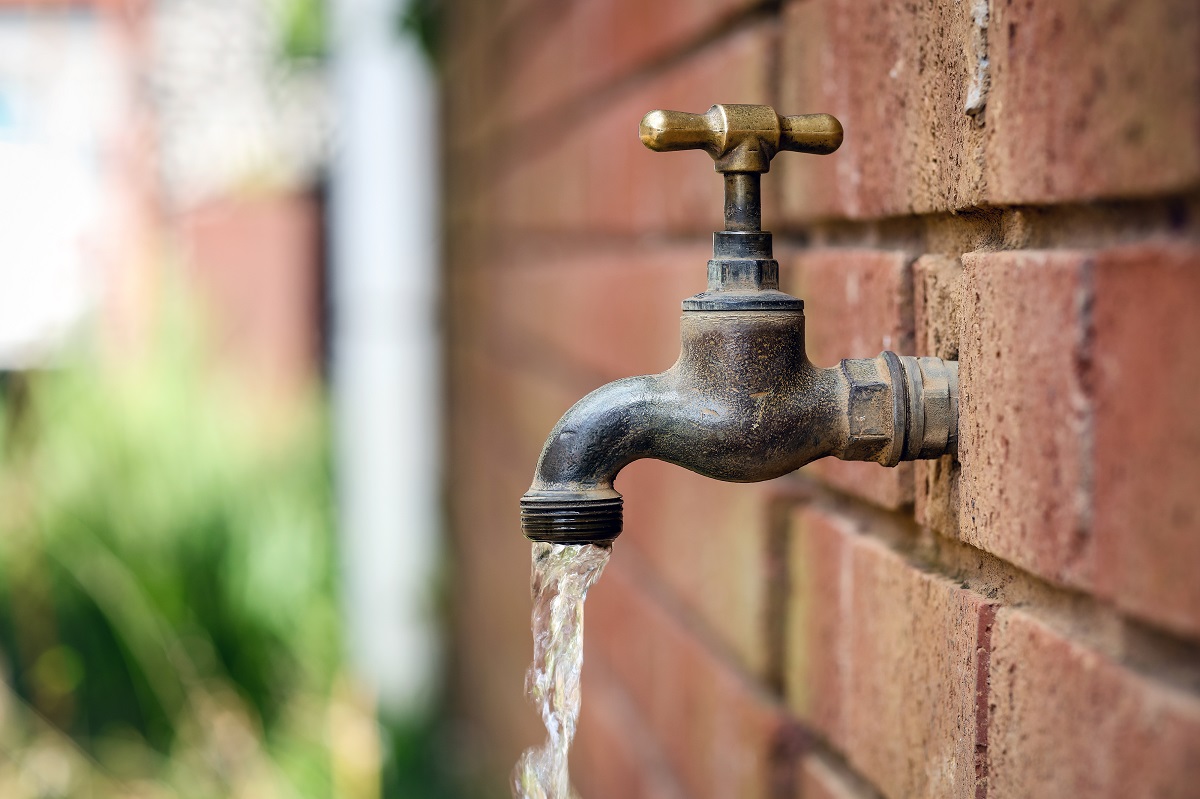
Before winter, turn off the outdoor faucet’s water supply inside your home. Then open the faucet outside to let any remaining water drain out. This will prevent the pipe from freezing and bursting.
Step 3: Open the Faucet
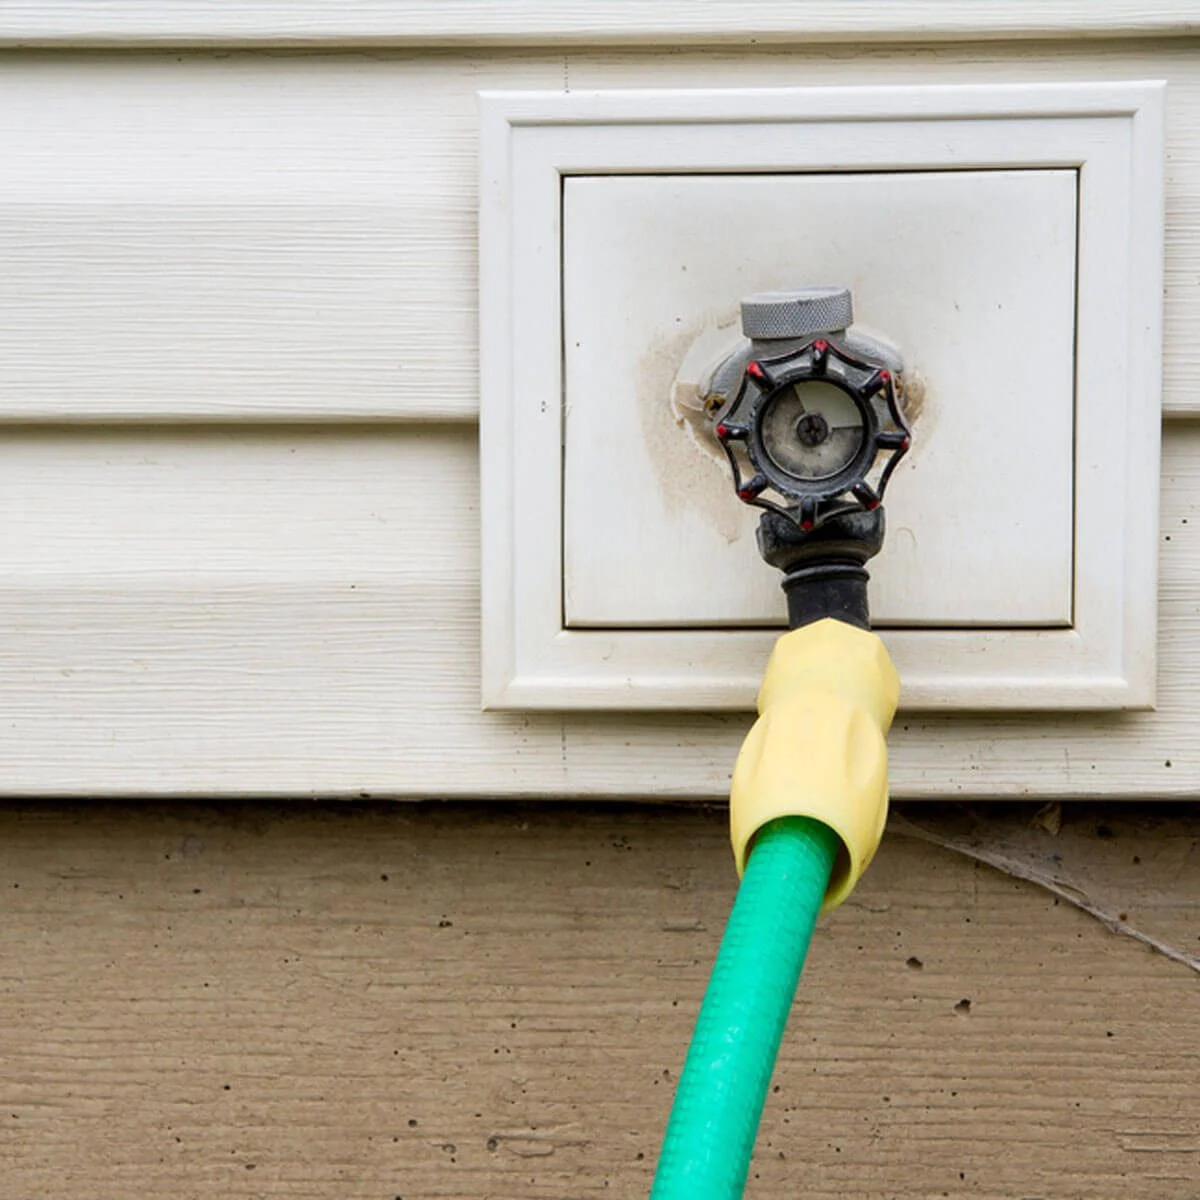
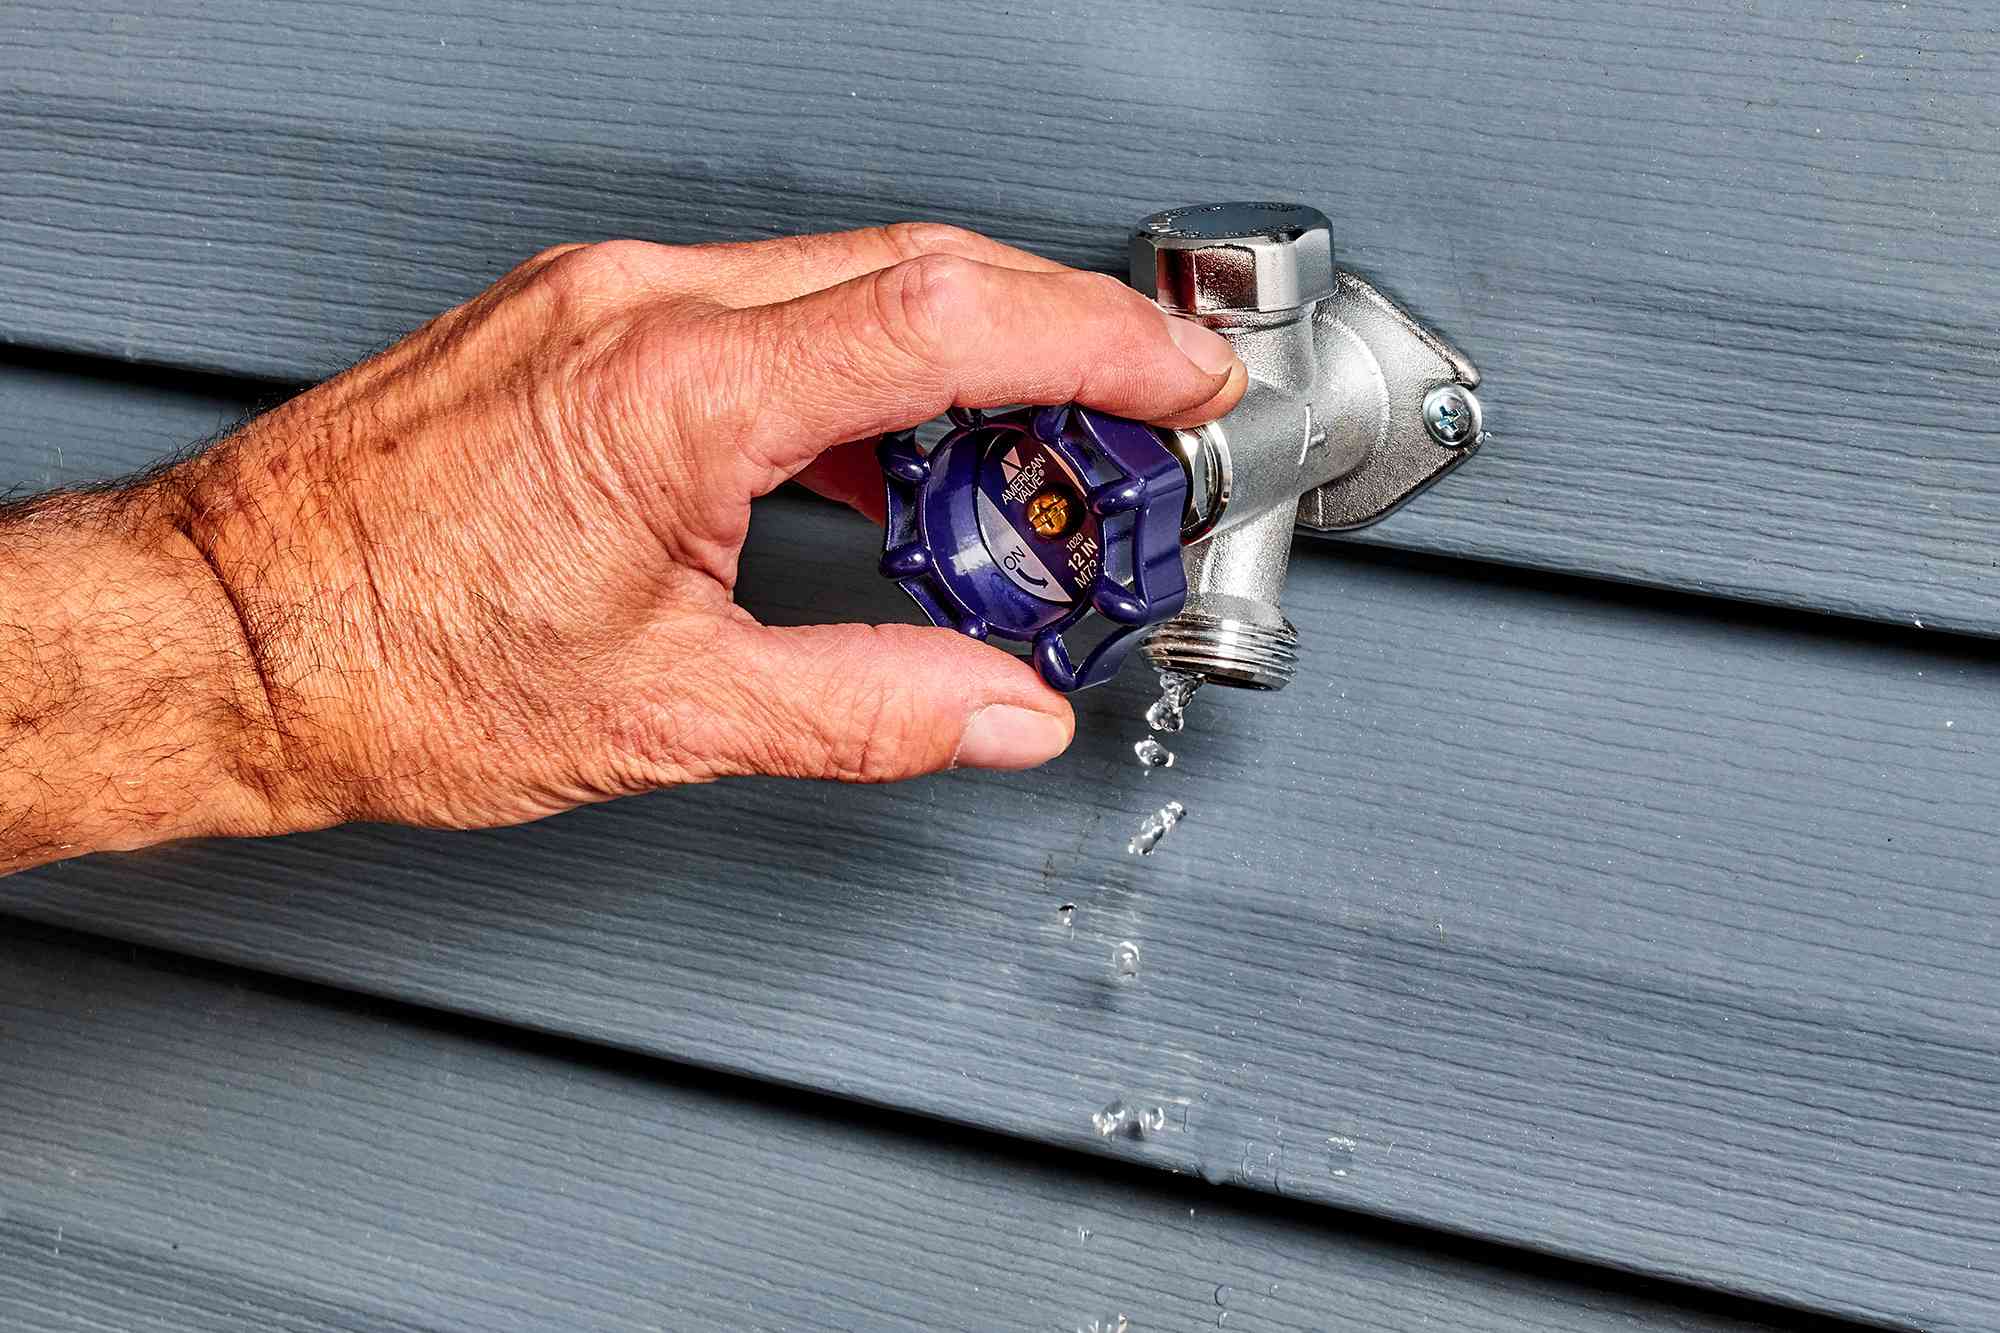
With the water supply turned off and the drain valve located, it’s time to open the outdoor faucet to begin the draining process. Start by heading outside to the outdoor faucet. If you have a hose attached to the faucet, be sure to disconnect it before proceeding. Once the hose is removed, you can move on to opening the faucet.
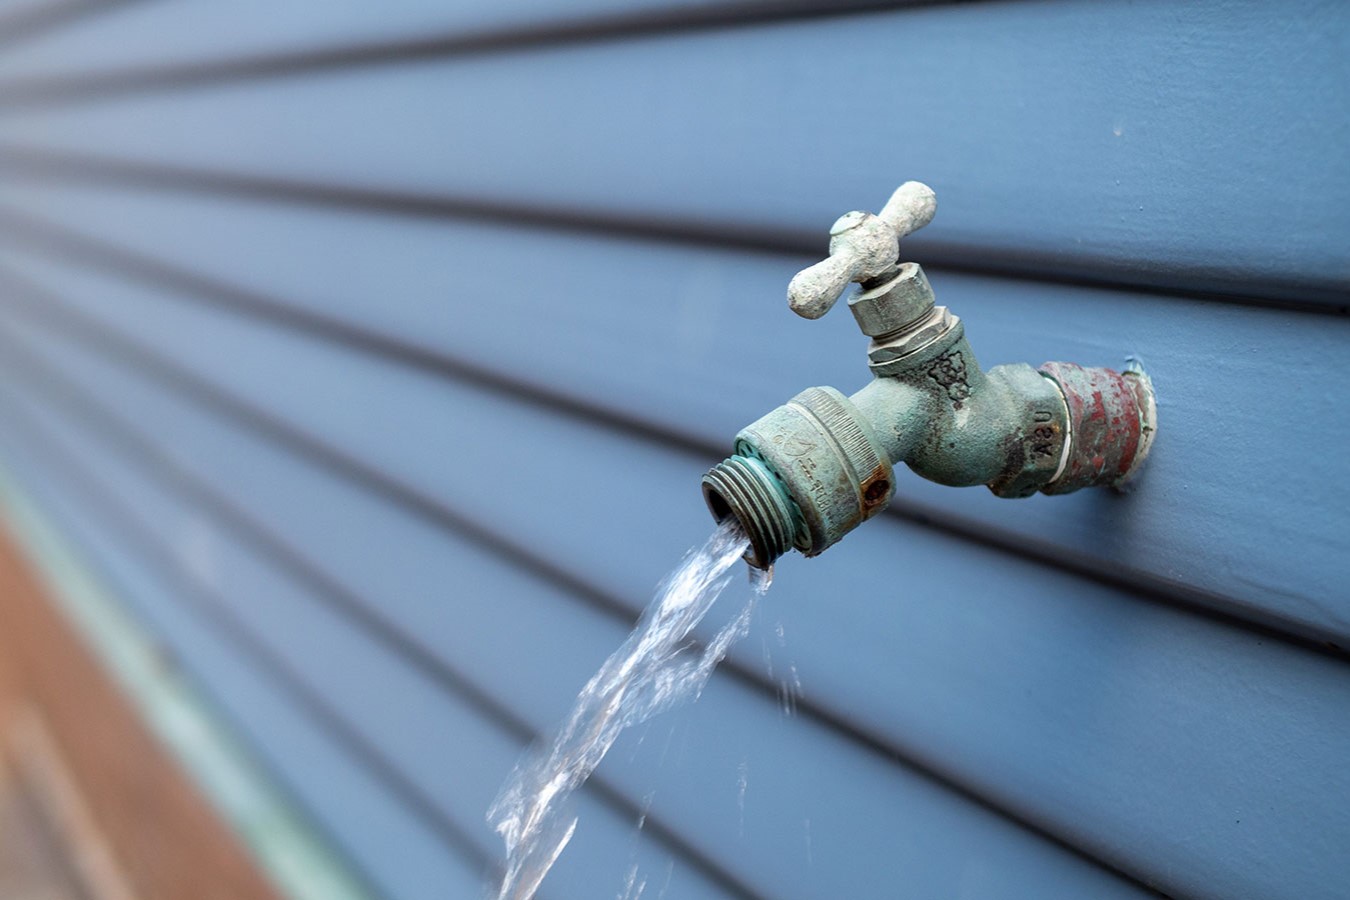
Turn the handle of the outdoor faucet to the open position. This will allow any remaining water within the pipe to flow out through the drain valve. By opening the faucet, you’re creating a pathway for the water to exit, preventing any potential freezing and damage during the colder months.
As the faucet is opened, you may hear the sound of water flowing or see it coming out of the faucet. This is an indication that the draining process has begun. It’s important to keep the faucet open until the water stops flowing completely, ensuring that all the water is expelled from the pipe.
Opening the outdoor faucet is a crucial step in the process of preparing it for the winter. By allowing the water to flow out, you’re taking proactive measures to safeguard the faucet and prevent any potential issues caused by freezing temperatures. Once the water has ceased flowing, you can proceed to the next step in the winterization process.
Read more: How To Clean An Outdoor Drain
Step 4: Drain the Faucet
With the outdoor faucet open and the water supply turned off, it’s time to ensure that all the water is drained from the system. To do this effectively, you’ll need to wait for the water to stop flowing from the open faucet. This indicates that the majority of the water has been expelled from the pipe.
Once the water flow has ceased, it’s important to double-check that no water remains trapped in the faucet or the connecting pipe. To do this, you can gently tap on the outdoor faucet to dislodge any lingering water. Additionally, you can lightly press on the handle of the faucet to release any trapped water within the mechanism.
If you have a hose attached to the outdoor faucet, be sure to drain it as well. Remove any excess water from the hose by holding it at a downward angle and allowing the water to flow out completely. Once the hose is drained, you can store it in a dry and sheltered location to prevent damage during the winter months.
By taking the time to ensure that all the water is drained from the outdoor faucet and the connected hose, you’re minimizing the risk of freezing and potential damage. This proactive approach to winterizing your outdoor faucet will help maintain its functionality and prevent costly repairs in the future.
Once you’ve confirmed that the faucet and hose are thoroughly drained, you can proceed to the final step of the winterization process.
Step 5: Close the Faucet
After ensuring that all the water has been drained from the outdoor faucet and the connected hose, it’s time to close the faucet to complete the winterization process. Start by turning the handle of the outdoor faucet to the closed position. This action seals the faucet, preventing any debris or pests from entering the pipe during the winter months.
Once the faucet is securely closed, make sure that the drain valve is also closed or sealed to prevent any potential air leaks or debris from entering the system. Ensuring that both the faucet and the drain valve are tightly closed will help maintain the integrity of the outdoor plumbing and prevent any issues when you’re ready to use the faucet again in the spring.
With the faucet and drain valve closed, take a moment to inspect the surrounding area for any signs of leaks or moisture. It’s important to address any potential concerns before the winter sets in to avoid any unexpected water-related issues.
By closing the outdoor faucet and ensuring that it’s properly sealed, you’re completing the essential steps to protect it from the winter weather. This proactive approach to winterization will help preserve the functionality of your outdoor faucet and prevent potential damage caused by freezing temperatures.
With the faucet securely closed and the winterization process complete, you can rest assured that your outdoor faucet is well-prepared for the colder months ahead.
Conclusion
Preparing your outdoor faucet for the winter is a simple yet crucial task that can help prevent costly damage and repairs. By following the steps outlined in this guide, you’ve taken proactive measures to safeguard your outdoor faucet from the freezing temperatures ahead.
From shutting off the water supply to draining the faucet and ensuring that it’s properly sealed, each step plays a vital role in protecting your outdoor plumbing from potential winter-related issues. By investing the time and effort to winterize your outdoor faucet, you’re contributing to its longevity and functionality, ensuring that it will be ready for use when the warmer seasons return.
Remember, proper winterization of your outdoor faucet not only protects the plumbing system but also contributes to the overall maintenance of your property. By staying proactive and addressing essential maintenance tasks, you can enjoy peace of mind knowing that your outdoor faucet is well-prepared for the winter months.
So, as you complete the winterization process, take a moment to appreciate the proactive steps you’ve taken to protect your outdoor faucet. With the knowledge and confidence gained from this guide, you can tackle this essential maintenance task with ease, ensuring that your outdoor faucet remains in optimal condition for years to come.
Now that your outdoor faucet is winter-ready, you can shift your focus to other seasonal maintenance tasks, knowing that you’ve taken a significant step in safeguarding your property.
Frequently Asked Questions about How To Drain An Outdoor Faucet
Was this page helpful?
At Storables.com, we guarantee accurate and reliable information. Our content, validated by Expert Board Contributors, is crafted following stringent Editorial Policies. We're committed to providing you with well-researched, expert-backed insights for all your informational needs.

0 thoughts on “How To Drain An Outdoor Faucet”