Home>Furniture & Design>Outdoor Furniture>How To Raise An Outdoor Spigot
Outdoor Furniture
How To Raise An Outdoor Spigot
Modified: May 6, 2024
Discover the best ways to raise an outdoor spigot with our expert tips and advice. Keep your outdoor furniture and design in top shape with our helpful guide.
(Many of the links in this article redirect to a specific reviewed product. Your purchase of these products through affiliate links helps to generate commission for Storables.com, at no extra cost. Learn more)
Introduction
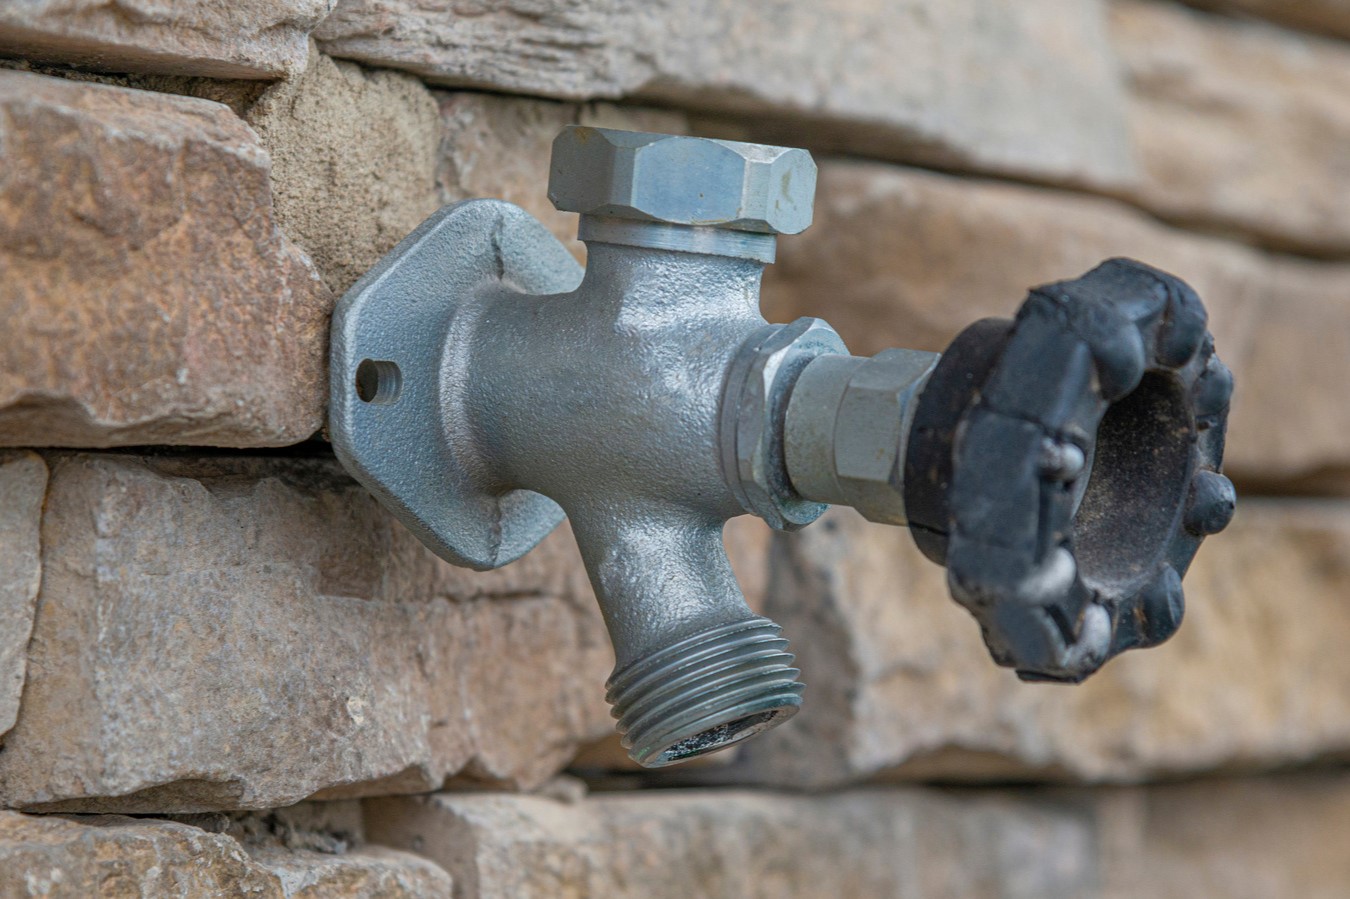
Welcome to the world of outdoor living! Whether you're an avid gardener, a barbecue enthusiast, or simply enjoy spending time in your yard, having a functional outdoor spigot is essential. A well-placed and properly installed outdoor spigot can make watering plants, washing your car, and other outdoor tasks much more convenient. In this guide, we'll walk you through the process of raising an outdoor spigot to a more accessible and practical height. By following these steps, you can upgrade your outdoor space and make water access more convenient for all your outdoor activities.
So, grab your tools and let's get started on this DIY project that will enhance the functionality of your outdoor space!
Key Takeaways:
- Upgrade your outdoor space by raising your spigot for easier access to water for gardening, car washing, and more. Enjoy the convenience of a raised spigot for all your outdoor activities!
- Follow the DIY steps to raise your outdoor spigot, enhancing functionality and convenience. Test the new spigot for leaks and water pressure to ensure optimal performance.
Read more: How To Change An Outdoor Spigot
Tools and Materials Needed
Before you begin raising your outdoor spigot, it’s important to gather all the necessary tools and materials. Here’s what you’ll need:
- Adjustable wrench
- Pipe wrench
- Teflon tape
- Hacksaw
- Trowel
- PVC pipe and fittings
- New outdoor spigot
- Concrete mix
- Shovel
- Level
- Bucket
- Waterproof sealant
- Measuring tape
Having these tools and materials on hand will ensure that you can complete the project efficiently and effectively. Once you’ve gathered everything, you’re ready to move on to the next steps of raising your outdoor spigot.
Step 1: Shut Off the Water Supply
Before you begin any work on your outdoor spigot, it’s crucial to turn off the water supply to the spigot. Locate the main water shut-off valve for your outdoor spigot, which is typically found near the water meter or where the main water line enters your home. Turn the valve clockwise to shut off the water flow.
After shutting off the water supply, open the outdoor spigot to drain any remaining water from the line. This step is essential to prevent water from spilling out while you work on the spigot.
By taking the time to properly shut off the water supply, you’ll ensure a safe and dry work environment as you proceed with raising the outdoor spigot to its new height.
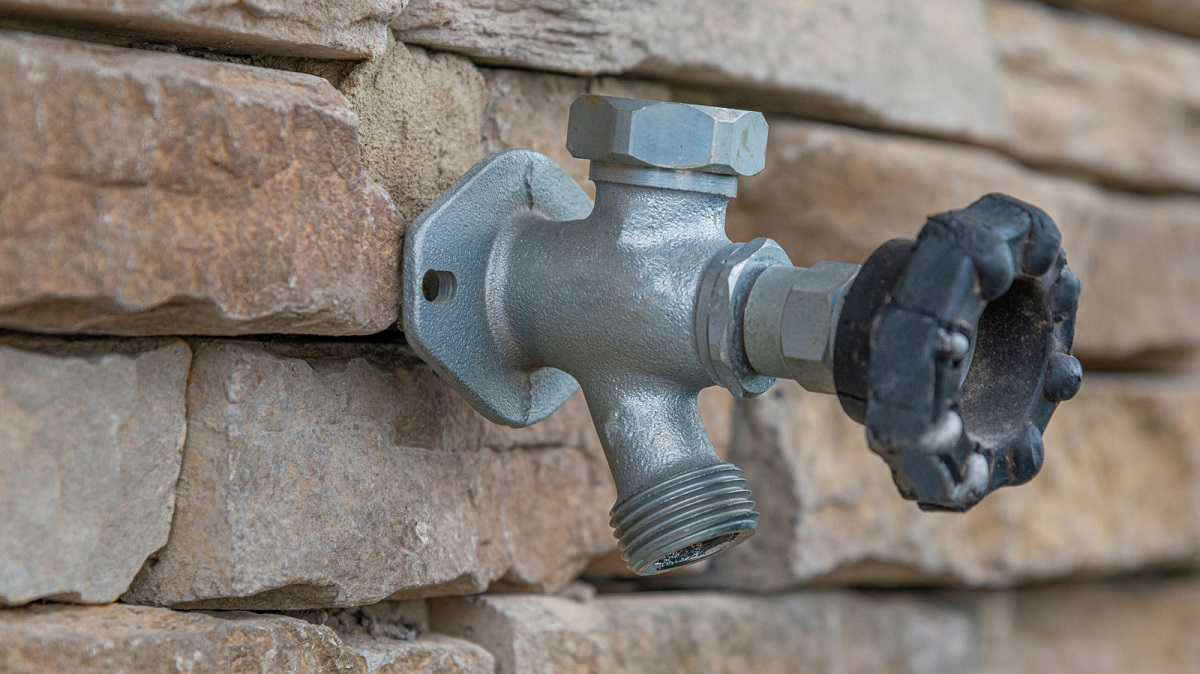
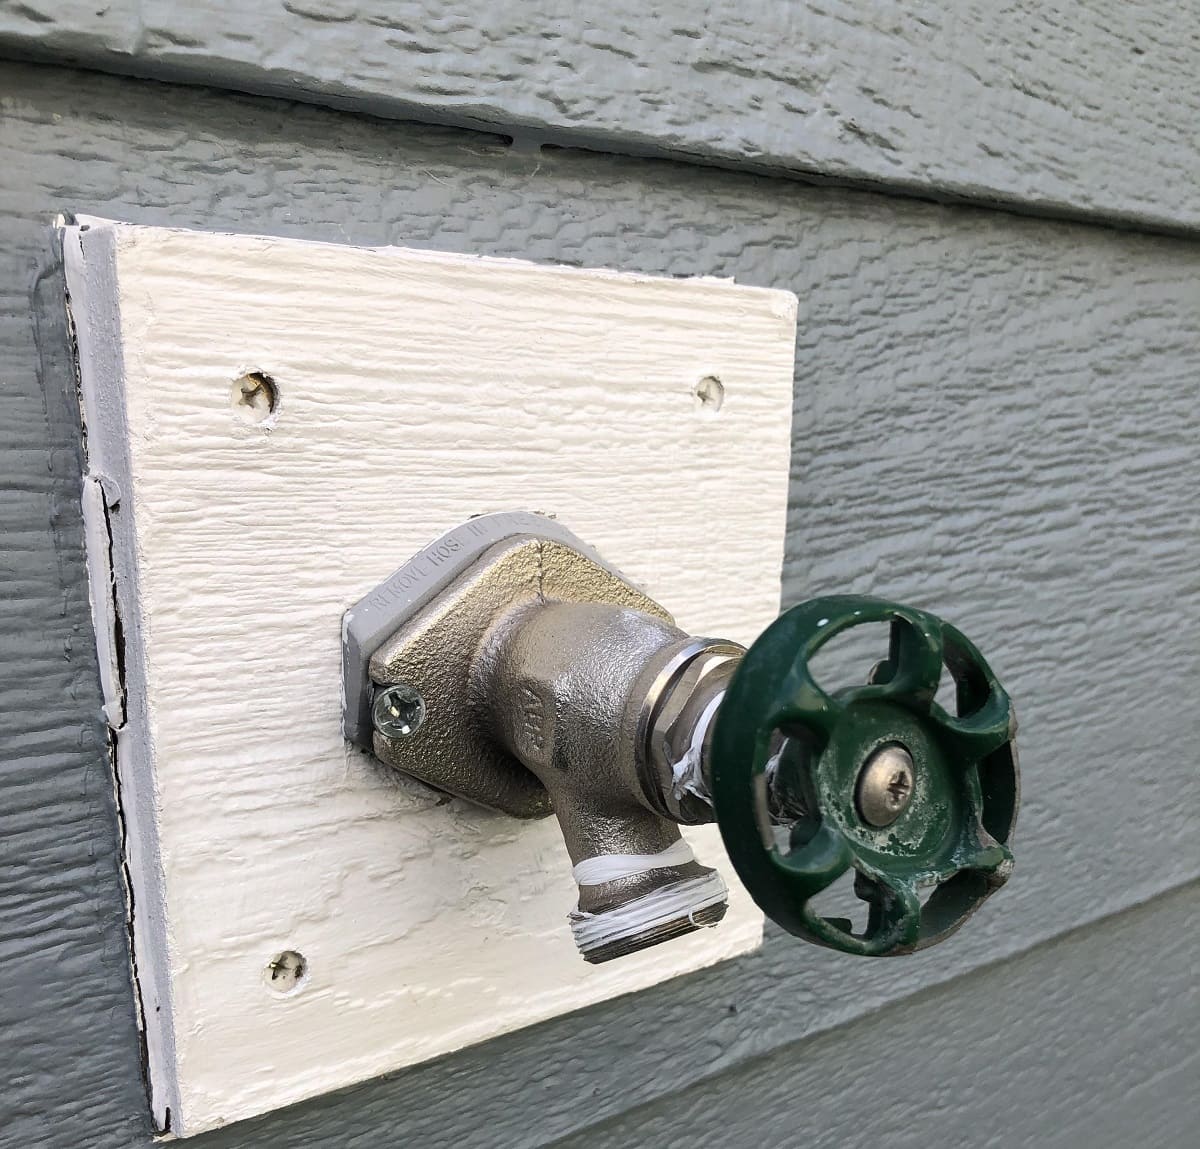
Step 2: Remove the Old Spigot
With the water supply turned off and the spigot drained, you can begin removing the old outdoor spigot. Start by using an adjustable wrench to loosen and remove the hose or any attachments connected to the spigot. Then, use a pipe wrench to grip the body of the spigot and carefully unscrew it from the water supply line.
Once the old spigot is detached, inspect the exposed end of the water supply line for any damage or corrosion. If necessary, clean the threaded end of the pipe and apply Teflon tape to ensure a secure seal with the new spigot.
Removing the old spigot is a critical step in the process of raising your outdoor spigot. Take your time and use the appropriate tools to avoid damaging the water supply line or surrounding components.
To raise an outdoor spigot, turn off the water supply, unscrew the spigot from the pipe, add a pipe extension, and reattach the spigot. Use Teflon tape to seal the connections.
Step 3: Prepare the New Location
Now that the old spigot has been removed, it’s time to prepare the new location for the raised outdoor spigot. Begin by determining the desired height for the new spigot. This will depend on your specific needs and the types of outdoor tasks you frequently perform. Keep in mind that the spigot should be high enough to accommodate buckets and watering cans, as well as to provide easy access for hose attachments.
Once you’ve chosen the new location, use a hacksaw to carefully cut the water supply line to the appropriate length for the raised spigot. Be sure to measure accurately and use a proper cutting technique to create a clean, straight cut.
Next, prepare the area for the new spigot by creating a stable foundation. If you’re installing the spigot in a concrete surface, use a trowel to remove any debris and ensure a level, clean surface for the installation. If the spigot will be mounted on a wall or siding, use a level to mark the precise location for the mounting screws or brackets.
By taking the time to prepare the new location with precision and care, you’ll set the stage for a successful and functional installation of the raised outdoor spigot.
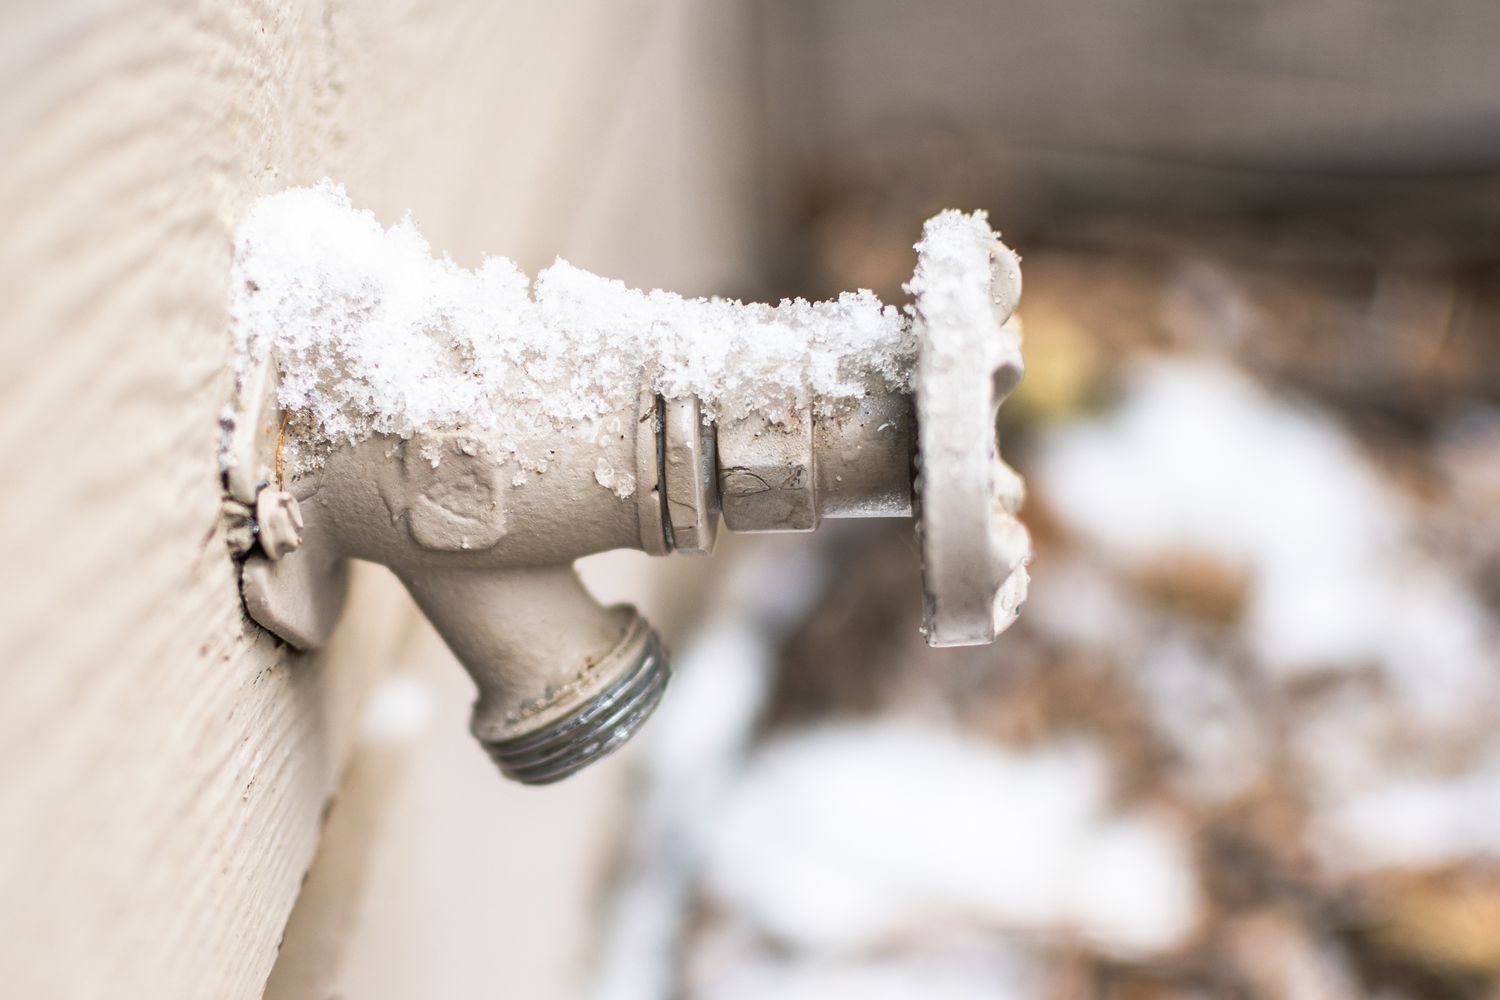
Read more: How To Winterize An Outdoor Spigot
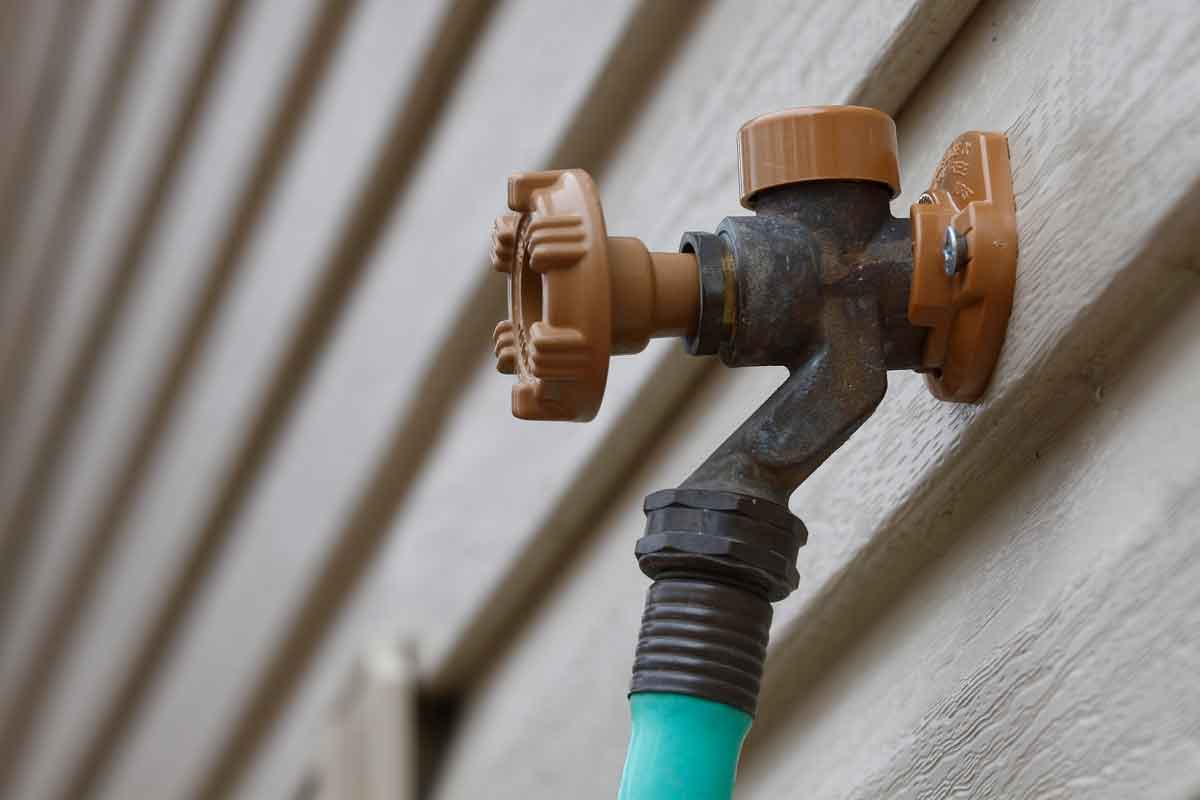
Step 4: Install the New Spigot
With the new location prepared, it’s time to install the raised outdoor spigot. Begin by attaching the appropriate fittings to the cut end of the water supply line. If you’re using PVC pipe and fittings, ensure a secure and watertight connection by applying Teflon tape to the threaded ends and using a pipe wrench to tighten the fittings.
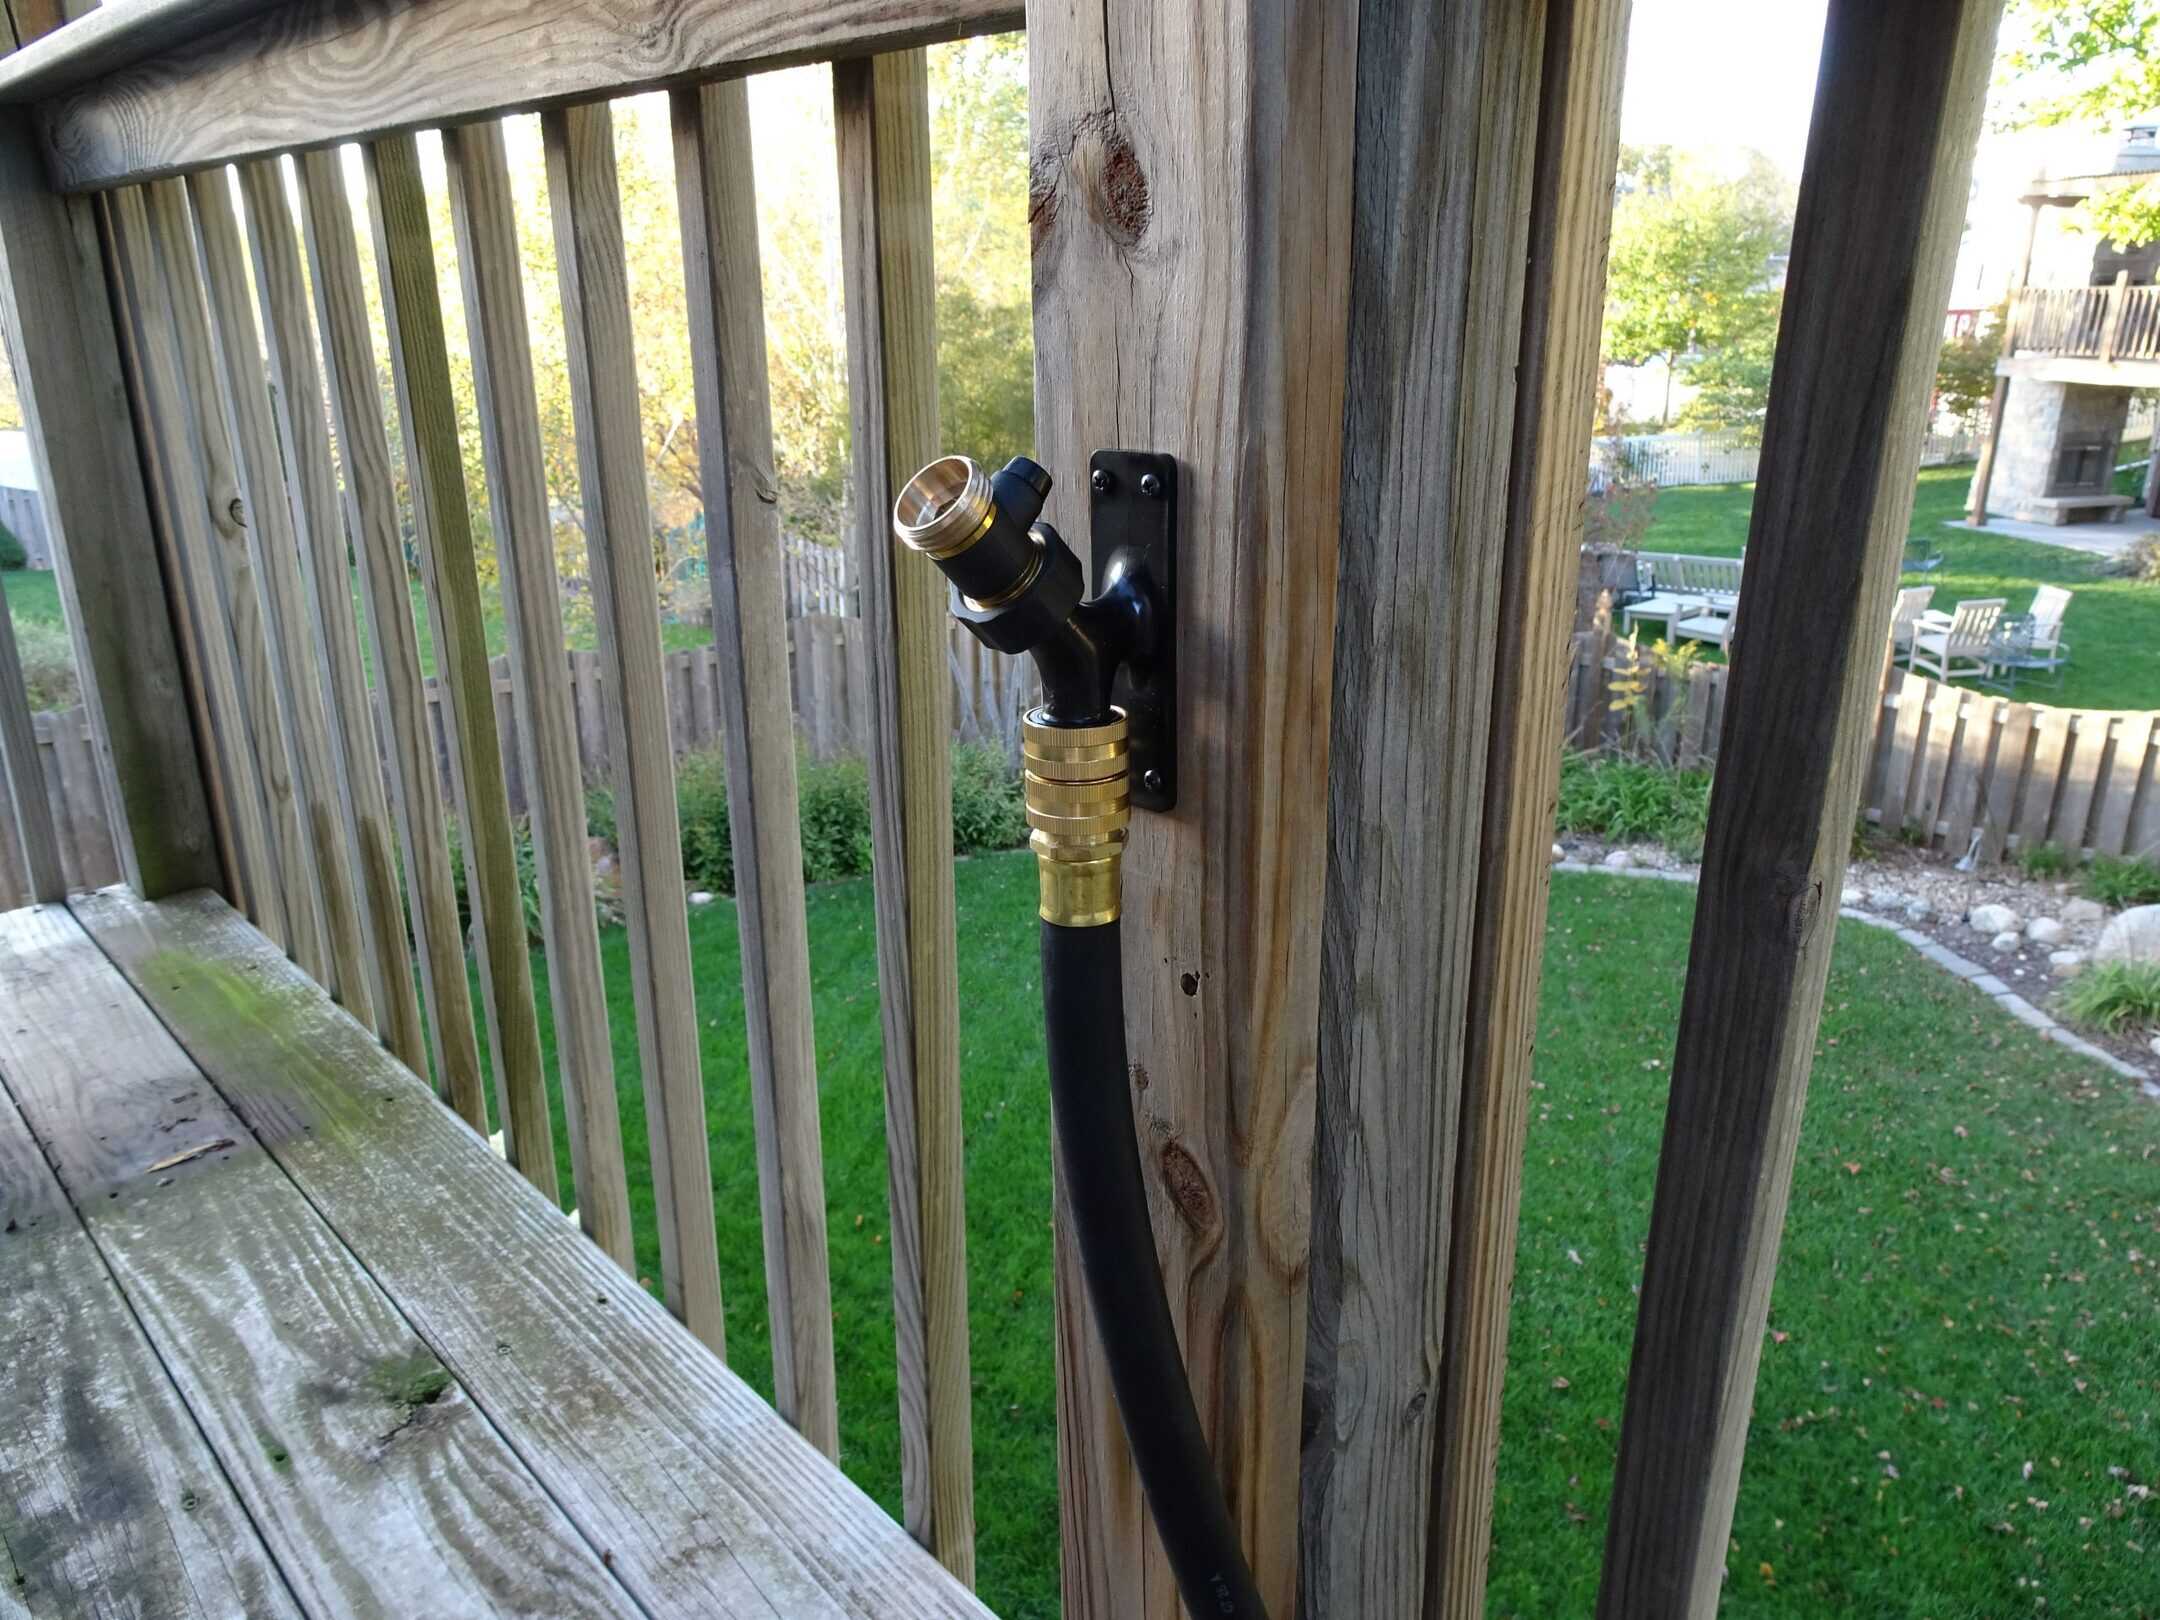
Next, position the new outdoor spigot at the desired height and align it with the prepared mounting surface. If you’re mounting the spigot on a wall or siding, use a level to ensure that it’s perfectly straight before securing it in place with screws or brackets.
If you’re installing the spigot in a concrete surface, mix the concrete according to the manufacturer’s instructions and fill the prepared area to create a stable foundation for the spigot. Use a level to ensure that the spigot is perfectly upright as the concrete sets.
Once the spigot is securely in place, connect any necessary hose attachments and turn on the water supply to test for leaks. Inspect the connections and fittings for any signs of leakage, and make any adjustments as needed to ensure a tight seal.
By following these steps carefully and methodically, you’ll successfully install the raised outdoor spigot, providing improved functionality and convenience for your outdoor water needs.
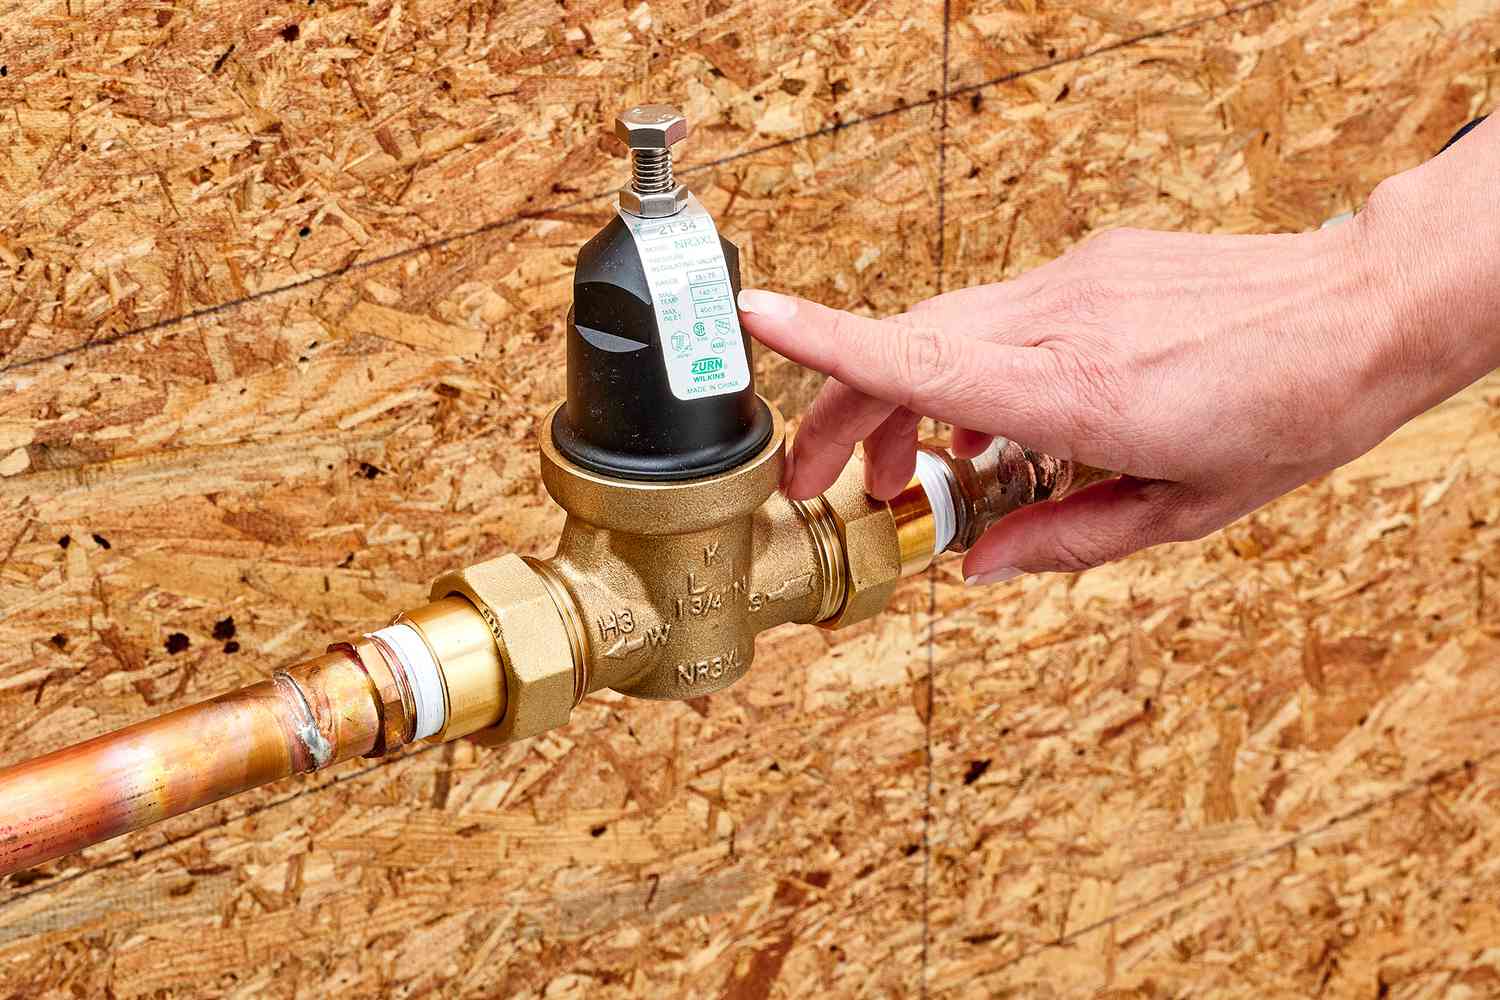
Step 5: Test the New Spigot
After installing the raised outdoor spigot, it’s crucial to thoroughly test its functionality to ensure that it meets your needs and operates without any issues. Begin by turning on the water supply and checking for any leaks or drips around the newly installed spigot and connections. If you notice any leaks, promptly tighten the fittings or connections to address the issue.
Once you’ve confirmed that there are no leaks, attach a hose to the spigot and test the water flow. Check for any irregularities in the water pressure or flow rate, and ensure that the spigot effectively controls the water flow when the hose is attached or detached.
Test the functionality of any hose attachments, such as spray nozzles or sprinklers, to verify that the spigot provides adequate water pressure for your outdoor tasks. If necessary, make any adjustments to the attachments or the spigot itself to optimize the water flow and pressure.
Additionally, assess the overall stability and security of the raised spigot to confirm that it is firmly anchored and does not wobble or shift during use. This step is essential to ensure the long-term durability and reliability of the newly installed spigot.
By conducting a thorough and meticulous test of the new spigot, you can address any potential issues and make necessary adjustments to guarantee its optimal performance for all your outdoor watering and cleaning needs.
Conclusion
Congratulations on successfully raising your outdoor spigot to a more convenient and practical height! By following the steps outlined in this guide, you’ve enhanced the functionality of your outdoor space and made water access more efficient for various outdoor activities.
With the new raised spigot in place, you can enjoy the convenience of easily filling watering cans, attaching hoses for watering your garden, and efficiently washing your car or outdoor furniture. The improved accessibility and functionality of the raised spigot will undoubtedly streamline your outdoor tasks and contribute to a more enjoyable outdoor living experience.
Remember to periodically inspect the spigot and its connections for any signs of wear or leaks, and promptly address any issues to maintain its optimal performance. Additionally, consider incorporating a waterproof sealant around the base of the spigot to further protect the installation and prevent water damage.
As you continue to enhance your outdoor living space, the raised spigot will serve as a valuable asset, providing reliable water access for all your outdoor needs. Whether you’re tending to your garden, cleaning outdoor furniture, or engaging in other outdoor activities, the raised spigot will be a practical and convenient feature that elevates your outdoor lifestyle.
Thank you for embarking on this DIY project to improve your outdoor space. We hope this guide has been helpful in guiding you through the process of raising an outdoor spigot, and we wish you many enjoyable and productive moments utilizing the enhanced water access in your outdoor oasis.
Ready to tackle more home projects? If you're keen on enhancing your skills, our guide on DIY home improvement offers practical advice to transform spaces with your own hands. For those planning a major upgrade, discover our recommendations on the best hardwood floors for your next renovation. Both articles pack a wealth of knowledge to keep you busy and inspired!
Frequently Asked Questions about How To Raise An Outdoor Spigot
Was this page helpful?
At Storables.com, we guarantee accurate and reliable information. Our content, validated by Expert Board Contributors, is crafted following stringent Editorial Policies. We're committed to providing you with well-researched, expert-backed insights for all your informational needs.


0 thoughts on “How To Raise An Outdoor Spigot”