Home>Furniture & Design>Outdoor Furniture>How To Hide Outdoor Lighting Wires
Outdoor Furniture
How To Hide Outdoor Lighting Wires
Modified: August 20, 2024
Learn how to hide outdoor lighting wires with our expert tips and tricks. Create a seamless outdoor space with our outdoor furniture and design ideas.
(Many of the links in this article redirect to a specific reviewed product. Your purchase of these products through affiliate links helps to generate commission for Storables.com, at no extra cost. Learn more)
Introduction
When it comes to creating a captivating outdoor ambiance, lighting plays a pivotal role. Whether you're illuminating a cozy patio, a sprawling garden, or a charming pathway, outdoor lighting adds a touch of enchantment to your outdoor space. However, the sight of exposed wires can detract from the beauty of your outdoor lighting setup. Fortunately, there are several ingenious ways to conceal these wires and maintain the allure of your outdoor oasis.
In this guide, we will explore the art of hiding outdoor lighting wires, offering practical insights and creative solutions to ensure that your outdoor lighting remains a stunning focal point without the unsightly presence of wires. From strategic planning and landscaping techniques to the use of cable concealers and outdoor junction boxes, we will delve into a range of methods designed to elevate the aesthetics of your outdoor lighting while ensuring the safety and functionality of the wiring.
So, whether you're aiming to highlight the architectural features of your home, create a cozy ambiance for outdoor gatherings, or illuminate pathways for both practical and aesthetic purposes, this guide will equip you with the knowledge and inspiration to seamlessly integrate your outdoor lighting while keeping the wires out of sight. Let's embark on this illuminating journey to discover the art of concealing outdoor lighting wires and transforming your outdoor space into a captivating haven of light and beauty.
Key Takeaways:
- Plan your outdoor lighting layout thoughtfully to hide wires effectively and achieve a harmonious and enchanting design.
- Use burying, cable concealers, landscaping, and outdoor junction boxes to seamlessly integrate outdoor lighting while keeping wires out of sight.
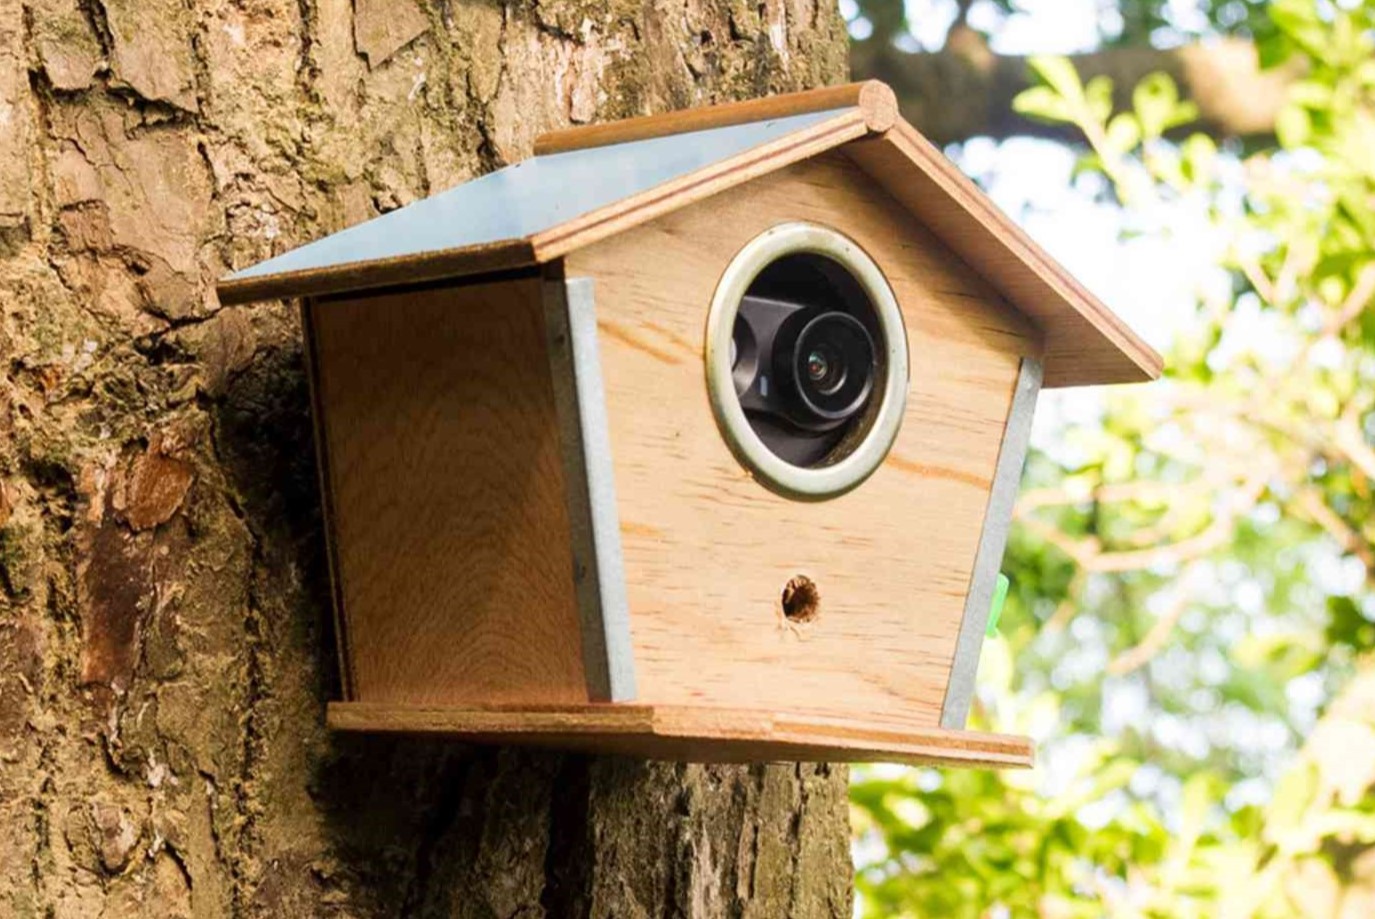
Read more: How To Hide Wires On Nest Outdoor Camera
Step 1: Plan the Lighting Layout
Before delving into the intricacies of concealing outdoor lighting wires, it’s essential to start with a well-thought-out lighting plan. Consider the key focal points and areas that require illumination in your outdoor space. Whether it’s accentuating a majestic tree, casting a gentle glow over a dining area, or outlining a garden pathway, each lighting element should be strategically positioned to achieve the desired effect.
When planning the lighting layout, take into account the power source and the proximity to electrical outlets. This will influence the placement of your lighting fixtures and, consequently, the path of the wiring. By meticulously plotting the locations of your lighting features, you can streamline the wiring process and minimize the visibility of wires.
Furthermore, consider the type of lighting fixtures you intend to use. For instance, if you opt for solar-powered lights, you may have more flexibility in terms of wire concealment since these fixtures do not require a direct connection to a power source. Conversely, traditional electric lights necessitate a more strategic approach to wiring concealment.
By taking the time to plan your lighting layout thoughtfully, you can optimize the concealment of wires while achieving a harmonious and enchanting outdoor lighting design. This initial step lays the foundation for a seamless and visually appealing wiring concealment process, ensuring that your outdoor lighting remains a captivating feature without the distraction of exposed wires.
Step 2: Bury the Wires
One of the most effective methods for hiding outdoor lighting wires is to bury them underground. This approach not only conceals the wires entirely but also protects them from potential damage caused by foot traffic, landscaping activities, or adverse weather conditions. Here’s a step-by-step guide to burying outdoor lighting wires:
- Determine the Depth: Before burying the wires, it’s crucial to ascertain the appropriate depth for the trench. In general, a depth of 18 to 24 inches is recommended to ensure that the wires are adequately shielded from external elements.
- Excavate the Trench: Using a shovel or a trenching tool, carefully excavate a trench along the planned route for the wiring. Exercise caution to avoid damaging any existing utility lines or irrigation systems.
- Lay the Wires: Once the trench is prepared, gently place the outdoor lighting wires in the trench, ensuring that they are positioned uniformly and securely along the pathway.
- Backfill and Conceal: After the wires are in place, carefully backfill the trench with soil, ensuring that the wires are fully submerged. Tamp down the soil to secure the wires in position and conceal them from view.
- Consider Protective Conduits: In areas where the risk of potential damage to the wires is higher, such as beneath driveways or walkways, consider using protective conduits or PVC piping to provide an extra layer of safeguarding for the wiring.
By burying the outdoor lighting wires, you can achieve a seamless and unobtrusive wiring concealment method that ensures the safety, durability, and visual appeal of your outdoor lighting setup. This approach not only enhances the aesthetics of your outdoor space but also contributes to the longevity and reliability of your lighting system, allowing you to revel in the beauty of your outdoor oasis without the distraction of exposed wires.
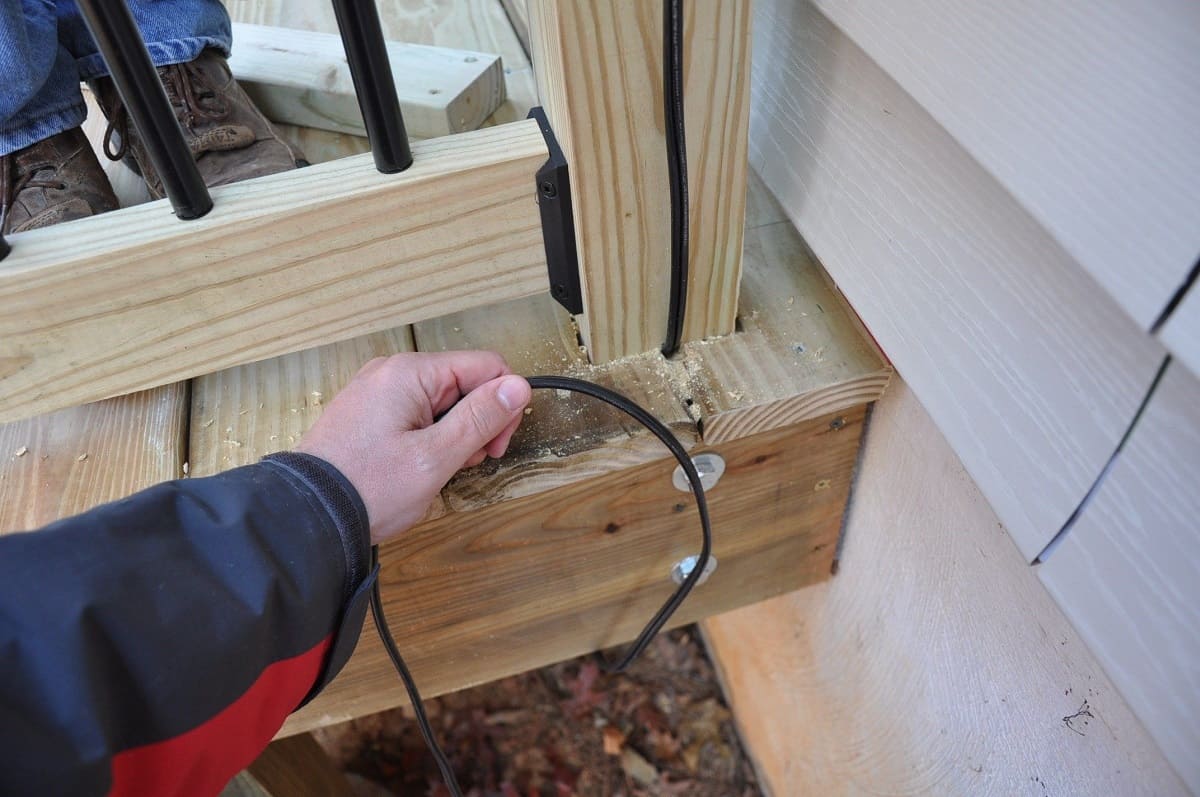
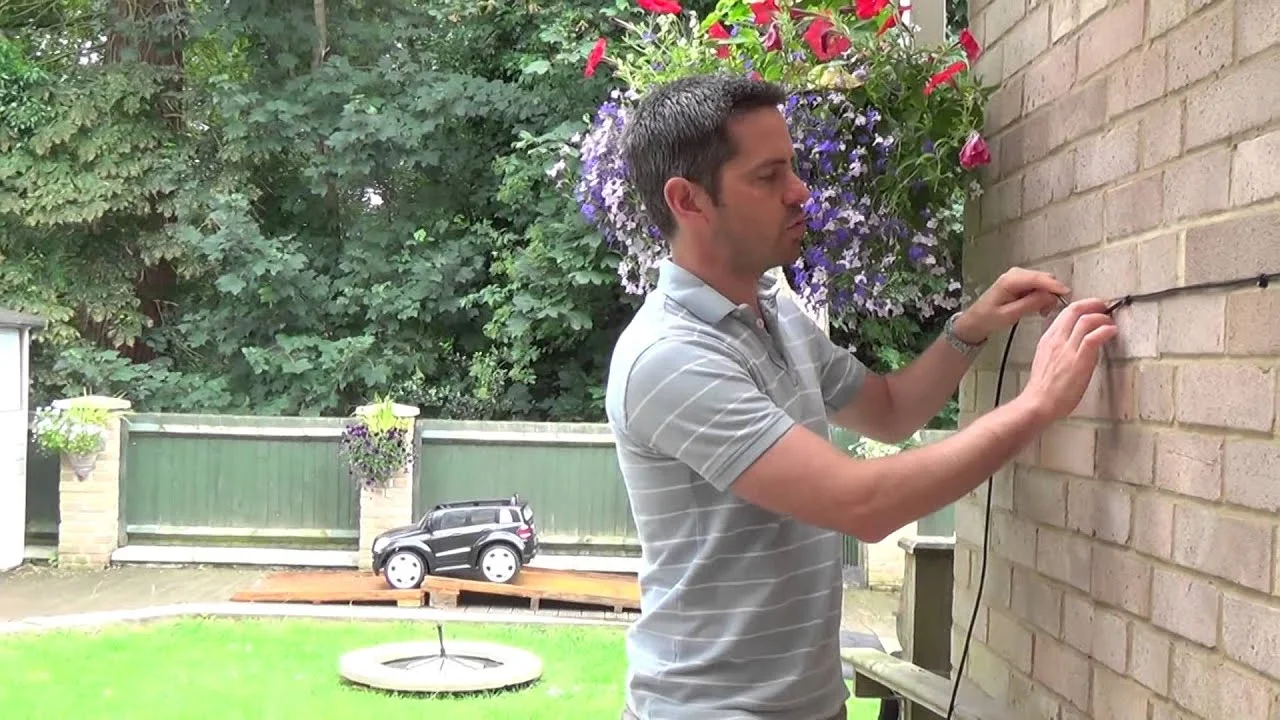
Step 3: Use Cable Concealers
When it comes to concealing outdoor lighting wires with a blend of practicality and aesthetics, cable concealers emerge as a versatile solution. These concealers, available in various designs and materials, offer a discreet and protective method for hiding wires while seamlessly integrating with the outdoor environment. Here’s how you can effectively utilize cable concealers to enhance the visual appeal of your outdoor lighting setup:
- Select Suitable Concealers: Begin by choosing cable concealers that complement the design and layout of your outdoor space. Whether you opt for discreet ground-level concealers, low-profile track concealers, or weather-resistant surface-mount concealers, ensure that the selected concealers align with the aesthetic and functional requirements of your outdoor lighting setup.
- Strategic Placement: Identify the key areas where cable concealers are needed, such as along pathways, near garden beds, or around outdoor seating areas. By strategically placing concealers in these locations, you can effectively mask the presence of wires while safeguarding them from potential damage.
- Installation Process: Follow the manufacturer’s guidelines to install the cable concealers securely and precisely. Whether it involves simple snap-together mechanisms, adhesive backing, or anchoring hardware, ensure that the concealers are firmly positioned to provide a seamless and unobtrusive wire-hiding solution.
- Blend with Surroundings: Opt for cable concealers that blend harmoniously with the outdoor surroundings. Consider concealers that are color-matched to the ground or surface they are installed on, allowing them to seamlessly merge with the landscape and minimize visual disruption.
- Maintenance and Accessibility: Choose cable concealers that facilitate easy access to the wiring for maintenance or adjustments. This ensures that the concealers not only hide the wires effectively but also allow for convenient upkeep of the lighting system when necessary.
By incorporating cable concealers into your outdoor lighting design, you can achieve a refined and unobtrusive wire-hiding solution that adds to the visual appeal and safety of your outdoor space. These concealers not only elevate the aesthetics of your outdoor lighting setup but also contribute to a seamless and enchanting ambiance, allowing you to revel in the allure of your outdoor oasis without the distraction of exposed wires.
To hide outdoor lighting wires, bury them at least 6 inches deep or use wire channels along the ground. Be sure to follow local building codes and use weatherproof materials.
Step 4: Utilize Landscaping
Integrating landscaping elements strategically can serve as a natural and visually appealing method to conceal outdoor lighting wires while enhancing the overall charm of your outdoor space. By harmonizing the wiring concealment with the natural beauty of your landscape, you can achieve a seamless and captivating outdoor lighting design. Here are several landscaping techniques to effectively conceal outdoor lighting wires:
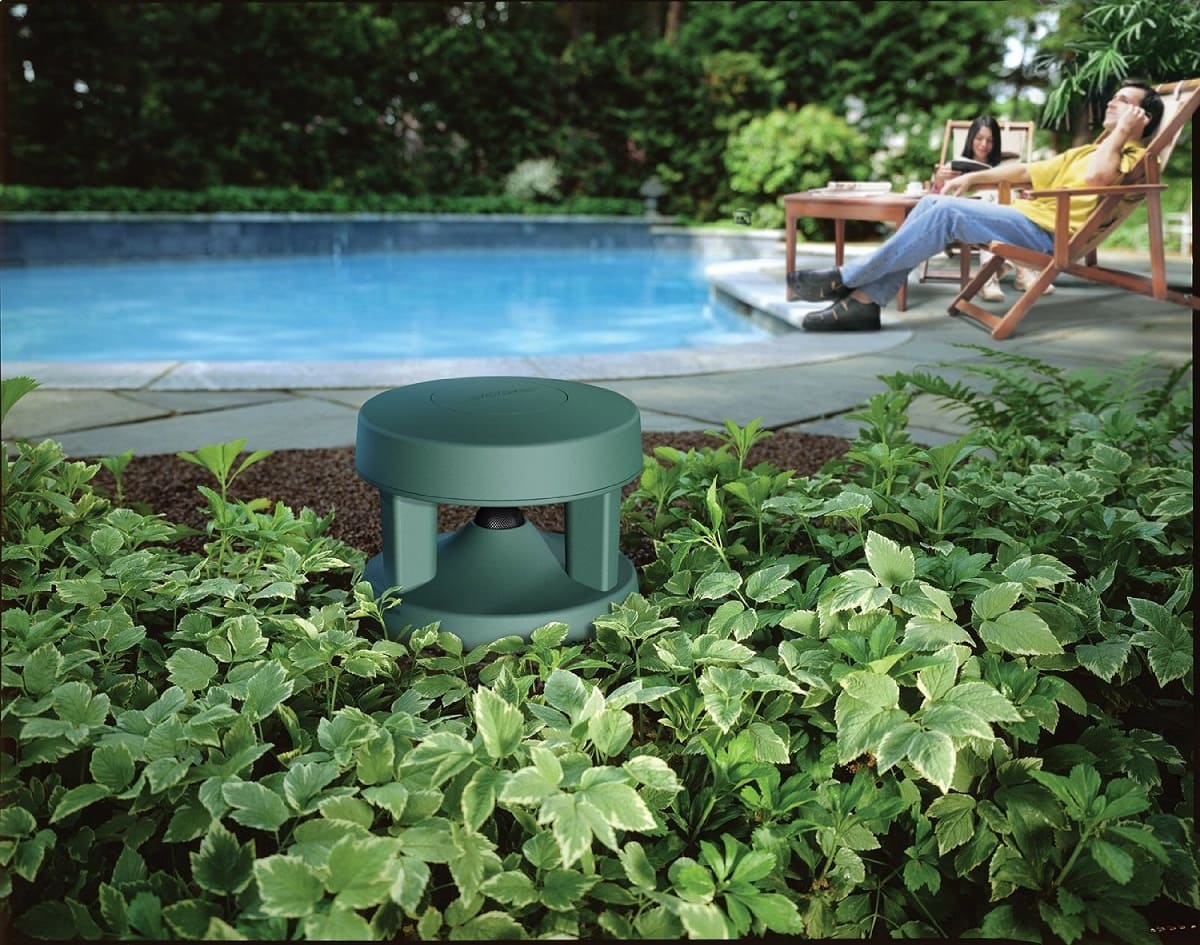
- Strategic Planting: Utilize plants, shrubs, and ground cover to conceal the wiring along pathways and around outdoor fixtures. Select low-profile vegetation that can effectively mask the presence of wires while adding a touch of greenery to the surroundings.
- Rock and Stone Accents: Incorporate decorative rocks, pebbles, or natural stone elements to create visually appealing borders along the pathways or around lighting fixtures. These elements not only conceal the wires but also contribute to the aesthetic appeal of the outdoor space.
- Mulch and Ground Cover: Use mulch or decorative ground cover materials to create a visually seamless and natural concealment for the outdoor lighting wires. These materials can be spread over the wiring paths to blend with the landscape effortlessly.
- Pathway Pavers and Borders: Install pathway pavers or borders that can discreetly house the outdoor lighting wires. This method not only conceals the wiring but also adds structure and visual definition to the pathways, creating an elegant and cohesive outdoor environment.
- Water Feature Integration: If your outdoor space features water elements such as ponds or fountains, leverage these features to conceal the wiring. Conceal the wires along the edges of water features or beneath decorative rocks to seamlessly integrate them into the natural setting.
By incorporating these landscaping techniques, you can transform the concealment of outdoor lighting wires into an organic and visually enriching aspect of your outdoor space. This approach not only ensures the discreet hiding of wires but also contributes to the overall aesthetics and ambiance of your outdoor lighting design, allowing you to bask in the enchanting glow of your outdoor oasis without the intrusion of exposed wiring.
Read more: How To Hide Outdoor Security Camera Wires
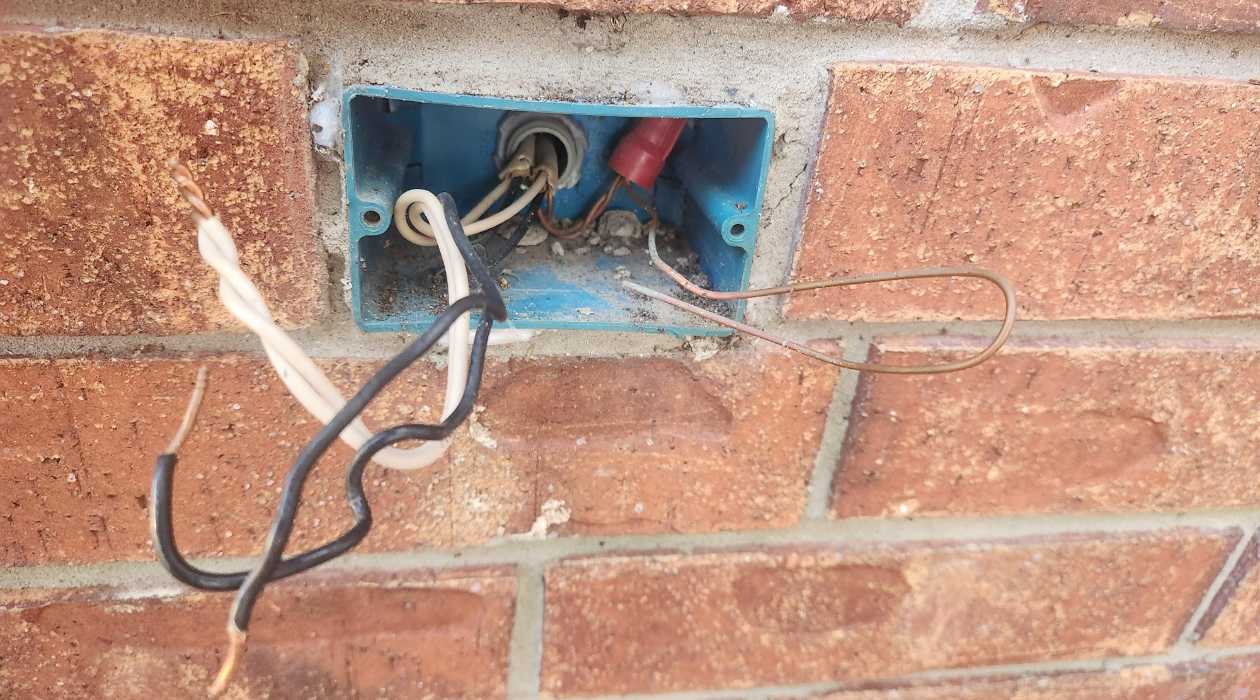
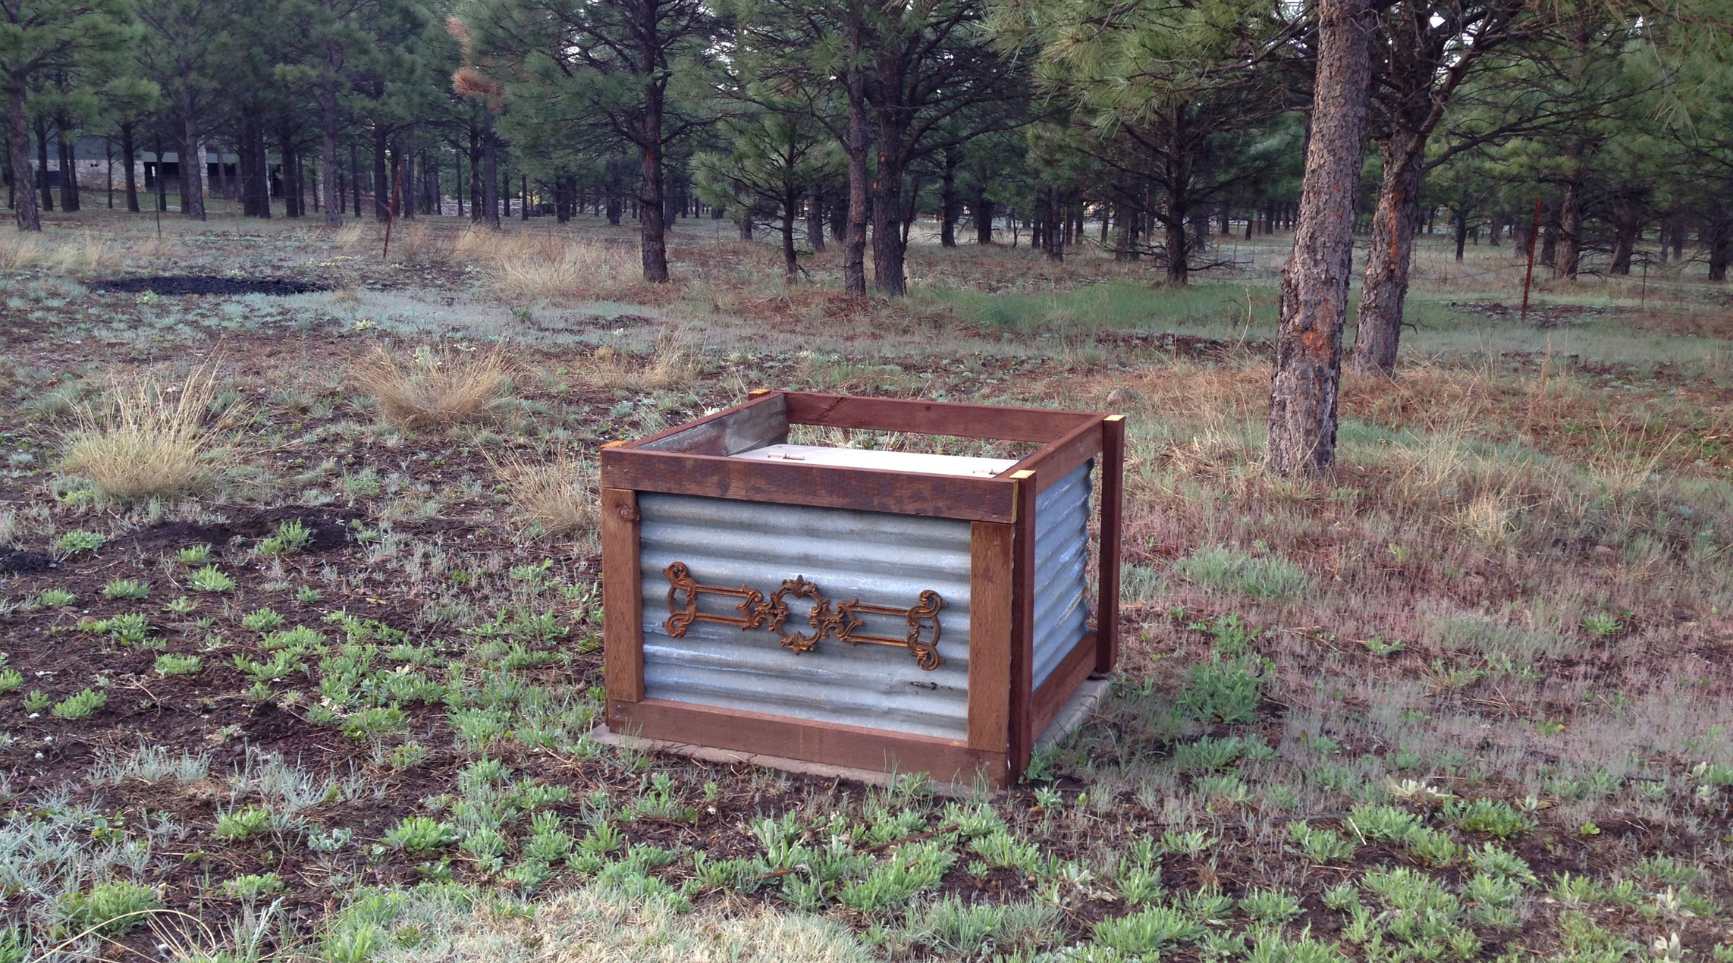
Step 5: Install Outdoor Junction Boxes
Installing outdoor junction boxes provides a secure and organized solution for concealing outdoor lighting wires while facilitating convenient access for maintenance and adjustments. These weather-resistant enclosures not only safeguard the wiring connections but also contribute to the seamless integration of your outdoor lighting setup. Here’s a comprehensive guide to effectively utilizing outdoor junction boxes for wire concealment:
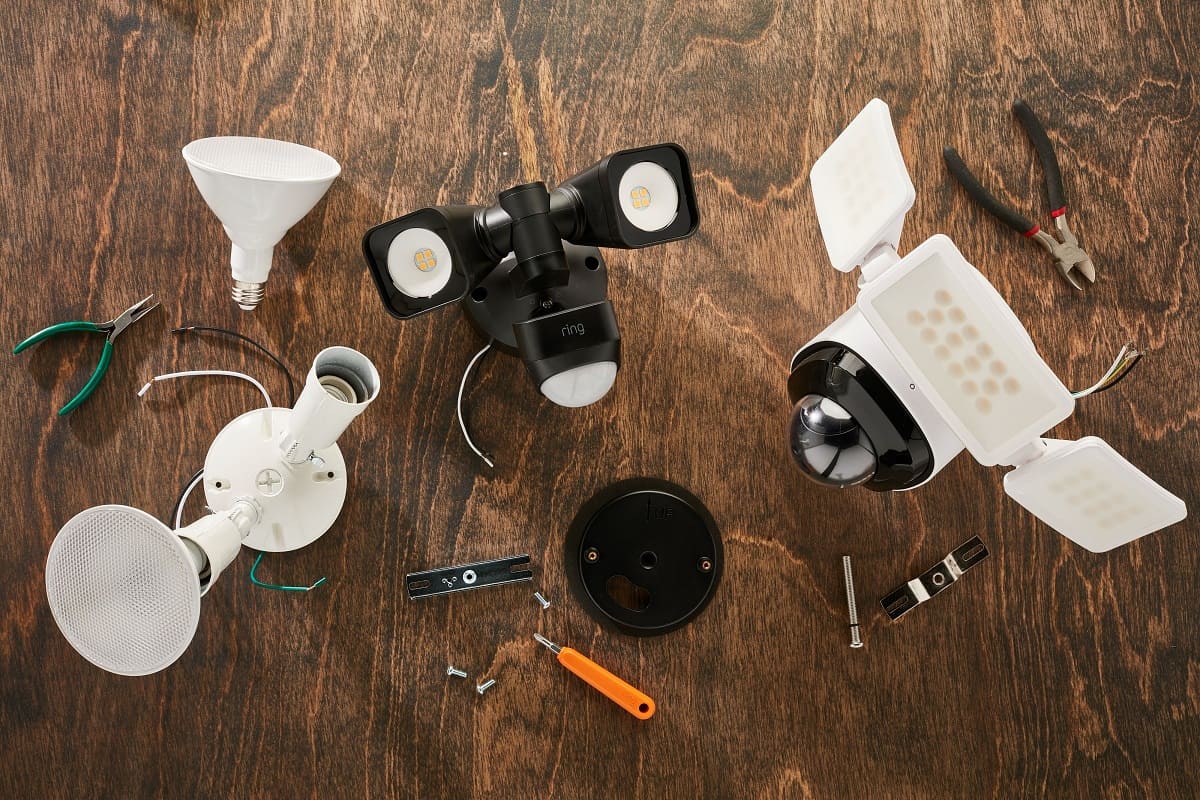
- Select Appropriate Junction Boxes: Choose outdoor junction boxes designed specifically for exterior use, ensuring that they are weatherproof and durable to withstand outdoor conditions. Opt for boxes that accommodate the number of connections required for your lighting setup.
- Strategic Placement: Identify the optimal locations for installing the junction boxes based on the layout of your outdoor lighting system. Position the boxes discreetly while ensuring easy access for maintenance and wiring adjustments.
- Secure Wiring Connections: Carefully route the outdoor lighting wires to the junction boxes, making secure and watertight connections within the enclosures. Follow the manufacturer’s guidelines for proper wiring techniques and utilize waterproof cable connectors to safeguard the connections from moisture and environmental elements.
- Concealment and Integration: Once the wiring connections are secured within the junction boxes, conceal the boxes within the landscape or near lighting fixtures. Incorporate them seamlessly into the outdoor environment, ensuring that they do not detract from the visual appeal of the space.
- Maintenance Accessibility: Ensure that the installed junction boxes allow for easy access to the wiring connections for maintenance, repairs, or modifications. This accessibility ensures that the outdoor lighting system remains functional and well-maintained without compromising the concealment of the wiring.
By integrating outdoor junction boxes into your outdoor lighting design, you can achieve a meticulous and organized approach to wire concealment while enhancing the functionality and longevity of your lighting system. These enclosures not only provide a secure housing for wiring connections but also contribute to the seamless and unobtrusive integration of your outdoor lighting setup, allowing you to revel in the enchanting ambiance of your outdoor space without the visual distraction of exposed wires.
Conclusion
Concealing outdoor lighting wires is an artful endeavor that harmonizes practicality with aesthetics, ensuring that your outdoor space remains a captivating haven of light and beauty. By following the strategic steps outlined in this guide, you can seamlessly integrate your outdoor lighting while keeping the wires out of sight, allowing the enchanting glow to take center stage without visual distractions.
From meticulous planning and wire burial to the use of cable concealers, landscaping techniques, and outdoor junction boxes, each method contributes to the seamless concealment and integration of outdoor lighting wires. Embracing these approaches not only enhances the visual appeal of your outdoor space but also ensures the safety, durability, and functionality of your lighting system.
As you embark on the journey of concealing outdoor lighting wires, remember that the process is an opportunity to infuse creativity and ingenuity into your outdoor design. Whether it’s leveraging natural elements to conceal wires or integrating discreet enclosures within the landscape, each method adds a layer of artistry to your outdoor oasis.
Ultimately, the art of concealing outdoor lighting wires transcends mere functionality, evolving into a symphony of seamless integration and visual enchantment. Embrace the process with a spirit of creativity and meticulous planning, and watch as your outdoor space transforms into a captivating sanctuary illuminated by the allure of concealed wires and radiant light.
With these methods at your disposal, you can revel in the magic of your outdoor oasis, where the beauty of the lighting remains unhindered by the presence of exposed wires. Let the enchanting glow illuminate your outdoor world, concealed wires and all, as you savor the seamless fusion of practicality and aesthetic allure.
Frequently Asked Questions about How To Hide Outdoor Lighting Wires
Was this page helpful?
At Storables.com, we guarantee accurate and reliable information. Our content, validated by Expert Board Contributors, is crafted following stringent Editorial Policies. We're committed to providing you with well-researched, expert-backed insights for all your informational needs.


0 thoughts on “How To Hide Outdoor Lighting Wires”