Home>Furniture & Design>Outdoor Furniture>How To Install A Photocell For An Outdoor Light
Outdoor Furniture
How To Install A Photocell For An Outdoor Light
Modified: August 16, 2024
Learn how to install a photocell for your outdoor light with our easy step-by-step guide. Ensure your outdoor furniture is well-lit and secure.
(Many of the links in this article redirect to a specific reviewed product. Your purchase of these products through affiliate links helps to generate commission for Storables.com, at no extra cost. Learn more)
Introduction
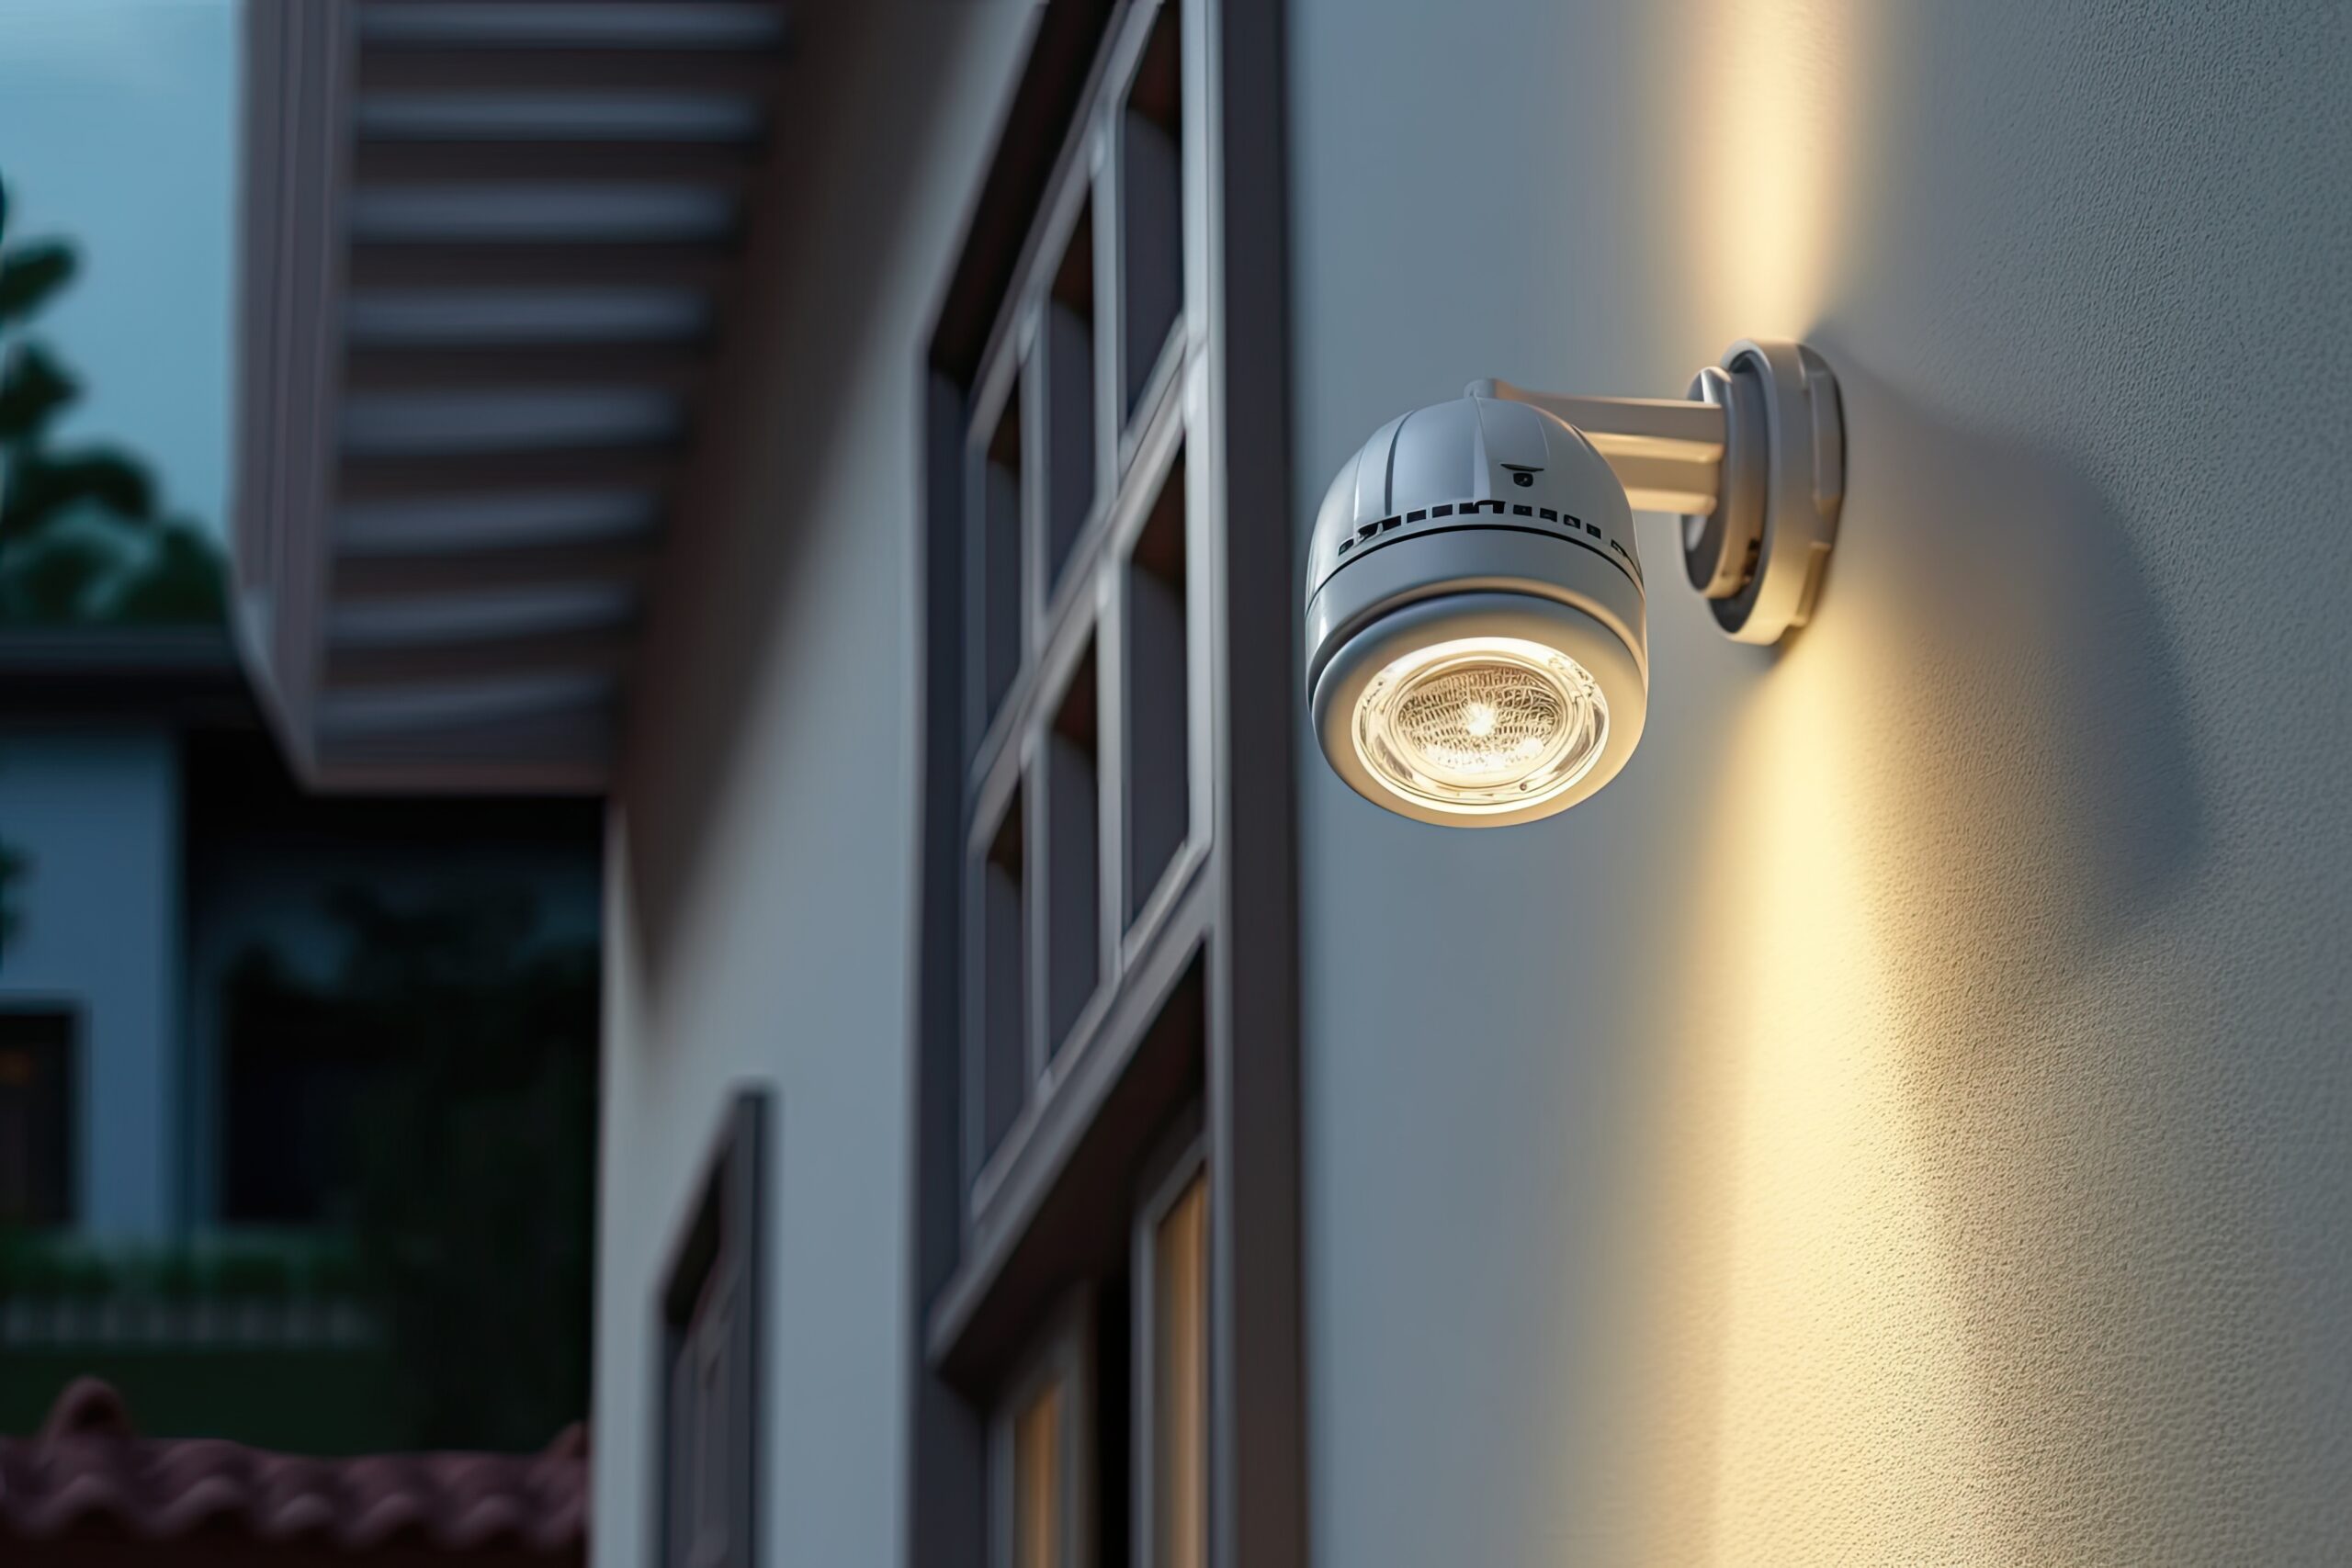
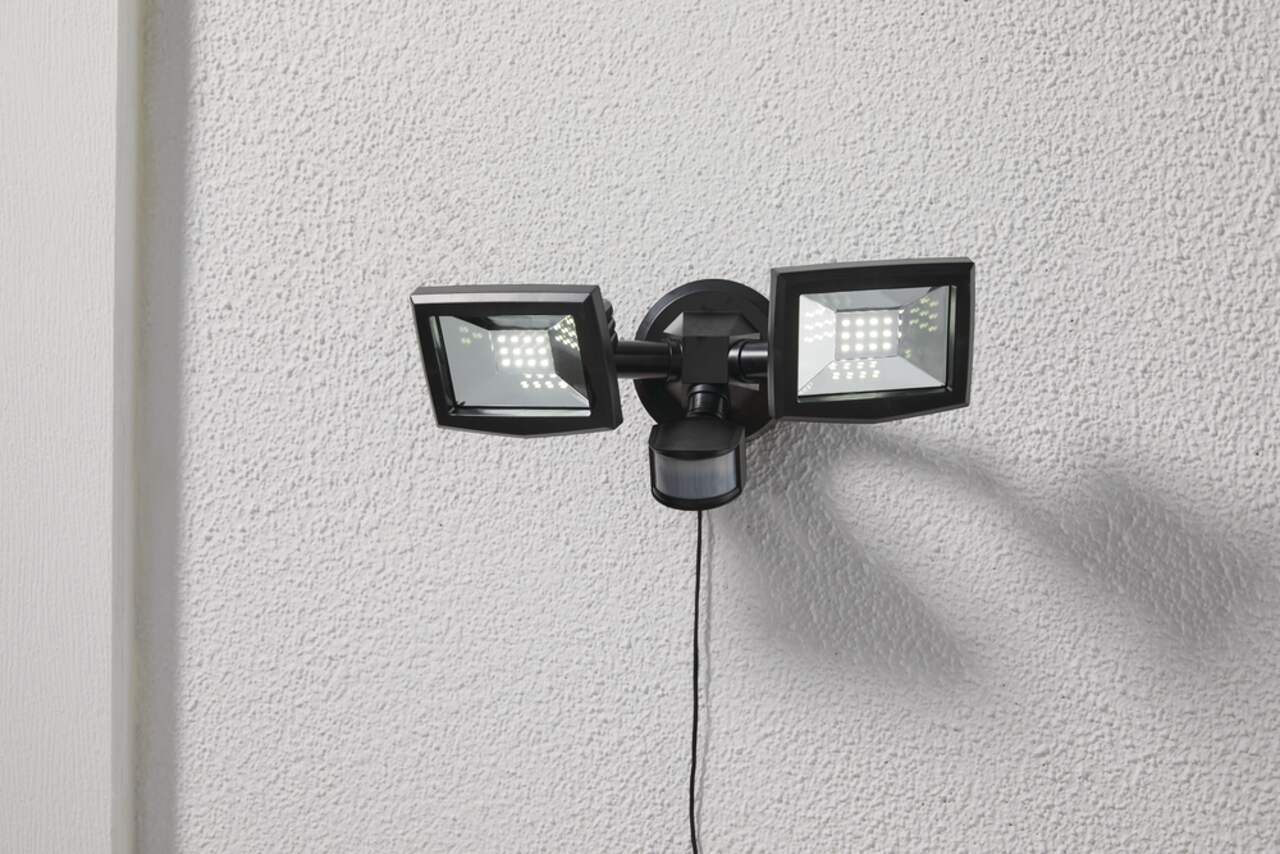
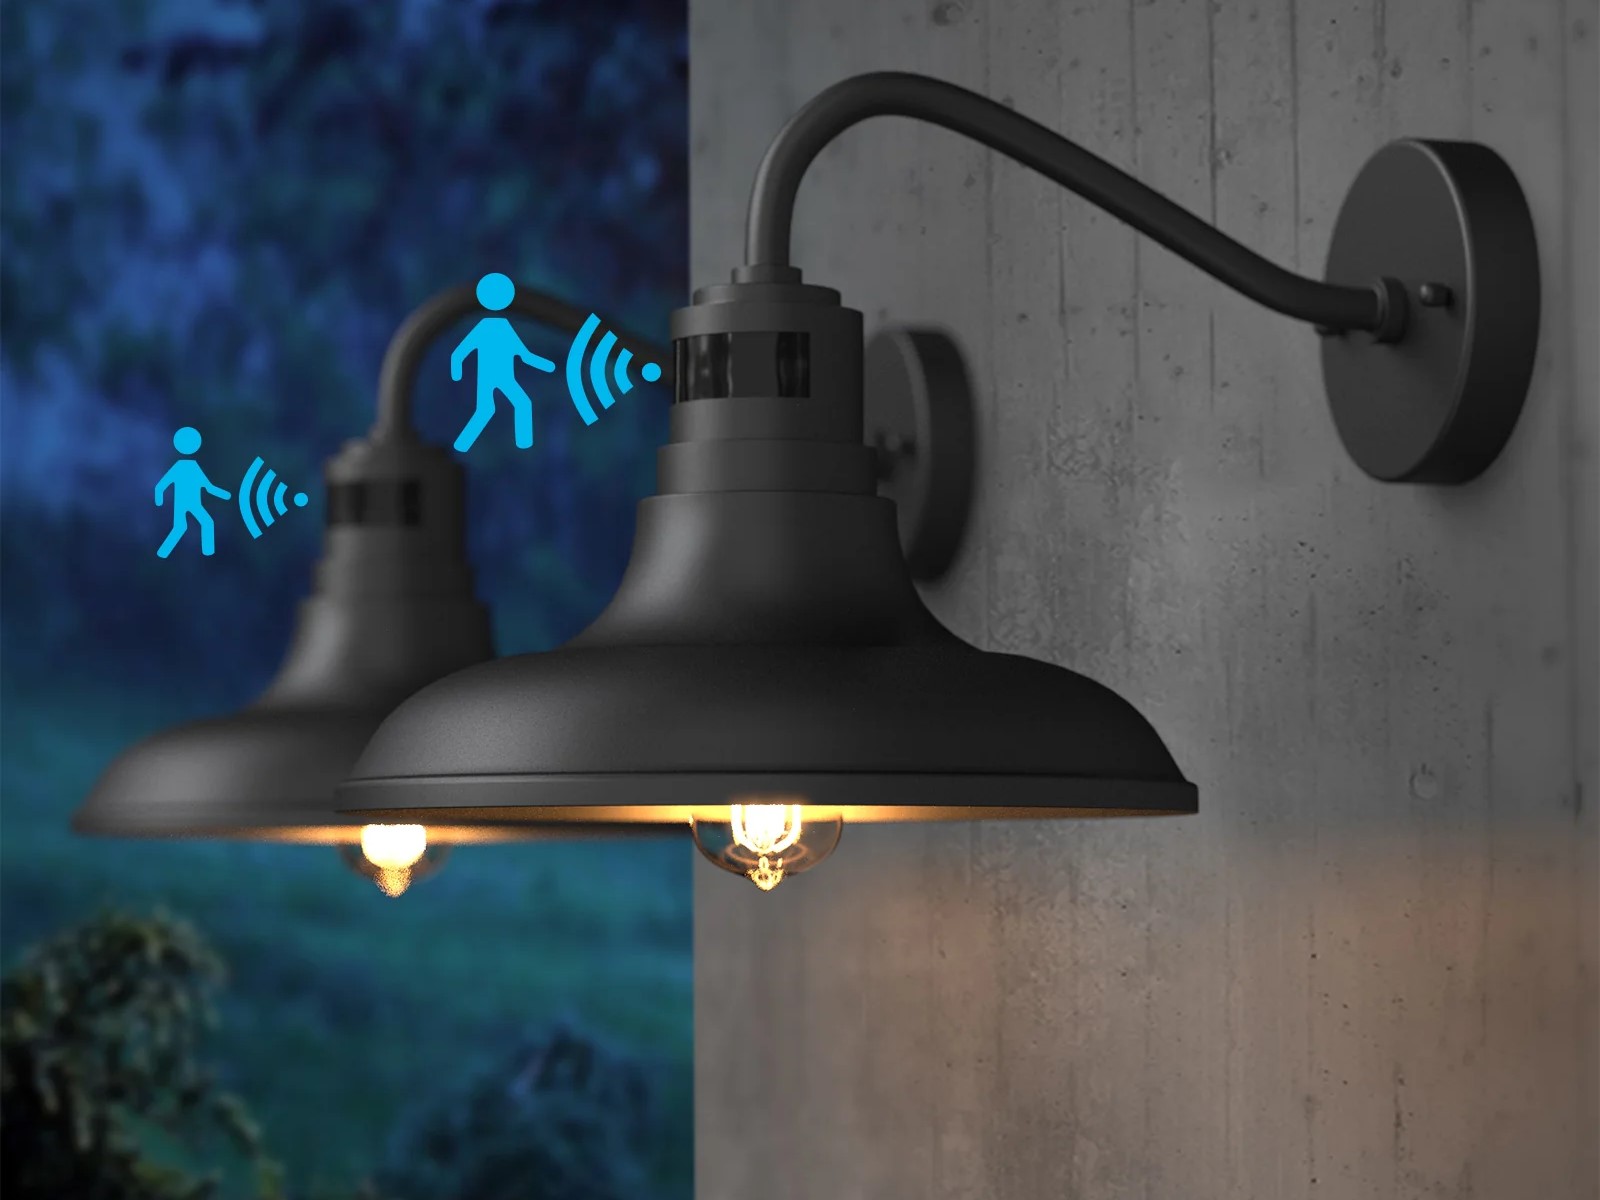
Welcome to the world of outdoor lighting! Whether you're looking to enhance the security of your property, create a warm ambiance for outdoor gatherings, or simply improve visibility during the night, installing a photocell for your outdoor light is a fantastic way to achieve these goals. A photocell, also known as a photoelectric sensor, is a small electronic component that automatically turns your outdoor lights on at dusk and off at dawn, providing convenience and energy efficiency.
In this comprehensive guide, we will walk you through the process of installing a photocell for an outdoor light. By the end of this tutorial, you'll have the knowledge and confidence to tackle this project, allowing you to enjoy the benefits of automated outdoor lighting.
So, let's dive in and shed some light on the world of photocells and outdoor lighting!
Key Takeaways:
- Embrace the convenience and energy efficiency of outdoor lighting by installing a photocell, which automatically turns lights on at dusk and off at dawn, enhancing safety and ambiance.
- Prioritize safety and precision when installing a photocell for outdoor lighting, ensuring seamless integration and optimal functionality for automated illumination.
Read more: What Is A Photocell For An Outdoor Light
Understanding Photocells
Before delving into the installation process, it's essential to understand the functionality of photocells and their significance in outdoor lighting systems. Photocells are light-sensitive devices that detect changes in ambient light levels. When natural light diminishes at dusk, the resistance of the photocell decreases, allowing electricity to flow to the outdoor light fixture, thereby turning it on. Conversely, at dawn, as natural light increases, the resistance of the photocell rises, interrupting the electrical current and turning off the outdoor light.
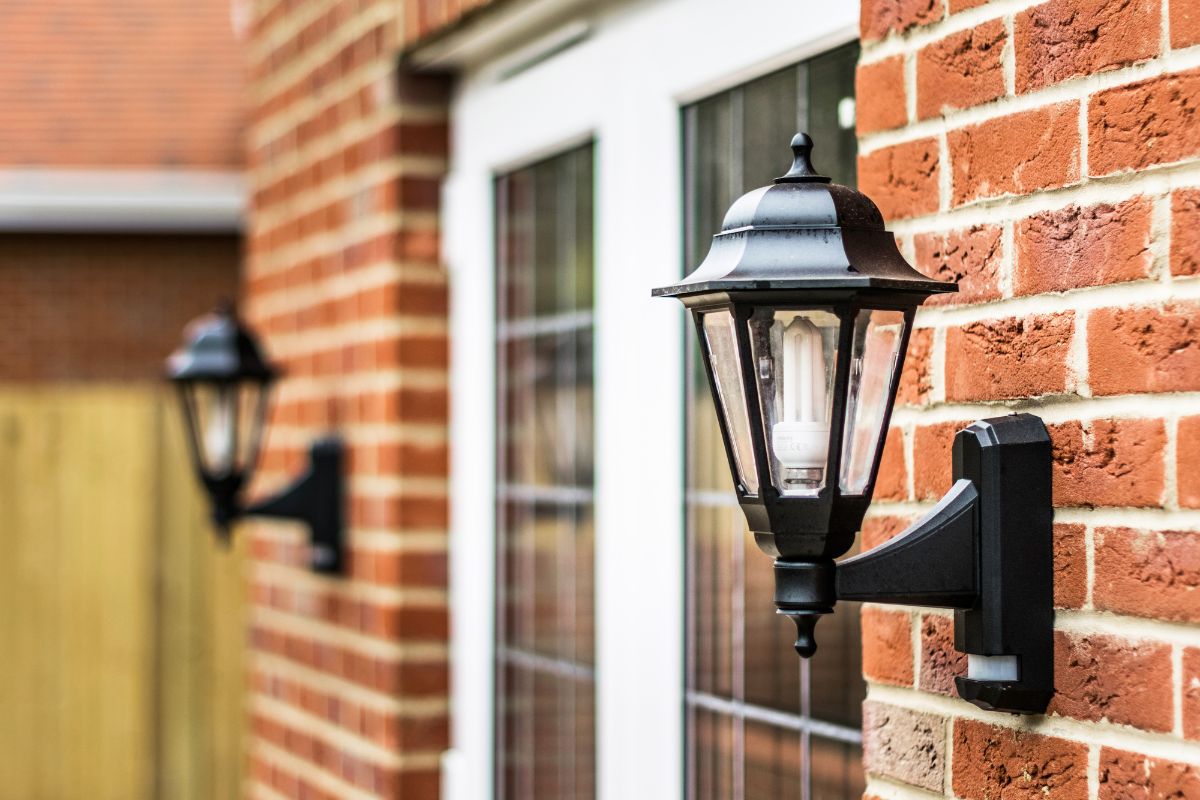
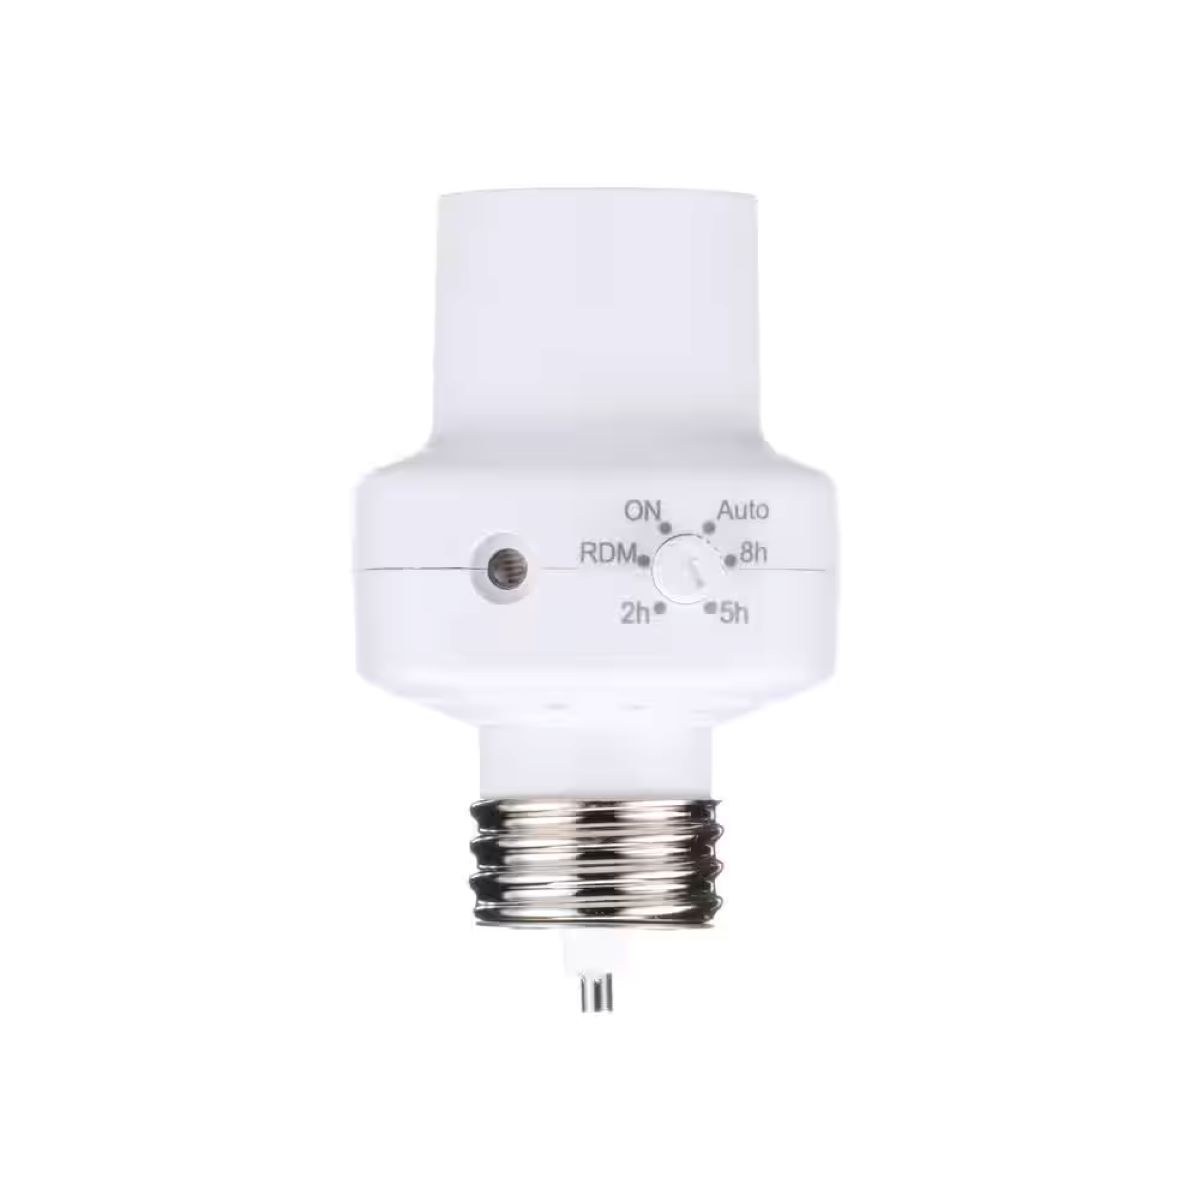
Photocells are available in various designs, including stem-mounted, button-type, and post-eye photocells, offering flexibility in their application. Stem-mounted photocells are often used in conjunction with outdoor light fixtures, while button-type photocells are integrated directly into the light fixture itself. Post-eye photocells are designed to be mounted separately from the light fixture, providing versatility in positioning and installation.
These devices play a pivotal role in conserving energy by ensuring that outdoor lights operate only when necessary, thereby reducing electricity consumption and utility costs. Furthermore, the automatic operation facilitated by photocells enhances home security by maintaining consistent illumination during the night, deterring potential intruders and providing peace of mind for homeowners.
Understanding the fundamental principles of photocells empowers homeowners to make informed decisions when selecting and installing these components, ultimately optimizing the performance and efficiency of their outdoor lighting systems.
Tools and Materials Needed
Before embarking on the installation of a photocell for your outdoor light, it’s essential to gather the necessary tools and materials to ensure a smooth and efficient process. Here’s a comprehensive list of what you’ll need:
Tools:
- Wire cutters
- Wire strippers
- Screwdriver set
- Adjustable wrench
- Electrical tape
- Wire nuts
- Drill and bits (if mounting the photocell on a surface)
- Voltage tester
Materials:
- Photocell (compatible with your outdoor light fixture)
- Wire (if extending the existing wiring)
- Wire connectors
- Mounting hardware (if applicable)
- Protective sealant (if installing outdoors in exposed areas)
- Owner's manual or installation guide for the outdoor light fixture
By ensuring that you have these tools and materials on hand, you’ll be well-prepared to proceed with the installation, minimizing interruptions and facilitating a seamless workflow. Additionally, having the appropriate tools and materials at your disposal promotes safety and precision throughout the installation process, allowing you to achieve professional-quality results.
Read more: How To Install Outdoor Flood Lights
Steps to Install a Photocell for an Outdoor Light
Now that you’re equipped with the necessary tools and materials, it’s time to embark on the installation process. Follow these step-by-step instructions to seamlessly integrate a photocell into your outdoor lighting system:
Step 1: Safety First
Prioritize safety by turning off the power supply to the outdoor light fixture at the circuit breaker. Use a voltage tester to ensure that the power is indeed switched off before proceeding with the installation.
Step 2: Access the Wiring
Remove the cover or housing of the outdoor light fixture to access the wiring and electrical connections. If necessary, refer to the owner’s manual or installation guide for detailed instructions on disassembling the fixture.
Step 3: Identify the Wiring Configuration
Identify the wiring configuration of the outdoor light fixture. Typically, you’ll find black (hot), white (neutral), and green or bare (ground) wires. Familiarize yourself with the existing wiring to facilitate the integration of the photocell.
Read more: How To Install Outdoor Step Lights
Step 4: Connect the Photocell
If the photocell is designed for stem mounting, connect it in line with the black (hot) wire of the outdoor light fixture. Use wire connectors to secure the connections and ensure proper insulation. If the photocell is of the button-type or post-eye variety, follow the manufacturer’s instructions for integration.
Step 5: Mount the Photocell (If Applicable)
If you’re using a stem-mounted photocell, secure it to the designated location on the outdoor light fixture. Ensure that the photocell is positioned to receive optimal exposure to natural light for accurate dusk-to-dawn operation.
Step 6: Secure and Insulate the Wiring
Once the connections are made, carefully secure and insulate the wiring to prevent exposure and ensure the longevity of the installation. Use electrical tape and wire nuts as needed to safeguard the connections from environmental elements.
Step 7: Reassemble the Fixture
Reassemble the cover or housing of the outdoor light fixture, taking care to align and secure it according to the manufacturer’s specifications. This step ensures the integrity and weather resistance of the fixture.
Read more: How To Install Outdoor Landscape Lighting
Step 8: Restore Power and Test
After completing the installation, restore power to the outdoor light fixture at the circuit breaker. Verify that the photocell activates the light at dusk and deactivates it at dawn by observing its operation over a complete light-dark cycle.
By following these steps with precision and care, you can successfully integrate a photocell into your outdoor lighting system, reaping the benefits of automated and energy-efficient illumination.
Testing and Troubleshooting
Upon completing the installation of a photocell for your outdoor light, it’s crucial to conduct thorough testing to ensure proper functionality. Additionally, being familiar with potential troubleshooting steps can help address any issues that may arise. Here’s a guide to testing and troubleshooting your newly installed photocell:
Testing the Photocell
As dusk approaches, observe the photocell to confirm that it accurately detects the diminishing natural light and activates the outdoor light fixture. The fixture should remain illuminated throughout the night and automatically turn off at dawn as natural light increases. This seamless transition between light and dark signifies the successful operation of the photocell.
Troubleshooting Common Issues
If the outdoor light fails to activate at dusk or remains constantly illuminated, several factors may require attention. Here are common issues and their corresponding troubleshooting steps:
1. Improper Wiring:
Verify that the wiring connections are secure and correctly aligned. Ensure that the black (hot) wire from the photocell is connected to the corresponding wire of the outdoor light fixture, and the white (neutral) and green or bare (ground) wires are properly integrated.
2. Obstructed Photocell:
Inspect the photocell for any obstructions that may impede its exposure to natural light. Clear away debris, foliage, or any objects that may cast shadows on the photocell, hindering its functionality.
3. Incompatible Photocell:
If the photocell fails to activate the outdoor light, ensure that it is compatible with the specific requirements of the light fixture. Consult the manufacturer’s specifications and guidelines to confirm compatibility.
4. Environmental Interference:
Environmental factors, such as nearby artificial light sources or reflective surfaces, can impact the operation of the photocell. Adjust the positioning of the photocell or shield it from extraneous light to mitigate interference.
5. Photocell Sensitivity Adjustment:
Some photocells feature sensitivity adjustment settings. Consult the manufacturer’s documentation to adjust the sensitivity level to optimize the photocell’s response to ambient light changes.
Read more: How To Install Outdoor Recessed Lighting
Consulting Professional Assistance
If troubleshooting efforts do not resolve the issues or if you encounter complexities during the installation or testing process, consider seeking professional assistance from a licensed electrician or outdoor lighting specialist. Professional expertise can provide comprehensive solutions and ensure the safe and efficient operation of your outdoor lighting system.
By conducting thorough testing and being prepared to address potential issues, you can maximize the performance and reliability of your newly installed photocell, enhancing the functionality and energy efficiency of your outdoor lighting.
Conclusion
Congratulations on successfully installing a photocell for your outdoor light! By embracing the convenience and efficiency offered by this automated lighting component, you’ve taken a significant step toward enhancing the functionality and energy efficiency of your outdoor lighting system.
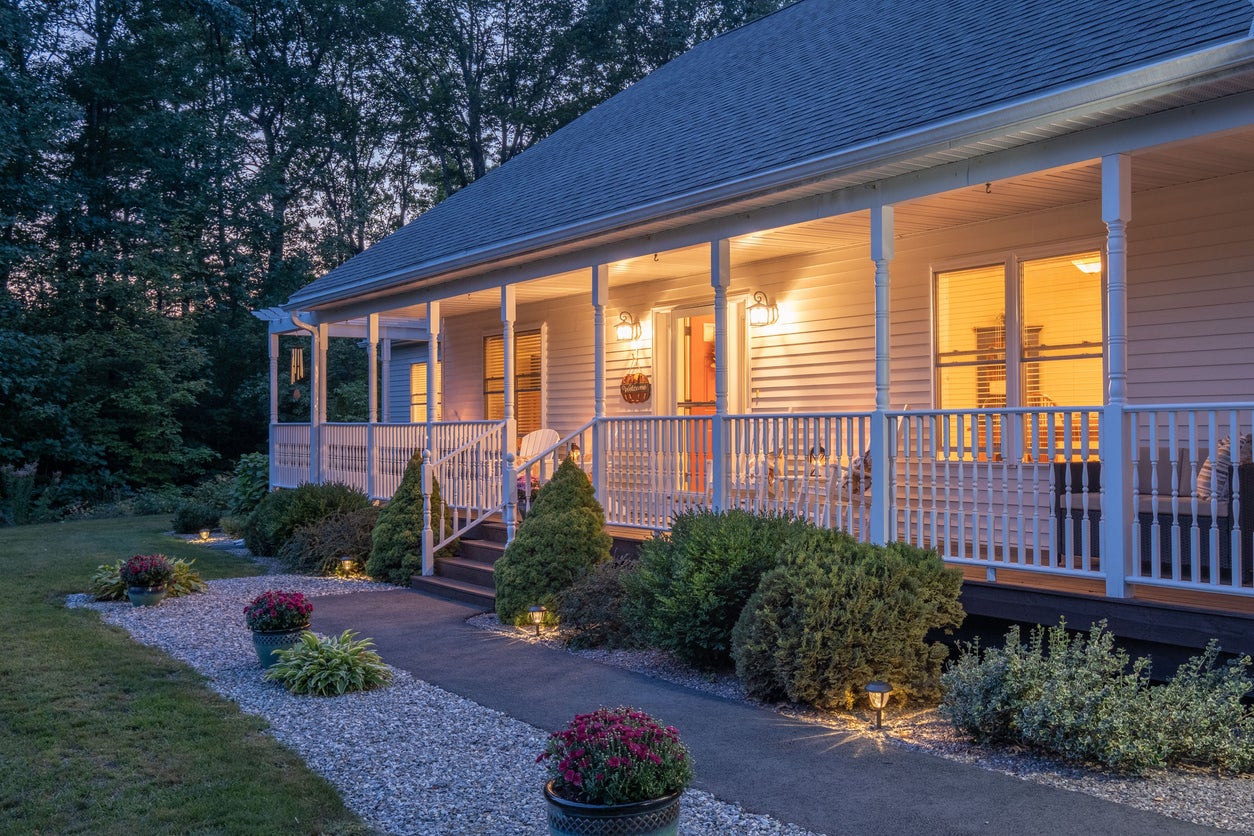
With the photocell in place, your outdoor light fixture will seamlessly illuminate your surroundings at dusk and gracefully fade into darkness at dawn, all without manual intervention. This not only contributes to the aesthetic appeal of your outdoor space but also promotes safety and security by maintaining consistent illumination during the night.
As you enjoy the benefits of your newly installed photocell, take pride in your accomplishment and the valuable skills you’ve acquired throughout the installation process. By prioritizing safety, precision, and attention to detail, you’ve successfully integrated a sophisticated electronic component into your outdoor lighting system.
Should you encounter any challenges or have additional questions about your outdoor lighting setup, don’t hesitate to consult the manufacturer’s documentation or seek professional assistance. Your commitment to maintaining the optimal functionality of your outdoor lighting system reflects your dedication to creating a safe, inviting, and energy-efficient outdoor environment.
By harnessing the power of photocells, you’ve illuminated your outdoor space with efficiency and elegance, setting the stage for memorable gatherings, enhanced security, and the enjoyment of your outdoor oasis, day and night.
Here’s to the seamless transition from dusk to dawn, powered by the ingenuity of your outdoor lighting system!
Frequently Asked Questions about How To Install A Photocell For An Outdoor Light
Was this page helpful?
At Storables.com, we guarantee accurate and reliable information. Our content, validated by Expert Board Contributors, is crafted following stringent Editorial Policies. We're committed to providing you with well-researched, expert-backed insights for all your informational needs.
0 thoughts on “How To Install A Photocell For An Outdoor Light”