Home>Furniture & Design>Outdoor Furniture>How To Insulate An Outdoor Spigot
Outdoor Furniture
How To Insulate An Outdoor Spigot
Modified: August 27, 2024
Learn how to properly insulate your outdoor spigot to prevent freezing and damage. Our expert tips will help protect your outdoor furniture and design.
(Many of the links in this article redirect to a specific reviewed product. Your purchase of these products through affiliate links helps to generate commission for Storables.com, at no extra cost. Learn more)
Introduction
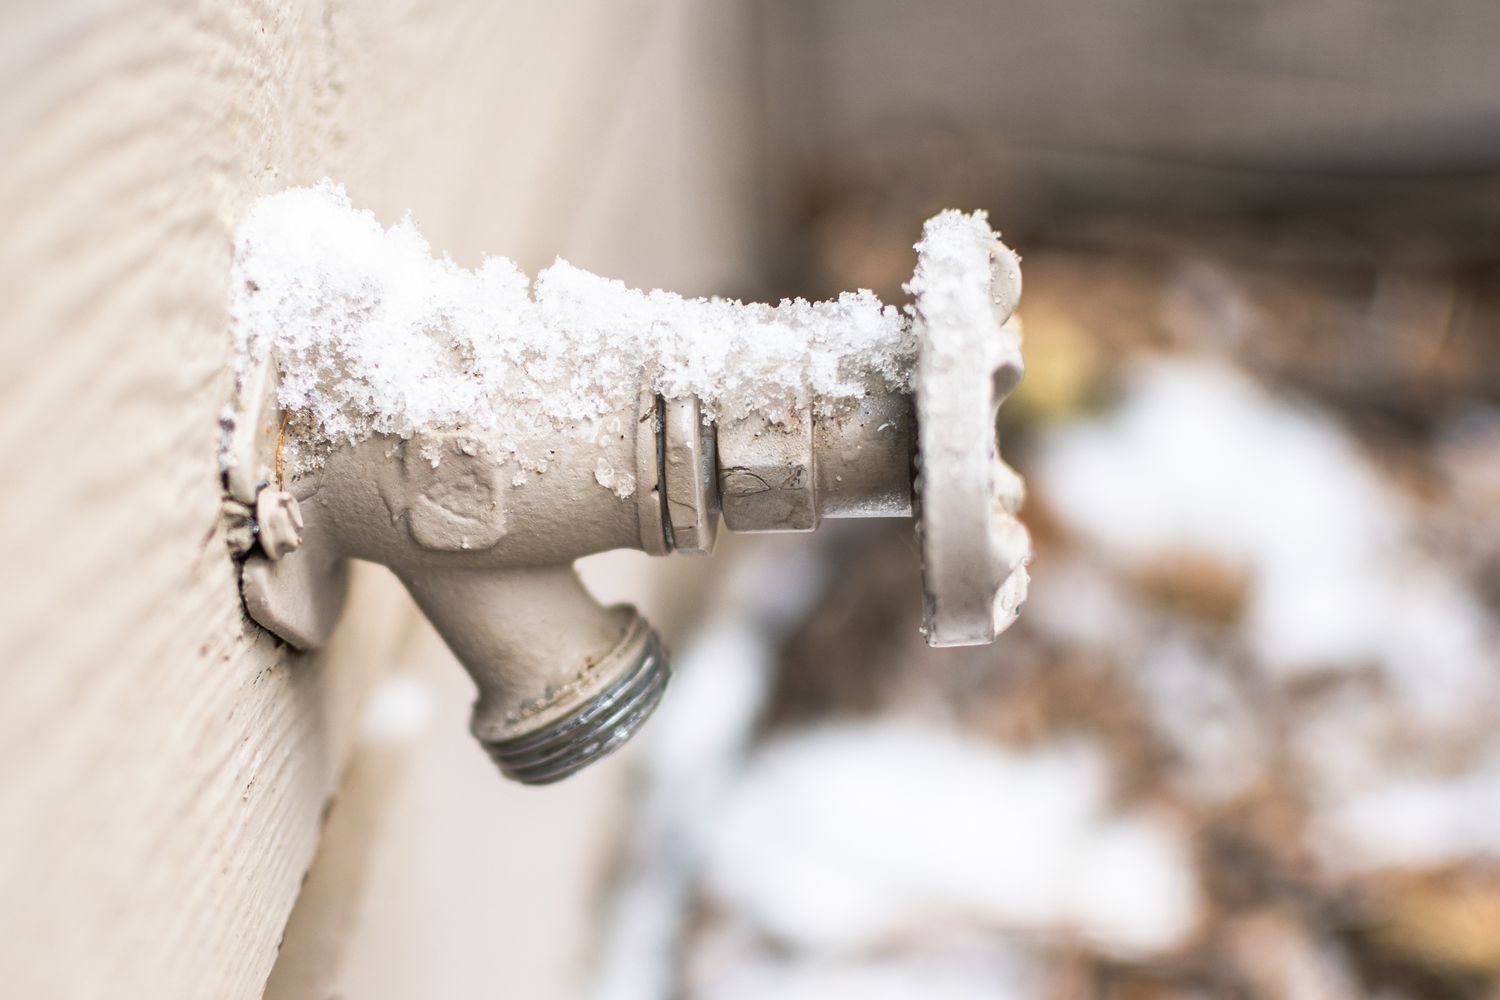
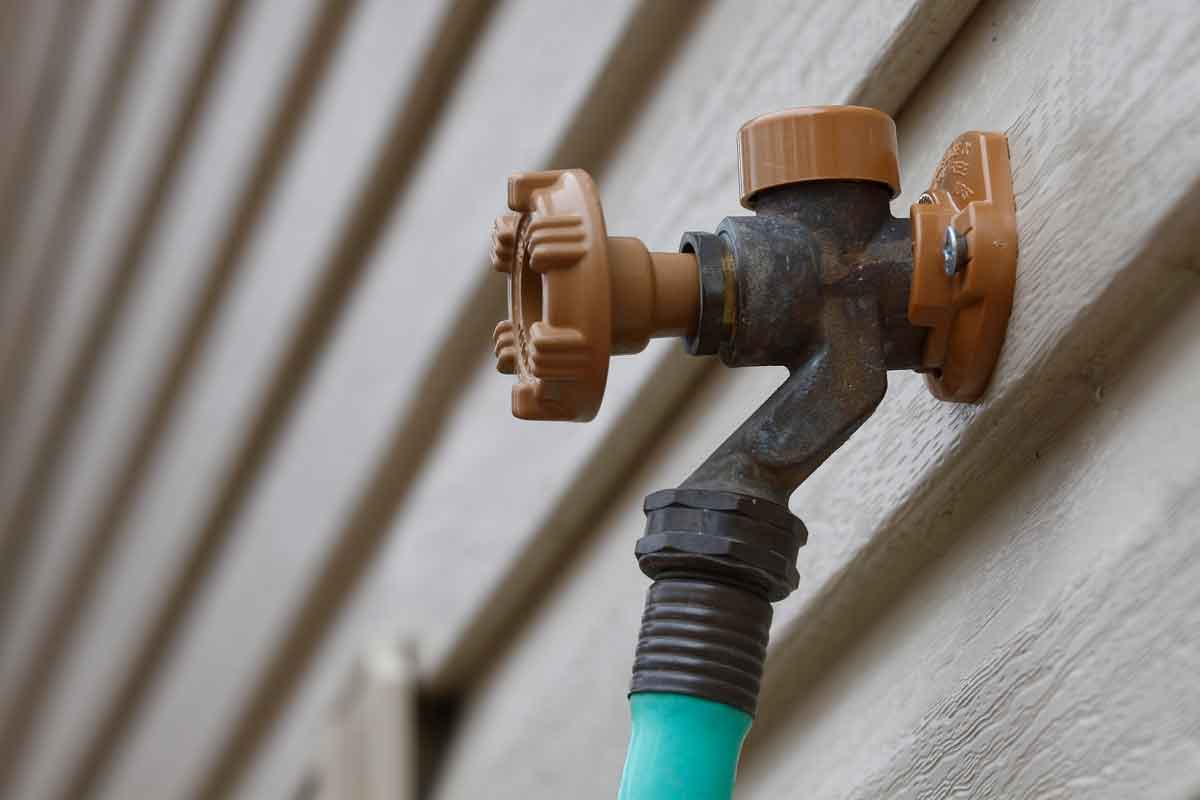
As the seasons change and temperatures drop, it’s essential to take proactive measures to protect your outdoor spigots from freezing. When water freezes inside the pipes connected to an outdoor spigot, it can lead to costly damage and inconvenient plumbing issues. Fortunately, insulating an outdoor spigot is a relatively simple and inexpensive task that can safeguard your plumbing system from the perils of winter.
In this guide, we’ll walk you through the step-by-step process of insulating your outdoor spigot, ensuring that it remains fully functional and free from freezing, even in the harshest winter conditions. By following these straightforward instructions and investing a small amount of time and effort, you can prevent potential water damage and maintain the integrity of your outdoor spigot throughout the colder months.
Let’s explore the materials needed and the steps involved in insulating an outdoor spigot to protect your plumbing and ensure peace of mind during winter.
Key Takeaways:
- Protect your outdoor spigot from freezing by insulating it with covers or foam tape. This simple and inexpensive task can prevent costly plumbing issues during winter.
- Turn off the water supply, drain the spigot, and install insulation and a protective cover to safeguard your outdoor spigot from winter’s harsh conditions.
Read more: How To Change An Outdoor Spigot
Materials Needed
Before you begin the insulation process, it’s important to gather the necessary materials. Here’s what you’ll need:
- Insulating cover or foam insulating tape
- Outdoor faucet cover
- Adjustable wrench
- Towel
- Bucket
- Garden hose (if applicable)
- Plumber’s tape (Teflon tape)
These materials are readily available at hardware stores and online retailers, and they are relatively inexpensive. Once you have these items on hand, you’ll be well-prepared to insulate your outdoor spigot and protect it from freezing temperatures.
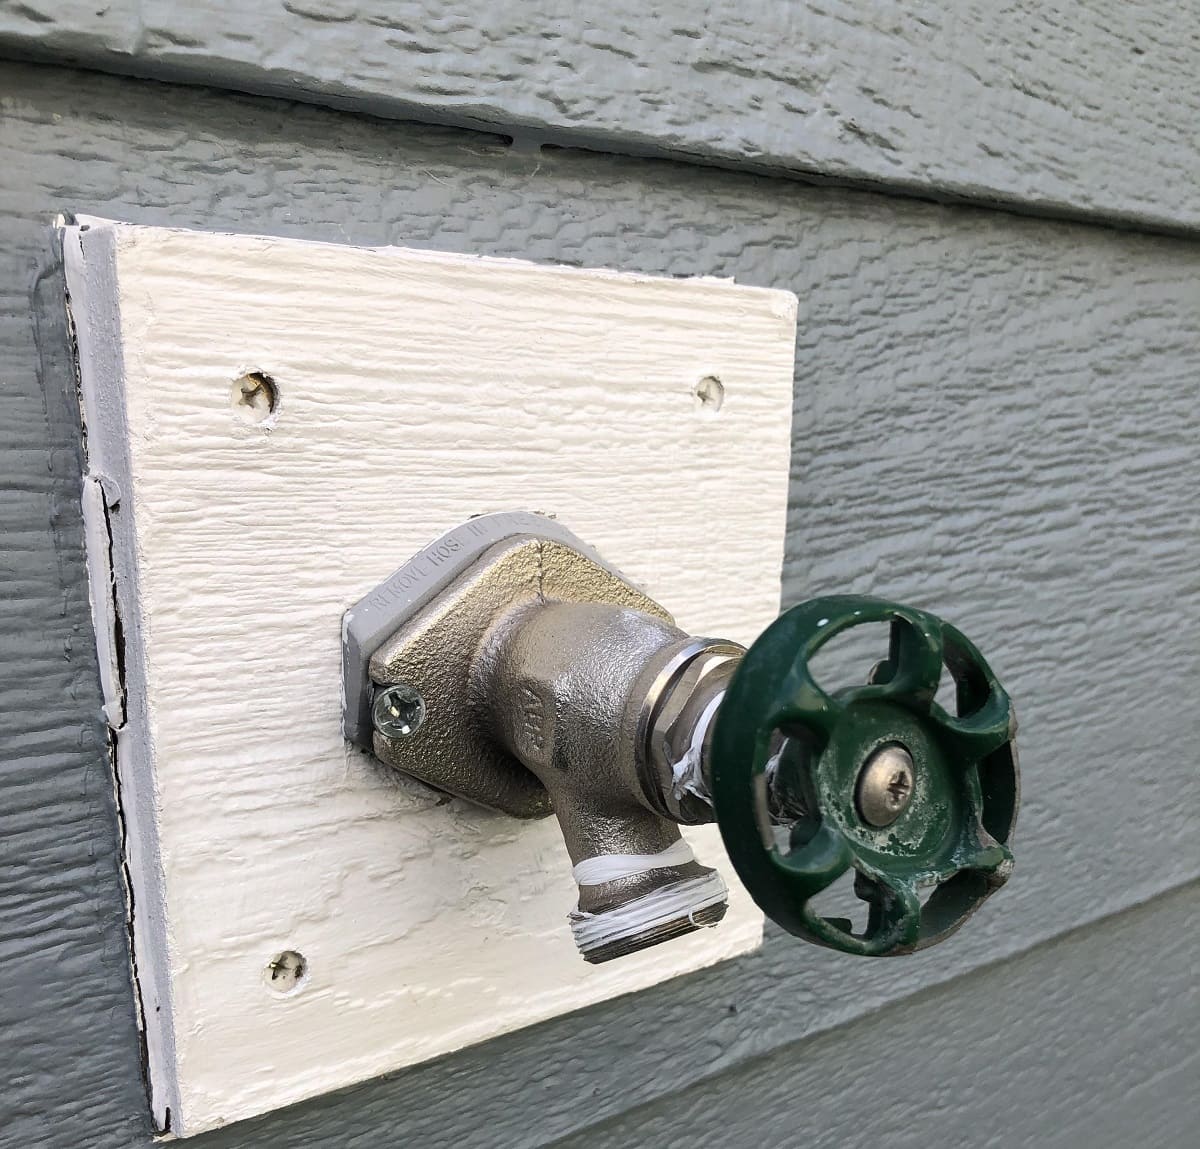
Step 1: Turn Off the Water Supply
Before you begin insulating your outdoor spigot, it’s crucial to turn off the water supply connected to the spigot. This step is essential to prevent water from flowing into the spigot during the insulation process.
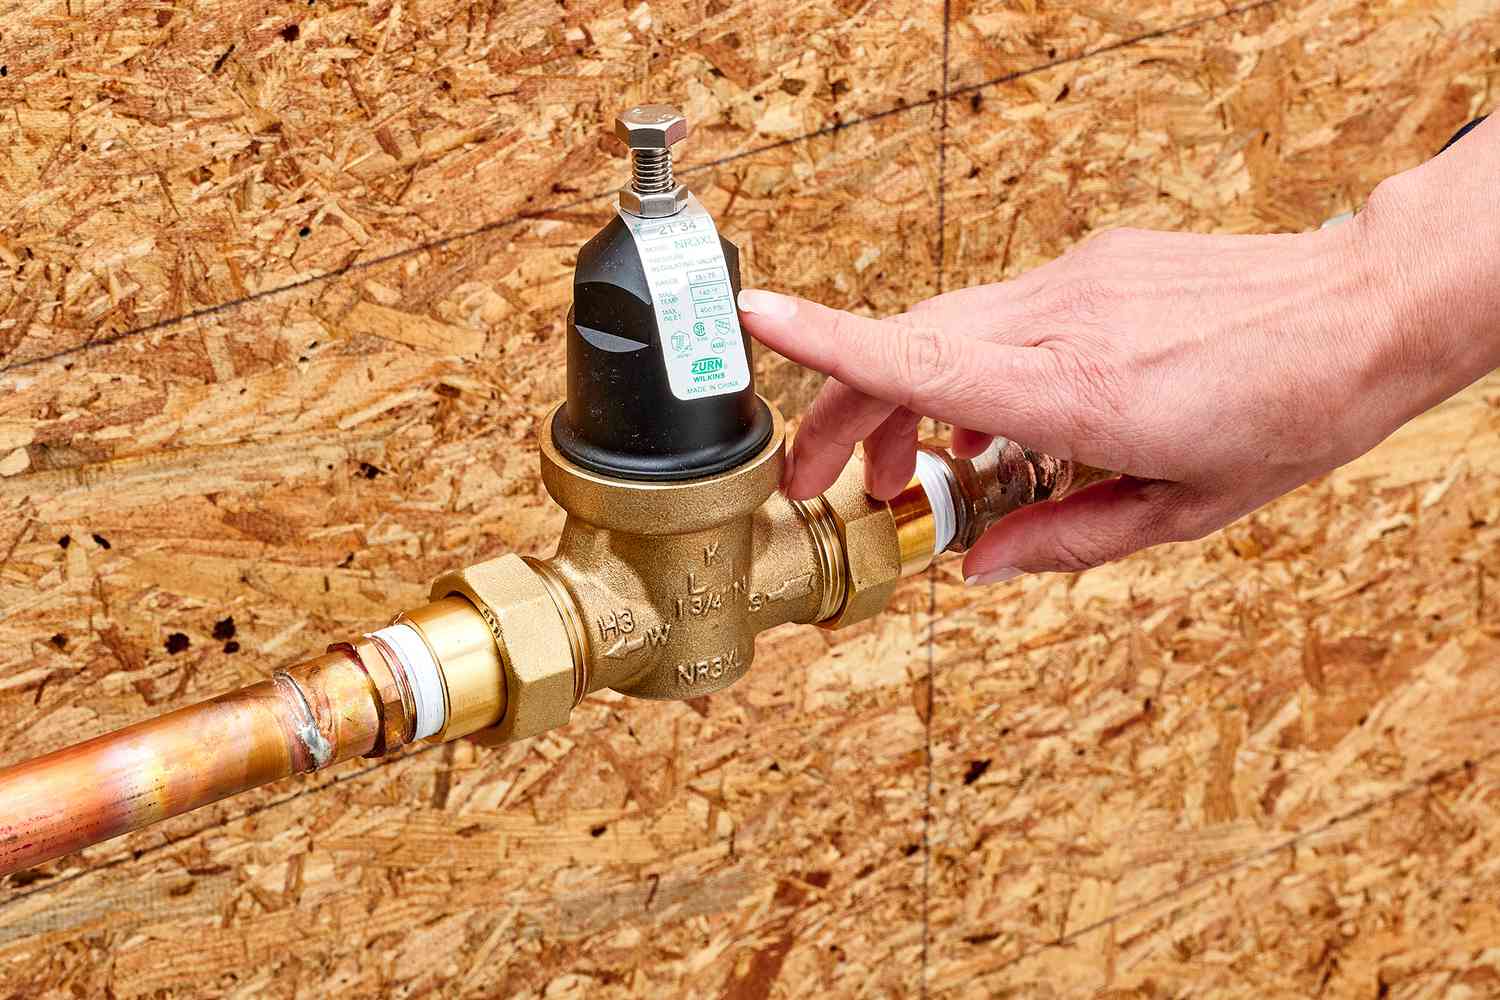
Locate the shut-off valve that controls the water supply to the outdoor spigot. In many homes, this valve is situated inside the house, often in the basement or utility area. Turn the valve in a clockwise direction to shut off the water flow to the outdoor spigot. If your home has a separate shut-off valve dedicated to the outdoor spigot, use that to stop the water supply.
After closing the shut-off valve, proceed to the outdoor spigot and open it to drain any remaining water. To do this, turn the handle of the spigot counterclockwise to release any water that may be trapped in the pipe. Allow the water to drain completely. If the outdoor spigot is connected to a garden hose, detach the hose and drain any water from it as well.
It’s important to ensure that no water is left in the spigot or the connected pipes, as even a small amount of residual water can cause freezing and potential damage during cold weather. Use a towel to dry the spigot and surrounding area thoroughly, and if necessary, use a bucket to catch any dripping water.
By turning off the water supply and draining the spigot, you’ll create a dry environment essential for insulating the outdoor spigot effectively. With this initial step completed, you’re ready to move on to the next stage of the insulation process.
Step 2: Drain the Spigot
After turning off the water supply, the next crucial step in insulating your outdoor spigot is to ensure that it is completely drained of any residual water. This is essential to prevent freezing and potential damage to the spigot and connected pipes during cold weather.
Start by opening the outdoor spigot to allow any remaining water to drain out. Turning the handle counterclockwise will release the trapped water from the pipe. It’s important to ensure that the spigot is fully drained, as even a small amount of water left inside can lead to freezing and subsequent issues.
If the outdoor spigot is connected to a garden hose, detach the hose and drain any water from it as well. This will help prevent freezing and damage to the hose and spigot. Once the water has been drained, it’s advisable to detach the hose and store it in a dry, sheltered location for the winter to prolong its lifespan.
After draining the spigot and detaching the hose, use a towel to dry the exterior of the spigot thoroughly. Ensure that no moisture remains on the surface, as any lingering water could lead to freezing and compromise the effectiveness of the insulation.
By diligently draining the spigot and disconnecting the hose, you’ll create a dry and prepared foundation for the next steps in the insulation process. This proactive measure is essential for safeguarding your outdoor spigot from the potential hazards of freezing temperatures during the winter months.
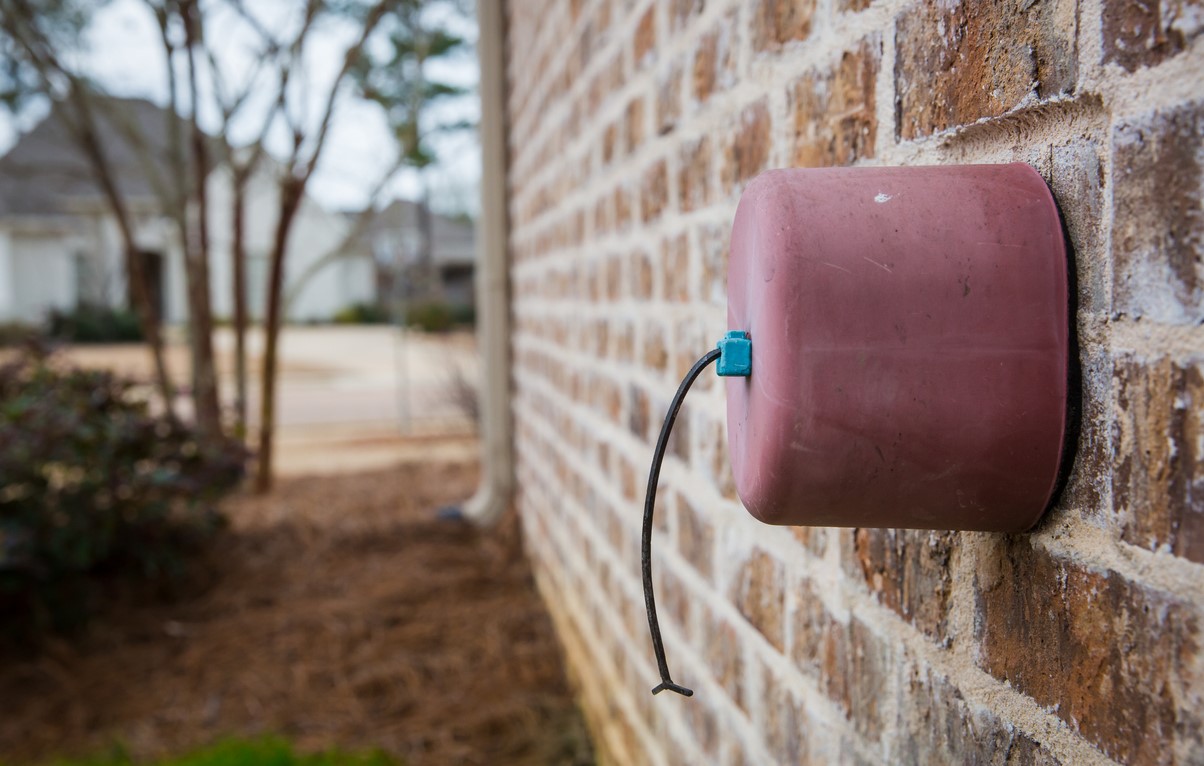
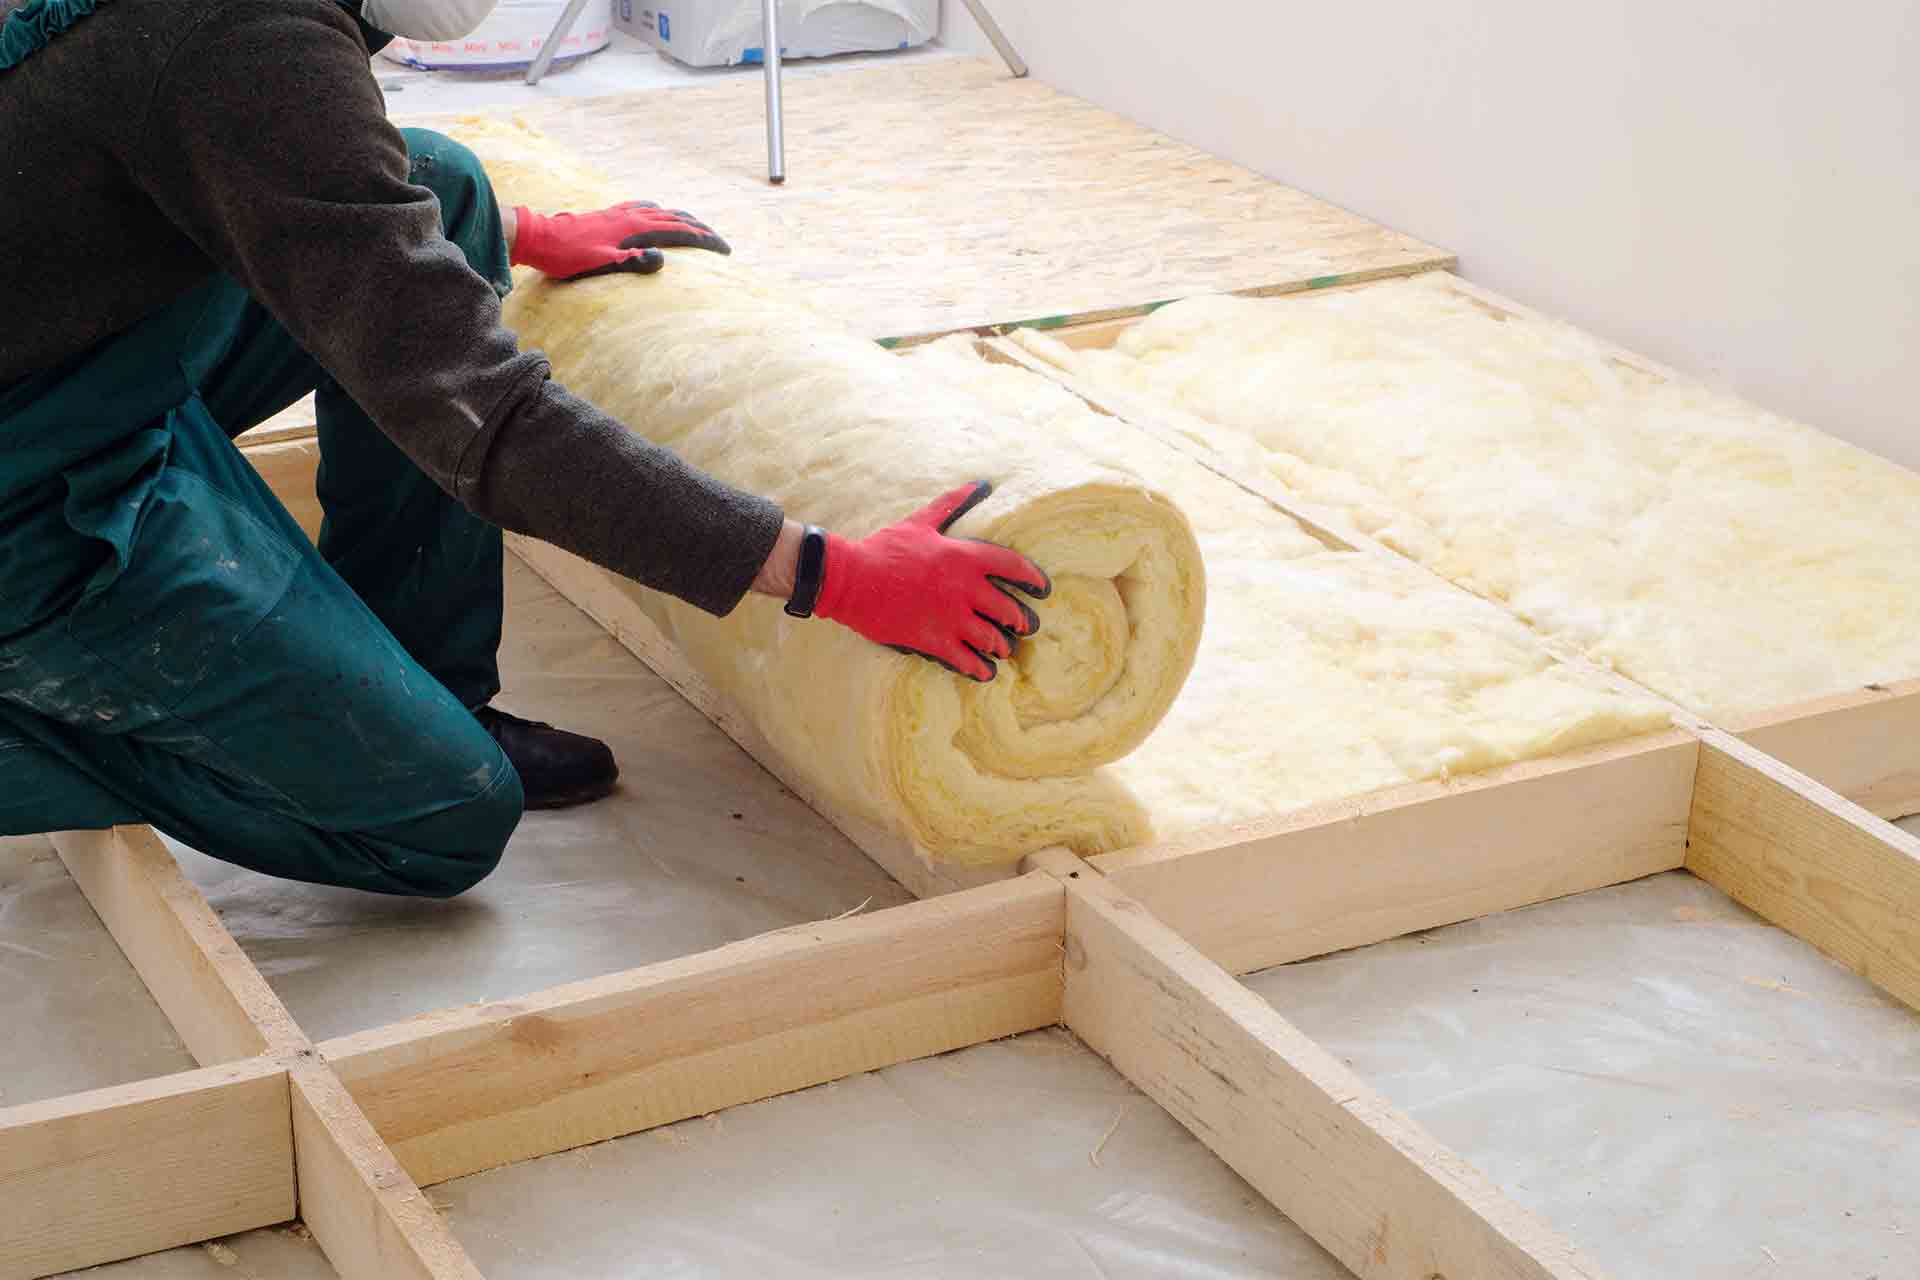
Use a foam insulating cover to protect outdoor spigots from freezing temperatures. Simply place the cover over the spigot and secure it in place to provide insulation and prevent damage.
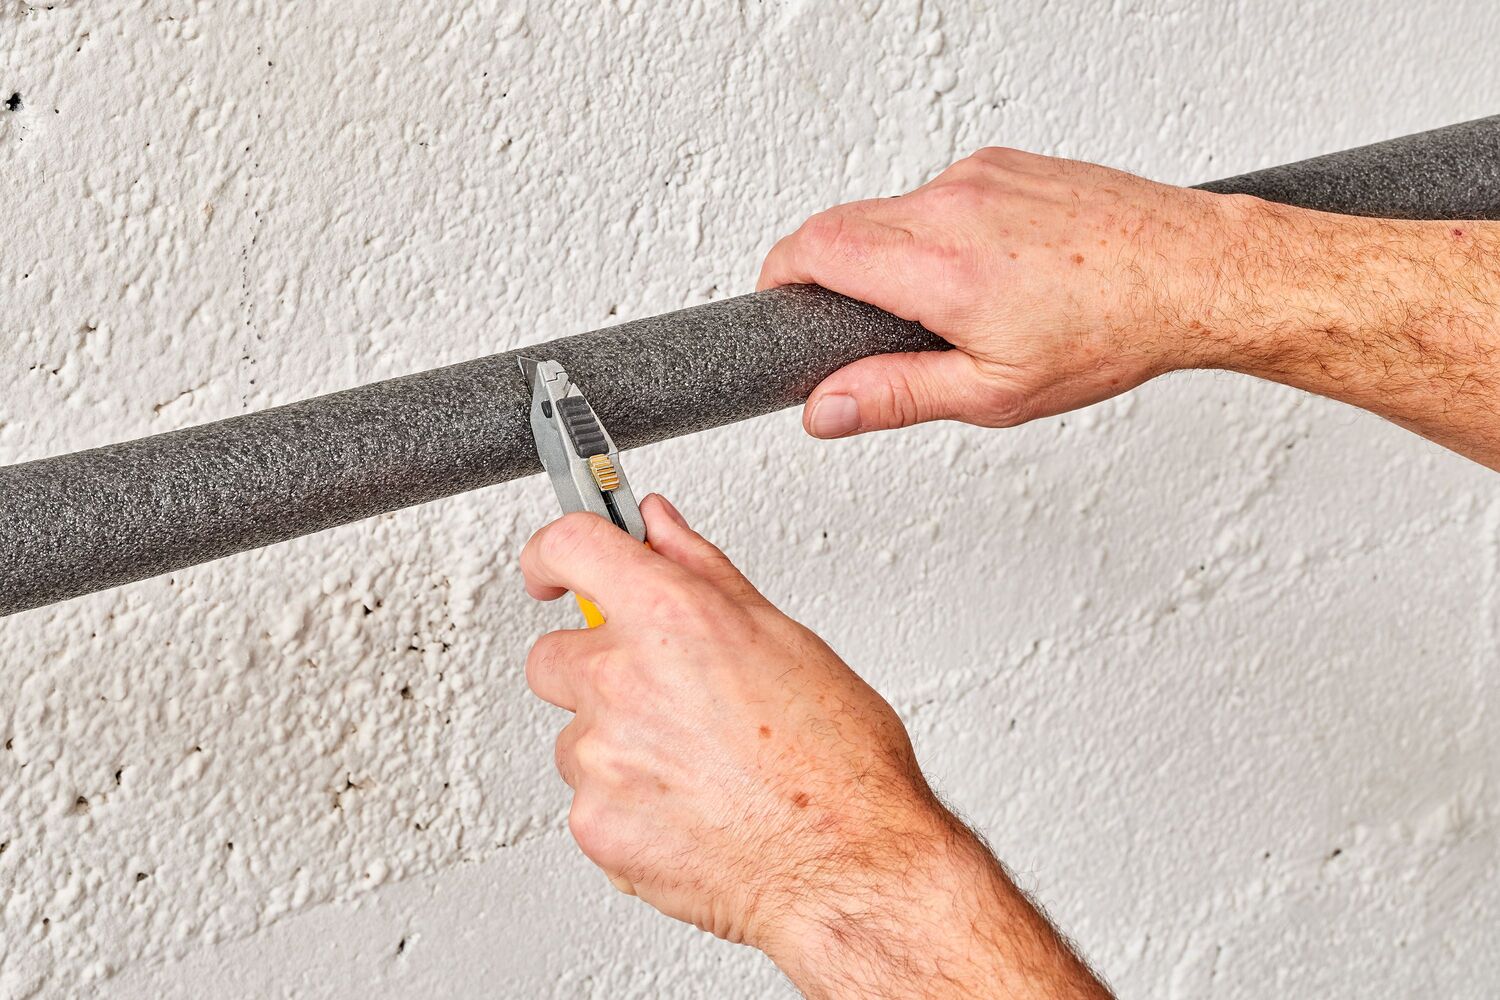
Step 3: Install Insulation
Once the outdoor spigot has been turned off and drained, the next step is to install insulation to protect it from freezing temperatures. There are several effective methods for insulating an outdoor spigot, and the choice of insulation materials may depend on the specific design of your spigot and personal preference.
One common and efficient way to insulate an outdoor spigot is by using an insulating cover or foam insulating tape. These products are designed to wrap around the spigot, providing a barrier against the cold and helping to maintain a stable temperature around the fixture. Insulating covers are typically made of durable materials that can withstand outdoor conditions and are easy to install.
To install an insulating cover, simply place it over the outdoor spigot and ensure that it fits securely. Many covers come with adjustable straps or drawstrings to tighten the fit, providing added protection against cold air and moisture. If you opt for foam insulating tape, wrap it around the spigot in a spiral manner, covering the entire length of the fixture to create a protective layer.
Another effective method to insulate the outdoor spigot is by using a faucet cover specifically designed for this purpose. These covers are typically made of durable materials such as hard plastic or foam and are designed to fit over the spigot, providing insulation and protection from the elements. They often feature a hinged design, allowing for easy installation and removal.
Regardless of the insulation method you choose, ensure that the outdoor spigot is fully covered and protected from exposure to cold air and moisture. This proactive measure will help prevent freezing and potential damage to the spigot and connected pipes, ensuring its functionality and longevity.
By installing effective insulation, you’ll create a protective barrier around the outdoor spigot, safeguarding it from the harsh effects of winter weather and minimizing the risk of freezing and subsequent plumbing issues.
Read more: How To Winterize An Outdoor Spigot
Step 4: Cover the Spigot
After insulating the outdoor spigot, the final step in the process is to cover it with a protective shield to shield it from the elements and further enhance its insulation. This additional layer of protection will help safeguard the spigot from cold temperatures, wind, and moisture, ensuring its resilience during the winter months.
One of the most effective ways to cover the spigot is by using an outdoor faucet cover. These covers are specifically designed to shield outdoor spigots from harsh weather conditions and are available in various sizes to accommodate different spigot designs. Outdoor faucet covers are typically made of durable materials such as hard plastic or insulated fabric, providing a reliable barrier against the elements.
To cover the spigot, place the outdoor faucet cover over the insulated spigot and ensure that it fits securely. Many covers feature a hinged design, allowing for easy installation and removal. Once in place, the cover will provide an additional layer of insulation and protection, minimizing the risk of freezing and potential damage to the spigot and connected pipes.
If an outdoor faucet cover is not available, an alternative method is to use a double layer of heavy-duty plastic and secure it around the insulated spigot with weather-resistant tape or zip ties. This makeshift cover can provide an effective barrier against cold air and moisture, offering an additional level of protection for the outdoor spigot.
By covering the insulated spigot with a protective shield, you’ll fortify its defenses against the elements and enhance its resilience during the winter season. This proactive measure will help maintain the integrity of the outdoor spigot and minimize the risk of freezing, ensuring its functionality and longevity.
With the spigot effectively insulated and covered, you can rest assured that it is well-prepared to withstand the challenges of winter weather, providing peace of mind and protection for your plumbing system.
Conclusion
Insulating an outdoor spigot is a proactive and essential measure to protect your plumbing system from the potential hazards of freezing temperatures during the winter months. By following the step-by-step process outlined in this guide, you can safeguard your outdoor spigot and minimize the risk of costly damage and plumbing issues.
From turning off the water supply and draining the spigot to installing insulation and covering the spigot with a protective shield, each step plays a crucial role in fortifying the spigot’s defenses against the elements. These proactive measures create a dry, insulated, and protected environment for the outdoor spigot, ensuring its functionality and longevity throughout the colder seasons.
By investing a small amount of time and effort in insulating your outdoor spigot, you can enjoy the peace of mind that comes with knowing your plumbing system is well-prepared to withstand the challenges of winter weather. This proactive approach can help prevent potential water damage, burst pipes, and inconvenient plumbing issues, saving you time, money, and stress in the long run.
Remember, the materials needed for insulating an outdoor spigot are readily available and relatively inexpensive, making this a cost-effective and valuable investment in the maintenance of your home’s plumbing system. By taking the initiative to protect your outdoor spigot, you can maintain its functionality and durability, ensuring that it continues to serve its purpose reliably and efficiently.
As you complete the insulation process and cover the spigot, take a moment to appreciate the proactive steps you’ve taken to safeguard your plumbing system. With a well-insulated and covered outdoor spigot, you can face the winter season with confidence, knowing that your plumbing is well-protected and prepared for the challenges ahead.
By insulating your outdoor spigot, you’re not only protecting your plumbing system – you’re also investing in the comfort, convenience, and resilience of your home, ensuring that it remains a haven of functionality and reliability, even in the face of winter’s harshest conditions.
Frequently Asked Questions about How To Insulate An Outdoor Spigot
Was this page helpful?
At Storables.com, we guarantee accurate and reliable information. Our content, validated by Expert Board Contributors, is crafted following stringent Editorial Policies. We're committed to providing you with well-researched, expert-backed insights for all your informational needs.


0 thoughts on “How To Insulate An Outdoor Spigot”