Home>Furniture & Design>Outdoor Furniture>How To Build An Outdoor Storage Bench
Outdoor Furniture
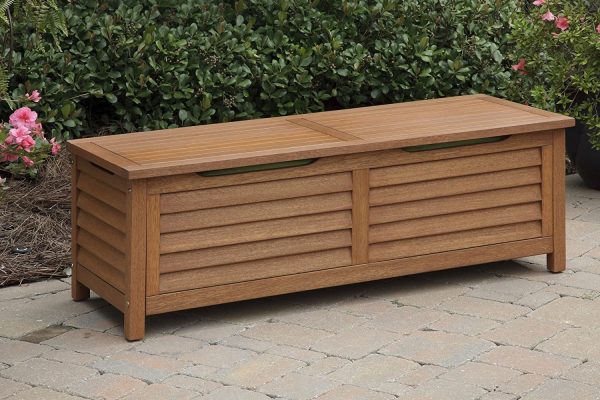
How To Build An Outdoor Storage Bench
Modified: August 28, 2024
Discover how to create a stylish and functional outdoor storage bench with our expert tips and design ideas. Enhance your outdoor space with custom outdoor furniture and design solutions.
(Many of the links in this article redirect to a specific reviewed product. Your purchase of these products through affiliate links helps to generate commission for Storables.com, at no extra cost. Learn more)
Introduction
Welcome to the world of outdoor furniture and design! If you’re looking to enhance your outdoor space with a practical and stylish addition, an outdoor storage bench is a fantastic choice. Not only does it provide a comfortable seating area, but it also offers valuable storage space for items such as cushions, gardening tools, and outdoor games. Building your own outdoor storage bench can be a rewarding and cost-effective project that allows you to customize the design to suit your specific needs and preferences.
In this comprehensive guide, we’ll walk you through the process of building an outdoor storage bench from start to finish. Whether you’re a seasoned DIY enthusiast or a beginner looking to embark on your first woodworking project, this step-by-step tutorial will equip you with the knowledge and confidence to create a functional and aesthetically pleasing outdoor furniture piece.
Before we dive into the construction process, it’s essential to gather the necessary materials and tools. Once you have everything you need, we’ll guide you through each stage of the build, from measuring and cutting the wood to adding the finishing touches. By the end of this journey, you’ll have a beautiful outdoor storage bench that complements your outdoor living space and serves as a testament to your craftsmanship.
Key Takeaways:
- Building an outdoor storage bench is a fun and rewarding DIY project that combines practicality and style. With the right materials and tools, you can create a customized bench that enhances your outdoor space.
- By following step-by-step instructions, you can measure, cut, assemble, and finish your outdoor storage bench with confidence. The end result is a durable and beautiful piece of furniture that reflects your creativity and craftsmanship.
Read more: How To Build Bench Seat With Storage
Materials and Tools
Before you begin constructing your outdoor storage bench, it’s important to gather all the materials and tools required for the project. Here’s a comprehensive list of what you’ll need:
Materials:
- Pressure-treated lumber or cedar for outdoor use
- Wood screws
- Wood glue
- Hinges
- Latch or lock for the storage compartment
- Exterior wood finish or paint
- Sandpaper
Tools:
- Measuring tape
- Pencil
- Circular saw or miter saw
- Drill/driver with screwdriver bits
- Countersink bit
- Clamps
- Sandpaper or orbital sander
- Paintbrushes or sprayer
When selecting the lumber for your outdoor storage bench, opt for materials that are specifically designed for outdoor use, such as pressure-treated lumber or cedar. These types of wood are resistant to rot and insect damage, making them ideal for enduring the elements.
Additionally, consider the overall design and dimensions of your outdoor storage bench when purchasing materials. Ensuring that the lumber is of the correct dimensions and quality will contribute to the durability and visual appeal of the final product.
Having the right tools at your disposal is crucial for executing the construction process efficiently and accurately. From measuring and cutting the wood to assembling the components, each tool plays a vital role in bringing your outdoor storage bench to life.
Now that you have a clear understanding of the materials and tools required, it’s time to move on to the first step of the construction process: measuring and cutting the wood.
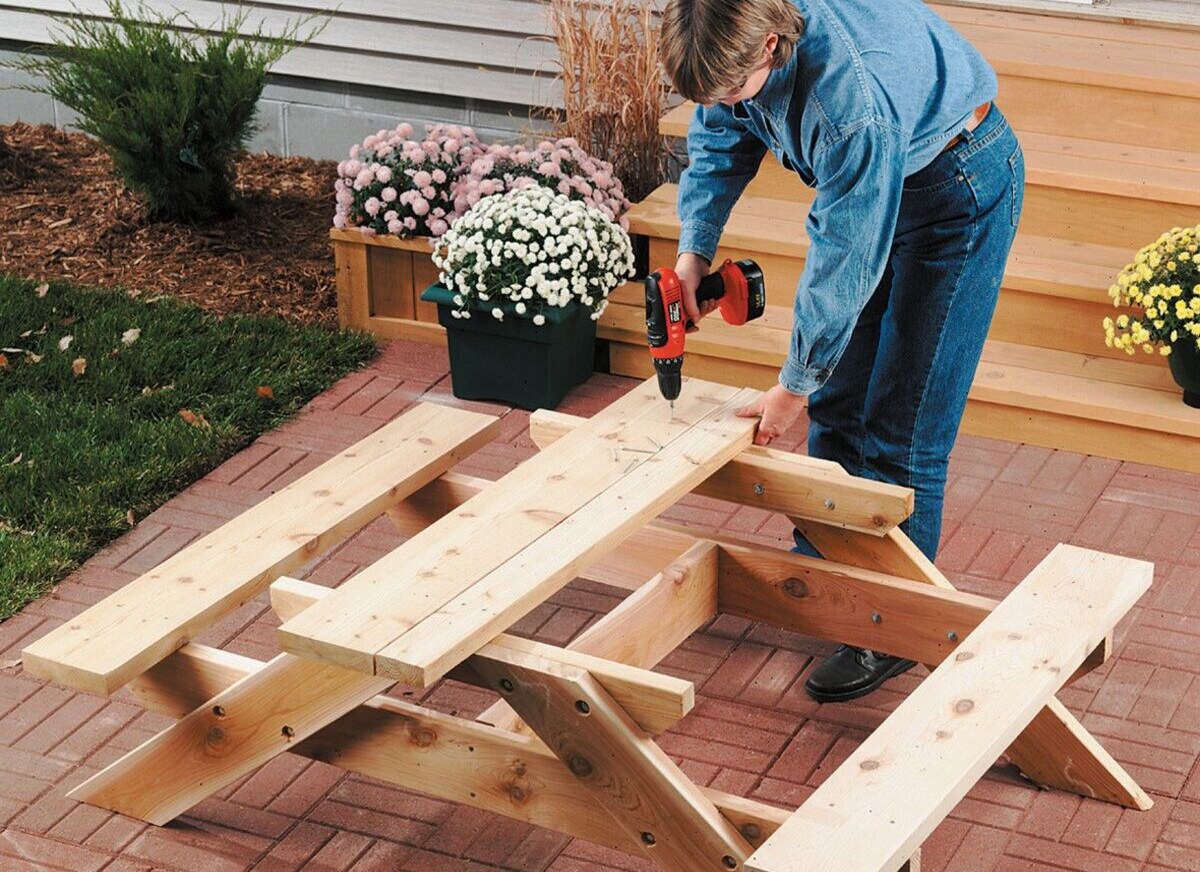
Step 1: Measure and Cut the Wood
Accurate measurements and precise cuts are the foundation of a well-constructed outdoor storage bench. Before you begin cutting the wood, it’s essential to have a detailed plan or blueprint outlining the dimensions and layout of the bench. This plan will serve as a guide as you measure and cut the wood to the required specifications.
Start by measuring and marking the lumber according to the dimensions of the bench components, including the base, seat, backrest, and any additional features such as armrests or decorative elements. Use a measuring tape and pencil to ensure that the markings are clear and accurate.
Once the lumber is marked, carefully use a circular saw or miter saw to make the cuts. It’s crucial to follow the measurements precisely to achieve uniform and symmetrical components for the bench. If you’re incorporating angled cuts for the backrest or decorative details, take your time to execute these cuts with precision.
As you progress through the cutting process, organize the cut pieces based on their respective components. This will streamline the assembly phase and prevent confusion when it’s time to put the bench together.
Remember to prioritize safety during the cutting process by wearing appropriate protective gear, such as safety goggles and hearing protection. Additionally, ensure that the work area is well-ventilated and free from clutter to minimize the risk of accidents.
By meticulously measuring and cutting the wood, you’re laying the groundwork for a structurally sound and visually appealing outdoor storage bench. With the components prepared, you’re ready to move on to the next step: assembling the base.
Read more: How To Build Outdoor Furniture
Step 2: Assemble the Base
With the wood components cut to size, it’s time to begin assembling the base of your outdoor storage bench. The base serves as the foundation of the bench, providing stability and support for the seating and storage compartments.
Start by laying out the pieces that will form the base according to your design plan. Use wood glue and wood screws to secure the structural elements together, ensuring that the joints are strong and stable. A drill/driver with screwdriver bits and clamps will be invaluable during this assembly phase, allowing you to join the components securely.
As you assemble the base, pay close attention to the alignment and squareness of the components. Using a carpenter’s square can help you verify that the corners are perfectly perpendicular, contributing to a well-constructed base. Additionally, countersink the screws slightly below the surface of the wood to create a smooth and seamless finish.
Once the base is assembled, take the time to inspect the joints and connections, making any necessary adjustments to ensure that the structure is solid and level. This meticulous approach will result in a sturdy foundation for the rest of the bench construction.
Assembling the base is a critical step that sets the stage for the subsequent stages of the build. With the base completed, you’re ready to progress to the next phase: building the seat and backrest.
By methodically following these steps and paying attention to detail, you’ll soon see your outdoor storage bench taking shape, ready to enhance your outdoor living space with its functionality and charm.
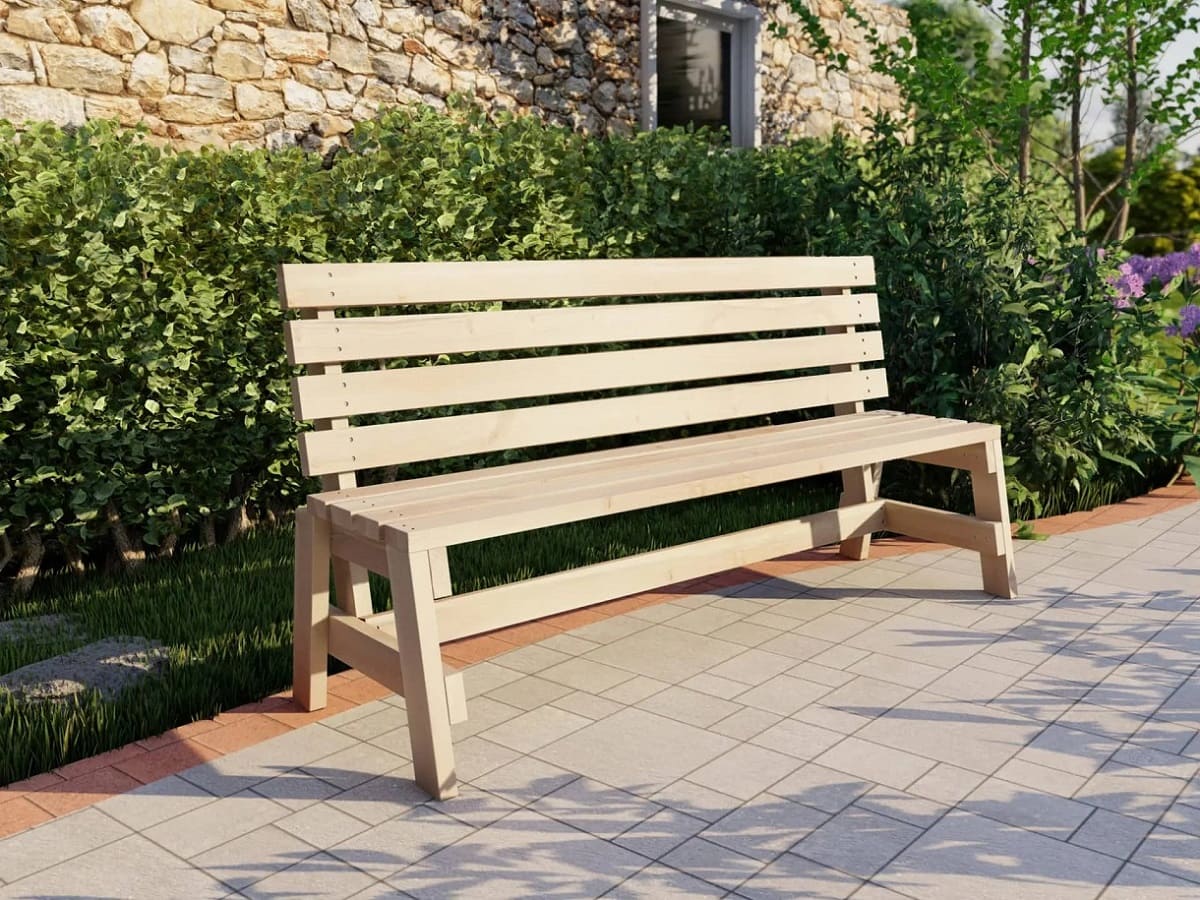
Step 3: Build the Seat and Backrest
As you embark on the construction of your outdoor storage bench, the seat and backrest represent integral components that contribute to both the comfort and visual appeal of the final product. Building these elements requires careful attention to detail and a focus on creating a welcoming and ergonomic seating area.
Begin by assembling the seat, ensuring that the dimensions align with the base of the bench. Secure the seat to the base using wood screws and wood glue, reinforcing the connection to withstand the weight of seated individuals and the items stored within the bench.
When constructing the backrest, consider the desired angle and height to achieve optimal comfort. Attach the backrest to the seat, maintaining a stable and secure connection. Depending on your design preferences, you may incorporate decorative elements or additional support to enhance the aesthetic and functionality of the backrest.
Throughout the construction of the seat and backrest, prioritize the smoothness and finish of the wood surfaces. Sand the edges and surfaces to remove any roughness or splinters, creating a comfortable and safe seating area for users. Additionally, consider rounding the edges of the seat and backrest to further enhance the ergonomic qualities of the bench.
As you progress through this phase of the build, visualize the end result and imagine the enjoyment that the completed outdoor storage bench will bring to your outdoor space. By infusing your craftsmanship with care and consideration, you’re laying the groundwork for a piece of furniture that seamlessly blends practicality with elegance.
With the seat and backrest in place, you’re now ready to move on to the next step: adding storage compartments to the bench, further enhancing its functionality and versatility.
Stay tuned as we continue this journey of creating a bespoke outdoor storage bench that reflects your creativity and woodworking prowess.
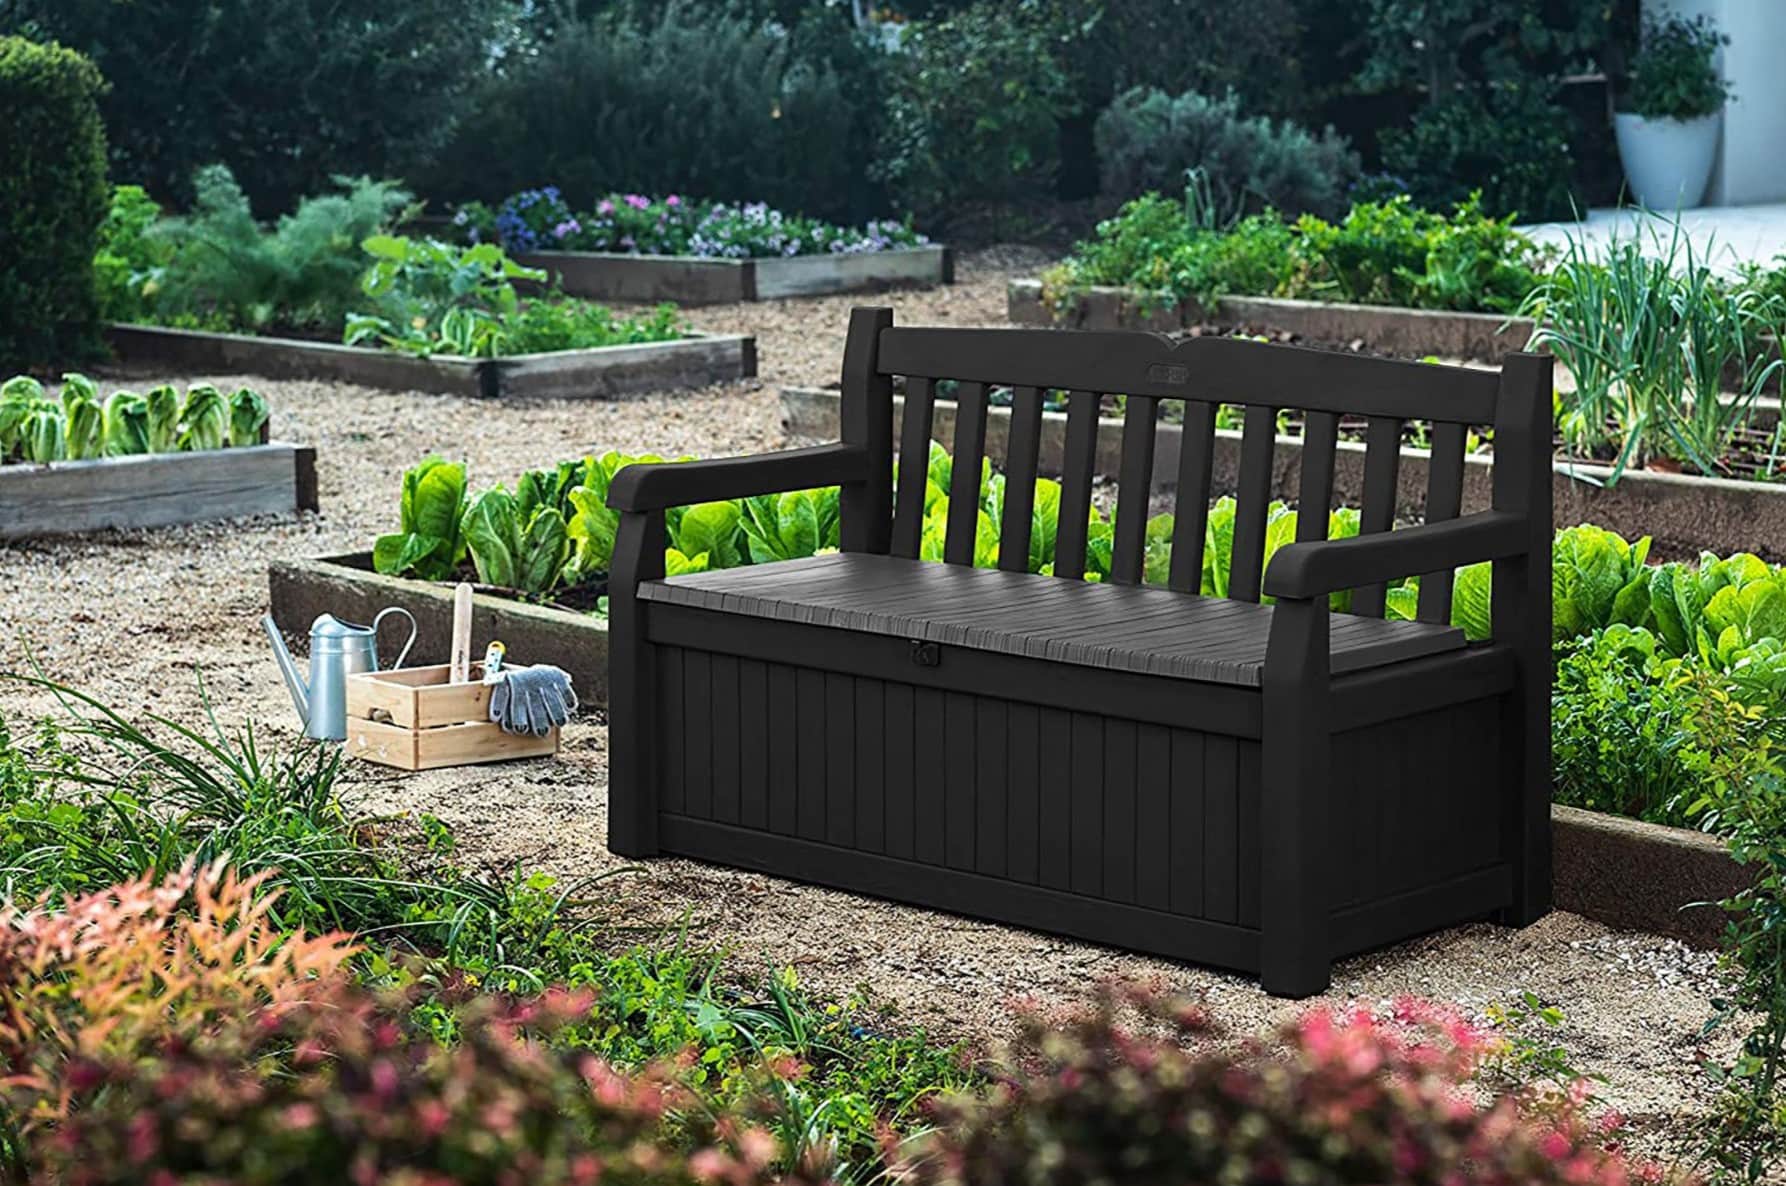
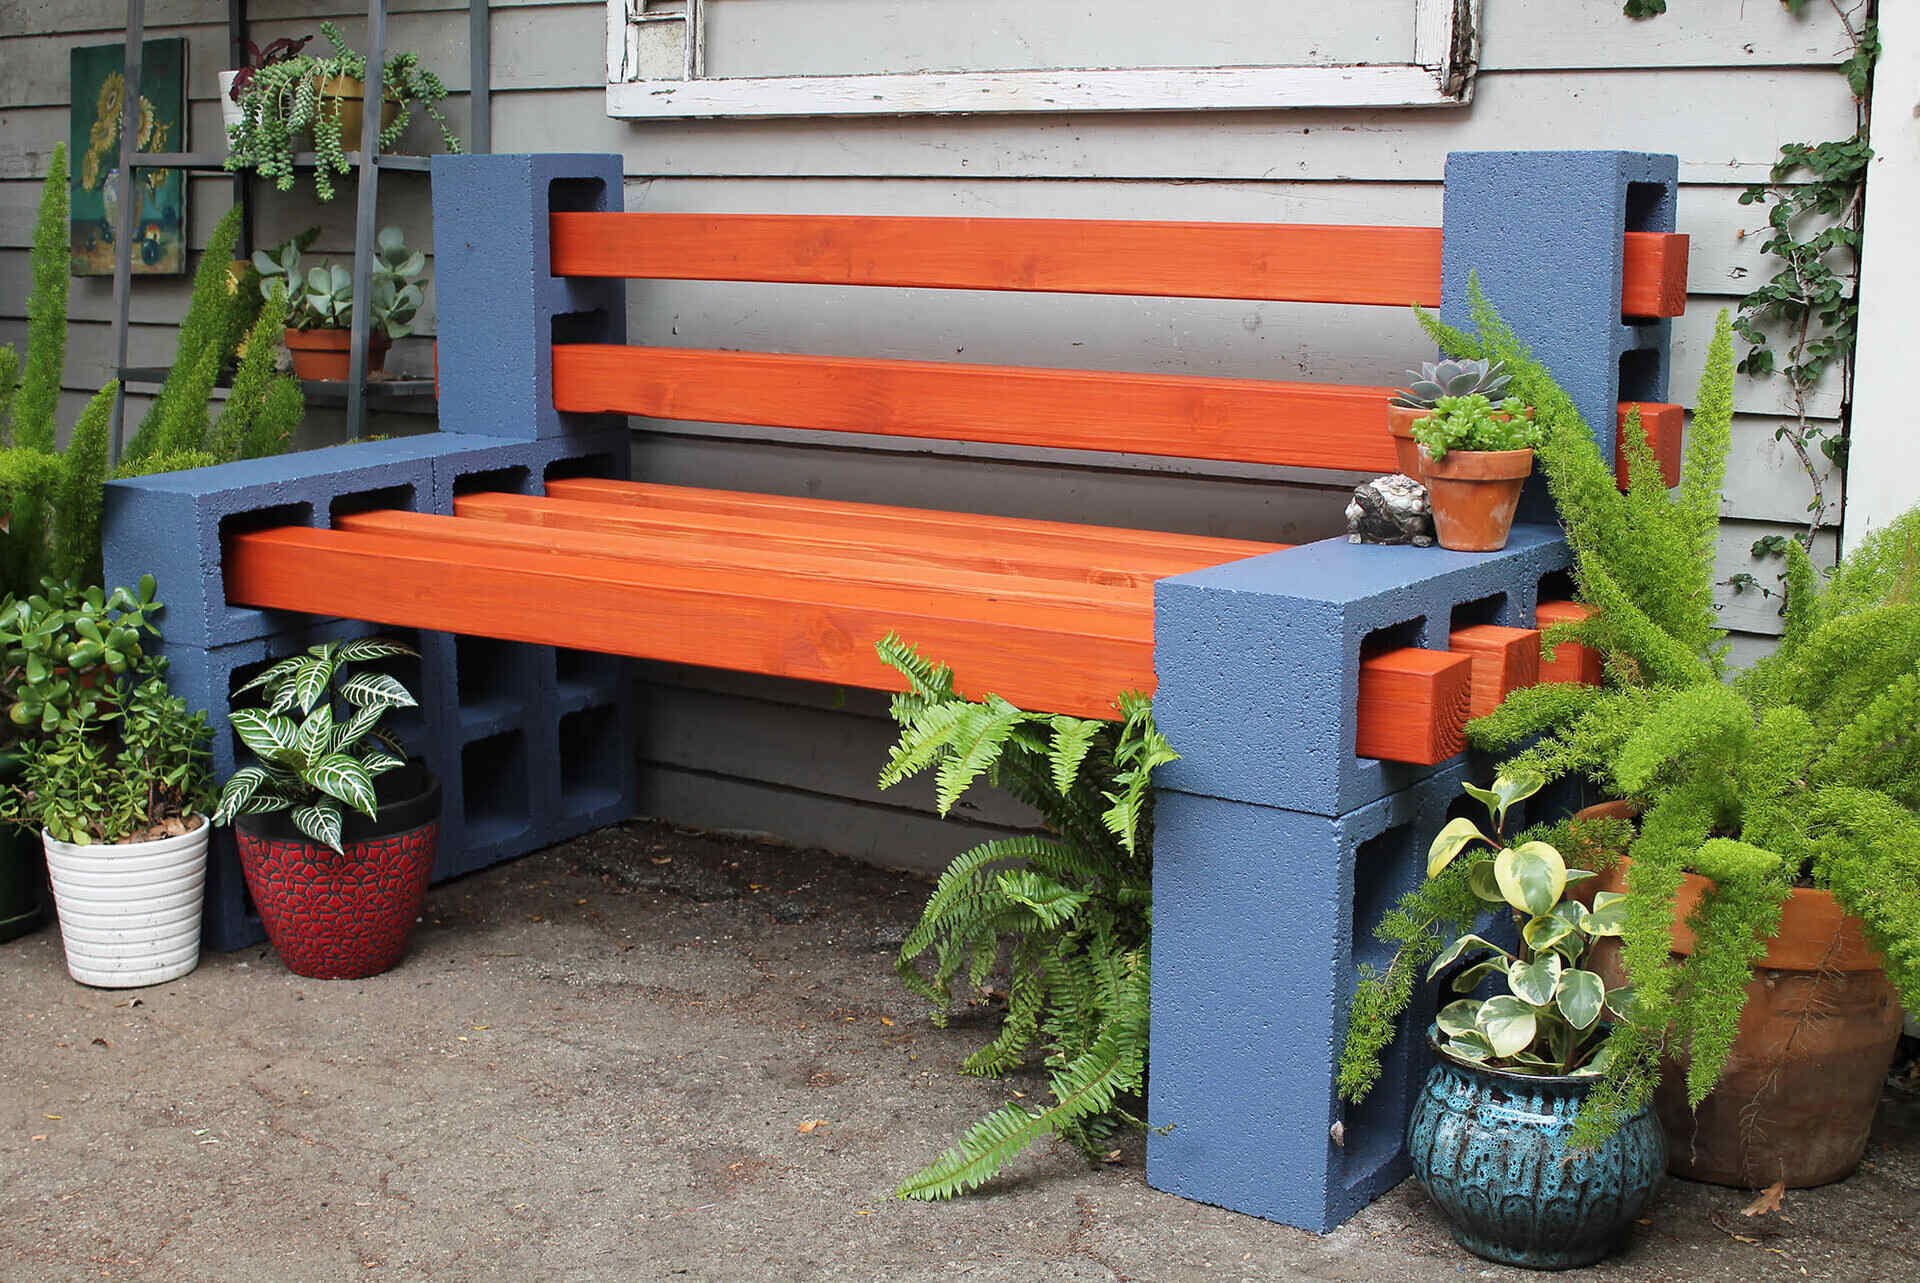
When building an outdoor storage bench, make sure to use weather-resistant materials such as cedar or teak to ensure durability and longevity.
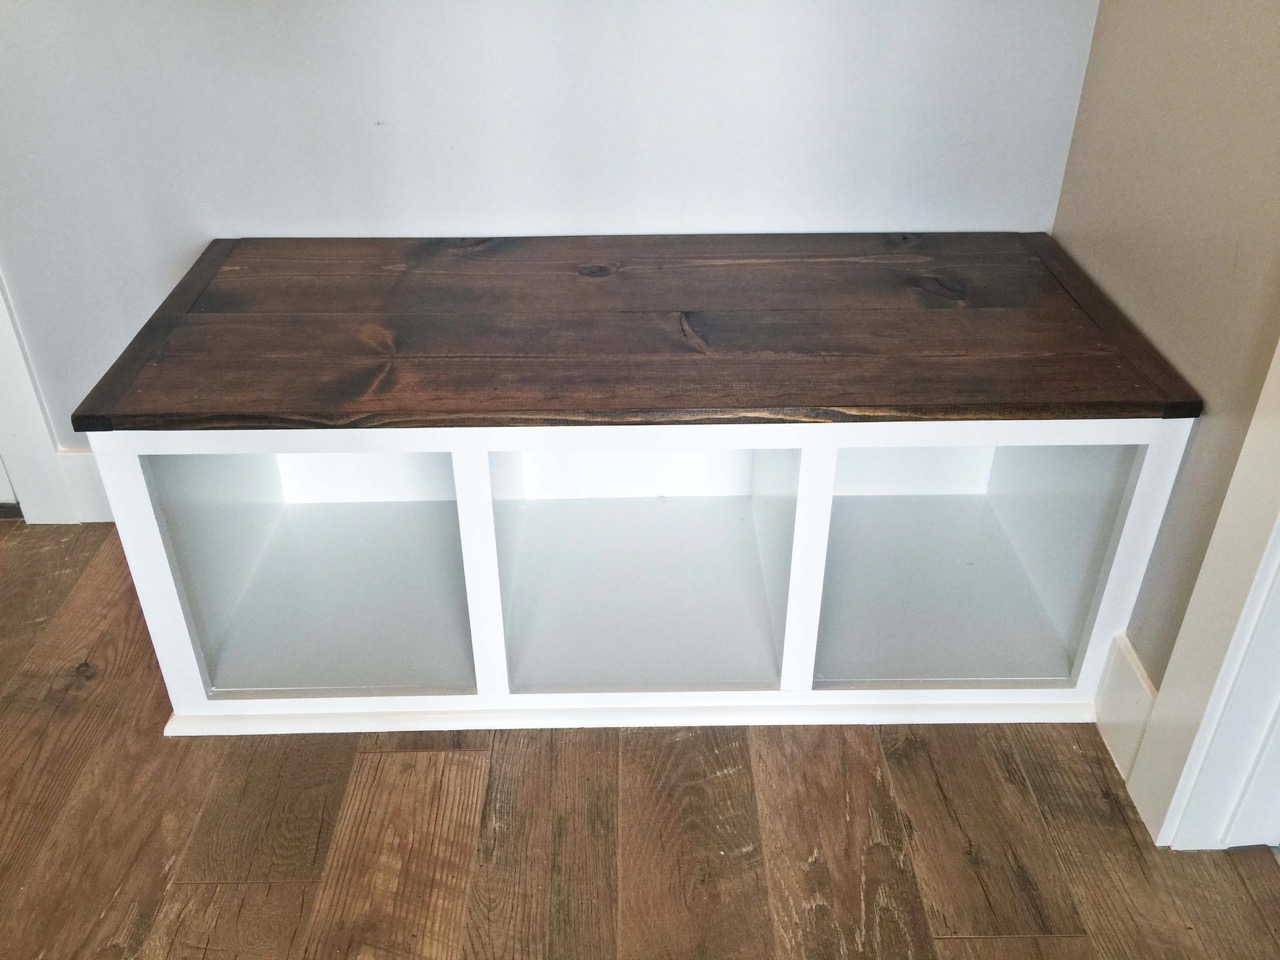
Step 4: Add Storage Compartments
Integrating storage compartments into your outdoor storage bench elevates its utility, providing a convenient space to stow away various items while maintaining a clutter-free outdoor environment. Whether you intend to store cushions, gardening tools, or other outdoor essentials, the addition of well-designed storage compartments enhances the functionality and versatility of the bench.
Begin by carefully planning the layout and dimensions of the storage compartments, ensuring that they harmonize with the overall design of the bench. Consider incorporating hinged lids or sliding panels to allow easy access to the storage areas while seamlessly integrating them into the bench’s aesthetic.
Once the storage compartment design is finalized, proceed to construct and install the compartments within the bench structure. Utilize hinges to attach the lids securely, allowing smooth opening and closing movements. Depending on your preferences, you may opt to include a latch or lock mechanism to safeguard the contents of the storage compartments.
As you integrate the storage compartments, prioritize the seamless integration of these elements with the rest of the bench, ensuring that they blend harmoniously with the overall design. Additionally, verify that the compartments are spacious enough to accommodate the intended items while maintaining the structural integrity of the bench.
With the storage compartments in place, take a moment to appreciate the enhanced functionality and practicality of your outdoor storage bench. The thoughtful inclusion of these compartments transforms the bench into a multifaceted furniture piece that not only provides seating but also serves as a discreet storage solution for outdoor necessities.
As we approach the final stages of the construction process, the addition of storage compartments marks a pivotal point in the transformation of raw materials into a purposeful and visually appealing outdoor furniture piece. With the groundwork laid, we’re ready to move on to the next step: sanding and finishing the bench to refine its appearance and ensure its durability.
Stay engaged as we continue this journey of craftsmanship and creativity, culminating in the completion of your personalized outdoor storage bench.
Step 5: Sand and Finish
As you near the completion of your outdoor storage bench, the sanding and finishing stage represents a crucial phase in refining the visual appeal and durability of the furniture piece. This step not only enhances the aesthetic qualities of the bench but also contributes to its longevity and resilience in outdoor settings.
Commence the process by meticulously sanding the surfaces of the bench, including the seat, backrest, and any exposed edges. Use medium-grit sandpaper to smooth out any imperfections and rough spots, followed by fine-grit sandpaper to achieve a silky and polished finish. Pay particular attention to the edges and corners, ensuring that they are rounded and smooth to the touch.
After sanding, consider applying a protective exterior wood finish or paint to shield the bench from the elements and enhance its visual allure. Choose a finish that is specifically formulated for outdoor use, offering resistance to moisture, UV rays, and temperature variations. Alternatively, if you prefer the natural beauty of the wood, opt for a clear sealant that preserves the wood’s appearance while providing essential protection.
When applying the finish, follow the manufacturer’s guidelines and ensure that the bench is coated evenly and thoroughly. Depending on the chosen finish, multiple coats may be necessary to achieve the desired level of protection and luster. Take your time during this phase, as a well-applied finish contributes to the overall quality and appeal of the outdoor storage bench.
Upon completing the sanding and finishing process, take a moment to admire the transformation of the raw materials into a refined and inviting outdoor furniture piece. The smooth surfaces, rich coloration, and protective finish represent the culmination of your craftsmanship and attention to detail.
With the outdoor storage bench now complete, it stands as a testament to your dedication and creativity, ready to enhance your outdoor living space with its practicality and charm. Whether it’s a quiet spot for relaxation or a functional storage solution, this bespoke creation is poised to enrich your outdoor experiences for years to come.
As we conclude this journey of woodworking and design, revel in the satisfaction of bringing your vision to life through the construction of a personalized outdoor storage bench. Your dedication and craftsmanship have yielded a remarkable piece of outdoor furniture that reflects your ingenuity and passion for creating functional and beautiful living spaces.
Conclusion
Congratulations on successfully completing the construction of your outdoor storage bench! This journey of creativity, craftsmanship, and dedication has culminated in the transformation of raw materials into a functional and visually captivating piece of outdoor furniture. As you reflect on the process, you’ve not only honed your woodworking skills but also personalized your outdoor living space with a bespoke creation that embodies your vision and ingenuity.
Through meticulous planning, precise measurements, and thoughtful assembly, you’ve brought to life a furniture piece that seamlessly blends practicality with elegance. The integration of storage compartments, the smooth finish, and the durable construction all contribute to the enduring appeal and functionality of the bench.
As you place the outdoor storage bench in its designated spot, envision the countless moments of relaxation, social gatherings, and outdoor enjoyment that it will facilitate. Whether it’s providing a comfortable seating area for quiet contemplation or serving as a discreet storage solution for outdoor essentials, the bench stands as a testament to your creativity and commitment to enhancing your outdoor living space.
As you bask in the satisfaction of completing this project, take a moment to appreciate the skills you’ve acquired and the joy of bringing your vision to fruition. Your outdoor storage bench is not just a piece of furniture; it’s a representation of your ability to craft functional and beautiful elements that enrich your surroundings.
Embrace the opportunities that this newfound expertise presents, whether it’s embarking on future woodworking projects, sharing your knowledge with others, or simply relishing the sense of accomplishment that comes with creating something tangible and enduring.
As you continue to explore the realms of outdoor furniture and design, may the experience gained from this project serve as a foundation for future endeavors, inspiring you to further enhance your living spaces with creativity, craftsmanship, and a touch of your unique personality.
With your outdoor storage bench now a cherished addition to your outdoor oasis, revel in the satisfaction of a job well done and the limitless potential for creating and shaping the world around you.
Frequently Asked Questions about How To Build An Outdoor Storage Bench
Was this page helpful?
At Storables.com, we guarantee accurate and reliable information. Our content, validated by Expert Board Contributors, is crafted following stringent Editorial Policies. We're committed to providing you with well-researched, expert-backed insights for all your informational needs.


0 thoughts on “How To Build An Outdoor Storage Bench”