Home>Furniture & Design>Outdoor Furniture>How To Raise Outdoor Water Spigot
Outdoor Furniture
How To Raise Outdoor Water Spigot
Modified: February 18, 2024
Learn how to properly raise an outdoor water spigot to avoid damage to your outdoor furniture and design. Follow these simple steps for a hassle-free solution.
(Many of the links in this article redirect to a specific reviewed product. Your purchase of these products through affiliate links helps to generate commission for Storables.com, at no extra cost. Learn more)
Introduction
When it comes to the convenience of outdoor activities, having an easily accessible water source is indispensable. Whether you're watering the garden, washing your car, or filling up a kiddie pool, an outdoor water spigot can be a game-changer. However, not all outdoor spaces come equipped with this essential feature. If you find yourself in this situation, fear not! With a bit of know-how and some basic tools, you can elevate your outdoor space by installing a water spigot. In this guide, we'll walk you through the steps to raise an outdoor water spigot, ensuring that it's positioned optimally and functions flawlessly. So, roll up your sleeves and get ready to bring the convenience of indoor plumbing to your outdoor oasis.
Key Takeaways:
- Elevate your outdoor space by installing a water spigot, ensuring convenient access for gardening, car washing, and more. Carefully assess location, dig trench, and test for reliable functionality.
- Enjoy the convenience of a raised outdoor water spigot for seamless access to water in your outdoor space. From installation to testing, create a valuable resource for gardening and outdoor tasks.
Read more: How To Raise An Outdoor Spigot
Assessing the Spigot Location
Before you begin the installation process, it’s crucial to carefully select the location for your outdoor water spigot. The ideal placement will offer convenient access to water while minimizing the risk of damage from environmental elements or accidental impact. Here are some key considerations to keep in mind:
- Proximity to Water Source: The location of your outdoor water spigot should be in close proximity to the main water line of your home. This will facilitate the installation process and minimize the length of the water line required.
- Accessibility: Ensure that the chosen location is easily accessible for various outdoor tasks, such as watering plants, washing vehicles, or connecting a hose for cleaning purposes. Convenience is key when selecting the placement of your water spigot.
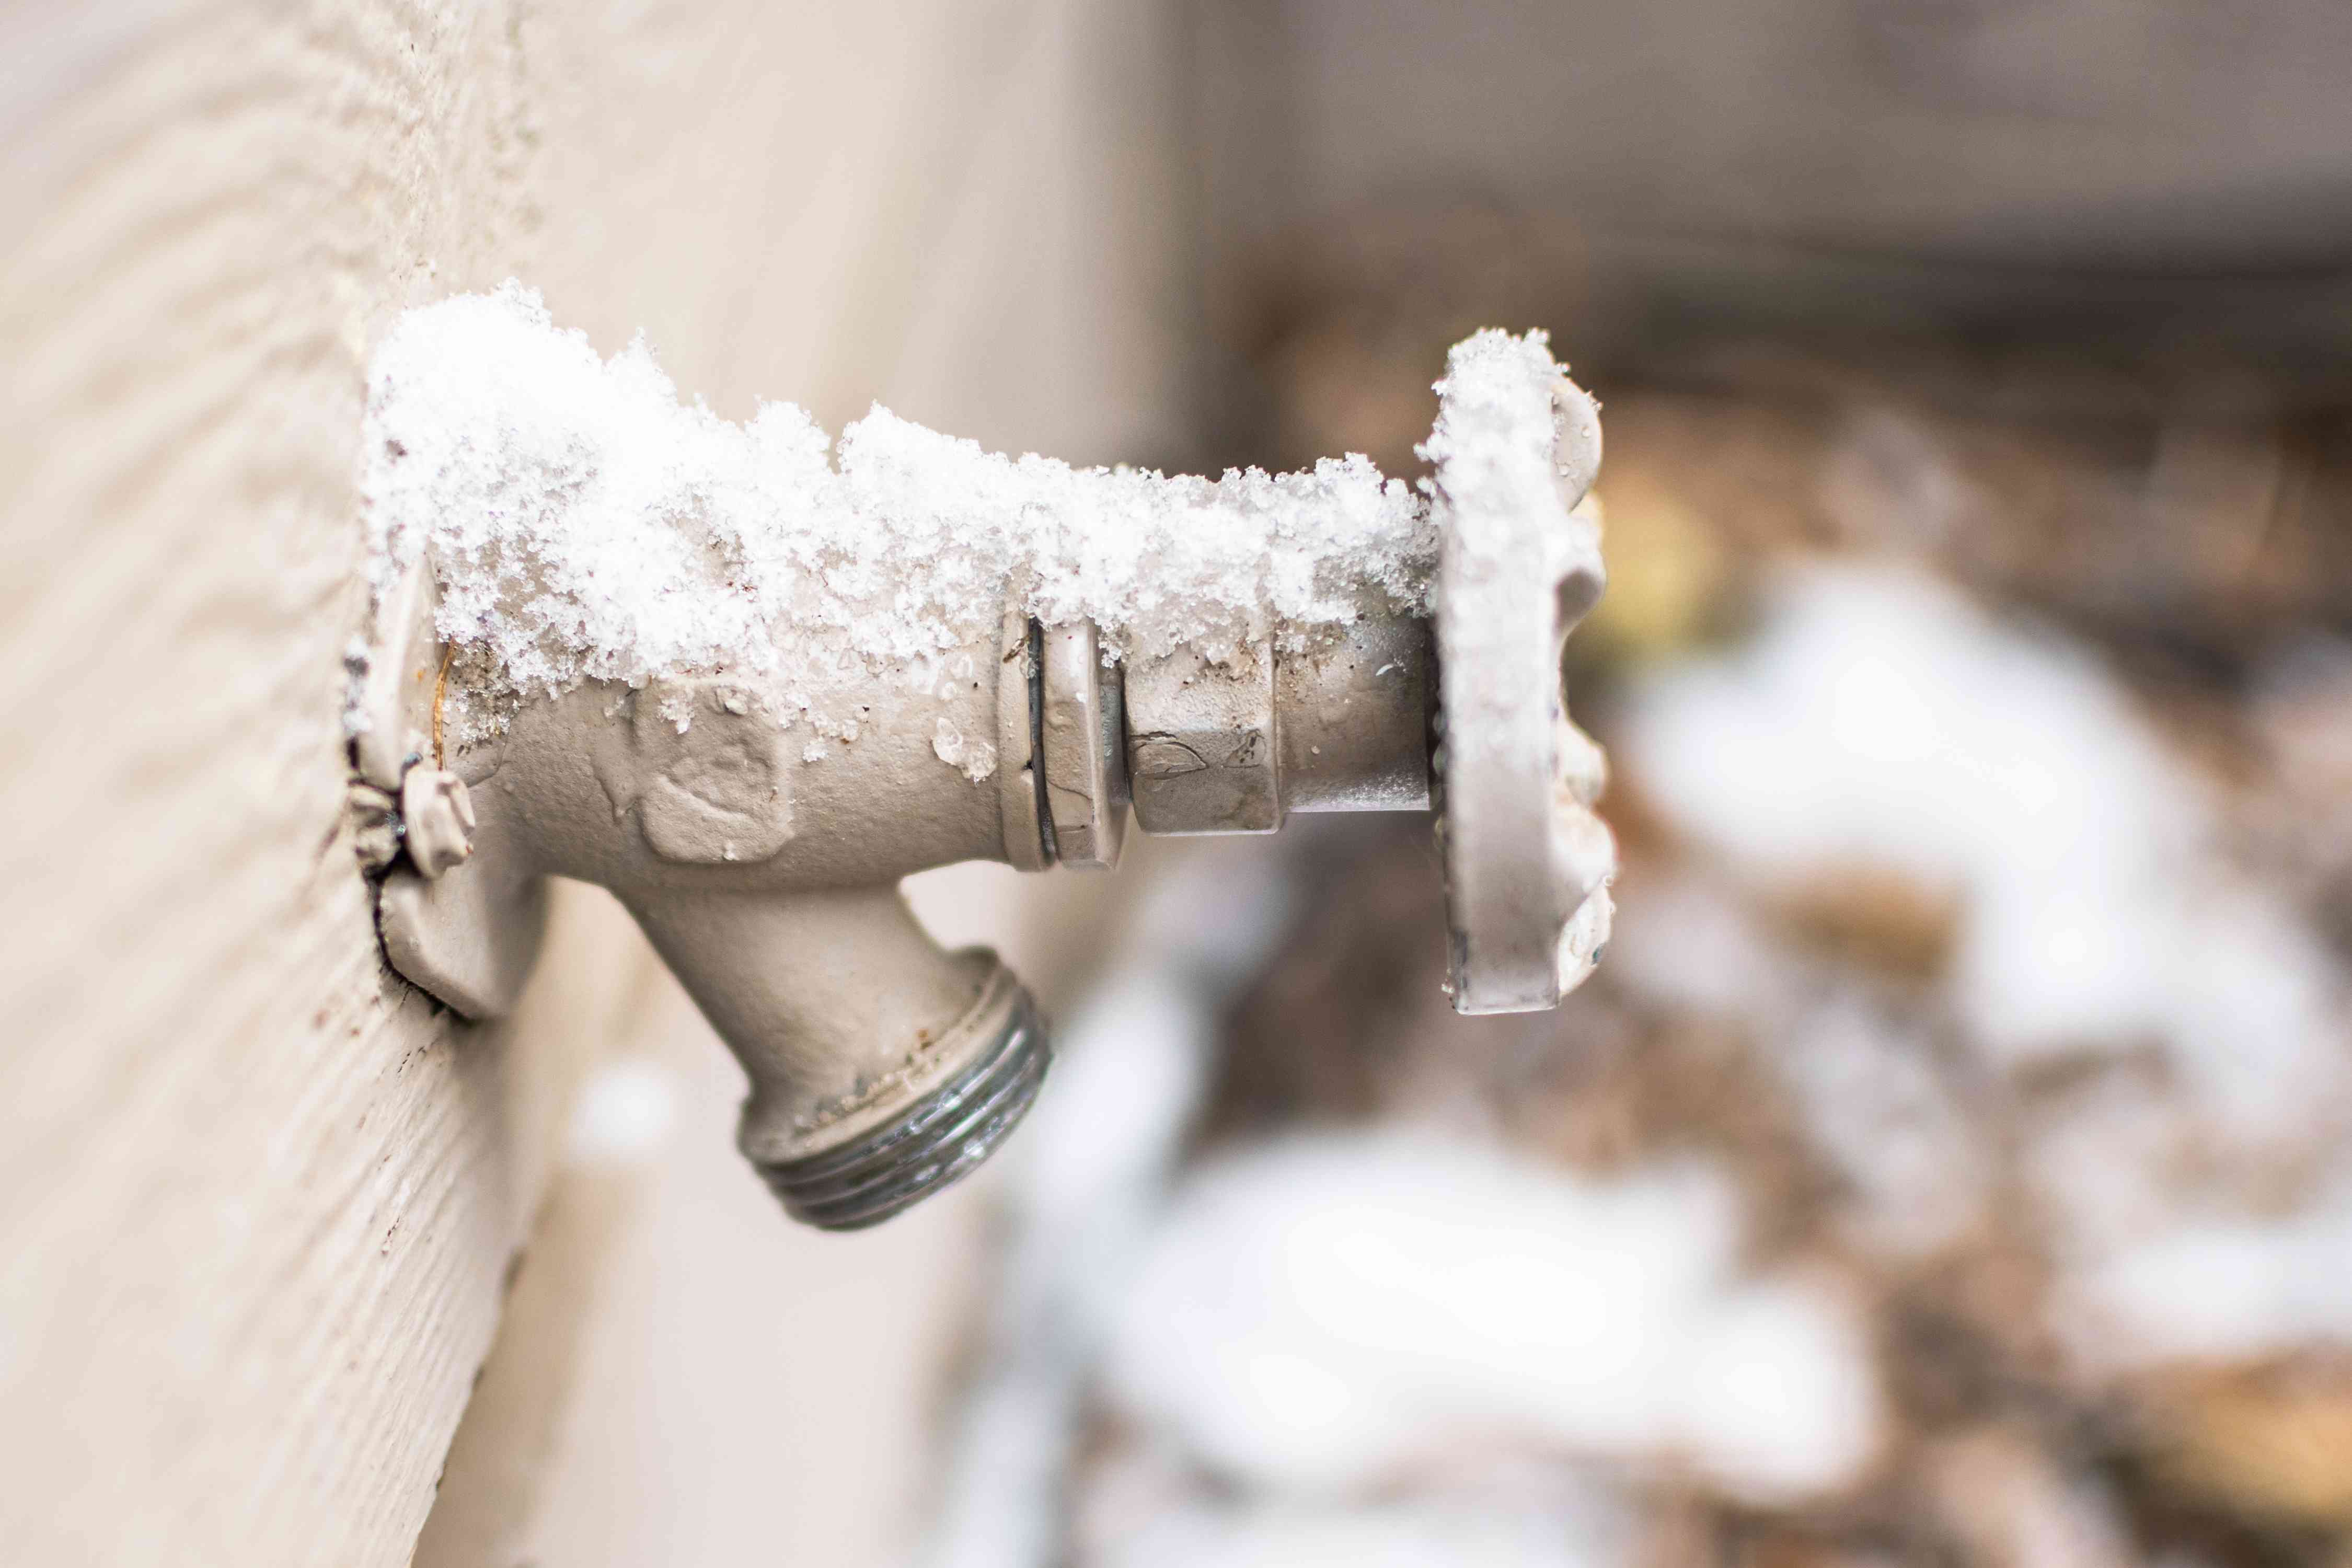
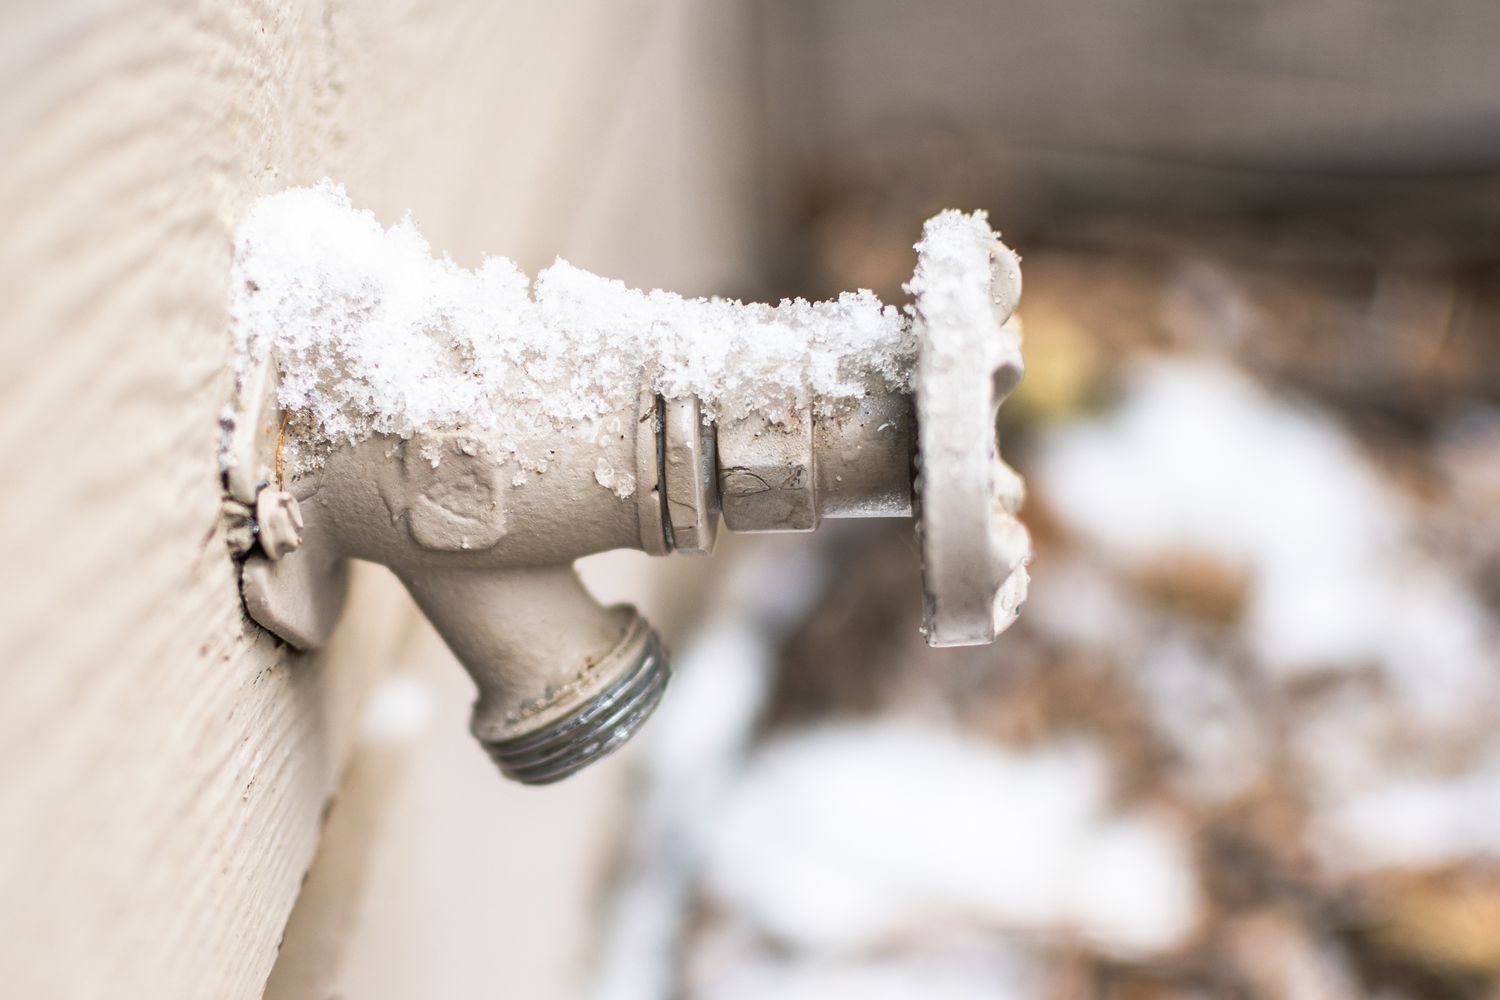
- Protection from Freezing: To prevent freezing during colder months, consider a location that allows for proper insulation of the water line or opt for a frost-free spigot design to safeguard against winter-related damage.
- Structural Integrity: Assess the structural integrity of the chosen mounting surface. Whether it’s a wall, post, or other fixture, ensure that it can support the weight and pressure exerted when using the water spigot.
- Drainage Considerations: Choose a location that allows for proper drainage to prevent water from pooling around the spigot, which could lead to damage or create a breeding ground for pests.
By carefully evaluating these factors, you can pinpoint the optimal location for your outdoor water spigot, setting the stage for a successful installation that meets your practical needs while enhancing the functionality of your outdoor space.
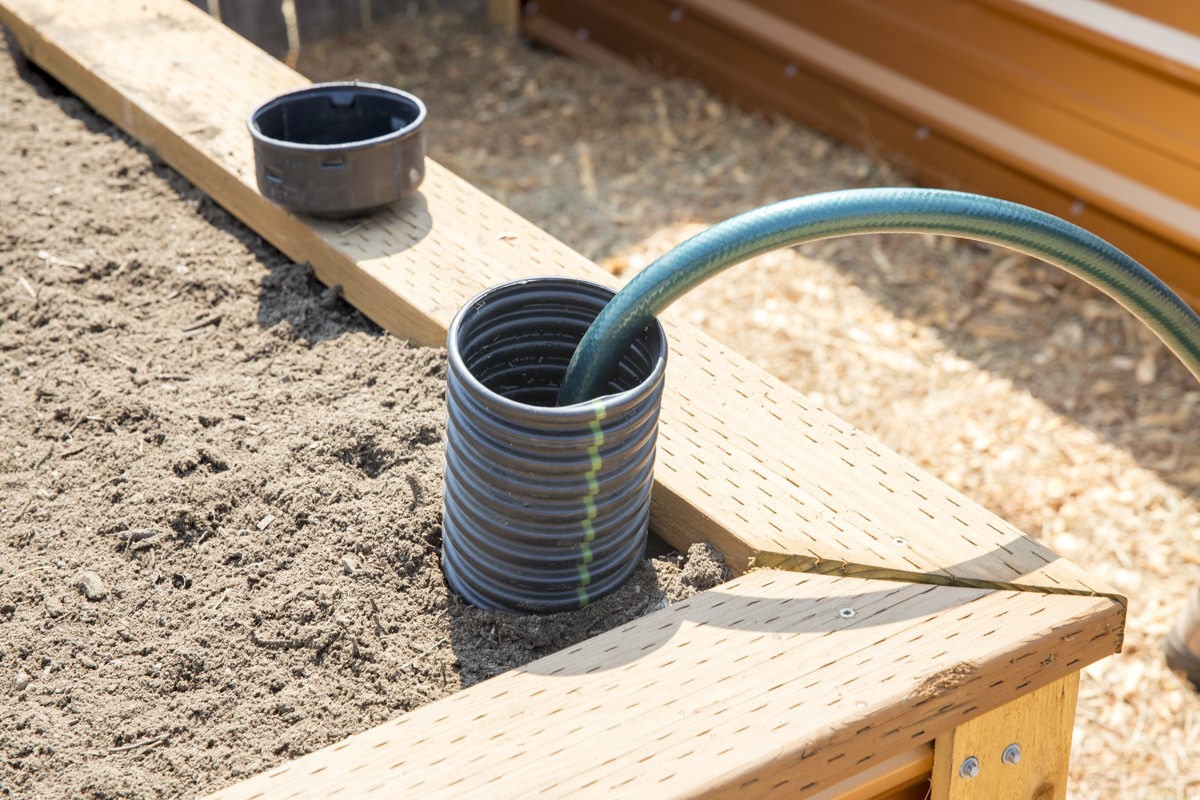
Digging the Trench for Water Line
With the location of your outdoor water spigot determined, the next step is to prepare the trench for the water line. This trench will house the piping that connects the spigot to the main water supply, ensuring a seamless flow of water to your desired outdoor area. Here’s how to tackle this essential groundwork:
- Obtain Necessary Permits: Before digging, check with local authorities to determine if any permits are required for trenching on your property. Compliance with local regulations is essential to avoid potential fines or complications.
- Mark the Trench Path: Use spray paint or flags to mark the path where the trench will be dug. This visual guide will help maintain a straight and consistent trench line, preventing unnecessary deviations.
- Consider Depth and Width: The trench should be dug to a depth that accommodates the water line while providing sufficient cover to protect it from external elements. Additionally, ensure that the width of the trench allows for easy placement and adjustment of the piping.
- Utilize Digging Tools: Depending on the soil composition and terrain, select appropriate digging tools such as a trenching shovel, mattock, or trenching machine to expedite the digging process. Exercise caution to avoid damaging existing underground utilities.
- Maintain a Consistent Slope: To facilitate proper water drainage and prevent water accumulation within the trench, maintain a consistent slope along the trench path, ensuring that water flows away from the spigot location.
- Inspect and Prepare the Trench: Once the trench is dug, inspect it for any debris, rocks, or sharp objects that could potentially damage the water line. Clear the trench of any obstructions and ensure that the bottom is level to support the piping.
By meticulously preparing and digging the trench for the water line, you set the stage for a secure and efficient installation of your outdoor water spigot. This foundational step is essential for ensuring the longevity and functionality of your outdoor water supply system.
To raise an outdoor water spigot, first turn off the water supply. Then, use a pipe wrench to loosen the nut connecting the spigot to the pipe. Add a pipe extension and reattach the spigot. Finally, turn the water supply back on and check for leaks.
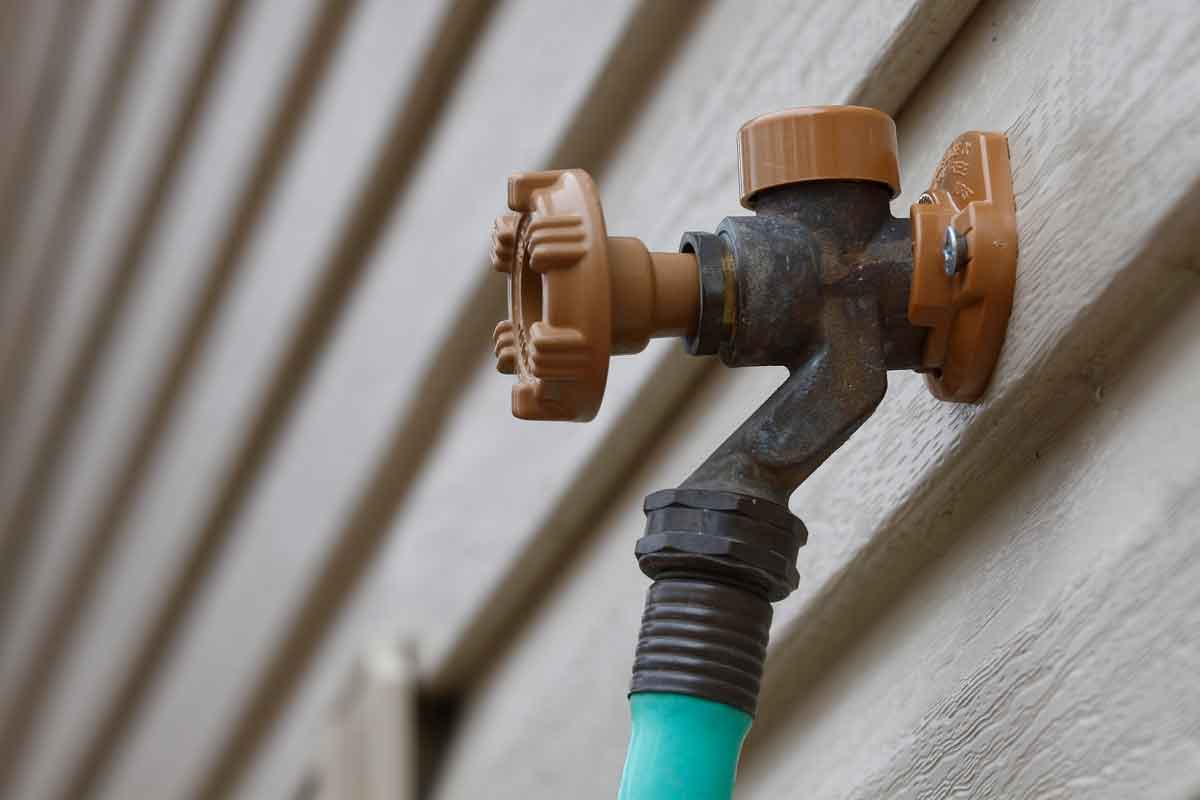
Installing the Outdoor Water Spigot
With the trench prepared and the groundwork laid, it’s time to move on to the installation of the outdoor water spigot. This pivotal step involves connecting the water line to the spigot and securing it in place, ensuring a reliable and accessible water source for your outdoor activities. Here’s a comprehensive guide to the installation process:
- Prepare the Water Line: Inspect the water line for any damage or debris, and ensure that it is clean and free from obstructions. If necessary, trim the water line to the appropriate length, allowing ample slack for connection to the spigot.
- Apply Thread Sealant: Prior to connecting the water line to the spigot, apply thread sealant to the male threads of the spigot. This sealant will create a secure, leak-free connection, preventing water wastage and potential damage.
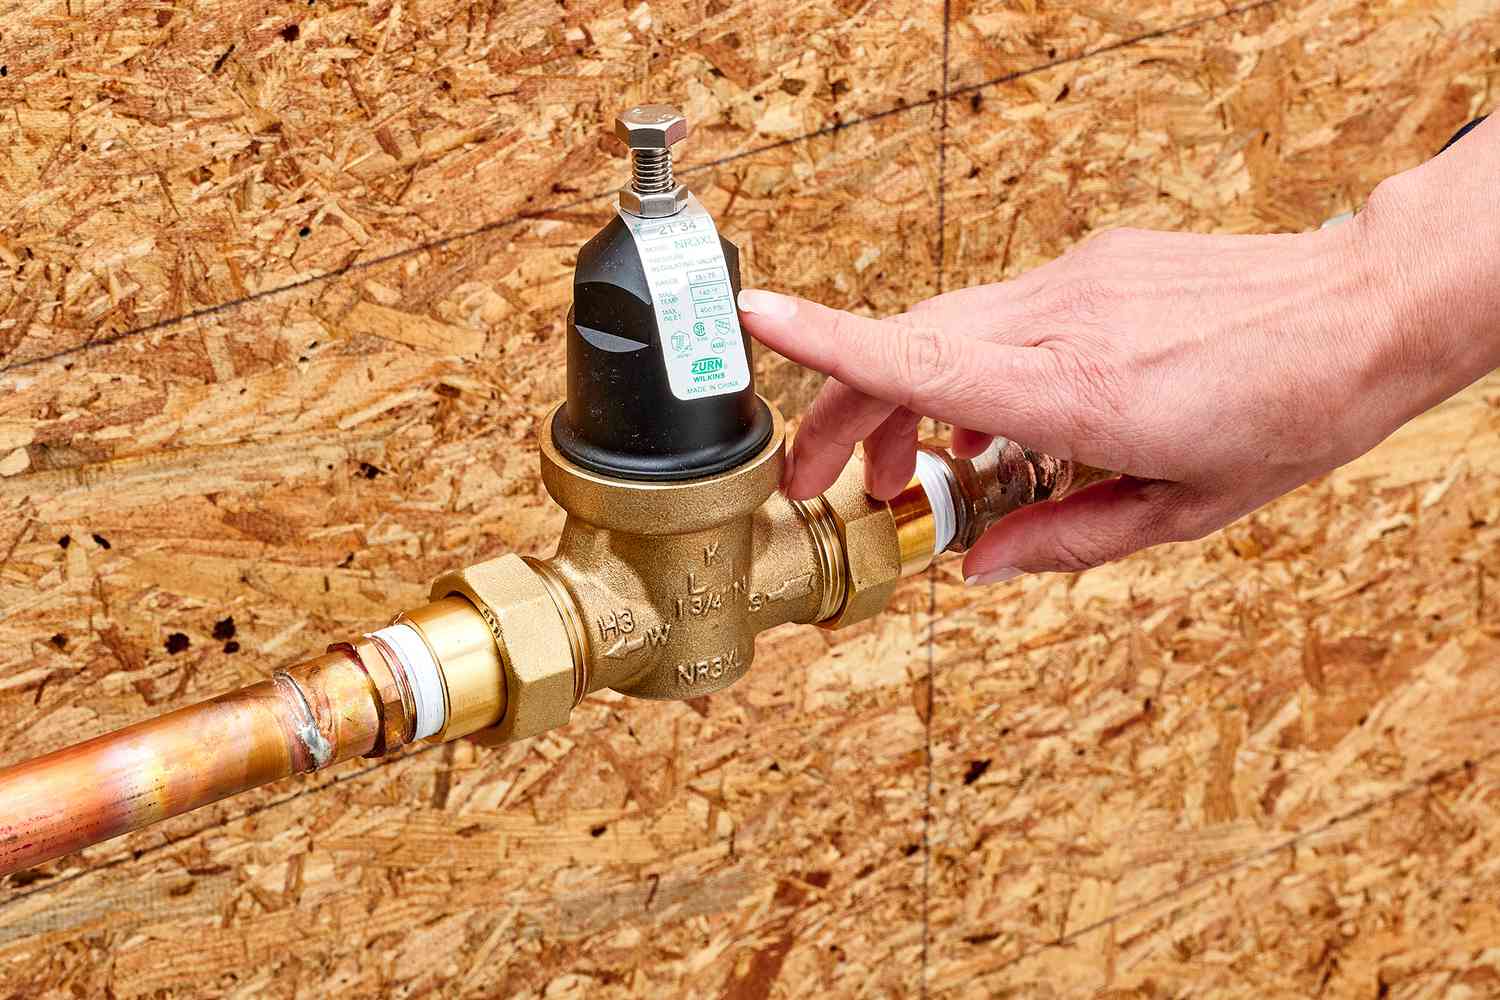
- Attach the Spigot: Carefully thread the water line onto the spigot, ensuring a tight and secure fit. Use adjustable wrenches to tighten the connection, taking care not to over-torque and risk damaging the components.
- Mount the Spigot: If mounting the spigot to a wall or other structure, use appropriate fasteners and mounting hardware to secure it in place. Ensure that the spigot is level and firmly anchored to prevent unnecessary stress on the water line.
- Pressure Test the Connection: Turn on the main water supply and check for any leaks or irregularities at the spigot connection. Address any issues promptly, and reapply sealant or adjust the connection as needed to achieve a watertight seal.
- Insulate and Protect: If installing the spigot in a location prone to freezing temperatures, consider insulating the water line and spigot to prevent freezing and potential damage during cold weather.
By following these steps, you can effectively install your outdoor water spigot, ensuring a reliable and efficient water supply for all your outdoor needs. With the spigot securely in place, you’re one step closer to enjoying the convenience and versatility of an accessible outdoor water source.
Testing the Water Spigot
With the outdoor water spigot successfully installed, it’s time to put it to the test and ensure that it functions flawlessly. This crucial step involves verifying the integrity of the installation, checking for leaks, and confirming the smooth operation of the spigot. Here’s a step-by-step guide to testing your newly installed water spigot:
- Turn on the Water: Slowly turn on the water supply to the outdoor spigot, allowing the system to pressurize gradually. This gradual approach can help identify any potential leaks or issues as the water flow increases.
- Inspect for Leaks: Carefully examine the connection points, especially where the water line meets the spigot and any additional fittings. Look for any signs of water seepage or dripping, indicating a potential leak that requires attention.
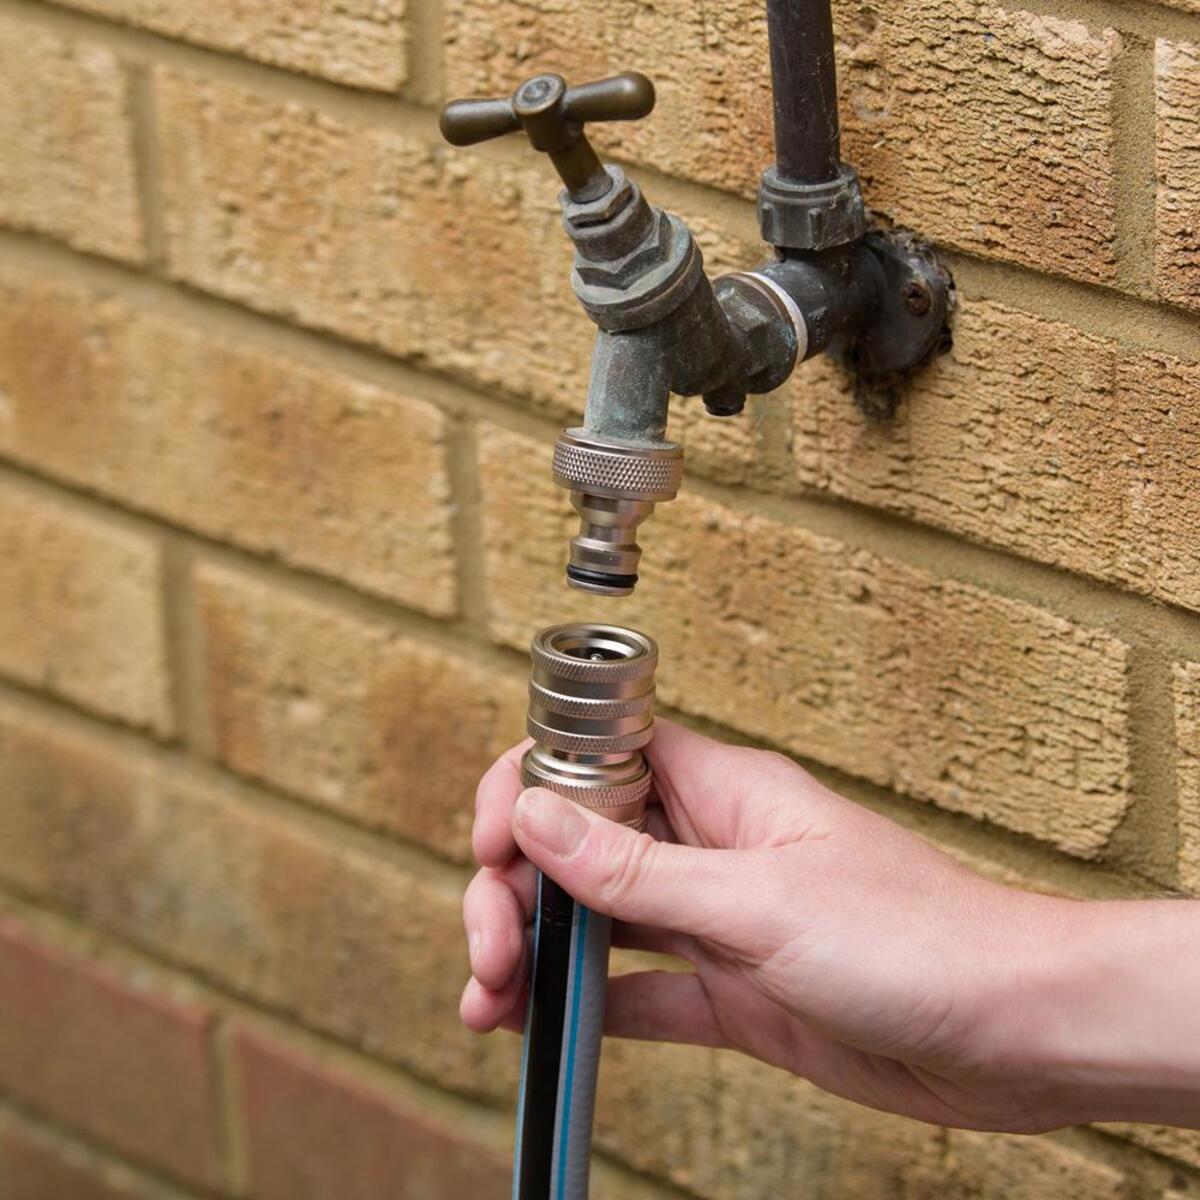
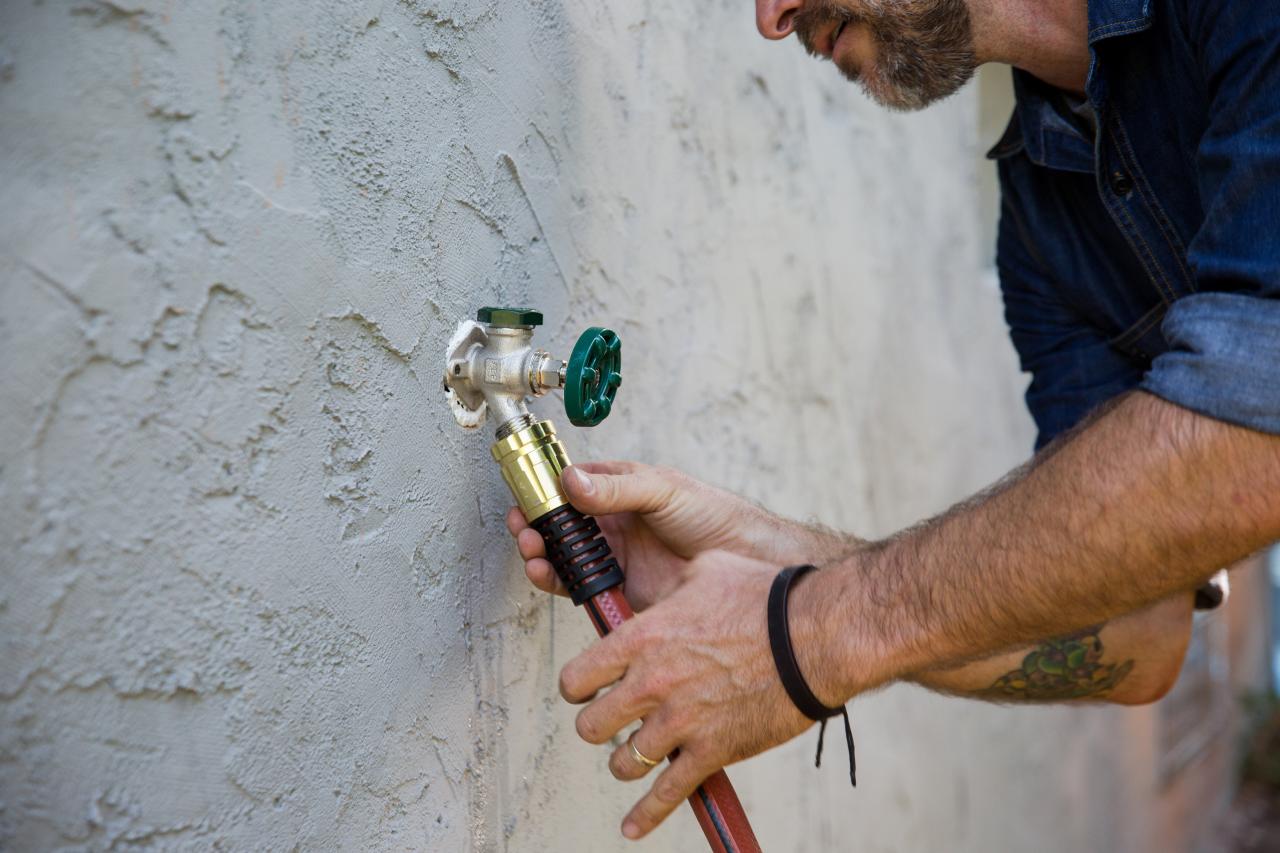
- Operate the Spigot: Test the functionality of the spigot by attaching a hose or other accessories and turning the handle to initiate the water flow. Ensure that the spigot handle operates smoothly and that there are no irregularities in the water flow.
- Check for Proper Drainage: Confirm that the area surrounding the spigot allows for proper drainage, preventing water accumulation and potential damage to the installation site.
- Verify Frost-Free Operation (if applicable): If you’ve opted for a frost-free spigot, ensure that it operates as intended by simulating freezing conditions and confirming that the water supply is adequately protected.
- Address Any Issues: If you encounter leaks, irregular water flow, or other concerns during testing, promptly address these issues by tightening connections, reapplying sealant, or making necessary adjustments to achieve optimal performance.
By meticulously testing the water spigot and addressing any potential issues, you can verify the success of the installation and ensure that your outdoor water supply is ready for seamless and reliable use. This final step sets the stage for enjoying the convenience and versatility of an accessible water source in your outdoor space.
Read more: How To Extend Outdoor Water Spigot
Conclusion
Embarking on the journey to raise an outdoor water spigot has empowered you to enhance the functionality and convenience of your outdoor space. By carefully assessing the spigot location, digging the trench for the water line, and executing the installation process with precision, you’ve unlocked the potential for seamless access to water for various outdoor activities. The thorough testing of the water spigot ensures that your installation is not only successful but also reliable and ready for practical use.
With the outdoor water spigot in place, you’ve created a valuable resource that can support your gardening endeavors, car maintenance routines, and other outdoor tasks with ease. The careful consideration given to the spigot’s location, protection from freezing, and proper drainage has laid the foundation for a durable and efficient water supply system.
As you revel in the convenience of your newly raised outdoor water spigot, take pride in the knowledge and skills you’ve acquired throughout this process. Your proactive approach to improving your outdoor space exemplifies the spirit of resourcefulness and the desire to optimize your surroundings for maximum utility and enjoyment.
With the installation and testing phases successfully completed, you can now bask in the satisfaction of a job well done, knowing that your outdoor water spigot stands ready to serve your needs reliably and conveniently. Whether it’s watering your plants, cleaning outdoor surfaces, or attending to various outdoor tasks, your raised water spigot is poised to elevate the functionality and practicality of your outdoor oasis.
Frequently Asked Questions about How To Raise Outdoor Water Spigot
Was this page helpful?
At Storables.com, we guarantee accurate and reliable information. Our content, validated by Expert Board Contributors, is crafted following stringent Editorial Policies. We're committed to providing you with well-researched, expert-backed insights for all your informational needs.


0 thoughts on “How To Raise Outdoor Water Spigot”